
Best Practices Installation Webinar - …...Best Practices Installation Webinar This Webinar will...
32
Best Practices Installation Webinar
Transcript of Best Practices Installation Webinar - …...Best Practices Installation Webinar This Webinar will...
Best Practices Installation Webinar
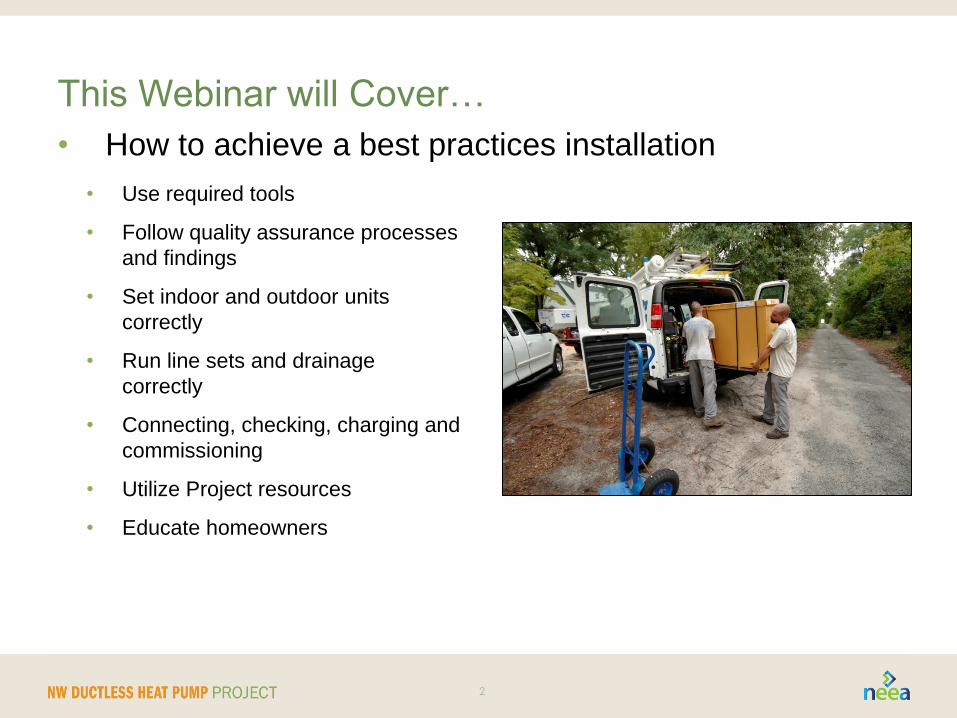
This Webinar will Cover…
• Use required tools
• Follow quality assurance processes
and findings
• Set indoor and outdoor units
correctly
• Run line sets and drainage
correctly
• Connecting, checking, charging and
commissioning
• Utilize Project resources
• Educate homeowners
• How to achieve a best practices installation
2
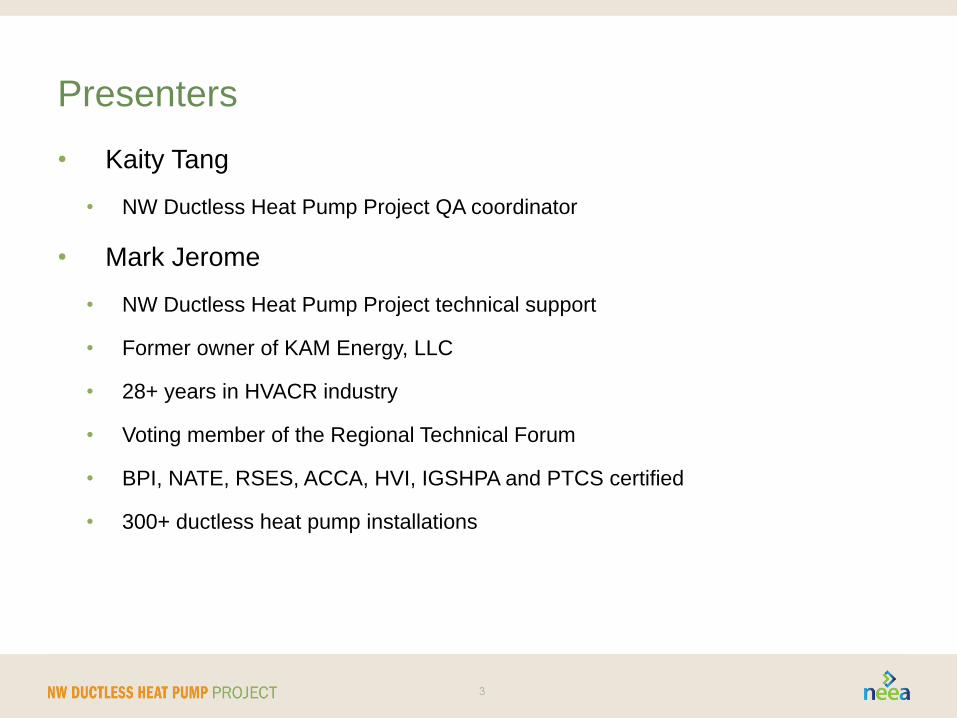
• Kaity Tang
• NW Ductless Heat Pump Project QA coordinator
• Mark Jerome
• NW Ductless Heat Pump Project technical support
• Former owner of KAM Energy, LLC
• 28+ years in HVACR industry
• Voting member of the Regional Technical Forum
• BPI, NATE, RSES, ACCA, HVI, IGSHPA and PTCS certified
• 300+ ductless heat pump installations
3
Presenters
• The Northwest Energy Efficiency Alliance (NEEA) is a nonprofit organization
working to effect market transformation through the acceleration and adoption of
energy-efficient products, services and practices. NEEA is an alliance of more than
140 Northwest utilities and energy efficiency organizations working on behalf of
more than 13 million energy consumers. For more information, visit neea.org.
4
Project Sponsor: Northwest Energy Efficiency Alliance
(NEEA)
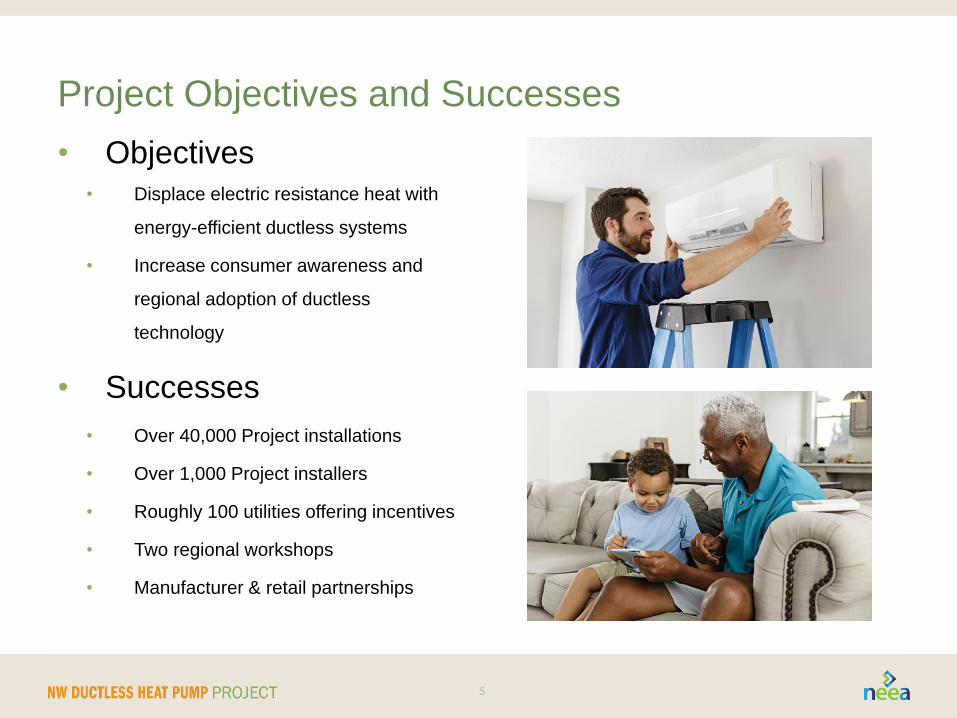
Project Objectives and Successes
• Objectives • Displace electric resistance heat with
energy-efficient ductless systems
• Increase consumer awareness and
regional adoption of ductless
technology
• Successes
• Over 40,000 Project installations
• Over 1,000 Project installers
• Roughly 100 utilities offering incentives
• Two regional workshops
• Manufacturer & retail partnerships
5

Project Findings
• What we’ve found so far • Ductless systems are for REAL!
• Customers LOVE them
• They are an important energy- efficiency
measure to the region
• Quality installations are CRITICAL to
long-term performance and value
• The future looks promising!
6

Quality Assurance
• Random inspections • The Project performs random inspections on
installations completed by Project contractors
• 13% of all inspections in 2014 resulted in a
deviation or failure
• Three of the most common QA deviations:
• Lack of line set protection
• Outdoor unit not secured
• Poor homeowner education
• Additional concerns include:
• Inadequate clearances
• Aesthetically unappealing installations
• QA inspections can’t uncover all issues!
Contractor communication is KEY to learning
about other matters
7
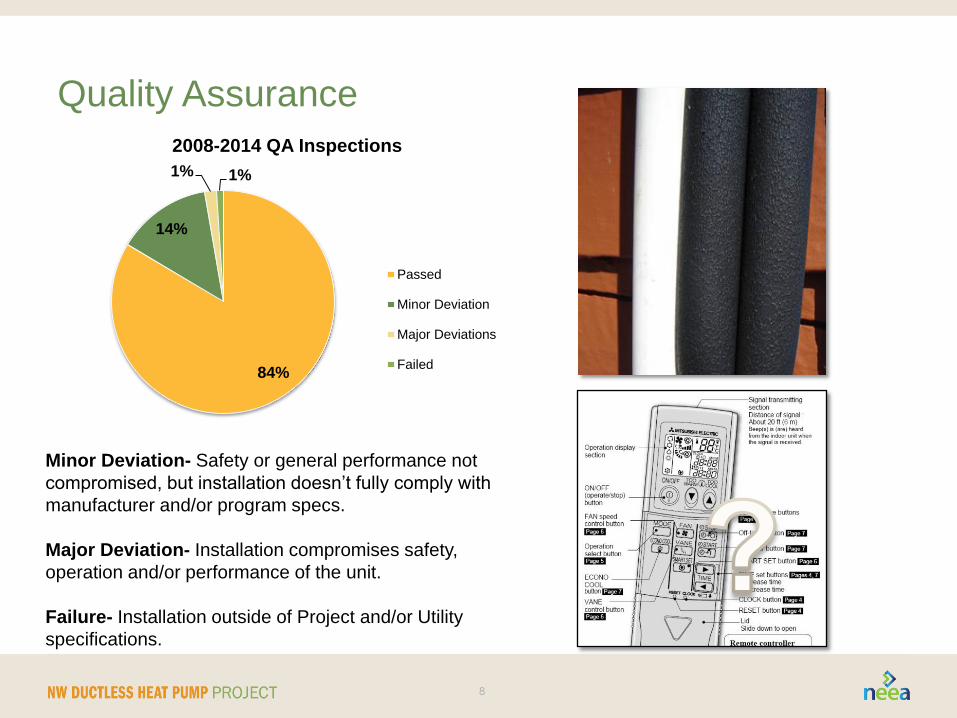
Quality Assurance
8
Minor Deviation- Safety or general performance not
compromised, but installation doesn’t fully comply with
manufacturer and/or program specs.
Major Deviation- Installation compromises safety,
operation and/or performance of the unit.
Failure- Installation outside of Project and/or Utility
specifications.
84%
14%
1% 1%
2008-2014 QA Inspections
Passed
Minor Deviation
Major Deviations
Failed
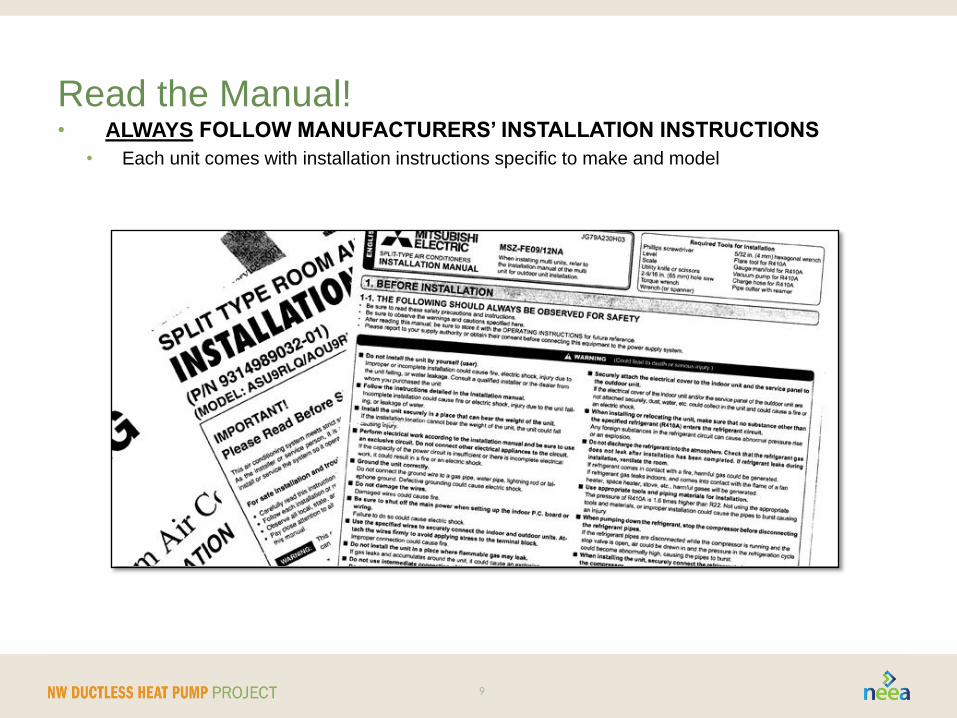
• ALWAYS FOLLOW MANUFACTURERS’ INSTALLATION INSTRUCTIONS
• Each unit comes with installation instructions specific to make and model
9
Read the Manual!
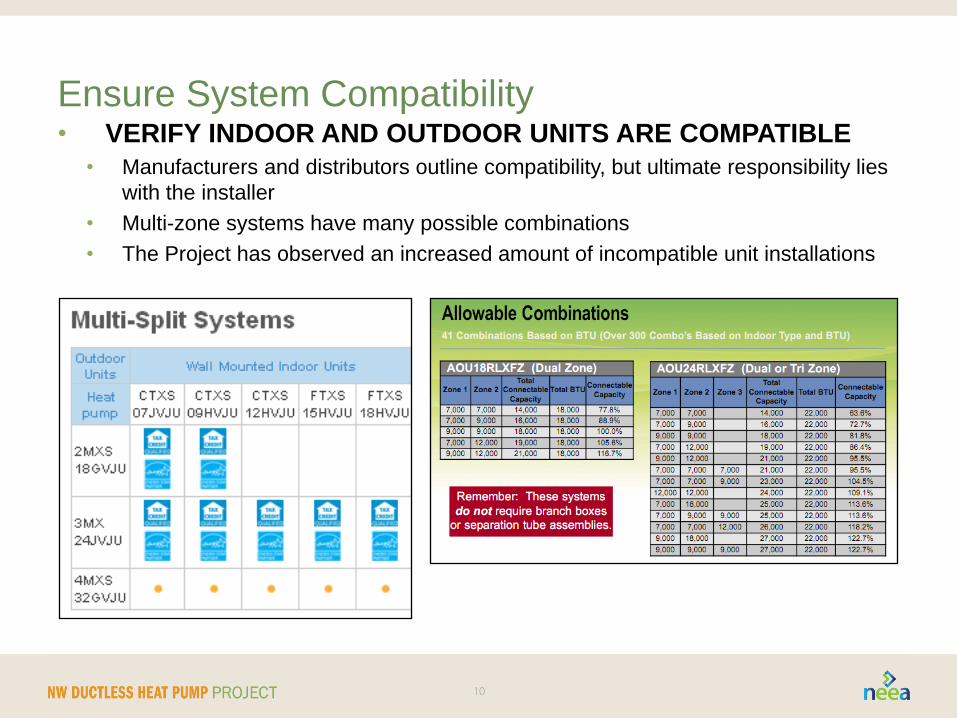
• VERIFY INDOOR AND OUTDOOR UNITS ARE COMPATIBLE
• Manufacturers and distributors outline compatibility, but ultimate responsibility lies
with the installer
• Multi-zone systems have many possible combinations
• The Project has observed an increased amount of incompatible unit installations
10
Ensure System Compatibility
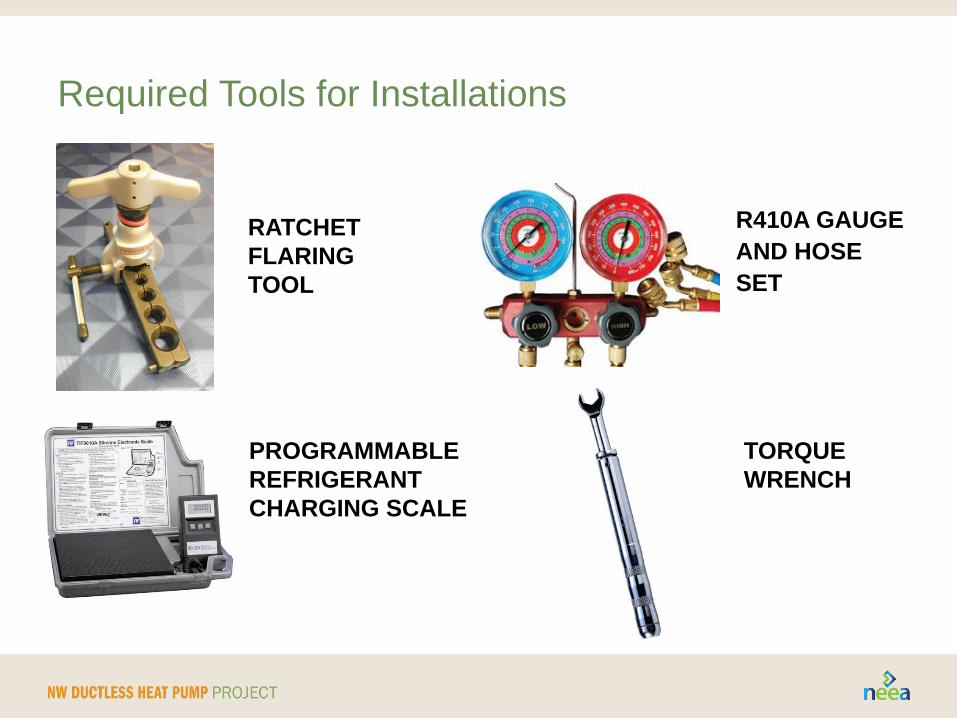
R410A GAUGE
AND HOSE
SET
RATCHET
FLARING
TOOL
PROGRAMMABLE
REFRIGERANT
CHARGING SCALE
TORQUE
WRENCH
Required Tools for Installations
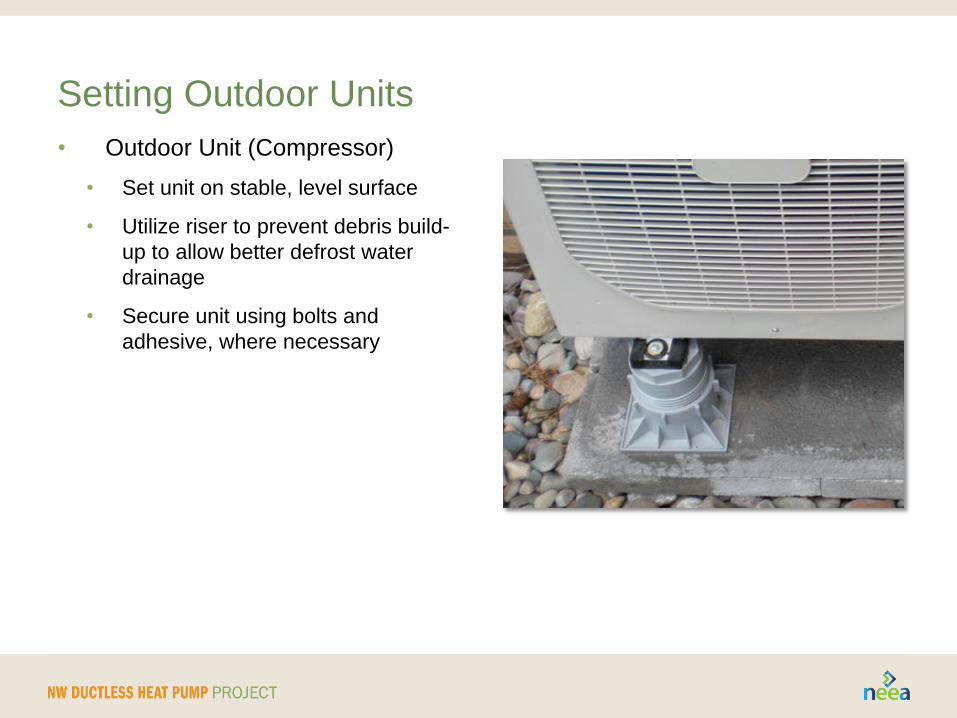
Setting Outdoor Units
• Outdoor Unit (Compressor)
• Set unit on stable, level surface
• Utilize riser to prevent debris build-
up to allow better defrost water
drainage
• Secure unit using bolts and
adhesive, where necessary
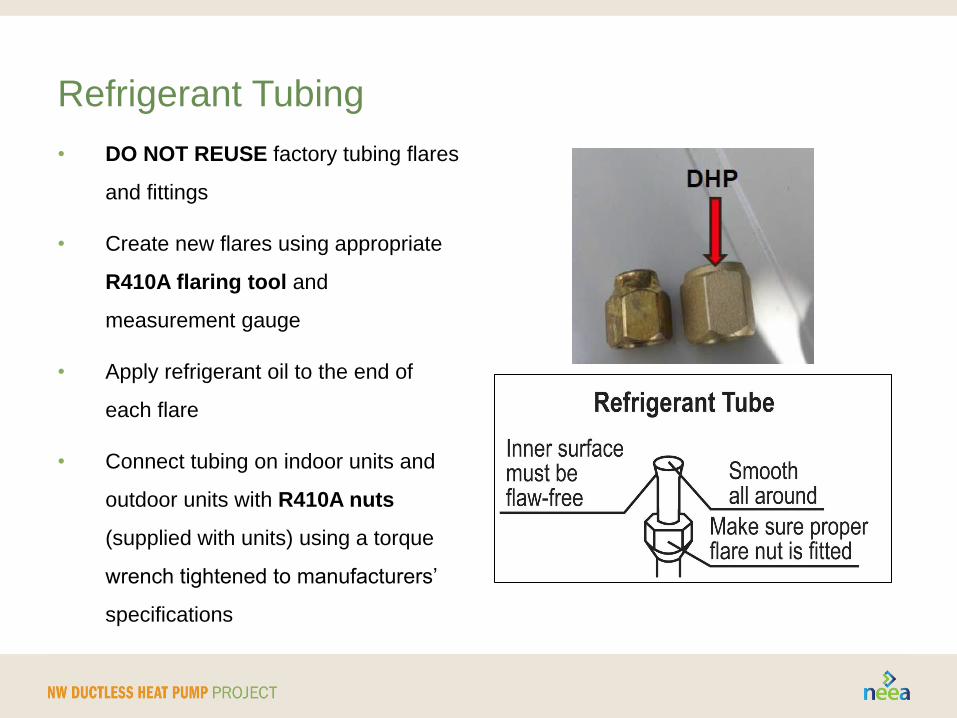
Refrigerant Tubing
• DO NOT REUSE factory tubing flares
and fittings
• Create new flares using appropriate
R410A flaring tool and
measurement gauge
• Apply refrigerant oil to the end of
each flare
• Connect tubing on indoor units and
outdoor units with R410A nuts
(supplied with units) using a torque
wrench tightened to manufacturers’
specifications
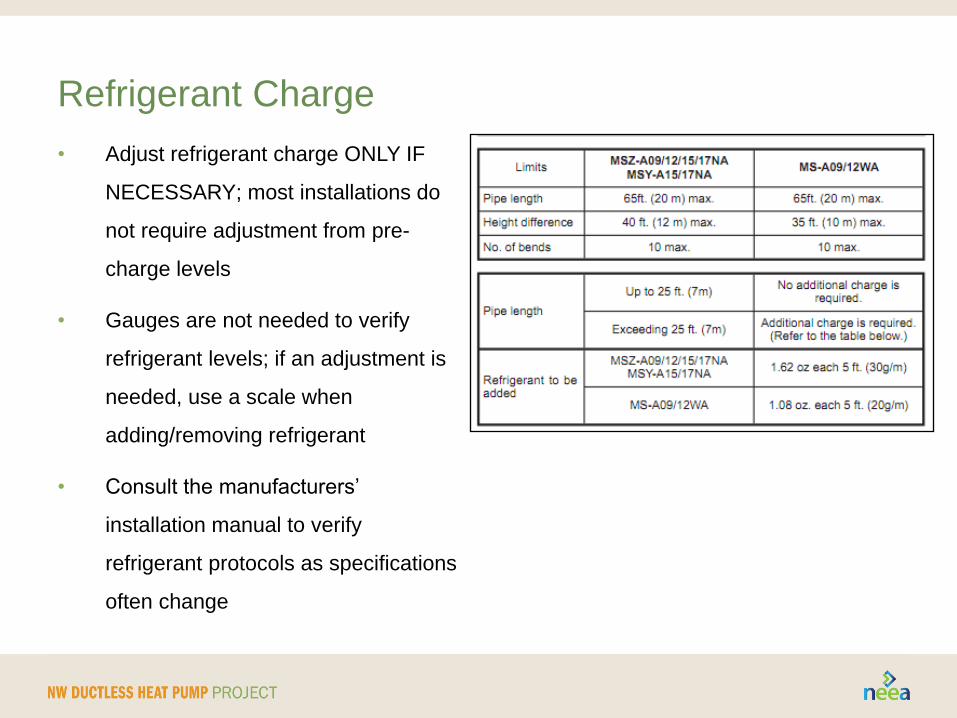
Refrigerant Charge
• Adjust refrigerant charge ONLY IF
NECESSARY; most installations do
not require adjustment from pre-
charge levels
• Gauges are not needed to verify
refrigerant levels; if an adjustment is
needed, use a scale when
adding/removing refrigerant
• Consult the manufacturers’
installation manual to verify
refrigerant protocols as specifications
often change
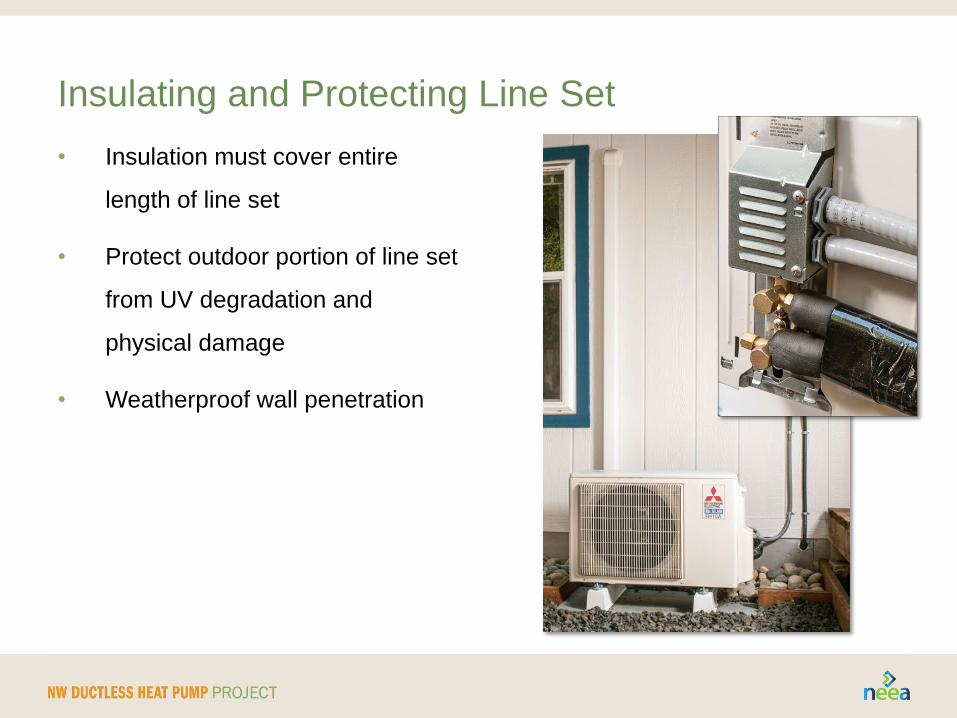
Insulating and Protecting Line Set
• Insulation must cover entire
length of line set
• Protect outdoor portion of line set
from UV degradation and
physical damage
• Weatherproof wall penetration
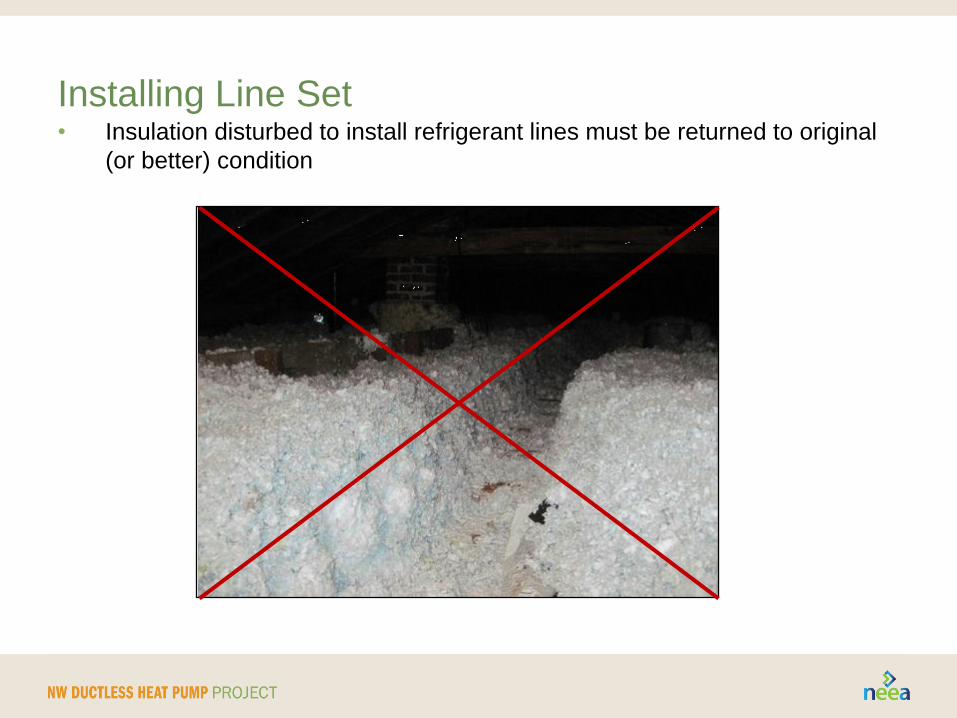
Installing Line Set • Insulation disturbed to install refrigerant lines must be returned to original
(or better) condition
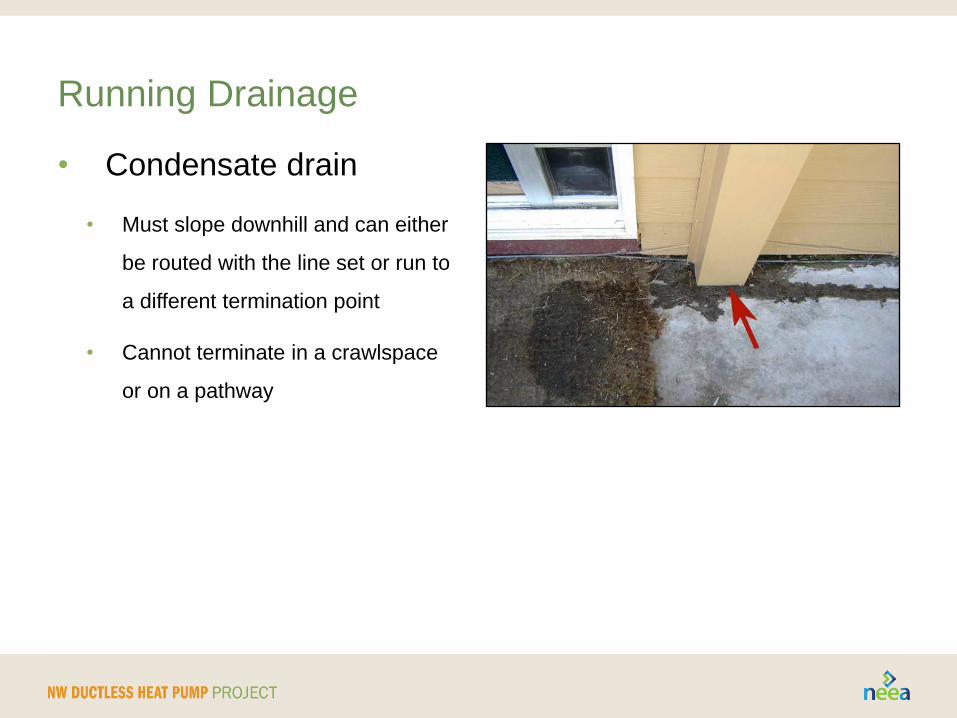
Running Drainage
• Condensate drain
• Must slope downhill and can either
be routed with the line set or run to
a different termination point
• Cannot terminate in a crawlspace
or on a pathway
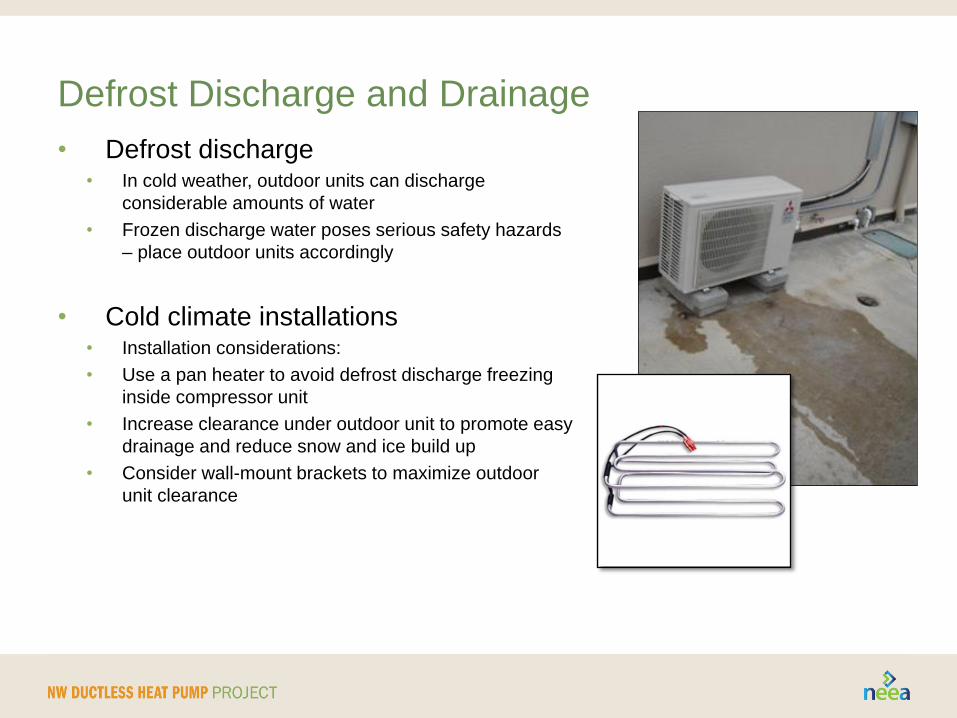
Defrost Discharge and Drainage
• Defrost discharge • In cold weather, outdoor units can discharge
considerable amounts of water
• Frozen discharge water poses serious safety hazards
– place outdoor units accordingly
• Cold climate installations • Installation considerations:
• Use a pan heater to avoid defrost discharge freezing
inside compressor unit
• Increase clearance under outdoor unit to promote easy
drainage and reduce snow and ice build up
• Consider wall-mount brackets to maximize outdoor
unit clearance
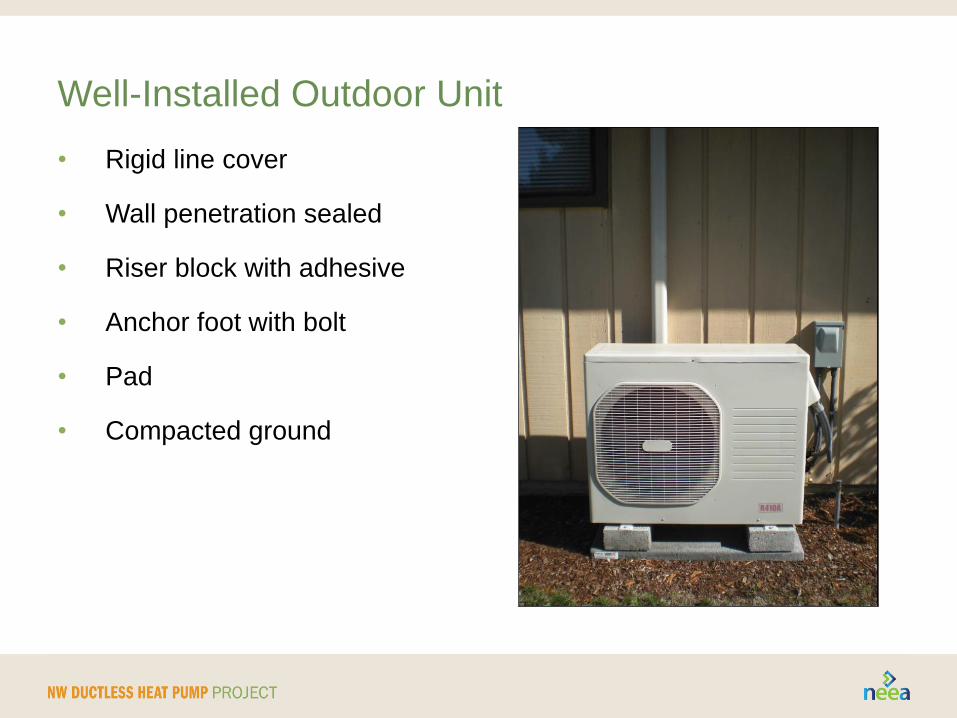
Well-Installed Outdoor Unit
• Rigid line cover
• Wall penetration sealed
• Riser block with adhesive
• Anchor foot with bolt
• Pad
• Compacted ground

Poorly-Installed Outdoor Units
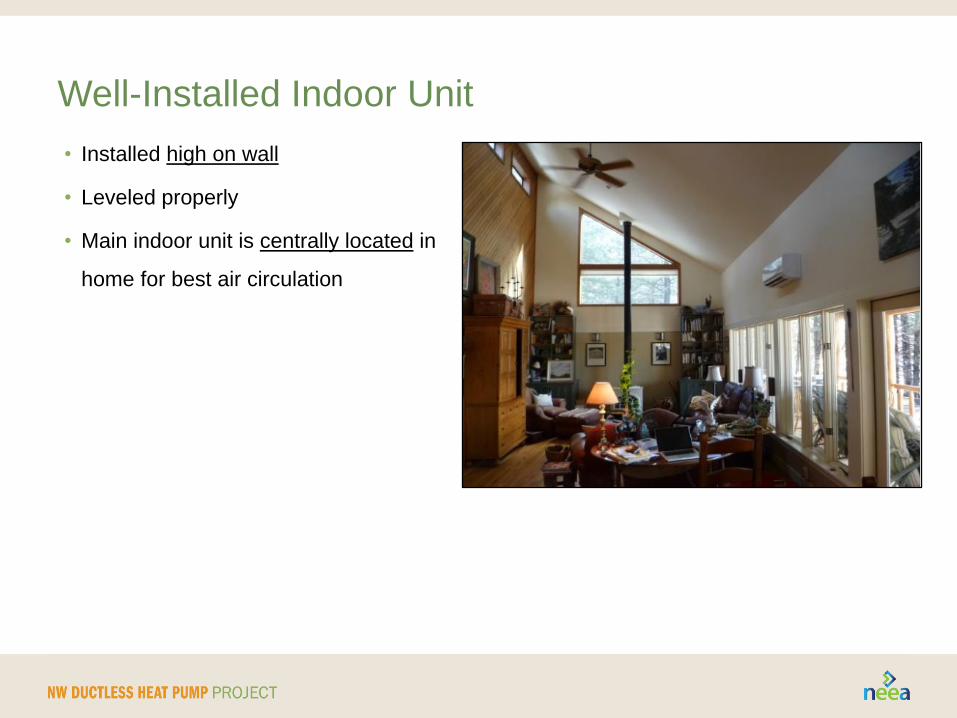
Well-Installed Indoor Unit
• Installed high on wall
• Leveled properly
• Main indoor unit is centrally located in
home for best air circulation
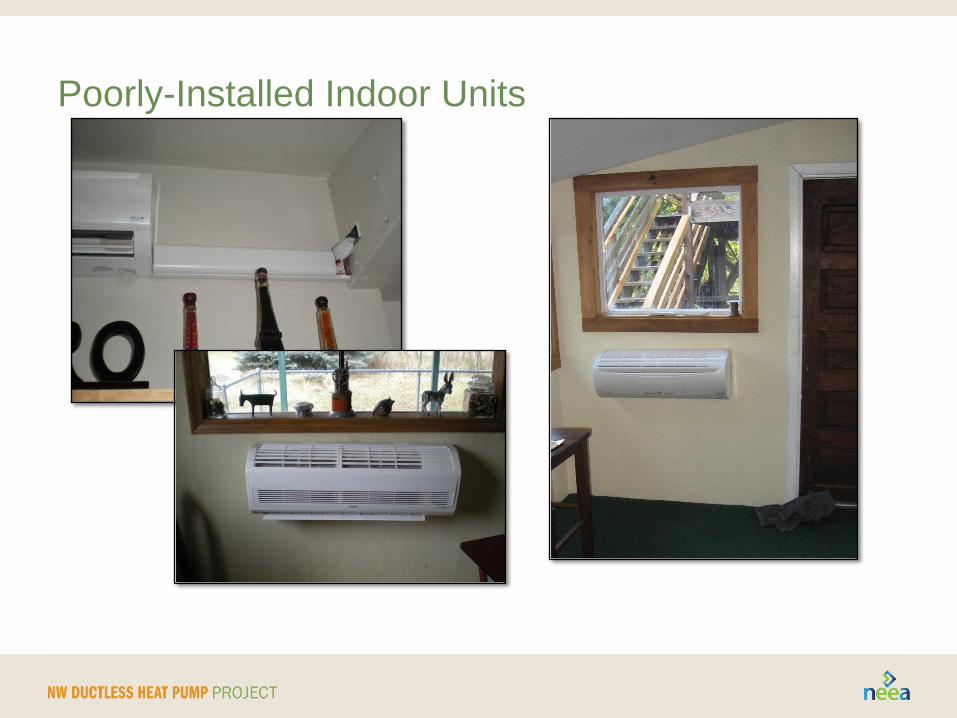
Poorly-Installed Indoor Units
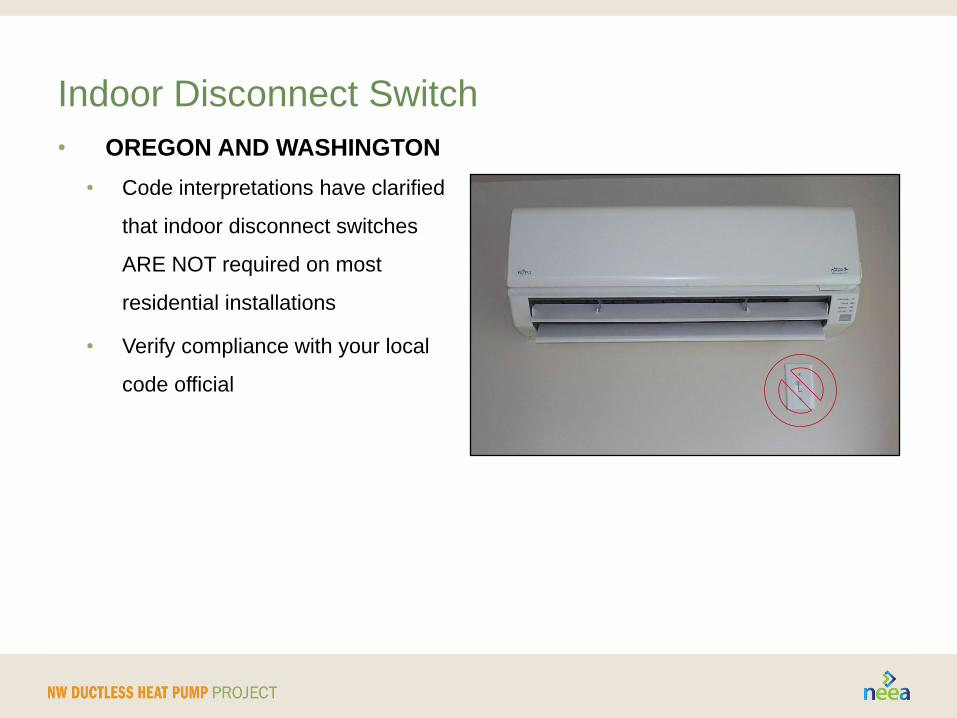
Indoor Disconnect Switch
• OREGON AND WASHINGTON
• Code interpretations have clarified
that indoor disconnect switches
ARE NOT required on most
residential installations
• Verify compliance with your local
code official
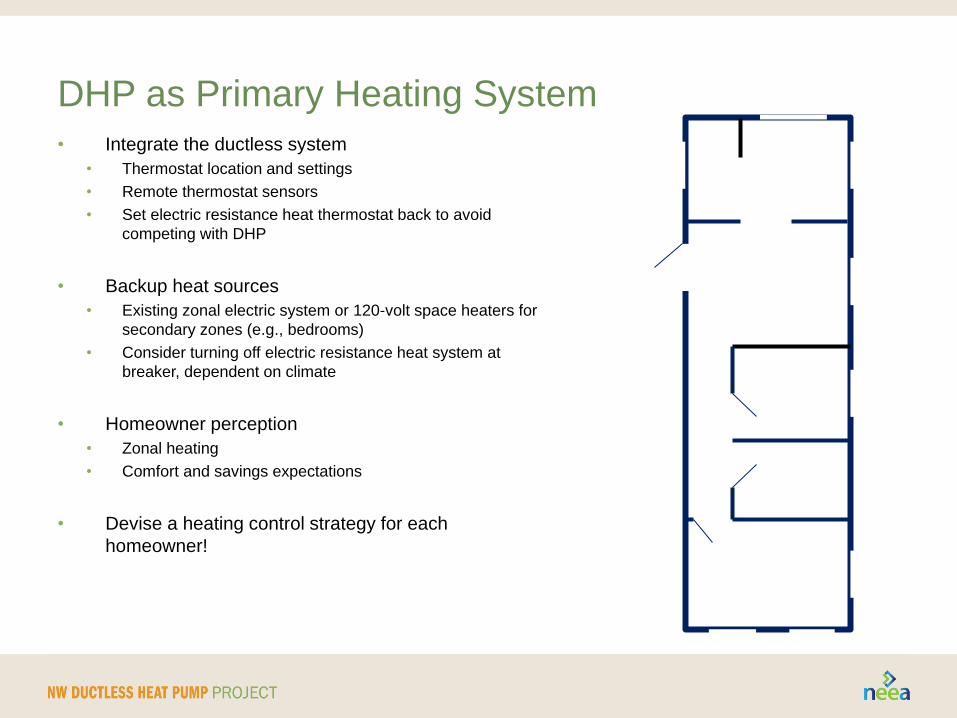
DHP as Primary Heating System
• Integrate the ductless system
• Thermostat location and settings
• Remote thermostat sensors
• Set electric resistance heat thermostat back to avoid
competing with DHP
• Backup heat sources
• Existing zonal electric system or 120-volt space heaters for
secondary zones (e.g., bedrooms)
• Consider turning off electric resistance heat system at
breaker, dependent on climate
• Homeowner perception
• Zonal heating
• Comfort and savings expectations
• Devise a heating control strategy for each
homeowner!

WELL-INSTALLED OUTDOOR + INDOOR UNITS = SATISFIED HOMEOWNER
Homeowner Education
• Happy, well-educated
homeowners are the best
salespeople
• Satisfied customers tell their
family, friends and neighbors
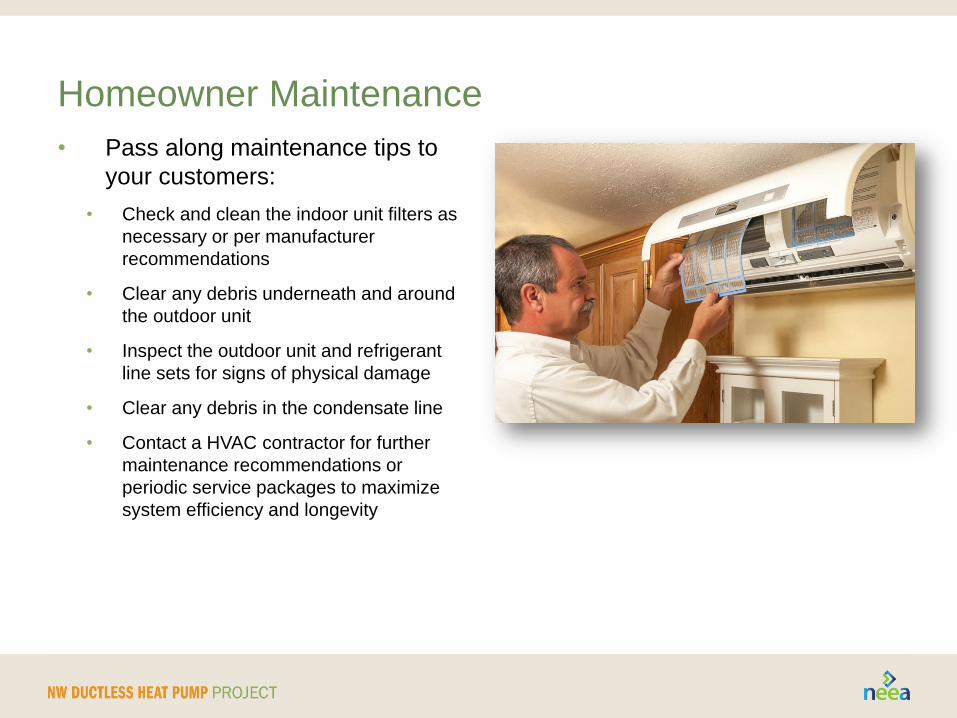
Homeowner Maintenance
• Pass along maintenance tips to
your customers:
• Check and clean the indoor unit filters as
necessary or per manufacturer
recommendations
• Clear any debris underneath and around
the outdoor unit
• Inspect the outdoor unit and refrigerant
line sets for signs of physical damage
• Clear any debris in the condensate line
• Contact a HVAC contractor for further
maintenance recommendations or
periodic service packages to maximize
system efficiency and longevity

Best Practices Installations
• EDUCATE YOUR CUSTOMERS!
• Walk your customer through operation and
maintenance - educated homeowners reduce
call-backs and promote your services
• Satisfied customers tell their family, friends &
neighbors – word-of-mouth is increasing
• Leave behind instructions on how to contact
you with future questions
• Provide all customers with a copy of the
Homeowner’s Guide
(available for download at
www.GoingDuctless.com/Partners)
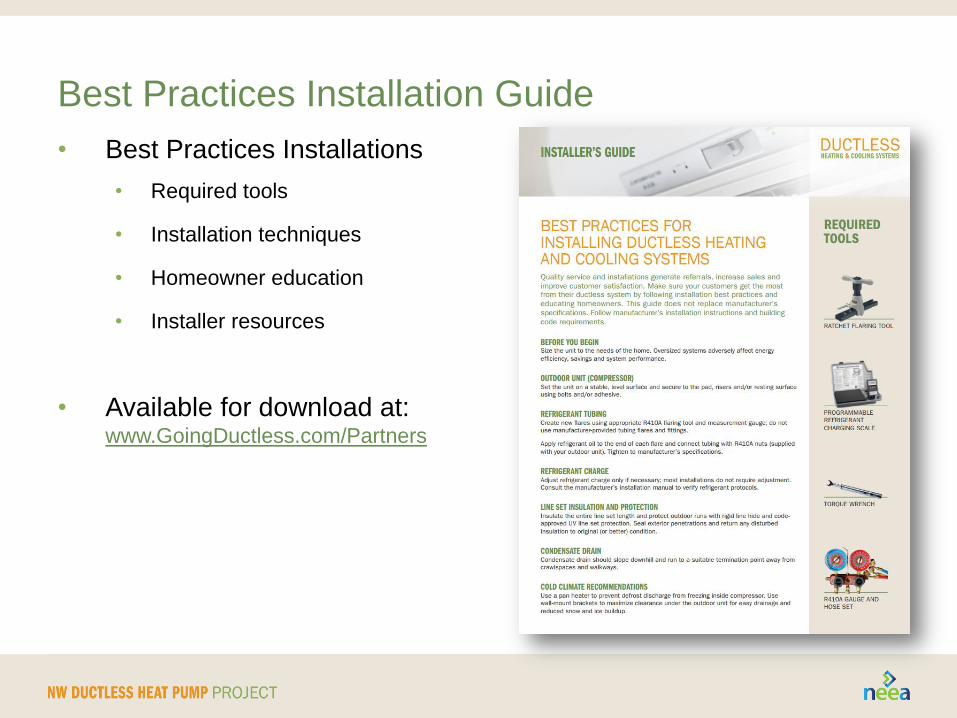
Best Practices Installation Guide
• Best Practices Installations
• Required tools
• Installation techniques
• Homeowner education
• Installer resources
• Available for download at: www.GoingDuctless.com/Partners
Rebate and Tax Credits • Utility Rebate
• Up to $1,200 (check with your utility)
• List of participating utilities available at: GoingDuctless.com
• State Tax Credits
• 2015 Oregon: $625 to $1,300 for qualified equipment; details in link:
http://www.oregon.gov/energy/cons/docs/2015%20RETC%20Tax%20Credit%20R
ates.pdf
• Montana: up to 25% of installed cost (up to $500 per homeowner); details in link:
www.revenue.mt.gov/home/individuals/taxrelief_energy
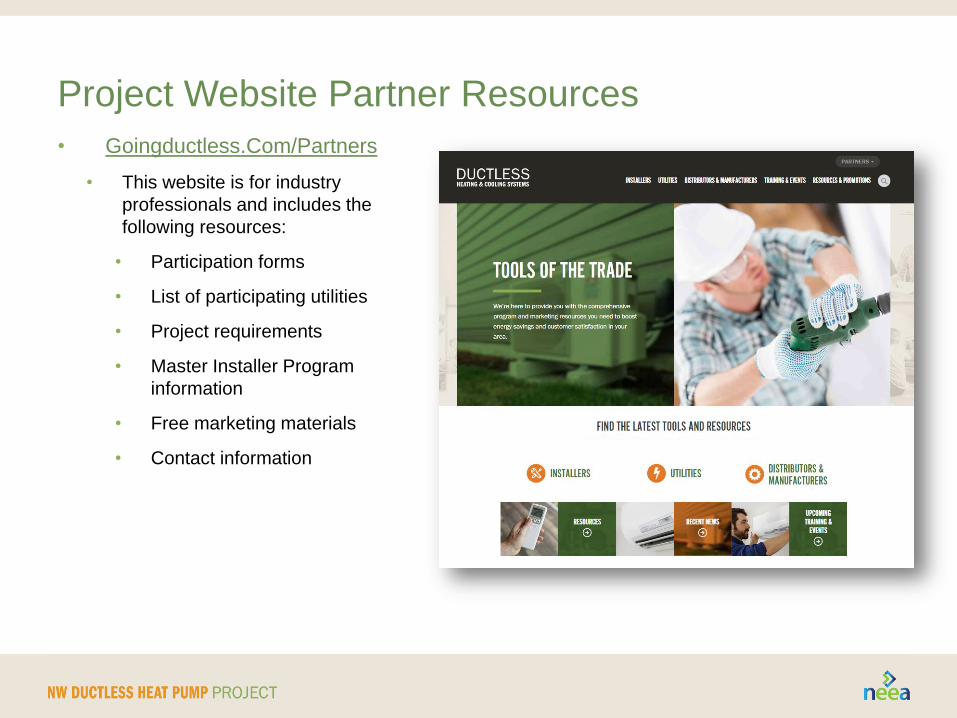
Project Website Partner Resources
• Goingductless.Com/Partners
• This website is for industry
professionals and includes the
following resources:
• Participation forms
• List of participating utilities
• Project requirements
• Master Installer Program
information
• Free marketing materials
• Contact information
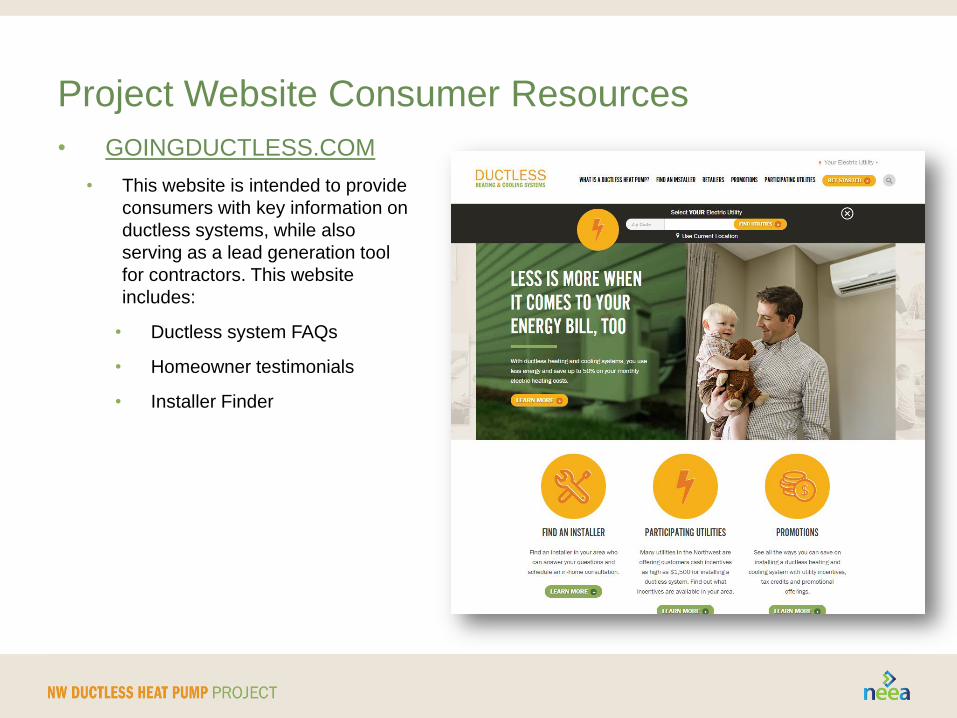
Project Website Consumer Resources
• GOINGDUCTLESS.COM
• This website is intended to provide
consumers with key information on
ductless systems, while also
serving as a lead generation tool
for contractors. This website
includes:
• Ductless system FAQs
• Homeowner testimonials
• Installer Finder