Relaxation Oscillator and One-Shot Using 555...
5
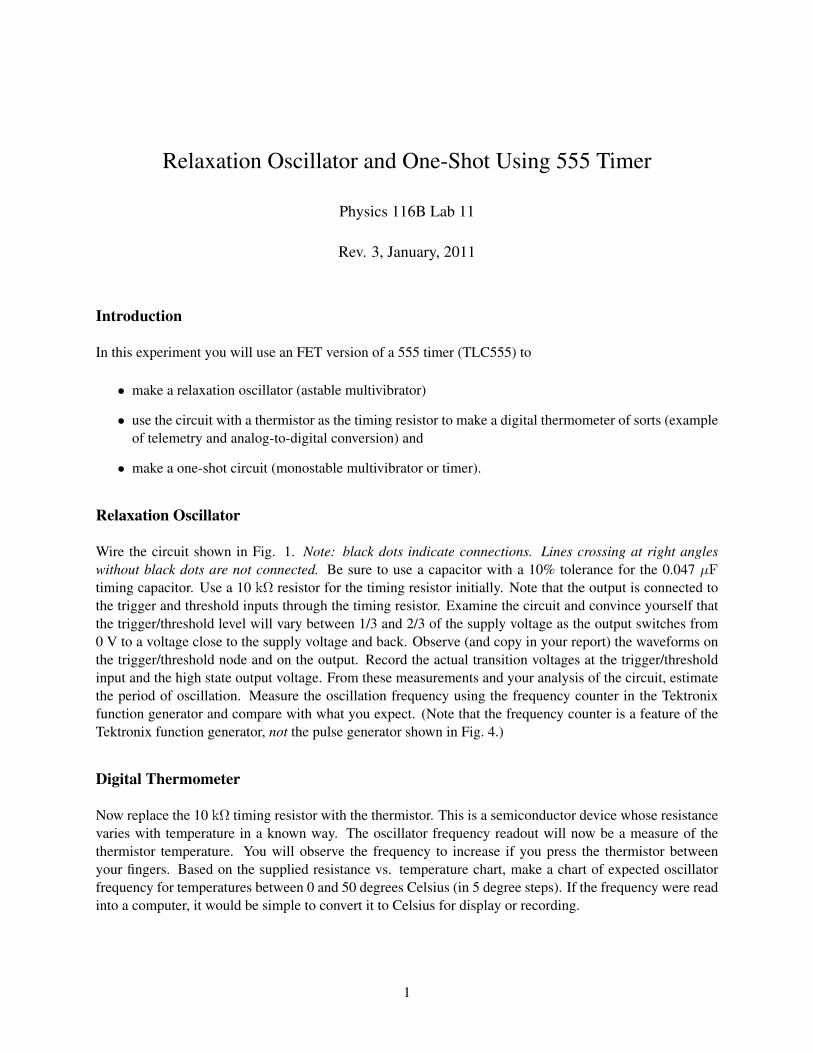
Relaxation Oscillator and One-Shot Using 555 Timer Physics 116B Lab 11 Rev. 3, January, 2011 Introduction In this experiment you will use an FET version of a 555 timer (TLC555) to • make a relaxation oscillator (astable multivibrator) • use the circuit with a thermistor as the timing resistor to make a digital thermometer of sorts (example of telemetry and analog-to-digital conversion) and • make a one-shot circuit (monostable multivibrator or timer). Relaxation Oscillator Wire the circuit shown in Fig. 1. Note: black dots indicate connections. Lines crossing at right angles without black dots are not connected. Be sure to use a capacitor with a 10% tolerance for the 0.047 μF timing capacitor. Use a 10 kΩ resistor for the timing resistor initially. Note that the output is connected to the trigger and threshold inputs through the timing resistor. Examine the circuit and convince yourself that the trigger/threshold level will vary between 1/3 and 2/3 of the supply voltage as the output switches from 0 V to a voltage close to the supply voltage and back. Observe (and copy in your report) the waveforms on the trigger/threshold node and on the output. Record the actual transition voltages at the trigger/threshold input and the high state output voltage. From these measurements and your analysis of the circuit, estimate the period of oscillation. Measure the oscillation frequency using the frequency counter in the Tektronix function generator and compare with what you expect. (Note that the frequency counter is a feature of the Tektronix function generator, not the pulse generator shown in Fig. 4.) Digital Thermometer Now replace the 10 kΩ timing resistor with the thermistor. This is a semiconductor device whose resistance varies with temperature in a known way. The oscillator frequency readout will now be a measure of the thermistor temperature. You will observe the frequency to increase if you press the thermistor between your fingers. Based on the supplied resistance vs. temperature chart, make a chart of expected oscillator frequency for temperatures between 0 and 50 degrees Celsius (in 5 degree steps). If the frequency were read into a computer, it would be simple to convert it to Celsius for display or recording. 1
Transcript of Relaxation Oscillator and One-Shot Using 555...
Relaxation Oscillator and One-Shot Using 555 Timer
Physics 116B Lab 11
Rev. 3, January, 2011
Introduction
In this experiment you will use an FET version of a 555 timer (TLC555) to
• make a relaxation oscillator (astable multivibrator)
• use the circuit with a thermistor as the timing resistor to make a digital thermometer of sorts (exampleof telemetry and analog-to-digital conversion) and
• make a one-shot circuit (monostable multivibrator or timer).
Relaxation Oscillator
Wire the circuit shown in Fig. 1. Note: black dots indicate connections. Lines crossing at right angleswithout black dots are not connected. Be sure to use a capacitor with a 10% tolerance for the 0.047 µFtiming capacitor. Use a 10 kΩ resistor for the timing resistor initially. Note that the output is connected tothe trigger and threshold inputs through the timing resistor. Examine the circuit and convince yourself thatthe trigger/threshold level will vary between 1/3 and 2/3 of the supply voltage as the output switches from0 V to a voltage close to the supply voltage and back. Observe (and copy in your report) the waveforms onthe trigger/threshold node and on the output. Record the actual transition voltages at the trigger/thresholdinput and the high state output voltage. From these measurements and your analysis of the circuit, estimatethe period of oscillation. Measure the oscillation frequency using the frequency counter in the Tektronixfunction generator and compare with what you expect. (Note that the frequency counter is a feature of theTektronix function generator, not the pulse generator shown in Fig. 4.)
Digital Thermometer
Now replace the 10 kΩ timing resistor with the thermistor. This is a semiconductor device whose resistancevaries with temperature in a known way. The oscillator frequency readout will now be a measure of thethermistor temperature. You will observe the frequency to increase if you press the thermistor betweenyour fingers. Based on the supplied resistance vs. temperature chart, make a chart of expected oscillatorfrequency for temperatures between 0 and 50 degrees Celsius (in 5 degree steps). If the frequency were readinto a computer, it would be simple to convert it to Celsius for display or recording.
1

Figure 1: Relaxation oscillator diagram with thermistor resistance chart.
One-Shot
This circuit (Fig. 2) produces a pulse of known length following a short trigger. The input is normally heldat VDD = 5 V. In this case, the output is 0 V in the stable state. When the input falls below VDD/3 = 1.67 Vdue to the trigger pulse, the output goes to 5 V for a period T determined by the RC time constant, thenreturns to 0 V.
Build the circuit close to the coaxial connector so signal leads on the board can be kept short to minimize theeffects of wiring inductance and capacitance on rapidly rising pulses. Note that the coaxial cable has beenterminated in its characteristic impedance (50 Ω) to prevent reflected waves and spurious triggers (not a bigproblem here due to the long pulses and long time constants). The .01 µF bypass capacitor is connectedbetween +5 V and ground at the chip to absorb voltage and current spikes when the output changes rapidly.The completed circuit is shown in Fig. 3.
Use the Tektronix PG 502 pulse generator (shown in Fig. 4) to produce the desired input pulse. It is probablyeasiest to start with a positive going pulse. Begin with the “Complement” button out, rather than in, asshown in the figure. (“Complement” means applying the logical “NOT” function to the output levels.) Thecontrols in the top half of the front panel set the pulse width and period. Observe the (now positive) pulse byconnecting the Channel 1 oscilloscope probe to the pulse input on the circuit board, as shown in Fig. 3. Setthe oscilloscope to trigger on a positive going signal on Channel 1. The pulse generator width should be setto 0.5 ms and the period should be 100 ms. The high and low levels of the pulse are set with the knobs in thecenter of the panel. The high level should be 5 V and the low level 0 V. Once you have the positive pulse ingood shape, push in the “Complement” button to give the desired falling pulse and change the oscilloscopeto trigger on a falling edge on Channel 1. Then you can observe the output simultaneously on Channel 2 tosee if the circuit is functioning properly and measure the output pulse width T .
Observe the pulse on the trigger input of the timer and sketch it to include in your report. Observe the
2

operation of the timer circuit for timing resistances of 100 kΩ and 1.0 MΩ. Measure the output pulse widths(T in Fig. 2). Analyze the operation of the circuit and compare the measured widths with what you expectfrom the analysis.
You may also want to try increasing the capacitor value to C = 1 µF with R = 1 MΩ and triggering thecircuit manually as shown in the inset of Fig. 2. Observe the output by connecting it to one of the lightemitting diodes on the circuit board.
+
RT = 50
R=100 k
Discharge
Threshold
Out
Trigger
TLC555
+5 V
8 4
3
5
1
2
6
7
.01 µF
T
(Two 100 1/4 W resistors in parallel)
50 coaxial cable TektronixPulse
Generator
5 V
0 V
0.5 ms
InC=.047 µF
+/- 10%
1 k
Trigger2
+5 V
Push ButtonSwitch
Manual Trigger Option
.01 µF
connects between5 V and ground at chip
Coax termination
Bypass capacitor
Figure 2: One-shot (timer) circuit. The output pulse width T is proportional to RC.
Figure 3: One-shot (timer) circuit as constructed.
3

Figure 4: Tektronix PG502 pulse generator.
4

Figure 5: TLC555 specifications.
5