1. If not already installed. Download and install Cura LE ...
4
1. If not already installed. Download and install Cura LE 3.6.20 for Mac OS X on your Mac. 2. Download and unzip the provided “resources” folder to your desktop. Wait for the folder to unzip and appear on your desktop. 3. On your Mac, do one of the following: Click the Launchpad icon in the Dock, type Terminal in the search field, then click Terminal . -OR- In the Finder , open the /Applications/Utilities folder, then double-click Terminal . You’ll notice that the command prompt (which is where you enter commands) is labelled with the name of your Mac, the current folder and your user name. In the Terminal app on your Mac, use the mv command to move files or folders from one location to another on the same computer. The mv command moves the file or folder from its old location and puts it in the new location. Continued
Transcript of 1. If not already installed. Download and install Cura LE ...
1. If not already installed. Download and install Cura LE 3.6.20 for Mac OS X on your Mac.
2. Download and unzip the provided “resources” folder to your desktop. Wait for the folder to unzip and appear on your desktop.
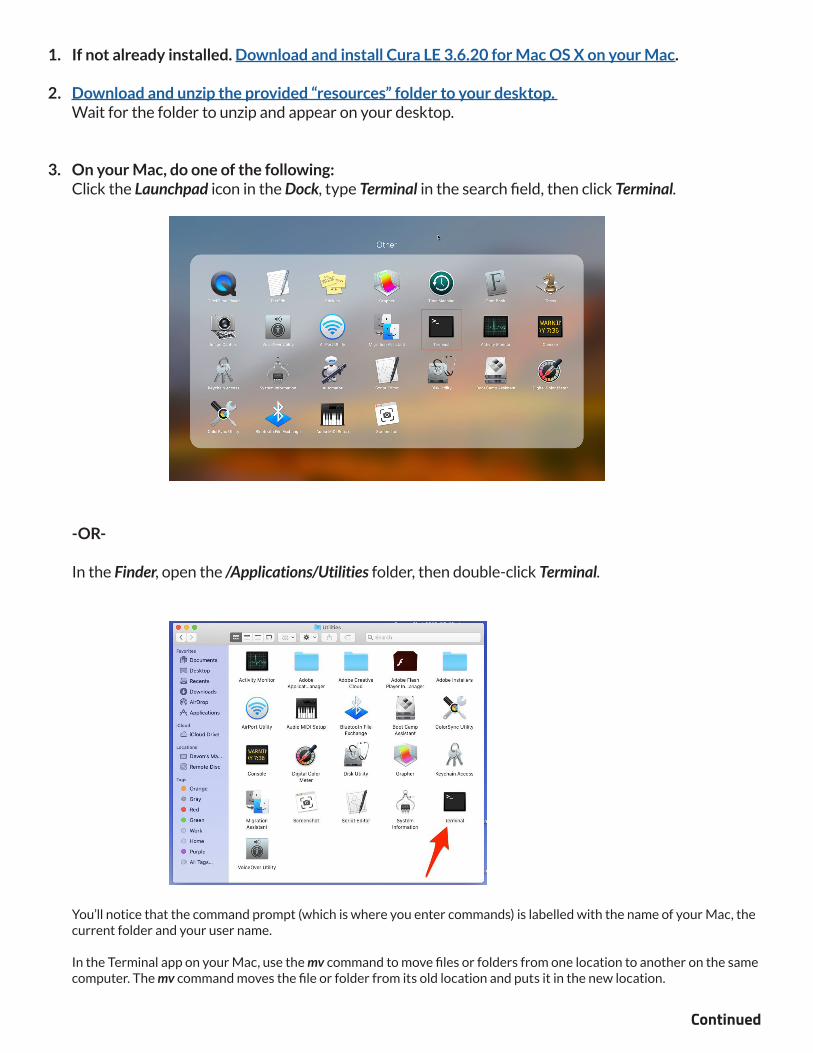
3. On your Mac, do one of the following: Click the Launchpad icon in the Dock, type Terminal in the search field, then click Terminal. -OR- In the Finder, open the /Applications/Utilities folder, then double-click Terminal. You’ll notice that the command prompt (which is where you enter commands) is labelled with the name of your Mac, the current folder and your user name. In the Terminal app on your Mac, use the mv command to move files or folders from one location to another on the same computer. The mv command moves the file or folder from its old location and puts it in the new location.
Continued
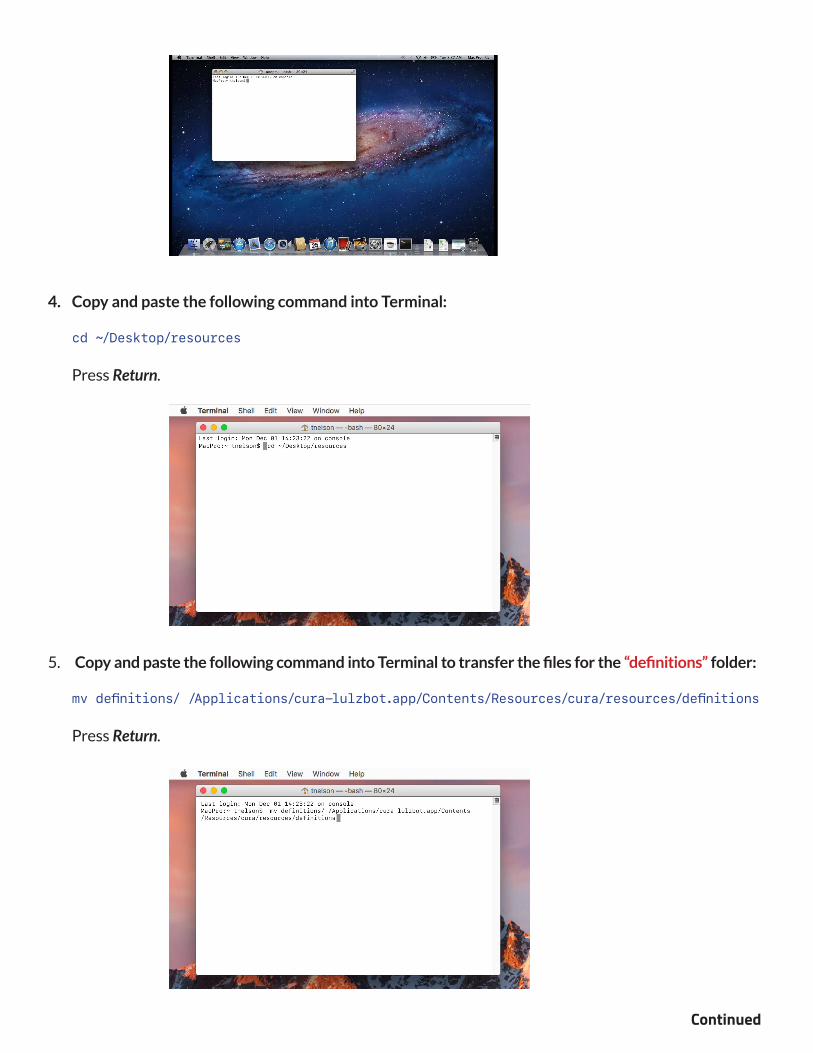
4. Copy and paste the following command into Terminal: cd ~/Desktop/resources Press Return.
5. Copy and paste the following command into Terminal to transfer the files for the “definitions” folder: mv definitions/ /Applications/cura-lulzbot.app/Contents/Resources/cura/resources/definitions Press Return.
Continued

6. Copy and paste the following command into Terminal to transfer the files for the “extruders” folder: mv extruders/ /Applications/cura-lulzbot.app/Contents/Resources/cura/resources/extruders Press Return.
7. Copy and paste the following command into Terminal to transfer the files for the “gcodes” folder: mv gcodes/ /Applications/cura-lulzbot.app/Contents/Resources/cura/resources/gcodes Press Return.
8. Copy and paste the following command into Terminal to transfer the files for the “materials” folder: mv materials/ /Applications/cura-lulzbot.app/Contents/Resources/cura/resources/materials Press Return.
Continued

9. Copy and paste the following command into Terminal to transfer the files for the “quality” folder: mv quality/ /Applications/cura-lulzbot.app/Contents/Resources/cura/resources/quality Press Return.
10. In the Terminal app on your Mac, choose Terminal > Quit Terminal. NOTE: We do not recommend moving over the “firmware” folder as you will want it in an easily accessible place. This is because you will need to manually choose the firmware file to update your printer.
End