FROM FARM TO FORK - FortWhyte Alive · FROM FARM TO FORK Thank you for ... To ensure that students...
12
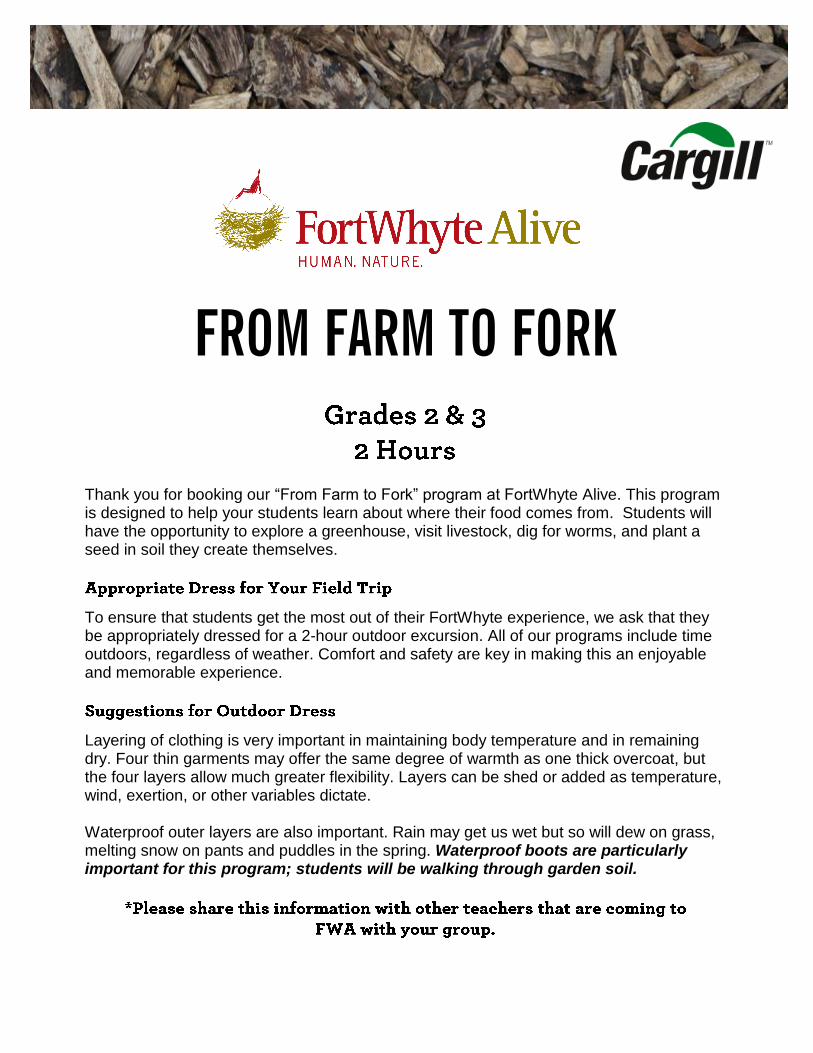
FROM FARM TO FORK Thank you for booking our “From Farm to Fork” program at FortWhyte Alive. This program is designed to help your students learn about where their food comes from. Students will have the opportunity to explore a greenhouse, visit livestock, dig for worms, and plant a seed in soil they create themselves. To ensure that students get the most out of their FortWhyte experience, we ask that they be appropriately dressed for a 2-hour outdoor excursion. All of our programs include time outdoors, regardless of weather. Comfort and safety are key in making this an enjoyable and memorable experience. Layering of clothing is very important in maintaining body temperature and in remaining dry. Four thin garments may offer the same degree of warmth as one thick overcoat, but the four layers allow much greater flexibility. Layers can be shed or added as temperature, wind, exertion, or other variables dictate. Waterproof outer layers are also important. Rain may get us wet but so will dew on grass, melting snow on pants and puddles in the spring. Waterproof boots are particularly important for this program; students will be walking through garden soil.
Transcript of FROM FARM TO FORK - FortWhyte Alive · FROM FARM TO FORK Thank you for ... To ensure that students...
FROM FARM TO FORK
Thank you for booking our “From Farm to Fork” program at FortWhyte Alive. This program is designed to help your students learn about where their food comes from. Students will have the opportunity to explore a greenhouse, visit livestock, dig for worms, and plant a seed in soil they create themselves.
To ensure that students get the most out of their FortWhyte experience, we ask that they be appropriately dressed for a 2-hour outdoor excursion. All of our programs include time outdoors, regardless of weather. Comfort and safety are key in making this an enjoyable and memorable experience.
Layering of clothing is very important in maintaining body temperature and in remaining dry. Four thin garments may offer the same degree of warmth as one thick overcoat, but the four layers allow much greater flexibility. Layers can be shed or added as temperature, wind, exertion, or other variables dictate. Waterproof outer layers are also important. Rain may get us wet but so will dew on grass, melting snow on pants and puddles in the spring. Waterproof boots are particularly important for this program; students will be walking through garden soil.

GOAL To teach students about different farming methods and the benefits of living sustainably and eating locally.
OBJECTIVES
Students will:
Understand what farms provide.
Identify common plants which produce fruits and vegetables.
Identify the parts of a plant.
Understand where the food we eat comes from and how it gets to our plate.
Explain what the purpose of soil is and what it is composed of.
Understand the purpose of a greenhouse and why it is beneficial to Canada’s farming industry.
Explain the importance and the benefits of eating locally.
VOCABULARY Fertilizer: A composition of materials and minerals that can be added to the soil to increase
soil fertility and promote plant growth.
Flowers: They look and smell pretty and many people plant them to make their garden
beautiful. Flowers also make seeds using the female and male parts of the flower.
Fruit: The part of a plant containing the seed.
Humus: Partially decomposed organic matter that is dark in colour.
Leaf: The part of a plant that absorbs energy from the sun and makes food for the plant (photosynthesis).
Litter Layer: The top layer of soil, composed mainly of plant material in different stages of decomposition.
Mineral Matter: An inorganic material used to aid in the growth of living organisms.
Nutrient: A substance that helps supply nourishment to any living organism.
Organic Matter: Matter that derives from living material, usually decaying living materials.
Parent Material: The underlying geologic material which provides a base for soil.
Pesticide: Chemicals used to kill pests or living things that may feed on crops.
Pollen: Male reproductive cells within a flower. Bees are attracted to pollen and use it in
the process of making honey.
Pollution: Contamination as a result of human activities.
Root: The part of a plant, usually found underground, that absorbs water and other nutrients.
Seed: A small embryo plant which contains root, stem, and leaf parts within a coating or shell. The seed, when planted in proper conditions, will begin to grow into another plant.

Soil: A naturally occurring substance comprised of tiny rock fragments (minerals), and organic material. Soil is vital to plant life.
Sustainable
Farming/Living:
FortWhyte defines sustainable living as the process of using (maintaining), not using up, the world’s resources for future generations.
LITERATURE CONNECTIONS All of the books listed below relate to the themes of gardening and farming, are recommended for elementary school children, and are available through the Winnipeg Public Libraries and/or the Manitoba Education Instructional Resources Library. You may wish to make these titles available in your classroom surrounding your ‘From Farm to Fork’ field trip. Books and activities with an Aboriginal perspective are
indicated with a medicine wheel.
Jack’s Garden by Henry Cole
Growing Vegetable Soup by Lois Ehlert
The Carrot Seed by Ruth Krauss and Crockett Johnson
And the Good Brown Earth by Kathy Henderson
The Garden of Happiness by Erika Tamar and Babara Lambase
Linnea’s Windowsill Garden by Christina Bjork
Taking Care of Mother Earth by Leanne Flett Kruger
Lessons from Mother Earth by Elaine McLeod and Colleen Wood
In the Garden by Carolyn Marie Mamchur
Pancakes, Pancakes! by Eric Carle
How a Seed Grows by Helene J. Jordan and Loretta Krupinski
The Vegetable Alphabet Book by Jerry Pallotta, Bob Thomson, and Edgar Stewart
The Reason for a Flower by Ruth Heller
Composting: Nature’s Recyclers by Robin Koontz and Matthew Harrad
Compost Stew by Mary McKenna Siddals
Wiggling Worms at Work by Wendy Pfeffer
A Gardener’s Alphabet by Mary Azarian
Native American Gardening: Stories, Projects, and Recipes for Children by Michael
Caduto and Joseph Bruchac
PRE-VISIT ACTIVITIES
This lesson is intended to activate students’ thinking about where and how their food is
produced. Ask students to take a few minutes to sketch a picture of a farm and then have
them share their drawings. Make a list of all of the things students have included in their
sketches. Did everyone include the same things? Do all farms raise animals? Do all farms
grow crops? Are all farms the same size? Ask students what they think the purpose of a farm
is. Are there farms in Manitoba? Has anyone visited or lived on a farm before? Do we eat
food that comes from farms?
Ask students to return to their sketches and circle the things that could be found on a Manitoba
farm. Did anyone draw crops or livestock that could not be raised in Manitoba? How do you
know? If it could not be raised in Manitoba, how does it get to our grocery store?
Many students have a limited diet when it comes to fresh produce. Keeping allergies in mind, ask
students to bring in one fruit or vegetable to share with the class. You may also wish to
supplement with some less common fruits and vegetables (star fruit, tomatillo, dragon fruit,
kohlrabi, collard greens, etc.).
Before eating the fruits and vegetables, discuss how each one grows and whether or not it could
grow in Manitoba. Which ones are roots? Which are fruits? Which are stems or leaves? As you
cut open each fruit or vegetable look for interesting features. What do the seeds look like? How
does it smell? Are there any surprising colours?
Cut each fruit or vegetable into small pieces and encourage students to try at least one new thing.
Have them sketch the fruits/vegetables and record their observations about flavor and texture.
Would they eat this again?
As an extension, have students research the benefits of eating fresh fruits and vegetables. How
many servings does Canada’s Food Guide recommend? Visit
http://www.fantasticfunandlearning.com/vegetable-activities-for-kids.html for more vegetable-
related activities for kids.
Without healthy soil plants cannot grow. But what makes soil healthy? To many
children, all soil may seem more or less the same. Here are some activities to get them thinking
more about it!
Take a walk around the neighborhood of your school and collect some different soil
samples. Ideally, find at least four or five samples that are different in colour, texture,
and composition (clay, sandy, compacted, peaty). At each sampling location have
students use magnifying lenses to look closely for insect life and note the kinds of plants
that are growing nearby. Do different plants grow in different types of soil? Are there
more insects at certain locations? What is the soil like in high traffic areas? Place the
samples in jars or plastic bags and record the differences between them. Try watering
each sample and notice how quickly/well it absorbs water. You may also choose to put
your soil samples into tight-lidded glass jars, top them with water, shake them, and allow
them to settle out in layers (heaviest at the bottom, lightest at the top). If you have time,
try planting a seed in each type of soil and compare how the plants do.
Create a soil profile with students. Cut the top off a 2L pop bottle and add one layer at a
time: a small layer of rocks/pebbles to represent the parent material from which soil is
formed; a layer of black soil to represent sand, silt, and clay—tiny bits of weathered
rocks; a layer of peat moss which represents rich soil formed from decomposing plants
and animals (humus); and a layer of dead leaves to represent organic matter that will
turn into humus. Brown sand may look like soil, but it will not have the organic matter
that makes soil so healthy for plants to grow in!
Collect worms along with the soil you found them in and watch them in a jar for a few
days (make sure to poke holes in the jar). Students will be able to see how worms
aerate soil by creating tunnels. Are there other animals that also “fluff up” the soil and
make it healthier? For more information visit
http://kids.nationalgeographic.com/animals/earthworm/ and
http://www.soils4kids.org/home.
OUTDOOR LEARNINGOUTDOOR LEARNING
How long have people been farming in Canada? Long before Europeans arrived, First Nations
groups were already raising crops on the prairie’s fertile soil. The three sisters (corn, beans, and
squash) were cultivated by the Iroquois as well as other groups, and still grow beautifully together
today. If you have room in your schoolyard you might consider planting these three species for
students to watch grow. They need very little care over the summer and can be revisited when
school starts again in the fall. For more information on the three sisters and the legend about them
visit http://www.reneesgarden.com/articles/3sisters.html.
You may also wish to grow plants in your classroom or on your school grounds that are significant
in Aboriginal culture. The four sacred herbs of the Medicine Wheel are Sage, Cedar, Sweetgrass,
and Tobacco. For more information about growing these species visit
http://www.sixnationsfarmersmarket.com/gardening_growing_the_medicines.php. Consulting an
elder will bring further meaning to this activity.
POST-VISIT ACTIVITIES
OUTDOOR LEARNINGOUTDOOR LEARNING

Now that your students have worked with compost on their field trip, bring the concept back to
the classroom with you! Here are three ideas for bringing compost to life:
You may wish to complete a classroom compost mission. For this, you can combine
students into groups of approximately 3. Each group will need the following materials to
build their own mini compost:
Container made from a 2L plastic pop bottle cut in half
Lid for the container
3-4 handfuls of soil
Ingredients shredded into pieces*
* Compost- friendly materials (mostly from lunches): fruit and vegetable scraps, sawdust, coffee
grounds, tea bags, egg shells, lawn clippings, weeds, leaves, etc. do not put meat, bones,
grease or other fatty substances into the compost bin.
Your students can make their compost bins in groups. Have your students mix the compost
ingredients with 3-4 handfuls of soil and fill the container. The material should be damp, not dry.
Your students should turn the material once every 2-3 days. They should also sprinkle water
onto their compost material if it starts to dry out. The transformation is complete when the
compost becomes black and crumbly, usually 3-4 weeks. Please note that it is important to keep
the containers sealed as they can often produce a smell from the decomposing waste (most
often a methane release). To avoid a smelly compost bin, it is important to ensure there is
enough water and that your students are turning their compost regularly. It is best to ask your
students to keep a compost log to record how often they add water and turn their materials.
When the compost is ready, add it to your school garden or a garden in the community. See
Attachment #1 for a recording sheet to go along with this activity.
Have each of your students choose a vegetable or fruit (it does not have to be grown locally) and research where it originates and what steps it takes to get to their plate in Winnipeg. From the point of view of their chosen food item, each student can write a story describing their long trip to get to Manitoba. Have students consider steps such as planting, irrigation, harvesting, processing, packaging, transportation to Canada, transportation to Manitoba, transportation to the grocery store, and transportation to their home. Students can illustrate and share their stories with the class.
ecosystems. Who eats them and who do they eat in the food chain? Do other species rely on them for shelter?
Go to http://education.nationalgeographic.com/education/encyclopedia/keystone-species/?ar_a=1
Create a mural of one of Canada’s regions. Assign each student a specific plant or animal to research and have students work collaboratively with paints or other media to bring the habitat to life in detail.
Habitats of Manitoba:
If we zoom in on just the province of Manitoba we see that there are two major Canadian regions included in our province – Prairie and Canadian Shield (Boreal Forest). But there are also some more detailed regions. One of these is the transition zone between Prairie and Boreal Forest known as the Parkland Region. This habitat is characterized by a mix of prairie grassland and stands of trees, primarily Aspen. The city of Winnipeg and FortWhyte Alive are both located within the Parkland Region.
See Attachment #3 for a detailed map of Manitoba’s ecological regions. Research the plants and animals that live in Manitoba. What are their special physical and behavioural adaptations? The animals you saw in the Touch Museum and on FortWhyte’s property are a good starting place for inquiry.
Local Habitats:
On the smallest scale, we all live and go to school within local habitats. Go outside with your class and find evidence of the animals that live in your neighborhood—tracks, scat, chewed leaves, spiderwebs, nests, and holes are all great starting points. Start a list of plants and animals you would like to know more about and create a class field guide to your schoolyard/neighborhood. Look at examples of field guides and don’t forget to include a sketch or photo, special adaptations, and a site map that shows where this organism might be found locally. Add to this project throughout the year!
When you return from your program, review the benefits of using compost in your
garden. Tell your students that Canadians are among the largest producers of garbage
in the world. When we compost, some of our garbage can be transformed into a
valuable resource. Kitchen and yard wastes (such as grass clippings) that are turned
into compost return nutrients and organic matter to the soil and will improve plant
growth. Organic matter is one of the necessary ingredients in fertile soil, so composting
is good for the soil as well as the environment! Discuss how it reduces the amount of
garbage being produced.
Plant a Garbage Garden: Garbage as we have treated it in the past is becoming a problem in Canada and in many other parts of the world. Some materials decay easily when placed back in the earth- those materials are called biodegradable. Other materials remain the same indefinitely. You can demonstrate this phenomenon to your students by having them plant a huge garbage garden!
Materials needed:
1 egg carton made of cardboard
Soil to fill each compartment (soil must come from outdoors)
Tiny pieces of: toilet paper, cotton, newspaper, vegetable, wood, aluminum foil, plastic wrap, plastic from a container, cardboard, notebook paper, magazine and candy wrapper.
Directions:
Have the students take turns filling each compartment with soil. Next, have the students place a tiny piece of a different item in each egg carton compartment. Then have the students cover each compartment with soil. Water the garbage garden frequently and place it by a sunny window. Have the students check each compartment at the end of the week (and once every week thereafter for as long as desired) to see what happens to each item. Once their observations are complete, discuss the changes that occurred (or didn’t occur) with your students. Ask students to discuss how litter impacts the soil and which materials degrade and which do not. Ask if they think plant life would be able to grow in soil that was filled with litter.
Contact FortWhyte Alive at [email protected] to learn more about setting up a
compost program at your school or a vermicomposter in your classroom.

After your field trip to FortWhyte Alive, encourage your students to keep a log book assessing their
lunches and how they meet (or don’t meet) the 5 N’s. Before beginning this assignment, review the
5 N’s with your students.
Is the item nutritious?
Is it near (grown locally)?
Is it naked (has no preservatives or harmful chemicals added to it)?
Is it in season now?
Is it natural?
Students do not have to assess each of the items from their lunch, but should pick one or two
items from each lunch for one week to record in their log book. After the week is complete, have
students review their journals and conclude with a discussion on healthy and local food items for
lunch.
Local Lunch Day: Instead of a hot dog lunch day, encourage your school to have a local lunch day
with food items that are grown locally. Some options could be a fruit salad with locally grown food,
a soup made with local vegetables, grilled cheese sandwich with locally made cheese and bread,
etc. When sending the letter home to parents, provide information on the importance of eating
local and using the 5 N’s to assess your food choices.
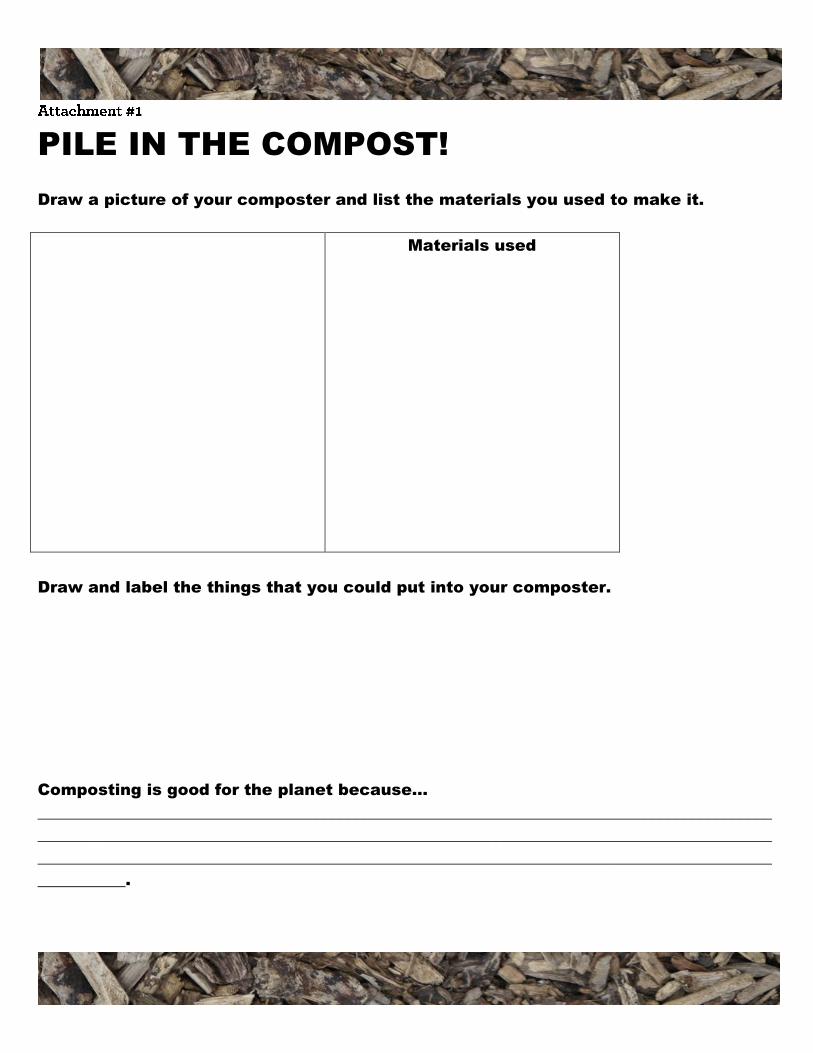
PILE IN THE COMPOST!
Draw a picture of your composter and list the materials you used to make it.
Materials used
Draw and label the things that you could put into your composter.
Composting is good for the planet because…
____________________________________________________________________________________________
____________________________________________________________________________________________
____________________________________________________________________________________________
___________.