CORE PRODUCTION BUNDLE Owner’s Manual - …soundways.com/sites/default/files/Soundways Listening...
12
CORE PRODUCTION BUNDLE Owner’s Manual Owners Manual v.1.03
Transcript of CORE PRODUCTION BUNDLE Owner’s Manual - …soundways.com/sites/default/files/Soundways Listening...

CORE PRODUCTION BUNDLE
Owner’s Manual
Owners Manual v.1.03

Understanding the Core Production Bundle
2
The Core Production Bundle improves the listening process, increases detail and solves
translation issues.
The development process began by interviewing 100 audio engineers, asking “what is the most painful problem in your work?”. Over 85% responded that translation was their most painful issue. Translation is the difference between the way something sounds in the studio and the way it renders across various devices and listening systems.
In the past, sound engineers have tried solving translation problems with alternative monitors,
like mix cubes and NS-10s. These speakers create a filtering effect that gives some idea about translation. However, they can be misleading because they are very non-linear and were not actually designed to improve translation. A more consistent, specialized solution has been needed for decades.
Sound engineers may also listen in a vehicle, bounce to a device or use headphones to solve translation issues. The result is wasted hours and a frustrating cycle of guess work.
The solution is the Soundways Core Production Bundle, a set of listening filters for
professionals to make better decisions, and achieve excellent translation. These carefully crafted filters leverage the linearity of your existing monitors and acoustics. Problems are more easily heard and addressed. This saves more time and money than perhaps any other single plugin.
In follow-up interviews, extreme time savings and better results were reported across
experience levels, from very experienced to amateur. Several seasoned veterans have reported that it is the first time they have listened in a car without surprises. Also, engineers have noted that their project timelines have been cut in half, or more.
We welcome you to this powerful new product and have taken the greatest of care in its
creation. We consider it the single best purchase a sound engineer can make. May it help you serve the music, better and faster than ever.

REVEAL
3
Reveal is a set of specially-crafted listening filters designed to ensure accurate translation across all listening systems. It features a set of preview tools, listening filters, utilities, and a variety of metering options. Place Reveal on your DAW's master bus, it should be the last plug-in in your chain. The listening filters and preview tools allow engineers to hear how their recordings will translate to a variety of listening systems. Use the various filters and preview tools to ensure you are making the best decisions possible. Working with Reveal ensures accurate translation across all systems.
REVEAL
4
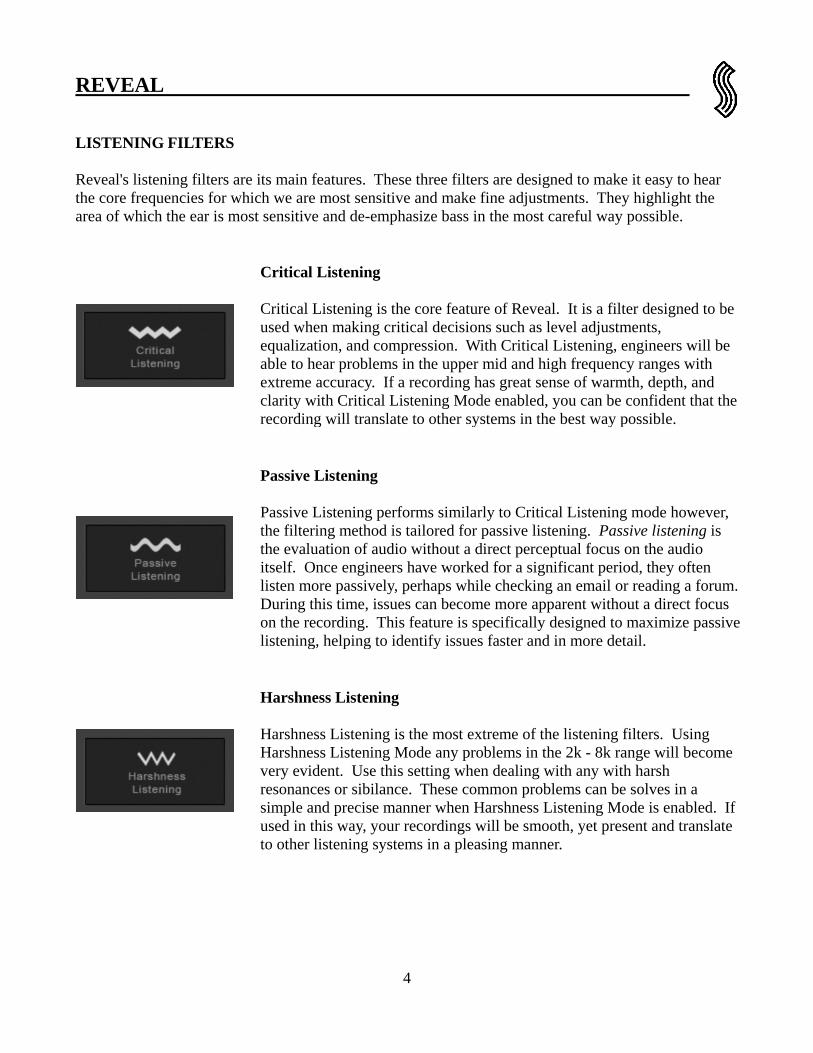
LISTENING FILTERS Reveal's listening filters are its main features. These three filters are designed to make it easy to hear the core frequencies for which we are most sensitive and make fine adjustments. They highlight the area of which the ear is most sensitive and de-emphasize bass in the most careful way possible.
Critical Listening Critical Listening is the core feature of Reveal. It is a filter designed to be used when making critical decisions such as level adjustments, equalization, and compression. With Critical Listening, engineers will be able to hear problems in the upper mid and high frequency ranges with extreme accuracy. If a recording has great sense of warmth, depth, and clarity with Critical Listening Mode enabled, you can be confident that the recording will translate to other systems in the best way possible.
Passive Listening Passive Listening performs similarly to Critical Listening mode however, the filtering method is tailored for passive listening. Passive listening is the evaluation of audio without a direct perceptual focus on the audio itself. Once engineers have worked for a significant period, they often listen more passively, perhaps while checking an email or reading a forum. During this time, issues can become more apparent without a direct focus on the recording. This feature is specifically designed to maximize passive listening, helping to identify issues faster and in more detail.
Harshness Listening Harshness Listening is the most extreme of the listening filters. Using Harshness Listening Mode any problems in the 2k - 8k range will become very evident. Use this setting when dealing with any with harsh resonances or sibilance. These common problems can be solves in a simple and precise manner when Harshness Listening Mode is enabled. If used in this way, your recordings will be smooth, yet present and translate to other listening systems in a pleasing manner.

REVEAL
5
PREVIEW TOOLS Reveal contains a variety of quickly accessible preview tools allowing engineers to preview how recordings will translate across a variety of listening systems. These filters emulate the frequency response of the most common consumer listening systems. Engineers can save time, and eliminate the step of bouncing mixes to a phone or car stereo. It is also a responsible thing to consider the most prevalent presentations to listeners.
Quality Review Quality Review is a filter designed to create a frequency response that is similar to a popular speaker used to check mix translation. Use this mode to preview how your mixes will sound on small home listening systems.
FM Curve This feature emulates the frequency curve of the most popular FM broadcast equipment in the United States. Use this mode to preview how your recordings will sound when transmitted over FM radio.
Device Mode Device mode emulates an average frequency response of the most commonly used mobile devices. Use this mode to preview how your recordings will translate to mobile phones and other devices which contain very small speakers.
Vehicle Analysis Vehicle Analysis is a set of filters that results in particularly accurate translation to vehicles. Use this mode to find and solve issues in your recordings that would otherwise be highlighted when listening in a car. Say goodbye to the car test!

REVEAL
6
RECORDING UTILITY TOOLS Reveal’s recording utilities help in everyday audio evaluation tasks.
Mono Elements Mono Elements is the cleanest possible conversion to mono, which is always a responsible check to make. When engaged your recordings will be played in mono only. This technique is popular for mixing low and low-mid frequency content. When making level adjustments, it may also be helpful to listen to your mix in mono. Some consumer listening systems playback only in mono. Previewing with this tool allows you to always be aware of how your mix will be affected by mono conversions.
Distortion Listening Distortion Listening is a classic mastering technique for hearing distortion in a mix. This mode allows only side content to play. When listening in this way, any distortion created by compression or limiting can be easily heard, and limiters can be more precisely set. Avoid an over limited, distorted master by previewing your adjustments using Distortion Listening.

LOW LEVELER
7
Low Leveler helps your bass instruments sound their best on any system. With it, you will tweak your low bass and upper bass separately. Low Leveler is placed on each individual bass instrument, such as bass guitar, kick drum, and low tom. With Reveal’s Critical Listening engaged on the master bus, adjust the upper bass portion on each instance of Low Leveler. This will allow you to adjust how your bass instruments translate to small listening systems. Disable Reveal's Critical Listening mode and adjust the lower bass portion. Mixing in the manner will ensure that your bass instruments translate across all listening systems. EQ BANDS
Upper Bass This slider allows engineers to adjust the level of the upper harmonic frequencies of a bass instrument. Adjust this so that your bass translates to even the smallest and most band-limited speaker systems.
Low Bass This slider allows engineers to adjust the level of the fundamental frequencies of a bass instrument. Adjust this according to the needed level of low frequencies.

LOW LEVELER
8
EQ MODES LowLeveler’s EQ modes affect the timbre of each EQ band within LowLeveler. Each setting has a slightly different sound. After adjusting the upper and lower bass portions of your instruments, toggle between these modes. You may find that one sounds better on your source.
Organic Organic mode sounds very natural on most sources. This setting is perfect for most sources, including electric bass and kick drums.
Flat Flat mode is the most broad EQ mode. This EQ mode allows for the sonic timbre of the source to translate with precision. Use this on bass instruments that need to remain true to the character of the recorded material.
Accurate Accurate mode allows for bass instruments to cut through the mix aggressively. Use this on kick drums that need a high frequency slap. This comes in handy when mixing metal or rock kick drums which need to punch through the mix. Accurate mode also sounds great on funk bass lines which often have strong upper harmonics.

AF MONITOR __
9
Avoid ear fatigue and the poor decisions that result from it by using afMonitor.
AfMonitor tracks the time you spend listening to help avoid ear fatigue and reset your ears. Place afMonitor on your master bus. It will automatically count the time you spend listening and the time you spend resting your ears. When you have reached ear fatigue territory, it will alert you. Simply complete a 2 minute rest to reset the meter. After 6 minutes, your ears are affected by short term ear fatigue. After 12 minutes, long term ear fatigue has set in. Once engineers have reached 12 minutes of solid playback, it is recommended to take a 2-minute break in order to clear the ears and responsibly make critical decisions. In the past, some audio engineers have attempted to keep track of their rests by using an egg timer, or by setting other timers. Decision Prioritization Check afMonitor before making a critical decision like setting a vocal level or making a detailed mastering adjustment. This way you can be sure that critical decisions are made without the effects of ear fatigue. When working in this way, a positive side-effect of afMonitor is the inspiration to prioritize critical decisions. Once priorities are identified, greater care is taken with ear fatigue not just with ear fatigue but also with other processing.
CORE PRODUCTION WORKFLOW
10
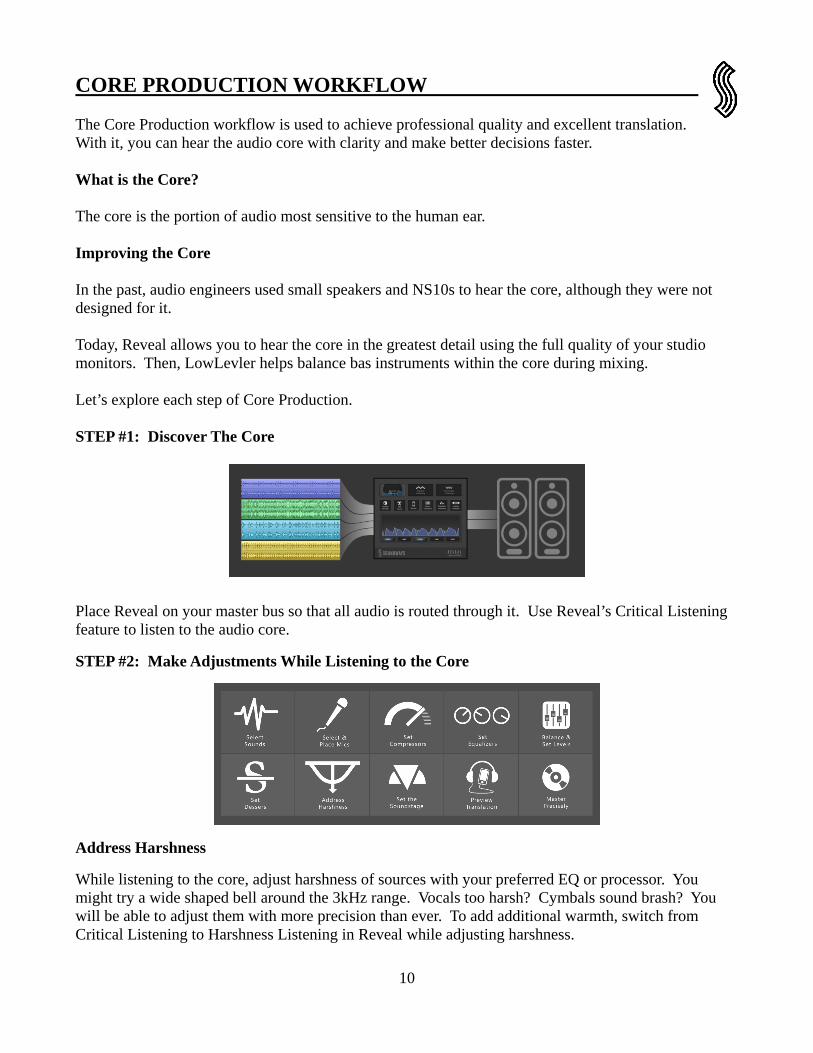
The Core Production workflow is used to achieve professional quality and excellent translation. With it, you can hear the audio core with clarity and make better decisions faster. What is the Core? The core is the portion of audio most sensitive to the human ear. Improving the Core In the past, audio engineers used small speakers and NS10s to hear the core, although they were not designed for it. Today, Reveal allows you to hear the core in the greatest detail using the full quality of your studio monitors. Then, LowLevler helps balance bas instruments within the core during mixing. Let’s explore each step of Core Production. STEP #1: Discover The Core
Place Reveal on your master bus so that all audio is routed through it. Use Reveal’s Critical Listening feature to listen to the audio core.
STEP #2: Make Adjustments While Listening to the Core
Address Harshness
While listening to the core, adjust harshness of sources with your preferred EQ or processor. You might try a wide shaped bell around the 3kHz range. Vocals too harsh? Cymbals sound brash? You will be able to adjust them with more precision than ever. To add additional warmth, switch from Critical Listening to Harshness Listening in Reveal while adjusting harshness.

CORE PRODUCTION WORKFLOW
11
Balance and Set Levels
It is extremely easy to hear loudness balance problems in a mix when listening to the core. For example, if a vocal is too low, or a guitar is too loud, it will be extremely easy to hear, and your adjustments will be more precise than ever.
Perform De-Essing
Set up your de-esser with new precision by listening through Reveal’s Harshness Listening while finding settings.
Place Microphones
During tracking, place microphones and select sounds while listening to the core to get powerful insights.
Mastering Decisions
For mastering, adjustments can be done better and faster by listening to the core, especially matching levels between songs and setting tonality.
Step #3: Add LowLeveler to Bass Instruments
LowLeveler should be placed on each individual bass instrument including bass lines, bass drums and low toms. Note: If you are using multiple tracks to create a single bassline or bassdrum, we recommend to route the tracks into a single bus and place Low Leveler on that bus. Step #4: Set Upper Bass in the Core
While listening through Critical Listening in Reveal, adjust the upper bass of Low Leveler on each bass source. Your bass will now translate to the car, headphones and other listening systems in an accurate way.

CORE PRODUCTION WORKFLOW
12
Step #5: Set Low Bass Outside the Core
Turn off Critical Listening, and any other feature in Reveal and adjust the low bass of LowLeveler on each bass source. With this, you are setting the low bass frequencies of the bass instruments.
![Chapter 1: Architectural Overview and Building a Simple ... · Building a Simple App in Angular. Graphic Bundle [ 2 ] Graphic Bundle [ 3 ] Graphic Bundle [ 4 ] Graphic Bundle [ 5](https://static.fdocuments.in/doc/165x107/5ee01311ad6a402d666b53e7/chapter-1-architectural-overview-and-building-a-simple-building-a-simple-app.jpg)


![Chapter 1: Getting Up and Running with Cassandra...Chapter 11: Cassandra Multi-Node Cluster Graphics Bundle [ 55 ] Graphics Bundle [ 56 ] Graphics Bundle [ 57 ] Graphics Bundle [ 58](https://static.fdocuments.in/doc/165x107/5f4a5ed088ed921a2d1ef796/chapter-1-getting-up-and-running-with-cassandra-chapter-11-cassandra-multi-node.jpg)