


Languages
Pages
Legal


© 2012 Delmar, Cengage Learning
Engine Diagnosis and Service: Piston, Piston Rings, Connecting Rod, and Engine
Balancing
Chapter 54

© 2012 Delmar, Cengage Learning
Objectives• Analyze wear and damage to the piston, piston
rings, and connecting rod• Select and perform the most appropriate repairs
to the piston, piston rings, and connecting rod• Explain the theory of engine balancing

© 2012 Delmar, Cengage Learning
Introduction• Complete rebuilt engine assemblies
– Commonly installed in the industry
• Sometimes a piston ring will break or an engine is overheated– Piston rings: replaced whenever engine is
disassembled• Pistons are often reused
– Connecting rods: do not usually require service
© 2012 Delmar, Cengage Learning
Piston Service• Important steps
– Use a vice to hold piston and rod assembly
– Remove compression rings with a ring expander
– Top of the piston is cleaned on a wire wheel, with a scraper, or with an abrasive disc
– Clean ring grooves with a ring groove cleaner
– Use ring to double-check for correct groove depth
– Check the top ring groove for excessive wear
– Measure piston• Place to measure varies among manufacturers

© 2012 Delmar, Cengage Learning

© 2012 Delmar, Cengage Learning

© 2012 Delmar, Cengage Learning

© 2012 Delmar, Cengage Learning
© 2012 Delmar, Cengage Learning
Piston Service (cont'd.)• Replacement pistons
– Designed to weigh the same as originals
• Piston wear– Scuffing: caused by excessive heat
– Four-corner scuffing: both skirts scuffed on edges next to piston pin

© 2012 Delmar, Cengage Learning
Piston Ring Service• Causes of piston ring wear
– Leftover honing grit
– Running engine with missing or damaged air cleaner
– Contaminated oil fill funnel
• Engine is rebored– Oversized pistons and rings are used
• Check ring end gap – Before installing rings in a cylinder bore

© 2012 Delmar, Cengage Learning
© 2012 Delmar, Cengage Learning
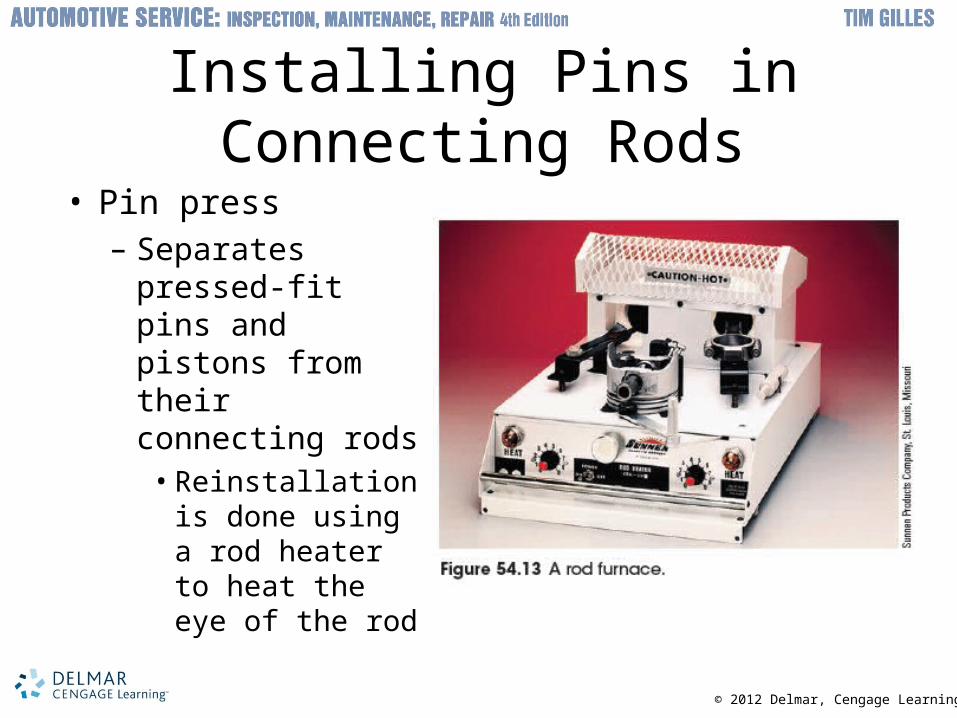
Installing Pins in Connecting Rods
• Pin press– Separates
pressed-fit pins and pistons from their connecting rods
• Reinstallation is done using a rod heater to heat the eye of the rod

© 2012 Delmar, Cengage Learning
Installing Rings on Pistons• First
– Install oil rings
• Second– Install the second compression ring
• Third– Install the top ring

© 2012 Delmar, Cengage Learning
Oil Ring Installation• Most automobiles use three-piece oil control
rings• Compression ring installation
– Installed with identification marks facing up
– Use a ring expander to install compression rings
• Compression ring gap position– Manufacturers specify different gap positions

© 2012 Delmar, Cengage Learning

© 2012 Delmar, Cengage Learning

© 2012 Delmar, Cengage Learning
Connecting Rod Service• Important points
– Be sure to keep rod cap rods in order• Upper and lowered pieces should be numbered
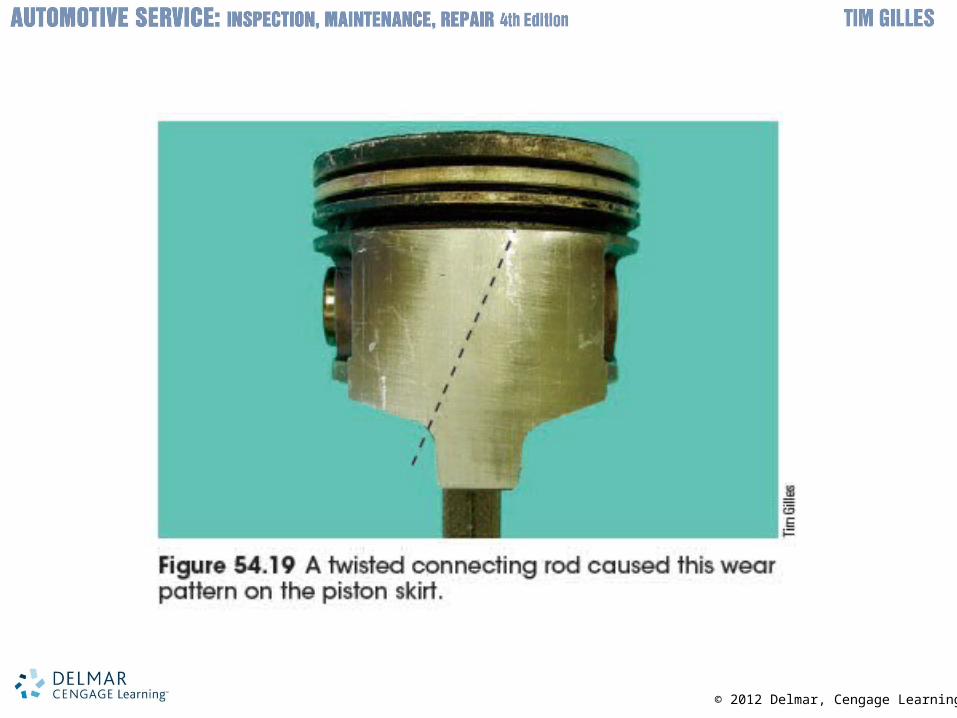
– Examine all piston skirts
• Connecting rod resizing– Pressed-fit rod bolts are pressed or pounded out
– Small amount of metal is ground off the rod and cap mating surfaces
– Rod cap is reinstalled and the nuts torqued
– Rod bore is honed
© 2012 Delmar, Cengage Learning

© 2012 Delmar, Cengage Learning

© 2012 Delmar, Cengage Learning
Engine Balancing Service• Done by a machine shop or a balancing
specialist– Reciprocating parts: balanced to weigh
approximately the same amount
– Rotating parts: balanced by spinning on a balancing machine
• Heavy counterweights – Lightened by drilling
• Internal balancing – Achieved by drilling holes on the counterweights

© 2012 Delmar, Cengage Learning

© 2012 Delmar, Cengage Learning

© 2012 Delmar, Cengage Learning
Engine Balancing Service (cont'd.)
• Bob weights– Used when spinning crankshaft to simulate
correct weight
• Replacement piston balance– Critical in V-type engines
• Balance shafts– Must be replaced in the proper manner to
maintain balance
© 2012 Delmar, Cengage Learning
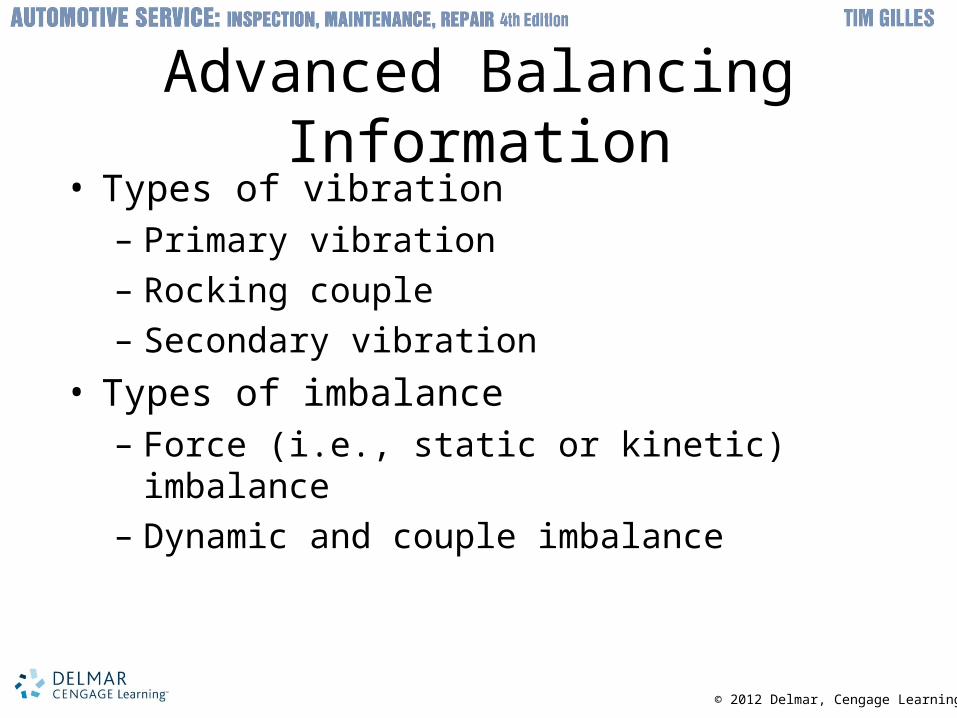
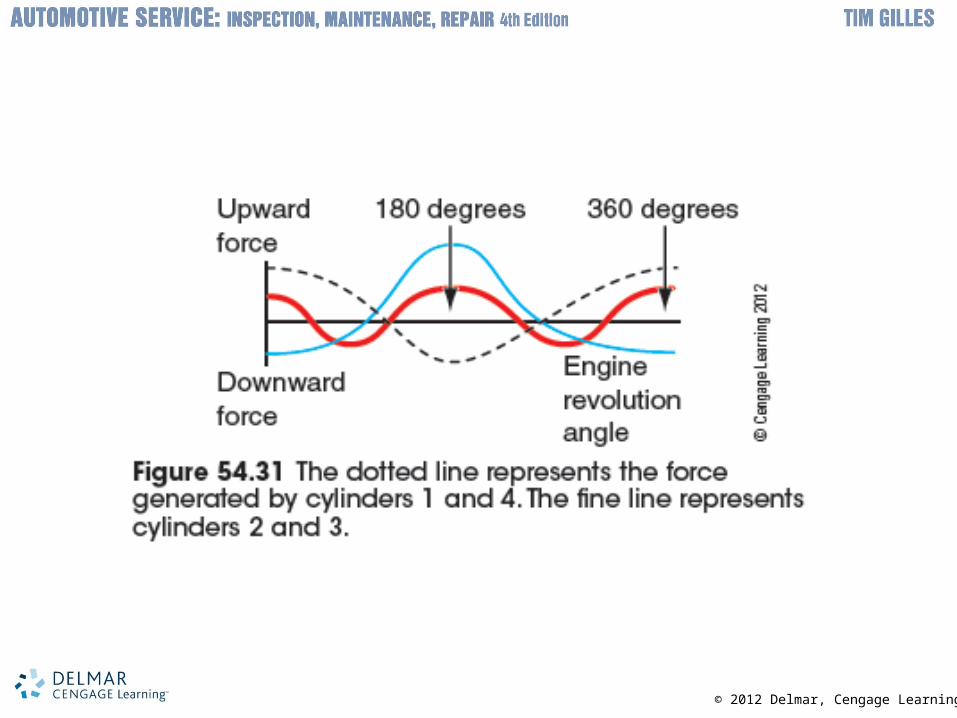
Advanced Balancing Information• Types of vibration
– Primary vibration
– Rocking couple
– Secondary vibration
• Types of imbalance– Force (i.e., static or kinetic) imbalance
– Dynamic and couple imbalance
© 2012 Delmar, Cengage Learning