Welcome!. Our Mission To help you change lives, give hope, provide vision, teach skills while...
81
Welcome!
-
Upload
jason-lyons -
Category
Documents
-
view
218 -
download
3
Transcript of Welcome!. Our Mission To help you change lives, give hope, provide vision, teach skills while...

Welcome!

Our Mission
To help you change lives, give hope, provide vision, teach skills while
providing a creative venue for all involved.

• 8. 5 million tons of furniture
and accessory items are being
discarded annually
• As of August 2013,
approximately 98,229,000
American households (86.01% of
households with television)
receive HGTV
http://tvbythenumbers.zap2it.com/2013/08/23/
list-of-how-many-homes-each-cable-networks-is-
in-cable-network-coverage-estimates-as-of-
august-2013/199072/
• DIY Industry is growing
globally
• Trends of 2014-2016 - DIY
social experiences
DIY IndustryGrowing Strong
Worldwide, the DIY and home improvement markets are projected to reach US $716.2 billion by 2015, according to a report issued by Global Industry Analysts, Inc. The markets are on the rise still and are expected to maintain steady growth over the next few years.
Here’s why:
• a steady rise of the DIY culture• widespread availability of easy-to-install/use products• an increase in recession induced cautions spending habits of financially strained customers• the rapidly increasing number of products and services including books, websites, television programs, tools and accessories that are being designed and served especially for DIY tasks.• widespread availability of easy-to-use products for home repair, crafts and decorations and gardening activities.
716.2 billion
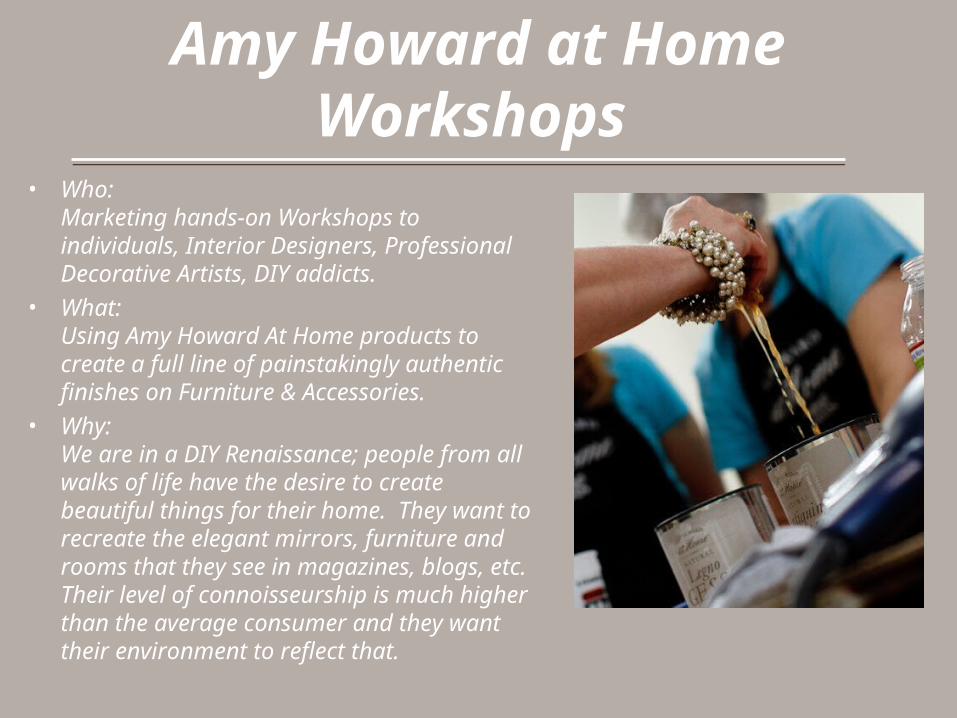
Amy Howard at Home Workshops
• Who:Marketing hands-on Workshops to individuals, Interior Designers, Professional Decorative Artists, DIY addicts.
• What:Using Amy Howard At Home products to create a full line of painstakingly authentic finishes on Furniture & Accessories.
• Why:We are in a DIY Renaissance; people from all walks of life have the desire to create beautiful things for their home. They want to recreate the elegant mirrors, furniture and rooms that they see in magazines, blogs, etc. Their level of connoisseurship is much higher than the average consumer and they want their environment to reflect that.

Amy Howard at Home One Step Paint

• All Natural
• No VOCs
• Green Certified
• Made in the USA
• Lowest price in the Industry
What makes One Step different?
• Use on a variety of different surface types
• No Methanol!
• No stripping, no sanding, no priming!
• No Sealing!
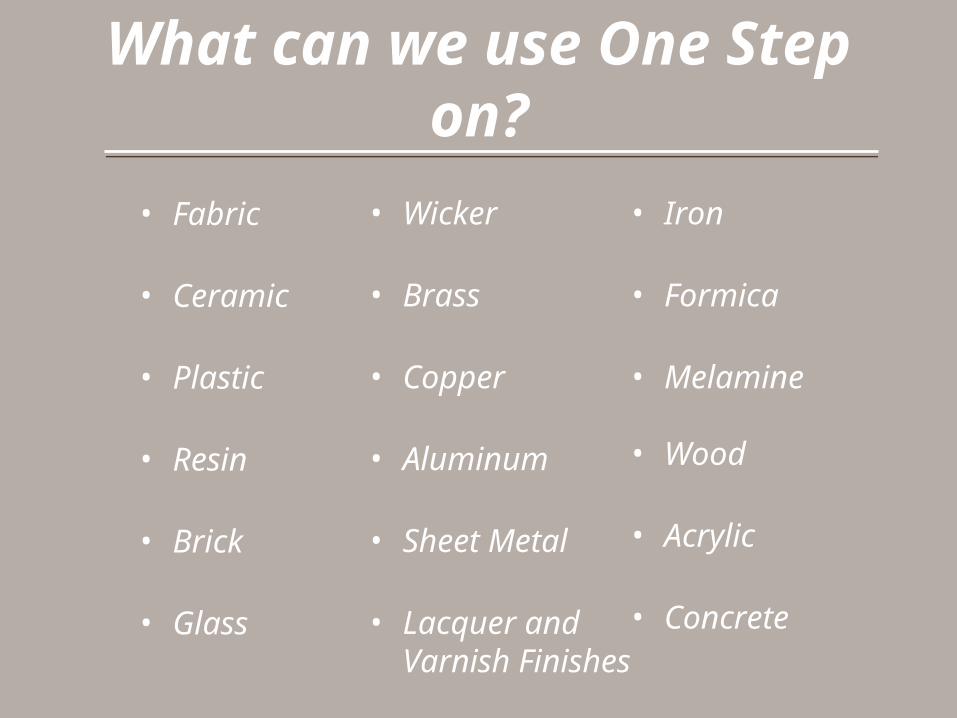
What can we use One Step on?
• Iron
• Formica
• Melamine • Wood
• Acrylic
• Concrete
• Fabric
• Ceramic
• Plastic
• Resin
• Brick
• Glass
• Wicker
• Brass
• Copper
• Aluminum
• Sheet Metal
• Lacquer and Varnish Finishes
• Resin
• Brick
• Glass

Ways to use One Step
• Chalky Matte Finish
• Watermarking with Antiquing Glaze
• Smooth Cracked Patina Finish
• Grody Cracked Patina Finish
• Resin
• Brick
• Glass

Ways to use One Step
• Use with Liming Wax
• Paint on fabric
• Can paint on furniture, cabinets, frames, lamps fabric, walls, floors and ceilings.
• Antique with colored waxes
• Create artwork and accent walls using stencils
• Resin
• Brick
• Glass

Tips to Remember when using One Step
• Before opening, flip can over for approx. 1 hour, to help the calcium carbonate fall off bottom of can.
• Shake vigorously for 2 -3 min. before stirring to help with mixing!
• Using a stir stick or electric paint stirrer, stir One Step thoroughly.
• Before using, check that all calcium carbonate is off the bottom and mixed to appropriate consistency.

Tips to Remember when using One Step
• One Step can be brushed, rolled, and sprayed on.
• When spraying on One Step, dilute paint 20% with water.
• When painting on Fabric, dilute 20% with water.
• When creating a wash or stain, dilute 50% with water.

Things to avoid when using One Step
• Avoid improper mixing of the One Step Paint.
• Avoid puddling of the Paint.
• Avoid painting against the grain.
• Avoid leaving paint open for long periods of time. (Paint will begin to thicken)

Tips to Remember when using Cracked
Patina• Best if brushed on.
• A thicker application will create more of the crackle affect.
• Best to let dry for 1 hour.
• Will stay tacky for up to a week. Best to finish in one day.
• Avoid puddling of Cracked Patina.
• Can create Cracked Patina on furniture, cabinets, walls, urns, lamps, crown molding, doors and door frames, picture and mirror frames.
Tips to Remember when creating Cracked
Patina• Apply second coat of paint quickly when applying over
the Cracked Patina and Cracking of the Paint will happen in Minutes!
• Let paint dry on Cracked Patina for 3 – 5 minutes before removing paint.
• When pulling paint, make sure paint is not too wet, to avoid undesirable effects.
• Before pulling paint, move around the paint by dragging a dry brush across the piece.

Cracked Patina
• Step 1: Paint Base Coat.
• Step 2: Apply Cracked Patina. Let Dry.
• Step 3: Paint on Second Coat.
• Step 4: Drag dry brush, agitate paint.
• Step 5: Remove paint with hands.
• Step 6: Lightly sand.
• Step 7: Apply Light Wax
• Step 8: Apply Dark Wax
• Step 9: Apply Dust of Ages
• Step 10: Buff and Finish!

Tips to Remember when Painting Fabric
• Lightly dampening the fabric before painting can help fabric absorb paint better.
• Dilute Paint with water approximately 20%.
• Apply Light wax to fabric to create smoother finish.

Painting on Fabric
• Step 1: Dilute One Step Paint with water.
• Step 2: Dab/ pounce on paint using round brush.
• Step 3: Let Dry.

Tips to Remember when using Liming
Wax• Has a thicker consistency in order to be used to fill in
the grains of natural and soft woods.
• Can be dry brushed on like the Light and Dark Waxes.
• Can be diluted using wax wash, paint thinner, or mineral spirits, then applied over One Step.

Liming Over One Step
• Step 1: Paint One Step. Let Dry.
• Step 2: Dip brush in mineral spirits, before liming wax, to dilute wax.
• Step 3: Apply Liming Wax
• Step 4: Dry and Finish!

One Step Paint
One step furniture paint. No stripping, no sanding,
no priming. Transform your
furniture or cabinetry in one step.
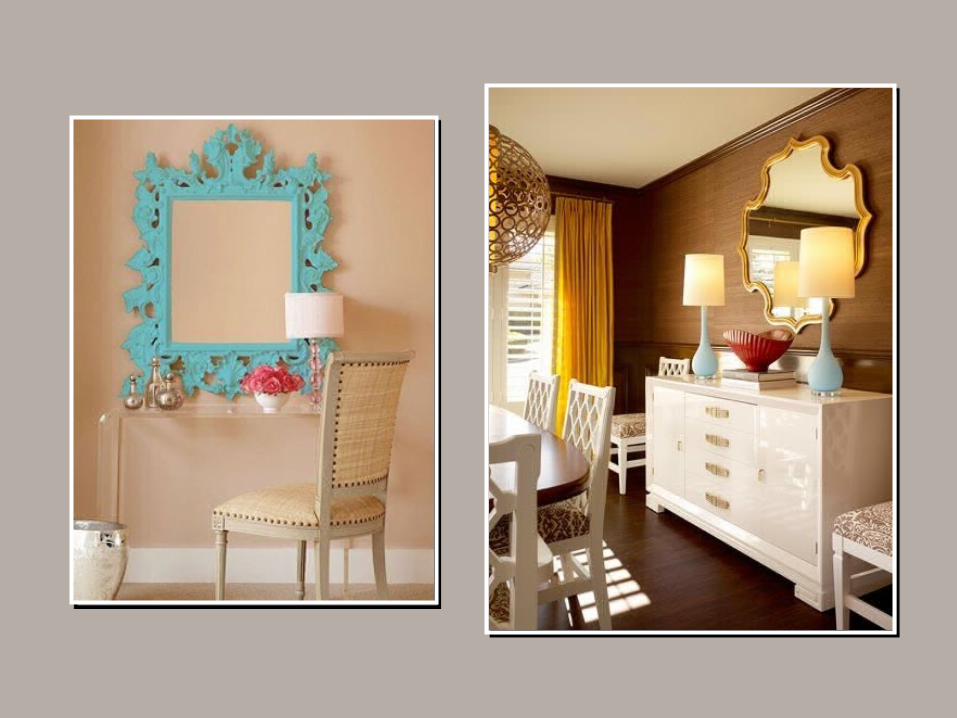
Lifestyle and
Inspiration


Amy Howard at Home Antiquing Zinc

What can we useAntiquing Zinc Solution on?
• Galvanized Sheet Metal
Ways to use Antiquing Zinc
Solution • Create back splashes in kitchens and bars.
• Use as a counter tops.
• Use as desk and table tops.
• Apply to plywood too create sliding barn doors.
• Create designs using kiss and cut stencils.

Tips to Remember when using Antiquing
Zinc Solution• Shake well before using.
• After degreasing with Simple Green, rinse with water and wipe dry, to remove any surfactants or residue left on metal.
• When applying Zinc Solution to sample, do not neglect the edges.
• Organically pat on solution to reduce patterns created from rags.
Tips to Remember when using Antiquing
Zinc Solution• Can be waxed or left unwaxed.
• Can intentionally create patterns while applying
• The more Zinc Solution applied, the darker the piece.
• Zinc solution and sample will dry down to be a lighter, chalky finish.

Things to Avoid when using Antiquing Zinc
Solution• Avoid application in linear motions.
• Avoid using rags that have lint in them.
• Avoid using with bare hands
• Avoid neglect of the outside edges

Antique Zinc• Step 1: Clean sample with Simple Green.
• Step 2: Rinse with Water. Dry.
• Step 3: Apply Antiquing Zinc Solution.
• Step 4: Apply Light Wax.
• Step 5: Let dry.
• Step 6: Buff and finish!

Antique Embossed Zinc• Step 1: Clean sample with Simple Green.
• Step 2: Rinse with Water. Dry.
• Step 3: Apply Antiquing Zinc Solution.
• Step 4: Apply Stencil.
• Step 5: Apply Zinc Solution over Stencil and sheet metal.
• Step 6: Let dry.
• Step 7: Apply Light Wax. Let dry.
• Step 8: Remove Stencil. Buff and finish!
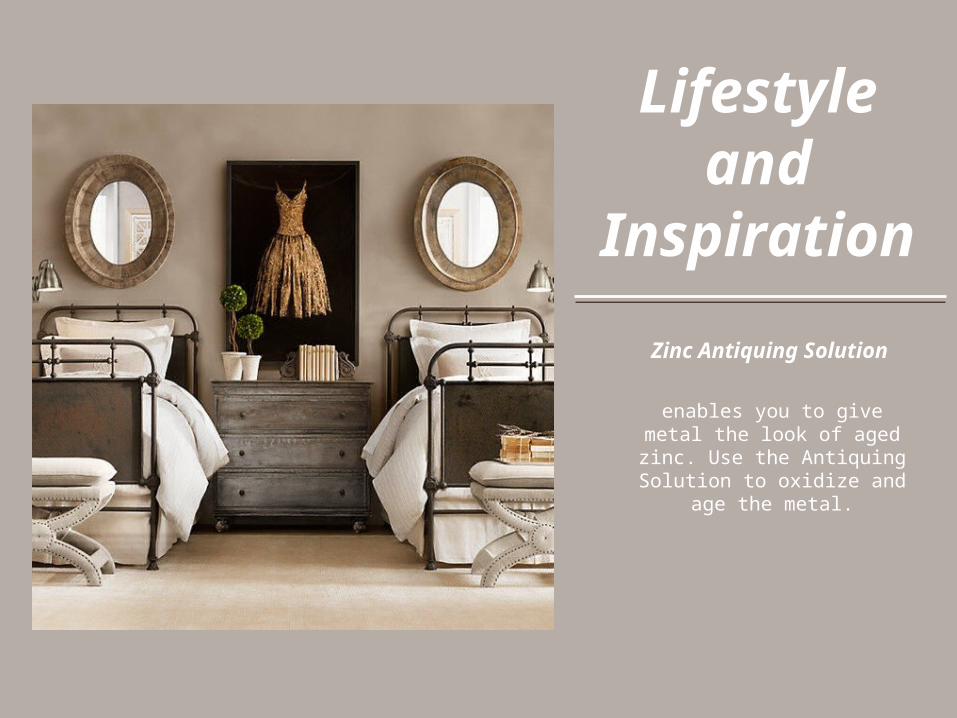
Zinc Antiquing Solution
enables you to give metal the look of aged zinc. Use the Antiquing Solution to oxidize and age the metal.
Lifestyle and
Inspiration


Amy Howard at Home Antiquing Mirror

History of Antique Mirror
•Mirrors have been used and made for centuries and have been made from a variety of metals including copper, silver, bronze and gold.
•During the first century, metal-coated glass was invented; glass mirrors backed with gold leaf are also found during this time.
•Glass mirrors during this time were extremely expensive luxuries!
•1835 the silver-glass mirror was invented!
•Used to be cute into small portions to reduce taxes!

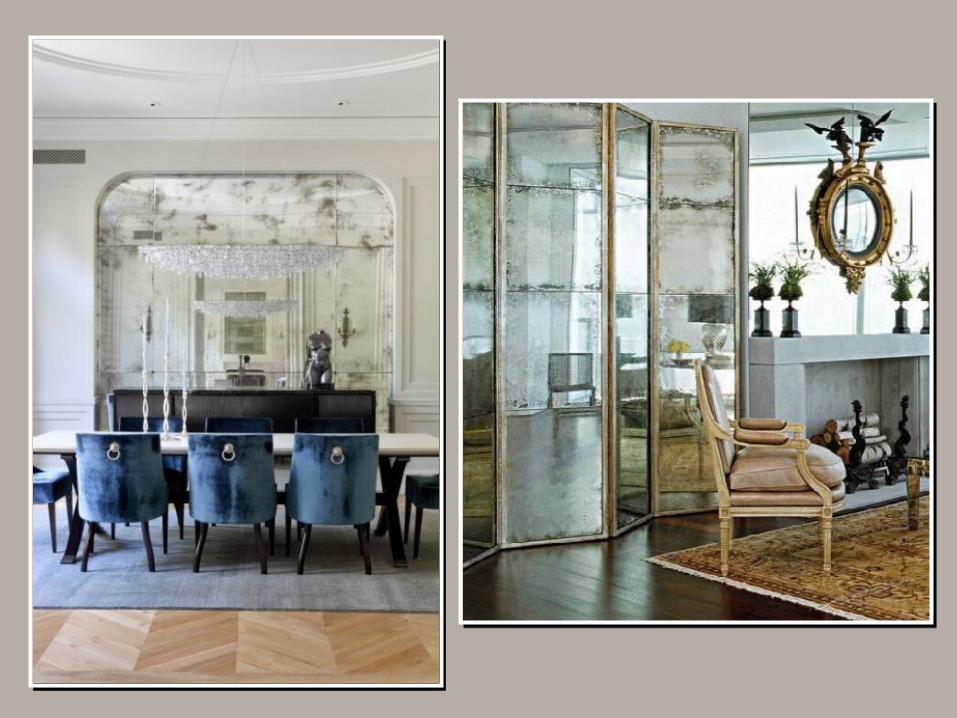
Ways to use Antiquing Mirror Products
• Create a Light Antique Mirror using Antiquing Solution
• Create a Mercury Antique Mirror by misting on Antiquing Solution.
• Create an Eglomise Antique Mirror using Kiss and Cut Stencils and Mica Powders

Ways to use Antiquing Mirror Products
• Place Antique Mirror inside frames.
• Create accent walls with mirror tiles.
• Create back splashes inside kitchen and bars.
• Place mirror within cabinet doors and other furniture surfaces.
• Frame out on the wall to create an artistic and antique element to any space.

Tips to Remember when Antiquing Mirror
• Shake stripper and solution vigorously before using.
• Water bathes can be used as an alternative water source.
• Work in a well ventilated area.
• Work within an area that is between 70 – 85 degrees Fahrenheit.
• Strip, Antique, and Seal Mirror all in same day.

Tips to Remember when Antiquing Mirror
• After piece has been stripped, be delicate with silver that is now exposed and susceptible to scratching
• When applying solution, always keep rag and hand moving in an organic motion.
• Rinsing off the stripper always require cleaning with Simple Green and water
• Can use One Step or Lacquer as a backing. Whatever color is used on the back, will be the color that shows through on the front.

Things to Avoid when Antiquing Mirror
• Improperly shaken Antiquing Mirror Stripper
• Avoid areas of very high or very low temperatures.
• Avoid getting on skin! Use Stripping Gloves!
• Avoid using newspaper when removing the backing.
• Avoid removing too much silver
• Avoid patterns…Strip twice!

Mercury Antique Mirror
• Step 1: Strip mirror
• Step 2: Apply Stripper a second time.
• Step 4: Rinse. Let dry.
• Step 5: Apply Antiquing Solution to Light Antique
• Step 6: Rinse. Let dry.
• Step 7: Mist on Antiquing Mirror Solution.
• Step 8: Rinse. Let dry.
• Step 9: Brush on One Step.

• Lightly antique piece of mirror before applying stencil to silver.
• Using a putty knife, apply pressure to stencil while on mirror, to ensure that the stencil has adhered to silver.
• Always offload shellac before dipping into Mica Powders.
• Let shellac and Mica powders dry thoroughly before applying backing
Tips to Remember when Creating
Eglomise

Tips to Remember when Creating
Eglomise • Another Eglomise technique is to not use shellac and
micas, but rather leave empty to allow for the backing paint color to show through the design.
• Can use One Step or Lacquer as a backing for Eglomise. Please remember that whatever color is used on the back, will be the color that shows through on the front.

Things to Avoid when Creating Eglomise
Mirror • Avoid over antiquing before Applying stencil, so that
too much silver is not removed.
• Avoid bubbles in the stencil applied to mirror.
• Avoid using too much shellac with your mica powders
• Avoid using too much mica powders on mirror piece, for smoother backing.

Eglomise Antique Mirror
• Step 1: Strip Back of Mirror.
• Step 2: Apply second coat of stripper.
• Step 3: Rinse. Let dry.
• Step 4: Light Antique mirror.
• Step 6: Rinse. Let dry.
• Step 7: Apply Stencil.
Eglomise Antique Mirror
• Step 8: Mist on Antiquing Solution, until antiqued to desired amount.
• Step 9: Remove silver with finger and a rag. Rinse.
• Step 10: Remove Stencil. Let Dry.
• Step 11: Brush on One Step and Finish!

Antique Mirror Kit
The Amy Howard At Home Mirror Antiquing Kit includes
the products you need to give the patina of age to mirrored glass.
Lifestyle and
Inspiration


Amy Howard At Home High Performance Furniture Lacquer

What can we use Lacquer on?
• Iron
• Formica
• Melamine • Wood
• Acrylic
• Concrete
• Fabric
• Ceramic
• Plastic
• Resin
• Brick
• Glass
• Wicker
• Brass
• Copper
• Aluminum
• Sheet Metal
• Walls
Ways to Use Lacquer
• Using Wall stencils to create designs and accent walls by spraying on Furniture Lacquer
• Get a High Performance gloss using the Furniture Lacquer
• Can spray on fabric.
• Use on outdoor furniture and on doors.

Ways to Use Lacquer
• Use on kitchen cabinets.
• Spray on as a backing for the Antiquing Mirror.
• Use Bright Idea to create a High Performance Gloss over the One Step.
• Using the Metallic Lacquers, transform hardware to look Metallic.

Tips to Remember when using Lacquer
• Shake can vigorously for 2 -3 min. before using.
• Sand with 400 grit sandpaper in between each coat. Use tack cloth before next coat.
• Keep a distance of 6” to 8” when spraying on piece.
• Let cure for up to 48 hours for best results
• Spray in well ventilated area
• Spray on as though you were brushing on, steady and consistent.

Tips to Remember when using Lacquer
• Vertical Surfaces: Spray starting at the top and work down.
• Horizontal Surfaces: Spray from closest point away from you.
• Create your own spray booth using a zip up clothing closet.
• Yellow sprayer can be turned to change direction of the fan spray.

Things to Avoid when using Lacquer
• Avoid spraying too close or too far away.
• Avoid spraying too fast.
• Avoid spraying too slow.
• Avoid puddling of the paint.
• Avoid dripping of the paint.
• Avoid and be aware of overspray.

Lacquer
Overwhelming excitement when you see the transformation
of your furniture.
Lifestyle and
Inspiration