Washroom care programs - Prescott S.M de Alex... · · 2015-09-25Bowl brush 5. Dust Pan ......
34
Washroom care programs
-
Upload
truongkhuong -
Category
Documents
-
view
216 -
download
3
Transcript of Washroom care programs - Prescott S.M de Alex... · · 2015-09-25Bowl brush 5. Dust Pan ......
Washroom care programs
Table of contents
• The basics………………………………………………………………………………………………………………………………………………..1
• Cleaners classification….……………………………………………………………………………………………………………………..……6
• Combining substances....................................................................................................................................2
• All day maintenance…………………………….………………………………………………………………………………………………….12
• Daily maintenance………………………………………………………………………………………………..…………………….…..........13
• Periodic maintenance…………………………………………………………………………………………..…………………………..…….23
• Emergency maintenance…………………………………………………………………………………………………..……………….……30
The basics
Why review chemistry?
Answer:
1. Reviewing basic principles allow us to better understand and explain the products weexplain the products we represent.
2. Chemistry is the study of compositions of the substances around us A large part of itaround us. A large part of it includes the study of ways by which we can alter, mix or extract these substances to be more useful to man.
Example:
Natural citric solvents from orange peels, when formulated, can be an effective natural degreaser.
1

The basics
How do substances change?What are the 3 physical states of a substance ?
Answer:1. Solid
S bstance that holds shape
Answer:
1. Physical ChangeSubstance that holds shape on its own.
2. Liquid
Substance that does not hold
Change in the form of the substance without altering its chemistry.
2. Chemical Changeshape but takes the shape of the container that holds it.
3. Gas
S b t th t h h
A change of the substance which causes the original substance to disappear and a new one created.
Substance that has no shape and tends to take shape of the container.
2
Combining substances
How are the substances combined ?
Answer:
1. Reaction
Combination of elements usually by chemical reaction (energy) to formCombination of elements, usually by chemical reaction, (energy) to form a compound. Smallest form of a compound is a molecule.
Example:
2 hydrogen atoms + 1 oxygen atom ==> H2O (Water)y g yg 2 ( )
Nonmetals combined with hydrogen produce Acid compounds.
Example:
Sulfuric acid = H SOSulfuric acid = H2SO4
Metals combined with oxygen/hydrogen molecule produce Alkaline compounds.
Example:
Sodium Hydroxide = Na(OH)2
3
Combining Substances
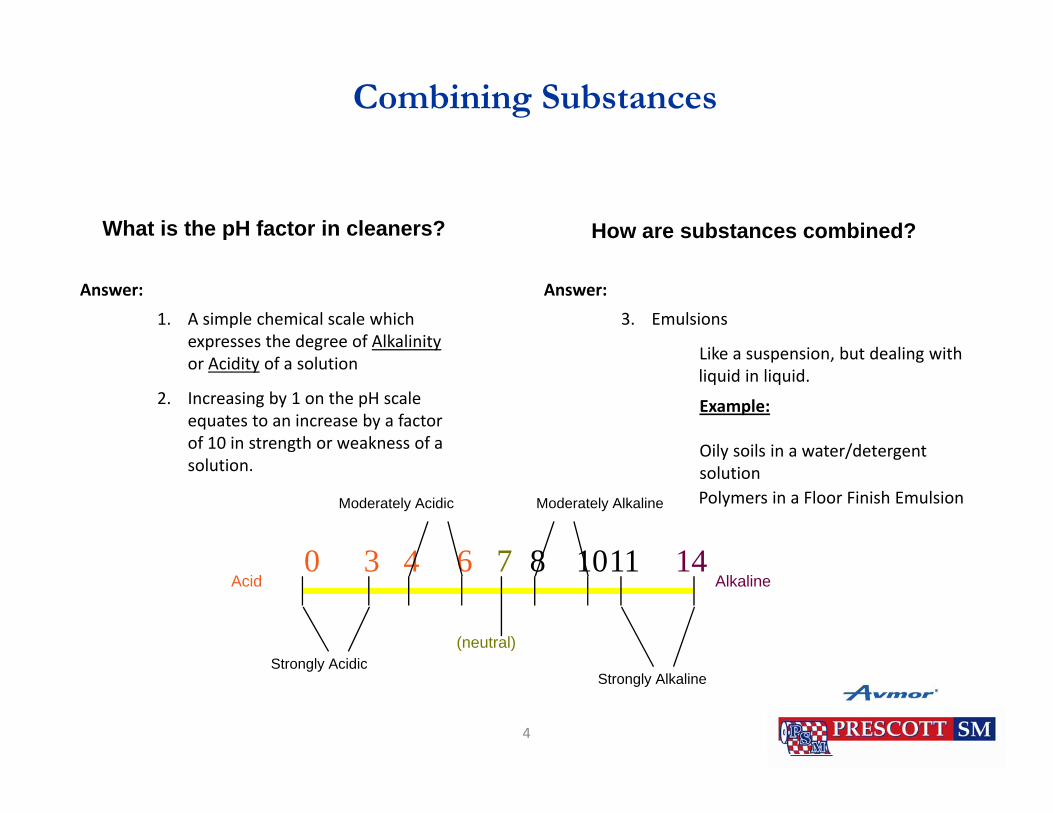
How are substances combined?What is the pH factor in cleaners?
Answer:
1. A simple chemical scale which expresses the degree of Alkalinity
Answer:
3. Emulsions
Like a suspension but dealing withor Acidity of a solution
2. Increasing by 1 on the pH scale equates to an increase by a factor of 10 in strength or weakness of a
Like a suspension, but dealing with liquid in liquid.
Example:
Oily soils in a water/detergent solution.
0 1473 4 6 8 1011
Moderately Acidic Moderately Alkaline
y / gsolutionPolymers in a Floor Finish Emulsion
AlkalineAcid0 147
(neutral)
3 4 6 8 1011
Strongly AcidicStrongly AcidicStrongly Alkaline
4
Combining substances
How are substances combined?
Answer:
4. Mixtures
Answer:
5. Solutions
Elements or compounds that are together, but do not chemically combine.
Combination of substance dissolveduniformly in another substance.
Example:Detergent in water
Each retain individual properties.
Ingredients in a mixture may be d h h l
6. Suspensions
Combination of substance distributeduniformly in another substance without dissolving. Upon standing it would separate.
separated without a chemical change.
Example:Powdered detergents
g p g p
Example:Soil in a water/detergent solutionPumice in an Industrial Hand Soap
5
Cleaners classification
How are cleaners classified?
Answer:
1. Soaps
Derived from combining animal and
Answer:
2. Detergent
Synthetic cleaner capable of vegetable fats and oils with earthmetals to create an alkali mix whichdissolves soils of an organic acidicnature.Old technology.
dislodging, suspending and/or emulsifying soils.
Chemical composition contains active ingredients which perform the O d tec o ogy.
Less effective in cold or hard water.Not stable.Leaves residue.
Allows the solution to spreadeasily, even over oily soils.
following:
1. Wetting Agents
3. SolventsOil‐loving and water‐lovingmolecules which are attracted tothese type of liquid soils.
Suspend solid soils long enough
2. Emulsifiers.
3. Suspensions
Solvent cleaners are derived from compounds such as hydrocarbons or citrus.
They are formulated to dissolve not Suspend solid soils long enoughto complete cleaning process .
They are formulated to dissolve not emulsify organic soils.
Highly effective and quick.6
Cleaners classification
How are cleaners classified ?
Answer:
3. Solvents
S l l d i d f‐ Solvent cleaners are derived from compounds such as hydrocarbons or citrus.
‐ They are formulated to dissolve not l if i ilemulsify organic soils.
‐ Highly effective and quick.
7
Conclusion
What are the active ingredients of a cleaners?
Answer:
In general, the active ingredient of a cleaner is determined by the action which it must do best. y
‐ Degreasers
‐ Neutral
Emulsifying characteristics
Suspension characteristics
‐ Disinfectants Active agents which are recognized to attack specific microorganisms.
‐ Solvents Possess the most effective dissolving characteristics.
8
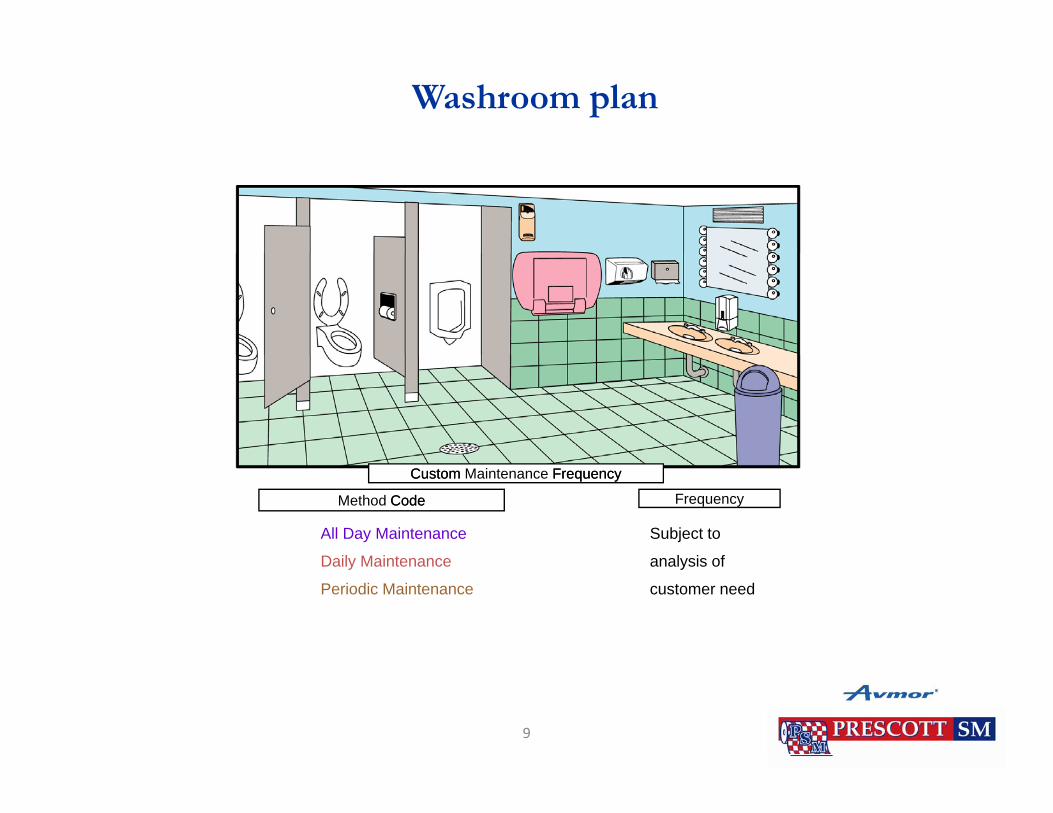
Washroom plan
All Day Maintenance Subject to
Daily Maintenance analysis of
Custom Custom Maintenance FrequencyFrequency
Method CodeCode Frequency
Daily Maintenance analysis of
Periodic Maintenance customer need
9
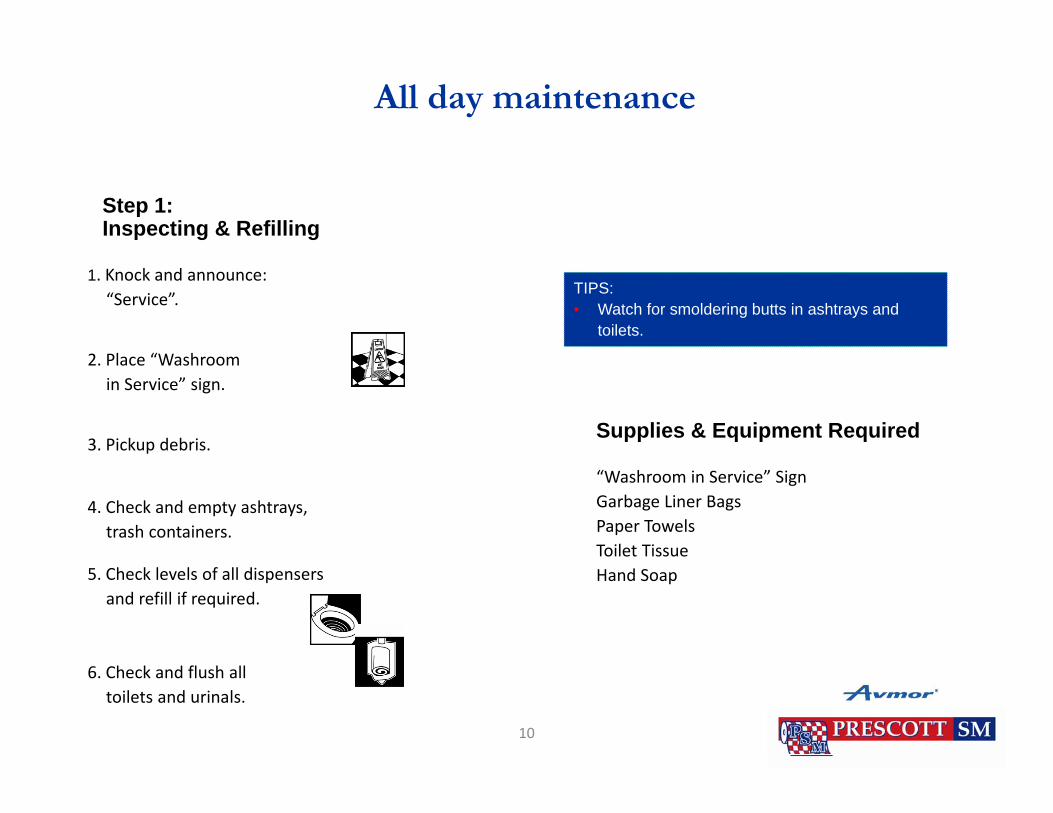
All day maintenance
Step 1:Inspecting & Refilling
1. Knock and announce: “Service”.
2 Pl “W h
TIPS: • Watch for smoldering butts in ashtrays and
toilets.
2. Place “Washroom in Service” sign.
3. Pickup debris.Supplies & Equipment Required
4. Check and empty ashtrays, trash containers.
“Washroom in Service” SignGarbage Liner BagsPaper TowelsToilet Tissue
5. Check levels of all dispensers and refill if required.
Hand Soap
6. Check and flush all toilets and urinals.
10
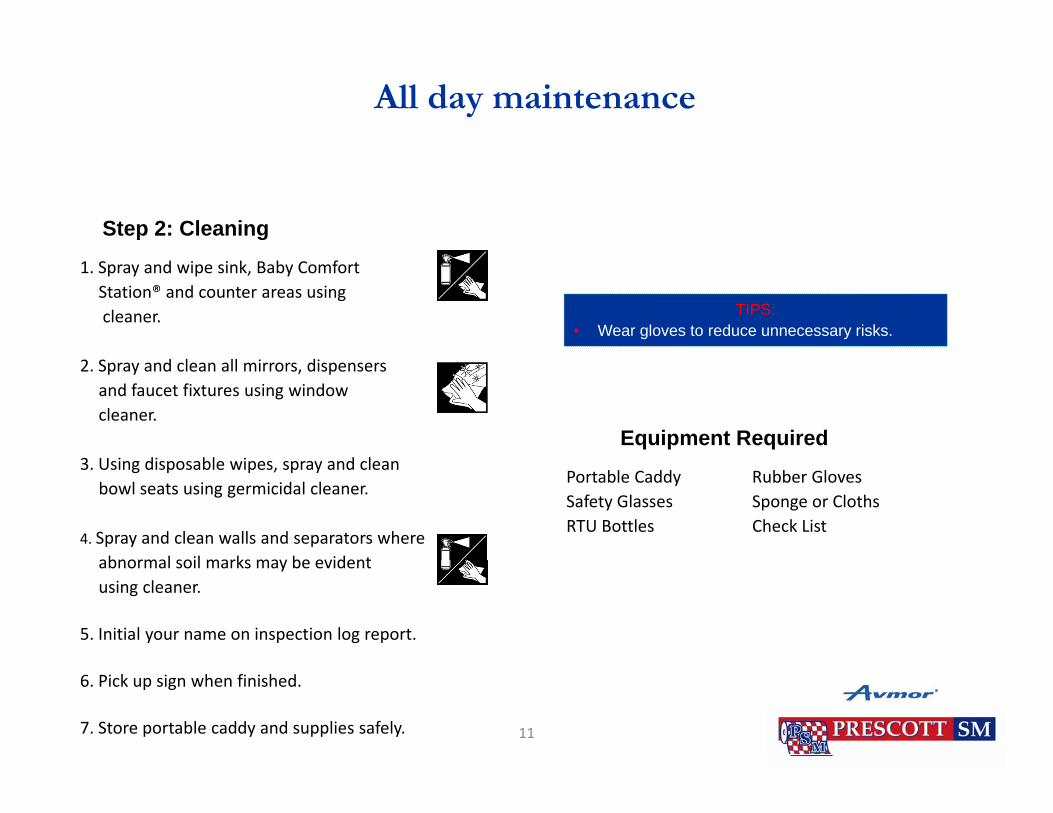
All day maintenance
Step 2: Cleaning
1. Spray and wipe sink, Baby Comfort Station® and counter areas using cleaner. TIPS:
• Wear gloves to reduce unnecessary risks.
2. Spray and clean all mirrors, dispensers and faucet fixtures using window cleaner.
3 U i di bl i d lEquipment Required
3. Using disposable wipes, spray and clean bowl seats using germicidal cleaner.
4. Spray and clean walls and separators where abnormal soil marks may be evident
Portable Caddy Rubber GlovesSafety Glasses Sponge or ClothsRTU Bottles Check List
abnormal soil marks may be evident using cleaner.
5. Initial your name on inspection log report.
6. Pick up sign when finished.
7. Store portable caddy and supplies safely. 11
Setup
Chemicals RequiredEquipment required
1. “Washroom in Service” sign2. Dust mop or broom 3. Portable caddy for chemicals
1. Tile Cleaner2. Disinfectant 3. Bowl Cleaner
4. Bowl brush 5. Dust Pan/Brush6. Bucket and wringer7. Cotton blend mop (1)8 S
4. Window Cleaner5. Deodorizer
TIPS: • Soak new mop heads in water before using8. Scraper
9. Gloves and glasses 10. Toilet tissue 11. Paper towels12 RTU Trigger Spray Bottles
• Soak new mop heads in water before using them.
• Take the time to prepare all the equipment and chemicals prior to starting task.
• Follow directives on label or dilution control t t t t ti12. RTU Trigger Spray Bottles center to ensure accurate concentrations.
12
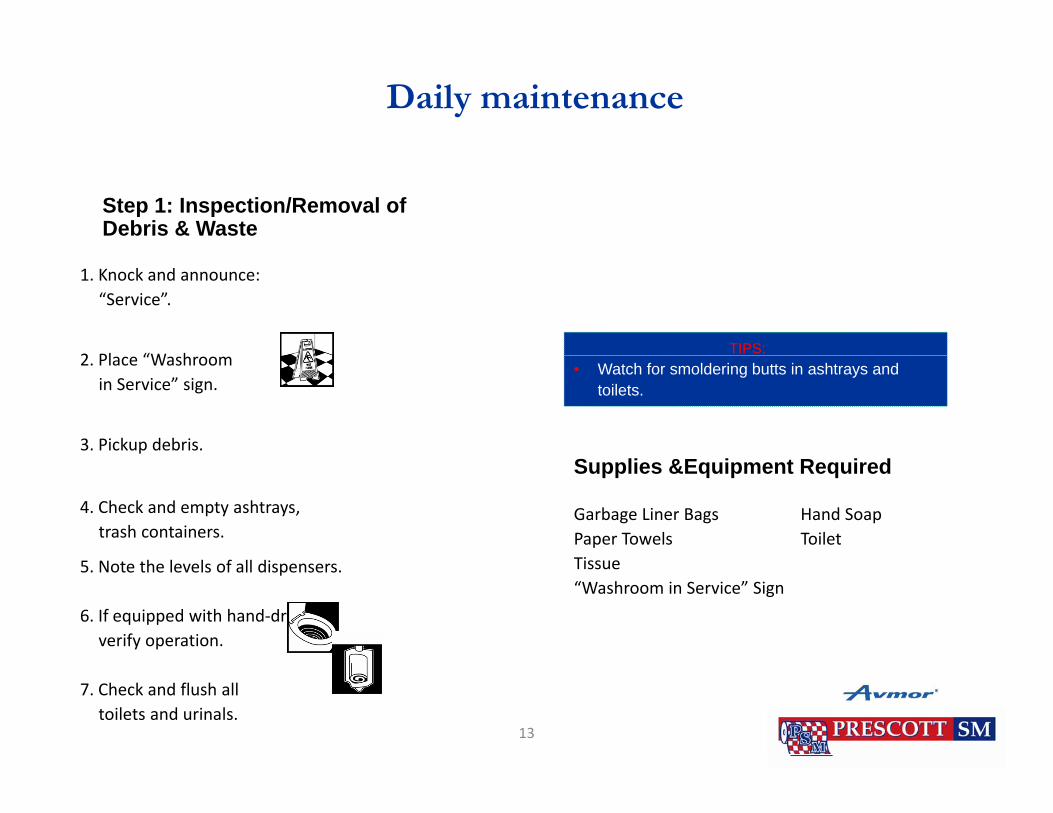
Daily maintenance
Step 1: Inspection/Removal ofDebris & Waste
1. Knock and announce: “Service”.
2 Pl “W hTIPS:
2. Place “Washroom in Service” sign.
3. Pickup debris.
• Watch for smoldering butts in ashtrays and toilets.
4. Check and empty ashtrays, trash containers.
h l l f ll di
Garbage Liner Bags Hand SoapPaper Towels Toilet Tissue
Supplies &Equipment Required
5. Note the levels of all dispensers.
6. If equipped with hand‐dryers, verify operation.
Tissue“Washroom in Service” Sign
7. Check and flush all toilets and urinals.
13
Daily maintenance
Step 2: Refilling
1. Refill all:‐ Toilet paper dispensers.‐ Toilet seat cover dispensers. TIPS:
• Don’t forget the keys of locked units
p g
‐ Paper towel dispensers.‐ Tissue boxes.‐ Soap dispensers.‐ Aerosol deodorant dispensers.Concentrated deodorant urinal
Don t forget the keys of locked units
Supplies &Equipment Required‐ Concentrated deodorant urinal and bowl dispensers. (Urinal Screens and Urinal Blocks)
‐ Automatic odor control units
2 Make note of any broken units
Garbage Liner Bags Hand SoapPaper Towels Toilet TissueToilet Seat Covers Tissues“Washroom in Service” Sign
2. Make note of any broken units. Urinal Screens or Urinal Blocks
14
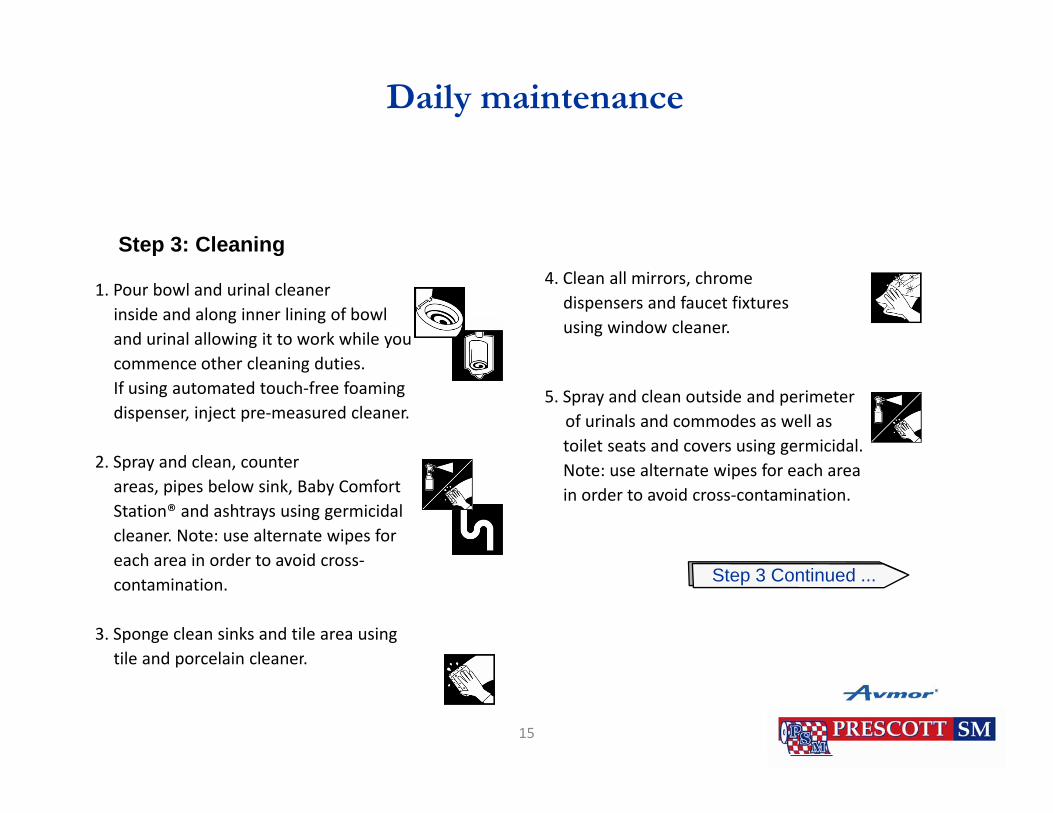
Daily maintenance
Step 3: Cleaning
1. Pour bowl and urinal cleaner inside and along inner lining of bowl and urinal allowing it to work while you
4. Clean all mirrors, chrome dispensers and faucet fixtures using window cleaner.
p g
commence other cleaning duties. If using automated touch‐free foaming dispenser, inject pre‐measured cleaner.
2 S d l t
5. Spray and clean outside and perimeter of urinals and commodes as well as toilet seats and covers using germicidal.
2. Spray and clean, counter areas, pipes below sink, Baby Comfort Station® and ashtrays using germicidal cleaner. Note: use alternate wipes for each area in order to avoid cross
Note: use alternate wipes for each area in order to avoid cross‐contamination.
Step 3 Continued ... each area in order to avoid cross‐contamination.
3. Sponge clean sinks and tile area using tile and porcelain cleaner.tile and porcelain cleaner.
15
Daily maintenance
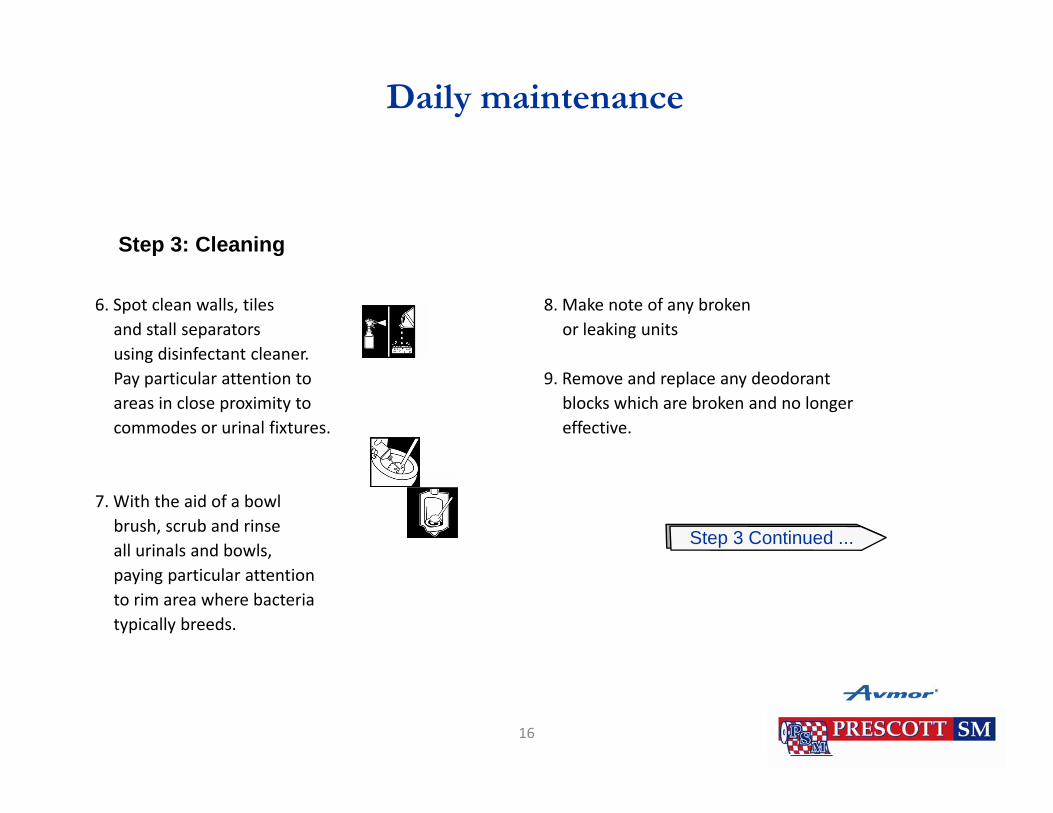
Step 3: Cleaning
6. Spot clean walls, tiles and stall separators using disinfectant cleaner
8. Make note of any broken or leaking units
p g
using disinfectant cleaner. Pay particular attention to areas in close proximity to commodes or urinal fixtures.
9. Remove and replace any deodorant blocks which are broken and no longereffective.
Step 3 Continued ...
7. With the aid of a bowl brush, scrub and rinse all urinals and bowls, paying particular attention to rim area where bacteria typically breeds.
16
Daily maintenance
Step 3: Cleaning
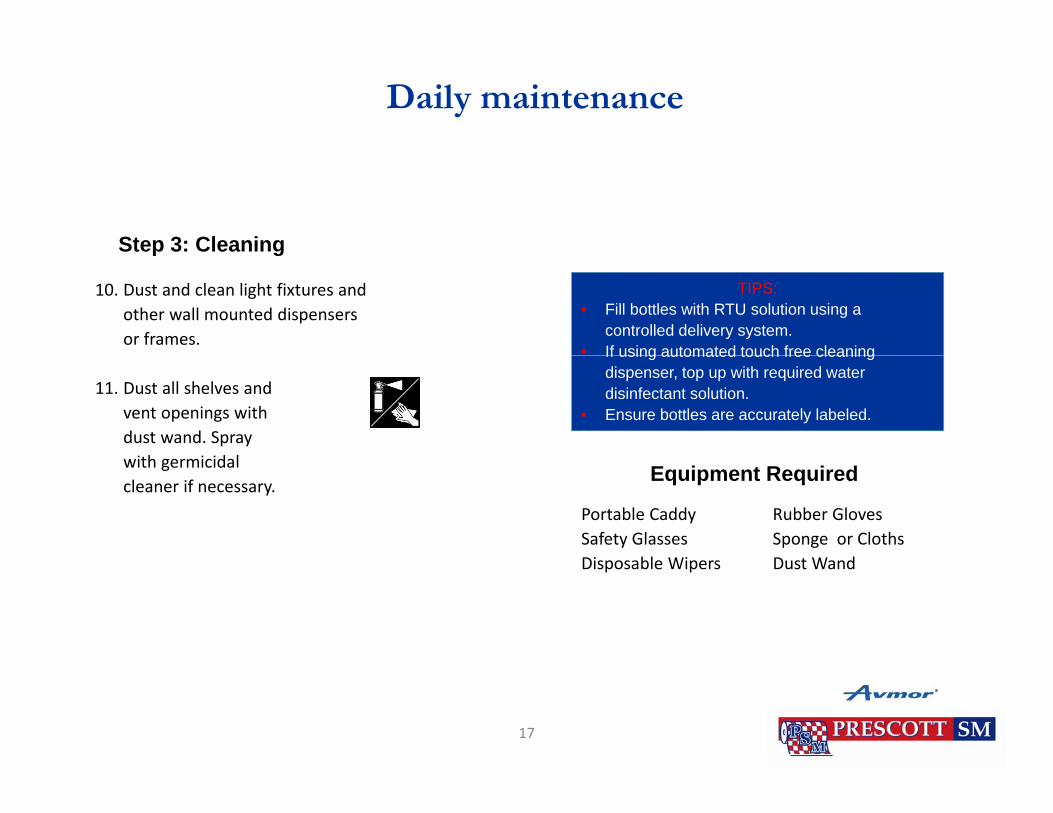
TIPS: • Fill bottles with RTU solution using a
controlled delivery system.• If using automated touch free cleaning
10. Dust and clean light fixtures and other wall mounted dispensers or frames.
p g
If using automated touch free cleaning dispenser, top up with required water disinfectant solution.
• Ensure bottles are accurately labeled.11. Dust all shelves and
vent openings with dust wand. Spray ith i id l
Portable Caddy Rubber GlovesSafety Glasses Sponge or ClothsDisposable Wipers Dust Wand
Equipment Requiredwith germicidal cleaner if necessary.
Disposable Wipers Dust Wand
17
Daily maintenance
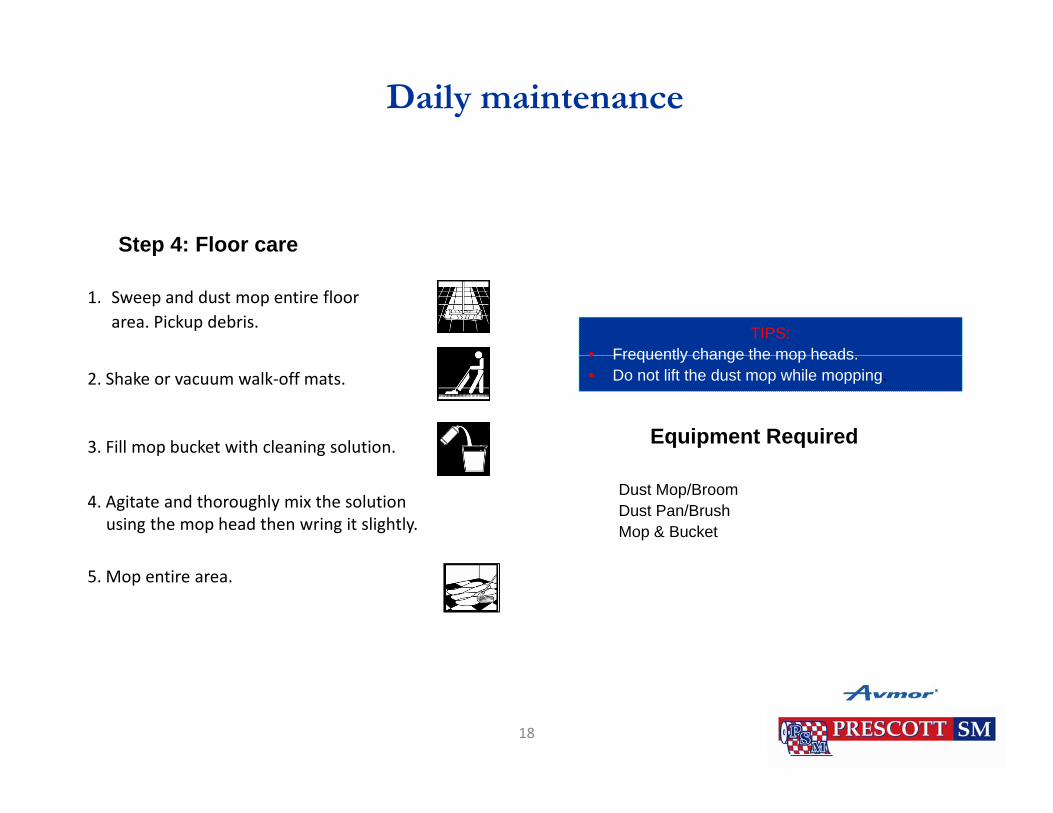
Step 4: Floor care
1. Sweep and dust mop entire floor area. Pickup debris.
TIPS: • Frequently change the mop heads
p
3. Fill mop bucket with cleaning solution.
2. Shake or vacuum walk‐off mats.• Frequently change the mop heads.• Do not lift the dust mop while mopping.
Equipment Required
4. Agitate and thoroughly mix the solution using the mop head then wring it slightly.
Dust Mop/BroomDust Pan/BrushMop & Bucket
5. Mop entire area.
18
Clean up
ChemicalsEquipment
1. Wash all mops thoroughly in a deep sink and hang them head down to air dry and get them
Chemicals
1. Refill all bottles and wipe leaks.
2. Tightly close the bottles and store them
q p
ready for the next operation.
2. Clean bucket thoroughly by scrubbing the inside and wiping the outside including
g ysafely for next time.
TIPS: • Add a touch of oil to the castor to keep
them rolling smoothly.
wiping the outside includingthe casters.
3. Safely store all equipment.
• Proper cleaning of the equipment will increase its duration and quality.4. Once the floor is dry,
remove “Wet Floor” sign.
19
Setup
Chemicals RequiredEquipment required
1. “Washroom in Service” Sign2. Dust Mop or Broom 3. Portable Caddy for Chemicals
q
1. Tile Cleaner2. Disinfectant3. Bowl Cleaner
q p q
y4. Bowl Brush 5. Dust Pan/Brush6. Bucket and Wringer7. Cotton Blend Mop (1)
4. Window Cleaner5. Deodorizer6. Floor Cleaner
8. Scraper 9. Gloves and Glasses 10. Toilet Tissue 11. Paper Towels
TIPS: • Soak new mop heads in water before using
them. • Take the time to prepare all the equipment and
chemicals prior to starting task12. RTU Trigger Spray Bottles 13. Batteries, Light Bulbs, etc...
chemicals prior to starting task.• Follow directives on label or dilution control
center to ensure accurate concentrations.
20
Periodic maintenance
Step 1: Inspection/Removal ofDebris & Waste
1. Knock and announce: “Service”.
2 Pl “W h
TIPS: • Watch for smoldering butts in ashtrays and
toilets.2. Place “Washroom
in Service” sign.
3. Pickup debris. Supplies & Equipment Required
4. Check and empty ashtrays, trash containers.
5 Note the levels of all dispensers
Garbage Liner Bags Hand SoapPaper Towels Toilet Tissue“Washroom in Service” Sign
5. Note the levels of all dispensers.
6. If equipped with hand‐dryers, verify operation.
7. Check and flush all toiletsand urinals.
21
Periodic maintenance
Step 2: Refilling
1. Refill all:Toilet paper dispensers.Toilet seat cover dispensers.
TIPS: • Don’t forget the keys of locked units
Paper towel dispensers.Tissue boxes.Soap dispensers.Aerosol deodorant dispensers.Concentrated deodorant urinal
Supplies & Equipment RequiredConcentrated deodorant urinal and bowl dispensers. (Urinal Screens and Urinal Blocks)Automatic odor control units: aerosolsand batteries.
Garbage Liner Bags Hand SoapBatteries and Bulbs Paper Towels Toilet Tissue & Seat Covers Tissues“Washroom in Service” Sign
Replace burnt bulbs on fixtures.
2. Make note of any broken units.
Urinal Screens or Urinal Blocks
22
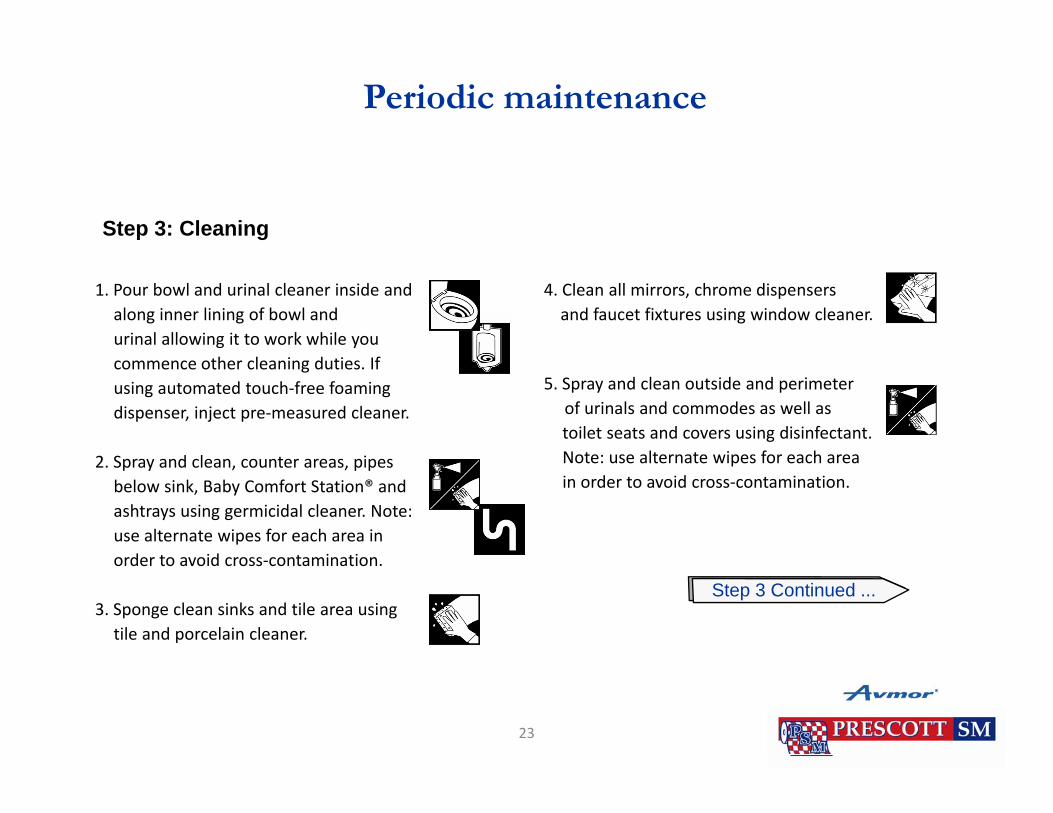
Periodic maintenance
Step 3: Cleaning
1. Pour bowl and urinal cleaner inside and along inner lining of bowl and urinal allowing it to work while you
4. Clean all mirrors, chrome dispensers and faucet fixtures using window cleaner.
commence other cleaning duties. If using automated touch‐free foaming dispenser, inject pre‐measured cleaner.
2 S d l t i
5. Spray and clean outside and perimeterof urinals and commodes as well as toilet seats and covers using disinfectant. Note: use alternate wipes for each area2. Spray and clean, counter areas, pipes
below sink, Baby Comfort Station® and ashtrays using germicidal cleaner. Note: use alternate wipes for each area in order to avoid cross contamination
Note: use alternate wipes for each area in order to avoid cross‐contamination.
Step 3 Continued ... order to avoid cross‐contamination.
3. Sponge clean sinks and tile area using tile and porcelain cleaner.
23
Periodic maintenance
Step 3: Cleaning
6. Spot clean walls, tiles and stall separators using cleaner. Pay particular attention to areas in close proximity to commodes or urinal fixtures.
TIPS: • Fill bottles with RTU solution using a
controlled delivery system
7. With the aid of a bowl brush, scrub and rinse all urinals and bowls, paying particular attention to rim area where Equipment Required
controlled delivery system.• Ensure bottles are accurately labeled.
bacteria typically breeds. Portable Caddy Rubber GlovesSafety Glasses Sponge or ClothsDisposable Wipers Dust Wand
8 d l li h fi d8. Dust and clean light fixtures and other wall mounted dispensers or frames.
9 Dust all shelves and vent openings9. Dust all shelves and vent openings with dust wand. Spray with germicidal cleaner if necessary.
24
Periodic maintenance
Step 3: Cleaning
1. Sweep and dust mop entire floor area. Pickup debris.
5. Mop entire area, frequently rinsing mop to assure sanitized floor.
6 When finished mopping pour approximately 4 liters of
3. Fill mop bucket or automatic scrubber i h fl l i l i
2. Shake or vacuum walk‐off mats.
TIPS:
6. When finished mopping, pour approximately 4 liters of the detergent/water solution down the washroom floor drain to prevent sewer gas smells.
with floor cleaning solution.
4. Agitate and thoroughly mix the solution using the mop head then wring it slightly.
TIPS: • Frequently change the mop heads.• Do not lift the dust mop while mopping.
Dust Mop BroomPutty Knife Dust Pan/BrushMop & Bucket
Equipment Required7. If floor has finish, follow the procedures outlined in your Floor Care Maintenance Program.
Mop & Bucket
8. Stripping and finishing would occur at same as scheduled for common area.
25
Clean up
ChemicalsEquipment
1. Wash all mops thoroughly in a deep sink and hang them head down to air dry and get them ready for the next operation
1. Refill all bottles and wipe leaks.
2. Tightly close the bottles and store them
TIPS:
ready for the next operation.
2. Clean bucket thoroughly by scrubbing the inside and wiping the outside including
safely for next time.
• Add a touch of oil to the castor to keep them rolling smoothly.
• Proper cleaning of the equipment will increase its duration and quality.
wiping the outside includingthe casters.
3. After cleaning all the equipment, store them.
4. Once the floor is dry, remove “Wet sign”.
26
Setup
Chemicals RequiredEquipment required
1. Wet Floor Sign 2. Broom and dust pan 3. Wet Mop
1. Disinfectant
4. Dual Bucket and Wringer5. Extra strength garbage bags6. Gloves and glasses7. Disposable paper towels.
TIPS: • In all cases where bacterial fluid or solid matter
must be removed, assess the nature of the
emergency and advise supervisory personnel.g y p y p• Quickly fill one bucket with a concentrated
germicidal water solution and the other with rinse water.
27

Emergency maintenance
Step 1: Cleaning
1. Place “Washroom in Service” sign.
2. Using disposable paper towels,
TIPS: • Be careful not to come directly in contact with
any of the soil matter. • Always wear gloves and safety glasses.
remove all solid matter and place in dedicated doubled garbage bag.
3. Spray entire affected area with di i f L k f
Always wear gloves and safety glasses.
Equipment Required
disinfectant . Let work for approximately 10 minutes, then wipe clean.
3 f dd d ff i
Garbage BagsDisposable Paper TowelsGloves and Glasses
4. Repeat step 3 for added effectiveness.
5. Securely seal garbage bag and discard responsibly.
28
Emergency maintenance
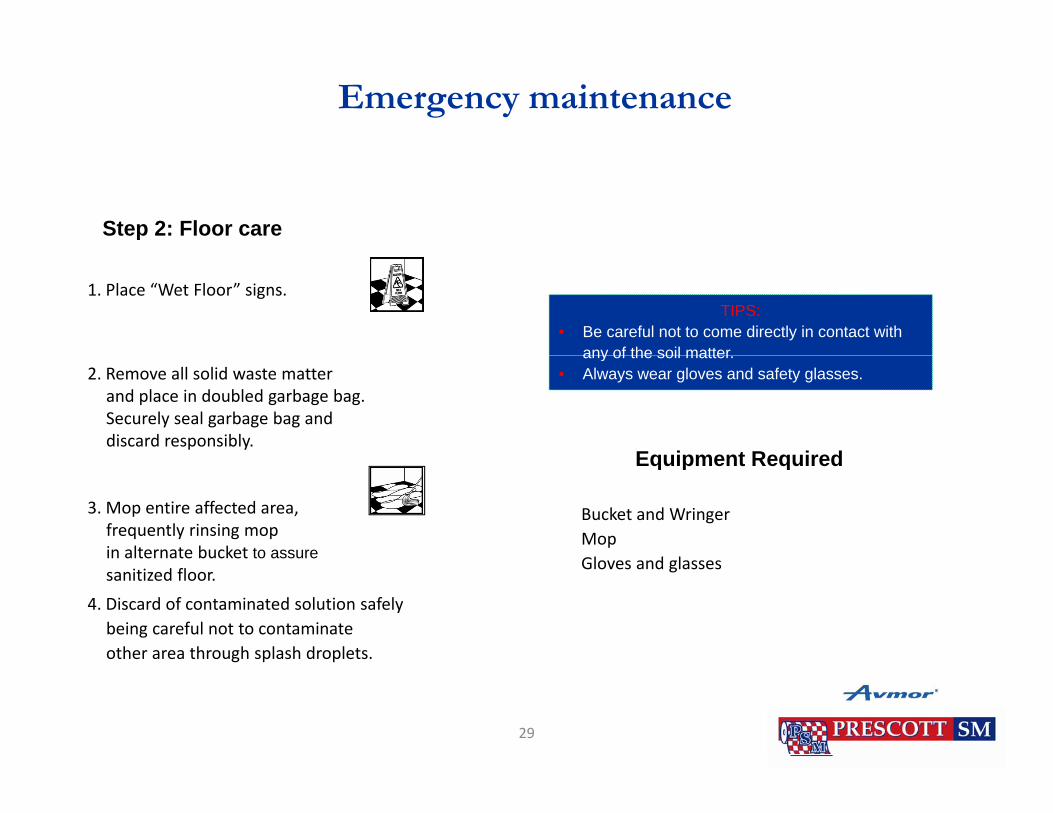
Step 2: Floor care
1. Place “Wet Floor” signs.TIPS:
• Be careful not to come directly in contact with any of the soil matter
2. Remove all solid waste matter and place in doubled garbage bag. Securely seal garbage bag and discard responsibly.
any of the soil matter. • Always wear gloves and safety glasses.
Equipment Required
3. Mop entire affected area, frequently rinsing mop in alternate bucket to assure
Bucket and WringerMopGloves and glasses
Equipment Required
sanitized floor.
4. Discard of contaminated solution safely being careful not to contaminate other area through splash droplets.
Gloves and glasses
29
Clean up
ChemicalsEquipment
1. Carefully rinse bucket and wringer unit and mop. Discard of mop head safely and responsibly.
1. Wipe leaks around the bottles.
2. Tightly close the bottles and store them
2. After cleaning all the equipment, store them.
3 Once the floor is dry
for next time.
TIPS: 3. Once the floor is dry, remove “Wet sign”.
• Be careful not to come directly in contact with any of the soil matter or splashes.
• Always wear gloves and safety glasses.
30
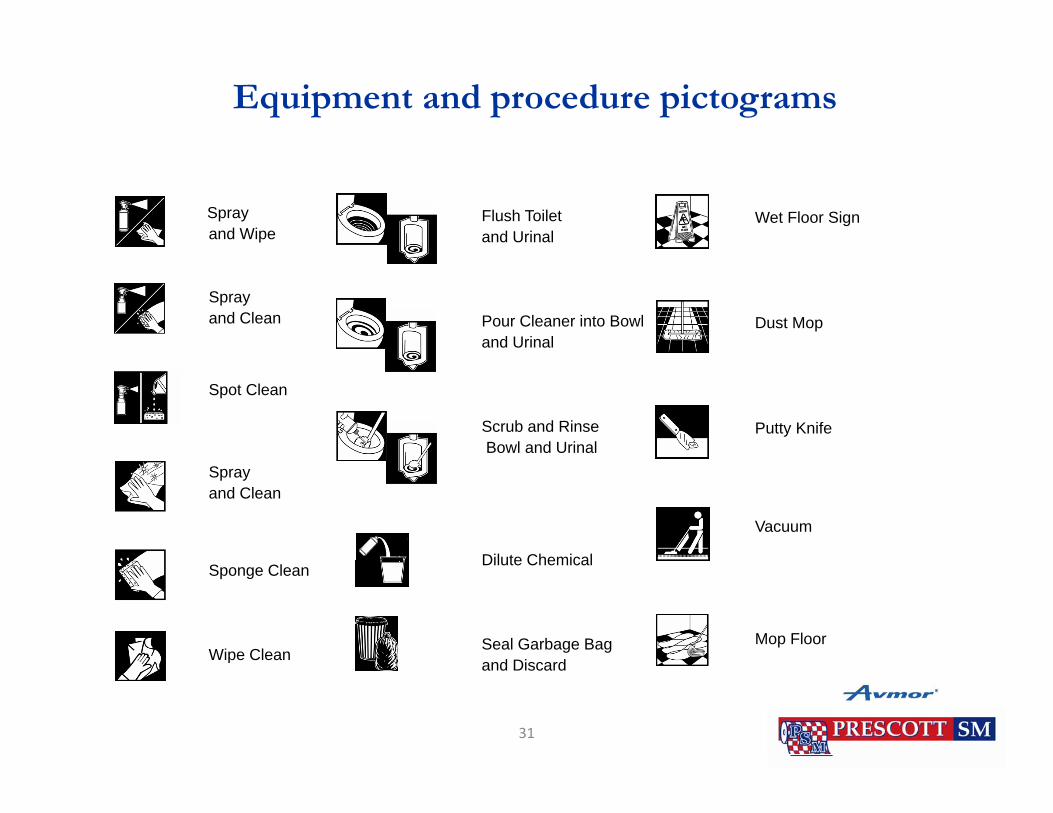
Equipment and procedure pictograms
Spray and Wipe
Flush Toilet and Urinal
Wet Floor Sign
Spray and Clean Pour Cleaner into Bowl
and UrinalDust Mop
Spot Clean
Scrub and Rinse Bowl and Urinal
Putty Knife
Spray and Clean
Dilute Chemical
Vacuum
Sponge Clean
Wipe Clean
Dilute Chemical
Seal Garbage Bag and Discard
Mop Floorp and Discard
31
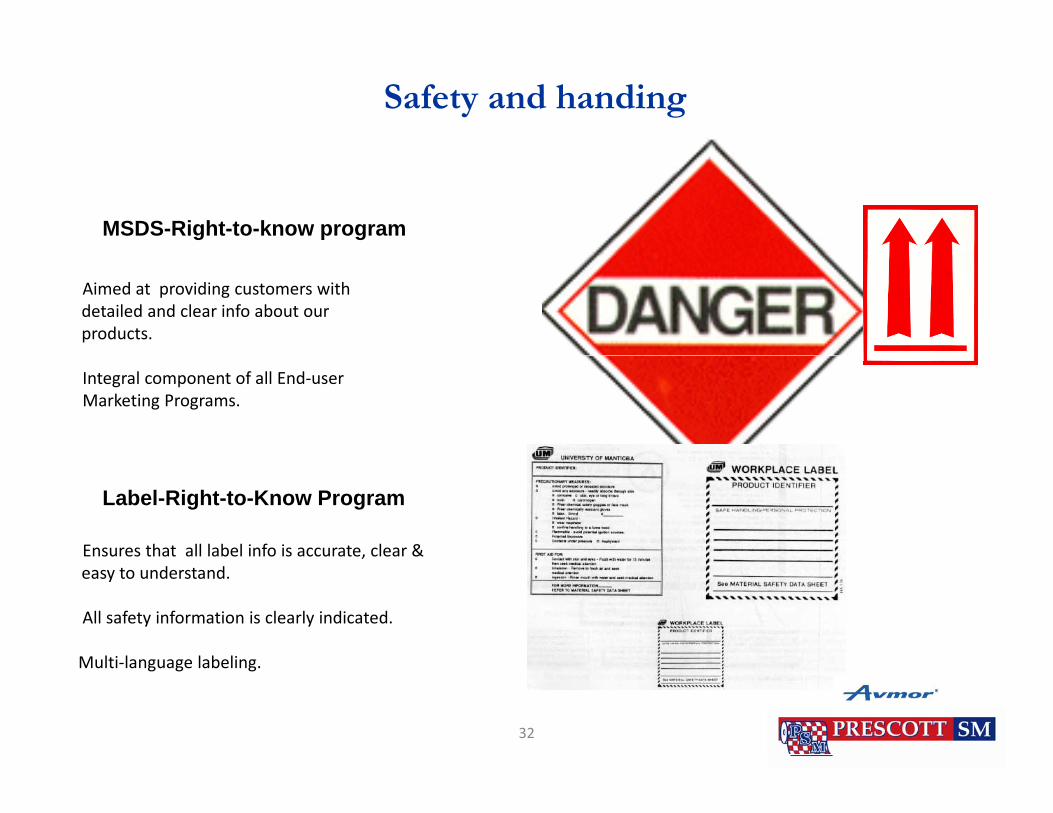
Safety and handing
MSDS-Right-to-know program
Aimed at providing customers with detailed and clear info about our products.
Integral component of all End‐userMarketing Programs.
Label-Right-to-Know Program
Ensures that all label info is accurate, clear & easy to understand.
All safety information is clearly indicated.
Multi‐language labelingMulti‐language labeling.
32