Ultrasonography: Where to start? Tony Pease, DVM, MS Assistant Professor of Radiology North Carolina...
59
Ultrasonography: Where to start? Tony Pease, DVM, MS Assistant Professor of Radiology North Carolina State University
-
Upload
imogene-bryan -
Category
Documents
-
view
218 -
download
2
Transcript of Ultrasonography: Where to start? Tony Pease, DVM, MS Assistant Professor of Radiology North Carolina...
Ultrasonography:Where to start?
Tony Pease, DVM, MSAssistant Professor of Radiology
North Carolina State University
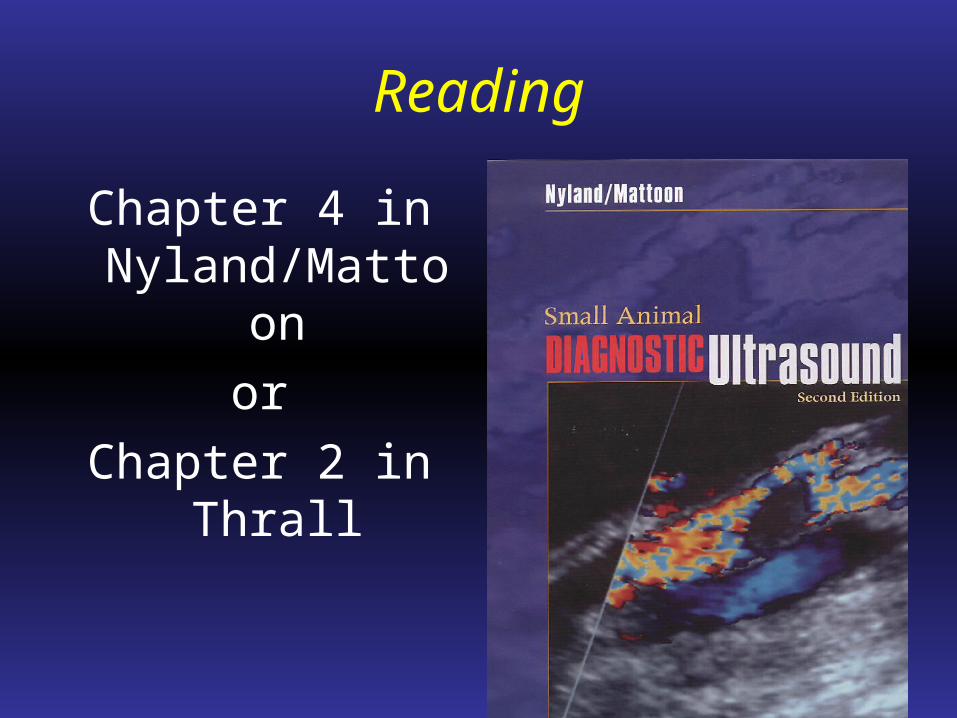
Reading
Chapter 4 in Nyland/Mattoon
or
Chapter 2 in Thrall

RELAX!
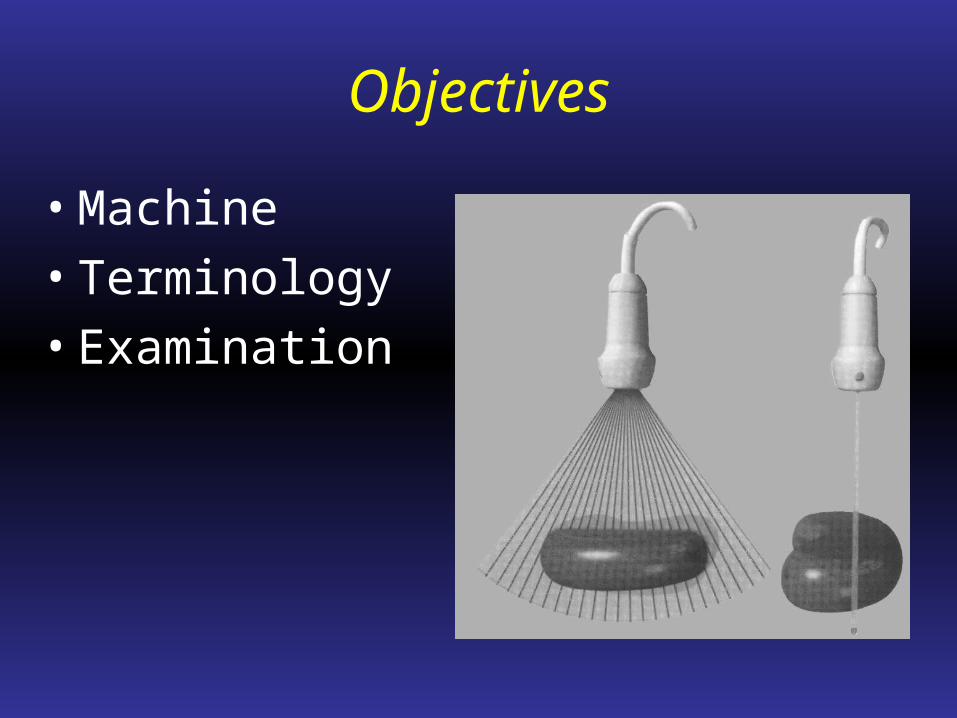
Objectives
• Machine
• Terminology
• Examination

Examination
• Image orients like a radiograph
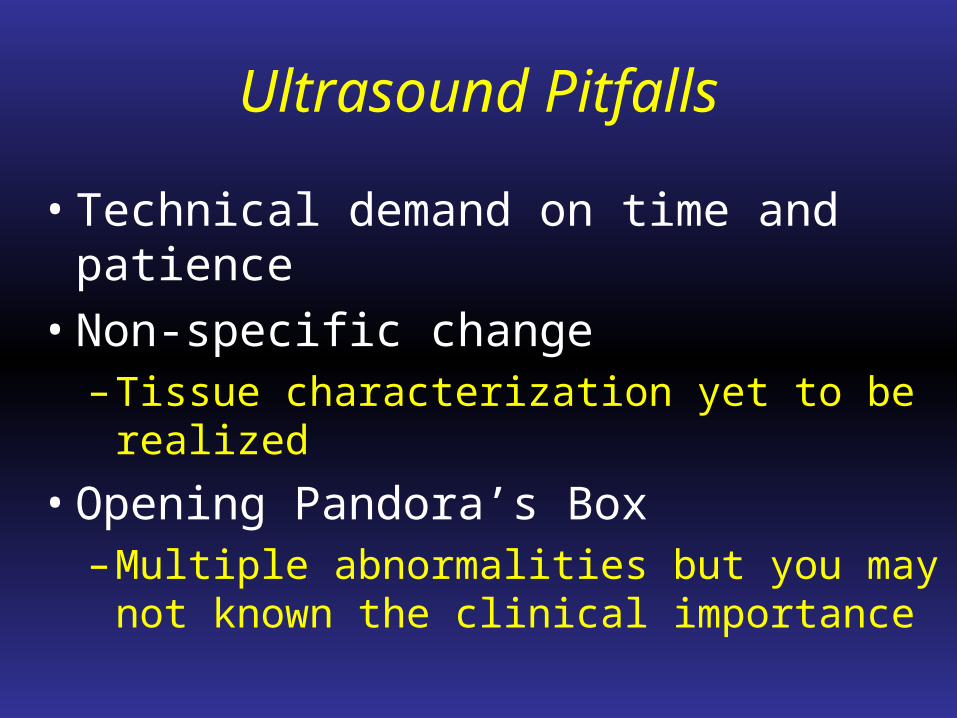
Ultrasound Pitfalls
• Technical demand on time and patience
• Non-specific change– Tissue characterization yet to be realized
• Opening Pandora’s Box– Multiple abnormalities but you may not known
the clinical importance

Fatal assumptions
• Speed of sound is an average– 1540 m/sec
• All sound waves are assumed to be created by a primary beam

Ultrasound Knobs

Power vs. Gain
• Power = preprocessing– Controls energy given to the transducer to
regulate intensity of the sound wave
• Gain = post-processing– Increases the overall brightness given to the
returning signal
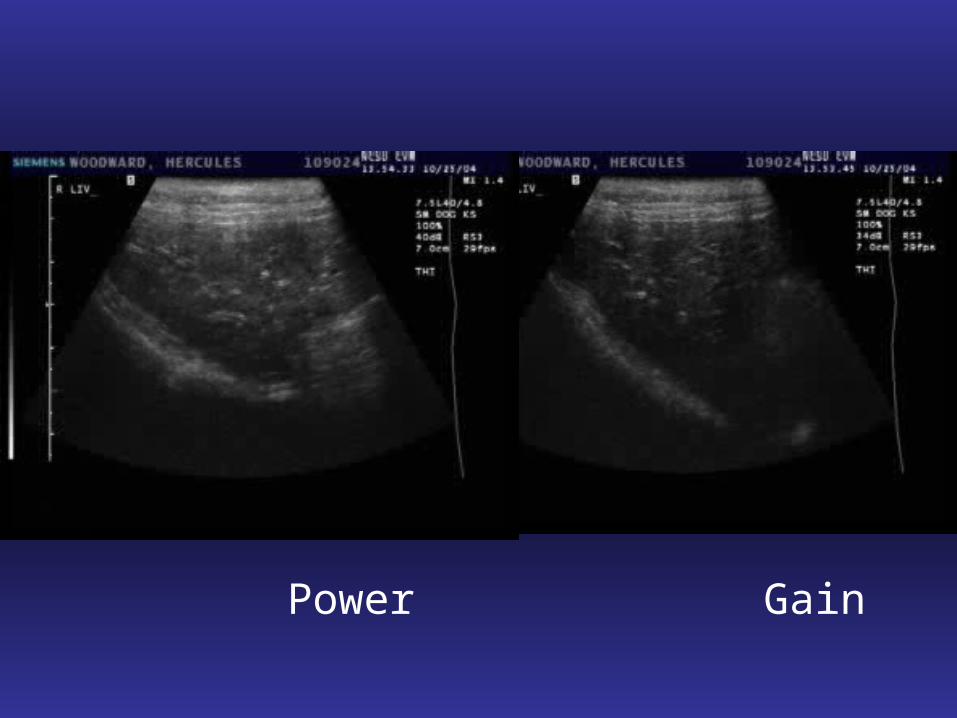
Power Gain
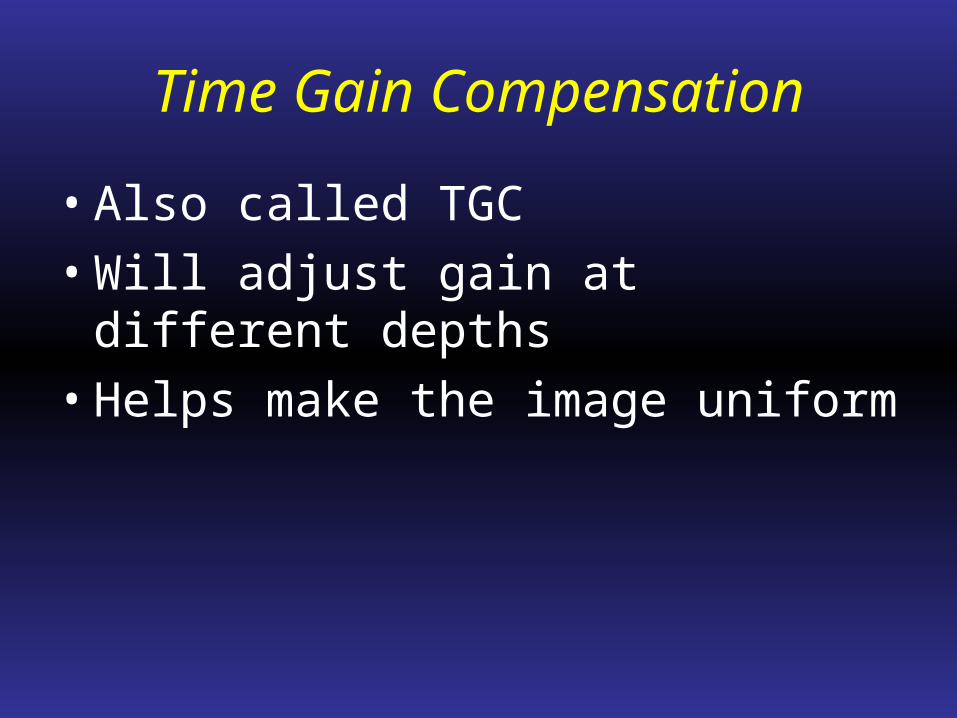
Time Gain Compensation
• Also called TGC
• Will adjust gain at different depths
• Helps make the image uniform

Time Gain Compensation

Beam and focal spots
Nyland, Small Animal Diagnostic Ultrasound
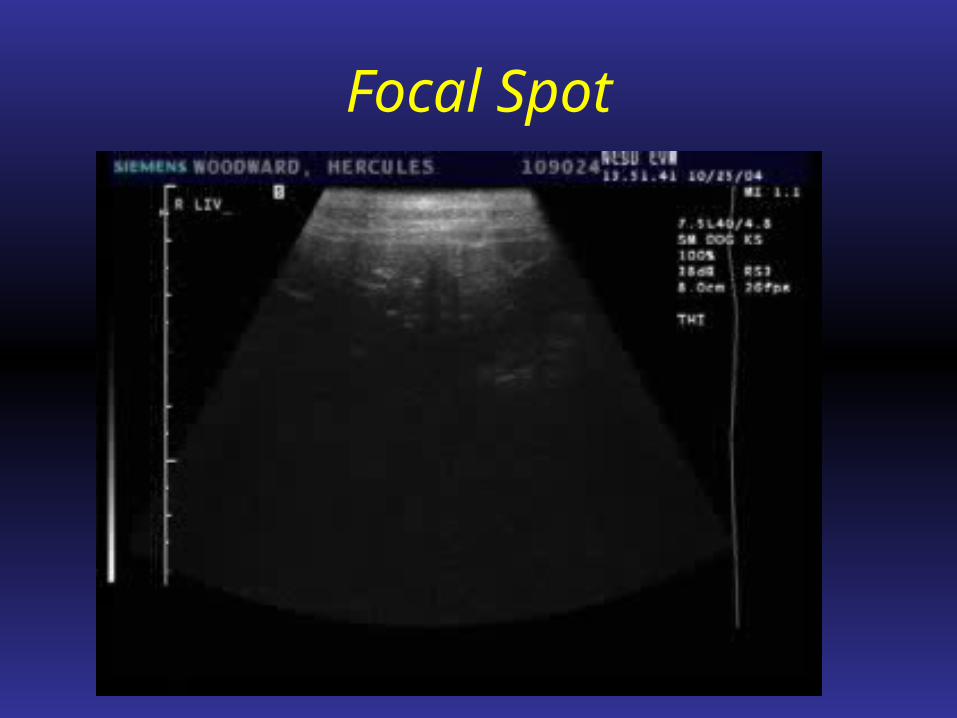
Focal Spot
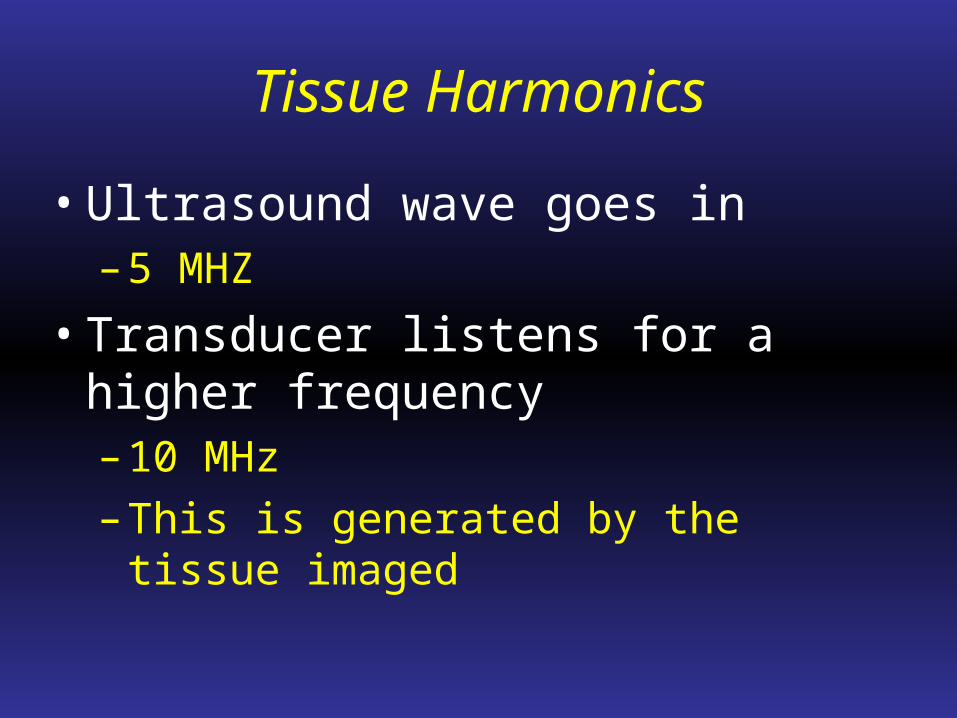
Tissue Harmonics
• Ultrasound wave goes in– 5 MHZ
• Transducer listens for a higher frequency– 10 MHz
– This is generated by the tissue imaged

Harmonics Benefit
• Only goes through tissue once– Less artifacts
• Penetrates better than 10 MHz– But not as good as a 5 MHz wave
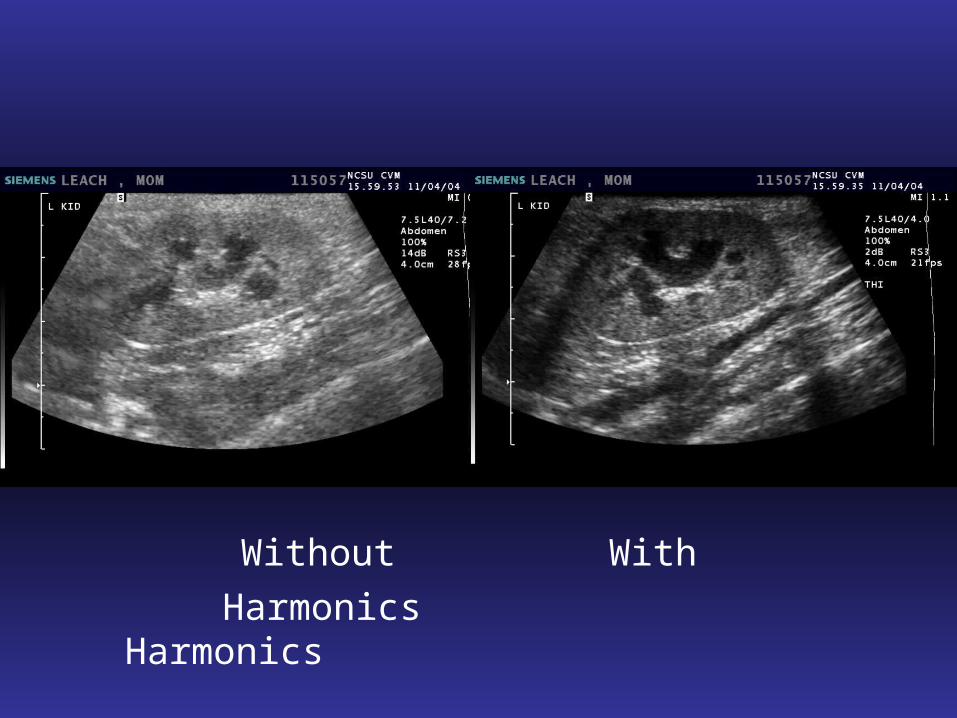
Without With
Harmonics Harmonics
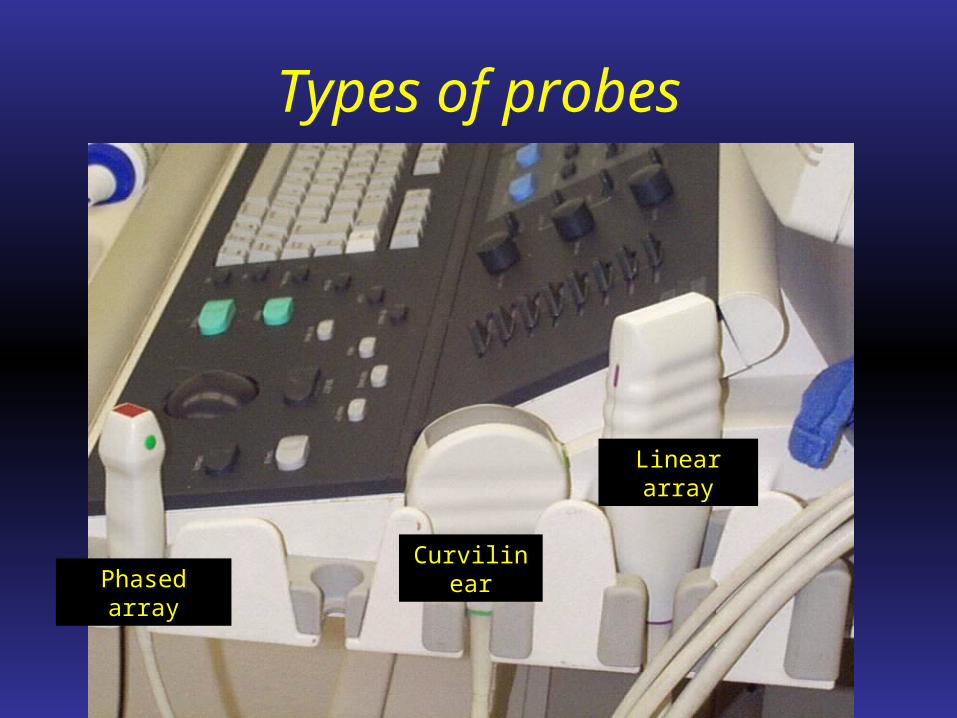
Types of probes
Phased array
Linear array
Curvilinear

How does it work?
Nyland, Small Animal Diagnostic Ultrasound

What about MHz?
• Generally 1-13 MHz
• Multiple frequencies in one probe– 1-4 MHz
– 5-8 MHz
• Higher number = better resolution• Decreased penetration

Bottom line
• For canine abdomen– Average size dog
• Use a 5-8 MHz probe
– Deep-chested dog• Use a 3-5 MHz probe
• For feline abdomen– Can use 10-12 MHz probe

Terms
• Hyperechoic
• Hypoechoic
• Isoechoic
• Anechoic
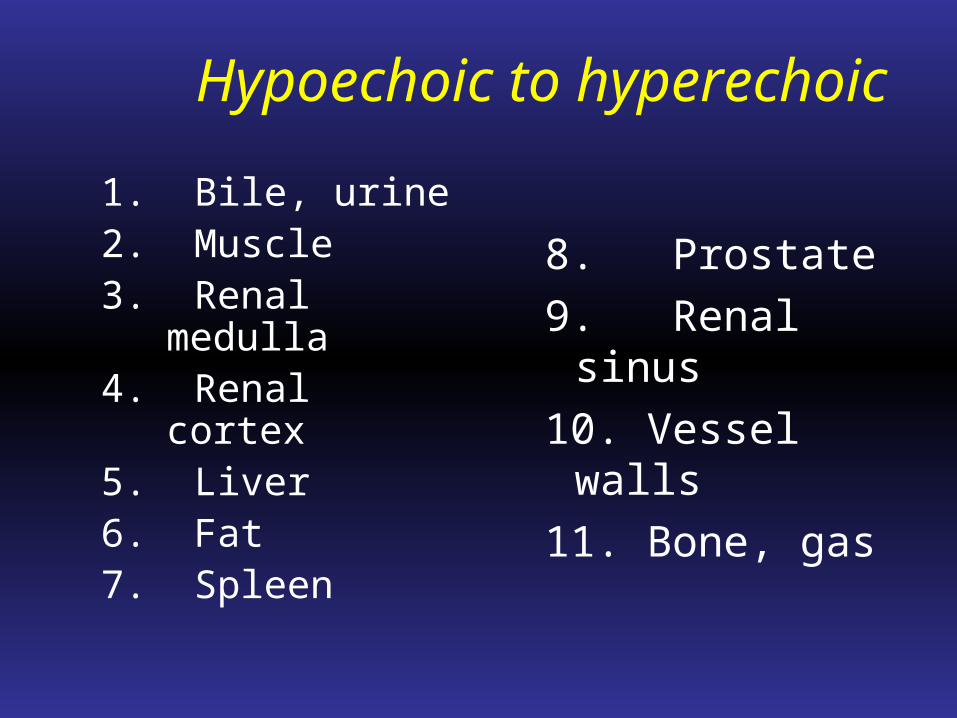
Hypoechoic to hyperechoic
1. Bile, urine2. Muscle3. Renal medulla4. Renal cortex5. Liver6. Fat7. Spleen
8. Prostate
9. Renal sinus
10. Vessel walls
11. Bone, gas

Everything’s relative
• Echogenicity is a comparison

Examination
• Abdomen– No set protocol
• Thorax– Echocardiograph
• Lateral

Abdominal Ultrasound
• Patient preparation– Clip or alcohol
– Acoustic coupling gel
• Appropriate probe selection (MHz)
• Image optimization takes time
• May need to switch transducers or change frequencies
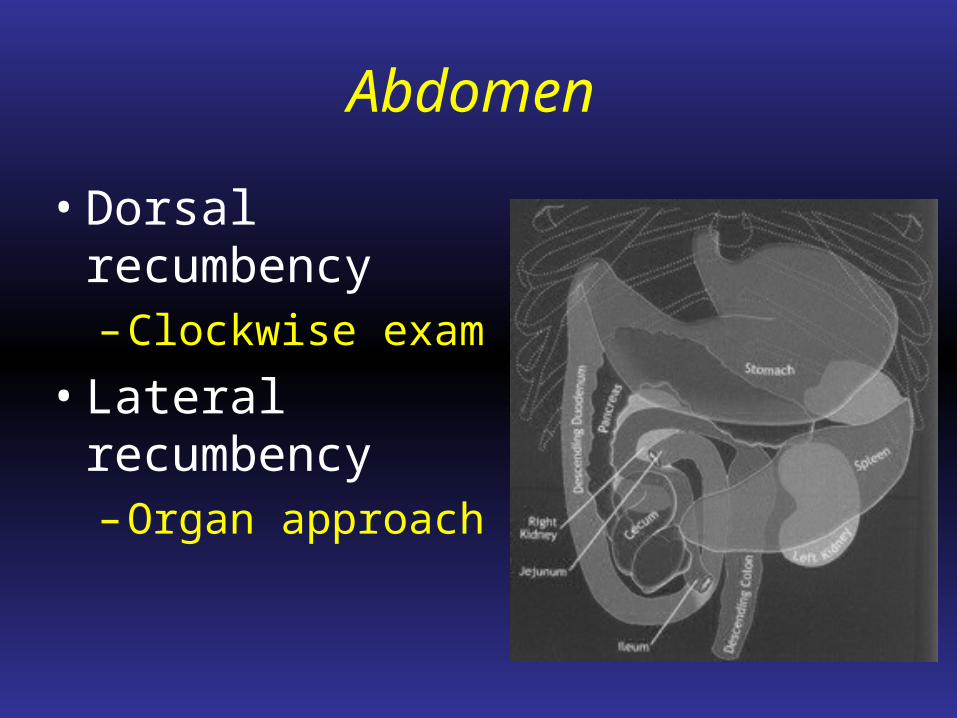
Abdomen
• Dorsal recumbency– Clockwise exam
• Lateral recumbency– Organ approach

Ultimate goal
• Examine all organ systems
• Examine in a routine fashion

Liver/Gallbladder

Liver

Where we are

Stomach (dog)

Stomach (cat)
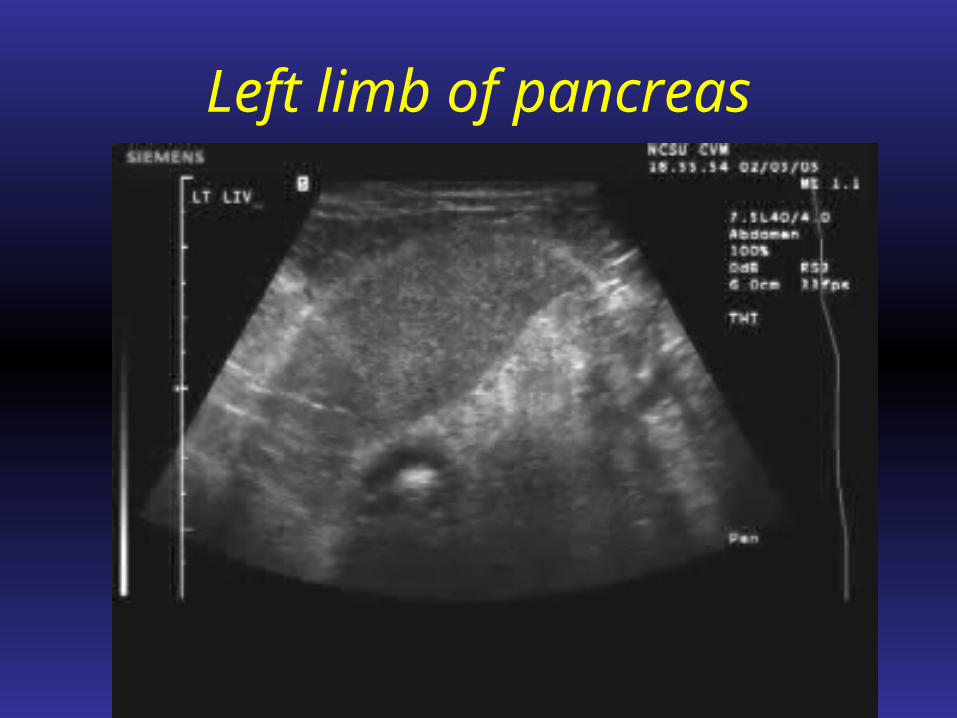
Left limb of pancreas

Spleen
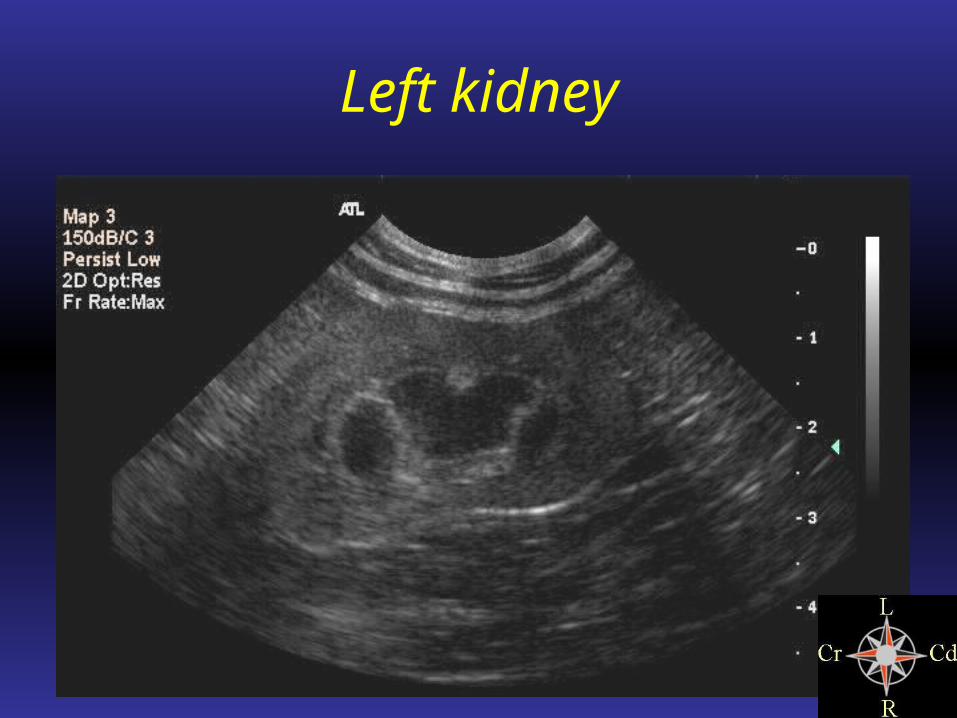
Left kidney

Adrenal gland

Variability of adrenal glands
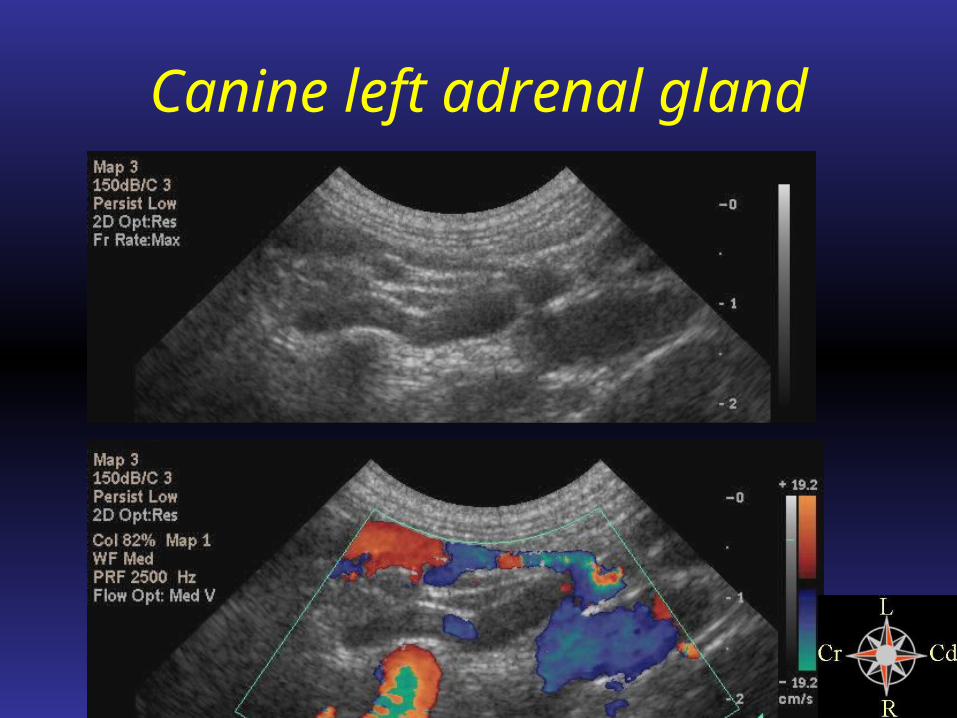
Canine left adrenal gland
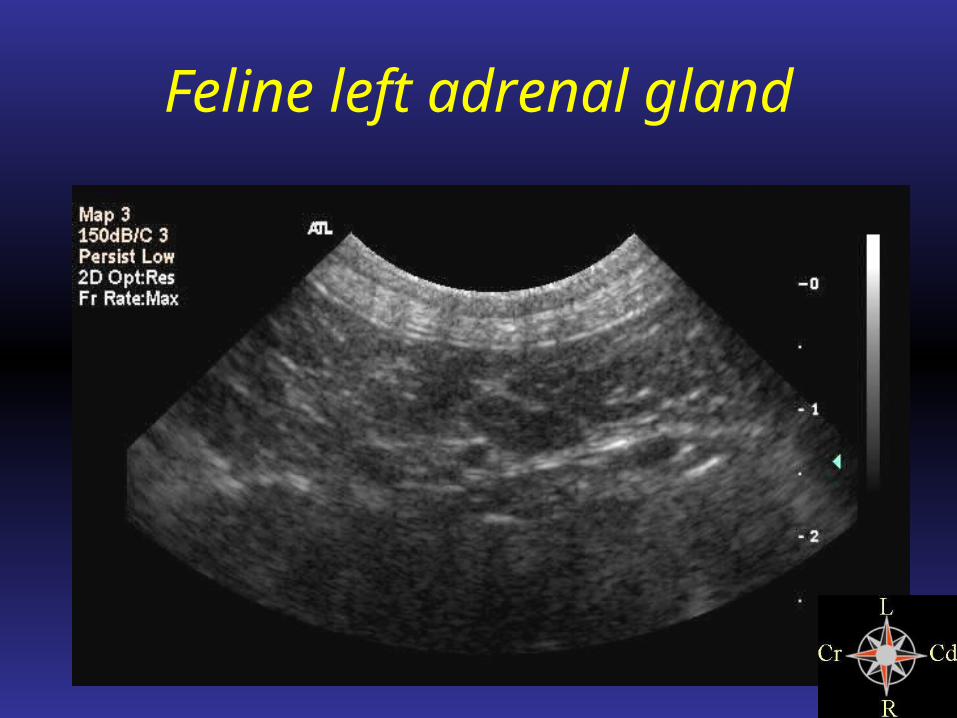
Feline left adrenal gland

Aorta

Aorta

Urinary Bladder

Medial iliac lymph node

Right kidney

Right adrenal gland - Dog

Right adrenal gland - Cat

Right limb of pancreas

Mesenteric lymph nodes

Small intestine and colon

Intestinal layering
• Superficial to deep– Serosal = White
– Muscularis = Black
– Submucosal = White
– Mucosal (thickest) = Black
– Mucosal-luminal interface = White

Uterus
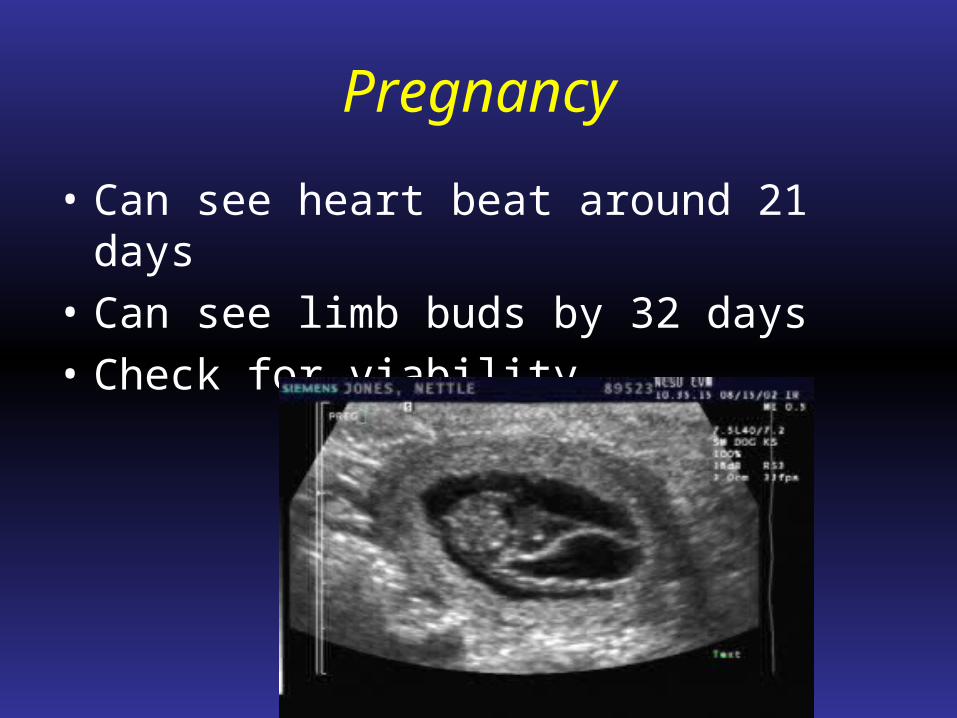
Pregnancy
• Can see heart beat around 21 days
• Can see limb buds by 32 days
• Check for viability

Other uses
• Brain imaging• Laryngeal exam• Guided aspirates• Contrast studies• Thyroid gland• Ocular exam• Blood flow• Umbilicus


Ultrasound guided techniques
• Needle approximate 45 degree angle
• Use appropriate needle length for target
• Be mindful of surrounding vessels

Cystocentesis
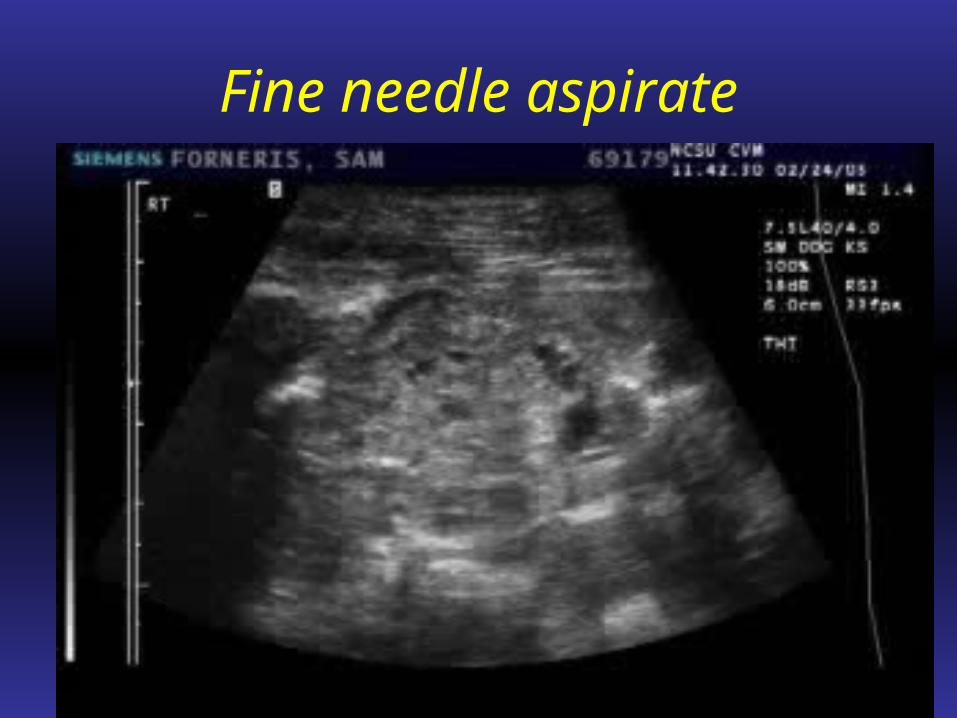
Fine needle aspirate