Steps to download and run the tool on Windows Operating ...
10
Step 1 – Download the Secured Assessment Browser (SAB) tool from the links below: SAB Take from Home The path will open as per the screenshot below • Select the folder as per your operating system. Save the folder on your laptop and run the SAB tool for other exams as well, as per your test schedule. (This means, once you downloaded this folder, you do not have to repeat step-1 for other exams) Steps to download and run the tool on Windows Operating System. This is mandatory for Laptop and Desktop users
Transcript of Steps to download and run the tool on Windows Operating ...

Step 1 – Download the Secured Assessment Browser (SAB) tool from the links below:
SAB Take from Home
The path will open as per the screenshot below
• Select the folder as per your operating system. Save the folder on your laptop and run the SAB tool for other exams as well, as per your test schedule. (This means, once you downloaded this folder, you do not
have to repeat step-1 for other exams)
Steps to download and run the tool on Windows Operating System. This is mandatory for Laptop and Desktop users

Once the file is Downloaded, Unzip and save the folder on your computer.
If you have WinRAR software application on your system, you can download the folder and unzip (extract the folder and save it on the desktop)
If WinRAR Downloadable option is not available, download this application in advance: https://www.win-rar.com/predownload.html?&L=0
Open the folder and run the SAB (for Windows 10 or Windows 7,8) as per your operating system
SAB installation is one-time activity and should be done before the ‘System Check test’
Once installed, you do not have to re-install it for ‘Final Examination’
Click on SAB file directly to take Examination
Step 2: Open the folder and run the SAB (for Windows 10) or use SAB (for Windows 7,8)
as per your operating system. (For every exam,step 2 must be done to take exam on Laptop/Desktop)
Step 3 – a) Enter access token as gitamuniversity (all small letters, one word) and click on
start test. This is mandatory, if entered wrongly will get errors

Step 4 – In the next Page, enter the required details.

After you go to the Next Page You are required to upload a valid Identity Proof. This image must have your name and your photograph, you may upload one of the following (Only the front side of the card is required)
• College ID Card
• Aadhar Card
• Driving License
• Passport
• Voter ID Card
After you upload the ID Proof, click on Proceed
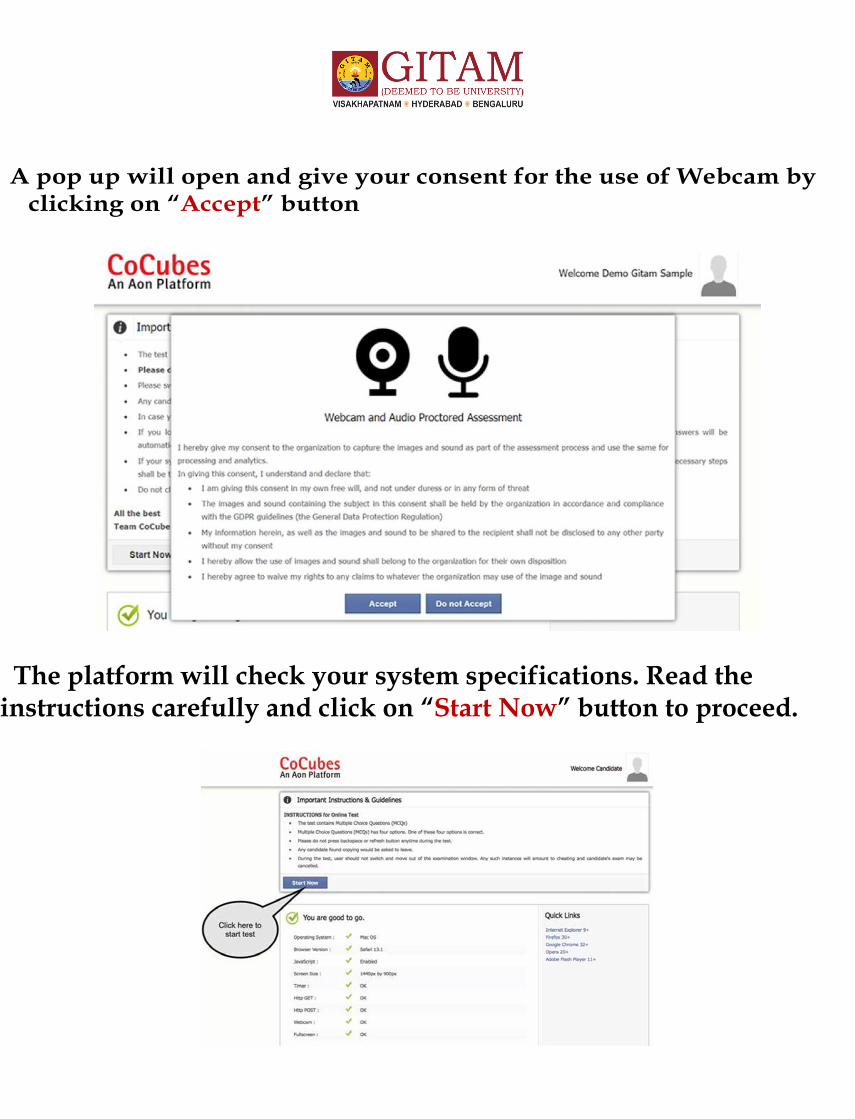
A pop up will open and give your consent for the use of Webcam by clicking on “Accept” button
The platform will check your system specifications. Read the instructions carefully and click on “Start Now” button to proceed.
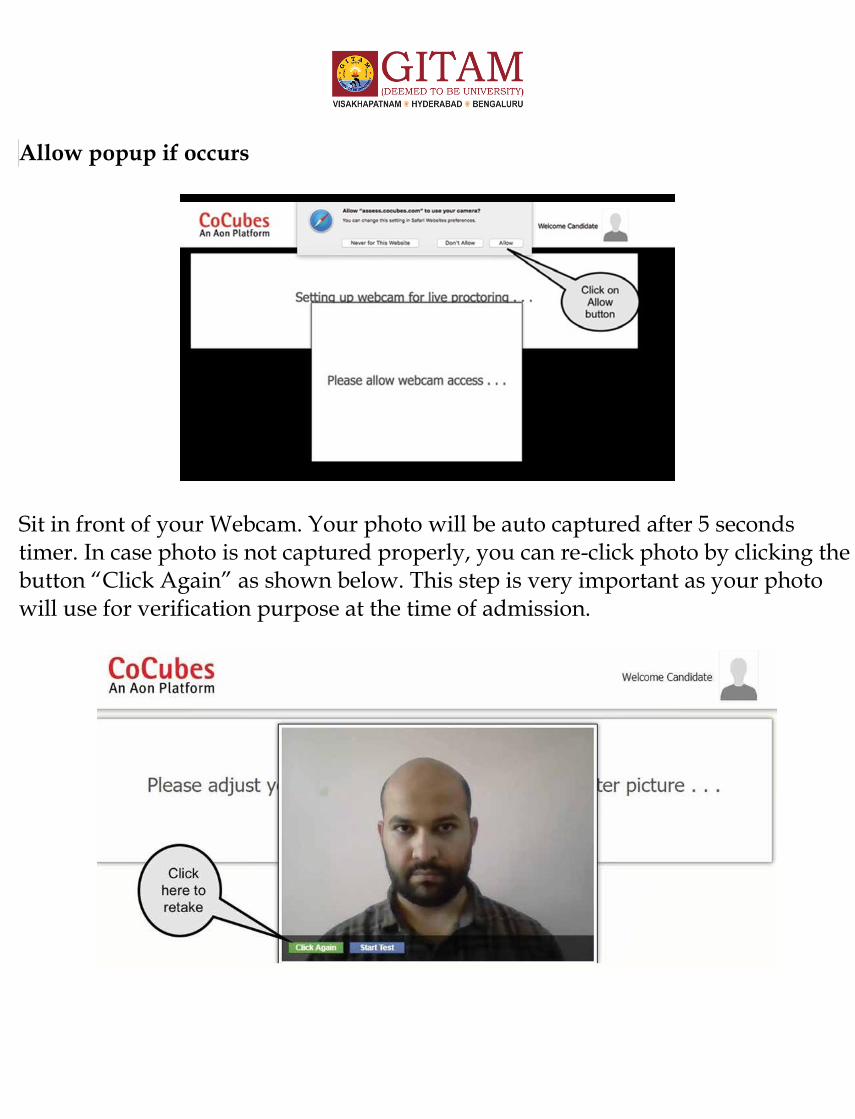
Allow popup if occurs
Sit in front of your Webcam. Your photo will be auto captured after 5 seconds timer. In case photo is not captured properly, you can re-click photo by clicking the button “Click Again” as shown below. This step is very important as your photo will use for verification purpose at the time of admission.

If your face is not clear in the clicked image, it will give an error “Face not detected” and you have click again. Once your photo is captured properly, click on “Start test” button.
A pop up will open. Click on “Enable Fullscreen”

Do’s and Don’ts

Probable issues before executing the Tool
1. Tool file is getting deleted on download – In this case you will have to
disable the anti-virus in the system and then download the file.
2. Admin password required to execute the file – Some systems may prompt you to
enter admin password, be sure that you are of this information.
3. Microsoft .NET framework is not installed on the machine – In this case below
prompt will appear and you will have to choose download and install option to
download the framework. It will take around 5-10 minutes

Other Very Important Instructions
• Google Chrome Should be Your Default Browser (Be Sure to Update to the
latest Version)
• Important to have the login credentials handy as the tool will not allow
you to access any application once its opened
• Allow Google Chrome to Give Webcam and Audio Access to
CoCubes.com
• Clear Cache before every assessment
• Time in the system invalid: Please set your system to Indian Standard
Time (IST)
• Webcam not connected: Please ensure you have proper functioning
Webcam
• Important to close and save all other work prior to running SAB Tool.
For any further assistance, do reach out to your
Examination Coordinator