Social Media for Creatives - 2 Key Platforms
70
S Social Media for Creatives © 2013. BNDMAND. All Rights Reserved. How to successfully get more work and visibility for your career Presented at the Stanislavski Institute, Sao Paulo Brazil
-
Upload
bndmand -
Category
Social Media
-
view
117 -
download
1
Transcript of Social Media for Creatives - 2 Key Platforms

S
Social Media for Creatives
© 2013. BNDMAND. All Rights Reserved.
How to successfully get more work and visibility for your
career
Presented at the Stanislavski Institute, Sao Paulo Brazil
Technology S Good Internet Access
S Media Device (such as laptop, smartphone, iPad or Tablet)
S Open mind

Course
Topics
S Facebook
S Twitter
S Social Media Strategy


Social Media
At the minimum, you should
be on at least two social media
sites
Twitter should be one of them
Social media allows you to
engage, share,
collaborate and research.

Marketing and Social Media
together allow you to:
1. Drive traffic to your website
2. Manage your brand online
• Identity
• Reputation
3. Engage with people you want
to work with
4. Build a large, global fan base
5. Build trustworthiness
Before we build a strategy, lets take a look at each of the social
media platforms.
•What do they do?
•How do I join?
•How do I build my online brand?
There are more than 800 million people using Facebook every day.
This platform offers more than just a way to stay connected to friends
and family; it is an essential tool in the B2B (business to business)
marketing toolbox.
Facebook allows your business to be available to people on a trusted,
popular platform, where prospects can see “real” people (their friends,
family or colleagues) interacting with you and your brand.
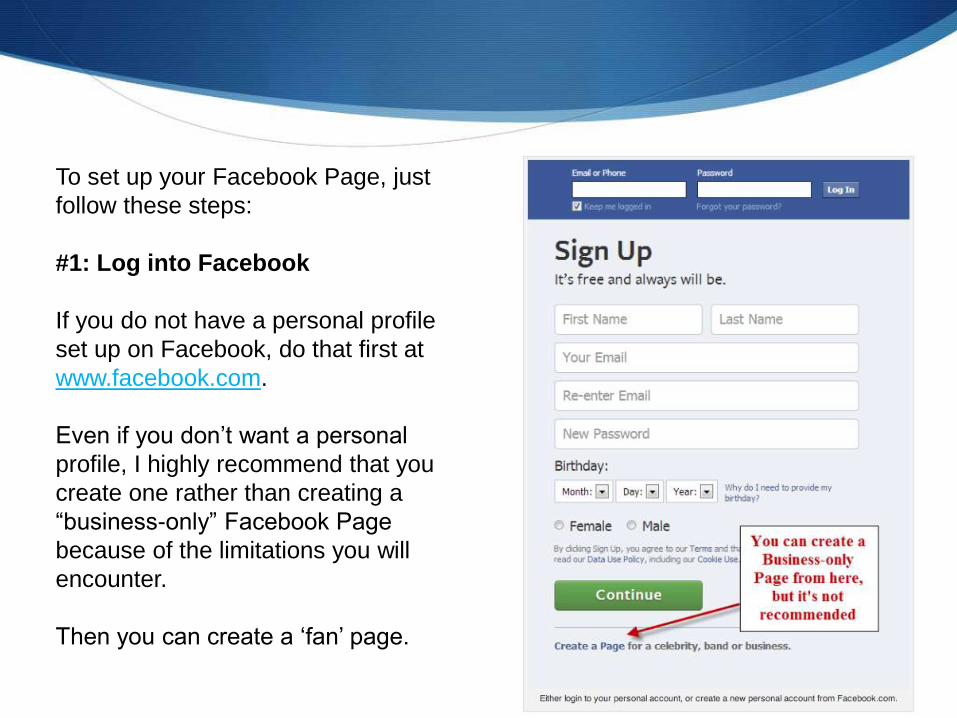
To set up your Facebook Page, just
follow these steps:
#1: Log into Facebook
If you do not have a personal profile
set up on Facebook, do that first at
www.facebook.com.
Even if you don’t want a personal
profile, I highly recommend that you
create one rather than creating a
“business-only” Facebook Page
because of the limitations you will
encounter.
Then you can create a ‘fan’ page.
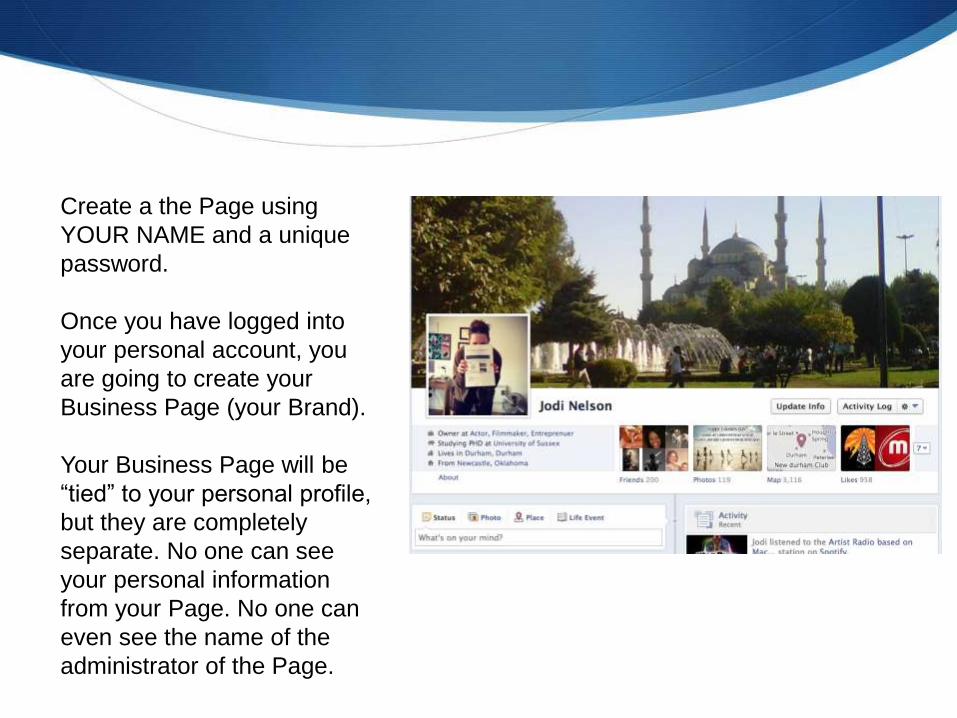
Create a the Page using
YOUR NAME and a unique
password.
Once you have logged into
your personal account, you
are going to create your
Business Page (your Brand).
Your Business Page will be
“tied” to your personal profile,
but they are completely
separate. No one can see
your personal information
from your Page. No one can
even see the name of the
administrator of the Page.

#2: Create a Page While
Logged in as Your Profile
Go to
www.facebook.com/pages/creat
e.php. Take a look at the main
categories of the Pages and
decide which one fits your
business. Click on one of the
boxes to select that main
category for your brand and
browse through the categories in
the drop-down menus to see
which one fits best.
Do not select Local Business or Place unless you have a physical storefront that your customers come to, because
Facebook will automatically turn your Page into a Place as well. You don’t want people coming to “check in” to your
home office.
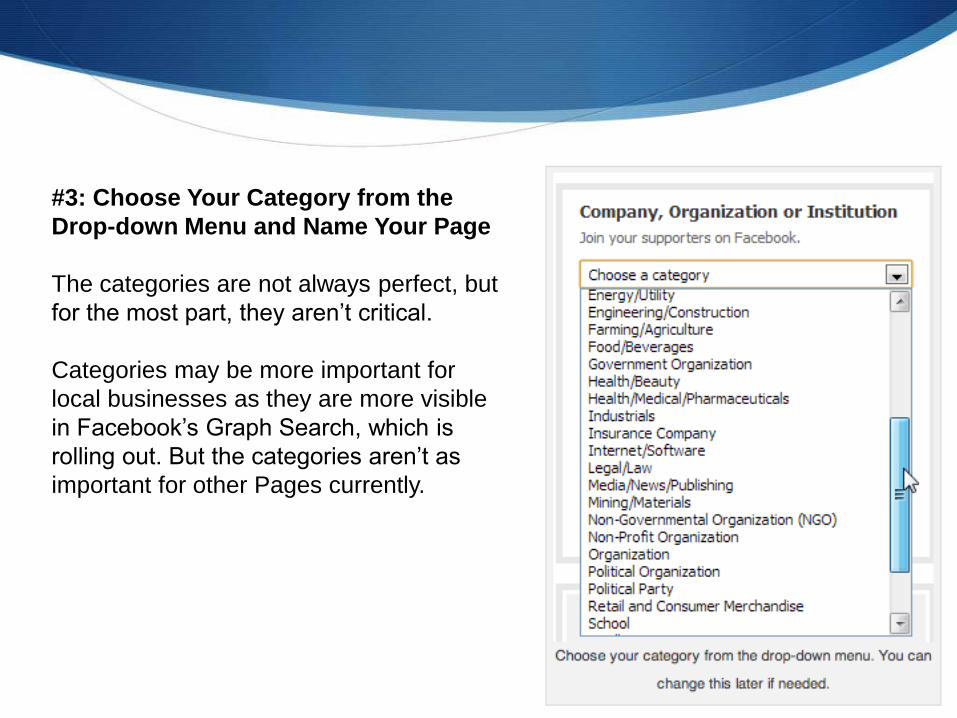
#3: Choose Your Category from the
Drop-down Menu and Name Your Page
The categories are not always perfect, but
for the most part, they aren’t critical.
Categories may be more important for
local businesses as they are more visible
in Facebook’s Graph Search, which is
rolling out. But the categories aren’t as
important for other Pages currently.
Tips to Know
The name of your Page will be
whatever you put into the box just
under the Category menu.
Having keywords in your Page title can
be a good idea because the keywords
help your Page to come up in Facebook
search.
You have a limit of 70 characters for
your Page name.
Facebook also insists on capitalizing
the first word of the Page name and
you cannot create the Page with
unusual capitalizations.
You will be able to change your Page
name up until the point you have 200
fans (or likes).
Select the box next to “I agree to
Facebook Pages Terms” and click Get
Started.
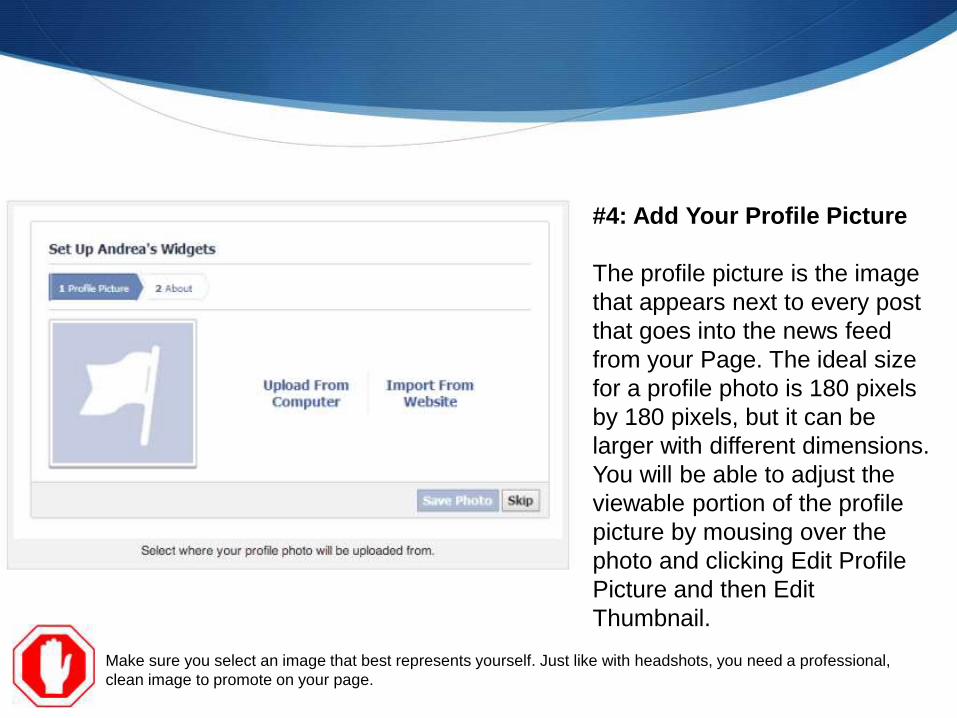
#4: Add Your Profile Picture
The profile picture is the image
that appears next to every post
that goes into the news feed
from your Page. The ideal size
for a profile photo is 180 pixels
by 180 pixels, but it can be
larger with different dimensions.
You will be able to adjust the
viewable portion of the profile
picture by mousing over the
photo and clicking Edit Profile
Picture and then Edit
Thumbnail.
Make sure you select an image that best represents yourself. Just like with headshots, you need a professional,
clean image to promote on your page.
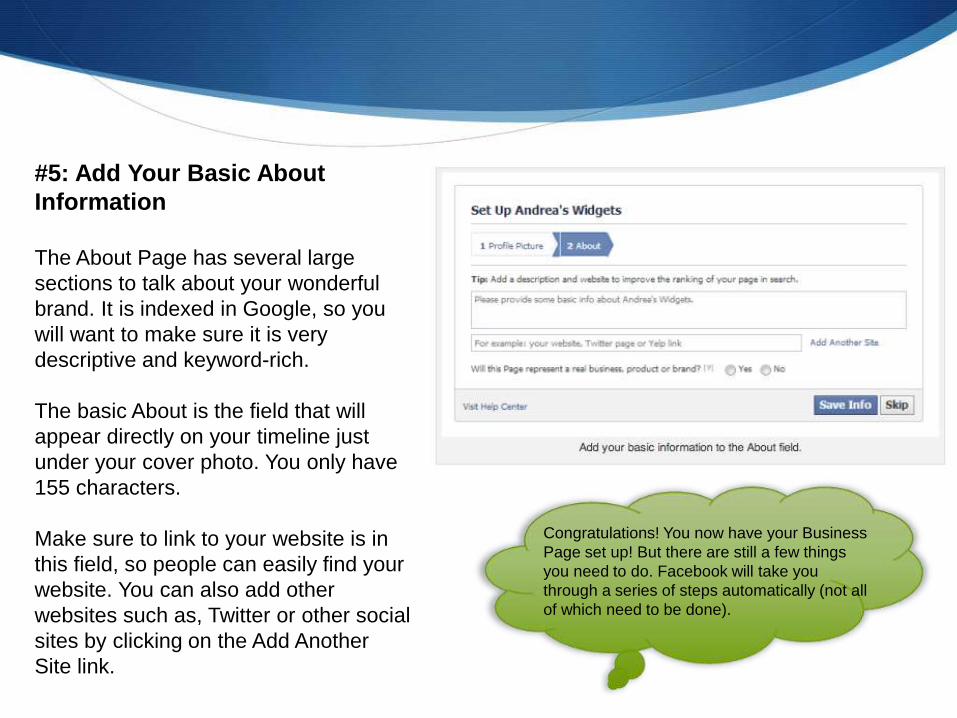
#5: Add Your Basic About
Information
The About Page has several large
sections to talk about your wonderful
brand. It is indexed in Google, so you
will want to make sure it is very
descriptive and keyword-rich.
The basic About is the field that will
appear directly on your timeline just
under your cover photo. You only have
155 characters.
Make sure to link to your website is in
this field, so people can easily find your
website. You can also add other
websites such as, Twitter or other social
sites by clicking on the Add Another
Site link.
Congratulations! You now have your Business
Page set up! But there are still a few things
you need to do. Facebook will take you
through a series of steps automatically (not all
of which need to be done).

#6: Like Your Own Page
Facebook prompts you to like your own Page, which is a good idea but it
isn’t required.

#7: Do Not Invite Your Email Contacts Yet
Facebook then takes you to the place where
you can invite your email contacts. Do not do
this until your Page is updated a bit more. And
I personally don’t like using Facebook’s
feature to accomplish this. Create your own
email message instead and send it directly
from whatever email service you use.
#8: Share Something
Facebook prompts you to share your first
status update. Again, you can decide to do
this now or skip it. It is a good idea to have
many status updates on your timeline before
you start inviting people to like your Page so
they can see the types of things you are going
to be sharing.

#9: Add a Cover Photo
No page is complete without
a good cover photo. Your
cover photo has to be a
minimum of 399 pixels wide
(most standard photos are
fine) and works best if it is
sized to 851 pixels wide by
315 pixels high. If you do use
a standard photo, you will be
able to position it to fit in the
space, but some area of the
photo at the top or bottom will
be hidden.
Remember to keep it professional. I would suggest a photo still of a recent film shoot/set you were on, or a recent
scene from a play. Again, show your work and keep it creative and engaging. This, like your profile picture, can be
changed anytime and would be a good way to show you are constantly working on new projects.
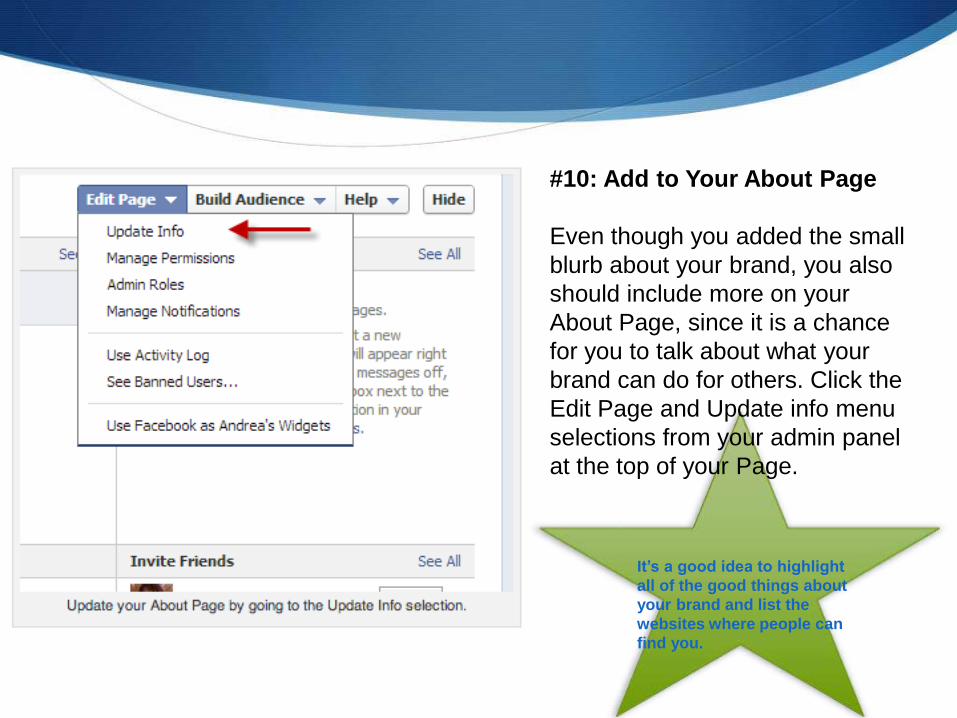
#10: Add to Your About Page
Even though you added the small
blurb about your brand, you also
should include more on your
About Page, since it is a chance
for you to talk about what your
brand can do for others. Click the
Edit Page and Update info menu
selections from your admin panel
at the top of your Page.
It’s a good idea to highlight
all of the good things about
your brand and list the
websites where people can
find you.
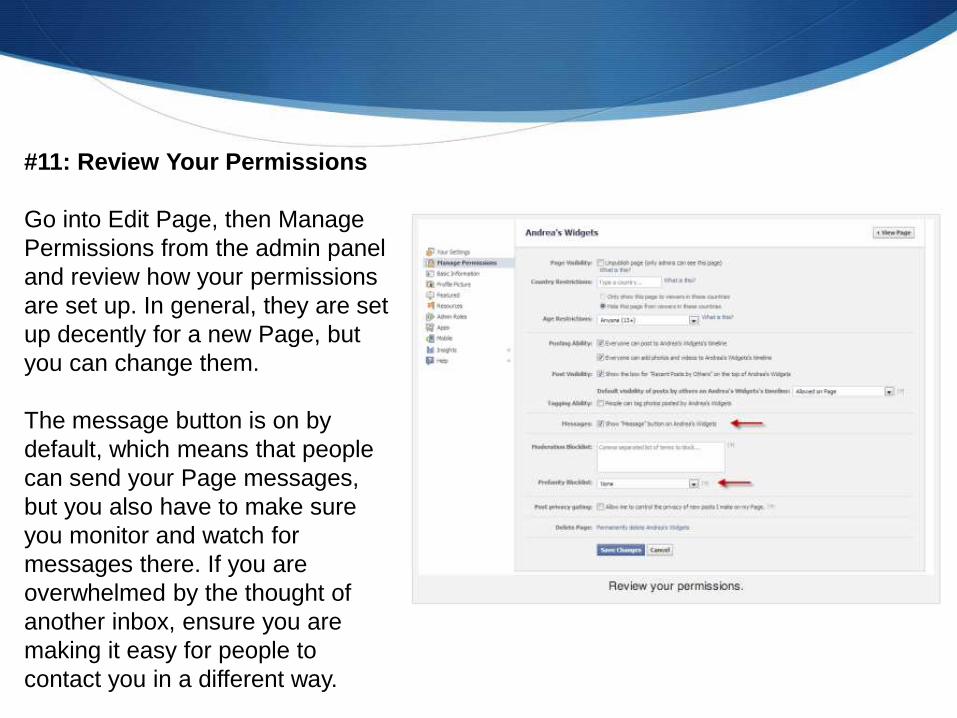
#11: Review Your Permissions
Go into Edit Page, then Manage
Permissions from the admin panel
and review how your permissions
are set up. In general, they are set
up decently for a new Page, but
you can change them.
The message button is on by
default, which means that people
can send your Page messages,
but you also have to make sure
you monitor and watch for
messages there. If you are
overwhelmed by the thought of
another inbox, ensure you are
making it easy for people to
contact you in a different way.
Tips to Know
The new timeline offers more branding
options so you can capture the eye of a
potential casting director, producer or director
and get them on your page.
Remember to always ask yourself ‘Do these
images, posts and likes help my brand’s
likeability?’ ‘Is it interesting, engaging, useful
content?’
Remember that Facebook’s Edgerank
(Facebook’s algorithm that personalizes
users’ newsfeeds and inserts posts it thinks
will interest you) rewards pages in the
newsfeed based on the number of
interactions a page receives. An interaction
can be defined as a summary of ‘Likes,’
posts, or comments about the page.
To show up in as many users’ top newsfeeds
as possible, your content must be fresh,
engaging, current and compelling.
You can subscribe to and organize lists for
different topics or influencers, which is key to
spread your brand across social media.

Final Thoughts:
I don’t recommend paying for Facebook Ads or Promoted Posts on Facebook. It’s costly and most likely will not gain you more followers or fans.
It’s best to create great content and organically grow your Facebook page with loyal followers who will truly be your biggest fans.
Also, keep your profile clean and professional, especially if your privacy settings are set to ‘public’. Remember, today anyone can find you, anywhere, anytime – this includes potential employers…
Why Twitter Matters?
What Twitter does quite simply is to merge a number of interesting trends in
social software usage—personal blogging, lightweight presence indicators, and
IM status messages—into a fascinating blend of envisioning and permanence,
both public and private.
The big “P” word in technology these days is “participatory.” But I’m increasingly
convinced that a more important “P” word is “presence.” In a world where we’re
seldom able to spend significant amounts of time with the people we care about
(due not only to geographic dispersion, but also the realities of daily work and
school commitments), having a mobile, lightweight method for both keeping
people updated on what you’re doing and staying aware of what others are
doing is powerful.

In terms of Twitter brand
management, your Focus relates
to on-brand messaging. First
thing's first--you can't be known
for 100 things. The process, then,
begins when you narrow it down
with three essential questions:
What is your ideal customer?
Who are they?
What do they value?
Next is Consistency.
Consistency means both timing
and frequency relative to your
brand-related topics of interest.
Third is Resonance, the way of
measuring the reach of your "on
brand" content to the audience
you're aiming to attract.
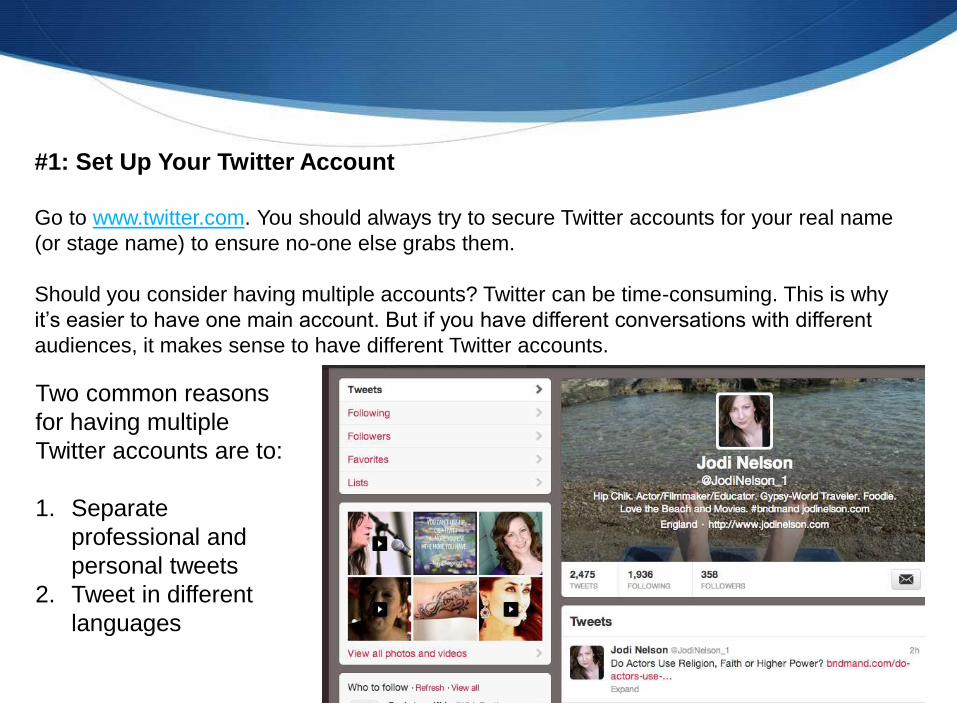
#1: Set Up Your Twitter Account
Go to www.twitter.com. You should always try to secure Twitter accounts for your real name
(or stage name) to ensure no-one else grabs them.
Should you consider having multiple accounts? Twitter can be time-consuming. This is why
it’s easier to have one main account. But if you have different conversations with different
audiences, it makes sense to have different Twitter accounts.
Two common reasons
for having multiple
Twitter accounts are to:
1. Separate
professional and
personal tweets
2. Tweet in different
languages
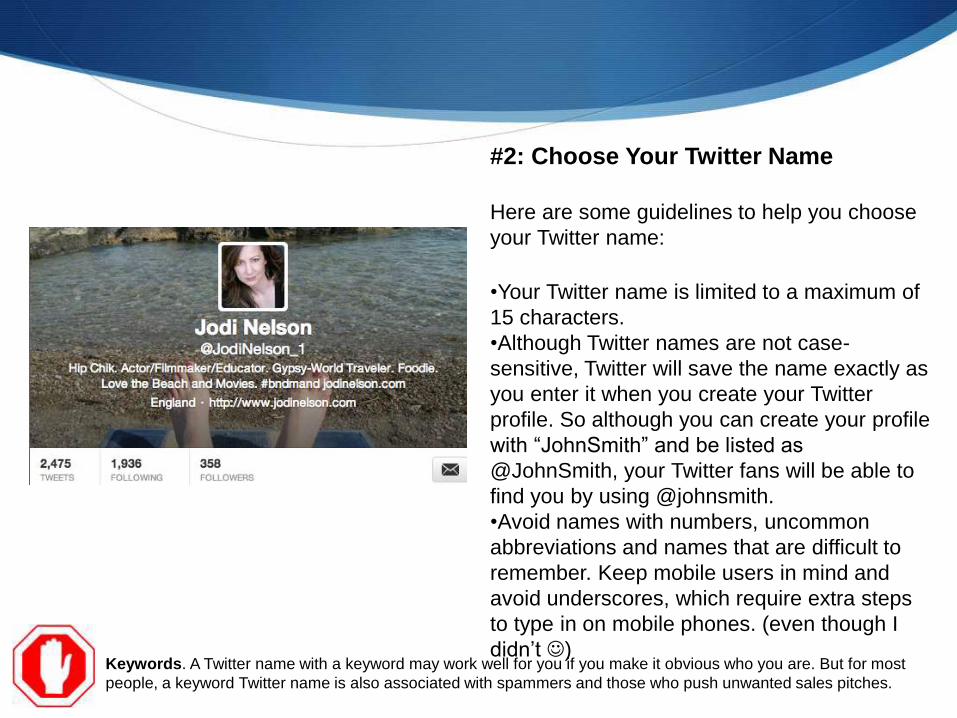
#2: Choose Your Twitter Name
Here are some guidelines to help you choose
your Twitter name:
•Your Twitter name is limited to a maximum of
15 characters.
•Although Twitter names are not case-
sensitive, Twitter will save the name exactly as
you enter it when you create your Twitter
profile. So although you can create your profile
with “JohnSmith” and be listed as
@JohnSmith, your Twitter fans will be able to
find you by using @johnsmith.
•Avoid names with numbers, uncommon
abbreviations and names that are difficult to
remember. Keep mobile users in mind and
avoid underscores, which require extra steps
to type in on mobile phones. (even though I
didn’t )Keywords. A Twitter name with a keyword may work well for you if you make it obvious who you are. But for most
people, a keyword Twitter name is also associated with spammers and those who push unwanted sales pitches.
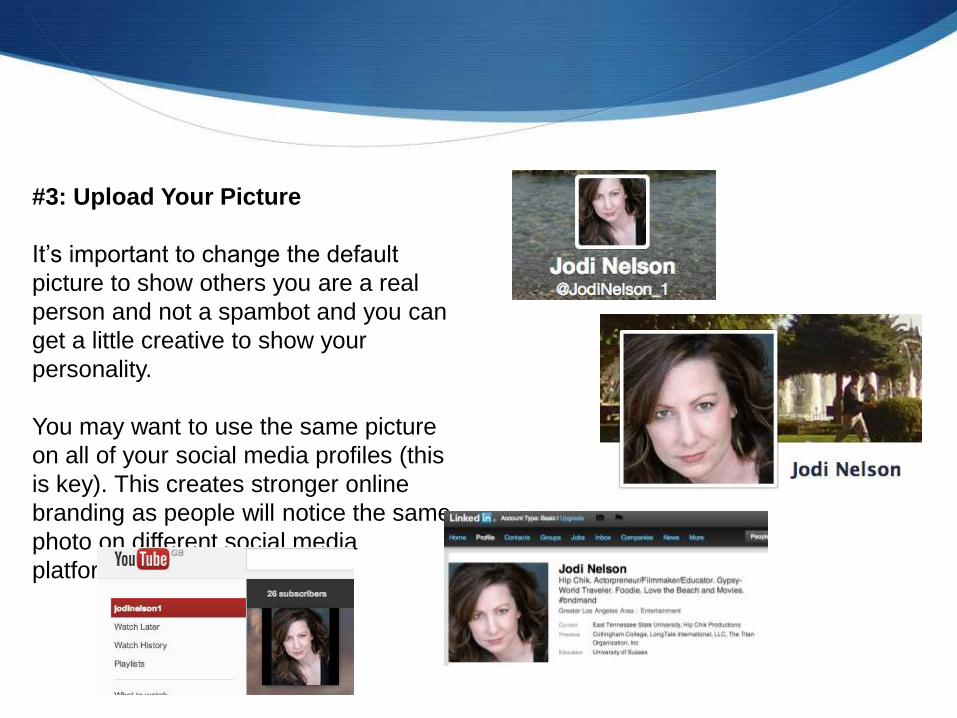
#3: Upload Your Picture
It’s important to change the default
picture to show others you are a real
person and not a spambot and you can
get a little creative to show your
personality.
You may want to use the same picture
on all of your social media profiles (this
is key). This creates stronger online
branding as people will notice the same
photo on different social media
platforms.
#4: Use Your Best Link
You only have one active link on your
Twitter profile. And before choosing
this link, you need to give some
thought to your overall online web
marketing strategy. Why are you
online? Where do you want to lead
your Twitter followers? For most
people, the link you have on your
Twitter profile will go to your website or
blog. This link can easily be changed.
You should also give some thought to
the exact page your Twitter visitors will
land on when they click the link on
your Twitter profile.
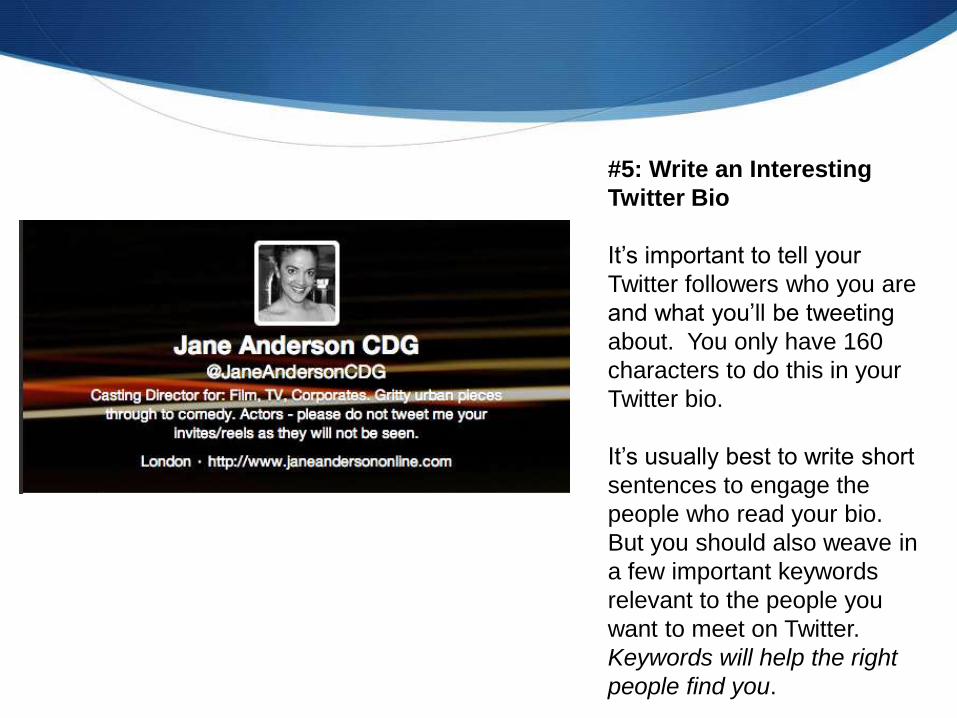
#5: Write an Interesting
Twitter Bio
It’s important to tell your
Twitter followers who you are
and what you’ll be tweeting
about. You only have 160
characters to do this in your
Twitter bio.
It’s usually best to write short
sentences to engage the
people who read your bio.
But you should also weave in
a few important keywords
relevant to the people you
want to meet on Twitter.
Keywords will help the right
people find you.
Tips to Know
Twitter changed their account
profiles so you can visually tell the
story of your brand.
New profile header images allow for
larger images (much like Facebook’s
Timeline cover image) to let you tell
people about your brand.
Photo streams allow you to highlight
images you have posted with your
tweets.
Mobile apps have allowed Twitter to
move beyond the desktop.
Go to @connect at the top of the
menu bar and see who has RT,
favorited and followed your tweets
and say thank you.

#6: Create an Engaging Header
Image
This is the centerpiece of your
Twitter Account. It serves as the
backdrop for your information
including:
•Profile image
•Username
•Twitter account name
•Twitter bio
•Location
•Web link
NOTE: You can add words to your images
such as time-sensitive information,
announcements and #hashtags you follow.
This is a great time to review and rewrite your Twitter bio to provide ease contact information.
Tips to Know
5 Tips on creating a successful
header image that really promotes
your brand:
1. Use a single photo that shows who you are.
This can be an image of a show you did, or
a casual shot of you on the set. Show your
talents.
2. Use a single photo that inspires your
community. Help people see the benefits of
working with you.
3. Use a single photo that includes your profile
picture (this takes a little planning and
creativity).
4. Create a collage of images that support
your brand. This allows you to show many
different images and is useful if your photos
are too small to be used as a single image.
5. Use graphics to create a background that
supports your profile image, which works
really well if you use a logo.
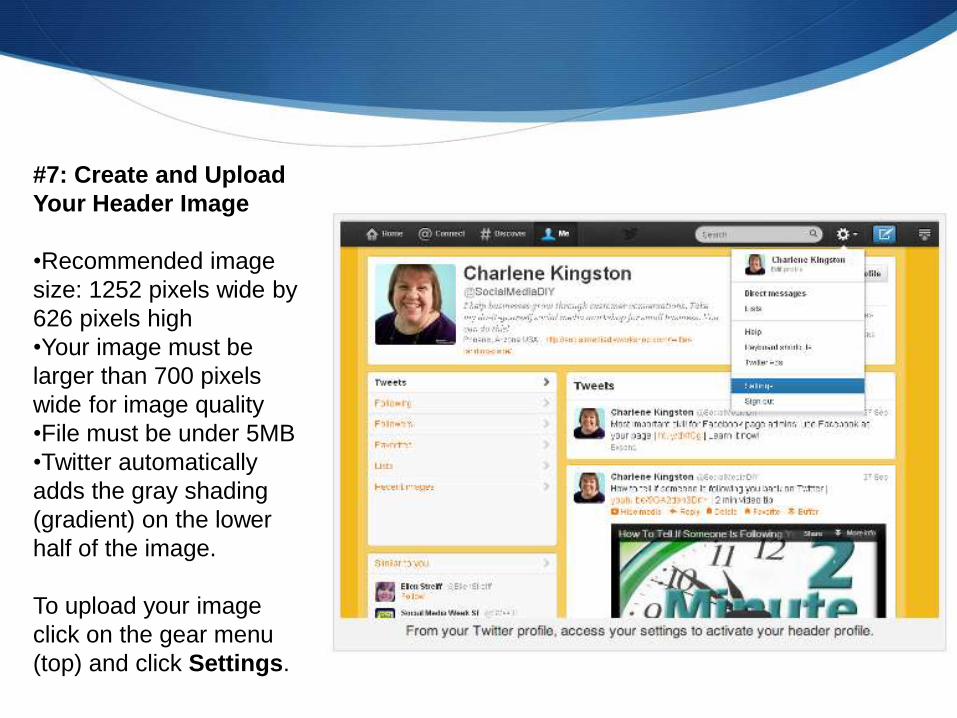
#7: Create and Upload
Your Header Image
•Recommended image
size: 1252 pixels wide by
626 pixels high
•Your image must be
larger than 700 pixels
wide for image quality
•File must be under 5MB
•Twitter automatically
adds the gray shading
(gradient) on the lower
half of the image.
To upload your image
click on the gear menu
(top) and click Settings.

On the Account page, click Design.

On the Design page, scroll
down to the Customize Your
Own area. Then click on the
Change Header button

Use the browse window to
locate the header image file
on your computer and click
open. Twitter uploads the
selected file from your
computer and installs it as
your header image. This
process takes a few seconds.
When it’s finished, Twitter
displays the confirmation
message.
Next click Me (menu at top) to
view your profile with the new
header image. Then check on
your mobile devices to make
sure it looks great
everywhere.
Final Thoughts:
Becoming someone’s follower on Twitter accomplishes four goals:
1. You identify Twitter accounts that will be relevant and interesting to you, your brand and your industry.
2. You let people know that you’re on Twitter, and encourage them to follow you back.
3. You associate yourself with a specific group of industry experts and thought leaders, and demonstrate your interest in the space.
4. Twitter is a great platform for engagement, so once you follow someone on Twitter you can work on starting a conversation.

Finding Your Lists:
Find your Lists on Twitter by heading to your main profile page and clicking on the "Lists" option on the
left-hand side, or chose the cog wheel on the top.
Creating Twitter Lists

Lists You Subscribe To:
From here you can view lists you're subscribed to, either ones you created previously or other
people's lists you follow.
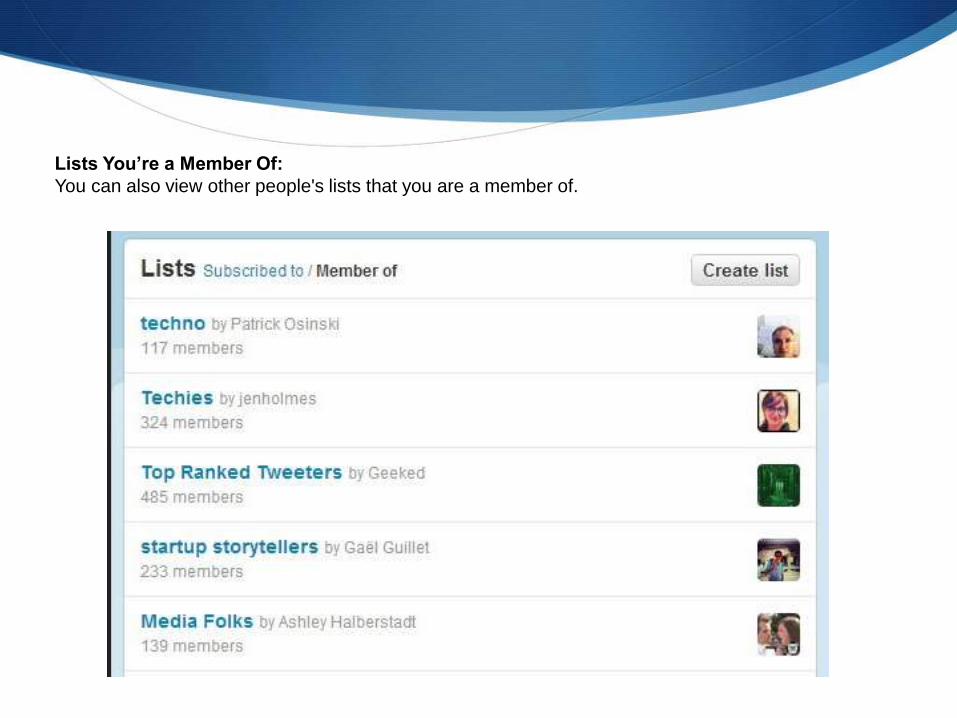
Lists You’re a Member Of:
You can also view other people's lists that you are a member of.
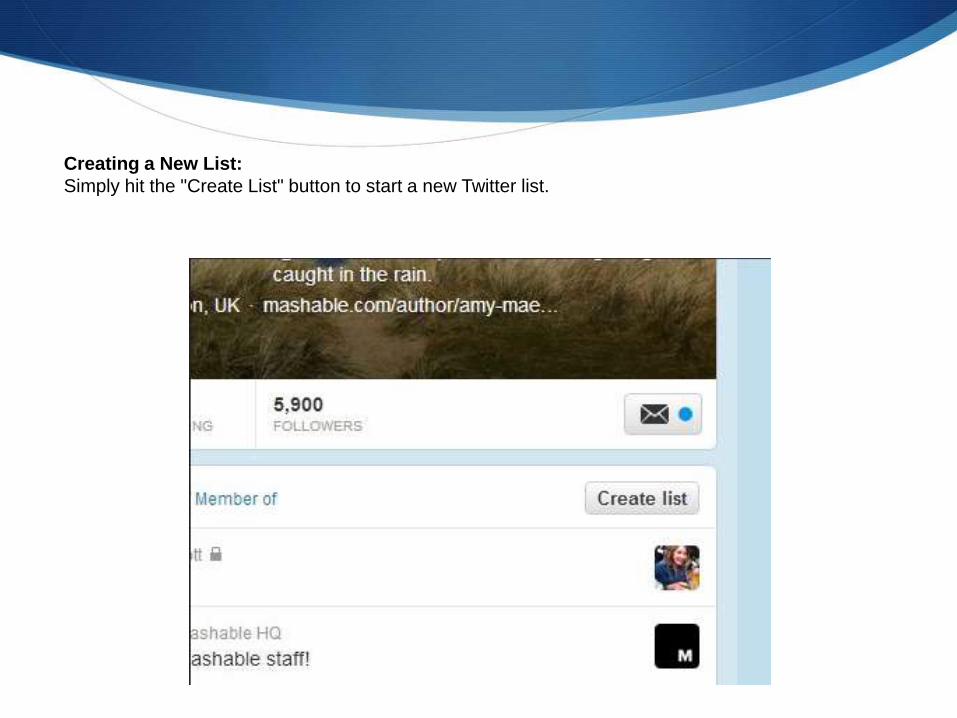
Creating a New List:
Simply hit the "Create List" button to start a new Twitter list.

New List Details:
You now need to name your new list, give it a description (this is optional) and decide
whether you want the list to be private, so only you can see it, or public, so other people
can view and subscribe.

Populating Your New List:
Once you've created your new list, Twitter will give you the option to add members. Search by
username, brand name and first or last name.
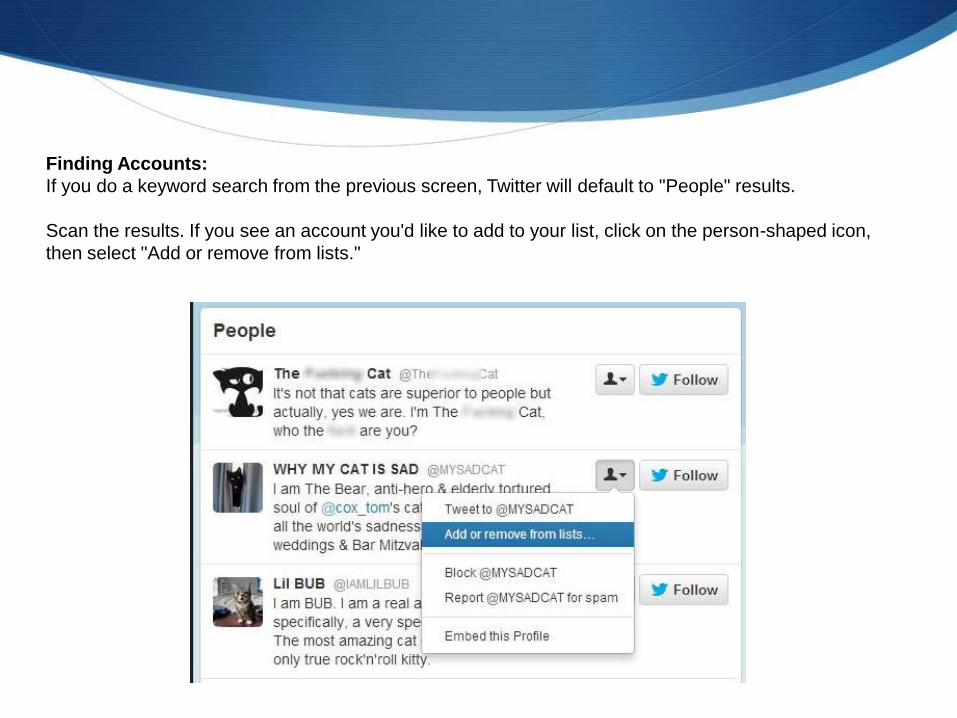
Finding Accounts:
If you do a keyword search from the previous screen, Twitter will default to "People" results.
Scan the results. If you see an account you'd like to add to your list, click on the person-shaped icon,
then select "Add or remove from lists."

Adding Accounts to Your List:
You then need to check the box of the list you'd like to add that account to.
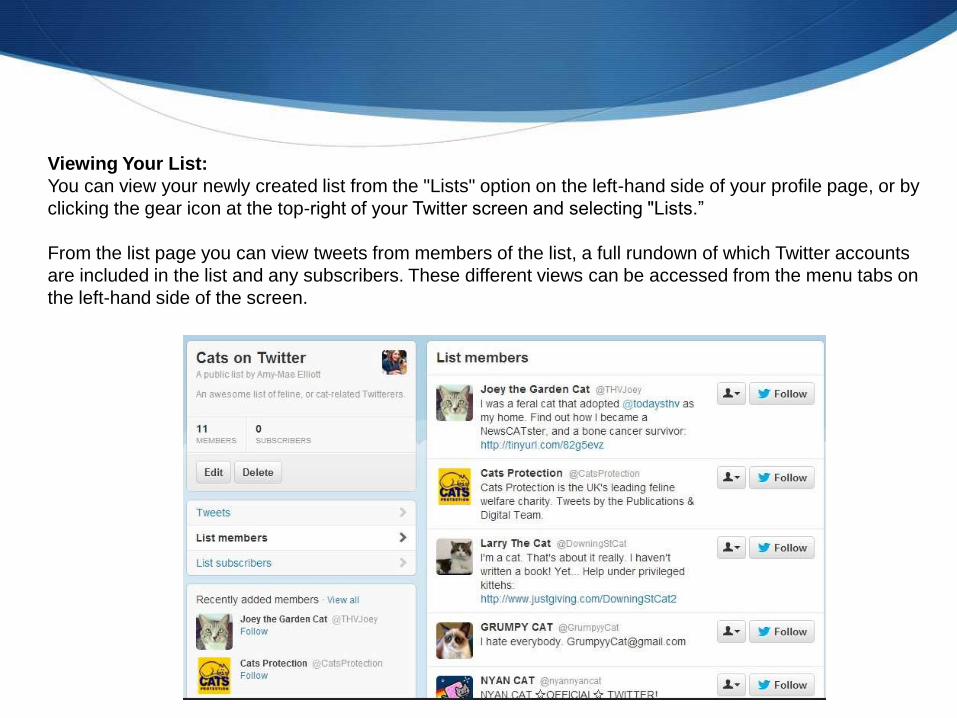
Viewing Your List:
You can view your newly created list from the "Lists" option on the left-hand side of your profile page, or by
clicking the gear icon at the top-right of your Twitter screen and selecting "Lists.”
From the list page you can view tweets from members of the list, a full rundown of which Twitter accounts
are included in the list and any subscribers. These different views can be accessed from the menu tabs on
the left-hand side of the screen.

Removing Accounts from Your List:
To remove an account from the list, click on the account’s person-shaped icon, then selct “Add or remove
from the lists.” Uncheck them from the list.

Sharing Your List:
Finally, if you want to share your list, there’s currently no shortcut option or button. You simply need to
copy the list’s Twitter URL.

Examples of Industry Lists:
These are some of my lists

Step 2: A Sound Strategy
At the heart of all successful marketing lies a
sound strategy.
First you must understand how social media
works, then how to implement it into your
marketing strategy.
Second you must set your social media goals and
objectives to maximize your output in the most
efficient timeframe.


Who Should I Follow? •Stakeholders – those who have an
interest in your brand
•Fans
•Local community
•Industry-specific media and
journalist
•Venues
•Organizations
You will build up these relationships
gradually, organically by posting
relevant, timely and quality content.

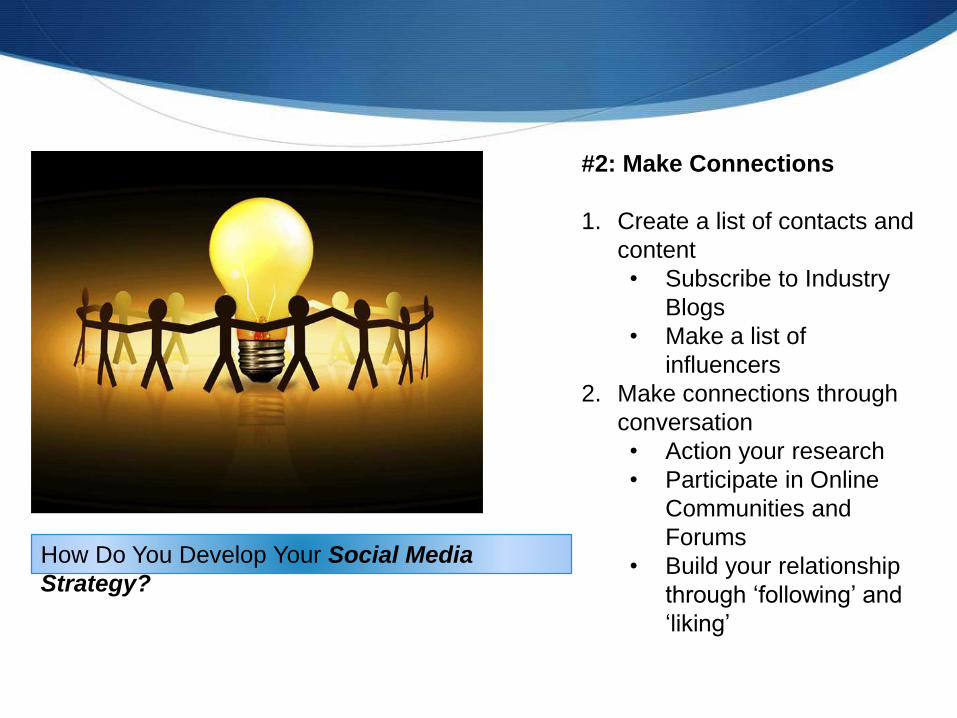
How Do You Develop Your Social Media
Strategy?
#1: Start with Targeted
Research
1. Locate your target audience
•Casting Directors
•Directors/Producers
•Agents
•Organizations & Industry
2. Assess their social activities
•Notice their posts on key
events, happenings, notices
and opinions
3. Listen to what is being said,
key conversations and
influencers
•RT (retweet) appropriately
with your own comments to
add to an ongoing
conversation, share and
follow
How Do You Develop Your Social Media
Strategy?
#2: Make Connections
1. Create a list of contacts and
content
• Subscribe to Industry
Blogs
• Make a list of
influencers
2. Make connections through
conversation
• Action your research
• Participate in Online
Communities and
Forums
• Build your relationship
through ‘following’ and
‘liking’

How Do You Develop Your Social Media
Strategy?
#3: Measure & Improve
1. Strengthen Relationships
• Create good content
and be consistent with
connections
2. Measure Results
• Are your postings
getting you results?
• What is your intentions?
3. Analyze, Adapt and Improve
• Ask, Request, Help your
followers and evaluate
the measure of this
engagement’s worth
and value to your brand
Tips to Know
Things to consider:
1. Use social media for
information and sharing
2. Don’t use it to hard-sell (this
means asking for auditions or
submissions)
3. Use in real time
4. Consistent frequency of
postings
5. Be aware of negative reviews
and address within 24 hours
6. Adapt your messaging to your
campaign strategy

Specific
Strategy
S Make sure to put a
Facebook ‘Like box’ on
your website
S Optimization- number of
likes, updates and
activity from fans
S Differentiate your
personal Facebook
profile from your fan
profile and keep them
separate
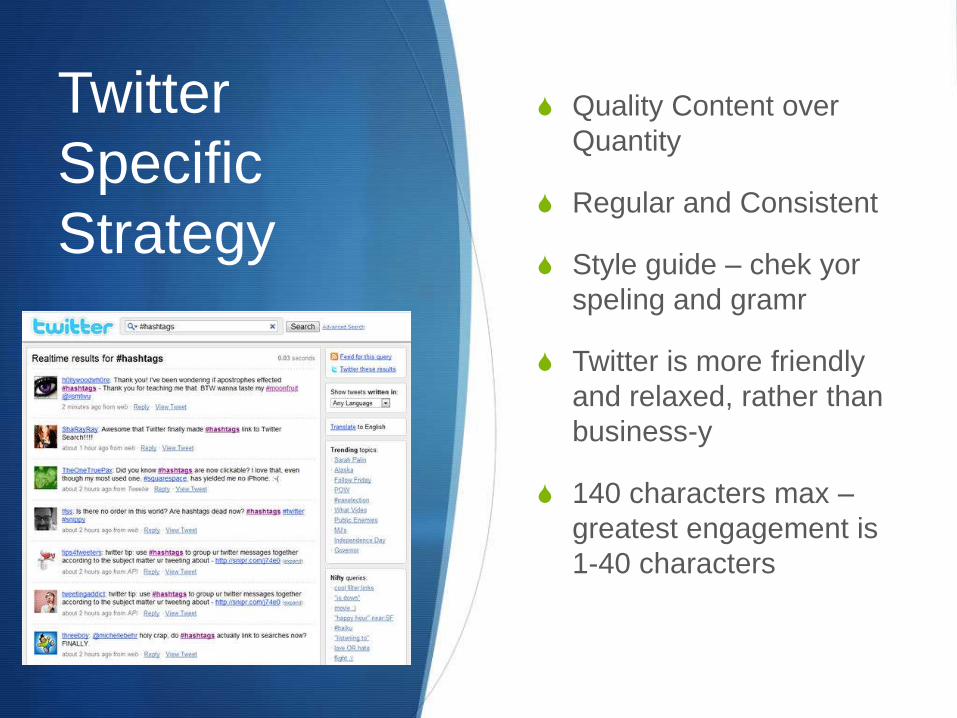
Specific
Strategy
S Quality Content over
Quantity
S Regular and Consistent
S Style guide – chek yor
speling and gramr
S Twitter is more friendly
and relaxed, rather than
business-y
S 140 characters max –
greatest engagement is
1-40 characters
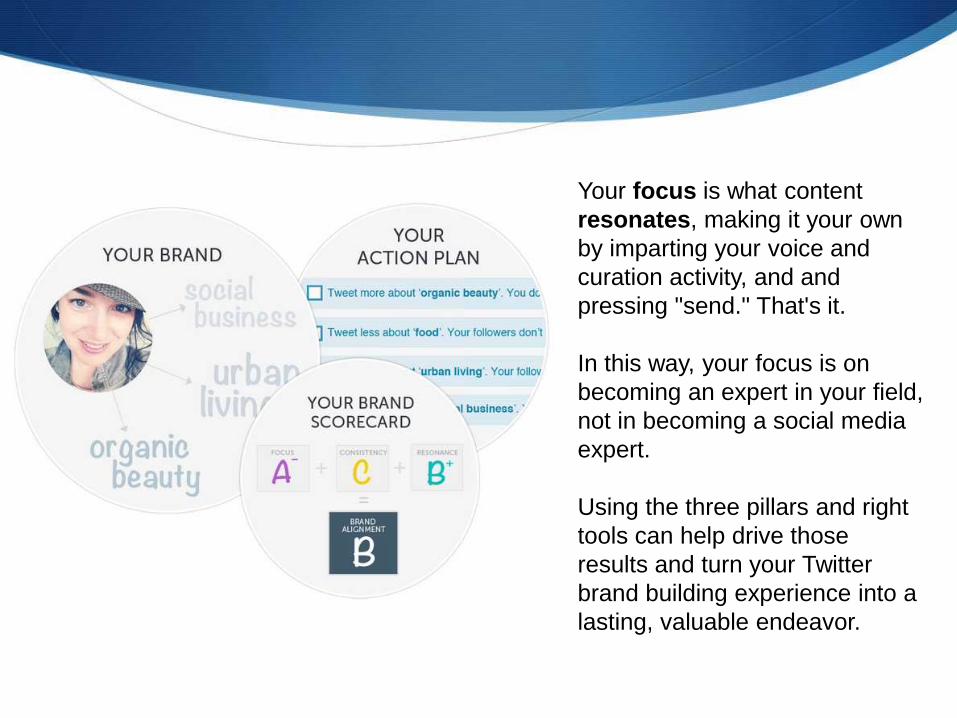
Your focus is what content
resonates, making it your own
by imparting your voice and
curation activity, and and
pressing "send." That's it.
In this way, your focus is on
becoming an expert in your field,
not in becoming a social media
expert.
Using the three pillars and right
tools can help drive those
results and turn your Twitter
brand building experience into a
lasting, valuable endeavor.

Tips to Know
What Kind of Messaging Works Best on
Twitter?
1. Emotional tweets – people are apt to
respond more to these types of tweets.
Keep it positive.
2. Quoted tweets – Quotes are really
popular and get shared.
3. Picture tweets – pictures will always see
greater engagement.
4. Video tweets – Vine is the new buzz (:07
of video) and is a creative way to
create/share original content.
5. Please ‘retweet’ tweets – using the word
‘please’ will get you more engagement.
6. Sharing ‘article tweets – this should be
the most common type of tweet; anything
you find interesting should be shared.
7. Conversational tweets - if someone RT
or favorites one of your tweets, thank
them – this is conversation.
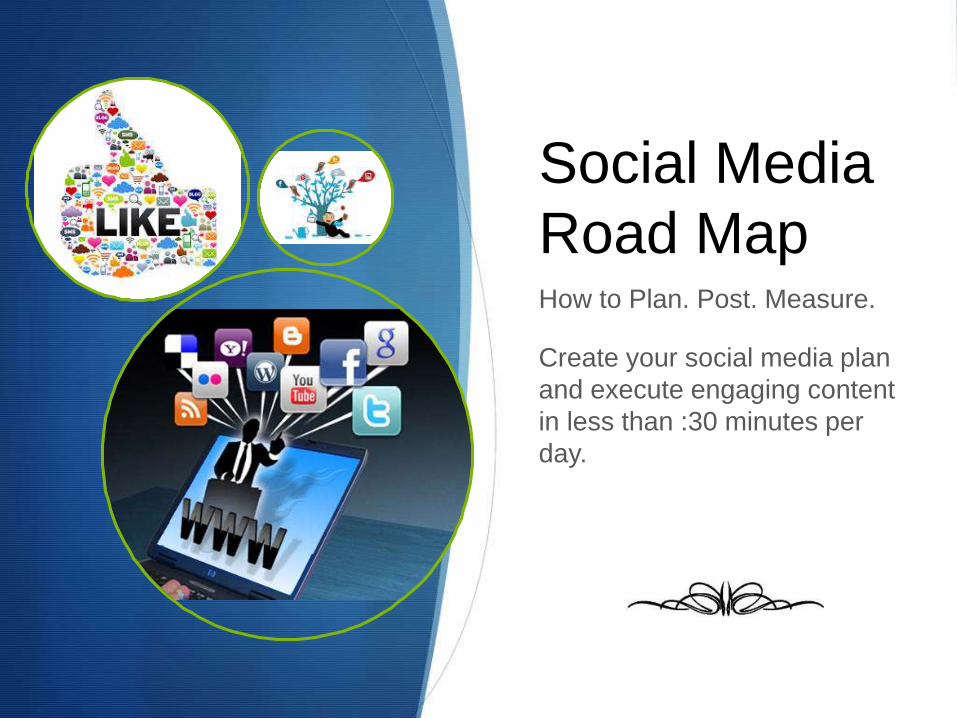
Social Media
Road MapHow to Plan. Post. Measure.
Create your social media plan
and execute engaging content
in less than :30 minutes per
day.
The Journey
S Get A Map – it is filled with
adventure and curves and U-
turns, but with a plan you will
know better where you are
going.
S Start the Car – you must take
action for it to work and make it
part of your everyday routine.
S The Open Road – Don’t let the
unfamiliarity of social media
impede you from making it work
for you.
S Embrace the Journey – have
a healthy balance of planned
destinations and flexibility to
learn new things.
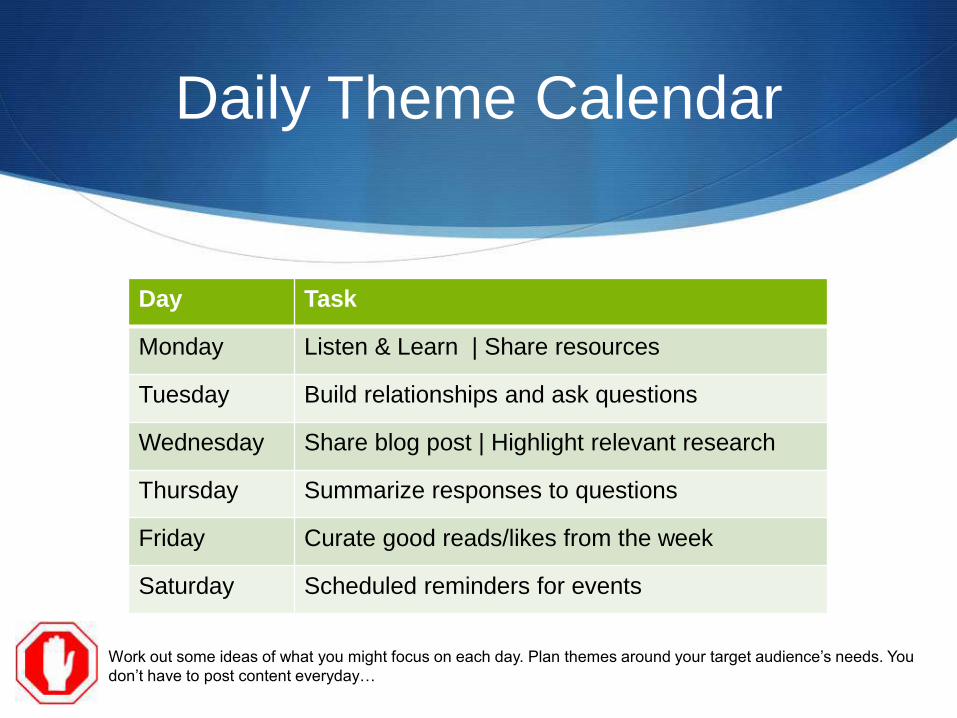
Daily Theme Calendar
Day Task
Monday Listen & Learn | Share resources
Tuesday Build relationships and ask questions
Wednesday Share blog post | Highlight relevant research
Thursday Summarize responses to questions
Friday Curate good reads/likes from the week
Saturday Scheduled reminders for events
Work out some ideas of what you might focus on each day. Plan themes around your target audience’s needs. You
don’t have to post content everyday…
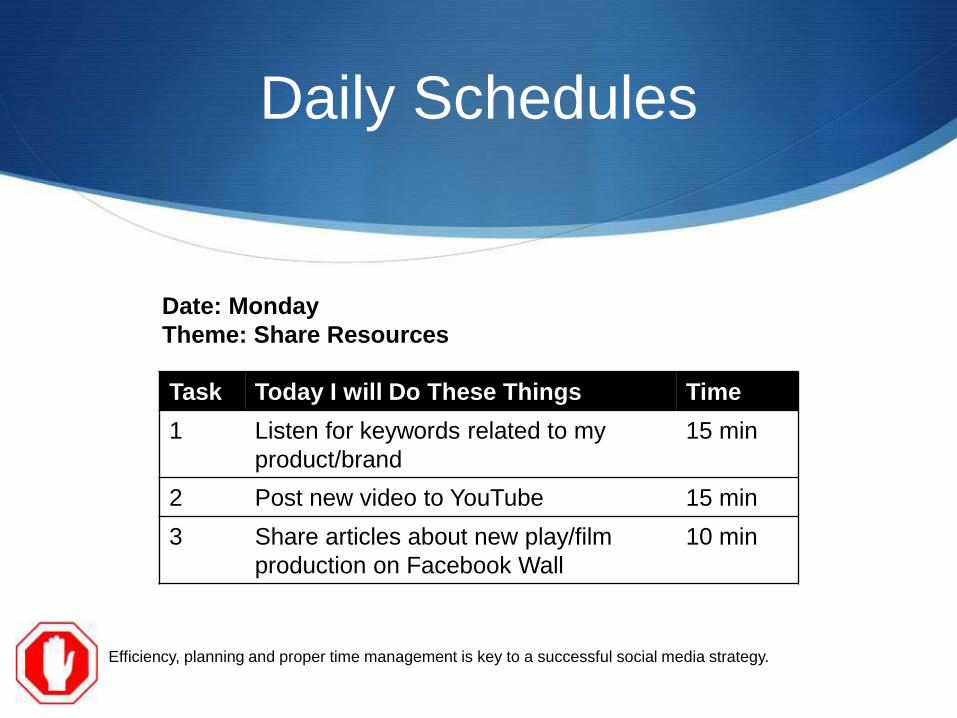
Daily Schedules
Efficiency, planning and proper time management is key to a successful social media strategy.
Task Today I will Do These Things Time
1 Listen for keywords related to my
product/brand
15 min
2 Post new video to YouTube 15 min
3 Share articles about new play/film
production on Facebook Wall
10 min
Date: Monday
Theme: Share Resources
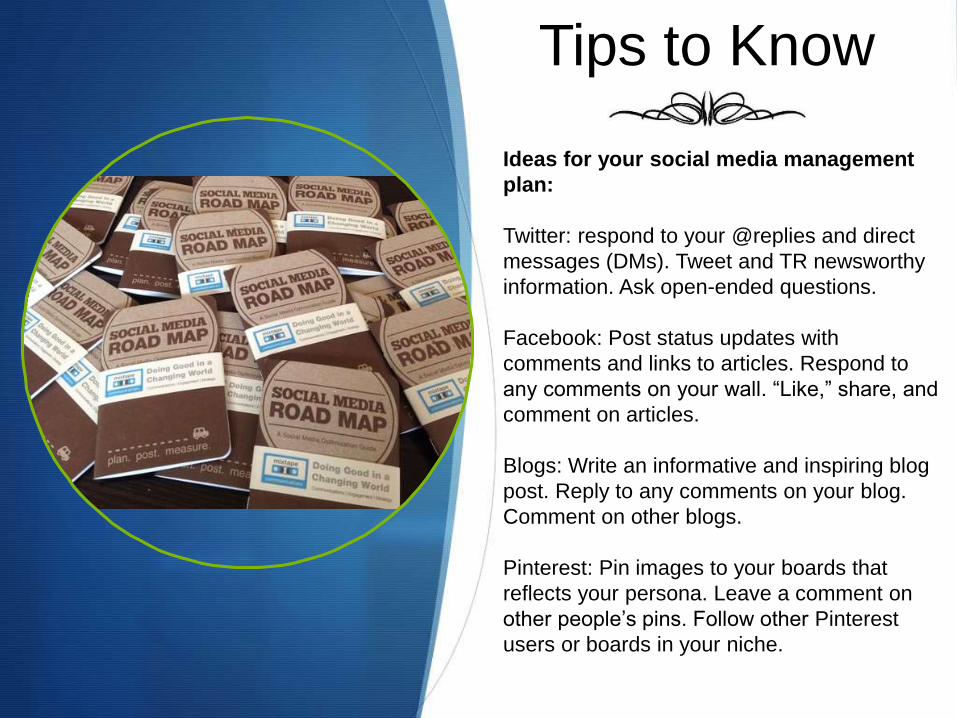
Tips to Know
Ideas for your social media management
plan:
Twitter: respond to your @replies and direct
messages (DMs). Tweet and TR newsworthy
information. Ask open-ended questions.
Facebook: Post status updates with
comments and links to articles. Respond to
any comments on your wall. “Like,” share, and
comment on articles.
Blogs: Write an informative and inspiring blog
post. Reply to any comments on your blog.
Comment on other blogs.
Pinterest: Pin images to your boards that
reflects your persona. Leave a comment on
other people’s pins. Follow other Pinterest
users or boards in your niche.

Measure & Define
Defining metrics for success is an essential element of a social media
strategy.
Focus on measuring quantitative data:
•Number of unique visitors to your blog
•Number of fans and followers
•Number of retweets (RT), repins, shares, likes
•Nubmer of comments on your blog
•Number of RSS subscribers (Really Simple Syndication) for feeds
•Number of mentions and @replies
•Number of page views

Did You Meet Your Objective?

Final Thoughts
Which Social Media Channels should I follow?
In short: All of them – all social channels are fertile
ground for generating leads. The key is not to put all of
your proverbial eggs in one basket.
Your brand needs as much exposure as possible on all
the social channels you can effectively manage.
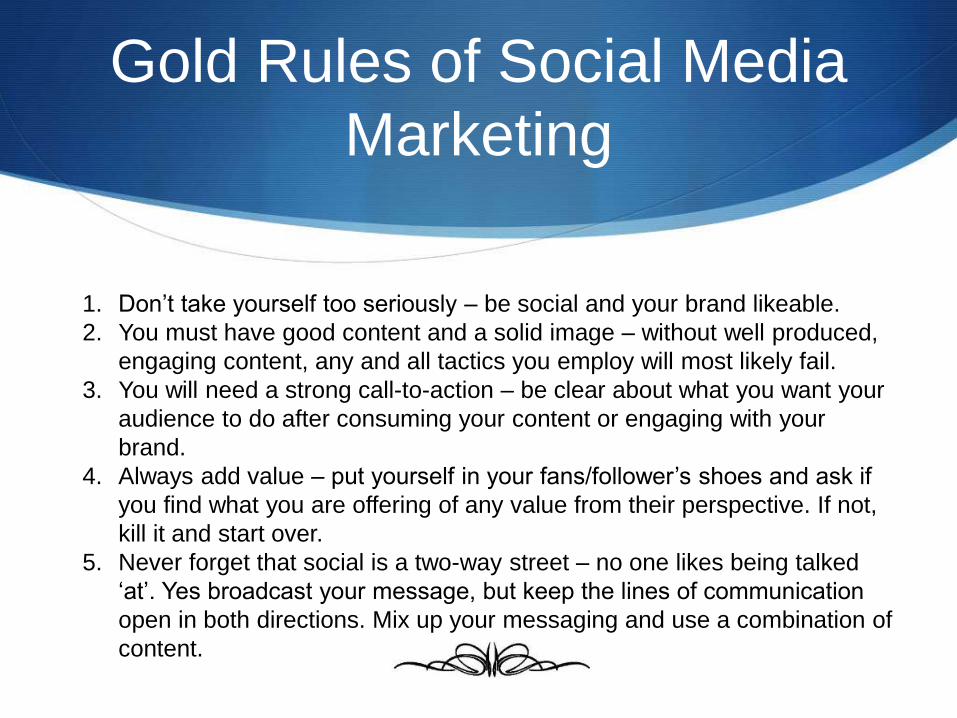
Gold Rules of Social Media
Marketing
1. Don’t take yourself too seriously – be social and your brand likeable.
2. You must have good content and a solid image – without well produced,
engaging content, any and all tactics you employ will most likely fail.
3. You will need a strong call-to-action – be clear about what you want your
audience to do after consuming your content or engaging with your
brand.
4. Always add value – put yourself in your fans/follower’s shoes and ask if
you find what you are offering of any value from their perspective. If not,
kill it and start over.
5. Never forget that social is a two-way street – no one likes being talked
‘at’. Yes broadcast your message, but keep the lines of communication
open in both directions. Mix up your messaging and use a combination of
content.

S
May the Force be with you.
© 2013. BNDMAND. All Rights Reserved.