
Shuffling Quantum GIS into the Open Source...
65
Shuffling Quantum GIS into the Open Source Stack FOSS4G2007 Workshop September 24, 2007 1
Transcript of Shuffling Quantum GIS into the Open Source...

Shuffling Quantum GIS into the Open Source
Stack
FOSS4G2007 WorkshopSeptember 24, 2007
1

Goals of the Workshop
• View file-based data
• Symbolize your data
• Work with attributes
• Create attribute actions
• Digitize features
• Export map images
• Create data from text files
• Use the QGIS plugins
• Export MapServer map files
• Use WMS and WFS servers
• View and edit data in PostGIS
• Work with GRASS data
2
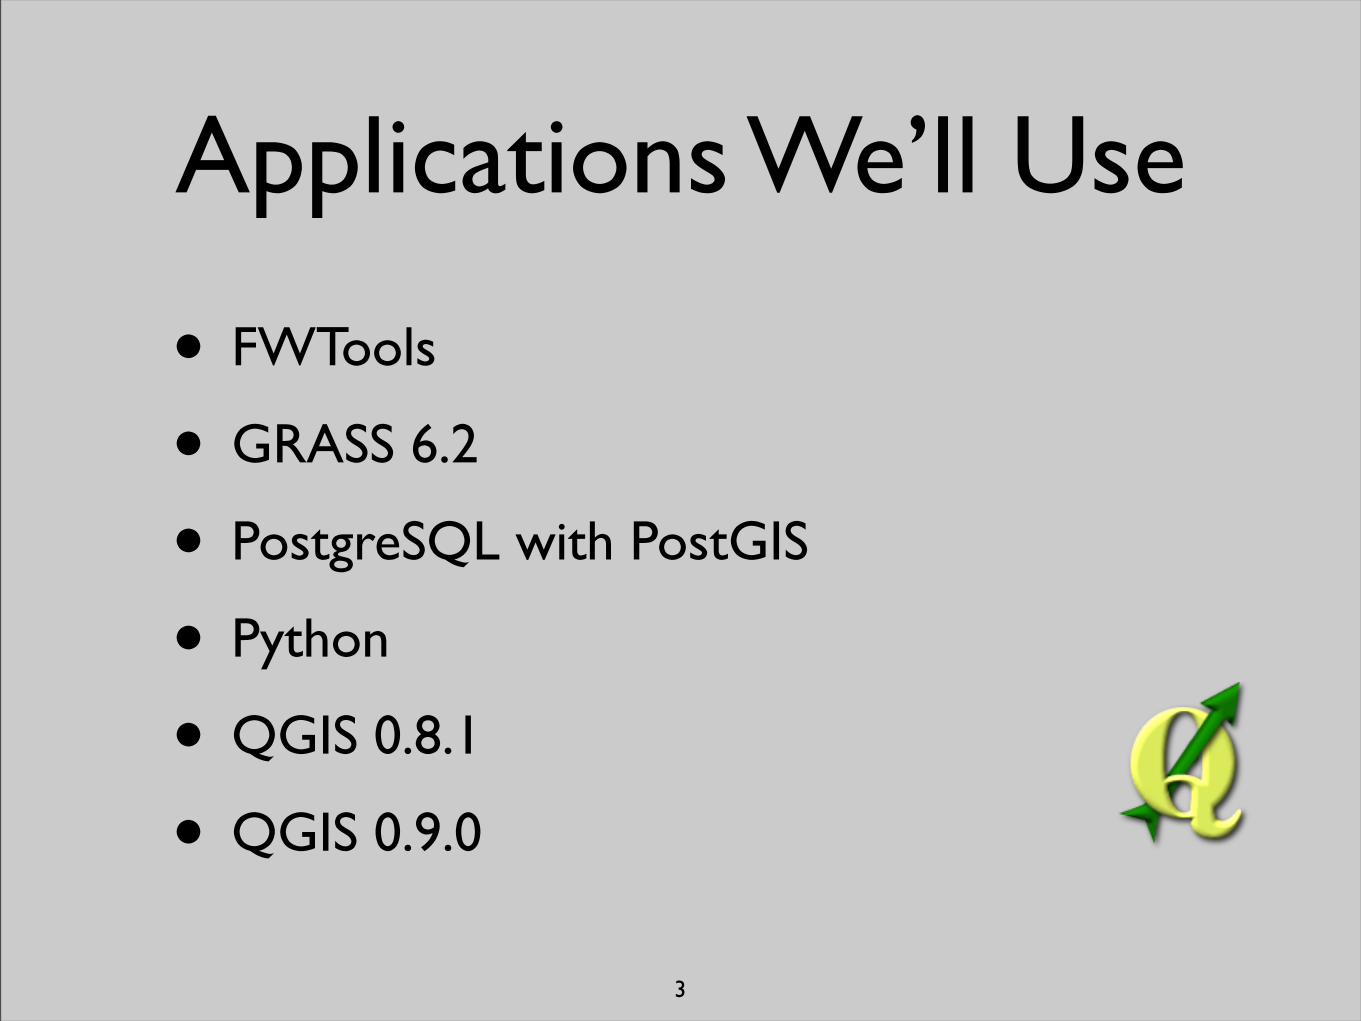
Applications We’ll Use
• FWTools
• GRASS 6.2
• PostgreSQL with PostGIS
• Python
• QGIS 0.8.1
• QGIS 0.9.0
3

Software• The LiveCD is based on Gentoo Linux with a Gnome
desktop
• Developed by the Little Green Men at http://livecd.ominiverdi.org
• GRASS 6.2.2
• QGIS 0.8.1
• PostgreSQL 8.2.4
• PostGIS 1.3.1
• GDAL 1.4.2
• Proj 4.5.0
• R 2.4.1
• PgAdmin 1.6.3
4

Booting the LiveCD
• Insert the LiveCD into the CD-ROM drive
• If the computer is running, reboot it using the Start Menu
• If the computer is off, turn it on
• When the boot prompt appears, press Enter
• When prompted for the keymap, press Enter
• Wait while the system comes up
• At the login screen, enter qgisuser as the user name
• Enter qgisuser as the password
5

Starting QGIS
• To start QGIS, choose Quantum GIS from the Applications menu.
• You should now be looking at the QGIS map canvas and an empty legend.
6

Exploring the Interface1. Menu bar
2. Toolbar area
3. Legend
4. Overview map
5. Map canvas
6. Status bar
7

Loading a Layer
• Load OGR supported layers such as:
• Shapefiles
• GML
• MapInfo
• SDTS
8

Map Navigation
• Pan - pan the map by dragging the mouse
• Zoom In - zoom in by dragging the mouse or clicking
• Zoom Out - zoom out by dragging the mouse or clicking
• Zoom Full - zoom to the full extent of all layers
• Zoom to Selection - zoom to the extent of the selected features
• Zoom to Layer - zoom to the extent of the active layer
• Zoom to Last Extent - zoom to the previous view
• Refresh - redraw the map
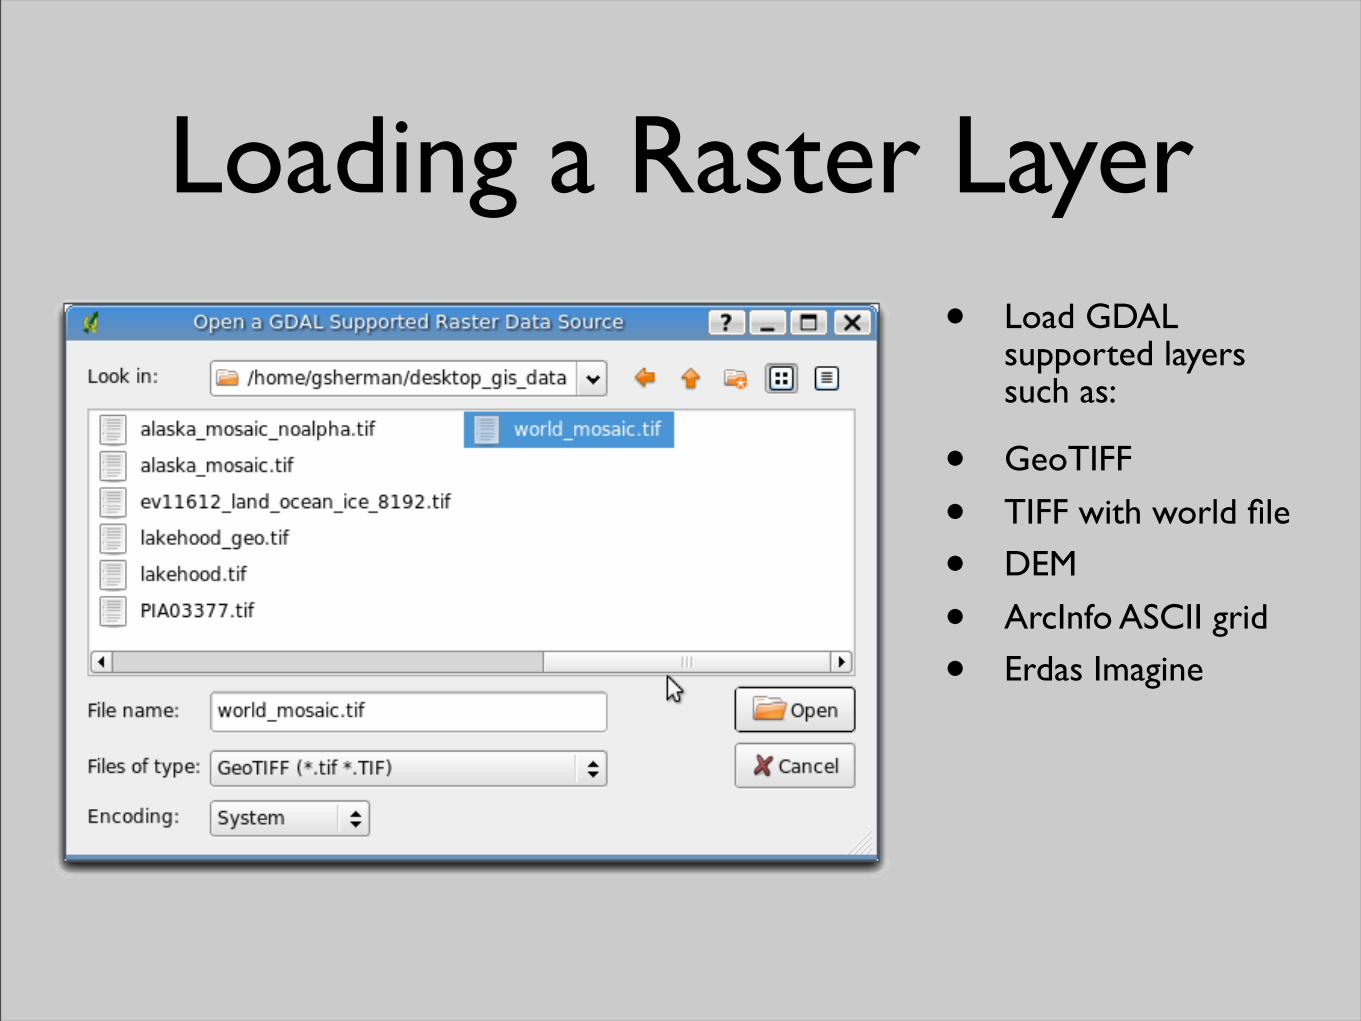
Loading a Raster Layer• Load GDAL
supported layers such as:
• GeoTIFF
• TIFF with world file
• DEM
• ArcInfo ASCII grid
• Erdas Imagine
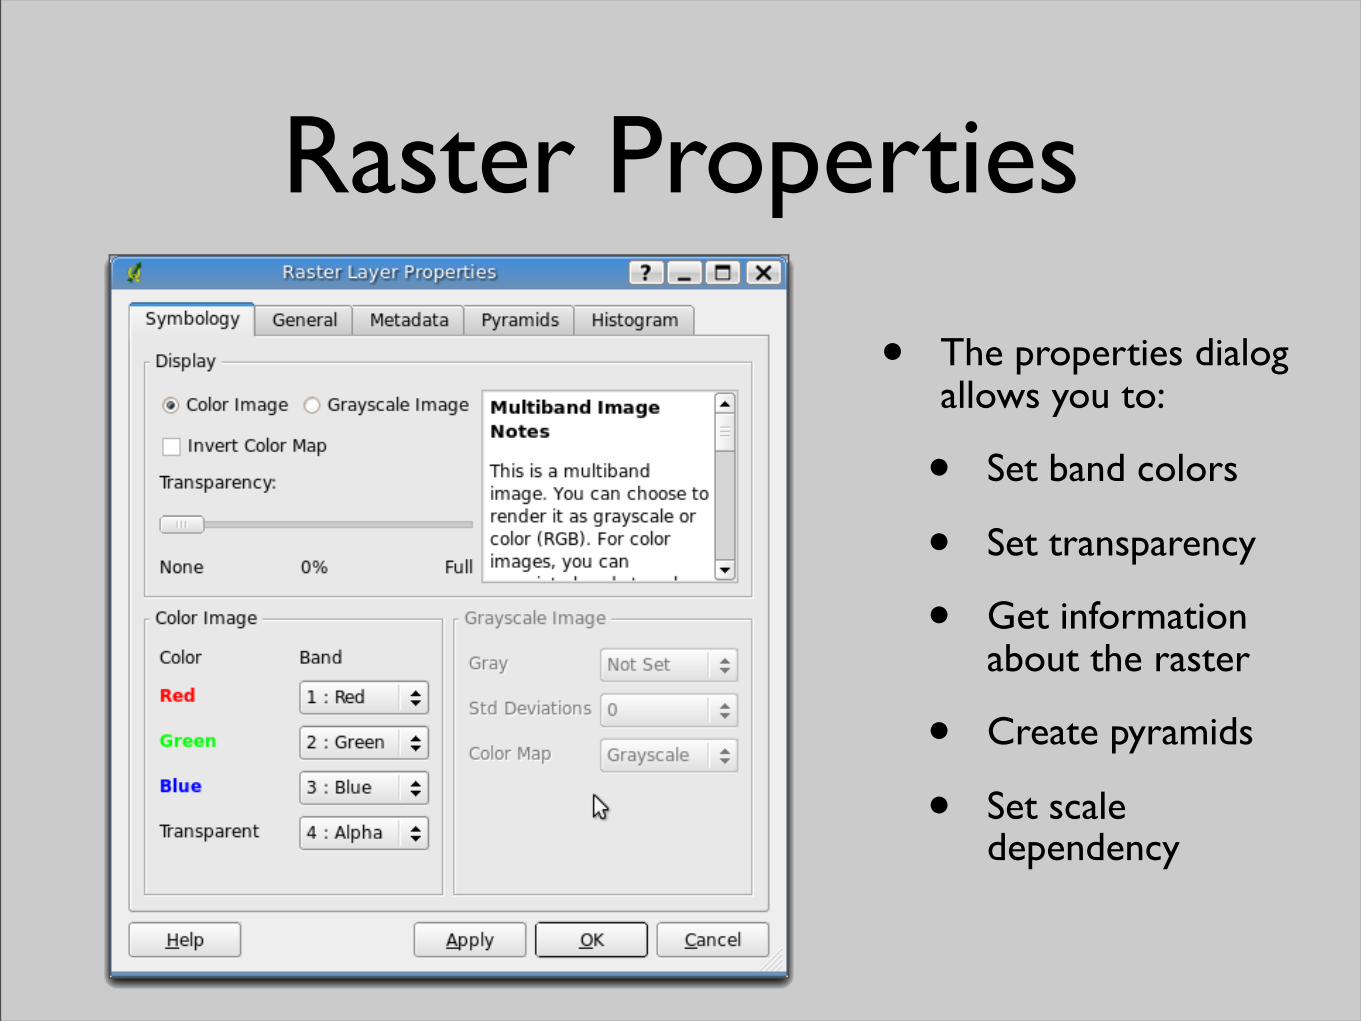
Raster Properties
• The properties dialog allows you to:
• Set band colors
• Set transparency
• Get information about the raster
• Create pyramids
• Set scale dependency
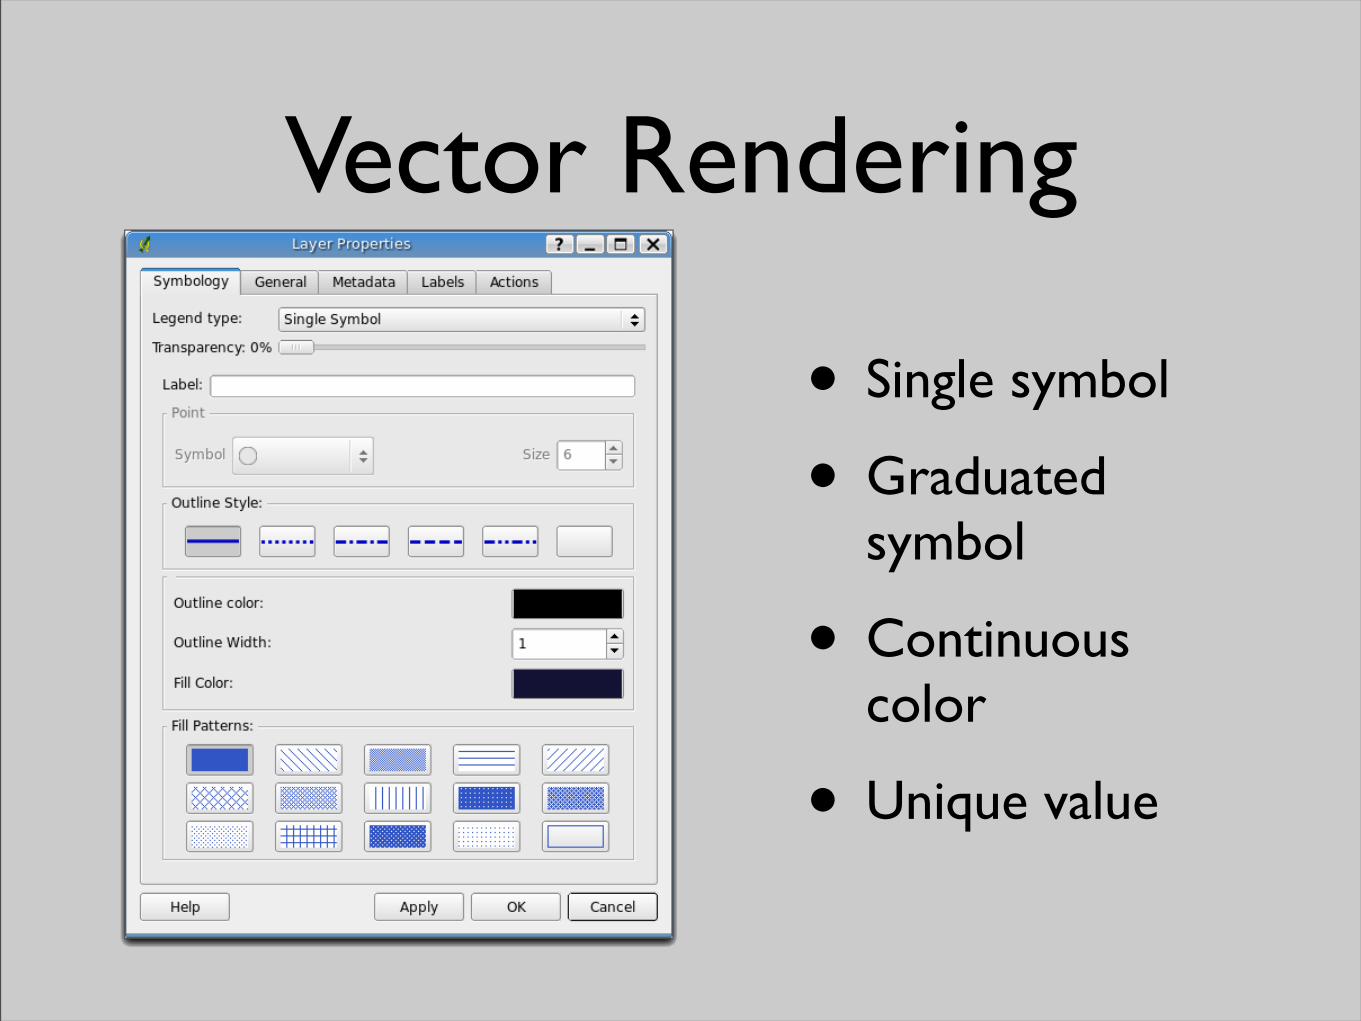
Vector Rendering
• Single symbol
• Graduated symbol
• Continuous color
• Unique value

Graduated Symbol
• Render by ranges
• Each class can have different color/symbols
• Requires a numeric field for rendering

Continuous Color
• Classify based on a numeric field
• Renders from a minimum color to a maximum
• Outline width can be set

Unique Value
• Render on any field
• Set color and symbol for each value

Labels• Label on any field
• Set font, color, alignment, buffer, and position
• Use settings from the attribute table to control labels

Identifying Features
• Click on a feature to get attribute information
• Multiple features may be returned
• Search radius option can be adjusted

The Attribute Table
• Displays the attributes
• Allows searching a field
• Features can be selected
• Allows editing of attributes

Searching Attributes• Query builder
allows you to construct complex queries
• Sample values for fields can be used to build the query

Attribute Actions
• Run an application and pass it values from the attribute table
• Use to perform searches, display images, create web reports
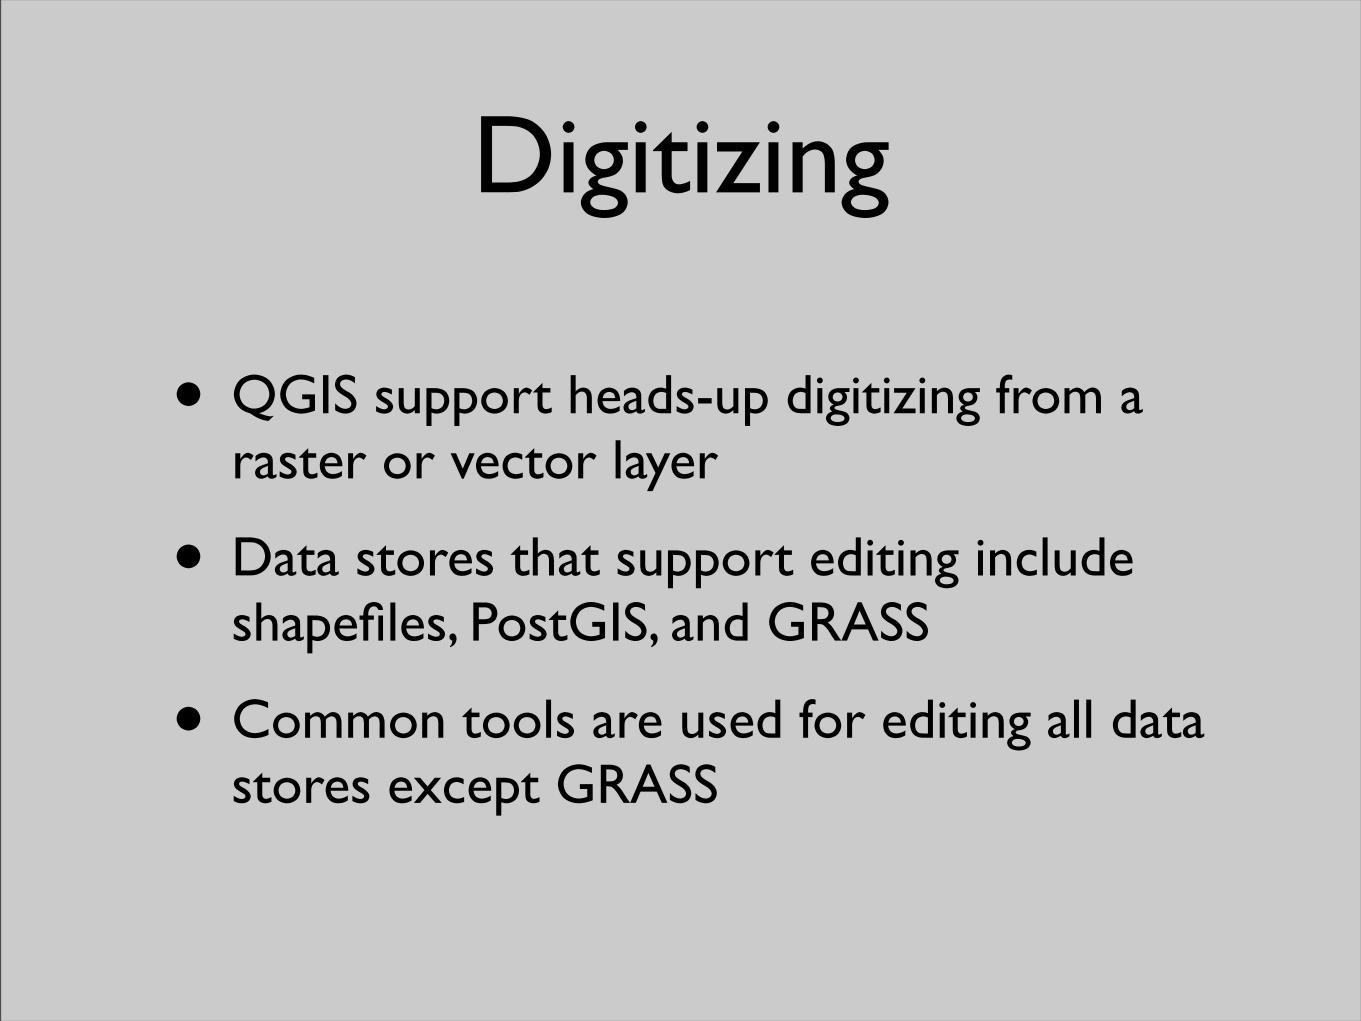
Digitizing
• QGIS support heads-up digitizing from a raster or vector layer
• Data stores that support editing include shapefiles, PostGIS, and GRASS
• Common tools are used for editing all data stores except GRASS

Creating a New Layer• Create a new
shapefile for editing
• Supports real, integer, and string attributes
• Point, line, and polygon features are supported

Digitizing Features
• Support for digitizing points, lines, and polygons
• Attributes are entered as features are created
• Only heads-up digitizing is supported

Editing Features
• Editing is done by:
• Moving vertices or points
• Inserting new points where needed
• Deleting unnecessary points
• Deleting entire features

Using Cut/Copy/Paste
• You can copy or cut features from one layer and paste to another
• You can use the cut feature as a one-level undo when deleting features
• Multiple features can be copied/pasted in one operation

Plugins
• Plugins add new functionality to QGIS
• They are written in C++ (or Python at version 0.9)
• Can be dynamically loaded and unloaded from the GUI

Plugin Manager• The Plugin
Manager loads/unload plugins
• Provides a list of available plugins along with a description

Delimited Text Plugin• Adds a delimited
text file as a layer in QGIS
• Once imported, the layer can be saved as a shapefile
• Requires a header row and an X and Y field

Decoration Plugins• “Decorate”
the map
• Scale bar
• Copyright
• North Arrow

GPS Plugin• Load GPX files
• Download from GPS
• Upload to GPS
• Convert files and load them into QGIS
• Requires gpsbabel
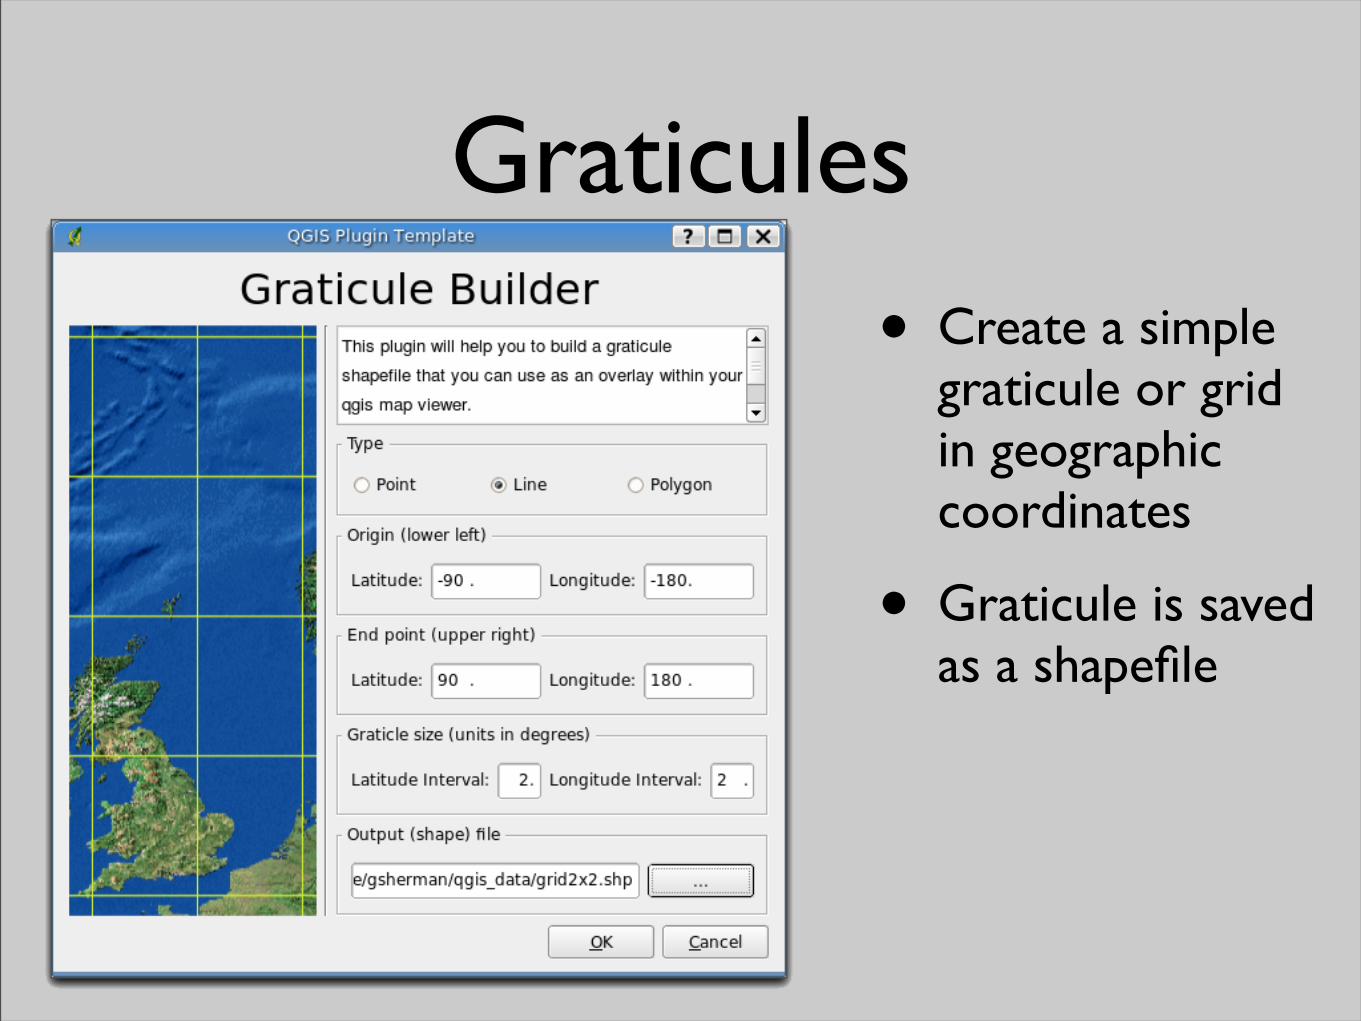
Graticules
• Create a simple graticule or grid in geographic coordinates
• Graticule is saved as a shapefile

MapServer Export
• Exports a saved QGIS project file to a map file
• Add and arrange the layers, symbolize them, and then export to a map file

Testing the Map File
• Use shp2img to test the map file:
shp2img -m mapserver_test.map -o mapserver_test.png
• All layers in the project file will be drawn by default
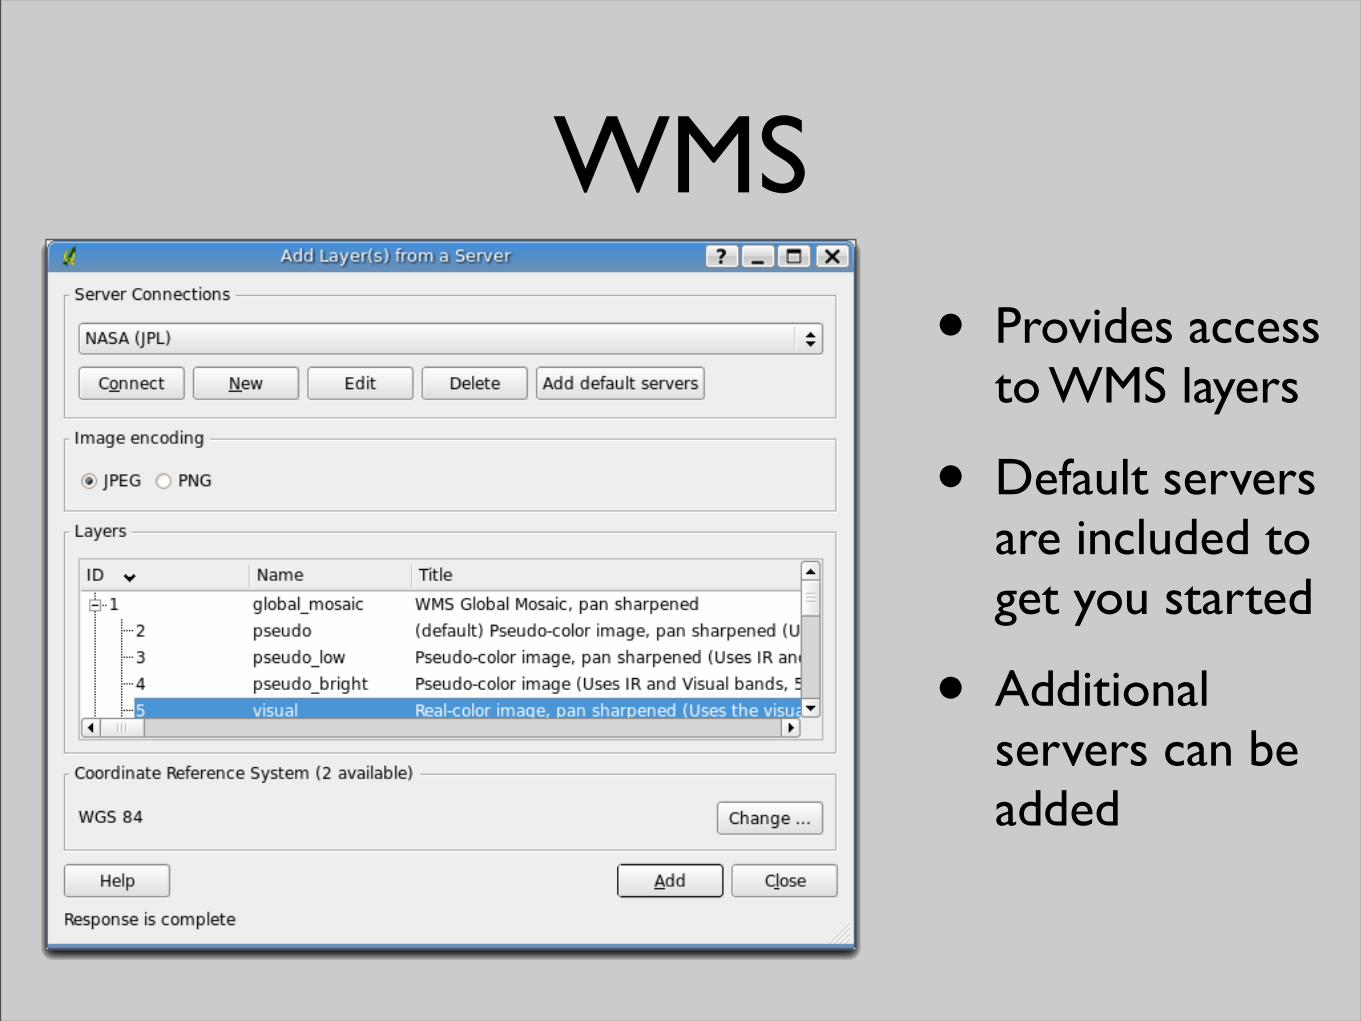
WMS
• Provides access to WMS layers
• Default servers are included to get you started
• Additional servers can be added

WFS• WFS is
EXPERIMENTAL
• No default servers are defined
• Works similar to WMS layers
• Once loaded, features can be identified and the attribute table can be viewed

Using PostGIS Layers
• Requires a PostgreSQL database with PostGIS
• QGIS can find all spatial tables in the database
• Layers can be loaded multiple times, with different subsets

PostGIS Connection
• You must create a connection for each database you want to use
• Once connected, all available layers are listed and can be loaded into QGIS

Creating and Modifying Subsets
• Subsets are based on a query
• Redefine the layer by limiting the features that are returned
• Subsets can be created when the layer is loaded or afterward from the properties dialog

Using a View
• A view can be used to:
• Create a “permanent” subset
• Join features from more than one table
create view big_cities as select * from cities where population > 4000000;
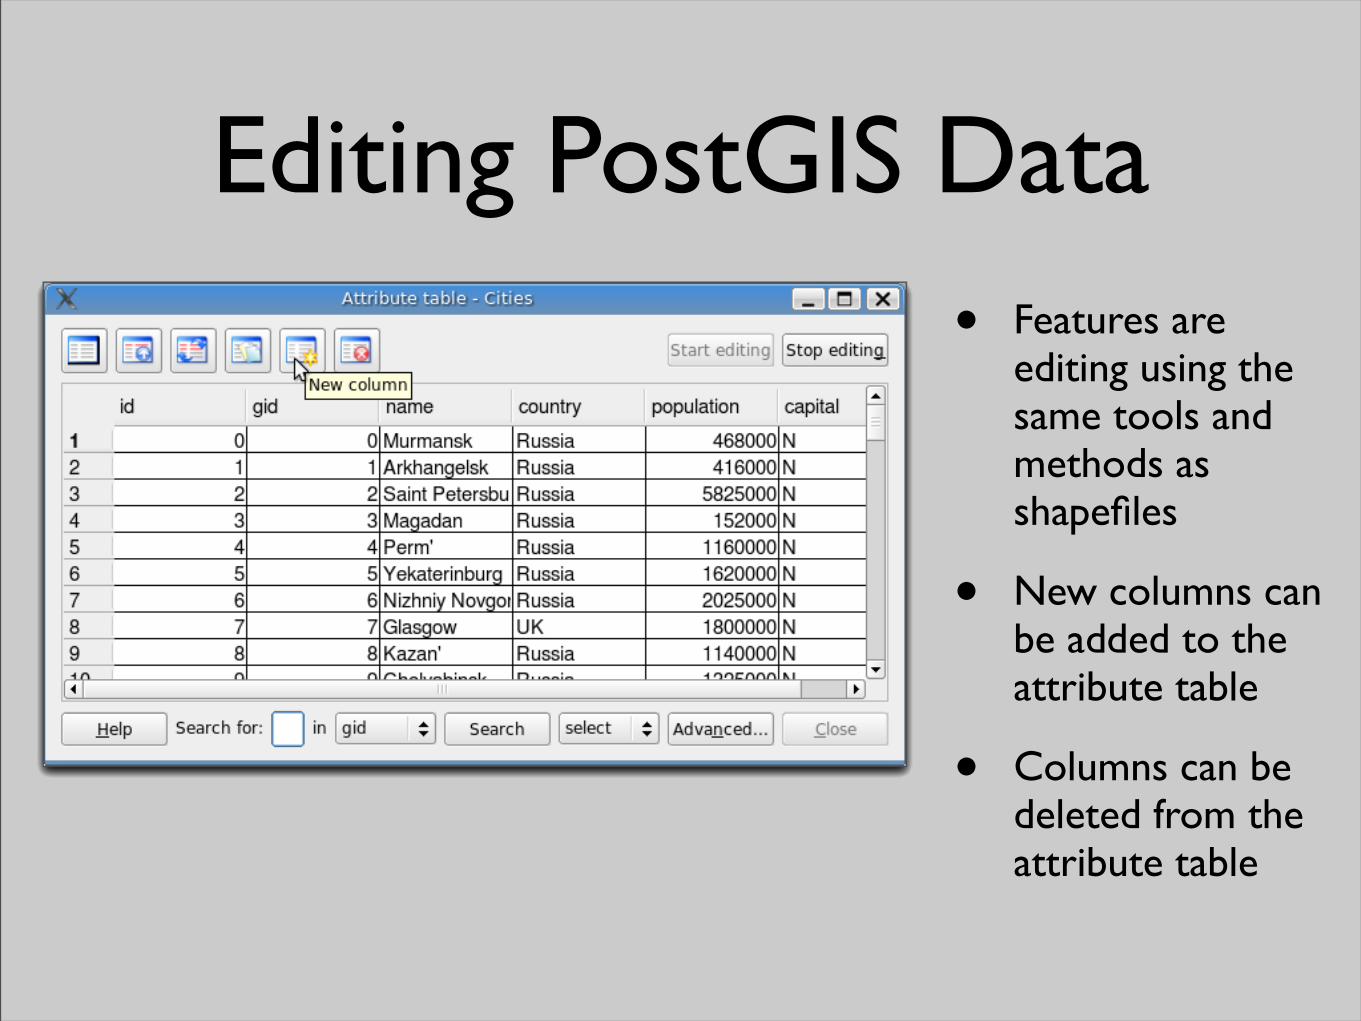
Editing PostGIS Data• Features are
editing using the same tools and methods as shapefiles
• New columns can be added to the attribute table
• Columns can be deleted from the attribute table

Importing Data into PostGIS
• The SPIT plugin can import shapefiles
• The PostGIS utility shp2pgsql can also be used
• Convert other format to shapefile using ogr2ogr, then import

GRASS and QGIS
• The GRASS plugin provides viewing, editing, and geoprocessing of GRASS data
• View any GRASS map from within QGIS
• Browse GRASS maps
• Mix GRASS, shapefiles, and PostGIS layers in a single QGIS project

Creating a Location
• The plugin provides a “wizard” to create a GRASS location
• Simplifies the creation of a location
• Doesn’t require the same level of detailed information as the GRASS command line does

Importing Vector Data
• Uses v.in.ogr
• The OGR or PostGIS layer must be loaded into QGIS first
• Provides feedback on the process and results

Importing Raster Data• Uses r.in.gdal
• The GDAL raster must be loaded into QGIS first
• Provides feedback on the process and results
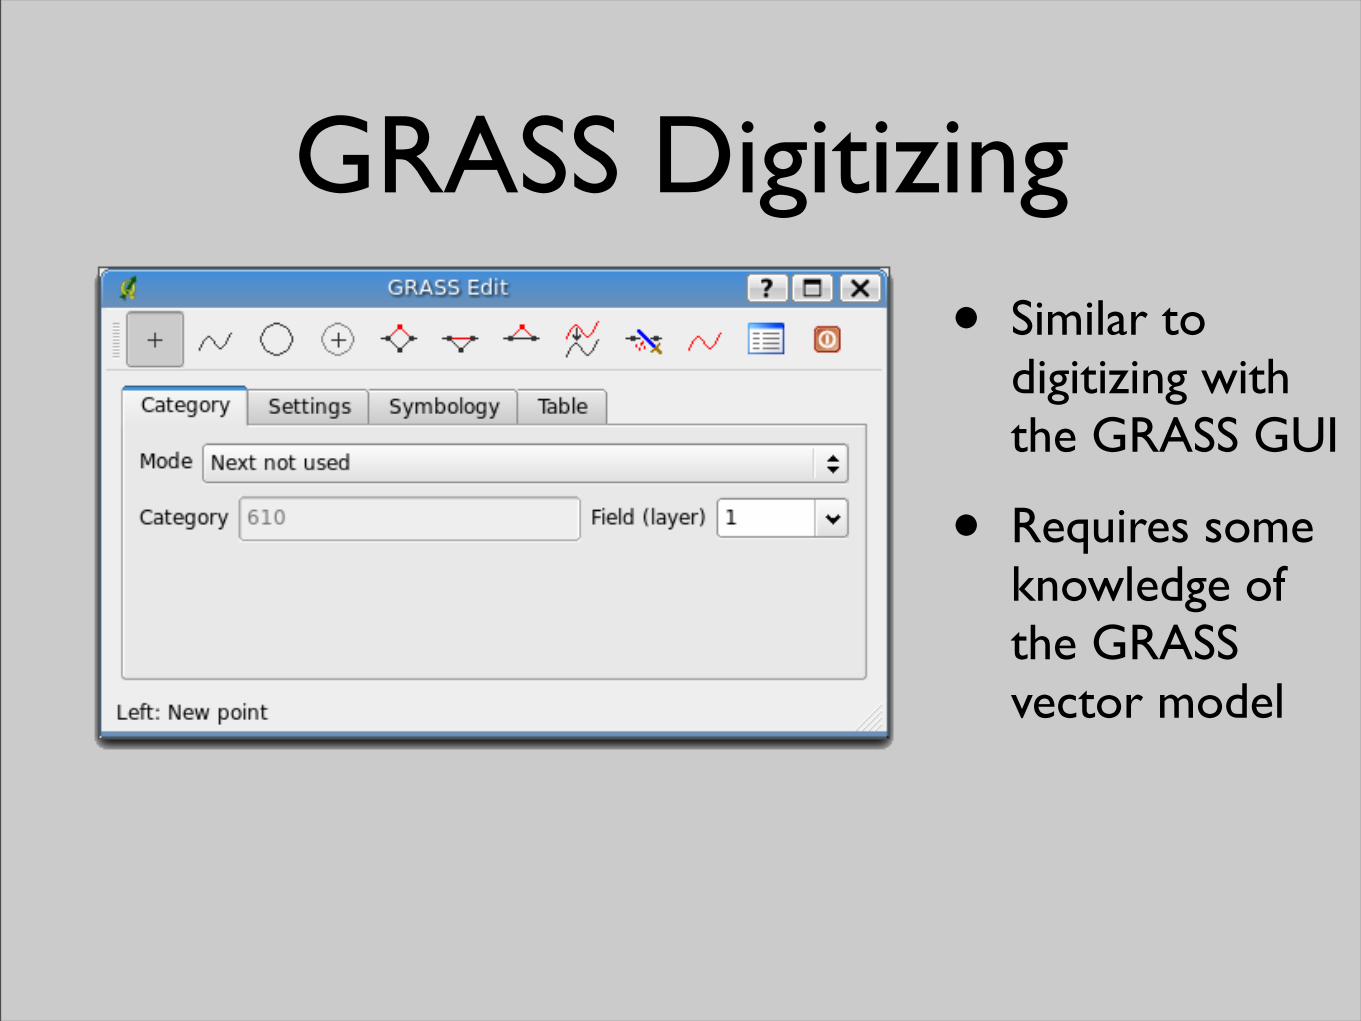
GRASS Digitizing• Similar to
digitizing with the GRASS GUI
• Requires some knowledge of the GRASS vector model

GRASS Browser• View raster and vector
layers
• Get information about the history of a layer
• Add a layer to the map
• Delete a layer
• Copy a layer
• Set the region to that of the selected layer

Creating Buffers
• Uses v.buffer
• Creates a new map (layer) with the result

Creating Contours• Creates a contour map
(layer) from a raster
• Can be elevations or any other type of value (metal concentrations, bug counts)
• Creates a vector as output

Map Algebra
• Create an interactive “model”
• Run it to do the calculations
• Can use multiple inputs and operators
• Uses r.mapcalc

Python Plugins
• New at version 0.9 of QGIS
• Behave just like plugins written in C++
• Require a certain structure and signature
• Quick to develop and deploy
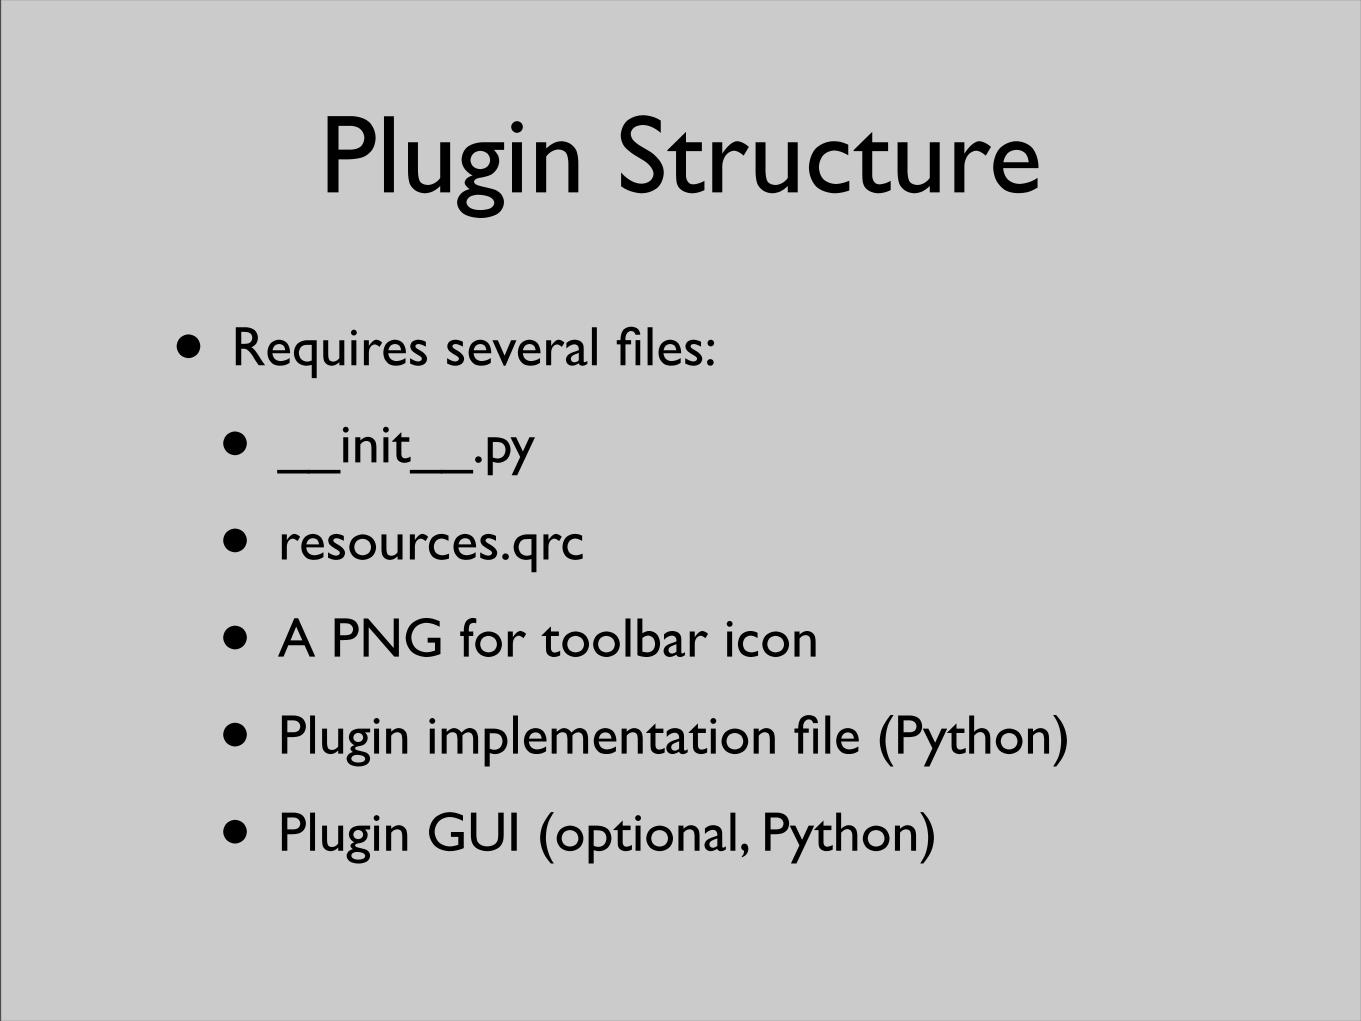
Plugin Structure
• Requires several files:
• __init__.py
• resources.qrc
• A PNG for toolbar icon
• Plugin implementation file (Python)
• Plugin GUI (optional, Python)

Making It a Plugin
• The __init__.py script contains the “signature” needed to make QGIS recognize it as a plugin
• Must contain an name, description, and version method
• Must contain the classFactory() method

The Resource File
• Contains the definition for the icon and any other images needed
• Uses a prefix to prevent clashes with other plugins
• Must be compiled using pyrcc4 to generate the Python code

Creating the GUI
• Use Qt Designer
• Compile the GUI using pyuic4
• Not all plugins will require a GUI
• Some plugins can use just standard Qt input dialogs and message boxes
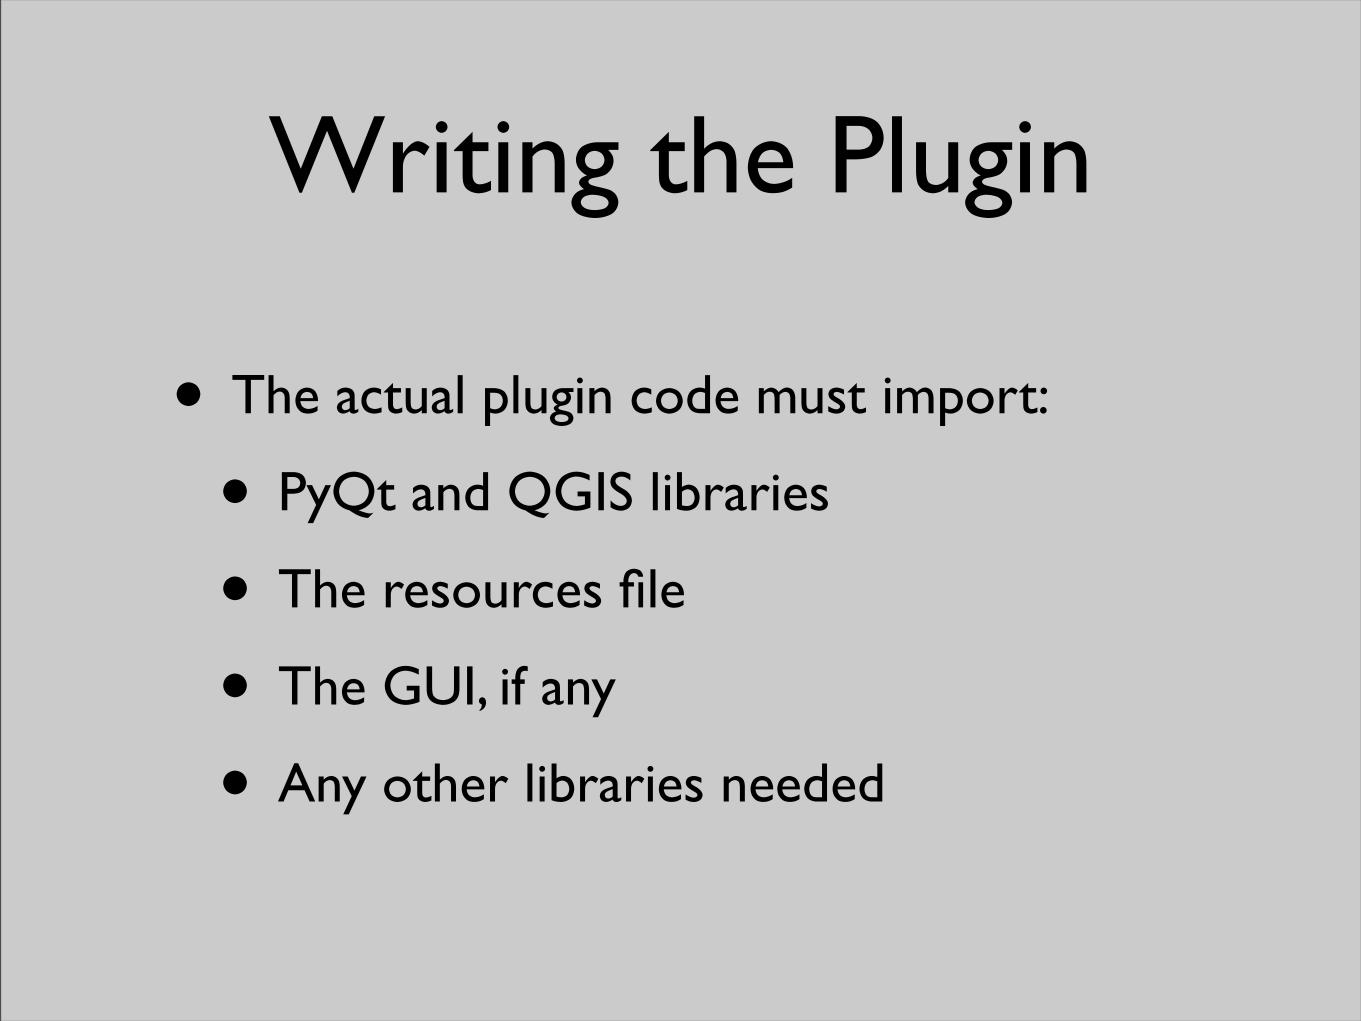
Writing the Plugin
• The actual plugin code must import:
• PyQt and QGIS libraries
• The resources file
• The GUI, if any
• Any other libraries needed

Writing the Plugin• The plugin must:
• Initialize itself by storing the reference to the QGIS interface (iface) in the __init__ method
• Initialize the GUI by adding its icon(s) to the menu and or toolbar in the initGui method
• Include an unload method to clean up the GUI when the plugin is unloaded
• Implement the logic and functionality of the plugin in the run method

Using the Plugin
• The NewLayer plugin creates a new layer in PostGIS

Issues with the Plugin• We could use an improved GUI, one that lets the user
enter all the needed information on one dialog
• The user can’t specify field types
• There is limited error checking in the dialog
• If you don’t enter any fields, the plugin fails
• There is no error checking on any of the database operations
• There is no feedback from the plugin once it completes

Adding Feedback
• Use a simple QMessageBox to provide feedback

PyQGIS Applications
• Run standalone, outside the QGIS application
• Written entirely in Python
• Use Qt, PyQt, and the QGIS libraries
• Can run on Linux, Mac OS X, Windows, and others

Designing the GUI• Application
GUIs are created with Qt Designer
• An application can have multiple forms and dialogs

Writing the Source
• An application needs the same imports as a plugin
• The main class inherits from the QMainWindow class and the GUI class created using pyuic4
• Any additional setup of the GUI must be done, such as adding toolbars and tools
• Connections to the methods that will handle events from the tools must be made
• Map tools are setup
• The main logic of the app is written to implement the desired features

Final Steps
• Setup the main method to run the application
• Create the main window
• Show the window and enter the event loop

Running the Application• export LD_LIBRARY_PATH=$HOME/qgis_09/lib
• export PYTHONPATH=$HOME/qgis_09/share/qgis/python
• export QGISHOME=$HOME/qgis_09
• ./mainwindow.py


