Product Documentation - iSenseLabs - OpenCart Modules ... · Product Documentation November, 2015...
15
Product Documentation November, 2015 OrderFollowUp OrderFollowUp in OpenCart, created by iSenseLabs © 2015, iSenseLabs isenselabs.com
Transcript of Product Documentation - iSenseLabs - OpenCart Modules ... · Product Documentation November, 2015...
Product Documentation
November, 2015
OrderFollowUp
OrderFollowUp in OpenCart, created by iSenseLabs
© 2015, iSenseLabs
isenselabs.com

OrderFollowUp Documentation
http://isenselabs.com
http://isenselabs.com/users/support 2
Table of Contents
Table of Contents ....................................................................................................................... 2
Chapter 1: Introduction ............................................................................................................. 3
How to use this document ..................................................................................................... 3
Chapter 2: Installation instructions ........................................................................................... 4
Chapter 3: Getting started with OrderFollowUp ....................................................................... 5
What is OrderFollowUp? ........................................................................................................ 5
Switching OrderFollowUp on ................................................................................................. 5
Accessing the module's settings ............................................................................................ 5
Chapter 4: Creating Mail Templates .......................................................................................... 6
Template Settings ................................................................................................................... 6
Chapter 5: Schedule your messages using CRON Jobs ............................................................ 10
Setting a CRON Job ............................................................................................................... 10
Chapter 6: The Log Tab ............................................................................................................ 13
Chapter 7: Uninstalling OrderFollowUp................................................................................... 14
Chapter 8: Getting support ...................................................................................................... 15
Getting support .................................................................................................................... 15
OrderFollowUp Documentation
http://isenselabs.com
http://isenselabs.com/users/support 3
Chapter 1: Introduction
Welcome! Thank you for your purchase of OrderFollowUp. This document will teach you all
you need to know about the OrderFollowUp extension.
How to use this document
The information you need is divided into chapters. In some sections you might notice some
of these two types of paragraphs:
Note: The blue paragraphs contain information which is good to be aware of. They are
intended for all types of users.
Important: The red paragraphs contain important information, which we strongly advise
users to read.
OrderFollowUp Documentation
http://isenselabs.com
http://isenselabs.com/users/support 4
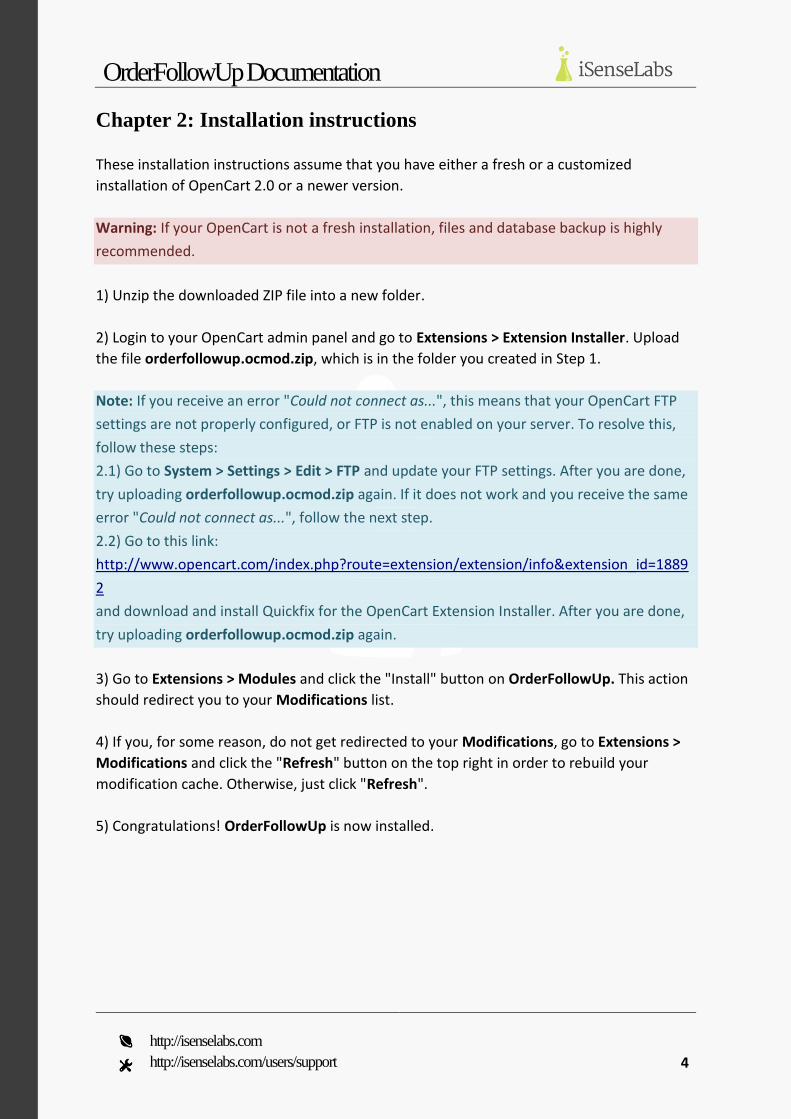
Chapter 2: Installation instructions
These installation instructions assume that you have either a fresh or a customized
installation of OpenCart 2.0 or a newer version.
Warning: If your OpenCart is not a fresh installation, files and database backup is highly
recommended.
1) Unzip the downloaded ZIP file into a new folder.
2) Login to your OpenCart admin panel and go to Extensions > Extension Installer. Upload
the file orderfollowup.ocmod.zip, which is in the folder you created in Step 1.
Note: If you receive an error "Could not connect as...", this means that your OpenCart FTP
settings are not properly configured, or FTP is not enabled on your server. To resolve this,
follow these steps:
2.1) Go to System > Settings > Edit > FTP and update your FTP settings. After you are done,
try uploading orderfollowup.ocmod.zip again. If it does not work and you receive the same
error "Could not connect as...", follow the next step.
2.2) Go to this link:
http://www.opencart.com/index.php?route=extension/extension/info&extension_id=1889
2
and download and install Quickfix for the OpenCart Extension Installer. After you are done,
try uploading orderfollowup.ocmod.zip again.
3) Go to Extensions > Modules and click the "Install" button on OrderFollowUp. This action
should redirect you to your Modifications list.
4) If you, for some reason, do not get redirected to your Modifications, go to Extensions >
Modifications and click the "Refresh" button on the top right in order to rebuild your
modification cache. Otherwise, just click "Refresh".
5) Congratulations! OrderFollowUp is now installed.

OrderFollowUp Documentation
http://isenselabs.com
http://isenselabs.com/users/support 5
Chapter 3: Getting started with OrderFollowUp
What is OrderFollowUp?
OrderFollowUp is an extension that allows you to create and send follow-up e-mails to
customers upon a chosen order-related circumstance. This module is rated to be vital for
tightening up the relationship with old customers by offering discounts and keeping new
ones interested by advertising products.
Switching OrderFollowUp on
To activate the module, the first thing you need to do is go to its settings.
Accessing the module's settings
To access the module's settings, you should log in to your store's admin panel, then go to
Extensions ->Modules, find OrderFollowUp and click the blue Edit button with the pencil in
it.
Your module settings are initially divided into two tabs - Control Panel and Support.
Upon Enabling the module from the only drop-down menu field in Control Panel, another
drop-down menu by the name of "Keep log" and a navigation bar tab labeled "Add New
FollowUp" should appear. Click "Add New FollowUp" and a set of fields with a text editor at
the bottom of the page will appear.
Congratulations! OrderFollowUp is now set and your first mail template is ready to be
configured.

OrderFollowUp Documentation
http://isenselabs.com
http://isenselabs.com/users/support 6
Chapter 4: Creating Mail Templates
In this chapter you will learn how to customize mail templates - give them unique names,
determine whether they will provide the customer with a discount or not and define what
events they will be sent on.
To start off, navigate to OrderFollowUp's settings. If you cannot remember how to do that,
have a quick look back here. Then, choose the Control Panel tab.
Template Settings
By clicking on "Add New FollowUp", you created your first mail template. It appeared in a
new navigation bar tab named "FollowUp 1" by default. Along with that, many fields related
to your template's settings became visible.
FollowUp 1 status: This is a drop-down menu with two possible choices. It allows you to
activate/deactivate the present template.
Template 1 name: This allows you to set a name for your template. The name will not be
used in the e-mail that is sent to your customers. It is solely for backend organizational
purposes.

OrderFollowUp Documentation
http://isenselabs.com
http://isenselabs.com/users/support 7
Note: The number (1) is auto-incrementing for every new template.
Order status: This field is a drop-down menu and lets you choose when the given follow-up
mail should be sent. The options in it refer to order statuses. For example, if you want
customers to be automatically notified when their orders are shipped, you should select the
"Shipped" option. That way, the module will supervise all your orders' statuses and will send
e-mails to all customers, whose orders have been marked as "Shipped".
Order total: This field allows you to set a minimum price that an order should reach in
order to trigger the given follow-up mail. This is great if you want to provide discount for
customers,(and notify them about that) who have spent a certain amount of money in your
store.
Note1: The price will be in your store's default currency.
Note2:Set the price to 0 if you do not want to use this field's functionality.
Message delay: This field expects a number as an input and allows you to delay your e-
mails with a set amount of days. For example, if you want your e-mail to be sent a day later
than a given order triggers the follow-up, you should set it to 1 (You also need CRON jobs for
that).
Note: Set it to 0 if you want your follow-up e-mails to be sent right away (you do not need
CRON jobs for that).
Continuing with the next set of options:

OrderFollowUp Documentation
http://isenselabs.com
http://isenselabs.com/users/support 8
Products: This option allows you to assign the present follow-up to orders of a given
product (or set of products) only. The option consists of a field, expecting a product's name
as an input and a window beneath it. It is enough for you to start typing the name of the
product you want to assign the follow-up to and its name should appear in a drop-down
menu (process known as auto-completion). Upon clicking on the product's name in the
drop-down menu, it will be added to the window below. Do this for as many products as
you like.
Type of discount: Here you get to choose whether to provide discount and if it will be in
Percents or as a Fixed Amount.
No discount: Choose that option if you do not want to provide any discount.
Percentage & Fixed Amount: Upon choosing whichever of these, a set of 3 fields
will appear:
Discount: This field expects a number as an input. If you have chosen the
Percentage option, it will be the discount value in percents and if you have chosen the Fixed
Amount option, it will be the amount of the discount in your store's default currency (USD
for the example).
Total amount: Same logic as the order total field, except this time it is for the
discount. You can set a minimum price (in your store's default currency) that an order
should reach in order for the customer to be able to benefit from the discount.
Discount validity: Here you can set a deadline (in days), which the customer
should meet if he/she wants to take advantage of the discount.
Customer Groups: This is a field with a number of checkboxes equal to the number of
customer groups in your store. You can check the boxes of the customer groups you want to
be notified and leave the boxes of those you want omitted unchecked.

OrderFollowUp Documentation
http://isenselabs.com
http://isenselabs.com/users/support 9
Last but not least, the text editor for your e-mail:
This is where you will create the body of your follow-up message. You can use the text
editor to style your e-mail, make hyperlinks, ordered and unordered lists, insert pictures and
even video. Play around with it to get used to its features. If you have any problems applying
any of them, feel free to use the Support tab and open a ticket, so iSenseLabs team can
assist you.
Note: Check out the short-codes on the left. Use them to make your template applicable to
all orders/customers. Each of the short-codes will be replaced by data of the given
order/customer.
{first_name} - customer's first name
{last_name} - customer's last name
{discount_code} - the unique discount code he/she will receive
{discount_value} - this is the value of the discount (e.g. 20%)
{total_amount} - this is the total amount of the discount in your store's currency
{date_end} - the deadline for the discount
{order_id} - this represents the ID of the given order
{order_products} - this lists all the ordered products
Note1: If you choose the "No Discount" option from the "Type of discount" field", the
following codes will have to be removed from the template: {discount_code},
{discount_value}, {total_amount} and {date_end}.
When you are finished styling the template of your follow-up message, click the green Save
Changes button.
Congratulations! You have created your first follow-up notification template.

OrderFollowUp Documentation
http://isenselabs.com
http://isenselabs.com/users/support 10
Chapter 5: Schedule your messages using CRON Jobs
CRON is a time-based job scheduler in UNIX-like operating systems. By means of it, you can
schedule tasks (messages, in our case), which are usually referred to as "CRON Jobs". Using
CRON Jobs allows you to automate your messages and send a given follow-up automatically
at a given moment in time.
Note: The explanations on how to set a CRON job here are for cPanel users. Though the
process is similar for most web hosting control panels, it might have slight differences. If you
need any help setting CRON jobs on a different control panel, feel free to contact
iSenseLabs support team for assistance.
Important: If your server does not support CRON Jobs, you can try using services such as
easycron.com, setcronjob.com or others, which can provide you with this feature.
Setting a CRON Job
First off, you need to navigate to your module's settings. Go to the Control Panel tab.
Opposite of the second field ("Keep log"), you will find a button labeled "How to set up the
cron job?".
Upon clicking it, a modal window will pop up. This window contains the command you need
to activate the CRON job (shown in the picture below). Copy it.

OrderFollowUp Documentation
http://isenselabs.com
http://isenselabs.com/users/support 11
Now, navigate to your cPanel. In the Advanced section, find Cron Jobs and click it.
You will be redirected to the following page:

OrderFollowUp Documentation
http://isenselabs.com
http://isenselabs.com/users/support 12
To add a CRON job, you must first determine how often the CRON job should activate the
e-mail-sending script. This is done from the "Common Settings" drop-down menu.
WARNING: Make sure you set the CRON job to at least "Once per day", otherwise you will
end up spamming your customers with multiple e-mails a day.
Then, from the Minute and Hour fields, choose the given hour you want the CRON to run at
(the values used for the example are 0 and 0, which means the CRON will run at 00:00 every
day).
And last but not least, you should paste the command you copied earlier in the "Command"
field. It should look something like this:
php /home/orderfollowupdem/public_html/oc2/vendors/orderfollowup/sendFollowUp.php
Important: Bear in mind the command should not include the "0 0 * * *".
Important: Keep in mind that some servers require the full path to the php extension, which
on most of the servers is usr/bin/php. In such cases, you just have to change the beginning
of the command from “php” to “usr/bin/php”. If this does not make CRON jobs work, it
means the php extenion is at a different place (the path is not correct). In that case, contact
your hosting provider for more information.
Once you have copied it, click the "Add New Cron Job" button and the CRON job you have
been creating should appear in the "Current Cron Jobs" section below as shown:
Congratulations! You have set up your CRON job.

OrderFollowUp Documentation
http://isenselabs.com
http://isenselabs.com/users/support 13
Chapter 6: The Log Tab
There is an initially invisible tab within the module that keeps track of all sent e-mails and
records them. To activate it, navigate to the module's settings. In the Control Panel tab, the
second field is "Keep log". It is a drop-down menu with 2 options - Enabled and Disabled.
Upon Enabling it, a new tab by the name of "Sent Emails Log" will appear (between the
Control Panel and the Support one). This is how it looks like:
Basically, it is a table with 6 columns:
Order ID: This column displays the ID of the order in the database. It also has an "Order
Details" button, which redirects you to the order's details (also accessible from Sales -
>Orders ->View).
Customer: This is the customer's name.
Email: This is his/her e-mail.
FollowUp ID: This is the ID of the FollowUp that has been sent to the customer. The "View
more" button will take you to the given template's settings.

OrderFollowUp Documentation
http://isenselabs.com
http://isenselabs.com/users/support 14
Date: The date the FollowUp has been sent on.
Message: The "View message" button from this column will open a modal window that will
show you how the message you have sent exactly looks like.
Chapter 7: Uninstalling OrderFollowUp
This process describes how to uninstall OrderFollowUp from your store.
Warning: This action cannot be reversed. It is highly recommended that you create a file
and database backup just in case.
To uninstall OrderFollowUp, navigate to Extensions ->Modules and find the OrderFollowUp
module. In the Action column, there should be a red Uninstall button. Upon clicking it, you
will be asked whether you are sure you want to proceed. Provided you say yes, the module
will be uninstalled from your website.
Warning: Once you have uninstalled the module, you lose all the information related to it.
That said, if you have not done the above-mentioned backup, there is no way to retrieve the
deleted information.
OrderFollowUp Documentation
http://isenselabs.com
http://isenselabs.com/users/support 15
Chapter 8: Getting support
Getting support
If you have a valid iSenseLabs license for the OrderFollowUp module, this means you have
access to the iSenseLabs support system on the following address:
http://isenselabs.com/users/support
If you have any questions, comments or recommendations, feel free to open up a support
ticket in our system (check out the Support tab of the module). A support specialist will
assist you as soon as possible.
Thank you for using our product!