PowerPoint 2016 Basics
8
PowerPoint 2016 – Basics What is PowerPoint? Microsoft PowerPoint is a presentation graphics program. It is a software that creates a slide show presentation. A slide show presentation may contain a number of materials including: graphs, charts, bulleted lists, images, multimedia video, hyperlinks, sound clips and eye catching text. PowerPoint makes it easy to build presentations for business meetings, product pitches, and school presentations. PowerPoint also can be used to create supplemental material. For instance: handouts, speaker’s notes, and transparencies. PowerPoint Vocabulary Slide: An individual screen in a presentation. Presentations: A saved file that contains slides, speaker’s notes, handouts, and more; that makes up your presentation. Object: Any element on a slide, such as clipart, text, drawings, charts, sounds, and video clips. Slideshow: A series of slides displayed in sequential order. A slideshow can be controlled manually or automatically. Transition: A special effect used to introduce the next slide in sequence. AN example would be a fade-in. Slide View: In slide view, you can edit the objects that make up the slide. Outline View: In outline view, your presentation appears as an outline, made up of titles and main text from each slide. You can see all your presentation in one window, rather than one slide at a time. Slide Sorter View: In slide sorter view, you see small versions of each of your slides in the order that they appear in your presentation. It is easy to add slides anywhere in the presentation or rearrange the order of the slides. Where do I get Microsoft PowerPoint? PowerPoint is sold as a separate program but is always packaged with Microsoft Office Suite, which includes Word, Excel, OneDrive, Outlook, Publisher, and Access. There are several versions of Microsoft Office that include or exclude different programs. Microsoft Office Suite can bought with a monthly subscription. If you have a newer PC, you may have Microsoft Office already installed, as Office is usually added on as a package deal. If not you can purchase Microsoft PowerPoint or the Suite package and install the software onto your computer.
Transcript of PowerPoint 2016 Basics
PowerPoint 2016 – Basics
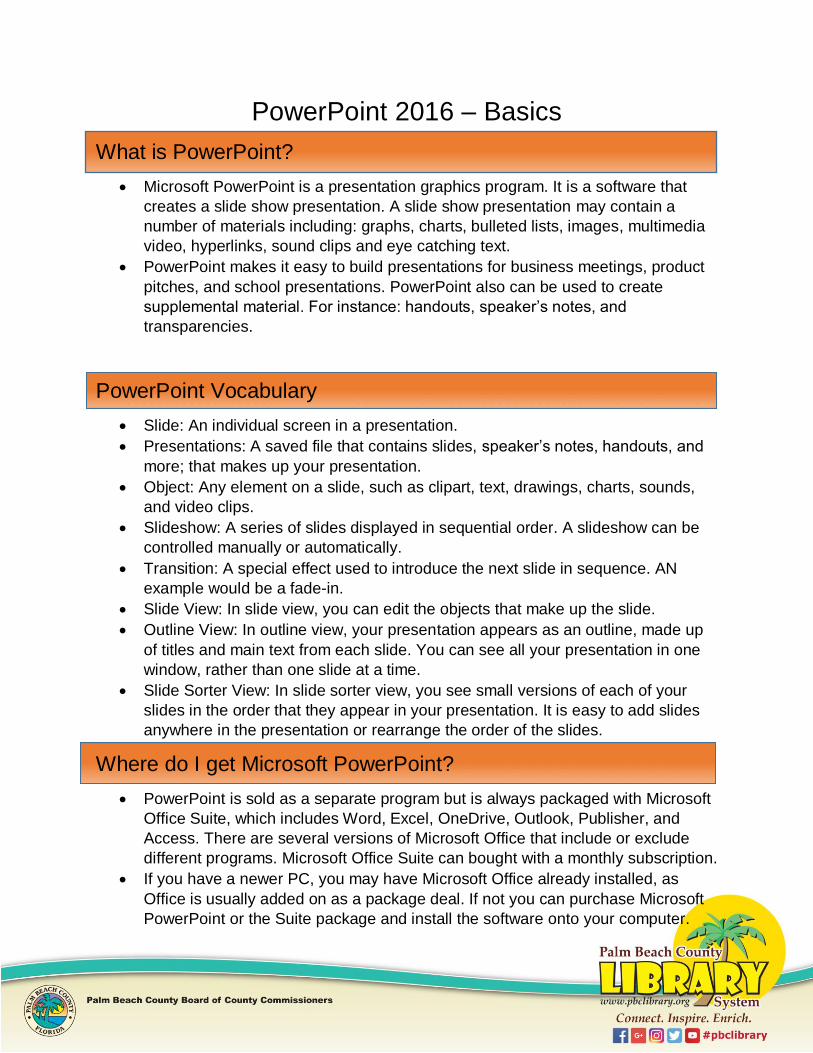
What is PowerPoint?
Microsoft PowerPoint is a presentation graphics program. It is a software that
creates a slide show presentation. A slide show presentation may contain a
number of materials including: graphs, charts, bulleted lists, images, multimedia
video, hyperlinks, sound clips and eye catching text.
PowerPoint makes it easy to build presentations for business meetings, product
pitches, and school presentations. PowerPoint also can be used to create
supplemental material. For instance: handouts, speaker’s notes, and
transparencies.
PowerPoint Vocabulary
Slide: An individual screen in a presentation.
Presentations: A saved file that contains slides, speaker’s notes, handouts, and
more; that makes up your presentation.
Object: Any element on a slide, such as clipart, text, drawings, charts, sounds,
and video clips.
Slideshow: A series of slides displayed in sequential order. A slideshow can be
controlled manually or automatically.
Transition: A special effect used to introduce the next slide in sequence. AN
example would be a fade-in.
Slide View: In slide view, you can edit the objects that make up the slide.
Outline View: In outline view, your presentation appears as an outline, made up
of titles and main text from each slide. You can see all your presentation in one
window, rather than one slide at a time.
Slide Sorter View: In slide sorter view, you see small versions of each of your
slides in the order that they appear in your presentation. It is easy to add slides
anywhere in the presentation or rearrange the order of the slides.
Where do I get Microsoft PowerPoint?
PowerPoint is sold as a separate program but is always packaged with Microsoft
Office Suite, which includes Word, Excel, OneDrive, Outlook, Publisher, and
Access. There are several versions of Microsoft Office that include or exclude
different programs. Microsoft Office Suite can bought with a monthly subscription.
If you have a newer PC, you may have Microsoft Office already installed, as
Office is usually added on as a package deal. If not you can purchase Microsoft
PowerPoint or the Suite package and install the software onto your computer.
One, free alternative is Open Office, which is an open source software suite of
programs that are equivalent to Microsoft’s Word, PowerPoint, Excel, and
Access. A word of warning, Open Office can have a slightly different appearance
and set of commands from Microsoft’s.
Another Alternative is Google Slides.
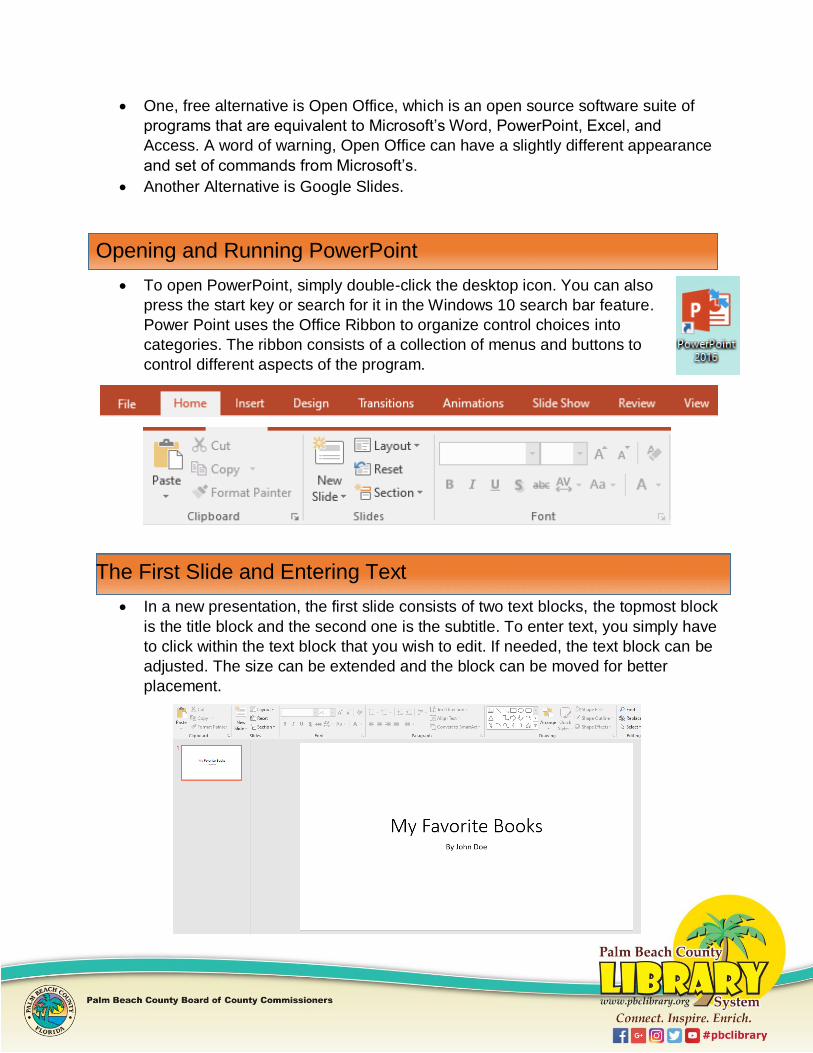
Opening and Running PowerPoint
To open PowerPoint, simply double-click the desktop icon. You can also
press the start key or search for it in the Windows 10 search bar feature.
Power Point uses the Office Ribbon to organize control choices into
categories. The ribbon consists of a collection of menus and buttons to
control different aspects of the program.
The First Slide and Entering Text
In a new presentation, the first slide consists of two text blocks, the topmost block
is the title block and the second one is the subtitle. To enter text, you simply have
to click within the text block that you wish to edit. If needed, the text block can be
adjusted. The size can be extended and the block can be moved for better
placement.

Changing Text Font
To change the font and size of your text, I recommend that you first highlight the
words or letters you wish to change, first. Next, look to the office ribbon and
make sure the home tab is selected. There will be a rectangular section titled
font. This section can change the style, color, and size of the text.
Rearranging Slides
Slides can be rearranged by clicking and dragging a
slide and moving it in front of or behind another slide.
Right clicking a slide also gives you some more
options. You can hide a slide, delete a slide, or even
duplicate a slide.

Copy and Pasting
If you wish to copy text from one slide or maybe
to include a quote from a website article, all you
have to do is highlight the text that you wish to
copy. From there, you can right click and select
copy or you can use the keyboard shortcut Ctrl +
C.
To paste the text you copied, you
should click on the area you wish to
insert the text. Next, you can right click
and select paste from the menu or use
the keyboard shortcut Ctrl + V.
To add images you can also just copy and paste them. Images also can be
clicked and dragged from the browser to the PowerPoint slide.
Hands on Activity
1. On the first slide, click on the text block, at the top, and enter “My Favorite
Books”.
2. In the second text block, please enter “By [Your First Name]”.
3. To add a new slide you can click the “New Slide” button under the Home tab.
a. You can also look to the left hand side, right click, and then select the new
slide option in the drop down menu.
4. On the new slide, title it with your favorite book. In the text block below, enter the
Author’s Name.
5. Hit enter, which should bring you to the next line, now look towards the office
ribbon and find the paragraph section under the home tab.
6. From there click the Increase List Level Butto. You can also just simply hit the
Tab key to indent the list. Now enter the Author’s birthdate.

Hands on Activity Part 2
1. On the next line, click on the decrease indent button or hold Shift and press the
Tab key.
2. On this line, enter the genre of the book. For example “Fantasy, Fiction, or Non-
Fiction.”
3. On the last line just enter the number of pages.
4. Finally, insert a New Slide.
Hands on Activity Part 3
1. On this slide, please enter:
a. Book Title – Title of the Slide
b. Author Name
c. Genre
d. The number of pages
2. Once finished you can start the Slide Show.
a. Go to the Slide Show tab, and on the left hand side of the ribbon, you can
click on From Beginning button. This will start the presentation from the
first slide.
b. You can also press the F5 key to start the presentation as well.

Adding Background and Images
Microsoft PowerPoint has built-in design templates. To use them, simply click on
the Design tab. In the Themes section of the ribbon, you may choose whichever
design you prefer. On the right, there is a section called variants. This will give a
different color scheme for a design that you choose.
Once you chose your design, you may notice that the title background might be
different then the rest of the slides. This is to help your content, stand out.
Images
In PowerPoint, you can search for a certain type by using a keyword, for
example: “Cat”. Once added to your presentation, the image can be moved,
scaled up/down, add borders/shading, rotate, and even add an animation.

To find an image, go to the Insert tab. Within the Images section, click on the
button “Online Pictures.” In the Bing search, enter a keyword for an image, and
then click on an appropriate image which will then be added to your presentation.
Once the image is inserted, there should be tiny circles, which are called
connectors. Connectors can be used to resize or rotate an image. Place your
mouse arrow on the top right corner circle and it should change into a diagonal
double headed arrow. This means that the image can now be resized. Click and
hold then drag the image to scale it down. You can also hold shift to keep the
dimensions of the image the same relative size. As you can accidently make the
image too narrow or short, otherwise. Release the mouse button when the image
is scaled correctly.
To rotate the image, move the mouse cursor to the curved arrow, the mouse
cursor should now look like a curved arrow. Click and hold to rotate the image by
moving the mouse left and right. Release the mouse button to set the rotation.
To make the image move, hover the mouse cursor over the line connecting the
circles, it should like a plus sign with 4 arrowheads. Click and hold to move the
image to another spot. Release the mouse button to drop the image in what you
feel is the right spot.
Creative Commons
You may see a little checkbox called “Creative Commons Only.” When it’s check
marked, it means it will only show images that are not copyrighted and can be
used commercially. You can use copyright material when it fits under Fair Use.
Fair use means a copyrighted image may be used for criticism, parody, news
reporting, research and scholarship, and education.

Hands on Activity Part 4
1. Go ahead and start a new slide and then add another book for the title. For the
second text block content add:
a. Author
b. Genre
c. Number of Pages
2. Finally, add some clipart to the new slide.
Saving Your Presentation
There are two ways to save files in Microsoft programs:
Save-As: Used to save a file for the first-time, when saving a different version
(with a different filename), and/or saving the file to a different location (folder or
drive.)
Save: Used to save a previously saved file under the same name and location.
You should first save the presentation, as soon as you start. To do so, just click
the “File” tab, which should open a new screen. Save-as will be listed on the
menu on the left hand side of the screen. The default pathway would be to your
documents folder, but you can save the file to your desktop or to a specific folder.
Give the file a name and then save it to your desired location.
To continue saving the same program, you can simply use the shortcut Ctrl + S.
Otherwise, you can click the white floppy disk icon on the left hand corner of the
program. You can also save by clicking on “File” and clicking Save on the left
hand menu.
Backing up the file is also important. You can do so on a USB Flash Drive, which
most of them are inexpensive and can now hold vast amounts of data. Once the
Flash Drive is plugged in, you can then copy the files over to the Flash Drive.
Once it’s finished, then you have successfully backed up your files.
Learning Resources
https://support.office.com/en-us/article/powerpoint-for-windows-training-
40e8c930-cb0b-40d8-82c4-bd53d3398787
https://support.office.com/en-us/article/basic-tasks-for-creating-a-powerpoint-
presentation-efbbc1cd-c5f1-4264-b48e-c8a7b0334e36
https://edu.gcfglobal.org/en/powerpoint2016/
Thank you for Attending!
In accordance with the provisions of the ADA, this document may be requested in an alternate format.