Mock Moccasin Making (Intended for beginner level – no beading involved) Created by Sharon Meyer...
17
Mock Moccasin Making (Intended for beginner level – no beading involved) Created by Sharon Meyer NESD FNMI August, 2014
-
Upload
dalia-swinger -
Category
Documents
-
view
215 -
download
1
Transcript of Mock Moccasin Making (Intended for beginner level – no beading involved) Created by Sharon Meyer...
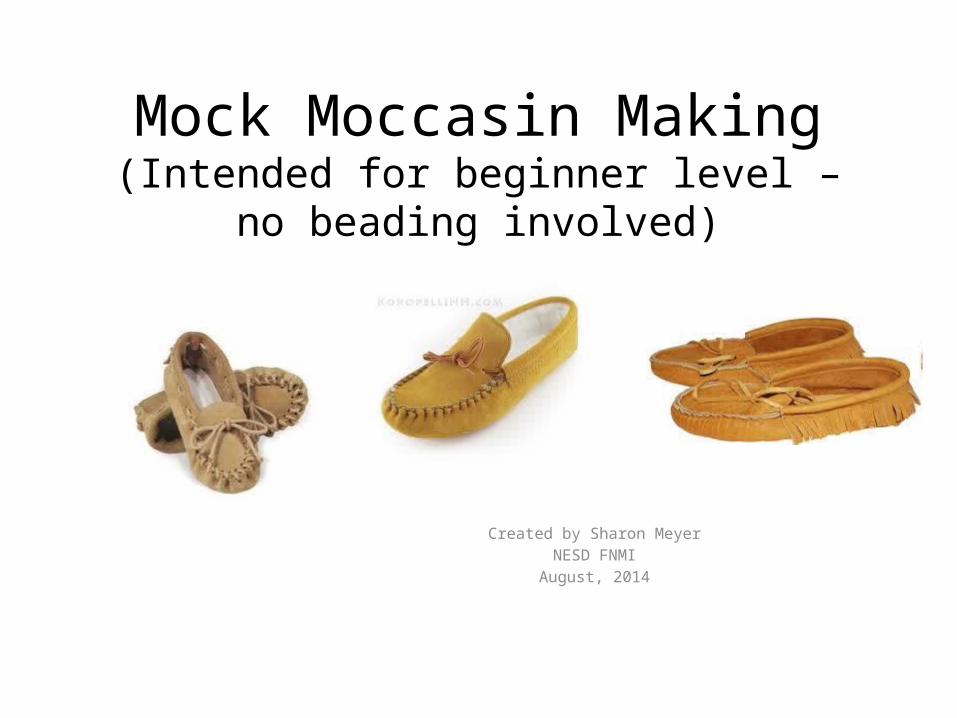
Mock Moccasin Making(Intended for beginner level – no beading
involved)
Created by Sharon MeyerNESD FNMI
August, 2014

Moccasins were created to accommodate the environment and climate of each First Nation territory.
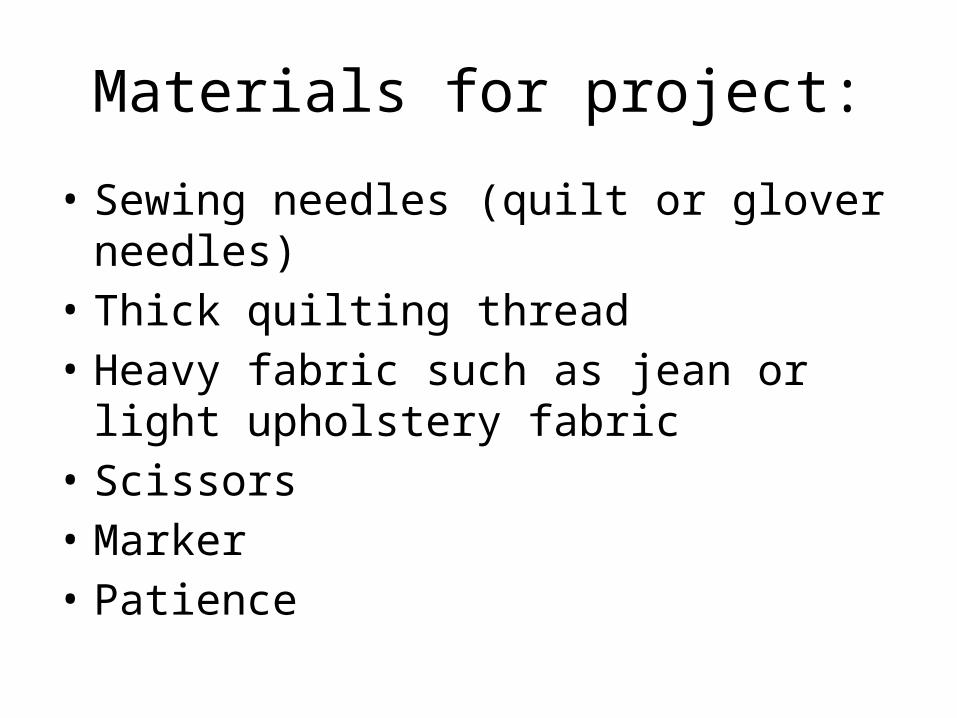
Materials for project:
• Sewing needles (quilt or glover needles)• Thick quilting thread• Heavy fabric such as jean or light upholstery
fabric• Scissors• Marker• Patience
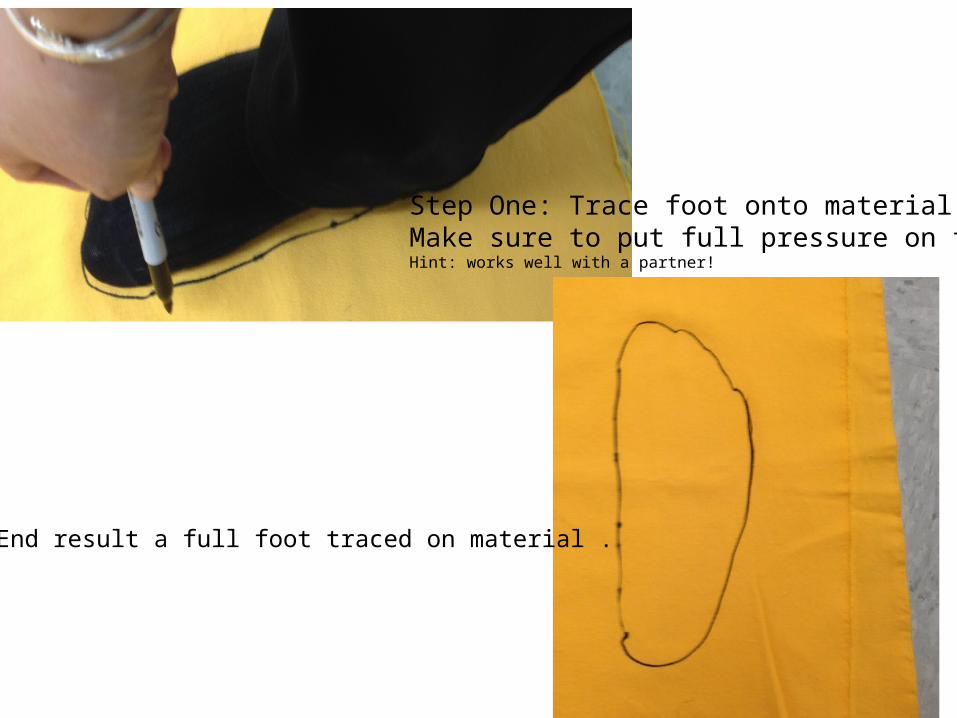
Step One: Trace foot onto material.Make sure to put full pressure on foot.Hint: works well with a partner!
End result a full foot traced on material .
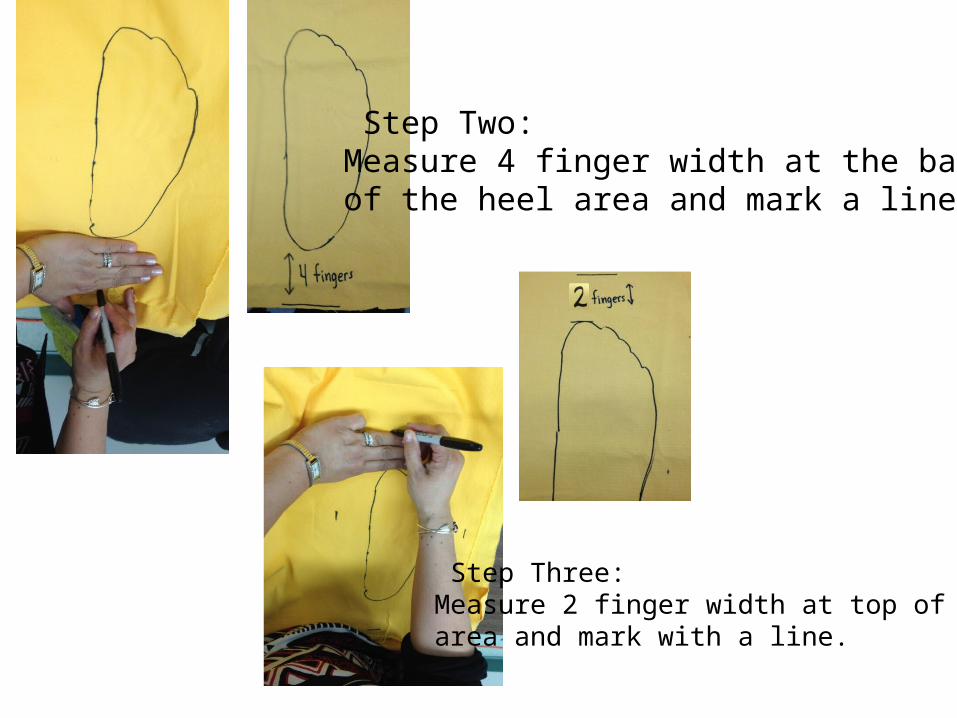
Step Two:Measure 4 finger width at the backof the heel area and mark a line.
Step Three:Measure 2 finger width at top of toe area and mark with a line.

Step four:Measure a 2.5 finger width on both sides of the foot print and mark a line.
Step Five:Your footprint now has 4 marks around the footarea.Extend the heal line across the bottom using theside lines as a guide.
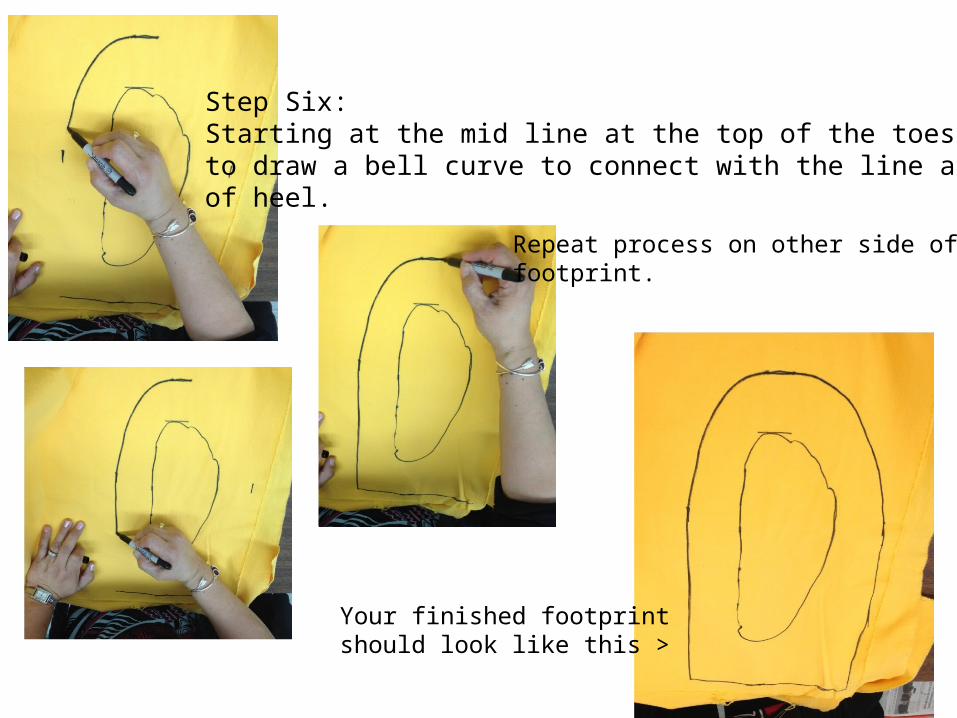
Step Six:Starting at the mid line at the top of the toes beginto draw a bell curve to connect with the line at bottomof heel.
Repeat process on other side of footprint.
Your finished footprint should look like this >
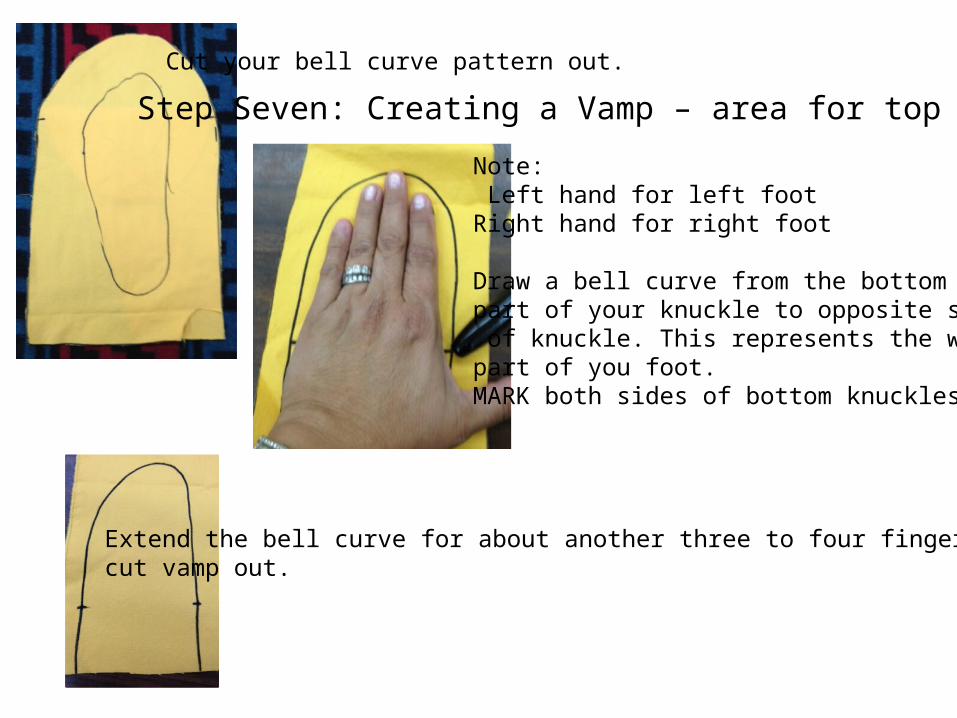
Cut your bell curve pattern out.
Step Seven: Creating a Vamp – area for top of foot
Note: Left hand for left footRight hand for right foot
Draw a bell curve from the bottom part of your knuckle to opposite side of knuckle. This represents the widest part of you foot. MARK both sides of bottom knuckles.
Extend the bell curve for about another three to four fingers then cut vamp out.
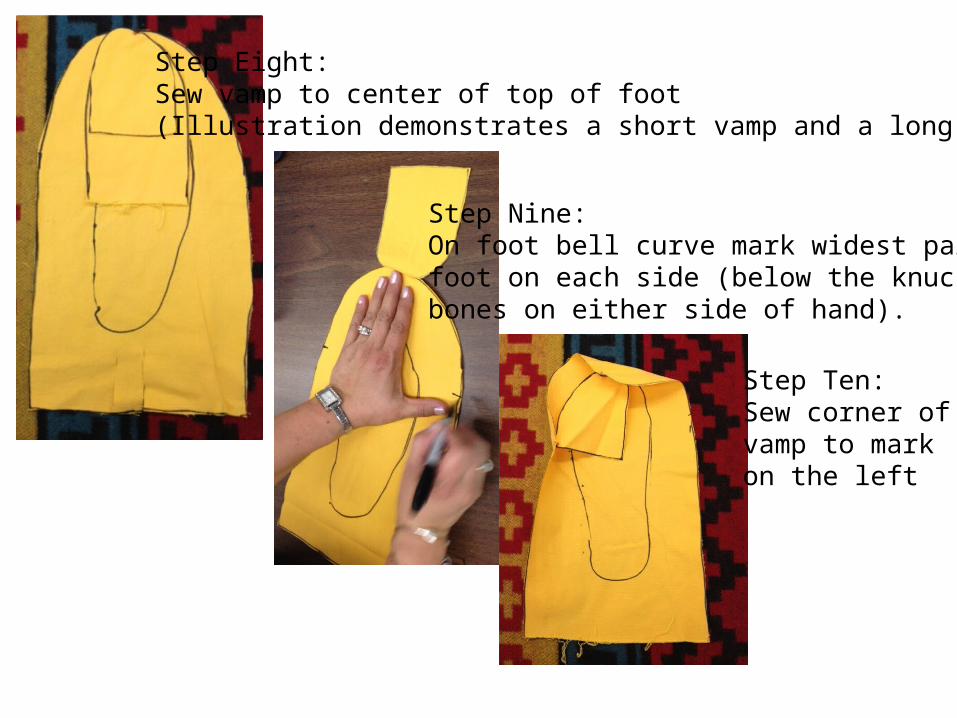
Step Eight:Sew vamp to center of top of foot (Illustration demonstrates a short vamp and a long vamp)
Step Nine:On foot bell curve mark widest part of foot on each side (below the knucklebones on either side of hand).
Step Ten:Sew corner of vamp to mark on the left

Step Eleven:Attach opposite corner to mark
Step Twelve:Gather and tuck stitch along the sides of the vamp area
When stitching - the needle enters the vamp in a straight line then enters the foot panel at an angle.Once the needle is through pull the threadthrough and a gathering technique will occur (it will pucker together).It takes practice to keep consistent size of stitches.

Once one side is completed repeat the procedure to the opposite side.
Your finished product should look like this
Step Thirteen:At back of heel draw two lines extending from heel area to end of material.

Step Fourteen:At half way mark on either side of back tab - cut the excess away so pattern looks like the photo example.
Step Fifteen:Slip foot into mock moccasin an size the back of your heel area.
Sew the two side parts together thensew back flap in a rectangular shape.

If there is any excess cut material away.
< Inside back of heel area
Finished product should look like this >
Side view of finished product ^

Step Sixteen:Ankle cover – need to measure material along the edges of the mouth of the mock moccasin.
Step Seventeen:Tuck material inside and sewusing basic running stitch to fasten material to mockmoccasin.NOTE:If using fur make sure fur is facing inside of mock moccasinbecause it will be turned over on the outside after stitching

When the stitching is completed then flip material out to cover ankle area.
Your completed mock moccasin should look something like the ones pictured above.
Now that you have the basic steps you can add different features to your moccasin.Thank you for your practicing your patience.
Sharon Meyer NESD FNMI [email protected]

Some additional examples to enhance your mock moccasin:

These are some beginner efforts for our NESD Teacher Workshop in August 2014