LabVIEW Workshop September 26, 2009 Hauppauge High School SPBLI - FIRST Mark McLeod Advisor...
34
LabVIEW Workshop LabVIEW Workshop September 26, 2009 Hauppauge High School SPBLI - FIRST Mark McLeod Mark McLeod Advisor Advisor Hauppauge Team 358 Hauppauge Team 358 Northrop Grumman Corp. Northrop Grumman Corp. [email protected] [email protected]
-
Upload
barrie-sparks -
Category
Documents
-
view
216 -
download
1
Transcript of LabVIEW Workshop September 26, 2009 Hauppauge High School SPBLI - FIRST Mark McLeod Advisor...
LabVIEW Workshop LabVIEW Workshop
September 26, 2009Hauppauge High School
SPBLI - FIRST
Mark McLeodMark McLeodAdvisorAdvisor
Hauppauge Team 358Hauppauge Team 358Northrop Grumman Corp.Northrop Grumman [email protected]@ngc.com

AgendaAgenda
How to BeginHow to Begin LabVIEW BasicsLabVIEW Basics FRC PaletteFRC Palette How to Do Standard OperationsHow to Do Standard Operations
Note: These slides approximate the material covered at a Note: These slides approximate the material covered at a hands-on workshop where this work was all done in a hands-on workshop where this work was all done in a live LabVIEW session.live LabVIEW session.

How to BeginHow to Begin
Start LabVIEWStart LabVIEW New -> FRC cRIO Robot ProjectNew -> FRC cRIO Robot Project
– Name your projectName your project– Set your cRIO IP address Set your cRIO IP address
(10.xx.yy.02)(10.xx.yy.02)– Choose “Basic Framework” or Choose “Basic Framework” or
“Advanced Framework”“Advanced Framework”
oror Open -> Browse (Existing Project)Open -> Browse (Existing Project)

Default FrameworksDefault Frameworks
Basic FrameworkBasic Framework– Basic Robot Main.viBasic Robot Main.vi
– Drive loopDrive loop– Camera loopCamera loop– Periodic loopPeriodic loop
– Autonomous Independent.viAutonomous Independent.vi– Robot Global Data.viRobot Global Data.vi
Advanced FrameworkAdvanced Framework– Team CodeTeam Code
Begin.viBegin.vi Teleop.viTeleop.vi Vision Processing.viVision Processing.vi Autonomous Iterative.vi or Autonomous Independent.viAutonomous Iterative.vi or Autonomous Independent.vi Periodic Tasks.viPeriodic Tasks.vi Robot Global Data.viRobot Global Data.vi

LabVIEW BasicsLabVIEW Basics
Project ExplorerProject Explorer– My ComputerMy Computer– RT CompactRIO TargetRT CompactRIO Target
What’s Important HereWhat’s Important Here– RT CompactRIO Target RT CompactRIO Target – Build SpecificationsBuild Specifications– Basic Robot Main.viBasic Robot Main.vi– Autonomous Autonomous
Independent.viIndependent.vi
Basic Framework

RT CompactRIO TargetRT CompactRIO Target
Right click –> “Properties”Right click –> “Properties”– General – IP Address 10.xx.yy.02General – IP Address 10.xx.yy.02
Only need this if IP address wasn’t Only need this if IP address wasn’t set correctly when the project set correctly when the project was createdwas created

Build SpecificationsBuild Specifications
Right click on a spec. for “Properties”Right click on a spec. for “Properties”– Source FilesSource Files
Startup VIs: Basic Robot Main.viStartup VIs: Basic Robot Main.vi
““Run as Startup”Run as Startup”– Must reboot to take affectMust reboot to take affect
Use to download your program to the Use to download your program to the robotrobot

Temporary Debug - Temporary Debug - RunRun Run - Used to test & debugRun - Used to test & debug
– must be done from RobotMain.vimust be done from RobotMain.vi– Temporarily executes your code - Temporarily executes your code -
Gone after a rebootGone after a reboot– Stop or disconnect halts robotStop or disconnect halts robot– Can disable Downloaded code, so Can disable Downloaded code, so
test reboottest reboot

Edit a ProgramEdit a Program
Double click on “Basic Robot Double click on “Basic Robot Main.vi”Main.vi”
This is the “Front Panel”This is the “Front Panel” Click on Window -> “Show Block Click on Window -> “Show Block
Diagram”Diagram”
The Block Diagram is where you do The Block Diagram is where you do most of your programmingmost of your programming

Front Panel/Block Front Panel/Block DiagramDiagram
Front Panel
Block Diagram

Create Your Own VIsCreate Your Own VIs
From existing codeFrom existing code– Highlight codeHighlight code– Edit -> CreateSubVIEdit -> CreateSubVI
From scratch (File -< New VI)From scratch (File -< New VI) ExtrasExtras
– Change IconChange Icon– Add terminals (from Front Panel)Add terminals (from Front Panel)
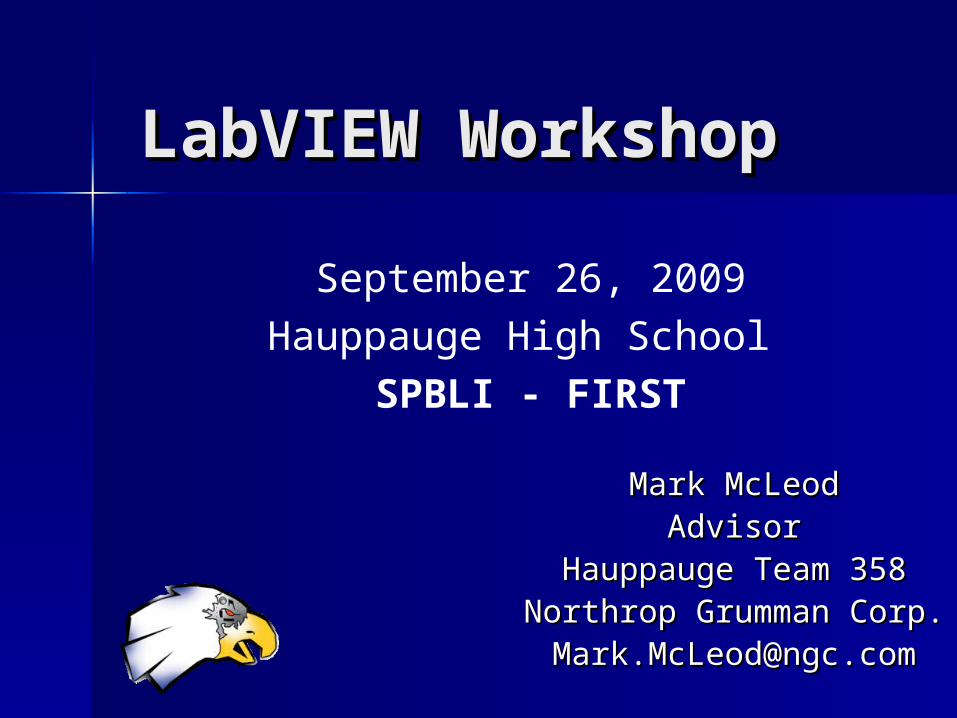
PalettesPalettes
Different Palettes for Front Panel vs Different Palettes for Front Panel vs BlockBlock
Right click in Block Diagram windowRight click in Block Diagram window What’s ImportantWhat’s Important
– Programming (structures & basic operations)Programming (structures & basic operations)– WPI Robotics Library (all robot stuff)WPI Robotics Library (all robot stuff)– FIRST Vision (camera)FIRST Vision (camera)
Help -> Show Context HelpHelp -> Show Context Help– Detailed HelpDetailed Help

Functions PaletteFunctions Palette
Block Diagram Palette
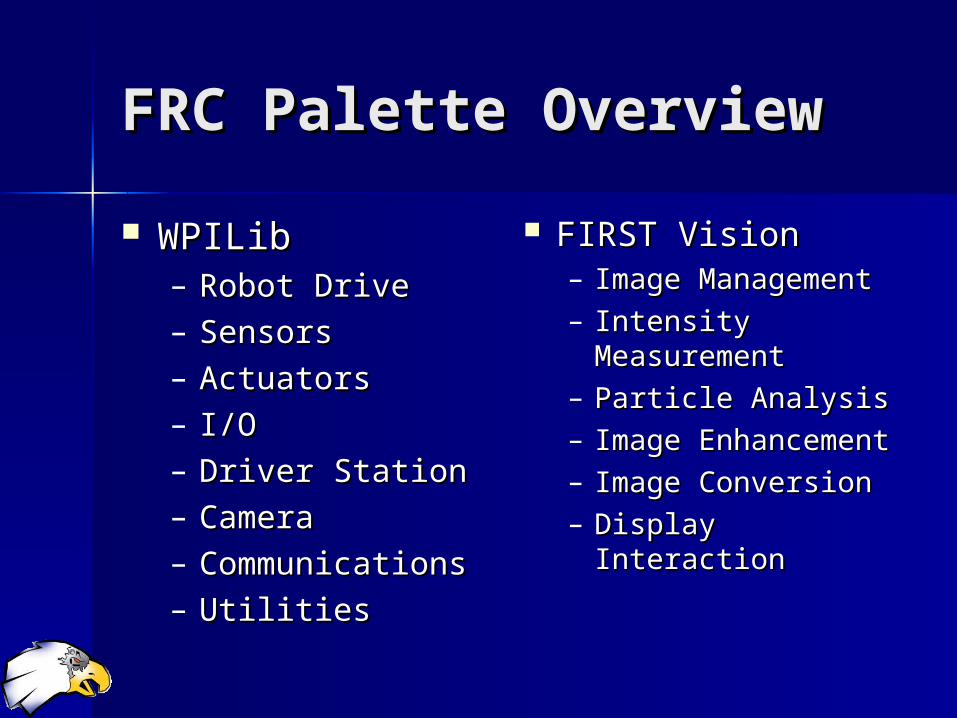
FRC Palette Overview FRC Palette Overview
WPILibWPILib– Robot DriveRobot Drive– SensorsSensors– ActuatorsActuators– I/OI/O– Driver StationDriver Station– CameraCamera– CommunicationsCommunications– UtilitiesUtilities
FIRST VisionFIRST Vision– Image Image
ManagementManagement– Intensity Intensity
MeasurementMeasurement– Particle AnalysisParticle Analysis– Image Image
EnhancementEnhancement– Image ConversionImage Conversion– Display InteractionDisplay Interaction

Basic Functional Basic Functional StructureStructure
OpenOpen Operate: Start/Get/Set, etc.Operate: Start/Get/Set, etc. CloseClose

Mouse OverMouse Over
Use Context Help(Help -> Show Context Help)naming each I/O
Put cursor over vi iconTo see inputs & outputs
In Context Help click on“Detailed help”for detailed explanation of each I/O

WiringWiring
Right-click vi icon in Block Diagram to Right-click vi icon in Block Diagram to get menuget menu
““Create”Create”– Constant (inputs, e.g., use to select PWM)Constant (inputs, e.g., use to select PWM)
– Control (inputs used for debugging)Control (inputs used for debugging)
– Indicator (outputs used for debugging)Indicator (outputs used for debugging)
““Cluster, Class & Variant Palette”Cluster, Class & Variant Palette”– Unbundle by Name (e.g., get at joystick Unbundle by Name (e.g., get at joystick
buttons)buttons)
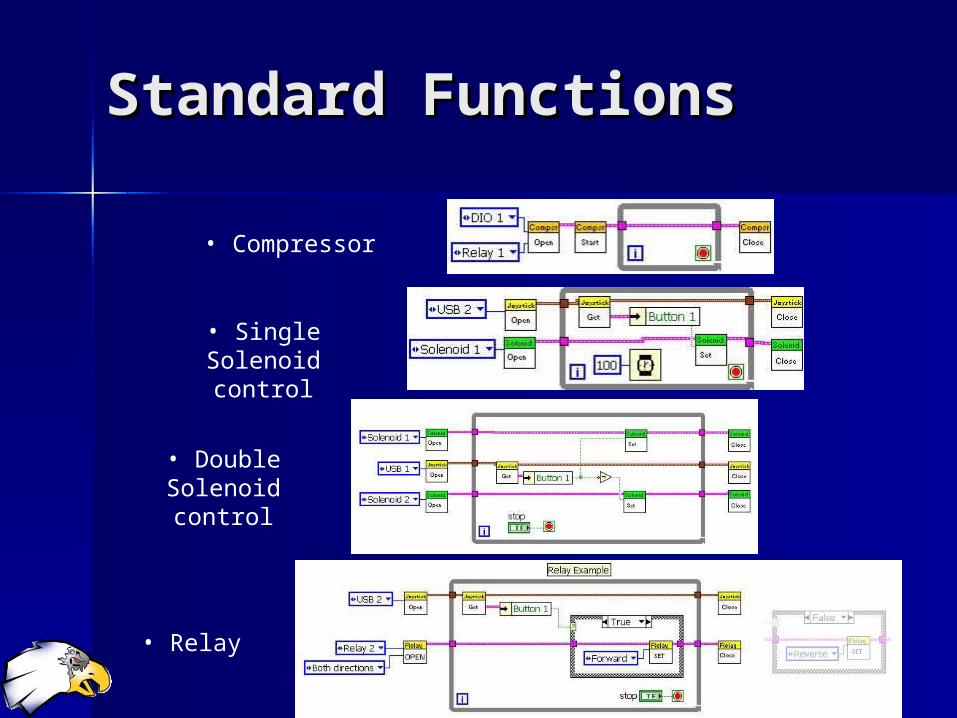
Standard FunctionsStandard Functions
• SingleSolenoid control
• Compressor
• Relay
• Double Solenoid control

DrivesDrives
• Teleop Tank Drive
(2-joystick)
• Teleop Arcade Drive
(1-joystick)

More MotorsMore Motors
• Single Motor
• Servo control

Motor ControlMotor Control
•Limit Acceleration
(both speeding up & slowing down)
Can be annoying to drivers
•Limit Switch
(one-way)
SPECIAL CONCEPT: Coerce vi- restrict value +/-

More Control SamplesMore Control Samples
•Joystick Curve
(simple cubed)

MiscellaneousMiscellaneous
• Driver Station Custom Inputs
• Analog Input (e.g., potentiometer)
• Digital Input (e.g., limit switch)

Button ControlButton Control
• Button Direct:Action occurs continuously while button is held
•2 Button system:1st button = ON2nd button = OFF

Toggle ButtonToggle Button
• Button Action once on Push
SPECIAL CONCEPT: Feedback Node

Timed SequenceTimed Sequence
• Button Timed Operation2 methods
SPECIAL CONCEPT:Sequence Structure

SensorsSensors
• EncoderRequires extra step converting Digital Input to a Digital Source
• Gyroscope

AutonomousAutonomous
LabVIEW Kills Autonomous Independent.vi at the end of autonomous mode
SPECIAL CONCEPT: Matched Device Open/Close

Default AutonomousDefault Autonomous
Requires the motors & watchdog to be opened elsewhere
SPECIAL CONCEPT: Global Variables

Global VariablesGlobal Variables
Use to open devices in one vi and use Use to open devices in one vi and use in other placesin other places– Primary example is using your drive Primary example is using your drive
motors in both Autonomous & TeleOpmotors in both Autonomous & TeleOp Devices anything you Open including:Devices anything you Open including:
– JoysticksJoysticks– MotorsMotors– RelaysRelays– SolenoidsSolenoids– Digital & Analog inputsDigital & Analog inputs
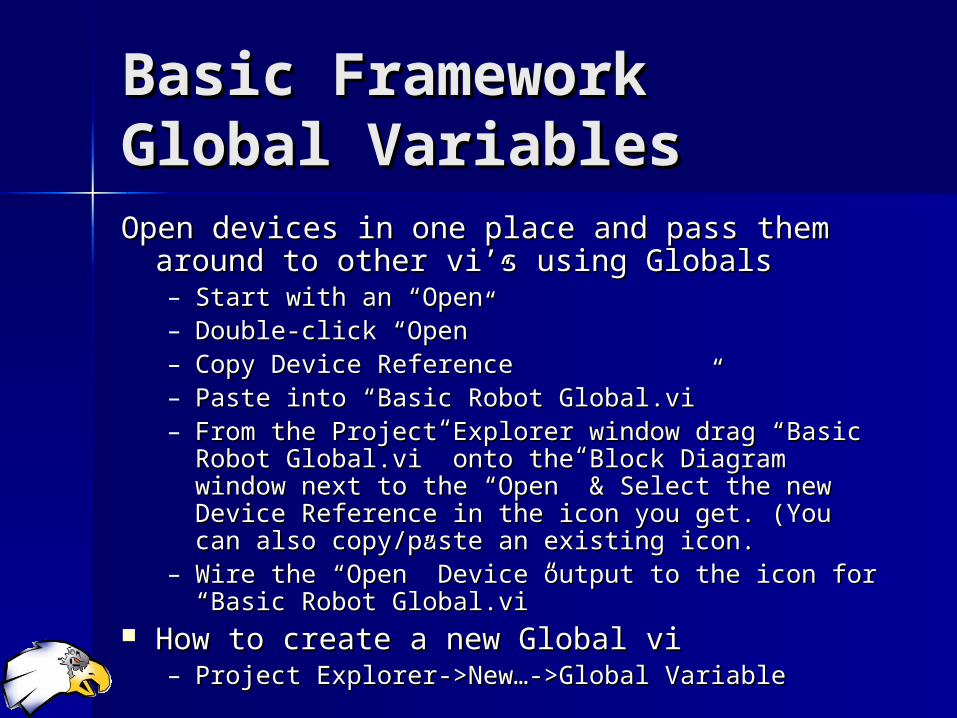
Basic FrameworkBasic FrameworkGlobal VariablesGlobal VariablesOpen devices in one place and pass them Open devices in one place and pass them
around to other vi’s using Globalsaround to other vi’s using Globals– Start with an “Open”Start with an “Open”– Double-click “Open”Double-click “Open”– Copy Device ReferenceCopy Device Reference– Paste into “Basic Robot Global.vi”Paste into “Basic Robot Global.vi”– From the Project Explorer window drag “Basic From the Project Explorer window drag “Basic
Robot Global.vi” onto the Block Diagram window Robot Global.vi” onto the Block Diagram window next to the “Open” & Select the new Device next to the “Open” & Select the new Device Reference in the icon you get. (You can also Reference in the icon you get. (You can also copy/paste an existing icon.copy/paste an existing icon.
– Wire the “Open” Device output to the icon for Wire the “Open” Device output to the icon for “Basic Robot Global.vi”“Basic Robot Global.vi”
How to create a new Global viHow to create a new Global vi– Project Explorer->New…->Global VariableProject Explorer->New…->Global Variable
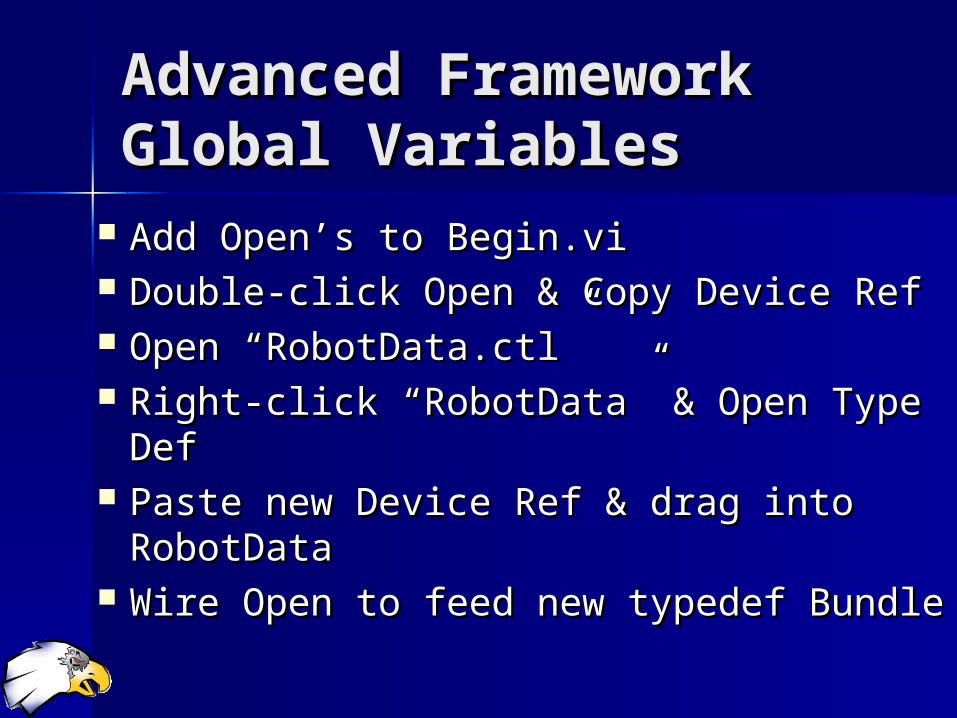
Advanced Framework Advanced Framework Global VariablesGlobal Variables
Add Open’s to Begin.viAdd Open’s to Begin.vi Double-click Open & Copy Device RefDouble-click Open & Copy Device Ref Open “RobotData.ctl”Open “RobotData.ctl” Right-click “RobotData” & Open Type Right-click “RobotData” & Open Type
DefDef Paste new Device Ref & drag into Paste new Device Ref & drag into
RobotDataRobotData Wire Open to feed new typedef BundleWire Open to feed new typedef Bundle
Further TrainingFurther Training
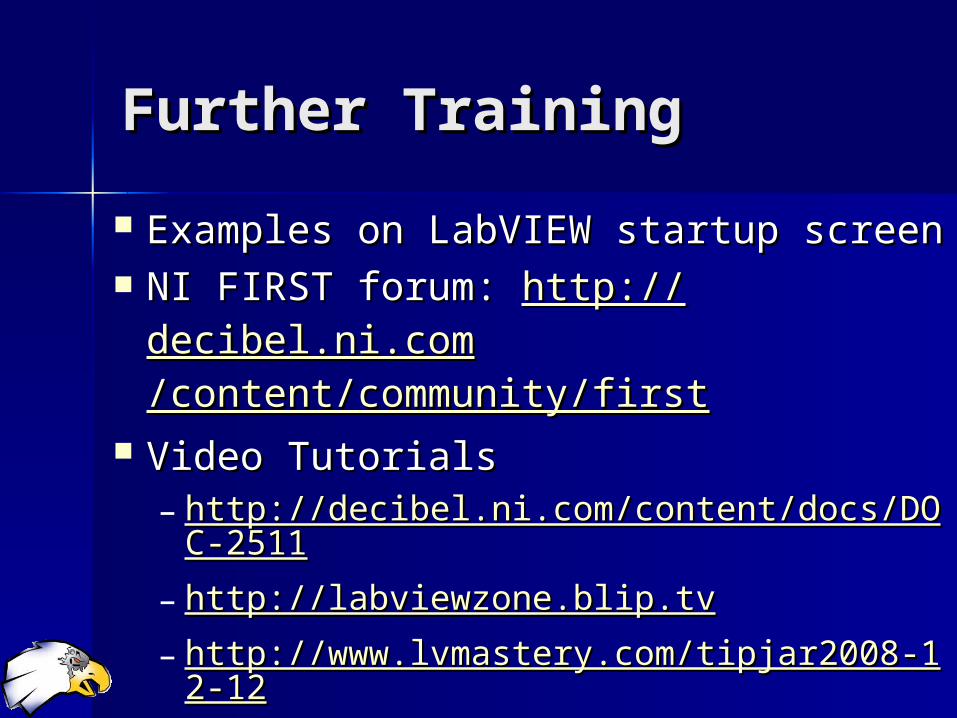
Examples on LabVIEW startup screenExamples on LabVIEW startup screen NI FIRST forum: NI FIRST forum: http://http://decibel.ni.comdecibel.ni.com
/content/community/first/content/community/first Video TutorialsVideo Tutorials
– http://decibel.ni.com/content/docs/DOC-http://decibel.ni.com/content/docs/DOC-25112511
– http://labviewzone.blip.tvhttp://labviewzone.blip.tv– http://www.lvmastery.com/tipjar2008-1http://www.lvmastery.com/tipjar2008-1
2-122-12– http://first.wpi.edu/FRC/contro876.htmlhttp://first.wpi.edu/FRC/contro876.html

Presentation slides at: Presentation slides at:
Team358.orgTeam358.org under Workshops
Questions/Help email is the best Questions/Help email is the best way to reach meway to reach me
[email protected]@ngc.com