Installation Instructions - Western Michigan University
14
Installation Instructions for VIS Version 2.0 A Versatile Environment for the Development of IntelliDrive Applications (Visual …Extensible …Rule-Based) Department of Computer Science, Western Michigan University
Transcript of Installation Instructions - Western Michigan University

Installation Instructions
for
VIS
Version 2.0
A Versatile Environment for the Development of IntelliDrive Applications
(Visual …Extensible …Rule-Based)
Department of Computer Science, Western Michigan University
Table of Contents 1. VIS Installation Procedure ..................................................................................................................... 2
2. System Setup......................................................................................................................................... 9
3. System Startup .................................................................................................................................... 10
4. Trouble Shooting ................................................................................................................................. 11
4.1 GPS not detected ........................................................................................................................ 11
4.2 OBD not detected ....................................................................................................................... 11
4.3 Vehicles can’t ping each other .................................................................................................... 11
4.4 Vehicles can’t make a VOIP call .................................................................................................. 12
Revision History
Name Date Reason For Changes Version
Jamie Lynn Groos 06/28/2010 Intial Draft 1.0
Vinay B
Gavirangaswamy
06/29/2010 Changed formatting 1.1
Vinay B
Gavirangaswamy
07/06/2010 New version release 2.0

1. VIS Installation Procedure
Operating System: Microsoft Windows XP Professional Service Pack 3
Install JDK 6 Update 17 with NetBeans 6.8
1. Download from http://java.sun.com/javase/downloads/widget/jdk_netbeans.jsp 2. Run installer (accept all defaults).
Install JAVAFX Plugin for NetBeans
1. Open NetBeans. 2. Open Plugins Manager Tools > Plugins 3. Switch to Available Plugin tab and type javafx in the search box. 4. Check JavaFX Kit box. 5. Click Install (accept all defaults).
Install Web Service plugins
1. Follows steps 1 and 2 from above. 6. Switch to Available Plugin tab and type Web Services in the search box. 7. Check all results. 8. Click Install (accept all defaults).
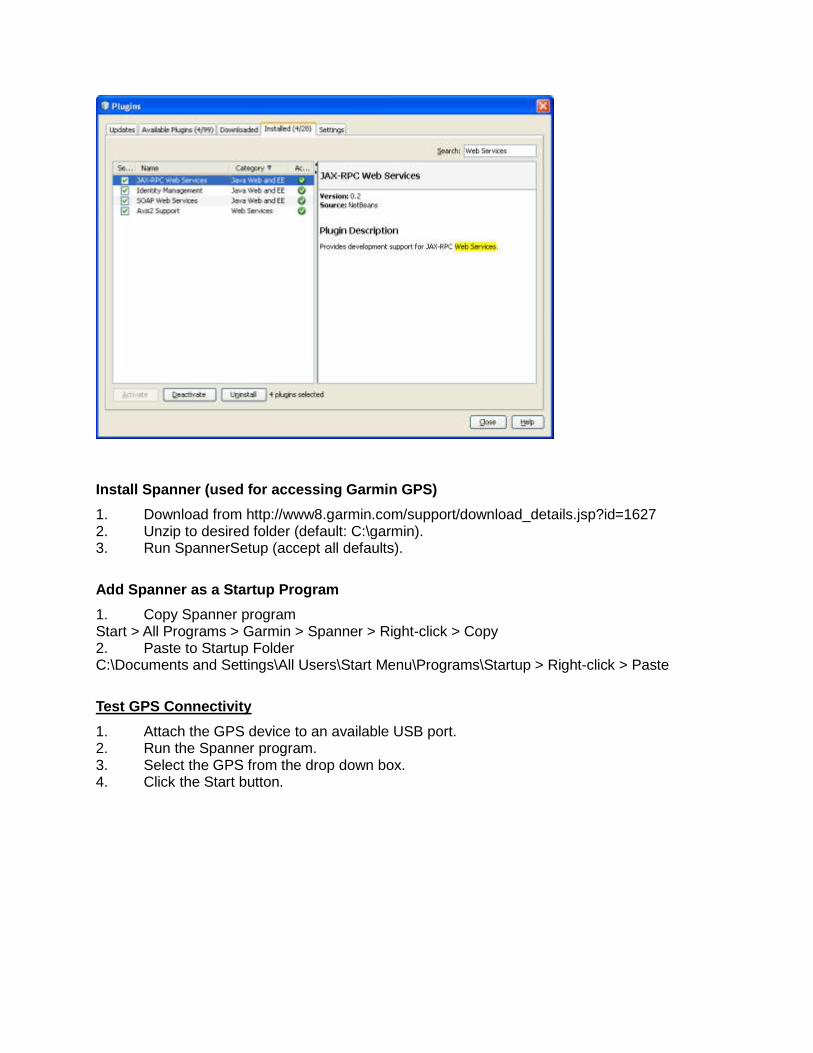
Install Spanner (used for accessing Garmin GPS)
1. Download from http://www8.garmin.com/support/download_details.jsp?id=1627 2. Unzip to desired folder (default: C:\garmin). 3. Run SpannerSetup (accept all defaults).
Add Spanner as a Startup Program
1. Copy Spanner program Start > All Programs > Garmin > Spanner > Right-click > Copy 2. Paste to Startup Folder C:\Documents and Settings\All Users\Start Menu\Programs\Startup > Right-click > Paste
Test GPS Connectivity
1. Attach the GPS device to an available USB port. 2. Run the Spanner program. 3. Select the GPS from the drop down box. 4. Click the Start button.
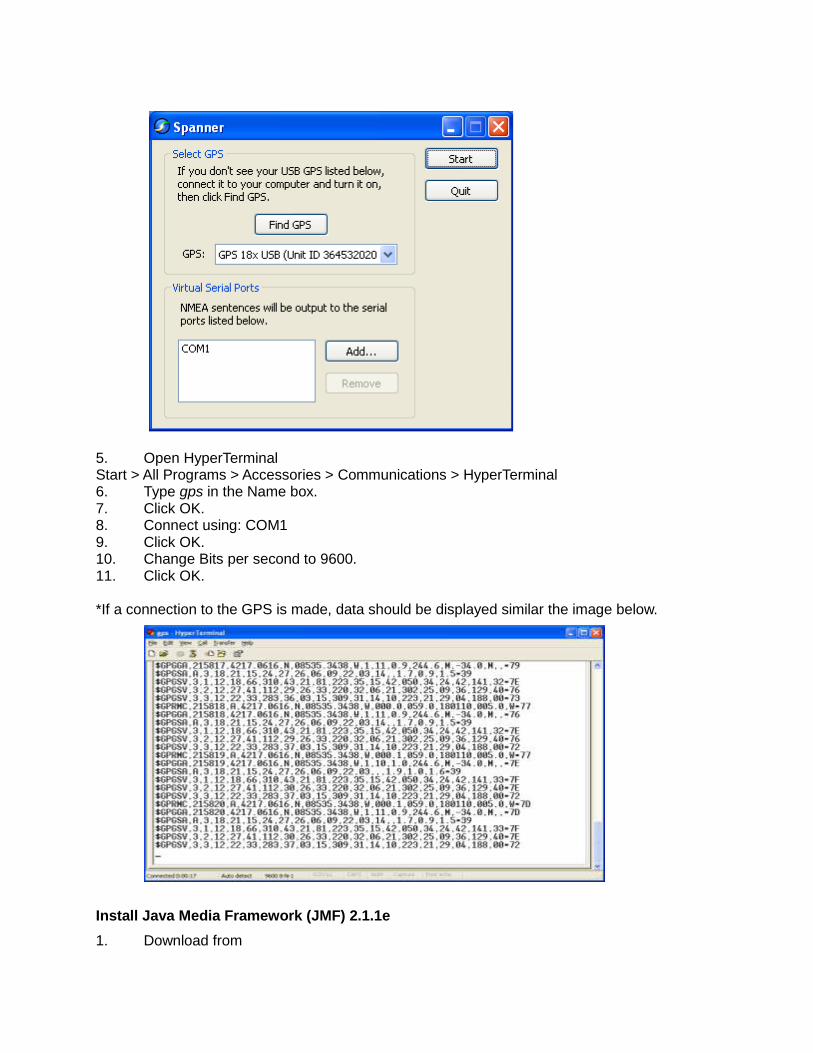
5. Open HyperTerminal Start > All Programs > Accessories > Communications > HyperTerminal 6. Type gps in the Name box. 7. Click OK. 8. Connect using: COM1 9. Click OK. 10. Change Bits per second to 9600. 11. Click OK. *If a connection to the GPS is made, data should be displayed similar the image below.
Install Java Media Framework (JMF) 2.1.1e
1. Download from

http://java.sun.com/javase/technologies/desktop/media/jmf/2.1.1/download.html 2. Run installer (accept all defaults).
Add OBDII Library:
1. Copy rxtxSerial.dll to C:\Documents and Settings\Student\.netbeans\6.8\javafx-sdk\lib\desktop
Setup MDOT Project in NetBeans
1. Copy MDOT files/folders to desired location. (Default: C:\Documents and Settings\Student\Desktop\Research) 2. Open NetBeans. 3. Add new project. File > Open Project > (browse to mdot folder)/PathAnimationNew > Open Project 4. Create LibraryJAVAFX
Expand PathAnimation in Projects Tab Right-Click Libraries > Add Library > Manage Libraries > New Library Library Name: LibraryJAVAFX Library Type: Class Libraries Click OK. Add JAR/Folder > (browse to MDOT directory)/lib Select: jce.jar
JFXtras-0.5.jar swing-layout-1.0.3.jar Add JAR/Folder Click OK. Select LibraryJAVAFX from Add Library window > Add Library

5. Following step 4, create and add a new library named Sphinx. Add the following jars:
js.jar jsapi.jar sphinx4.jar tags.jar WSJ_8gau_13dCep_16k_40mel_130Hz_6800Hz.jar
6. Following step 4, create and add a new library named TMC. Add the following jars: axis.jar commons-discovery-0.2.jar javax.wsdl_1.5.1.v200806030408.jar jaxrpc.jar org.apache.commong.logging_1.0.4.v200904062259.jar saaj.jar TMCClientLibrary.jar
7. Following step 4, create and add a new library named PhidgetLibrary. Add the following jars:
phidget21.jar 8. Add the following jars:
cldc_classes.jar cldc_crypto.jar cldc_sources.jar RXTXcomm.jar jdom.jar jmf.jar gauges.jar
9. Change path in Application Settings File. Click on the Files tab.

Expand PathAnimation. Double click ApplicationSettings.properties file. Change path of RULES, SUPERNODES, ROADSIGNS to point to corresponding xml files. (example2.xml, supernode.xml, xmlOutput.xml - found in MDOT folder)
Change Path/Settings in VOIP config file: 1. Create a folder named log in the Research folder. 2. Edit .cfg file (in Research folder) that corresponds to a VOIP user (a.cfg or b.cfg) contacts_file="C:\Documents and Settings\Student\Desktop\Research\contacts.lst"

Install RFID (phidget) reader 1. Download Phidget 21 Installer (32-bit) from the following URL http://www.phidgets.com/downloads/libraries/Phidget-x86_2.1.7.20100525.msi 2. Run the installer. 3. Browse to folder C:\Program Files\Phidgets and copy all .dll files to the JavaFX desktop directory. Note: If JavaFX was installed through NetBeans as described above, the destination directory is C:\Documents and Settings\Student\.netbeans\6.8\javafx-sdk\lib\desktop Install FingerVU touch screen 1. Run install disk that is packaged with the FIngerVU 706 2. Install FingerUI software accepting all defaults Note: If building and running the NetBeans project, you get the error message: Unable to start java.exe: The system cannot find the file specified. Java did not get installed on the system (even though it should be in the NetBeans bundle). Download and install Java 6 Update 18 from http://www.java.com/en/download/manual.jsp

2. System Setup
Plug the OBDLink device into the car and nettop.
Plug the GPS into the nettop.
Put the GPS receiver out the passenger side window and stick to top of vehicle.
Plug the FingerVU touch screen into the nettop.
Plug the ethernet cable from the VMM into the laptop.
Put the VMM antenna out the passenger side window and stick to top of vehicle.
Connect the nettop power into the power inverter.
Connect the VMM adapter into the power inverter.
Connect the microphone jack from the headset into the microphone port on the nettop.
Connect the FM transmitter into the speaker port of the nettop.
Turn the FM transmitter on and tune the car radio to the selected frequency.
Plug in the CDMA usb and connect using the Virgin Mobile application in the start menu.
Optional: Connect a usb keyboard or mouse into the nettop.

3. System Startup
NOTE: Turn on the nettop ONLY when all the above steps have been completed.Plug the power inverter into the 12V car adapter. Turn on the vehicle.
NOTE: The system should never be left on and plugged into the 12V adapter while the car is off because this will cause battery drain.
Turn on the VMM.
Turn on the nettop.
When the FingerVU software screen is up, click “Desktop”.
Garmin Spanner should start automatically and detect the GPS.
Run STFinder.exe on the desktop and edit the Application.properties variables: o OBD_PORT <Output from STFinder.exe> o OBD_BAUD <Output from STFinder.exe>
Run static.bat to make sure that the nettop has a STATIC IP address.
Optional: Test VMM connectivity by pinging the other vehicle on the specified IP address.

4. Trouble Shooting
4.1 GPS not detected
- Restart Garmin Spanner application (may require restart) - Make sure the Application.properties variable GPS_PORT is the same as the port
that Garmin Spanner is attached to.
4.2 OBD not detected
- Check connections to the vehicle OBD port and the OBDLink device. - Check connections to the nettop. - Run the STFinder.exe application on the nettop to determine the OBD baud rate and
port and modify the Applications.properties file accordingly.
4.3 Vehicles can’t ping each other
- Check ethernet connection between VMM and nettop.

- Verify that each vehicle has a STATIC ip address assigned. - Turn off Windows or other firewall software. - Verify that the VMMs are in range of each other (about ½ mile). - Restart the VMM.
4.4 Vehicles can’t make a VOIP call
- Check the Applications.properties file to make sure VIOP and VOIP_CFG are set properly.

Appendix A: Glossary
MDOT – Michigan Department of Transportation OBE – On-Board Equipment RSE – Road-Side Equipment TMC – Traffic Management Centers A3– Advisory Alert Application LSA – Life Safety Application VIS – Vehicle Integrated Software