How to draw an anime character using Tux Paint! (or similar programs)
68
-
Upload
cliovadergirl -
Category
Self Improvement
-
view
1.689 -
download
1
Transcript of How to draw an anime character using Tux Paint! (or similar programs)

How to draw an anime character using Tux Paint!

Introduction
IntroductionAnime, or manga, is the style of art
you see in most Japanese comics. Tux Paint is a computer program for
drawing stuff digitally. It’s logo looks like this: . I will tell you how to draw an anime character on this program. (or any program that has
similar tools).
IntroductionAnime, or manga, is the style of art
you see in most Japanese comics. Tux Paint is a computer program for
drawing stuff digitally. It’s logo looks like this: . I will tell you how to draw an anime character on this program. (or any program that has
similar tools).

Step ONE
Step ONEFirst, you should have some sort of idea of what the character you are drawing is going to look like. i
will be drawing my character, whose name is WindStorm, so she will be the example. Now
start the program.

Step TWO
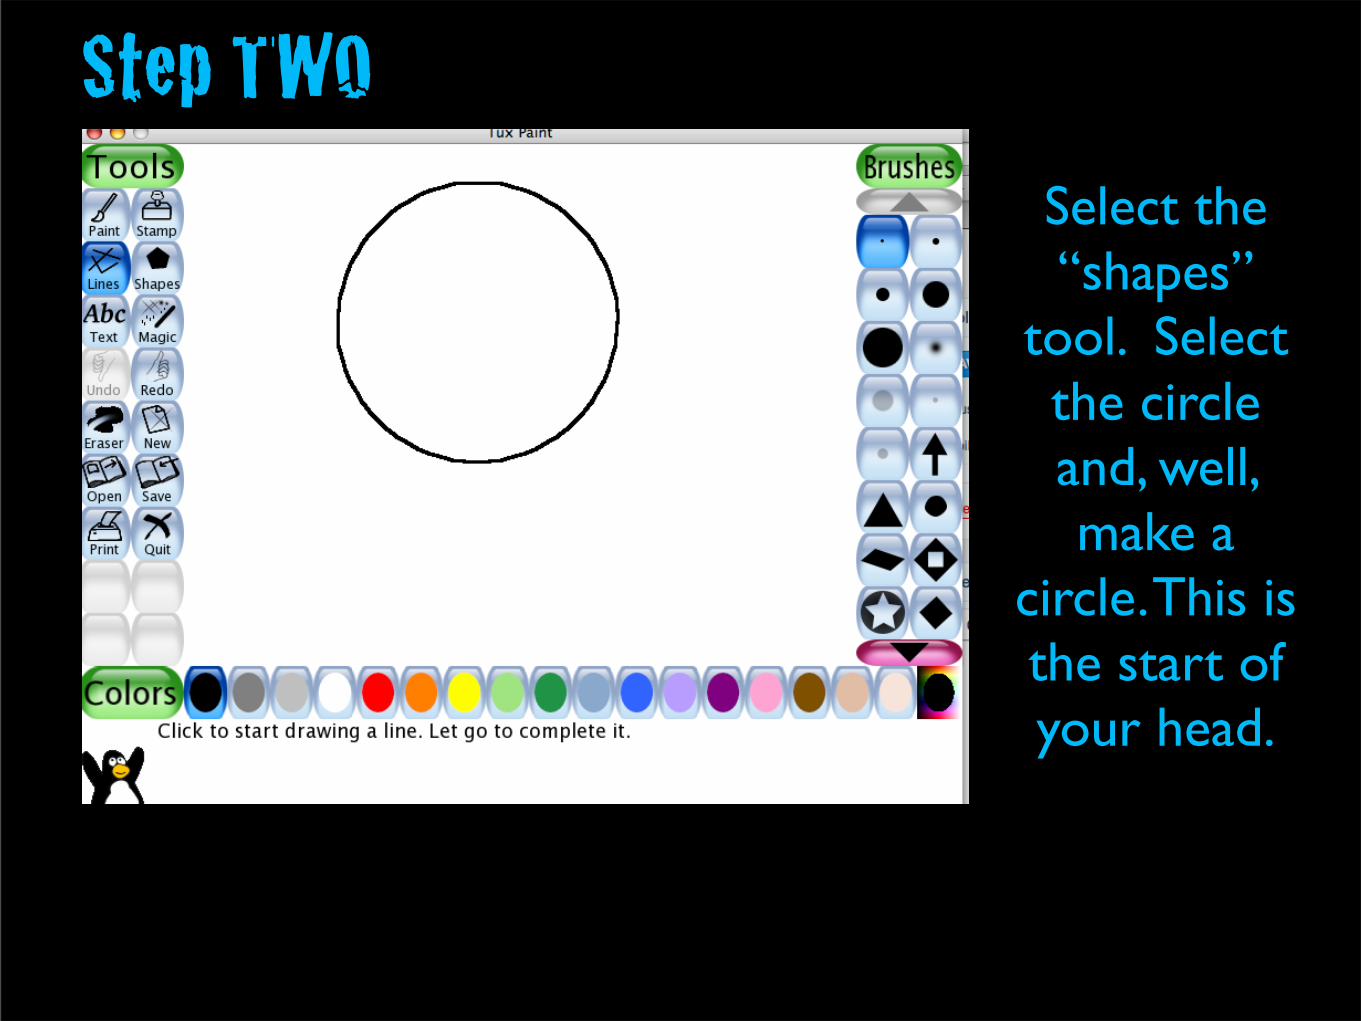
Step TWOSelect the “shapes”
tool. Select the circle and, well, make a
circle. This is the start of your head.
Step TWOSelect the “shapes”
tool. Select the circle and, well, make a
circle. This is the start of your head.

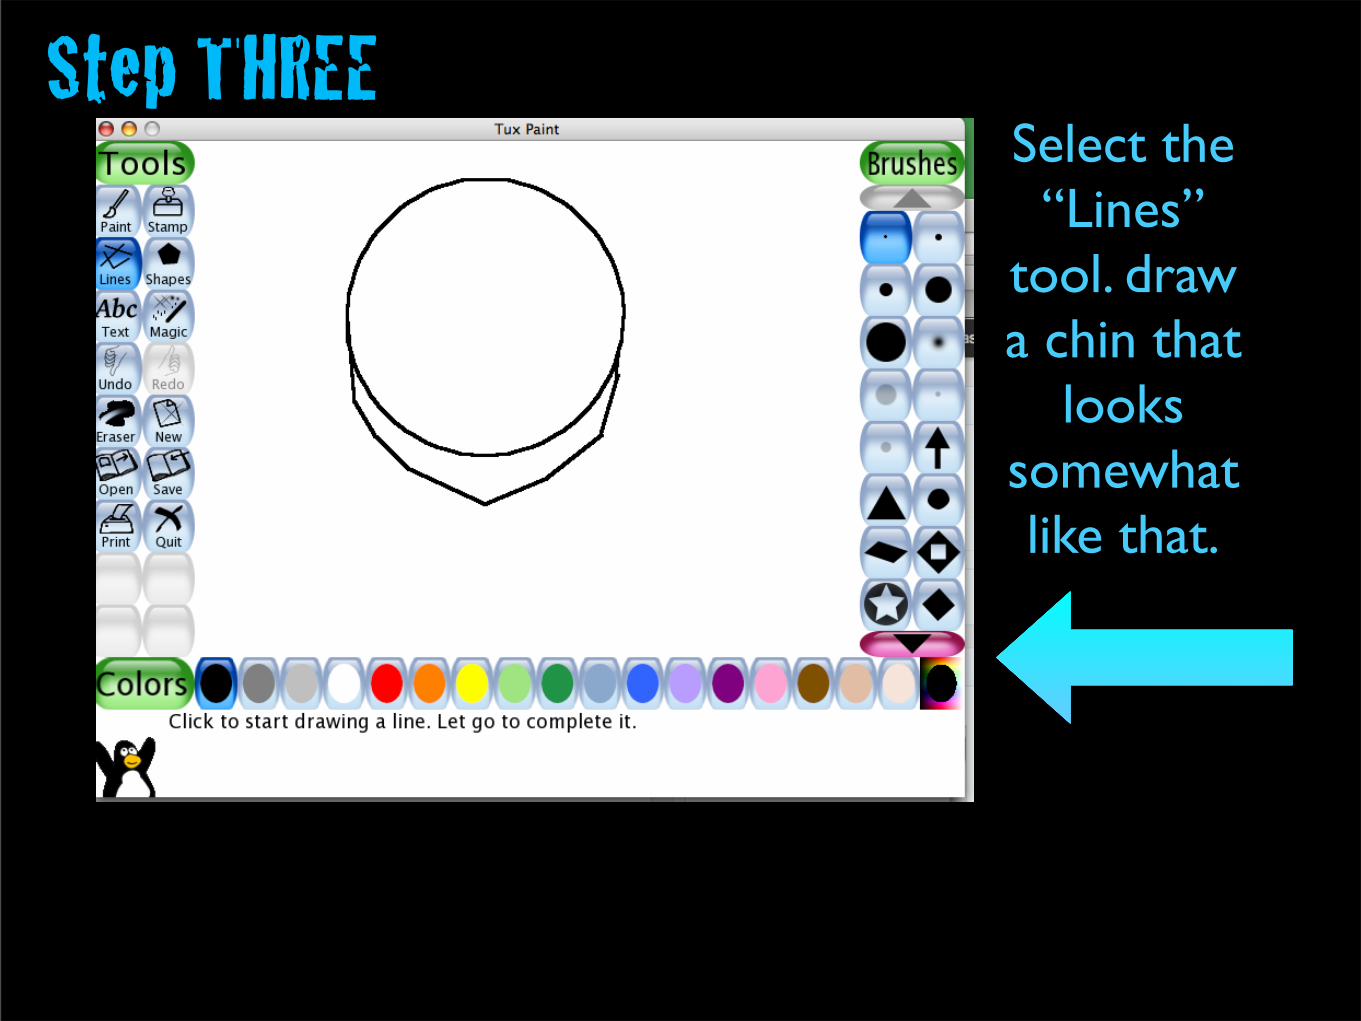
Step THREE
Step THREESelect the “Lines”
tool. draw a chin that
looks somewhat like that.
Step THREESelect the “Lines”
tool. draw a chin that
looks somewhat like that.
Step THREESelect the “Lines”
tool. draw a chin that
looks somewhat like that.

Step FOUR
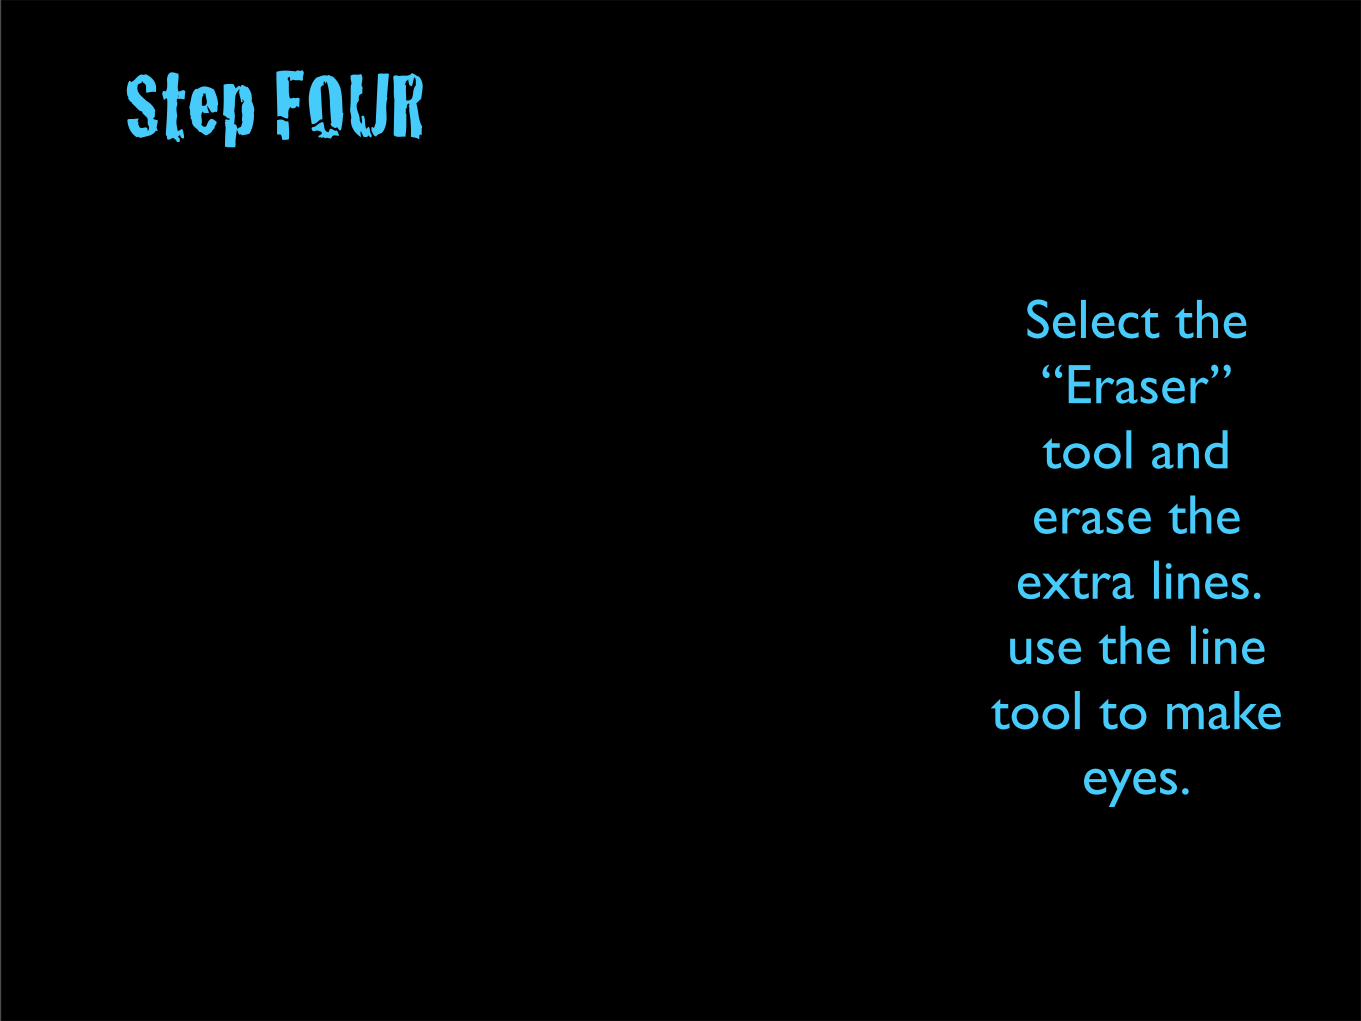
Step FOUR
Select the “Eraser” tool and erase the
extra lines. use the line
tool to make eyes.
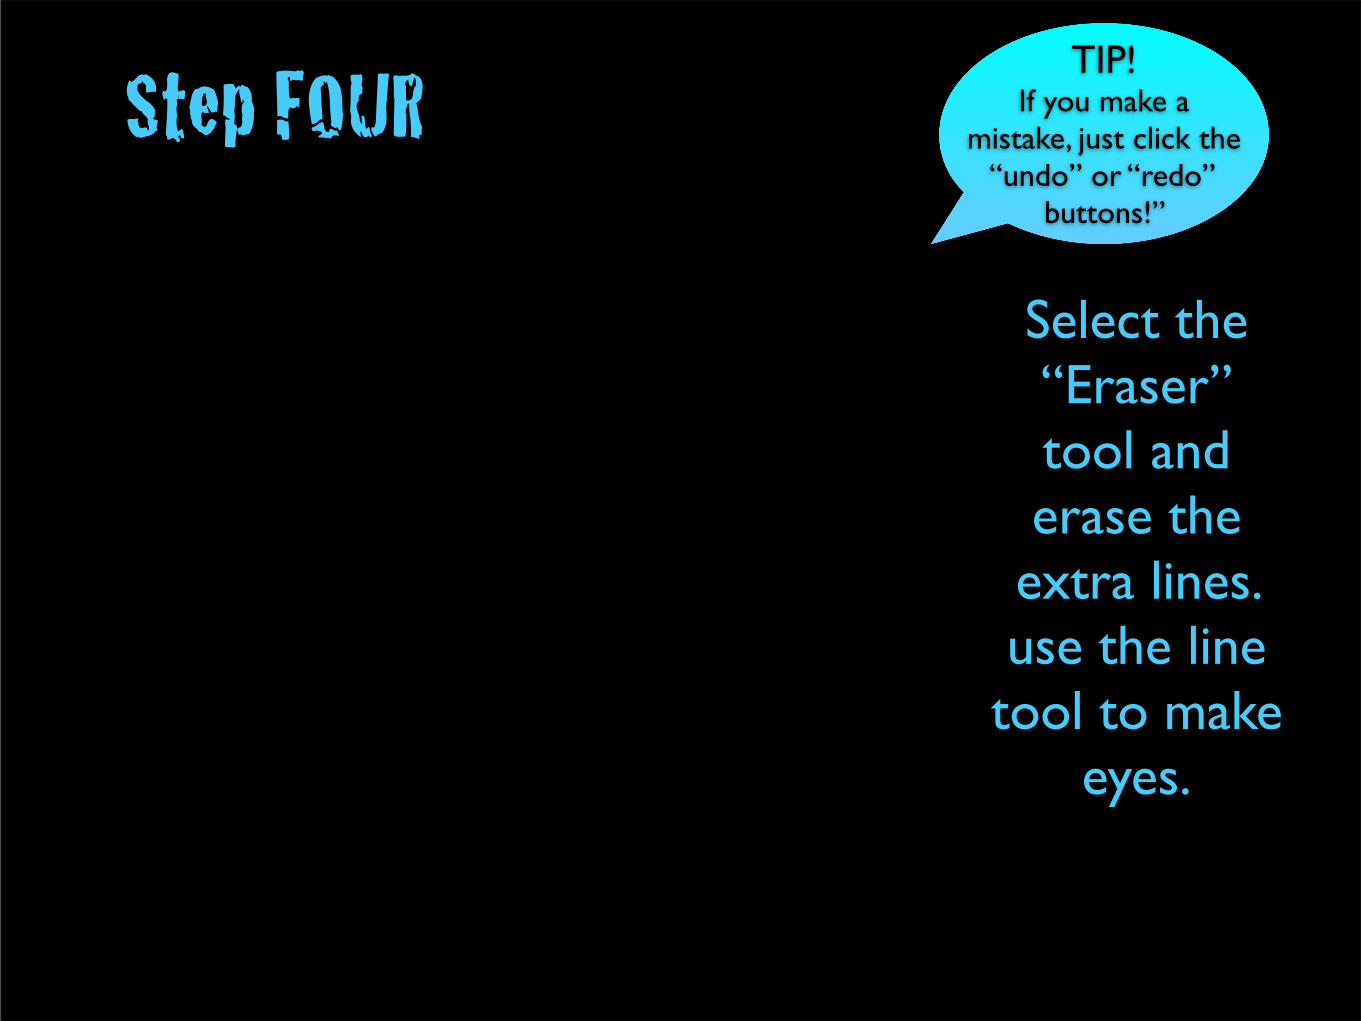
Step FOUR
Select the “Eraser” tool and erase the
extra lines. use the line
tool to make eyes.
TIP! If you make a
mistake, just click the “undo” or “redo”
buttons!”
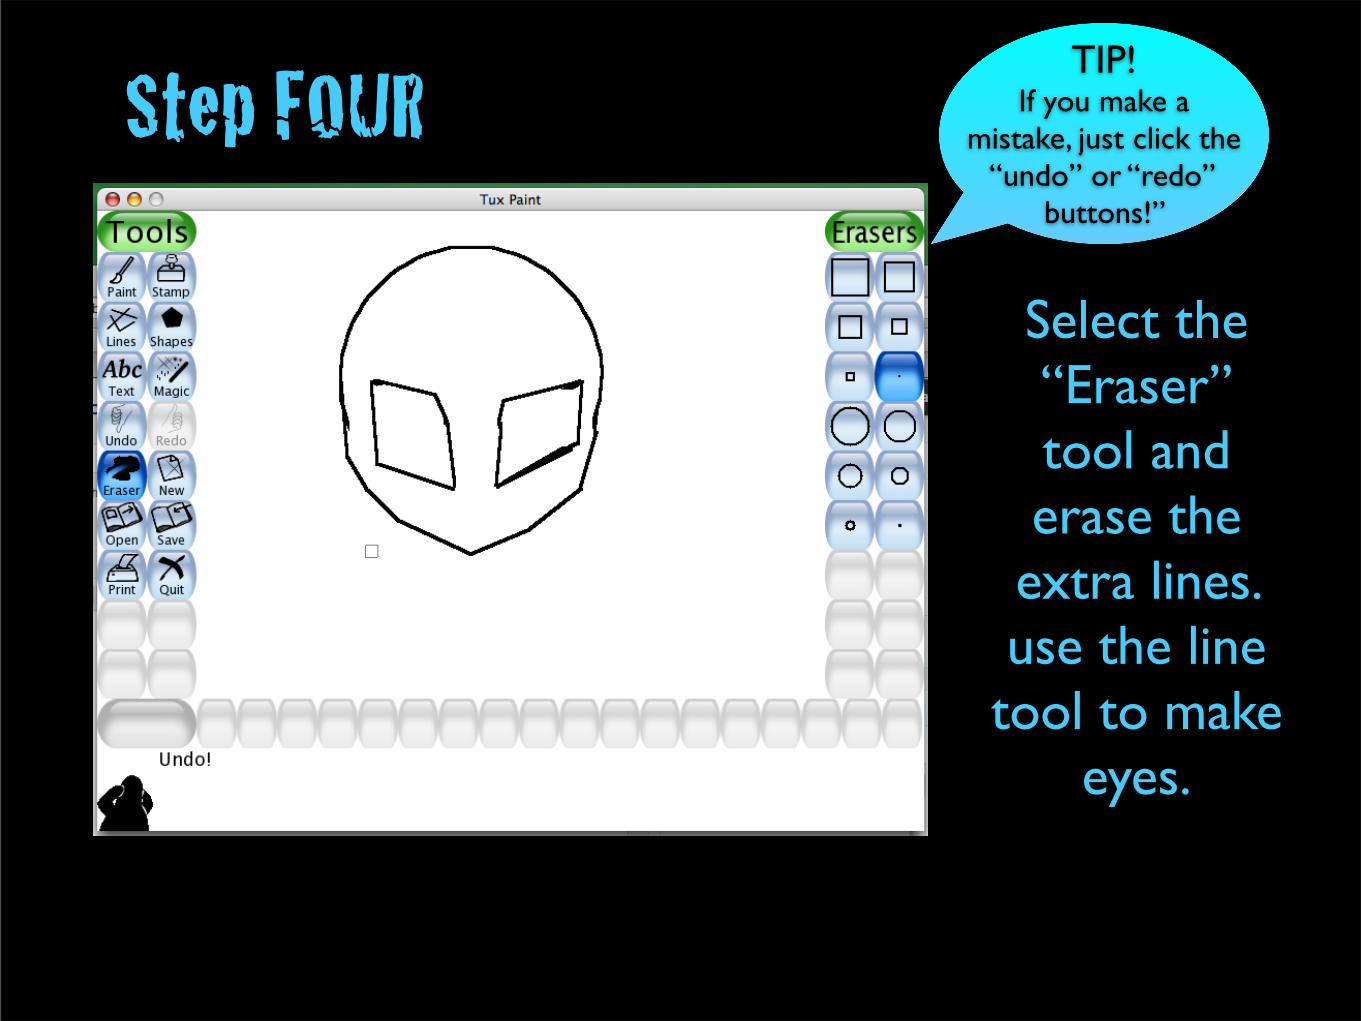
Step FOUR
Select the “Eraser” tool and erase the
extra lines. use the line
tool to make eyes.
TIP! If you make a
mistake, just click the “undo” or “redo”
buttons!”

TIP PAGE!!
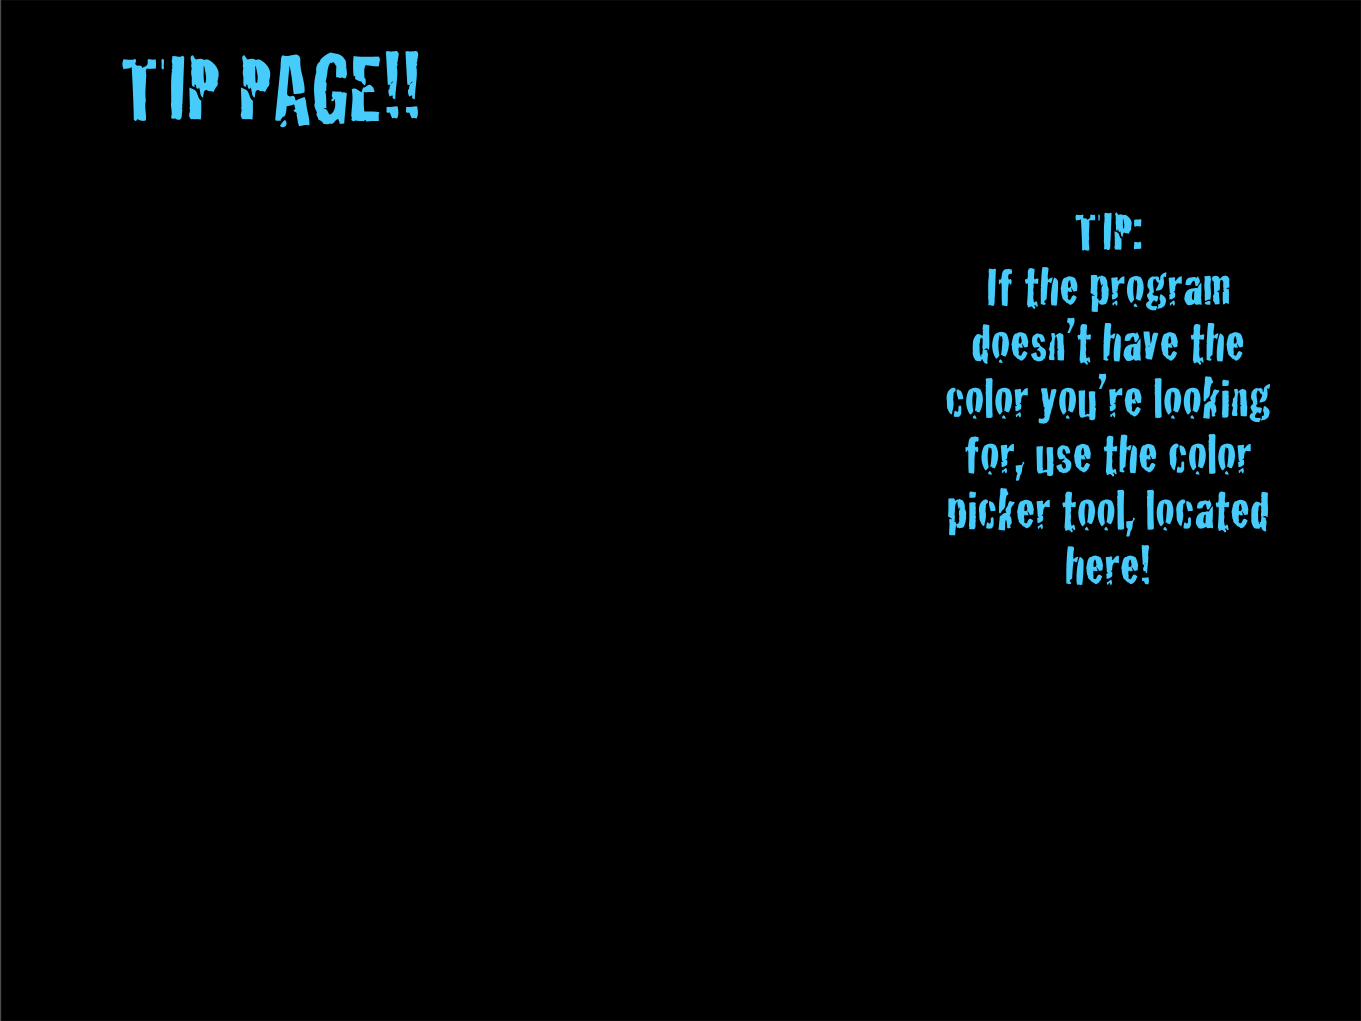
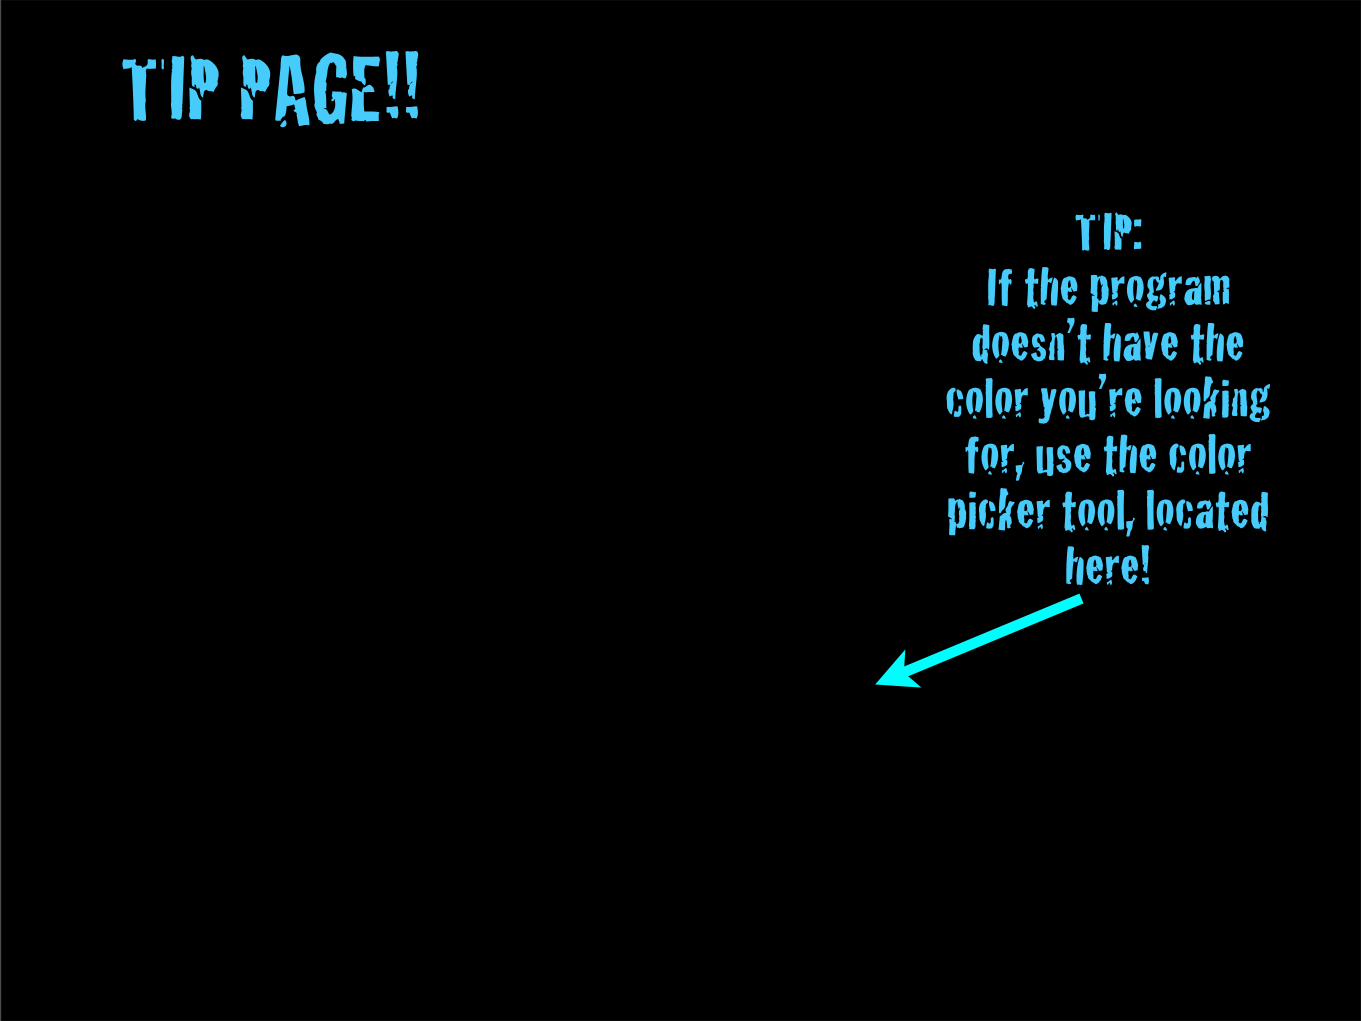
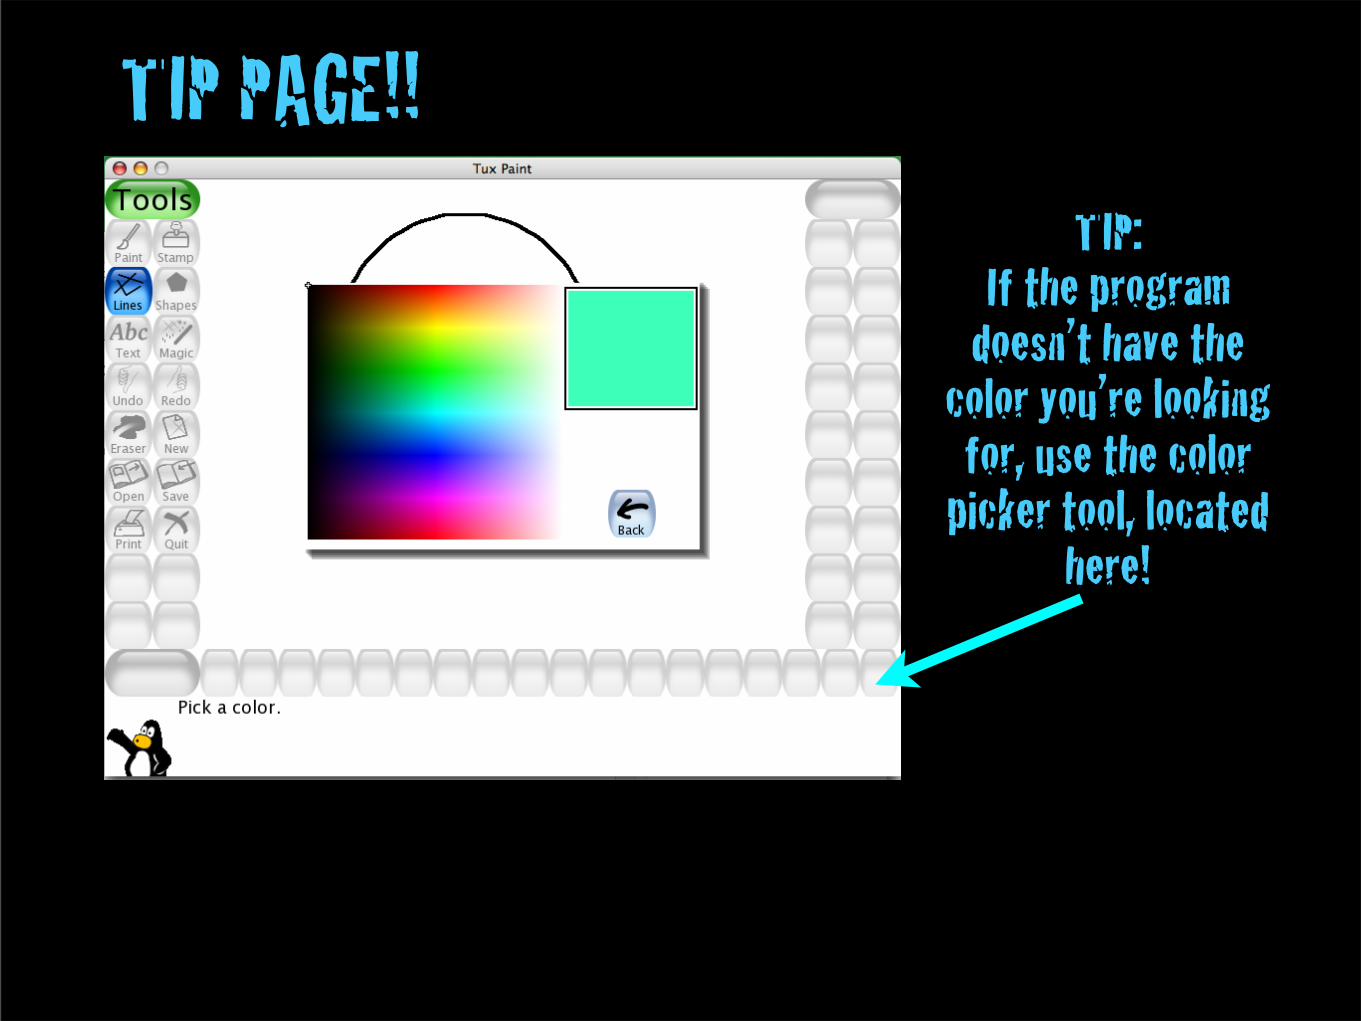
TIP PAGE!!TIP:
If the program doesn’t have the
color you’re looking for, use the color
picker tool, located here!
TIP PAGE!!TIP:
If the program doesn’t have the
color you’re looking for, use the color
picker tool, located here!
TIP PAGE!!TIP:
If the program doesn’t have the
color you’re looking for, use the color
picker tool, located here!

Step FIVE
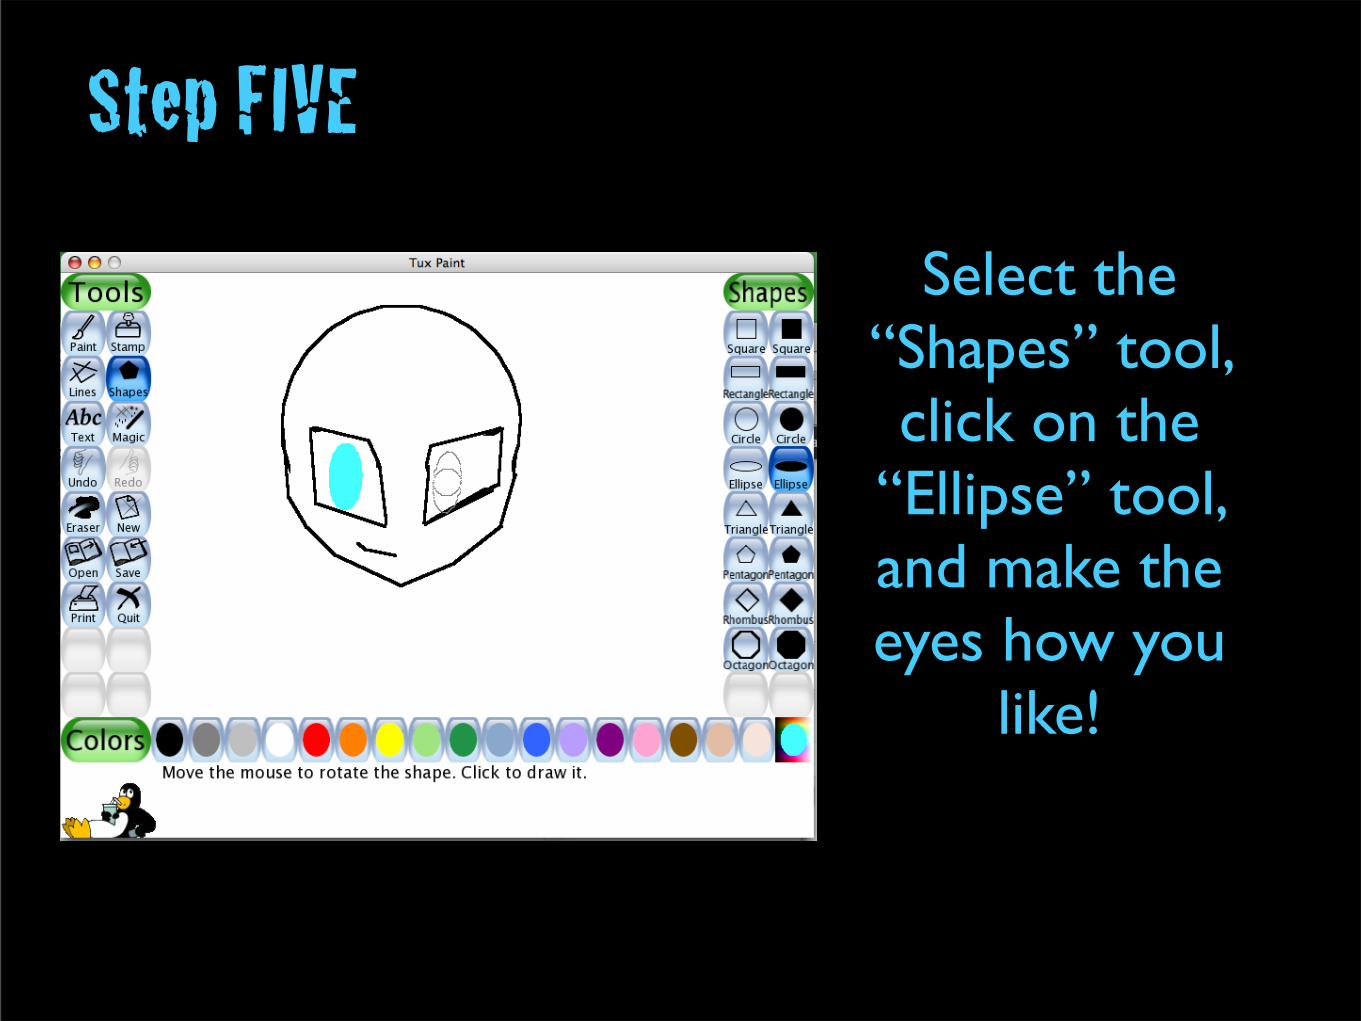
Step FIVE
Select the “Shapes” tool, click on the
“Ellipse” tool, and make the eyes how you
like!
Step FIVE
Select the “Shapes” tool, click on the
“Ellipse” tool, and make the eyes how you
like!


Step SIX
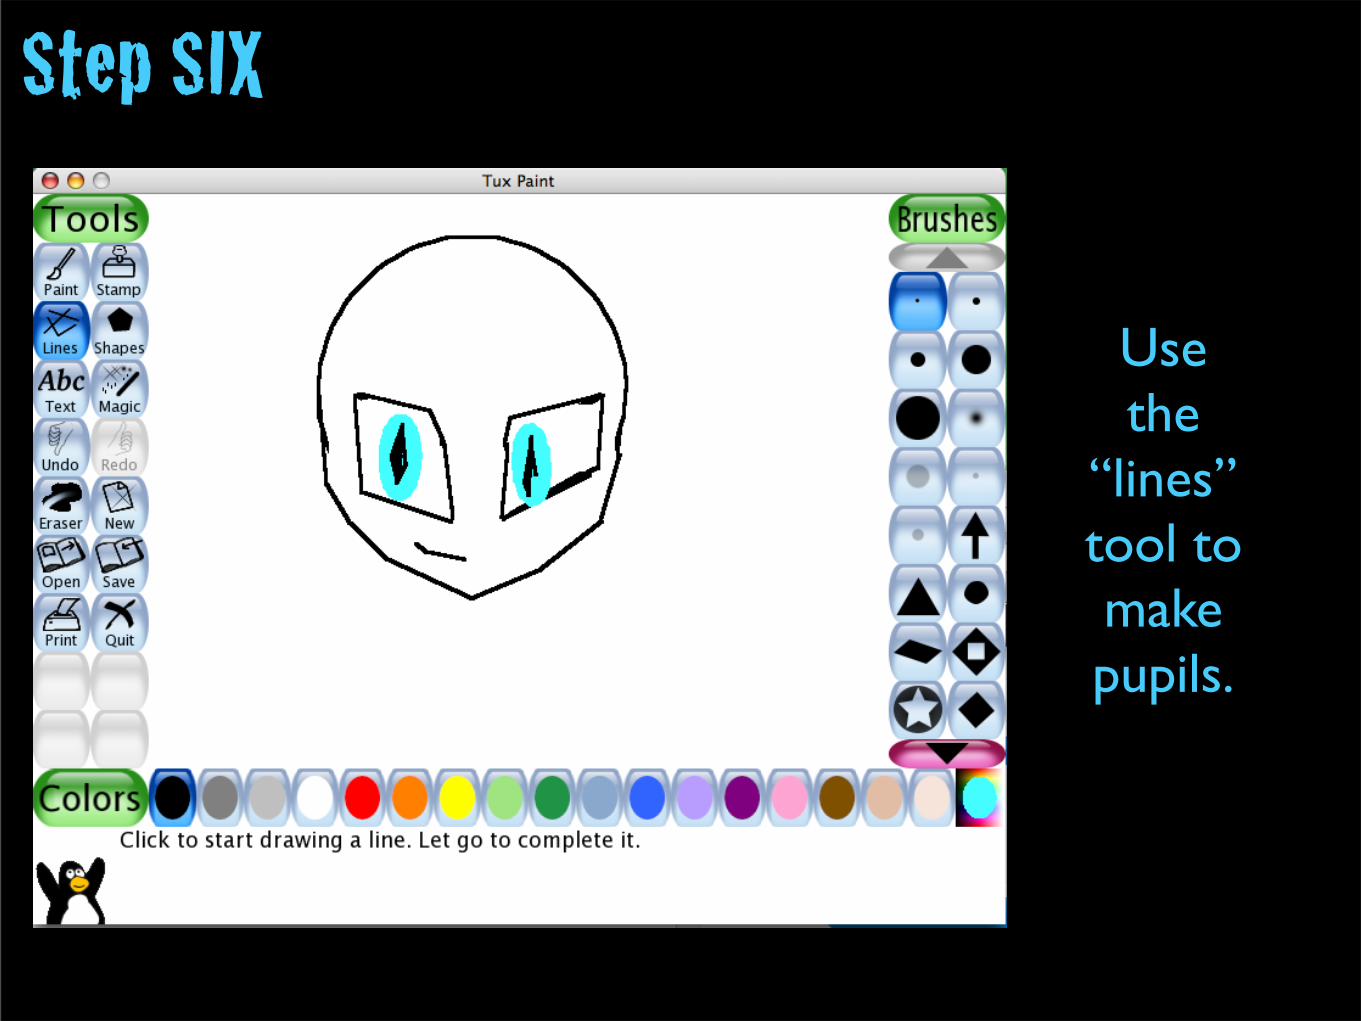
Step SIX
Use the
“lines” tool to make pupils.
Step SIX
Use the
“lines” tool to make pupils.

Use the “lines” tool again to make the neck and start of
body.
Step SEVEN
Use the “lines” tool again to make the neck and start of
body.
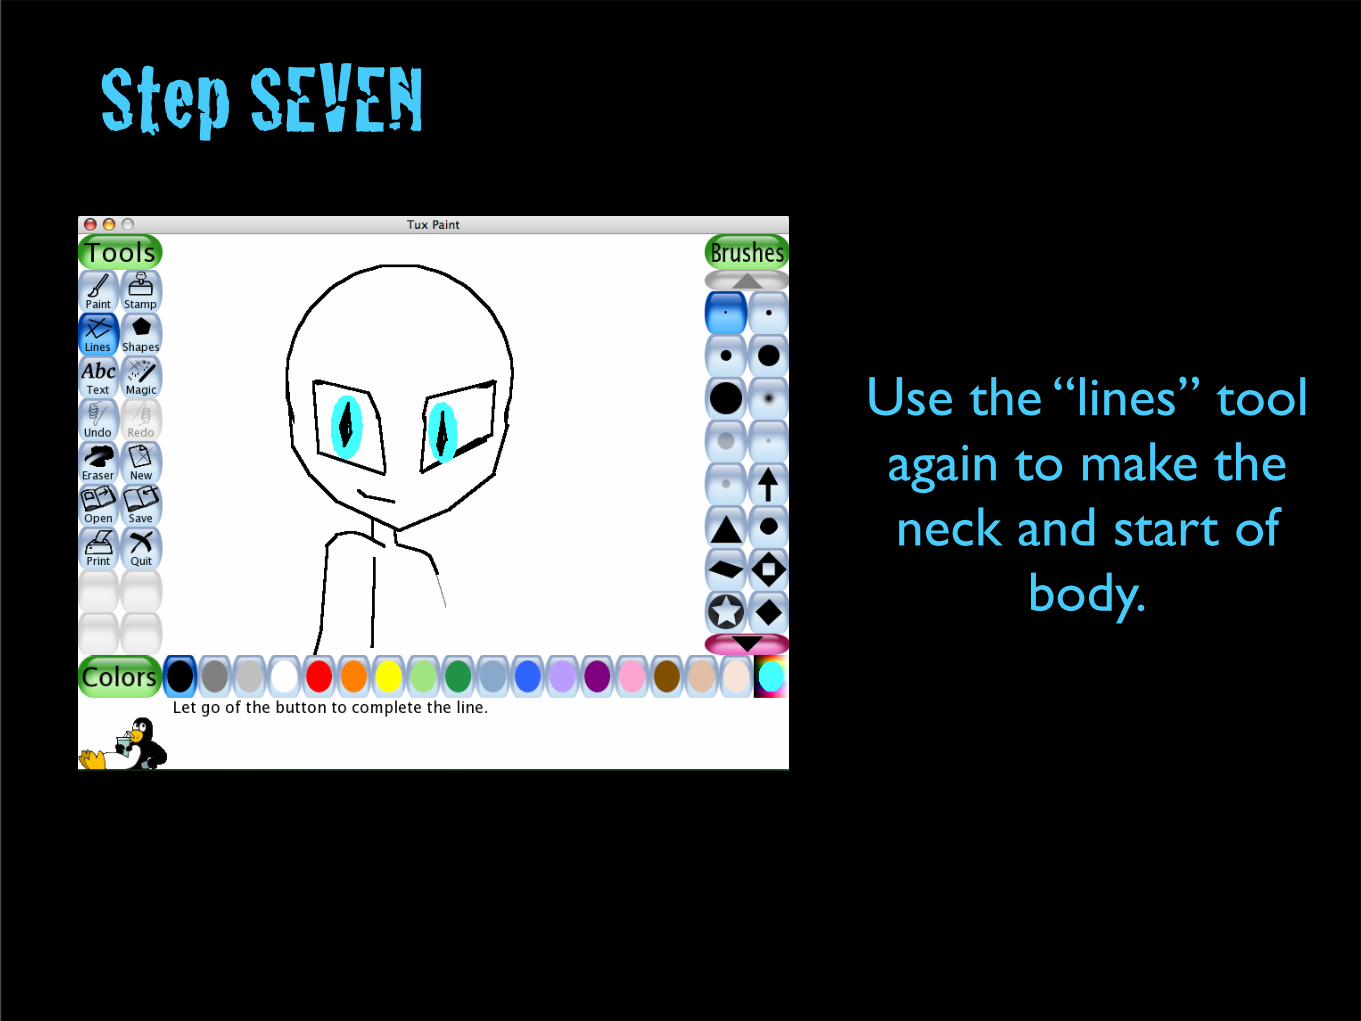
Step SEVEN
Use the “lines” tool again to make the neck and start of
body.

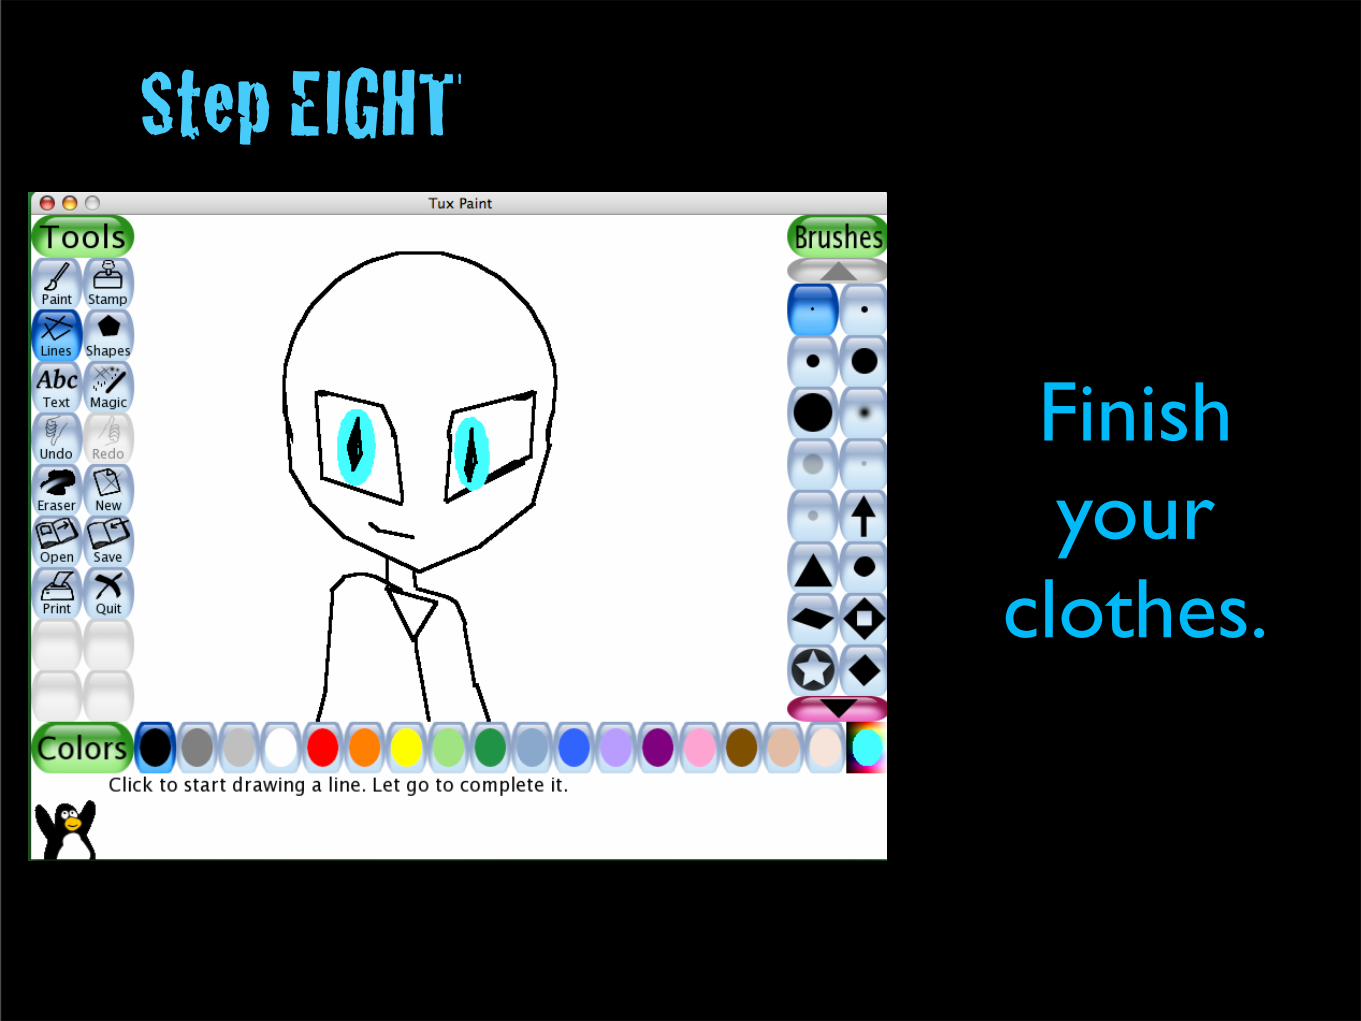
Step EIGHT
Step EIGHT
Finish your
clothes.
Step EIGHT
Finish your
clothes.

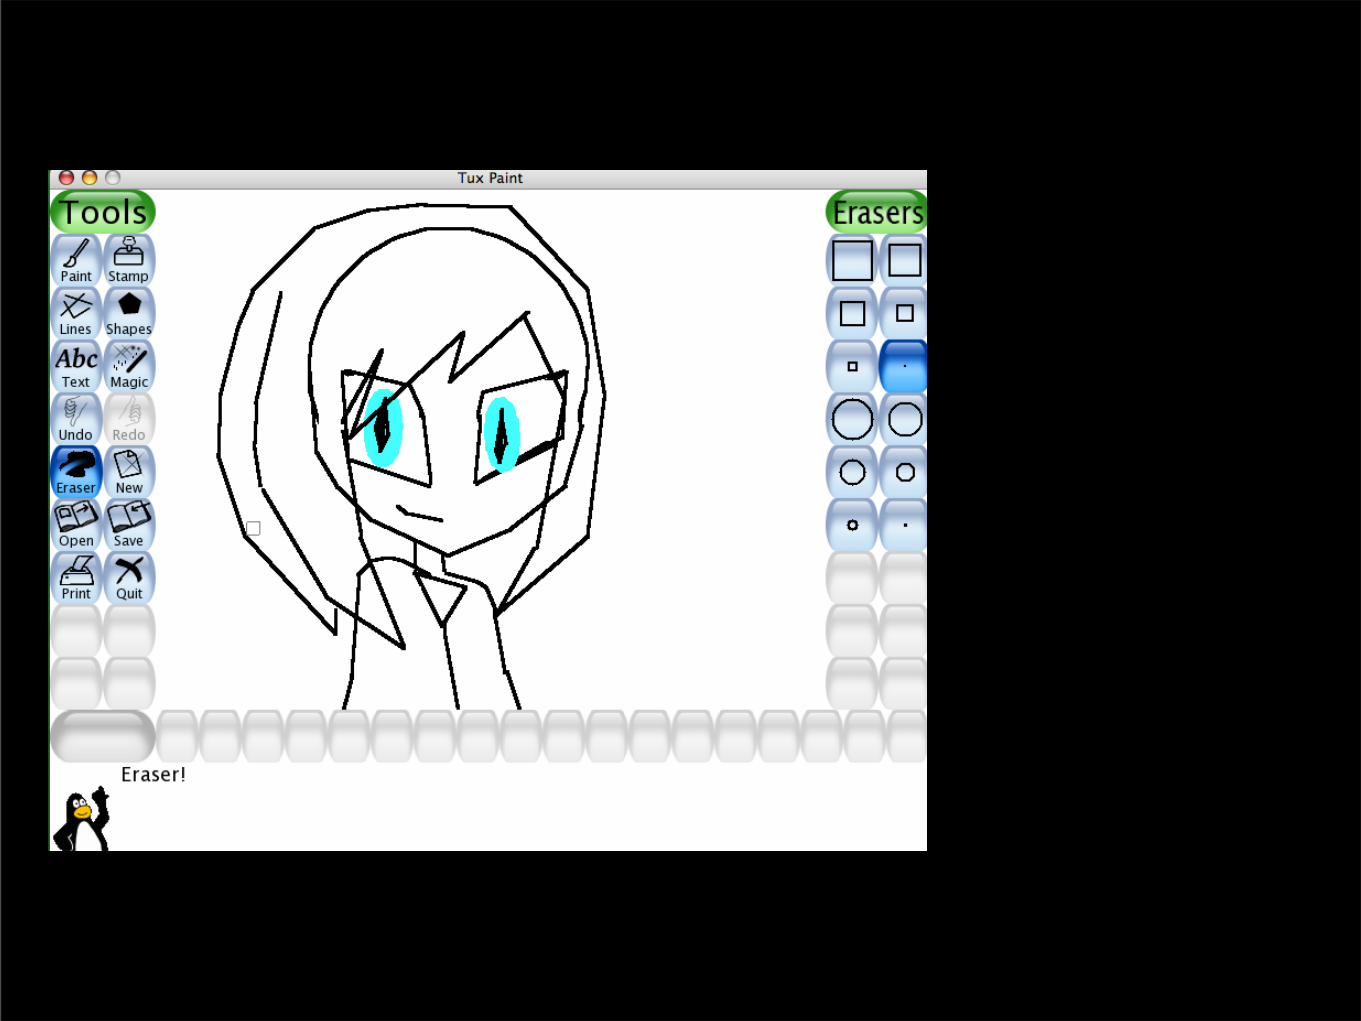
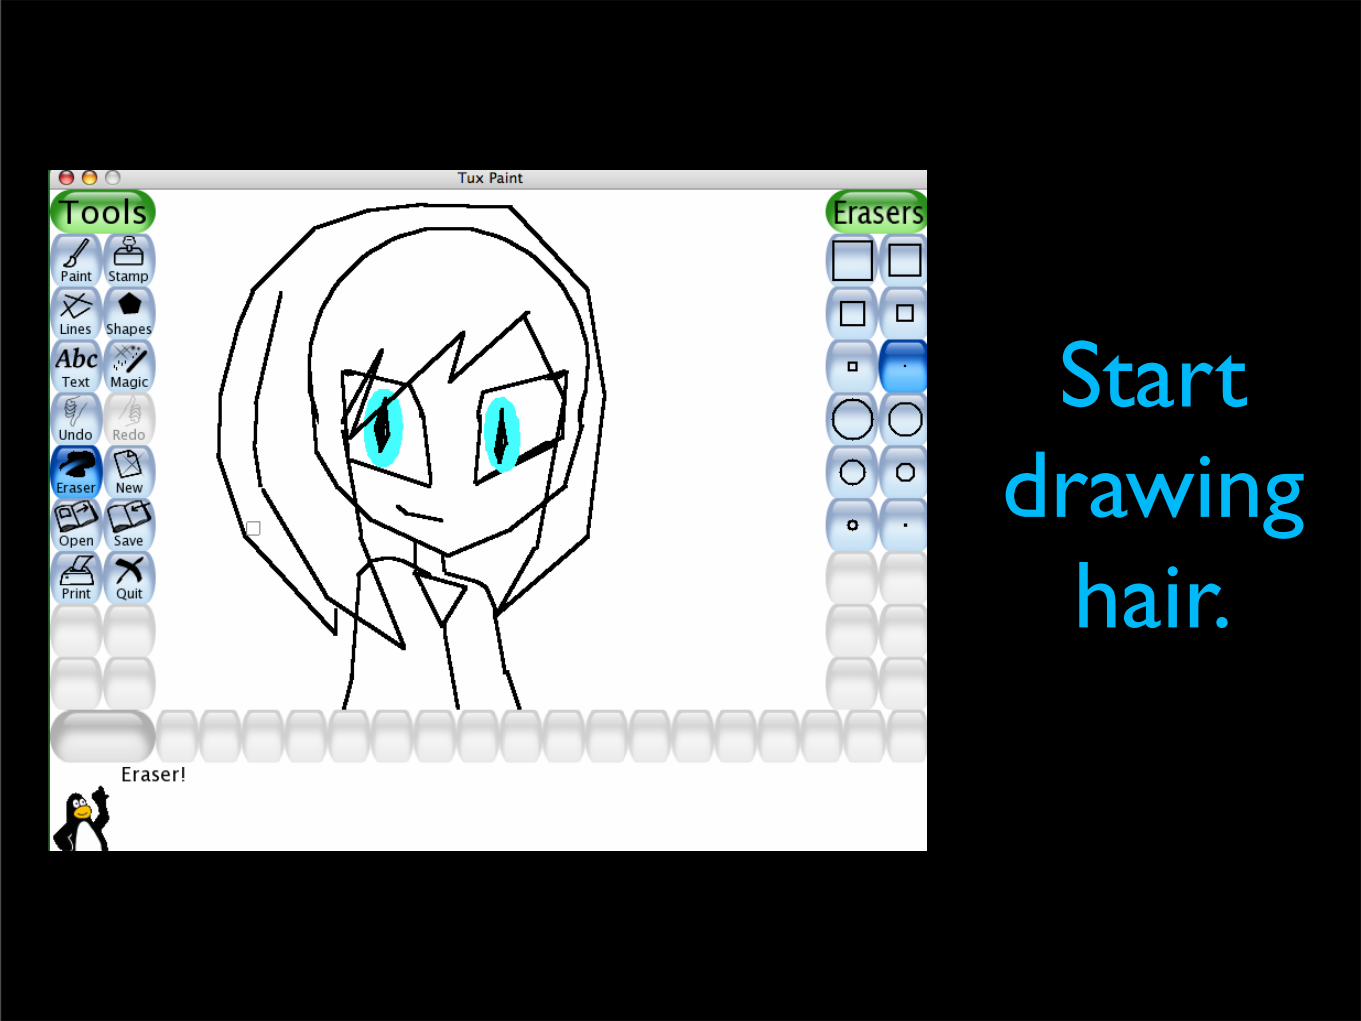
Start drawing
hair.
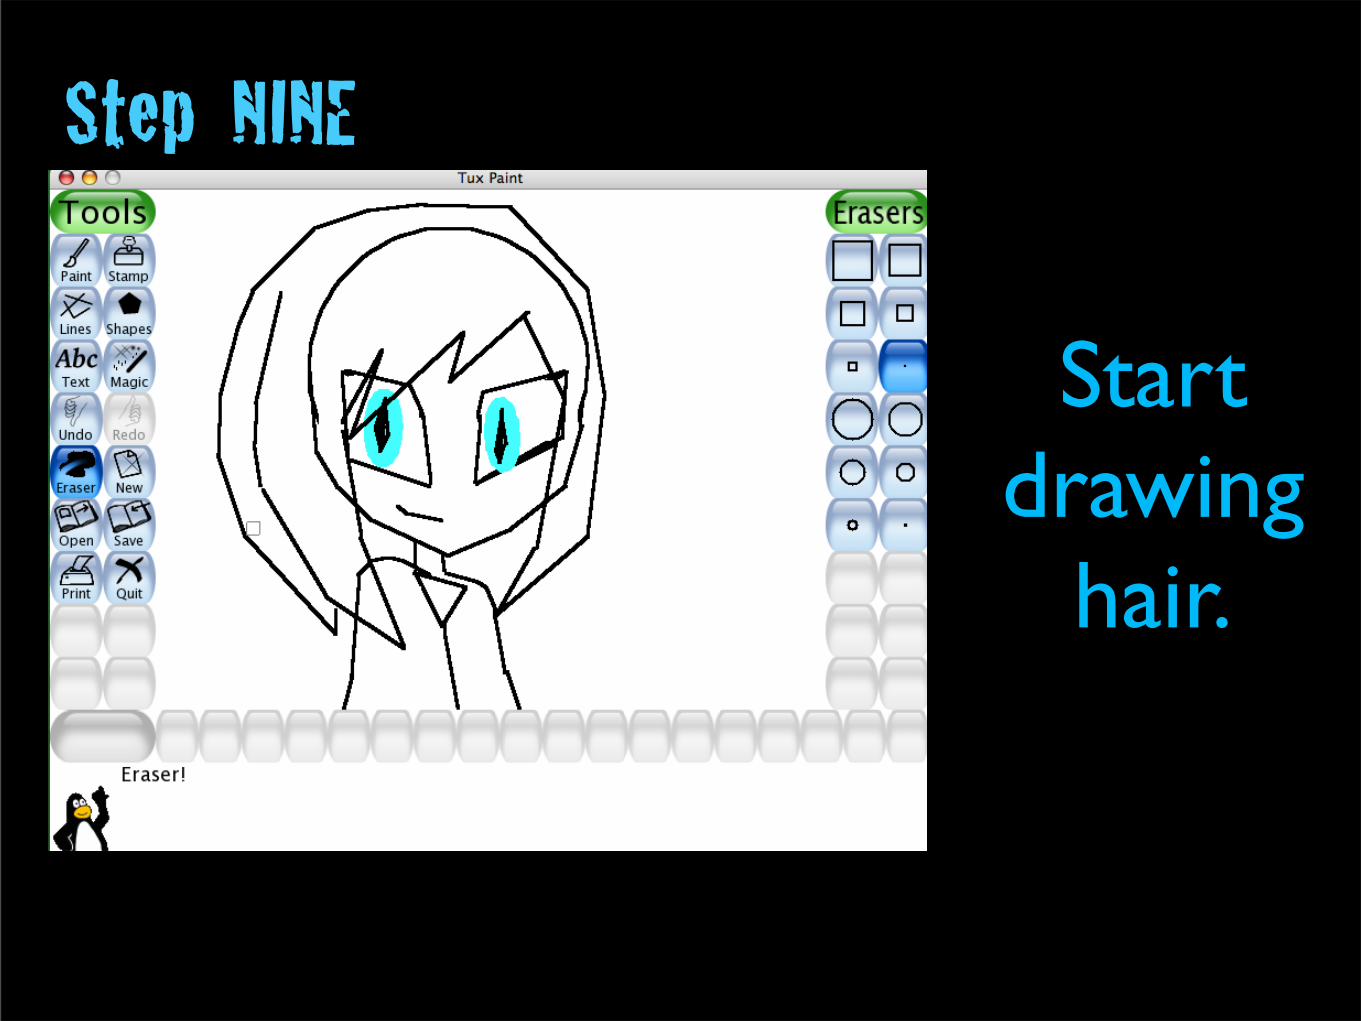
Step NINE
Start drawing
hair.

Step TEN
Step TEN
Select the “Magic” tool. click the “Fill” tool and use as
necessary.
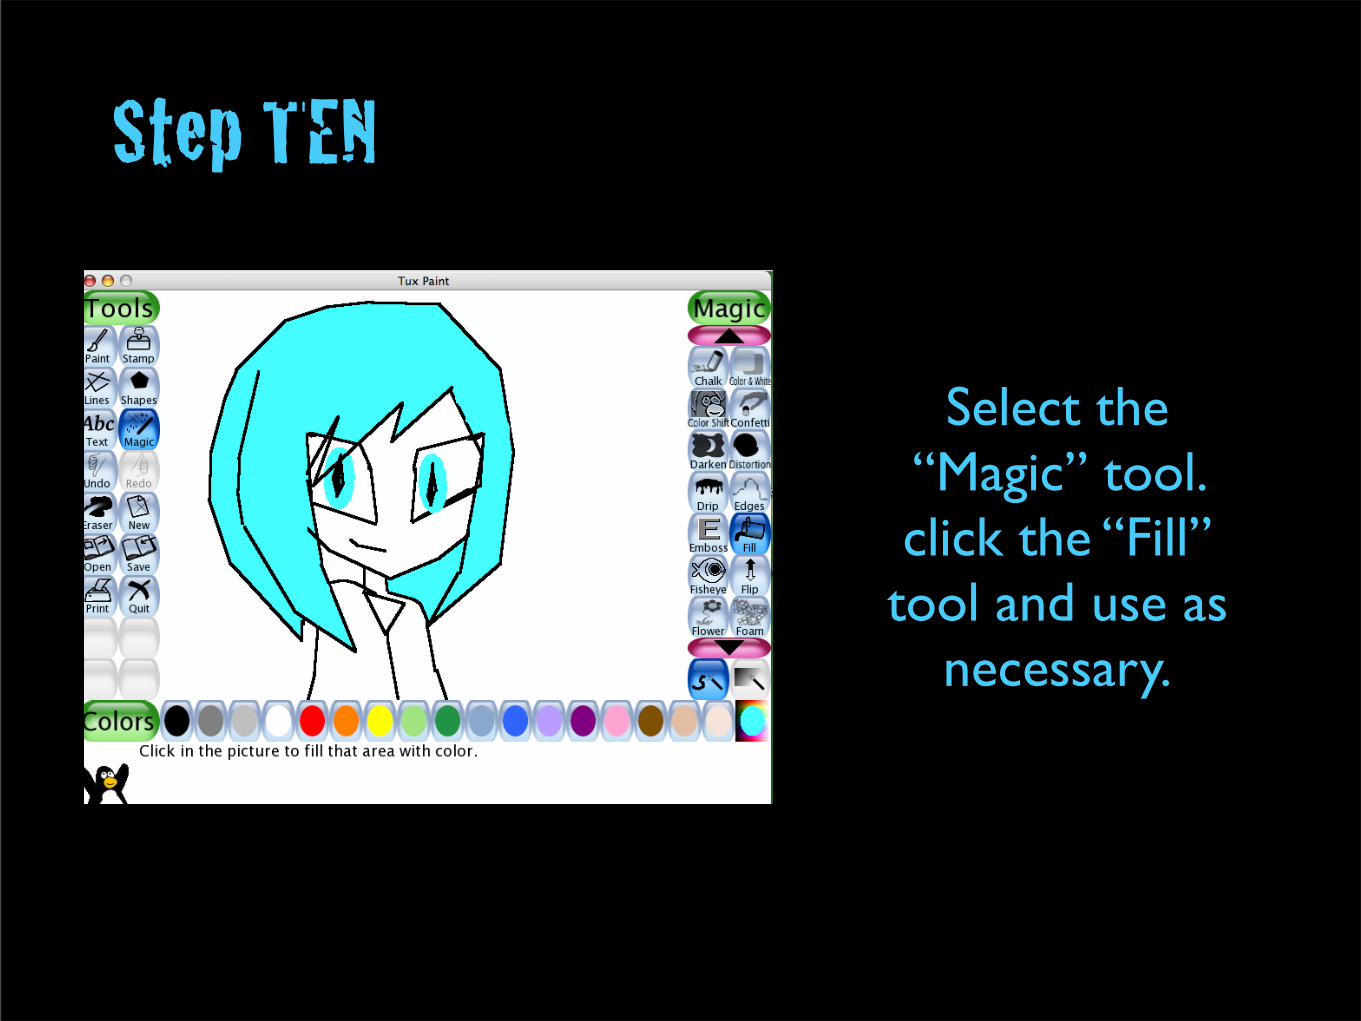
Step TEN
Select the “Magic” tool. click the “Fill” tool and use as
necessary.

Step ELEVEN
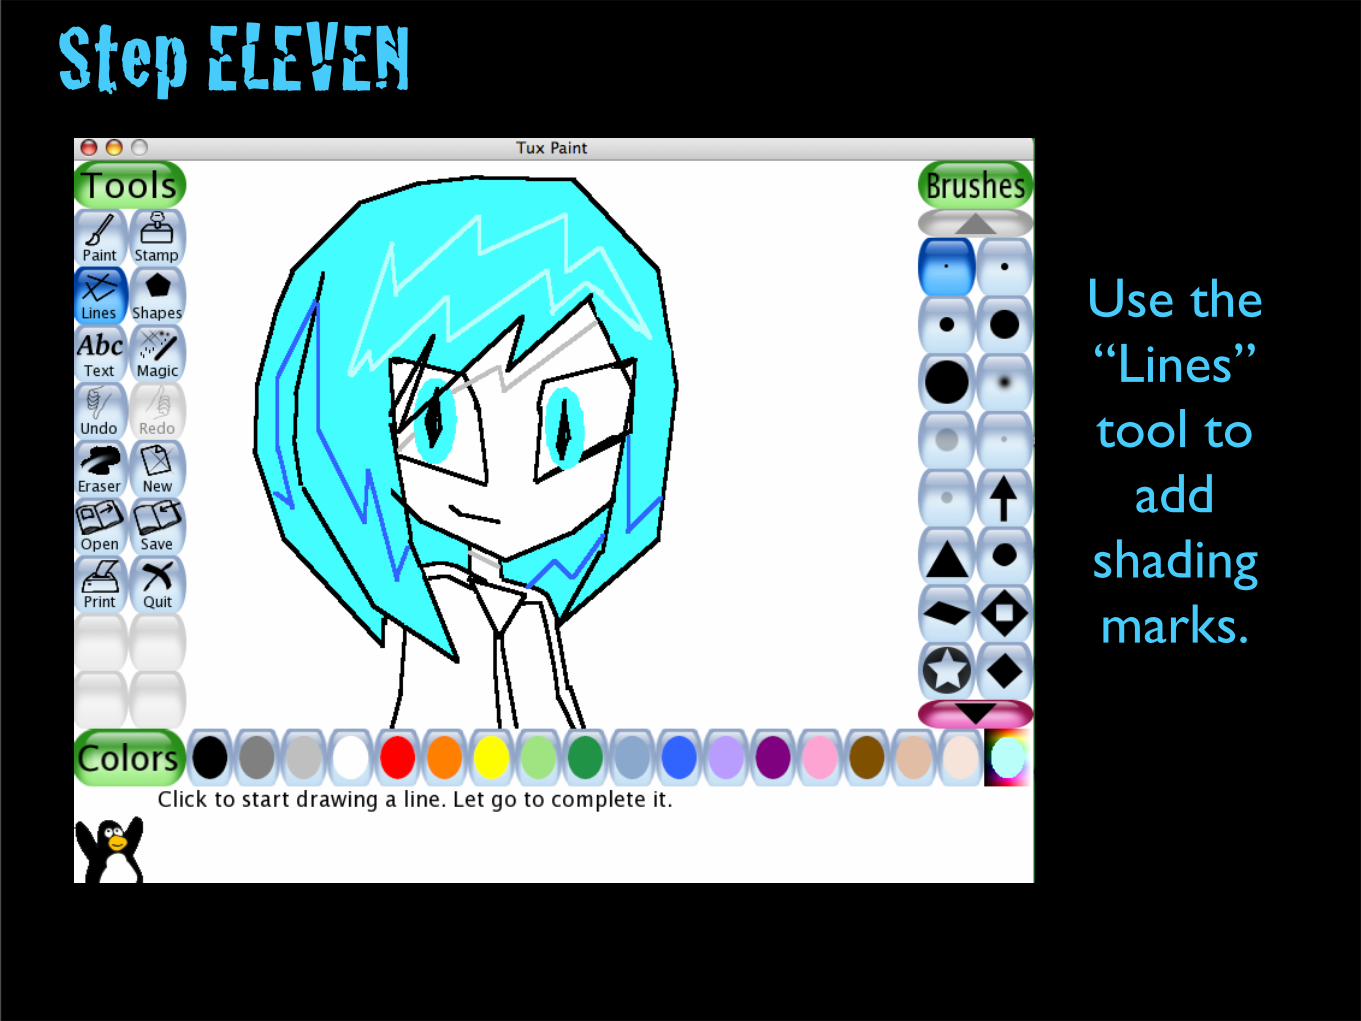
Step ELEVEN
Use the “Lines” tool to
add shading marks.
Step ELEVEN
Use the “Lines” tool to
add shading marks.


Step TWELVE
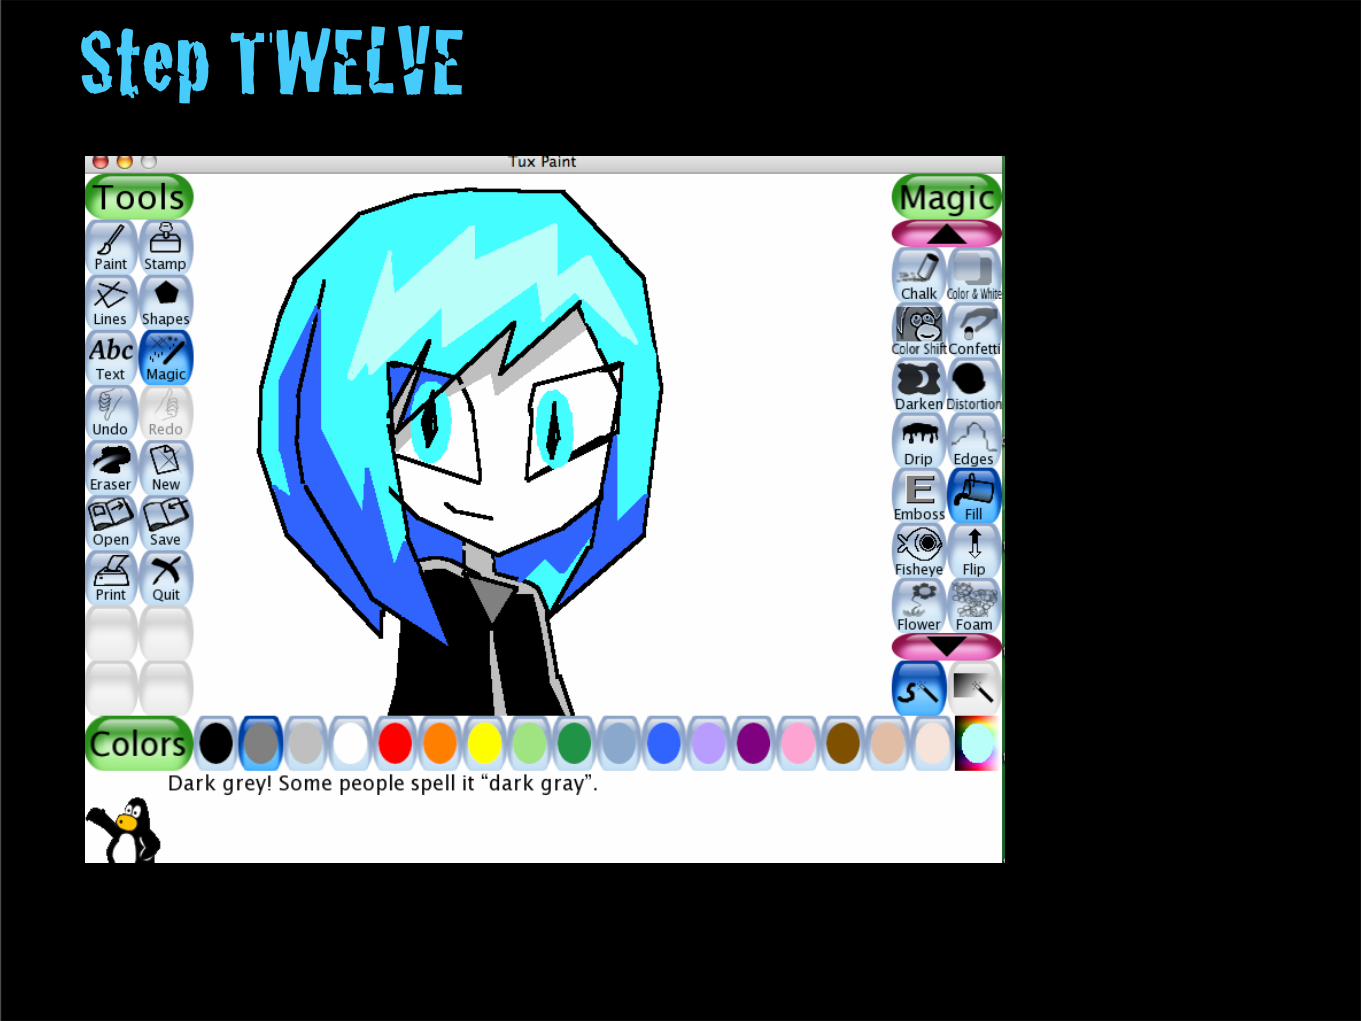
Step TWELVE
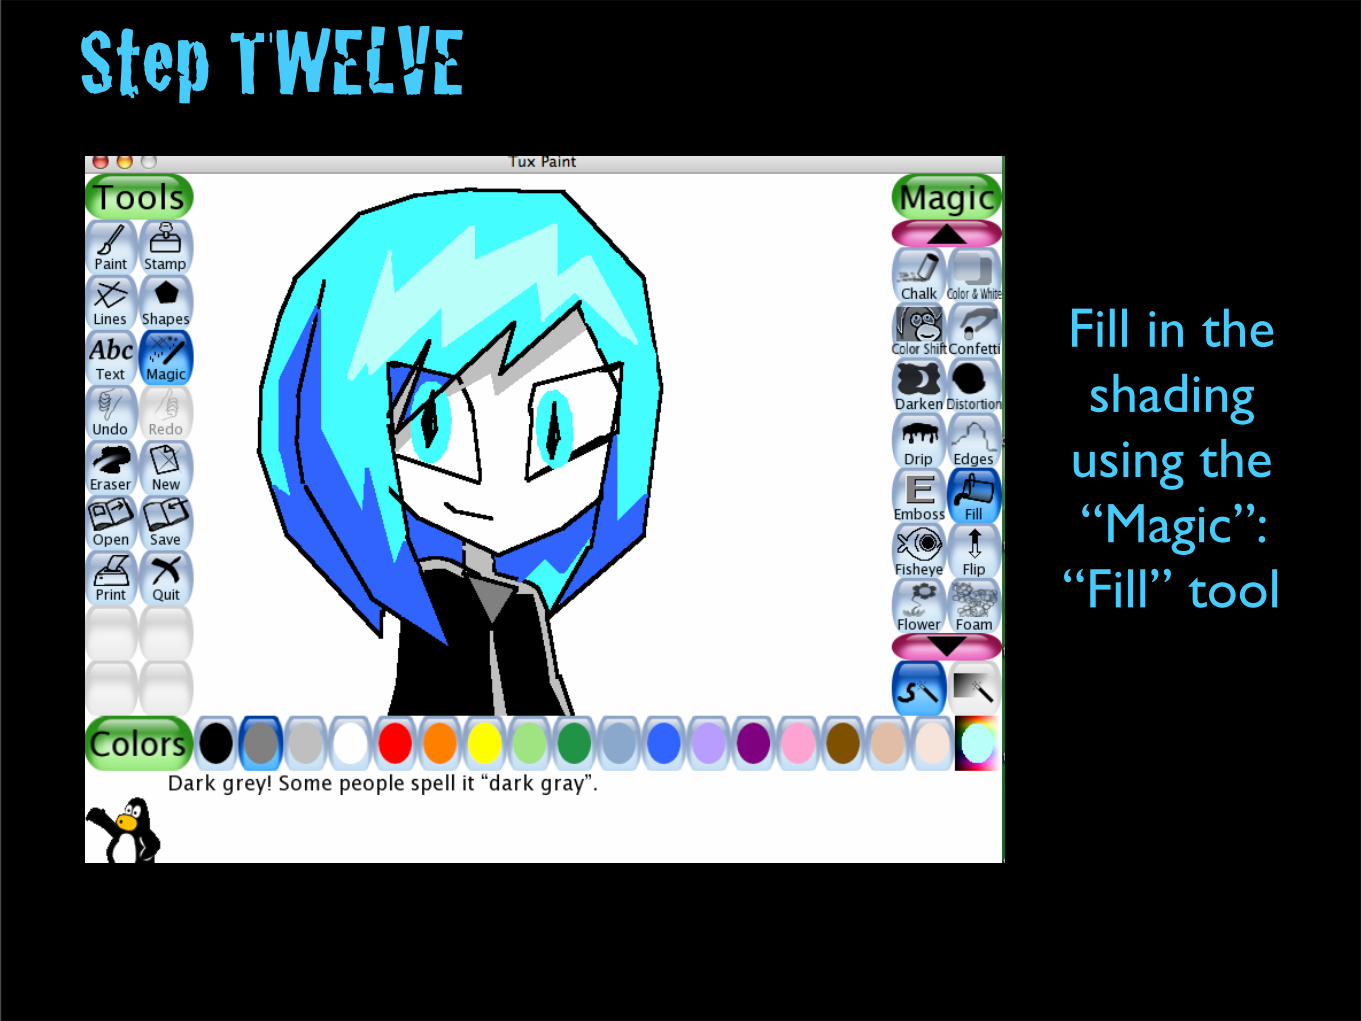
Step TWELVE
Fill in the shading
using the “Magic”:
“Fill” tool

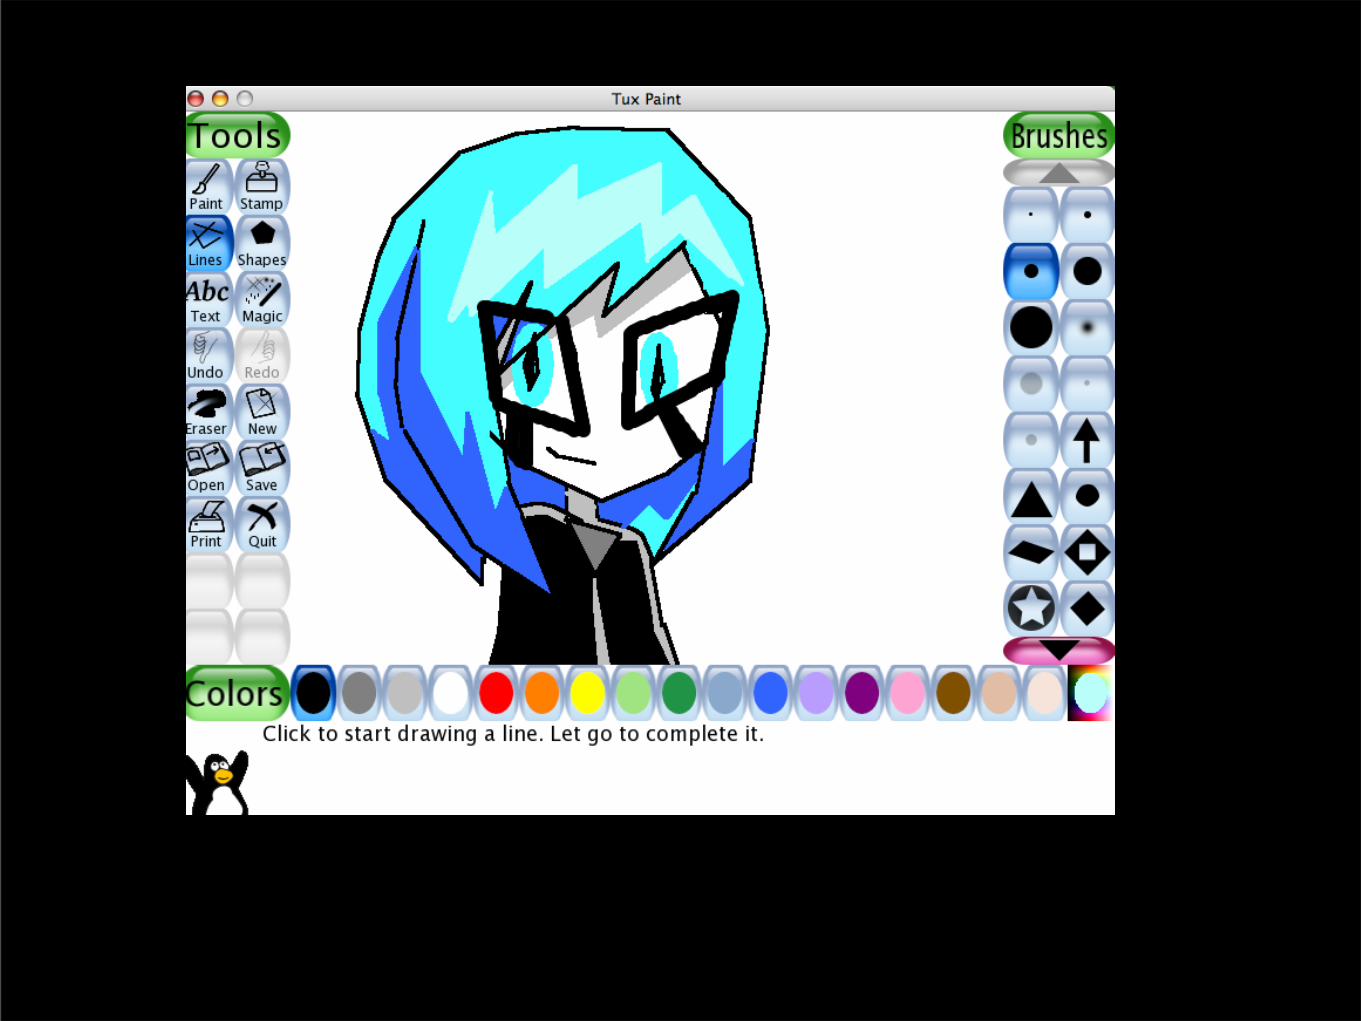
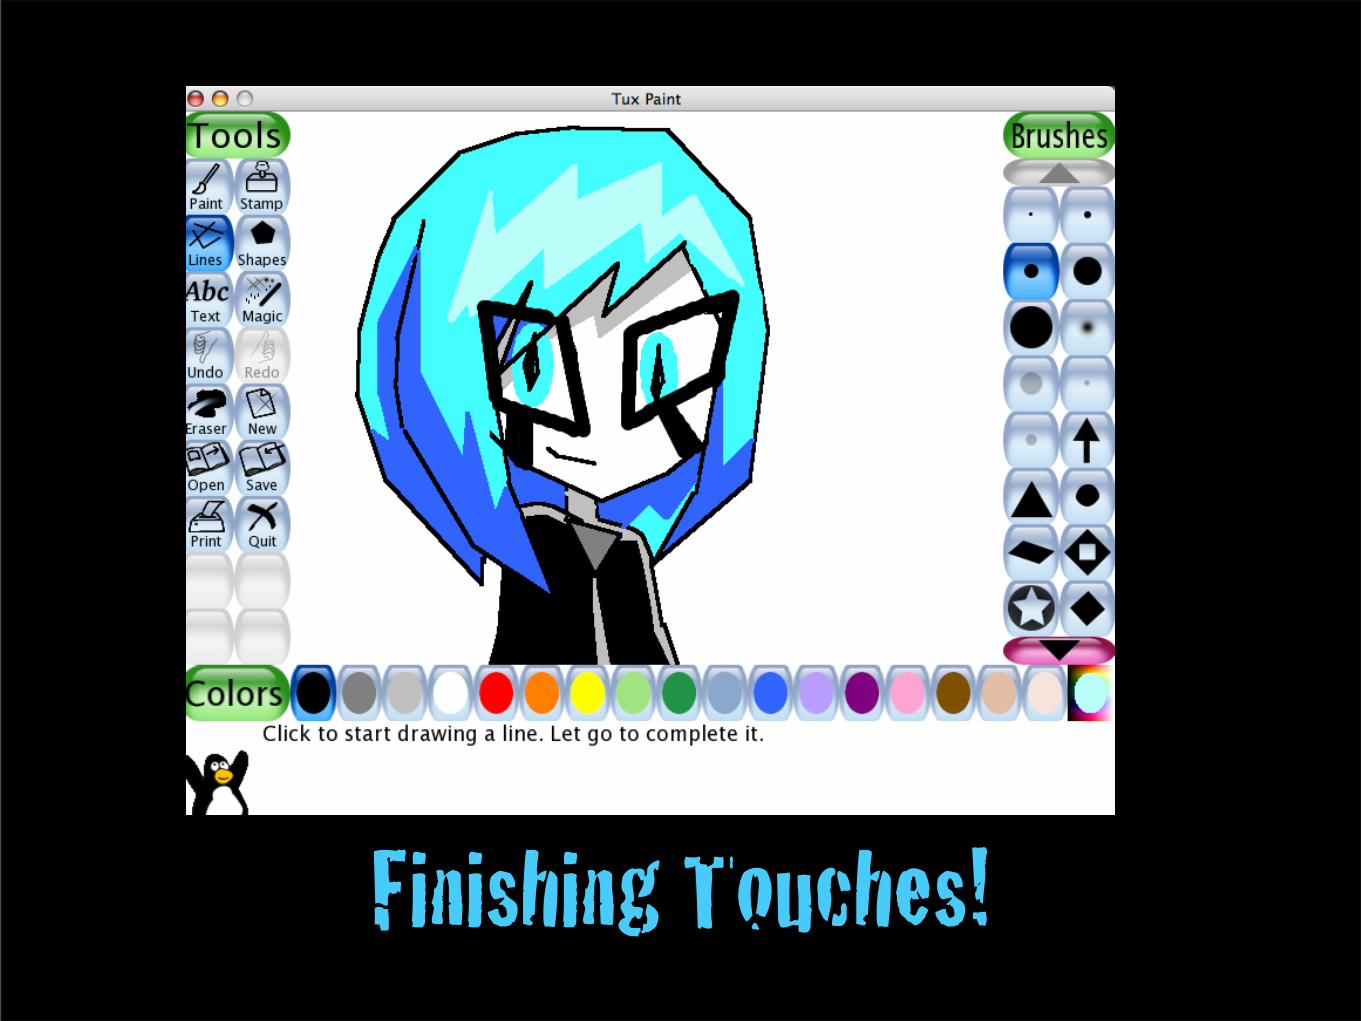
Finishing Touches!

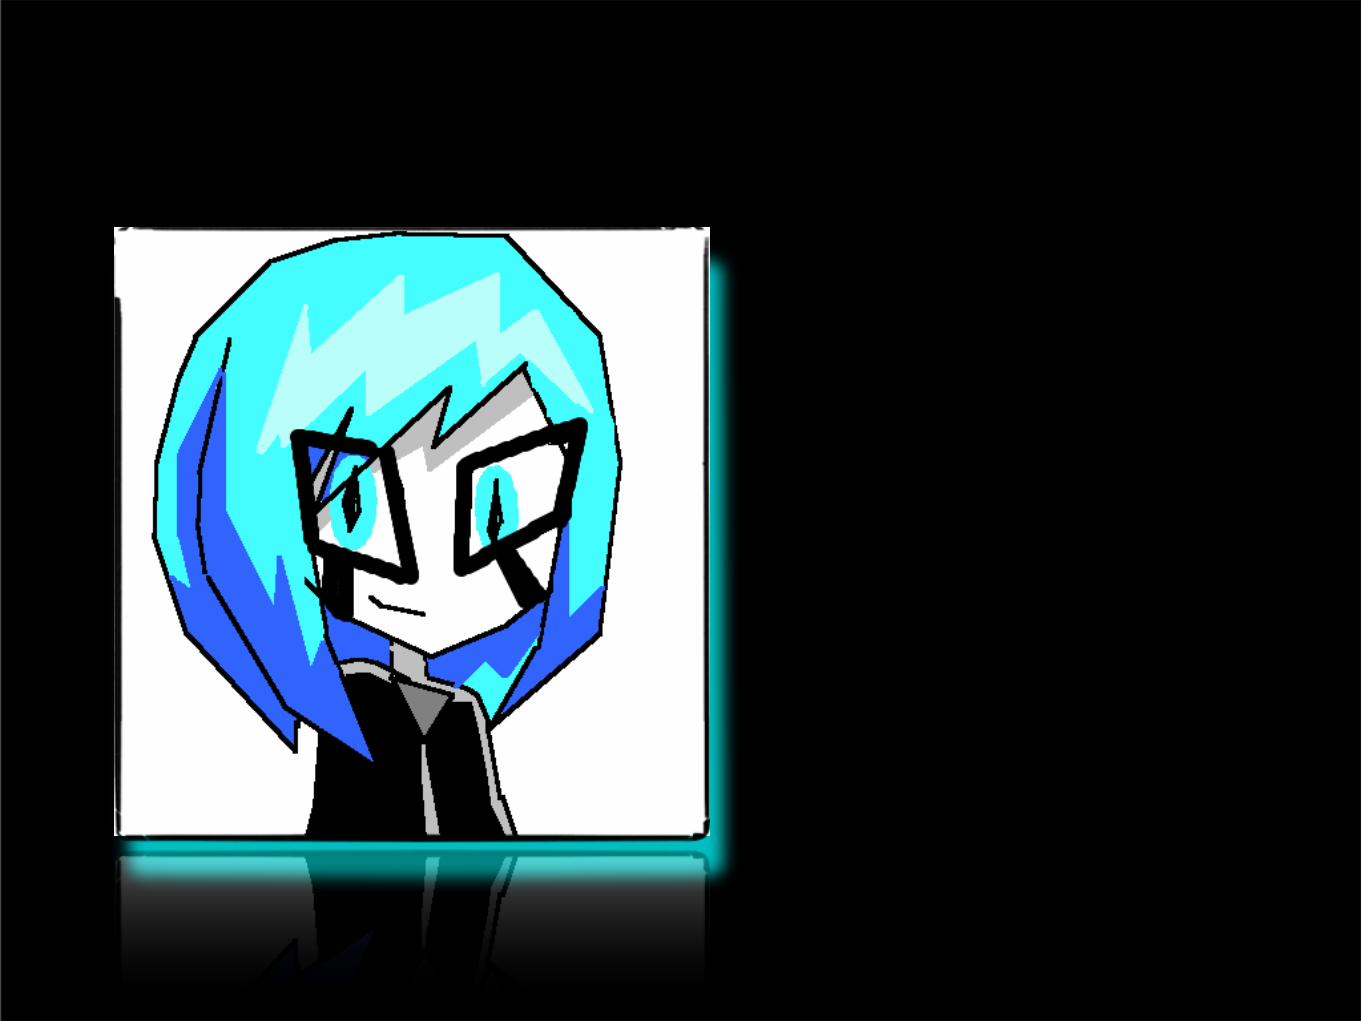
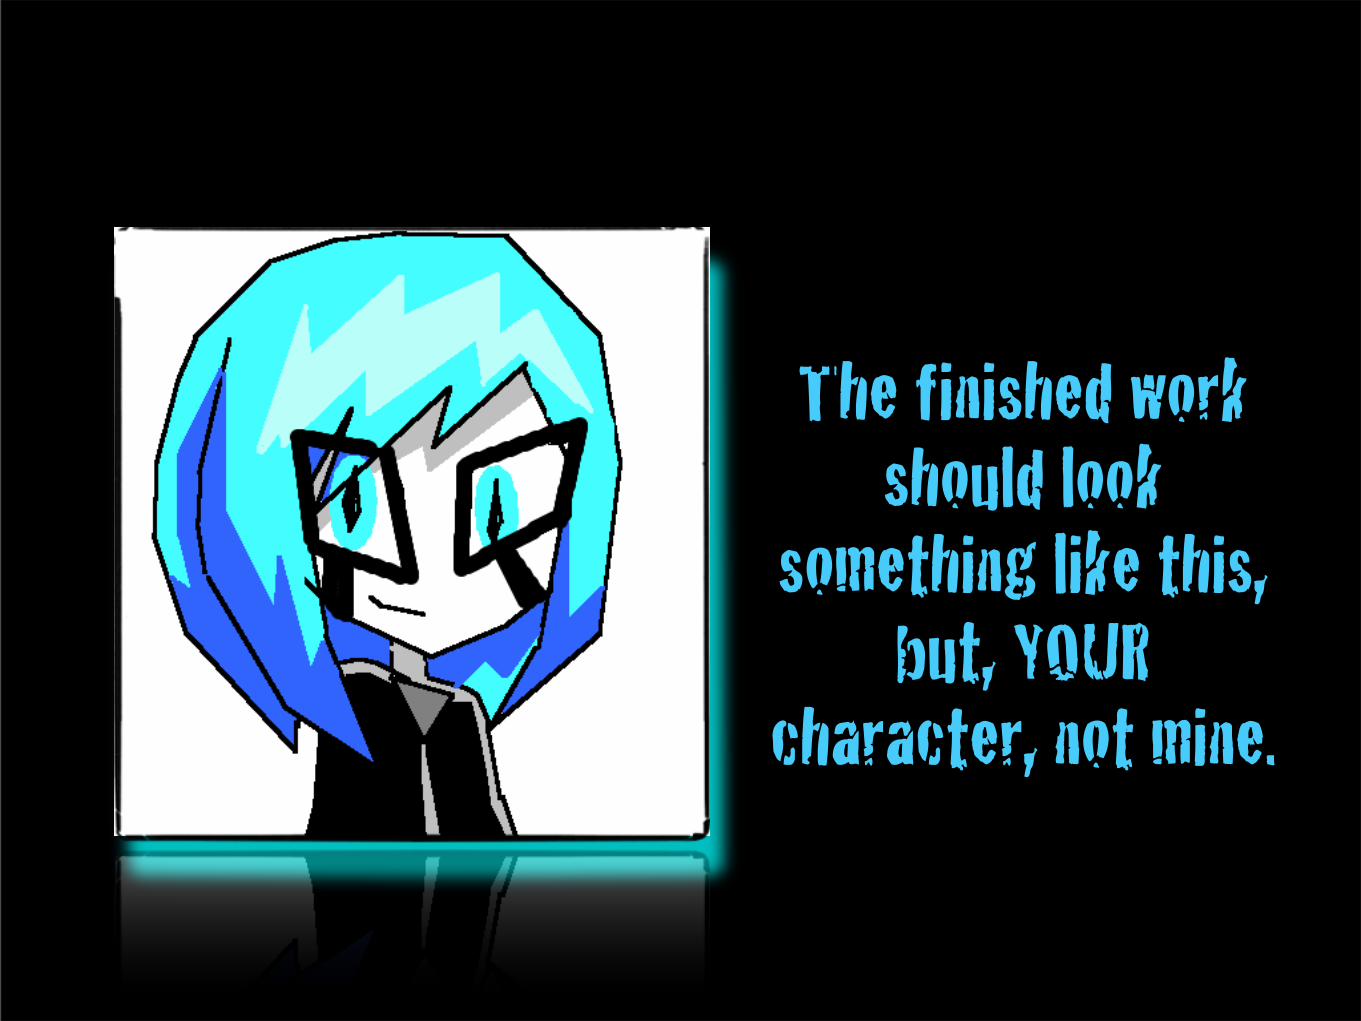
The finished work should look
something like this, but, YOUR
character, not mine.


The End.