History of Outdoor Education. Pioneers Jean-Jaques Rousseau (1712-1788) Johann Heinrich Pesalozzzi...
28
History of Outdoor Education
-
Upload
junior-norris -
Category
Documents
-
view
236 -
download
0
Transcript of History of Outdoor Education. Pioneers Jean-Jaques Rousseau (1712-1788) Johann Heinrich Pesalozzzi...

History of Outdoor Education
Pioneers
Jean-Jaques Rousseau (1712-1788)Johann Heinrich Pesalozzzi (1746-1827)
Both of these men advocated for learning from direct experience rather than indirectly from books
L.B. SharpBecame known as the father of school
camping due to his advocacy for school camps.

Adventure Education
Outward BoundStarted in Colorado in 1962. In this
program, outdoor adventures are used to give young people the opportunity to discover that they can accomplish far more and withstand more hardship than they had imagined.
Adventure Education Cont.
Project Adventure Is an outgrowth of Outward Bound in that
the ropes challenges were adapted for use in schools rather than as preparation for weeks in the wilderness.
Survival Skills “Man can live about forty days without food, about three days without water, about eight minutes without
air, but only for one second without hope” -Anonymous-
The Rule of Three
3 minutes without air
3 hours without warmth
3 days without water
3 weeks without food
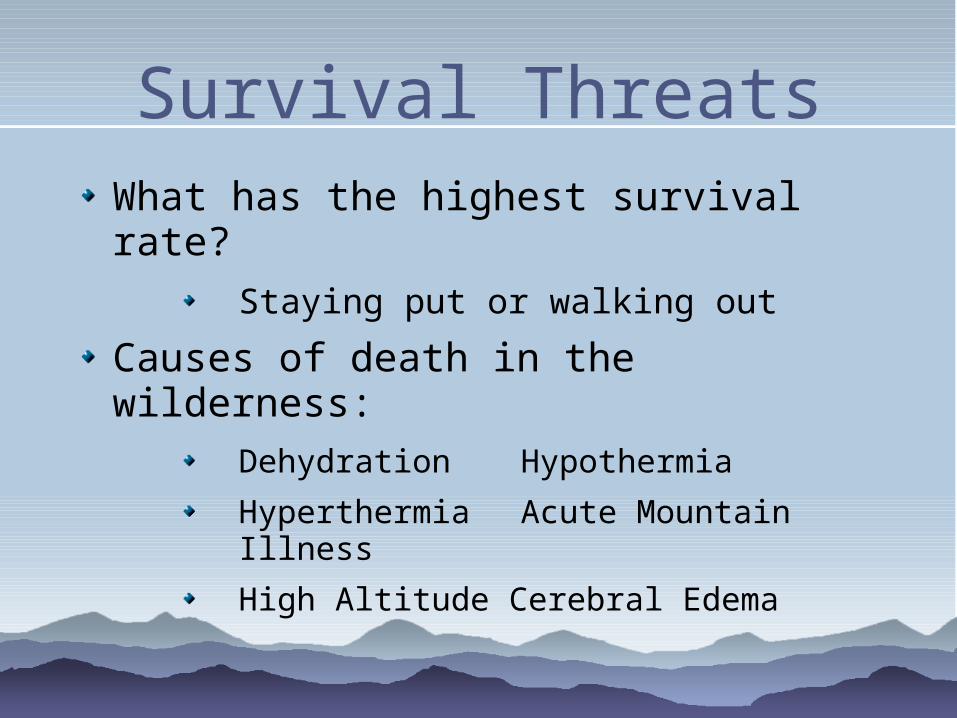
Survival ThreatsWhat has the highest survival rate?
Staying put or walking out
Causes of death in the wilderness:
Dehydration Hypothermia
Hyperthermia Acute Mountain Illness
High Altitude Cerebral Edema
Survival Kits
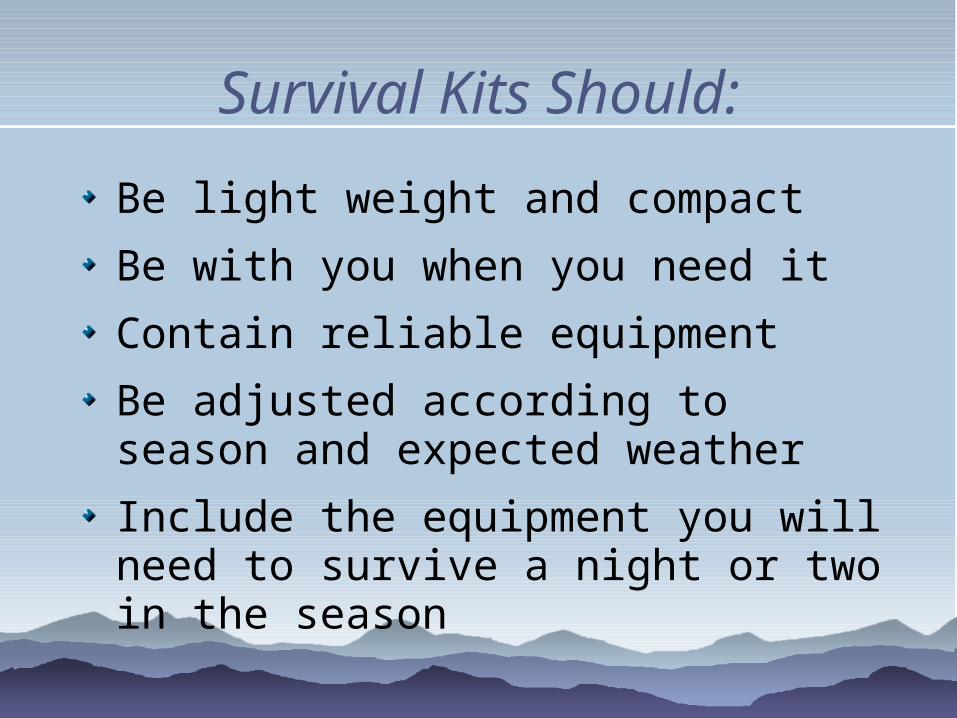
Survival Kits Should:
Be light weight and compact
Be with you when you need it
Contain reliable equipment
Be adjusted according to season and expected weather
Include the equipment you will need to survive a night or two in the season
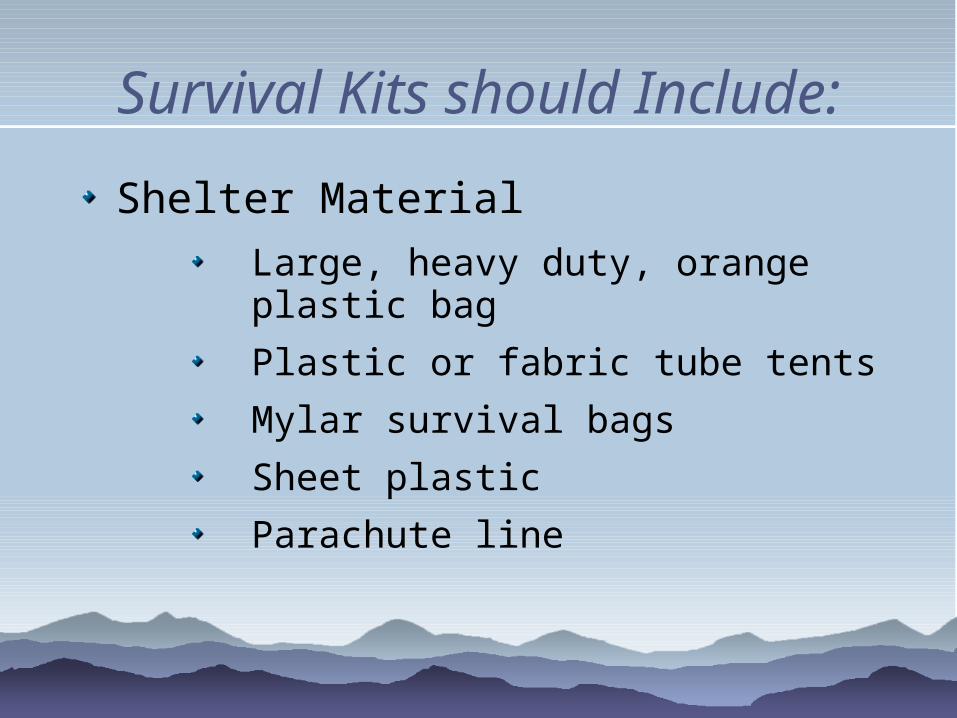
Survival Kits should Include:
Shelter Material
Large, heavy duty, orange plastic bag
Plastic or fabric tube tents
Mylar survival bags
Sheet plastic
Parachute line

Survival Kits Should Include (continued)
Fire starting materials:
Matches (contained in a water-proof case)
Cigarette lighter
Metal match with a scraper
Vaseline impregnated cotton balls (in a water-proof case)
Candle
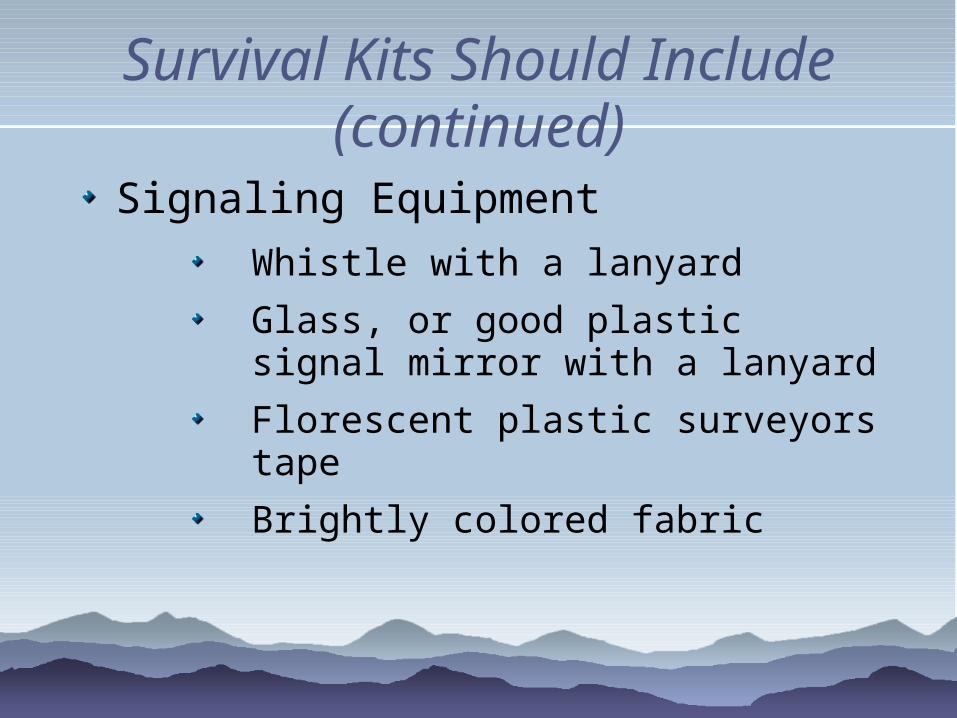
Survival Kits Should Include(continued)
Signaling Equipment
Whistle with a lanyard
Glass, or good plastic signal mirror with a lanyard
Florescent plastic surveyors tape
Brightly colored fabric
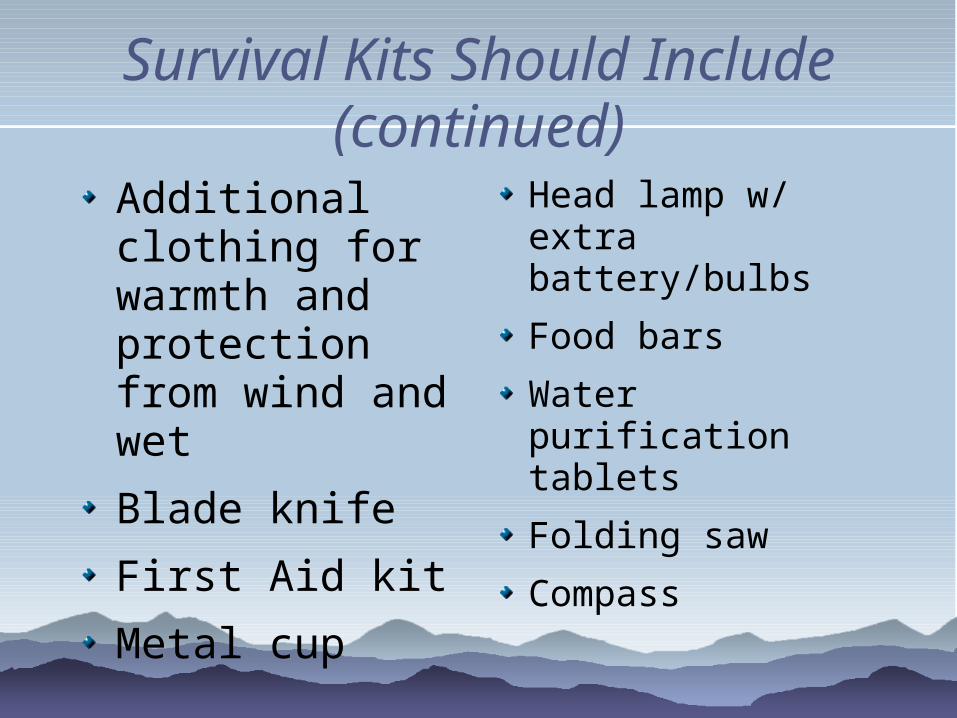
Survival Kits Should Include(continued)
Additional clothing for warmth and protection from wind and wet
Blade knife
First Aid kit
Metal cup
Head lamp w/ extra battery/bulbs
Food bars
Water purification tablets
Folding saw
Compass
Wilderness Emergency Management
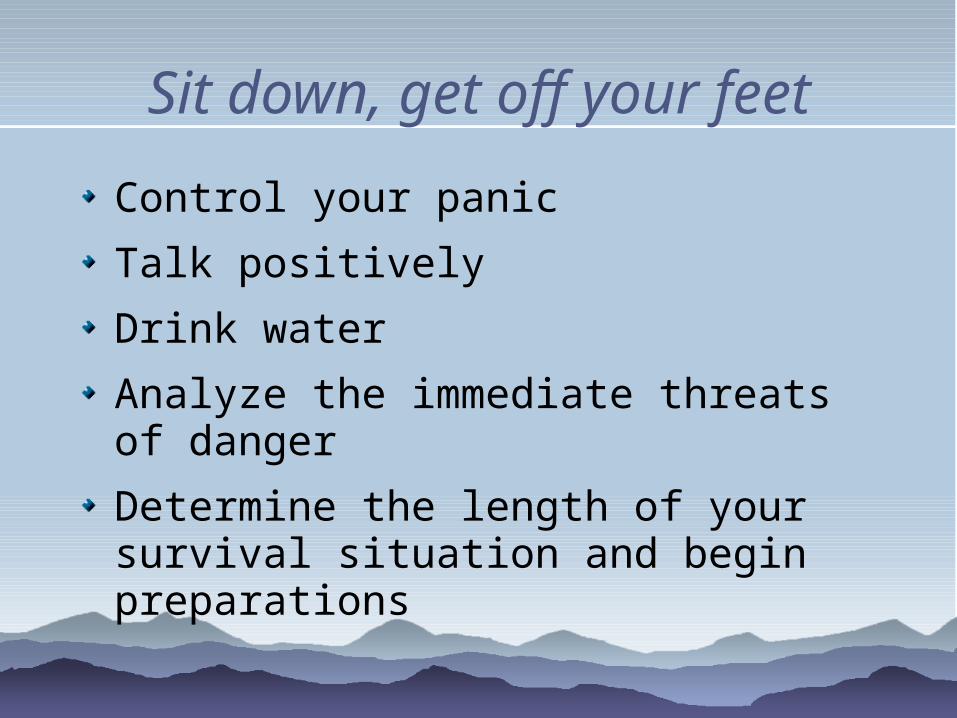
Sit down, get off your feet
Control your panic
Talk positively
Drink water
Analyze the immediate threats of danger
Determine the length of your survival situation and begin preparations
Protect and Maintain Your Life
Get out of the elements
Put you back to the wind
Minimize your heat loss
Seek or make a shelter
Improvise sources of heat
Remain positive
Administer Self-Aid
Think before you act
Be careful—do not harm yourself
Treat the injuries

Protect your Equipment
Do not throw anything away
Bring all useful equipment into your shelter
Conserve your Resources
Inventory both man-made and natural materials available to you
Conserve your body heat
Signal Your Distress
Use all available signaling equipment to advertise your status and location

Manage your body and your Mind
Do not get wet
Eat
Drink water
Stay put
Control your imagination
Improve your clothing
Rest
Be alert
Be patient
Maintain a positive mental attitude
Leave No Trace Principles1) Plan ahead and prepare
2) Travel and camp on durable surfaces
3) Properly dispose of what you can't pack out: minimize human effects
4) Leave what you find
5) Minimize use and effects from fire
6) Respect wildlife
7) Be considerate of other visitors
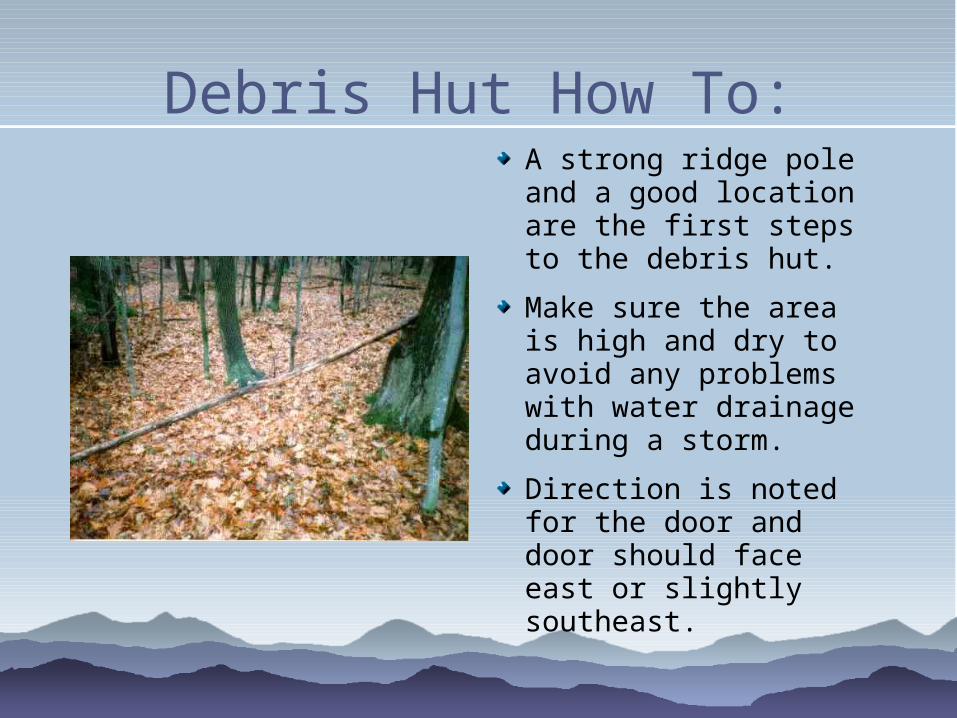
Debris Hut How To:A strong ridge pole and a good location are the first steps to the debris hut.
Make sure the area is high and dry to avoid any problems with water drainage during a storm.
Direction is noted for the door and door should face east or slightly southeast.
Debris Hut How To:
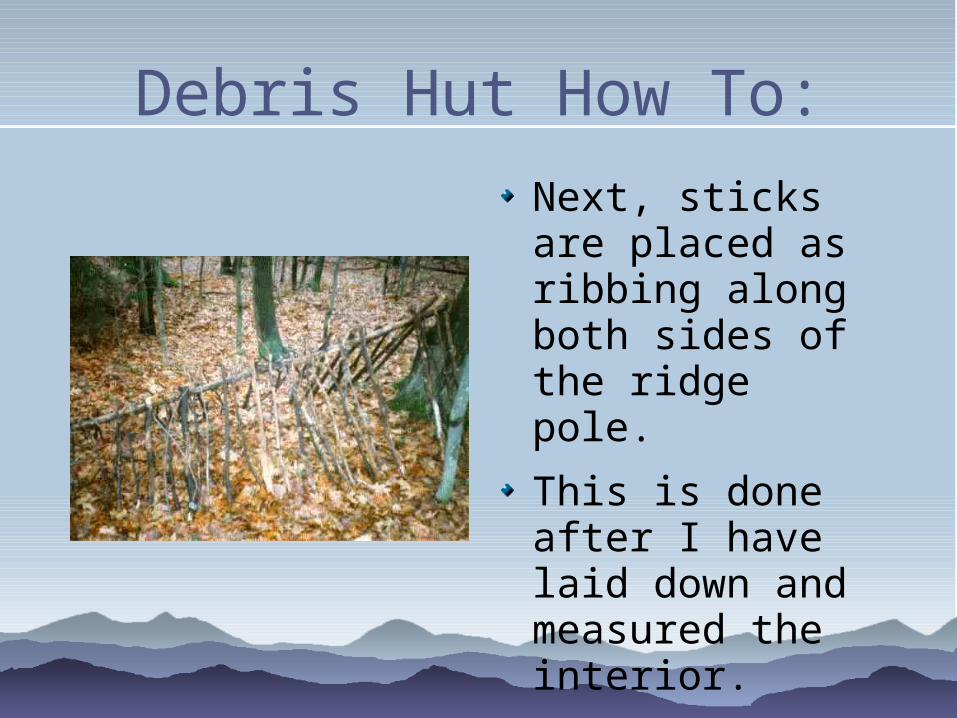
Next, sticks are placed as ribbing along both sides of the ridge pole.
This is done after I have laid down and measured the interior.
Debris Hut How To
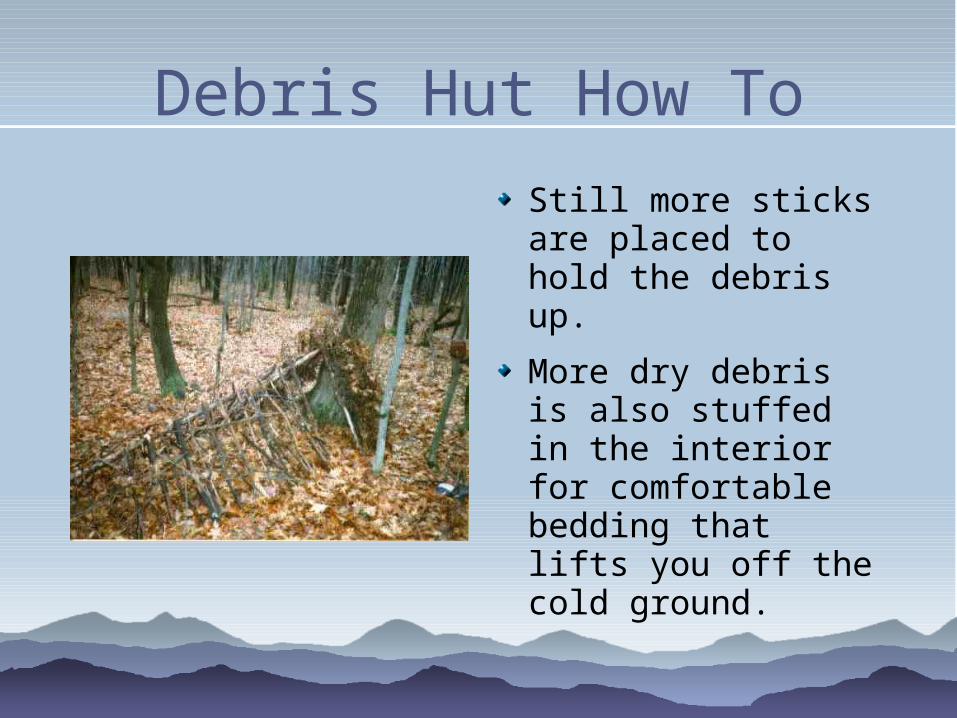
Still more sticks are placed to hold the debris up.
More dry debris is also stuffed in the interior for comfortable bedding that lifts you off the cold ground.
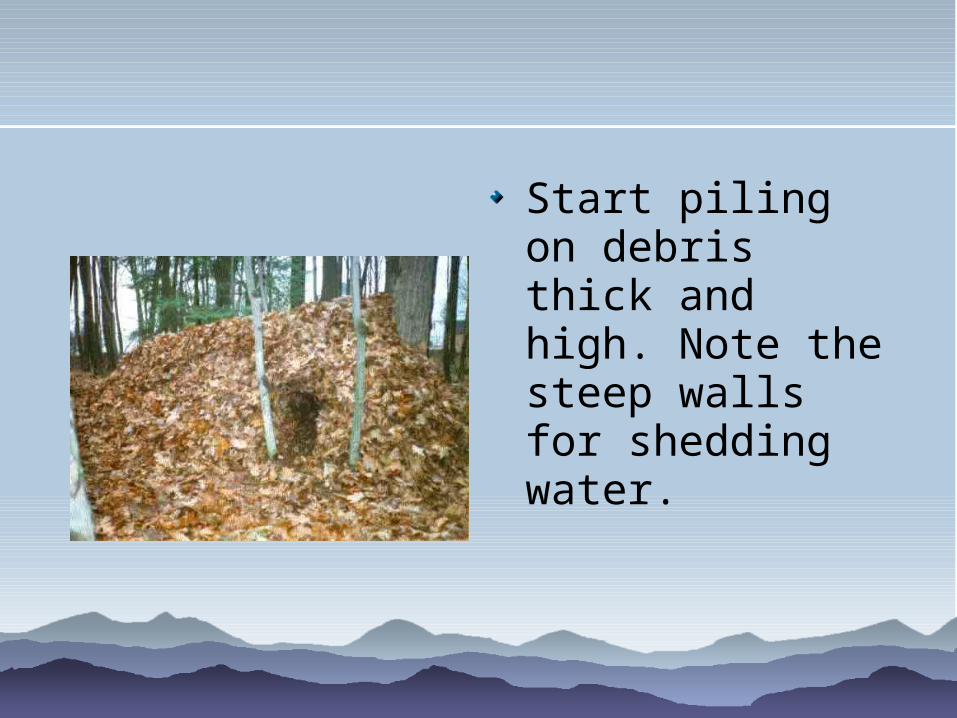
Start piling on debris thick and high. Note the steep walls for shedding water.
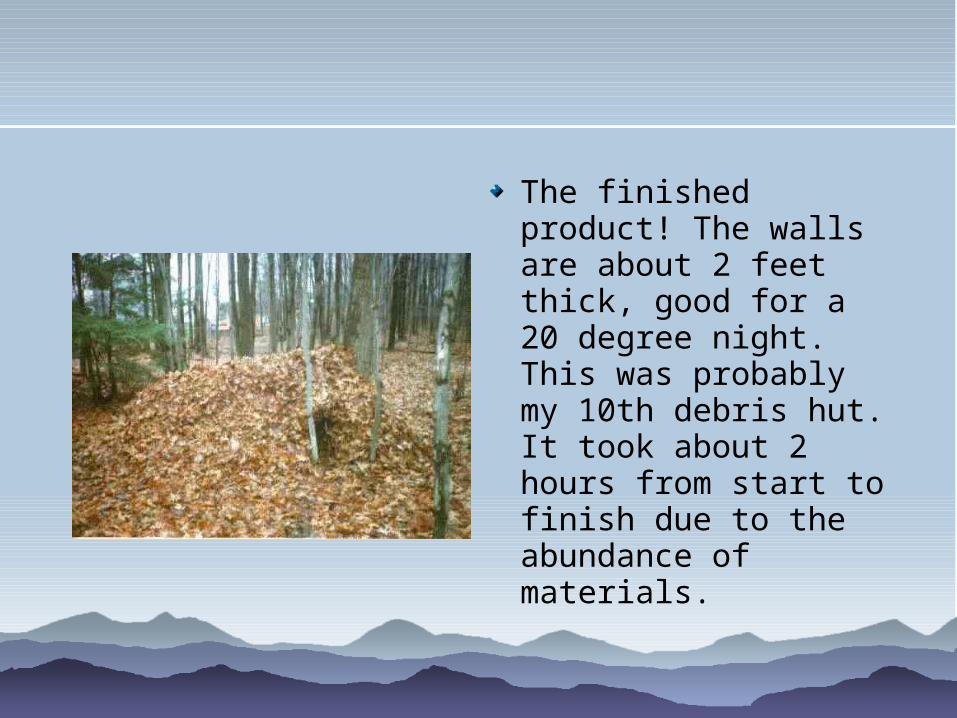
The finished product! The walls are about 2 feet thick, good for a 20 degree night. This was probably my 10th debris hut. It took about 2 hours from start to finish due to the abundance of materials.
Sources
Pinkman, Matt. "Debris Hut Construction." PrimitiveSkills.com. Maine Primitive
Skills School. Web. 01 Sept. 2010.
<http://www.thefarm.org/charities/i4at/lib2/debris.htm>