Monica Bobra, "The Endless Mantra: Innovation at the Keck Observatory"


1
HI, MY NAME IS MONICA
About 10 years ago, I fell in love with the practice of yoga. I started practicing because I needed to get to a healthy place physically and emotionally in life. I had low energy, and wasn’t making healthy lifestyle choices. I was craving abundance, health, and community, so I seeked out the practice of yoga. Eventually, I dedicated to the practice of Ashtanga yoga. My teacher is Krista Shirley, and I did my apprenticeship with her in 2010 in Winter Park, FL. She is a level 2 Authorized Ashtanga instructor from the Krishna Pattabhi Jois Institute in Mysore, India. This practice continues to change my life, so I decided to become a teacher, so I could share the knowledge with others. No matter what your reason is for starting yoga, the practice will make you more peaceful, happier, abundant, and compassionate. .

2
A QUICK NOTE ABOUT… This eBook This is a getting-‐started-‐guide to creating and building your home practice. In this guide, you’ll find everything you need to know so you can create your practice space. You’ll learn what kind of mat and products will benefit you. I give thorough instructions on a modified yoga practice, which you can bring with you anywhere. This practice will empower you, guide you towards inner peace, and is everything you need for a full yoga practice. I also give you troubleshooting tips on how to make it to the mat daily when you’re struggling.
Affiliate Links Some of the links in this eBook are affiliate links, which means that I may get a commission if you decide to purchase the product after clicking on the link. All of the products I mention are from companies I know and trust, and use daily. I only recommend things I truly believe in and have personally experienced. My goal is to help you succeed.
Distribution: Feel free to forward this eBook to a friend, print it out, or add it to multiple devices for your reading pleasure. It’s yours to use and freely. I just ask that you refrain from copying the content and reproducing it as your own.
Resources Throughout this eBook, I’ll be recommending products, explaining the foundations of practice and postures, and discussing techniques. The very last page of this eBook has a list of resources with links for everything discussed. I found this easier rather than listing them as a distraction throughout the eBook.

3
Take OMership of your practice!
4
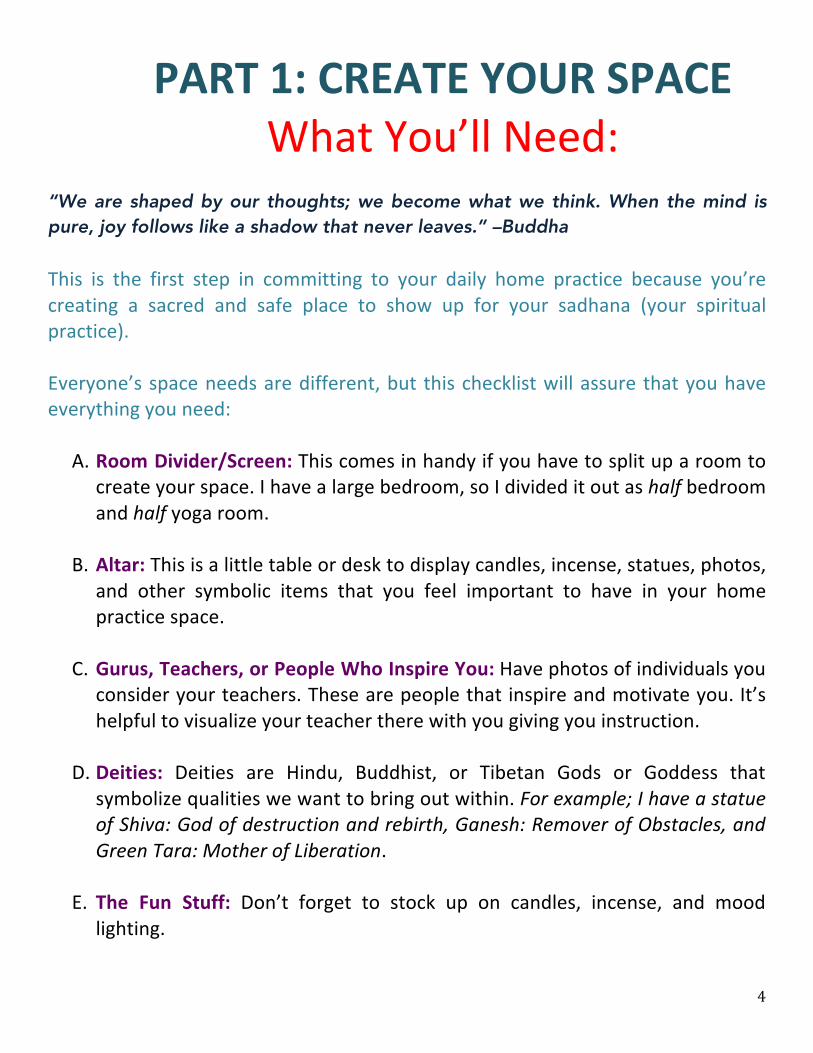
PART 1: CREATE YOUR SPACE What You’ll Need:
“We are shaped by our thoughts; we become what we think. When the mind is pure, joy follows like a shadow that never leaves.” –Buddha This is the first step in committing to your daily home practice because you’re creating a sacred and safe place to show up for your sadhana (your spiritual practice).
Everyone’s space needs are different, but this checklist will assure that you have everything you need:
A. Room Divider/Screen: This comes in handy if you have to split up a room to
create your space. I have a large bedroom, so I divided it out as half bedroom and half yoga room.
B. Altar: This is a little table or desk to display candles, incense, statues, photos, and other symbolic items that you feel important to have in your home practice space.
C. Gurus, Teachers, or People Who Inspire You: Have photos of individuals you
consider your teachers. These are people that inspire and motivate you. It’s helpful to visualize your teacher there with you giving you instruction.
D. Deities: Deities are Hindu, Buddhist, or Tibetan Gods or Goddess that
symbolize qualities we want to bring out within. For example; I have a statue of Shiva: God of destruction and rebirth, Ganesh: Remover of Obstacles, and Green Tara: Mother of Liberation.
E. The Fun Stuff: Don’t forget to stock up on candles, incense, and mood
lighting.

5
Who inspires you? Who are your teachers? (Print out a photo of them and place it in a frame on your altar)
a. _______________________________
b. _______________________________
c. _______________________________
d. _______________________________
6
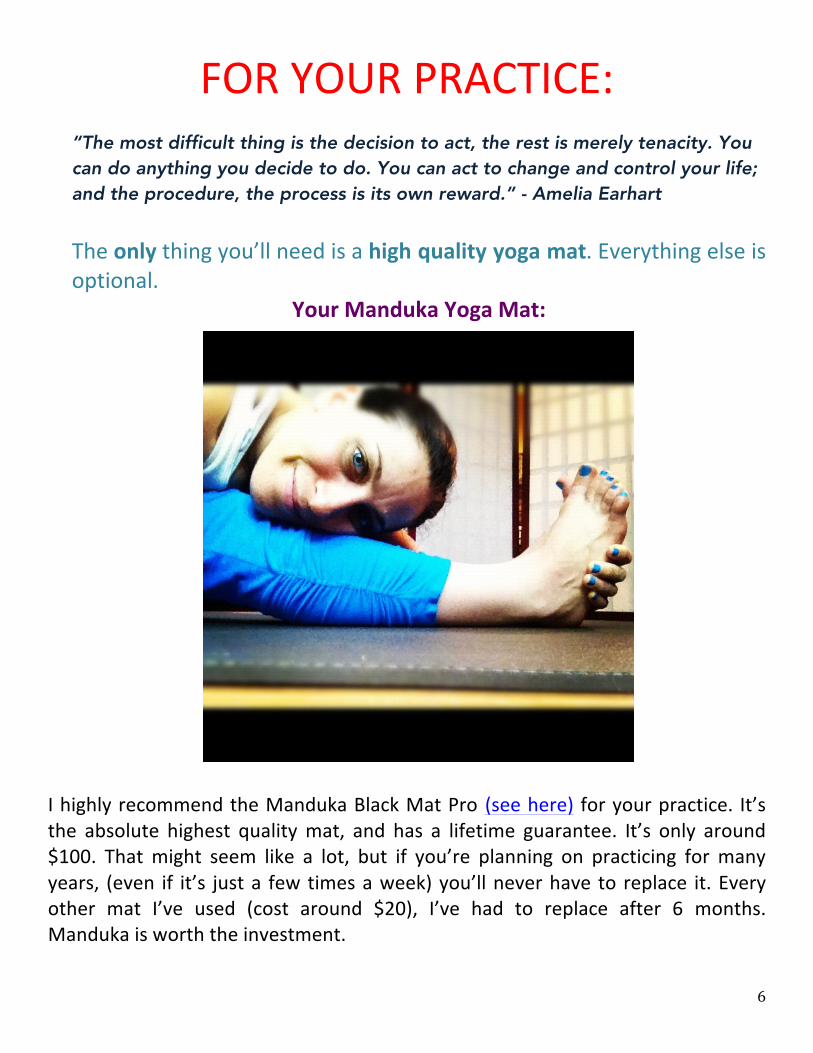
FOR YOUR PRACTICE:
“The most difficult thing is the decision to act, the rest is merely tenacity. You can do anything you decide to do. You can act to change and control your life; and the procedure, the process is its own reward.” - Amelia Earhart
The only thing you’ll need is a high quality yoga mat. Everything else is optional.
Your Manduka Yoga Mat:
I highly recommend the Manduka Black Mat Pro (see here) for your practice. It’s the absolute highest quality mat, and has a lifetime guarantee. It’s only around $100. That might seem like a lot, but if you’re planning on practicing for many years, (even if it’s just a few times a week) you’ll never have to replace it. Every other mat I’ve used (cost around $20), I’ve had to replace after 6 months. Manduka is worth the investment.

7
Manduka mats are nonslip, firm yet comfortable enough to hold a headstand, and will noticeably change your practice! Note: When you get your Manduka, make sure you give it a good scrub. There is a film on the mat, which will make it seem slippery. As you practice and clean it regularly, the film eventually disappears, and you’ll be in nonslip heaven.
Other items that are optional, but you might find useful: A. Meditation Cushion: These are great for sitting for long periods of time.
When sitting for an extended period, it’s common to feel pain in the hips and knees. Remember, you can’t injure yourself just from sitting, but you can ease the pain by sitting on a cushion to elevate the hips.
B. Mat Bag: If you’re going to be traveling, you’ll want to make carrying your mat as easy as possible. Since Mandukas are so sturdy, they’re not easy to carry around. I’ve traveled across the world with my Manduka, and have no idea how I would have done it without my mat bag. Hint: If you’re traveling light, you might be able to roll it tight and pack it in your suitcase.
C. Mysore Rug: If you’re someone who sweats a lot, you might want to
invest in a mysore rug. The rug makes the surface extra-‐extra nonslip. I personally don’t use a mysore rug, but I’m in the minority. Many people layer the rug over the mat, and then use a spray bottle filled with water to wet the areas where the hands and feet will be aligned. It seems backwards, but this creates enough friction to make it nonslip.
D. Props: When practicing with a teacher, the teacher gives you adjustments,
which essentially becomes your prop. When a teacher is adjusting, it gives the practitioner the chance to be in a passive state, which allows for exploration of sensations in the body.
When practicing at home, props can be a way to give a self-‐adjustment so that you can be your own teacher. Examples of props are blocks, straps,

8
towels, or even the wall. Remember to not become dependent on props. Only use them to create body awareness.
E. Mat Cleaner: Manduka makes an amazing mat cleaner that uses essential
oils and smells delicious. I use it myself, but there’s no reason you can’t keep it real with soap and water.
9
10
Part 2: The Practice Quick Note: There are many important terms, concepts, and foundations to the Ashtanga yoga practice, but I’ll only be going over the basics here. My goal is to get you started on doing your practice, and then the concepts come to fruition. The goal is to keep the mind free of distraction, so let’s start with the breath and a few postures.
Start With The Breath:
“When the breath control is correct, mind control is possible.” – Pattabhi Jois
Deep Breathing With Sound
In Ashtanga Yoga, we breathe in and out through the nose only. The breath comes from the back of the throat. This type of breath heats the body internally and has a detoxing effect. The sound is important because it becomes a point of concentration to steady the mind.
Sit cross-‐legged on your mat or a cushion. Slightly constrict the throat muscles, and picture the breath being created from the back of your throat. You should me making a noise that imitates the sound of fogging a mirror.
Inhale; slowly move the breath up through the crown of the head. Exhale, move the breath down through the base of the spine. Steady the breath so the inhales and exhales are the same length, and continue throughout the practice. For example, if you extend the length of the inhale for the count of five, you should also be extending the exhale for the count of five. Continue to expand and deepen the breath.
The breath is the most important foundation of the practice. Remember, as long as you’re breathing, you are doing yoga. Pay close attention to what happens to your breath during postures. The goal is to always bring it back to a steady comfortable breath pattern.
11
The Postures:
“Walk as if you are kissing the Earth with your feet.” - Thích Nhất Hạnh, In this section, I am going to walk you through how to practice if you’re completely new to yoga. When a new student walks into one of my classes, this is the exact method that I teach. It doesn’t matter if you’re beginner or advanced. When learning Ashtanga yoga, we learn by memorizing the practice. We start slow and build gradually. Follow the postures to the best of your ability, and see the resources section for links to videos for further instruction.
Your Practice (Instructions for each posture on the following pages)
A. Opening Mantra: The practice starts with the opening mantra. This mantra is
in Sanskrit. The first time that we meet, I would chant it to you. The second time, we would chant call and response until you have it memorized. You can find translations and a call and response video with me in the resources section.
B. Surya Namaskara A (Sun Salutation A): There are two sets of Sun Salutations. The first day, we would just learn part A. I’d walk you through a few of them, and then have you repeat it on your own a few times. After you chant the opening mantra, you’ll start with five Surya Namaskara A.
C. The Closing Three: These last three postures are the most meditative. When
doing these postures, really focus on deepening and expanding the breath.
a. Yoga Mudra: Bound Lotus Folded Forward b. Padmasana: Lotus Posture c. Uth Plutihi: Sprung Up
D. Closing Mantra: This closes the practice. The mantra is a prayer about ending
suffering and wishing peace on all beings. I teach this the same as the opening mantra. You can find translations and a call and response video with me in the resources section.
12
E. Take Rest: Some people call this savasana. In the Ashtanga yoga method,
you’ll only hear teachers refer to it as taking rest. In Astanga Yoga Anusthana by Sharath Jois, he says, “It is important to take rest after practice. Many mistakenly call this savasana. This is incorrect. No asana is being done here; one is only resting form the asana practice. This is called sukhasana.”

13
How to do Surya Namaskara A:
1. Inhale: Raise arms over your head, press palms together, gaze towards
thumbs.
2. Exhale: Fold forward. Bring hands to earth, and bend knees if needed. Bring your head in towards your knees, and gaze at eyebrow center.
3. Inhale: Keep hands on ground, lift head, lengthen spine, and look forward.
4. Exhale: Step or jump back to a plank position. Lower down with control
hugging the elbows into the rib cage. Gaze forward. Lower down to a low push up, or drop the knees coming all the way down.
14
5. Inhale: Glide forward to upward facing dog. You’ll arch the back, bring the chin up and back gracefully, press the tops of the feet into the ground, and gaze towards the nose. Press the big toes into the ground to avoid the heels from falling out. Either keep knees on ground or try to only balance on the hands and the tops of the feet.
6. Exhale: Push yourself back into downward facing dog. Do this either by rolling over your toes, or use the knees to push yourself back. In Downward Facing Dog: The feet are hip width apart. The hands are pressing into the mat, and the fingers are spread. The hands are pressing down and forward as the feet press down and back. Push the heels down to stretch the back of the leg. The heel doesn’t have to touch the ground, but just make the movement. Pull in your lower belly, and gaze towards naval. Hold for five deep breaths.
7. Inhale: Step or jump the feet forward trying to keep a steady breath, and then gaze forward (like in step 3) as you continue to inhale.
8. Exhale: Fold forward (like in step 2).
9. Inhale: Bring the body back to a standing position with control, and raise the arms over your head pressing the palms together. Gaze towards thumbs.
Exhale: Arms lower by your side. You’re done with the first one!
Do four more of these at your own pace.
Make sure you’re moving with a slow and steady breath. Don’t rush these movements.

15
The Closing Three:
These three postures are incredibly important because you are slowing down the mind and body for rest. Since these postures are taken in a cross-‐legged position, you’re able to just focus on meditation and breath.
Two Quick Notes: o If you’re not able to take lotus in these postures, no problem. Just come to a
comfortable cross-‐legged position. As you continue to practice, you’ll be doing lotus in no time!
o Always start with the right leg in lotus. This ensures that the heels press into the digestive organs properly for detoxification.
A. Yoga Mudra: Come to your seated position, and cross arms around the back. You
can see in the picture above, I am holding my toes. If you’re not able to do that, just grab your elbows or wrists. Fold forward lowering your chin or head to the ground. Gaze is at eyebrow center. Hold 10 breaths.
B. Padmasana: Inhale as you sit up with a straight spine. Place the thumb and index finger together, and straighten the arms and fingers as you bring your hands to knees. Bring your chin to your chest. Gaze is at nose. 10 deep breaths here.
C. Uth Pluthi: Keep the same deep breath, you’re going to press your hands into the ground and lift the body off the ground. If you can’t fully lift up, no problem -‐ it takes years of practice. Just press into the ground. Gaze towards eyebrow center for 10 breaths.
16
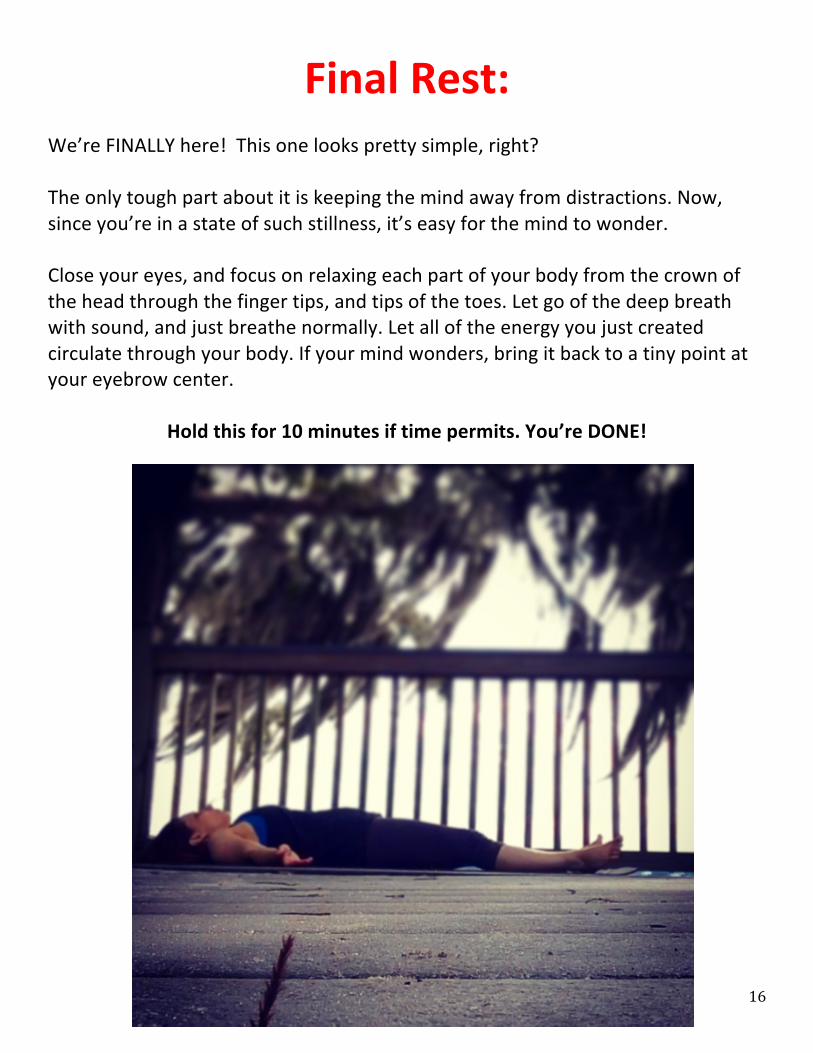
Final Rest: We’re FINALLY here! This one looks pretty simple, right? The only tough part about it is keeping the mind away from distractions. Now, since you’re in a state of such stillness, it’s easy for the mind to wonder. Close your eyes, and focus on relaxing each part of your body from the crown of the head through the finger tips, and tips of the toes. Let go of the deep breath with sound, and just breathe normally. Let all of the energy you just created circulate through your body. If your mind wonders, bring it back to a tiny point at your eyebrow center.
Hold this for 10 minutes if time permits. You’re DONE!

17
Part 3: Motivation 10 Trouble Shooting Tips To Make It
To The Mat Daily (When You’re Struggling)
1. Always schedule in your practice the same day and same time. Don’t procrastinate!
2. Don’t press snooze!
3. Take a shower in the morning to wake up before practice. This will also warm your body, so you’re more flexible.
4. Have a go to playlist. Traditionally, Ashtanga is practiced without music. I say, throw that rule out the door if you’re having trouble. Put on whatever helps you make it to the mat that day.
5. Join a yoga challenge on Instagram. This will keep you practicing daily, and also
connect you to a supportive community
6. Go to a yoga class even if it’s out of your traditional practice. Get out of your shell and connect with other yogis. Sometimes a little guidance and connection will inspire and motivate you. Plus, it’s nice to support the community
7. Always take practice even if it’s not your full practice. If you’re not able to do more
than just one Sun Salutation, then that’s fine. One of the biggest mistakes is not taking practice at all. Just roll out the mat and see what happens.
8. Clean your practice space every night. There is nothing more distracting than seeing
a dust ball on the ground when you’re in down dog. Make it a ritual to clean your practice space daily, so you’re always feeling zen when you practice.
9. Create a vision board of goals for your practice, and how you would like to see your practice progress.
10. When you go to sleep, give thanks for the day, and continue to practice and commit
daily.
18
Part 4: Resources
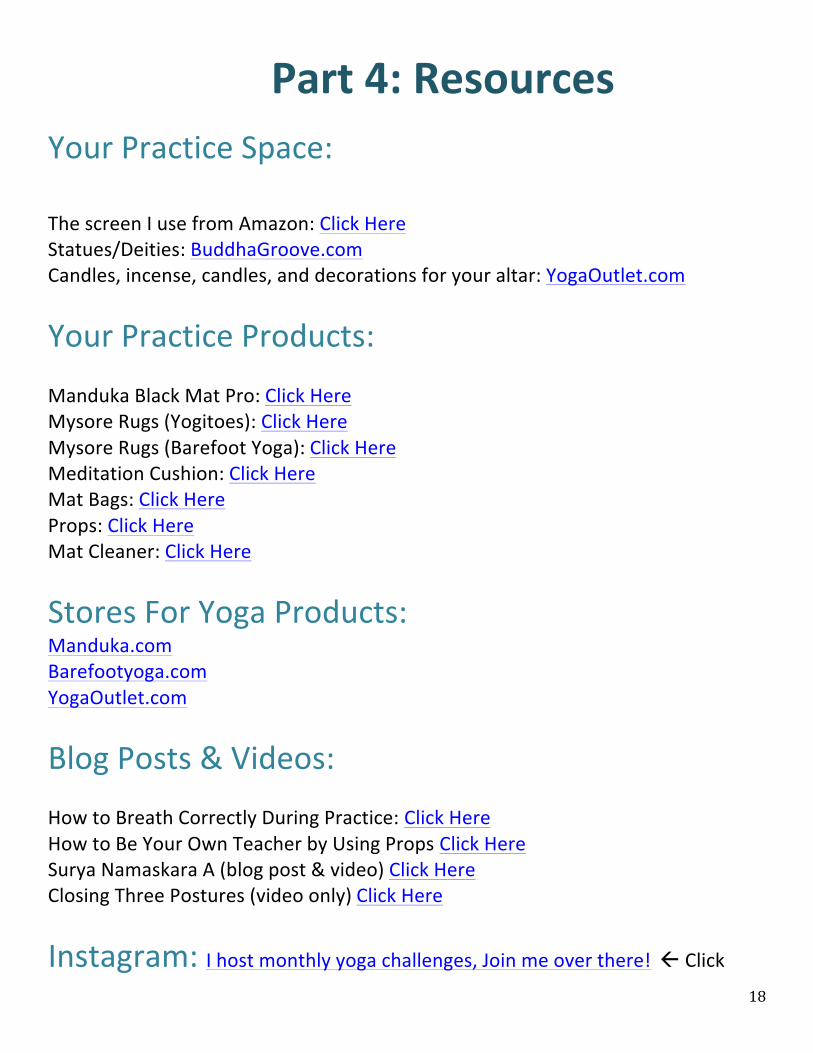
Your Practice Space: The screen I use from Amazon: Click Here Statues/Deities: BuddhaGroove.com Candles, incense, candles, and decorations for your altar: YogaOutlet.com
Your Practice Products: Manduka Black Mat Pro: Click Here Mysore Rugs (Yogitoes): Click Here Mysore Rugs (Barefoot Yoga): Click Here Meditation Cushion: Click Here Mat Bags: Click Here Props: Click Here Mat Cleaner: Click Here
Stores For Yoga Products: Manduka.com Barefootyoga.com YogaOutlet.com
Blog Posts & Videos: How to Breath Correctly During Practice: Click Here How to Be Your Own Teacher by Using Props Click Here Surya Namaskara A (blog post & video) Click Here Closing Three Postures (video only) Click Here
Instagram: I host monthly yoga challenges, Join me over there! Click

19
Opening Mantra (translation & Video) Click Here
Feel free to print this out and practice it!
The opening mantra is considered a thank you to the teachers that continue to teach this practice. It’s also a thank you to yourself for bringing yourself to the mat.
Sanskrit:
Om
Vande Gurunam Charanaravinde Sandarshita Svatma Sukava Bodhe
Nih Sreyase Jangalikayamane Samsara Halahala Mohashantyai
Abahu Purushakaram Shankhacakrsi Dharinam Sahasra Sirasam Svetam Pranamami Patanjalim
Om
Translation:
Om
I pray to the lotus feet of the supreme guru Who teaches knowledge, awakening the great happiness of the self-‐revealed
Who acts like the jungle physician Able to remove the delusion from the poison of conditioned existence
To Patanjali, an incarnation of Adisesa, white in color with a thousand radiant heads (in his form as the divine serpent, Ananta), human in form below the
shoulders, holding the sword of discrimination, a wheel of fire representing infinite time, and the conch representing divine sound to him, I prostrate.
Om
20
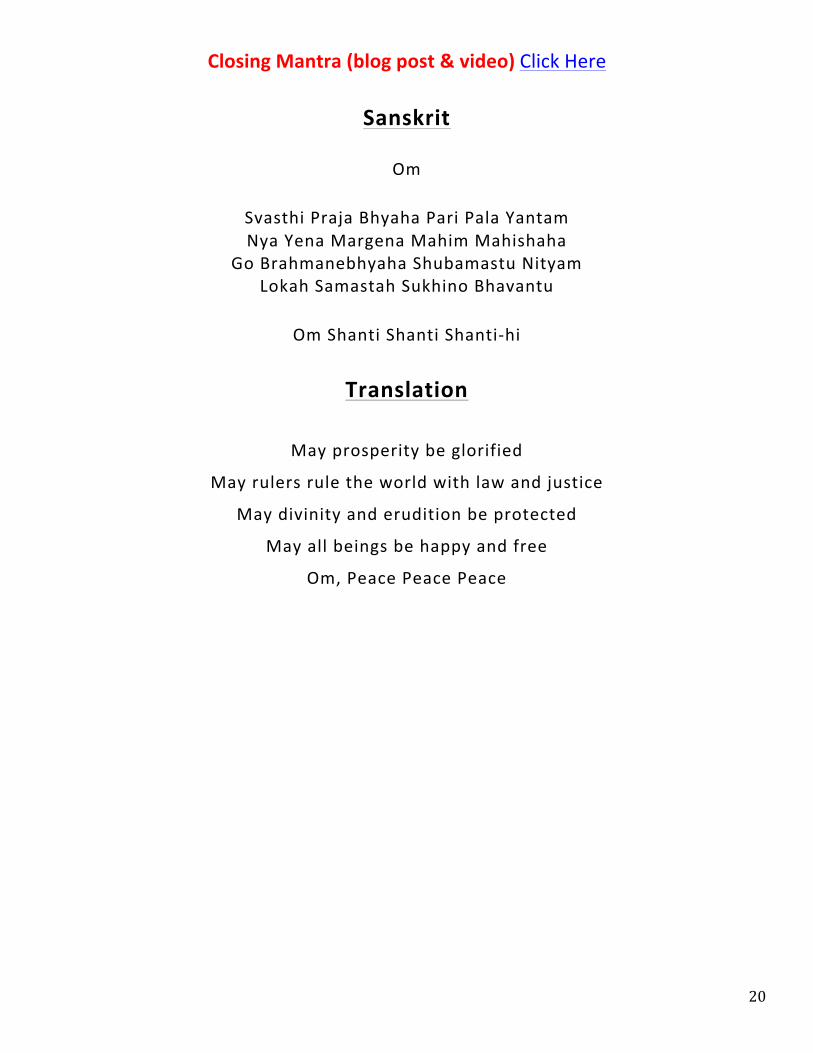
Closing Mantra (blog post & video) Click Here
Sanskrit
Om
Svasthi Praja Bhyaha Pari Pala Yantam Nya Yena Margena Mahim Mahishaha
Go Brahmanebhyaha Shubamastu Nityam Lokah Samastah Sukhino Bhavantu
Om Shanti Shanti Shanti-‐hi
Translation
May prosperity be glorified
May rulers rule the world with law and justice
May divinity and erudition be protected
May all beings be happy and free
Om, Peace Peace Peace
21
THANK YOU!
Thank you for your interest in my eBook and starting your practice! I hope you’re
finding lots of peace and having life changing realizations.
This guide is everything you need to start and continue your practice. If you decide
you want to take your practice deeper, I’d love to work with you further with my
coaching program, Inside Your Om – http://www.InsideYourOm.com
If you found this helpful, or think that someone might find this useful, please share
on social media. Your support helps me create more guides, eBooks, courses,
and workshops to help others live their life purpose through yoga!
Thanks for reading all the way to the end. It means the world to me!
Love, Light, and Namaste