HALO Branded Solutions Online Store User Guide
12
2011 Updated 8/5/2011 HALO Branded Solutions Online Store User Guide
Transcript of HALO Branded Solutions Online Store User Guide

2011
Updated
8/5/2011
HALO Branded Solutions Online Store User Guide

© 2011 HALO Branded Solutions Page 2
Table of Contents
Home Page 3
Setting up an Account 4
Storing Shipping Addresses 5
Searching for an Item 6
Item Page 7
Shopping Cart 8
Checkout 9

© 2011 HALO Branded Solutions Page 3
Home Page
Each web store has a unique website address. By entering this address in the address bar in your internet browser you
will be taken to the online web store.
Below is an example of how the store will appear. You can search by categories listed on the left side of the screen or
use the search field above the category list.
You can keep your billing and shipping information updated under My Account as well as viewing the status of your
orders. You can view your Shopping Cart to see the list of items that you have selected so far and view the running total.
This can also be viewed on the left of your screen under the categories once you have an item in your cart (example
below, see page 5 for reference).

© 2011 HALO Branded Solutions Page 4
Setting up an Account
You can browse the store before creating an account, but if you create one first, it will be much quicker to place your
order. Click the “My Account” button near the top right of the page. Click Create Account if this is your first time visiting
the site. If you have placed an order before you just need to enter your e‐mail and password to log in. You can click on
Forgot Password if you do not remember your password. You will need to enter your e‐mail address and then an e‐mail
will be sent to you with a new random password.
If you are a new user, once you click on Create Account, you will be taken to the screen below to fill out your
information. Your e‐mail address will be your log in and you will create a password which must be 8‐20 letters and/or
numbers. You can then click Continue.
© 2011 HALO Branded Solutions Page 5
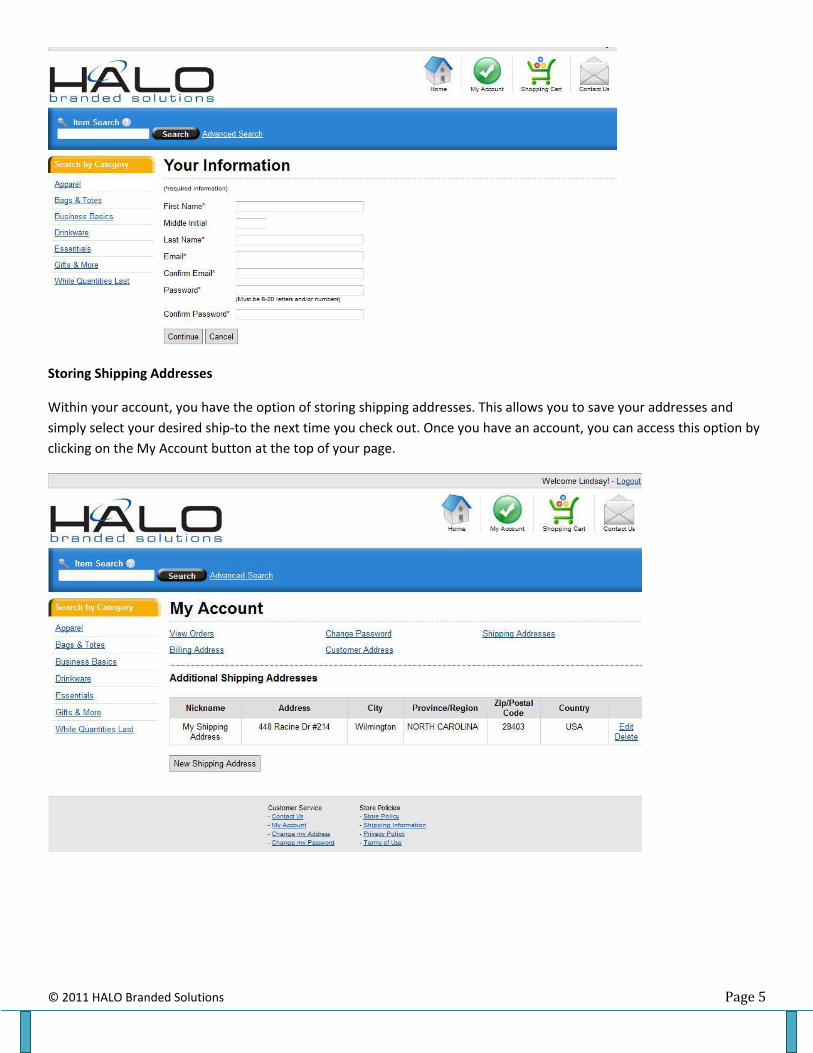
Storing Shipping Addresses
Within your account, you have the option of storing shipping addresses. This allows you to save your addresses and
simply select your desired ship‐to the next time you check out. Once you have an account, you can access this option by
clicking on the My Account button at the top of your page.
© 2011 HALO Branded Solutions Page 6
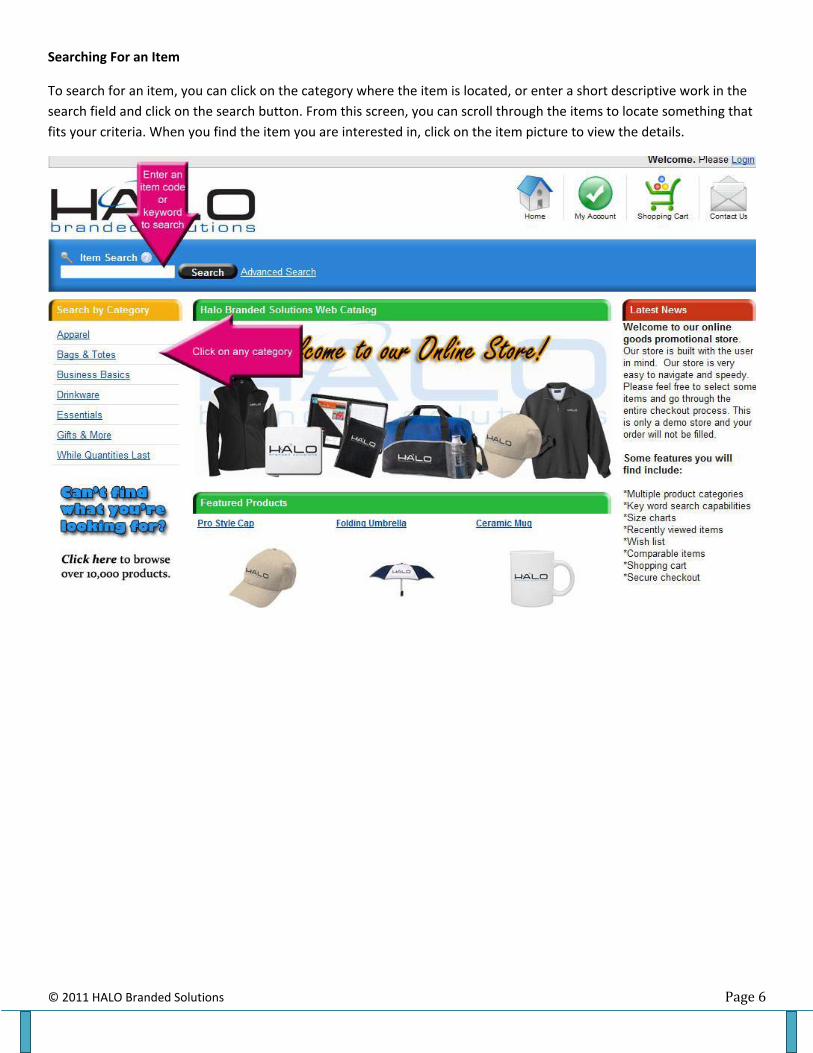
Searching For an Item
To search for an item, you can click on the category where the item is located, or enter a short descriptive work in the
search field and click on the search button. From this screen, you can scroll through the items to locate something that
fits your criteria. When you find the item you are interested in, click on the item picture to view the details.

© 2011 HALO Branded Solutions Page 7
Item Page
The item page lists all of the information on a particular item. To see a larger version of the image, just click on the
picture and a new window will open with a larger image. The item title, cost, product code, minimum quantity and
description are viewable on this page. You can view and print a printer friendly version of the item page by clicking on
the Printer Friendly link under the Add To Cart button.
If the item requires a minimum quantity, that number will be required to submit the order. This can be viewed in the
Quantity field. Click Add to Cart to purchase the item.

© 2011 HALO Branded Solutions Page 8
Shopping Cart
Once you click checkout, you will be taken to view your shopping cart. The item(s) listed can be updated or removed
here. You can see a subtotal of your order at this point. To proceed to checkout, click continue.

© 2011 HALO Branded Solutions Page 9
Checkout
If you are already logged in, you will proceed to the screen below, otherwise you will be prompted to login or create an
account. When you begin the checkout process, you must first enter your customer information (unless you are a
returning customer, and then it will be populated for you).
You can then choose your shipping option and click continue.

© 2011 HALO Branded Solutions Page 10
Next, you will provide your payment information and click continue.
Review your entire order to make sure everything is correct, and then you can click on Place Order.

© 2011 HALO Branded Solutions Page 11
Once an order is submitted, you will receive an e‐mail confirmation. To view your order, you can click on My Account
and then View Orders.

© 2011 HALO Branded Solutions Page 12
By clicking on the ID, you will see a detail of your order. This will not include shipping or sales tax. You will be invoiced
with the complete total after your order has shipped.