Getting The Most From Laser Material Processing€¦ · Getting The Most From Laser Material...
44
ULS 1 Getting The Most From Laser Material Processing David Stevens Senior Technology Specialist Universal Laser Systems Inc. The goal of this seminar is to provide the necessary knowledge and understanding of laser material processing on a variety of materials so that you can effectively achieve the same quality results for your business. Seminar Outline • When to use different optics with your lasers systems • Understanding Laser Processes • Understanding your Laser System • Choosing the correct materials • Creative ways to grow your business- No cost materials • Leathers • Stainless Steel • Woods • Acrylics • Fabrics • Creating fixtures/jigs with your laser
Transcript of Getting The Most From Laser Material Processing€¦ · Getting The Most From Laser Material...

ULS
1
Getting The Most FromLaser Material Processing
David StevensSenior Technology SpecialistUniversal Laser Systems Inc.
The goal of this seminar is to provide the necessary knowledge and understanding of
laser material processing on a variety of materials so that you can effectively
achieve the same quality results for your business.
Seminar Outline
• When to use different optics with your lasers systems
• Understanding Laser Processes
• Understanding your Laser System
• Choosing the correct materials
• Creative ways to grow your business- No cost materials
• Leathers
• Stainless Steel
• Woods
• Acrylics
• Fabrics
• Creating fixtures/jigs with your laser

ULS
2
Laser Optics (Lenses)
In general, all optics are the same; they are designed to bend light.
Using the correct laser optic will drastically improve output quality.
How Laser Optics Work
Light enters a lens and converges to a focal point. Upon crossing the focal point, the light diverges.
Lens type determines how light will react and the size
of the focal point.
Lens Options
ULS
3
Optics Example
Same image run with
same power settings
at same resolution on same laser system with 3 different lenses
Original Photo
Questions
• Laser Cutting
• Laser Engraving
• Laser Marking
• Laser Fusing
• Laser Imaging
Understanding Laser Processes
ULS
4
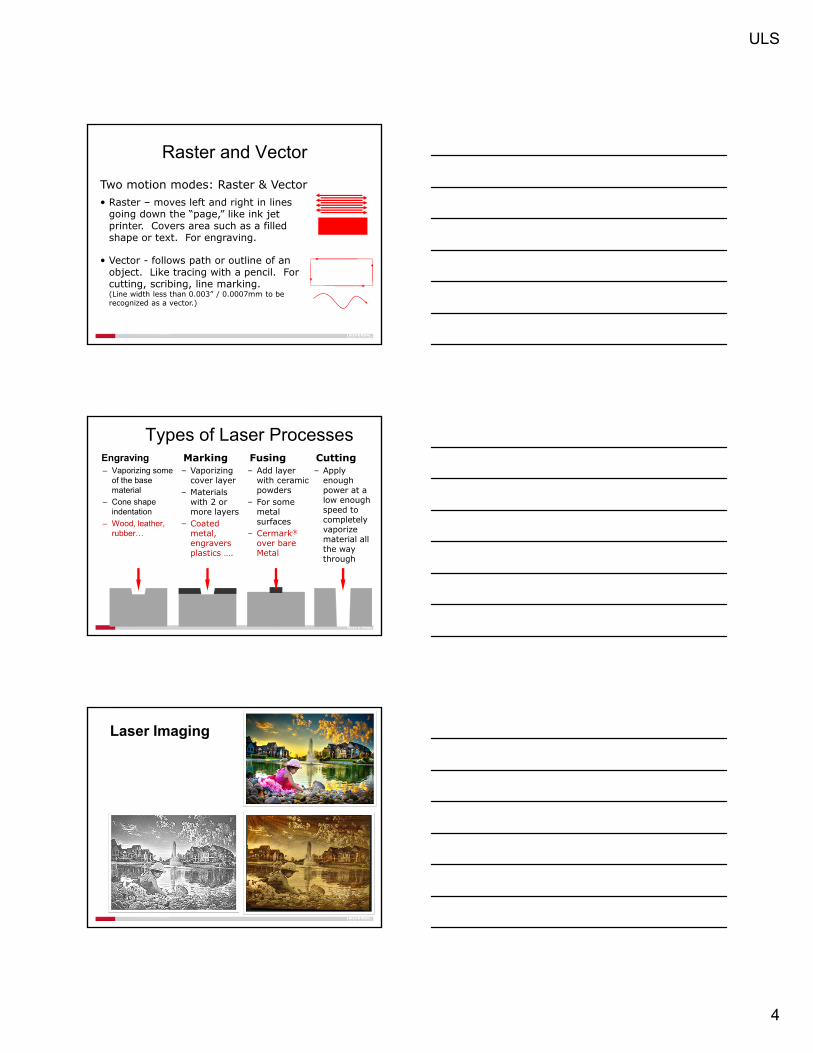
Raster and Vector
Two motion modes: Raster & Vector Raster – moves left and right in lines
going down the “page,” like ink jet printer. Covers area such as a filled shape or text. For engraving.
Vector - follows path or outline of an object. Like tracing with a pencil. For cutting, scribing, line marking. (Line width less than 0.003” / 0.0007mm to be recognized as a vector.)
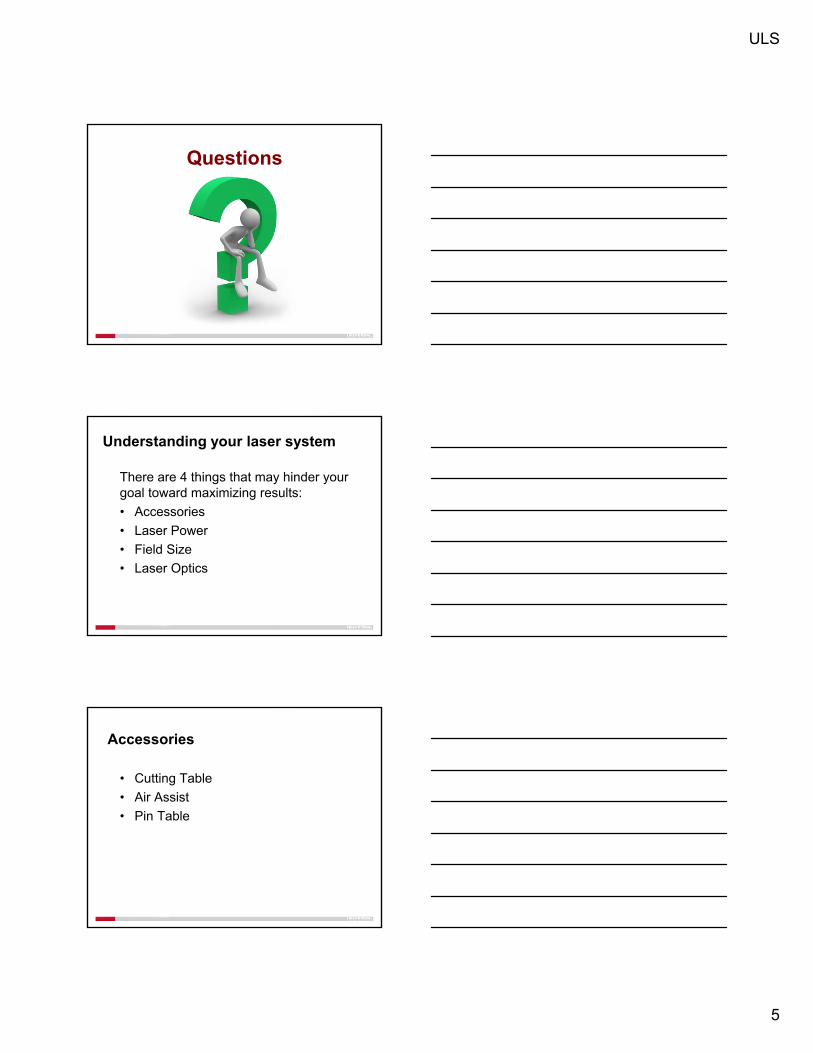
Types of Laser ProcessesEngraving– Vaporizing some
of the base material
– Cone shape indentation
– Wood, leather, rubber…
Marking– Vaporizing
cover layer– Materials
with 2 or more layers
– Coated metal, engravers plastics ….
Fusing– Add layer
with ceramic powders
– For some metal surfaces
– Cermark®
over bare Metal
Cutting– Apply
enough power at a low enough speed to completely vaporize material all the way through
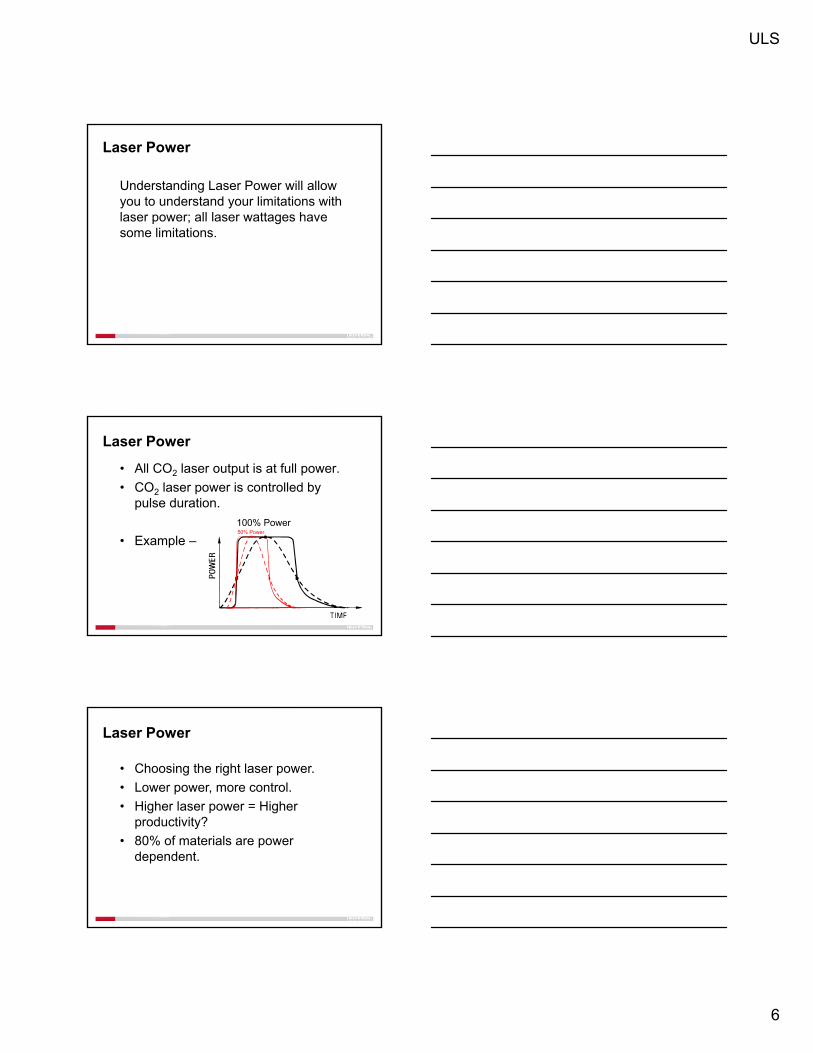
Laser Imaging
ULS
5
Questions
Understanding your laser system
There are 4 things that may hinder your goal toward maximizing results:
• Accessories
• Laser Power
• Field Size
• Laser Optics
Accessories
• Cutting Table
• Air Assist
• Pin Table
ULS
6
Laser Power
Understanding Laser Power will allow you to understand your limitations with laser power; all laser wattages have some limitations.
Laser Power
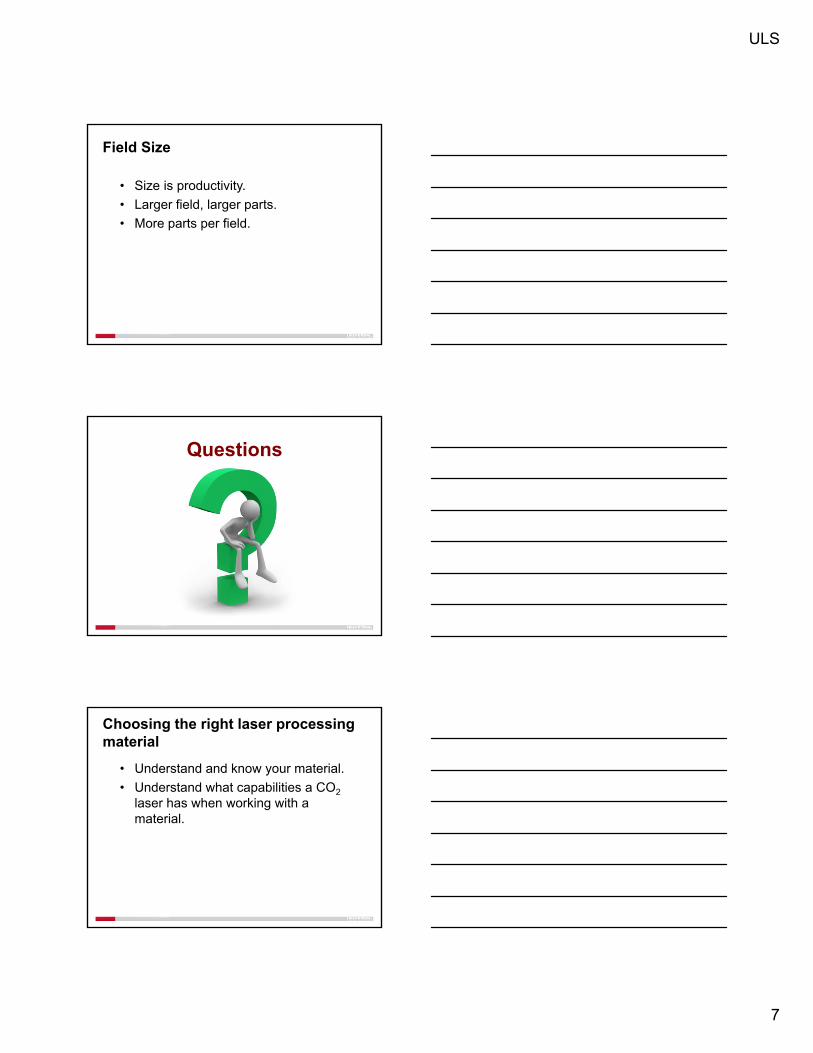
• All CO2 laser output is at full power.
• CO2 laser power is controlled by pulse duration.
• Example –
Laser Power
• Choosing the right laser power.
• Lower power, more control.
• Higher laser power = Higher productivity?
• 80% of materials are power dependent.
ULS
7
Field Size
• Size is productivity.
• Larger field, larger parts.
• More parts per field.
Questions
Choosing the right laser processing material
• Understand and know your material.
• Understand what capabilities a CO2
laser has when working with a material.
ULS
8
Material Types
• Organic• Material composed of remains of biological or botanical
origin, such as plants and animals.
• Inorganic• Material composed of substances of mineral origin such
as ceramics, metals, and synthetic plastics.
• Composites• Material made up of several parts or elements (organic or
inorganic).
Organic Material• Woods
• Leathers
• Papers
• Wools
• Cotton
Inorganic Material
• Plastics
• Metals
• Stone
ULS
9
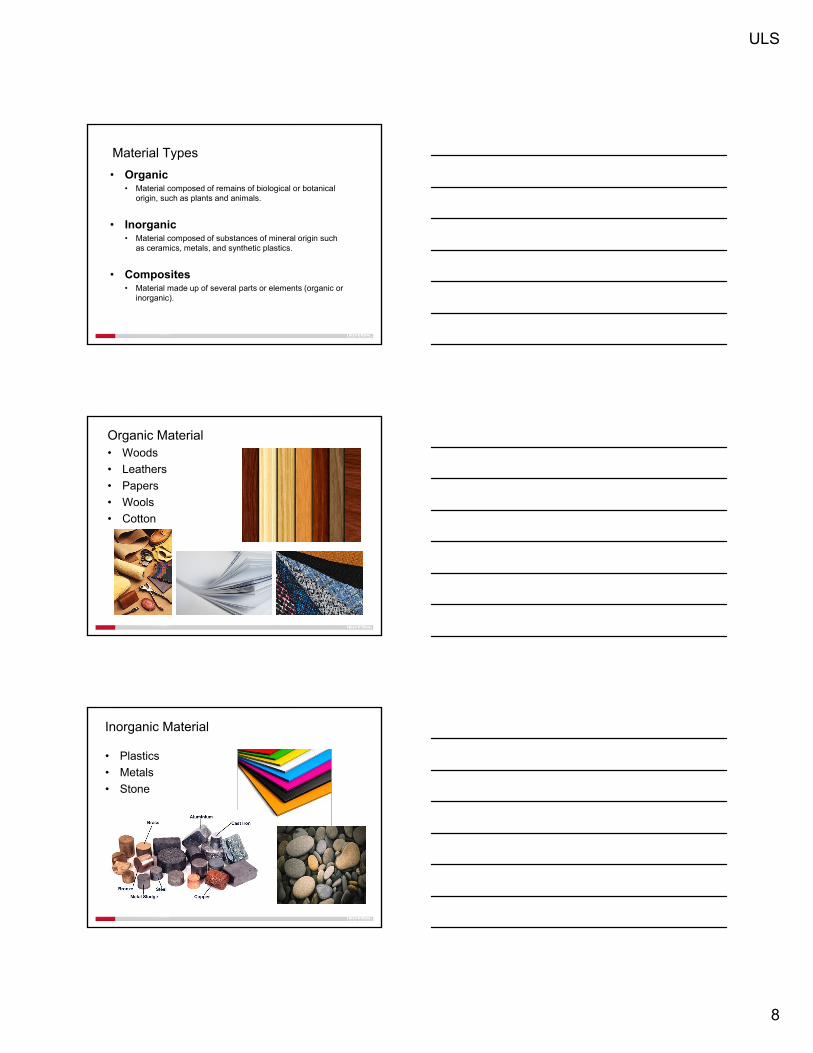
Composite Material• Concrete
• Fiberglass
• Plywood
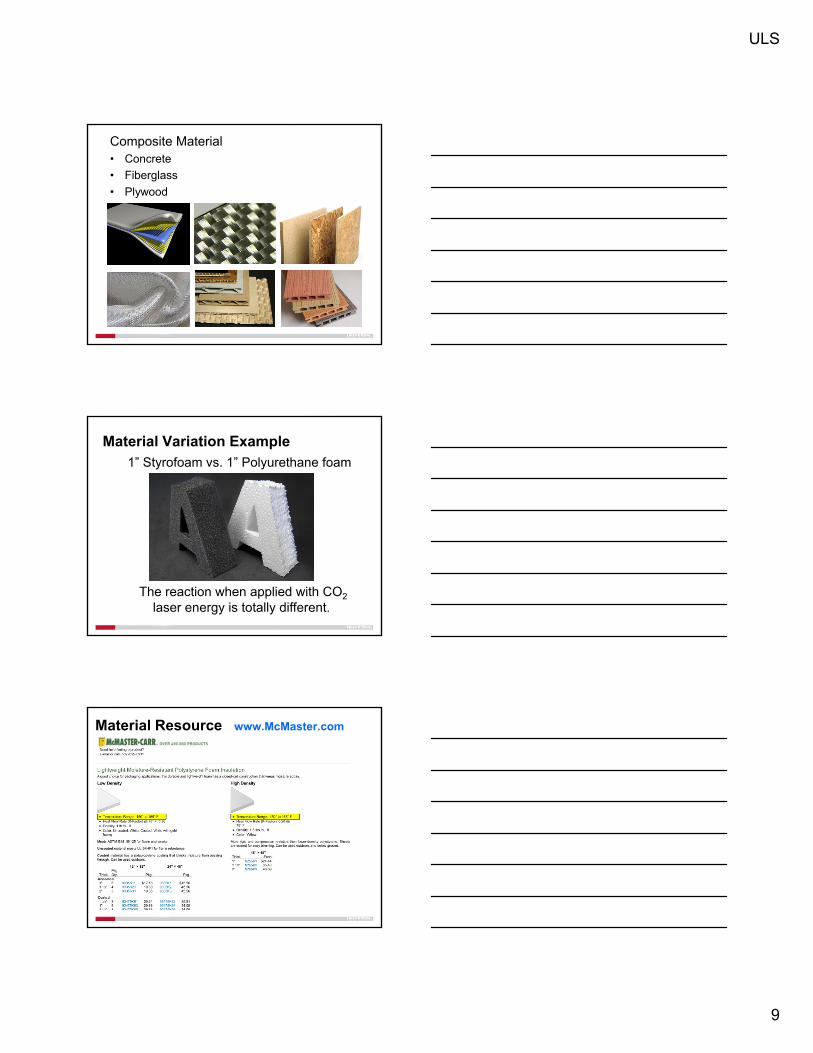
Material Variation Example1” Styrofoam vs. 1” Polyurethane foam
The reaction when applied with CO2
laser energy is totally different.
Material Resource www.McMaster.com
ULS
10
Questions
Creative ways to grow your business
Creative Ways to Grow your business
• Develop new laser applications that are attractive to your current customers
• Find new markets for the products and services that you already provide
• Create new value with novel laser processing ideas
• Diversify your business
ULS
11
Understand the Standard materials that can be processed
It is time to get you out of that “Box”
If you are not learning and improving then you are dying
Creative Ways to Grow your business
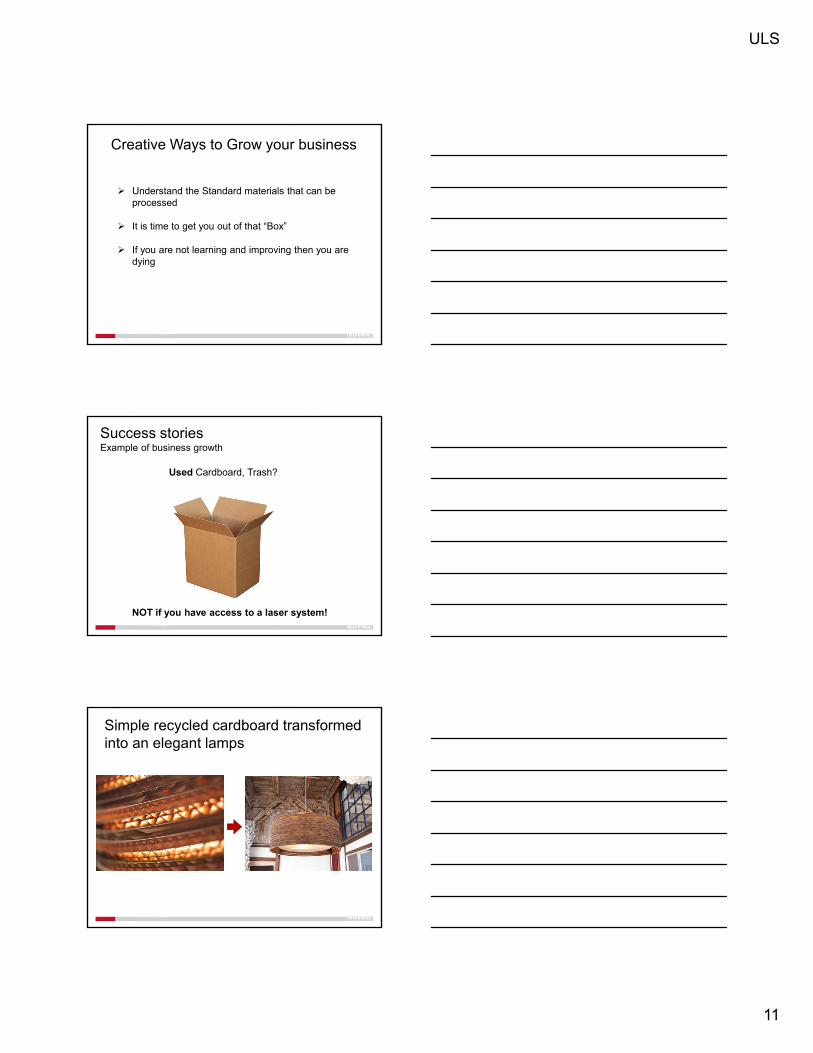
Success stories Example of business growth
Used Cardboard, Trash?
NOT if you have access to a laser system!
Simple recycled cardboard transformed into an elegant lamps

ULS
12
Customer: www.greypants.com
ExamplesExample of business growth
River Stones (Low to Zero cost to get)Easy to engrave
ULS
13
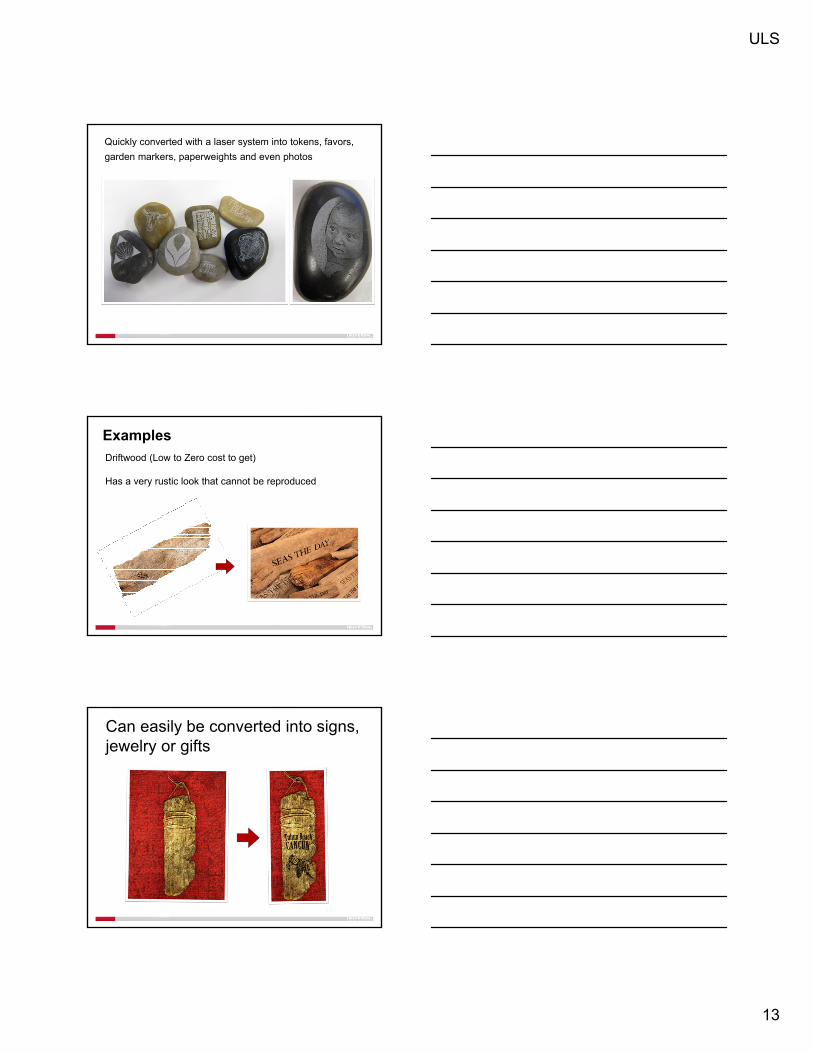
Quickly converted with a laser system into tokens, favors,
garden markers, paperweights and even photos
Examples
Driftwood (Low to Zero cost to get)
Has a very rustic look that cannot be reproduced
Can easily be converted into signs, jewelry or gifts
ULS
14
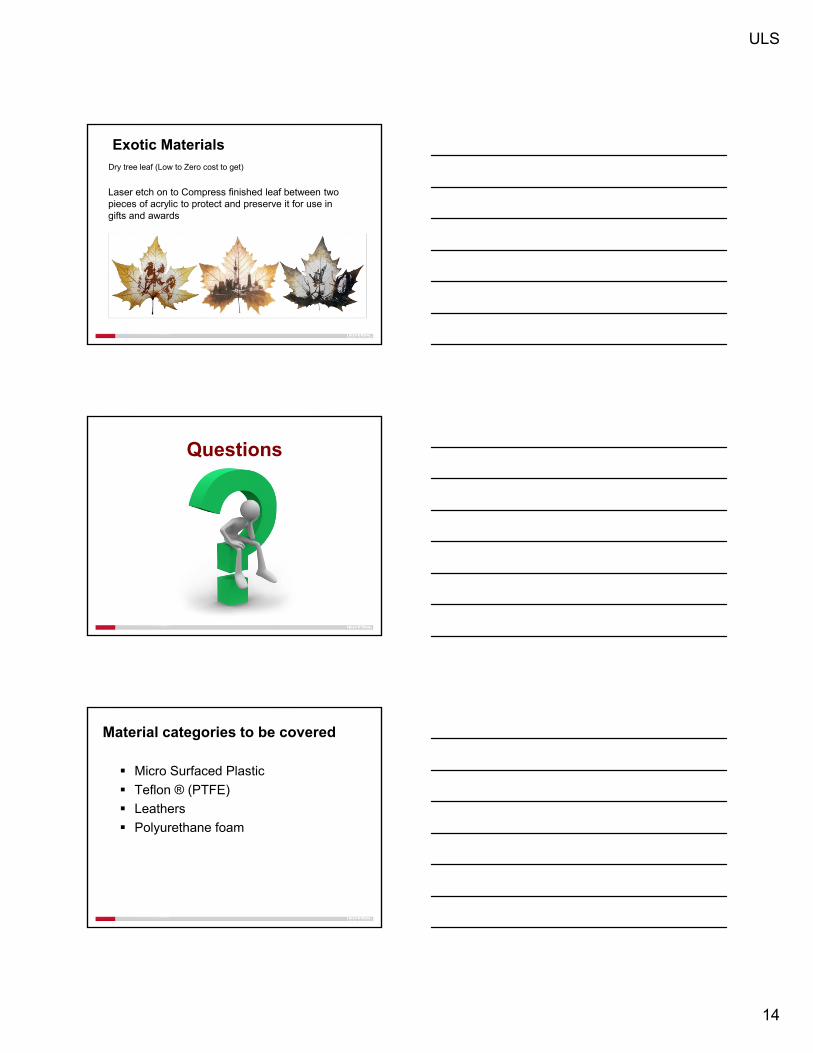
Exotic Materials
Laser etch on to Compress finished leaf between two pieces of acrylic to protect and preserve it for use in gifts and awards
Dry tree leaf (Low to Zero cost to get)
Questions
Material categories to be covered
Micro Surfaced Plastic
Teflon ® (PTFE)
Leathers
Polyurethane foam
ULS
15
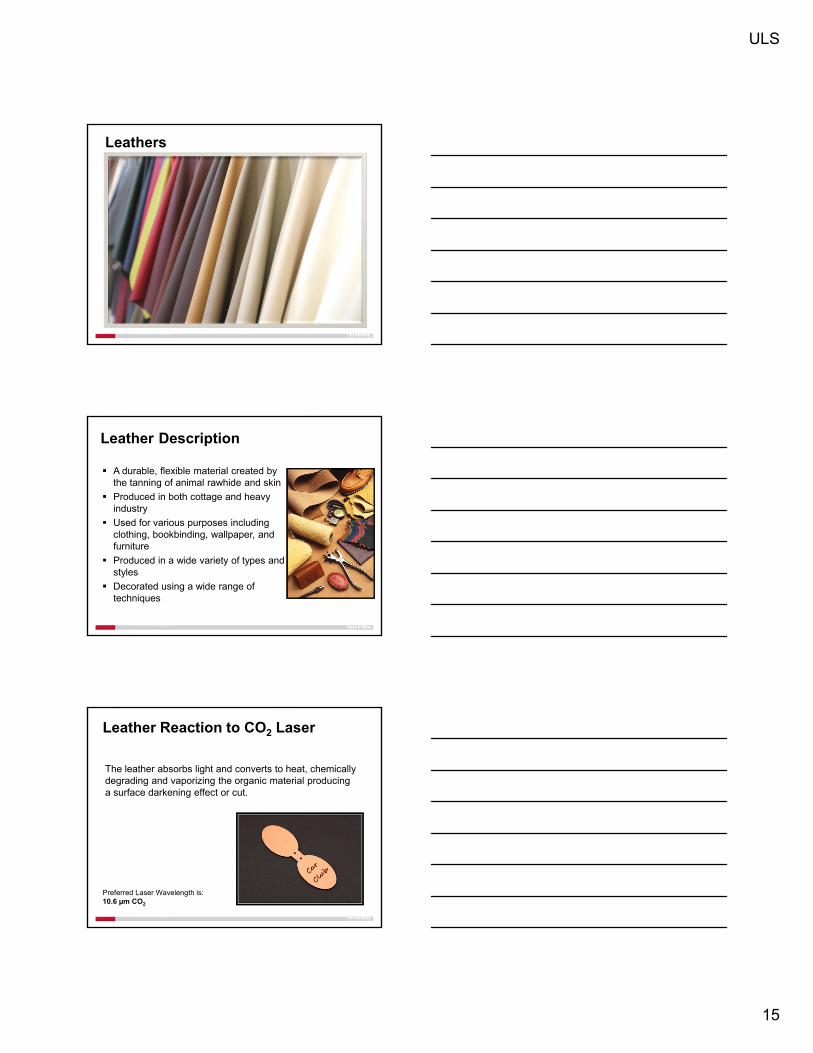
Leathers
A durable, flexible material created by the tanning of animal rawhide and skin
Produced in both cottage and heavy industry
Used for various purposes including clothing, bookbinding, wallpaper, and furniture
Produced in a wide variety of types and styles
Decorated using a wide range of techniques
Leather Description
The leather absorbs light and converts to heat, chemically degrading and vaporizing the organic material producing a surface darkening effect or cut.
Leather Reaction to CO2 Laser
Preferred Laser Wavelength is:10.6 µm CO2

ULS
16
Leather Types
Animals
Tanning types
Thicknesses
Subdivisions
Leather Types
Bovine
Snakes
Deer/Elk
Stingray
Alligator
Ostrich
Many more
Thicknesses
Thickness or Weight - Leather is measured in terms of ounces. One ounce equals 1/64th inch thickness.

ULS
17
Leather Terms & Subdivisions
Grain. Full Grain Split Suede Split
Back Belly Kip
Common Applications
Leather is commonly used for shoes, clothing trim, personal accessories, and upholstery.
Leather Limitations
Must masked before cutting
Grain issues
Focus issues
Difficult to keep flat
High contrast (on most leathers)
Unique
High engraving details
High perceived value
Leather Advantages
ULS
18
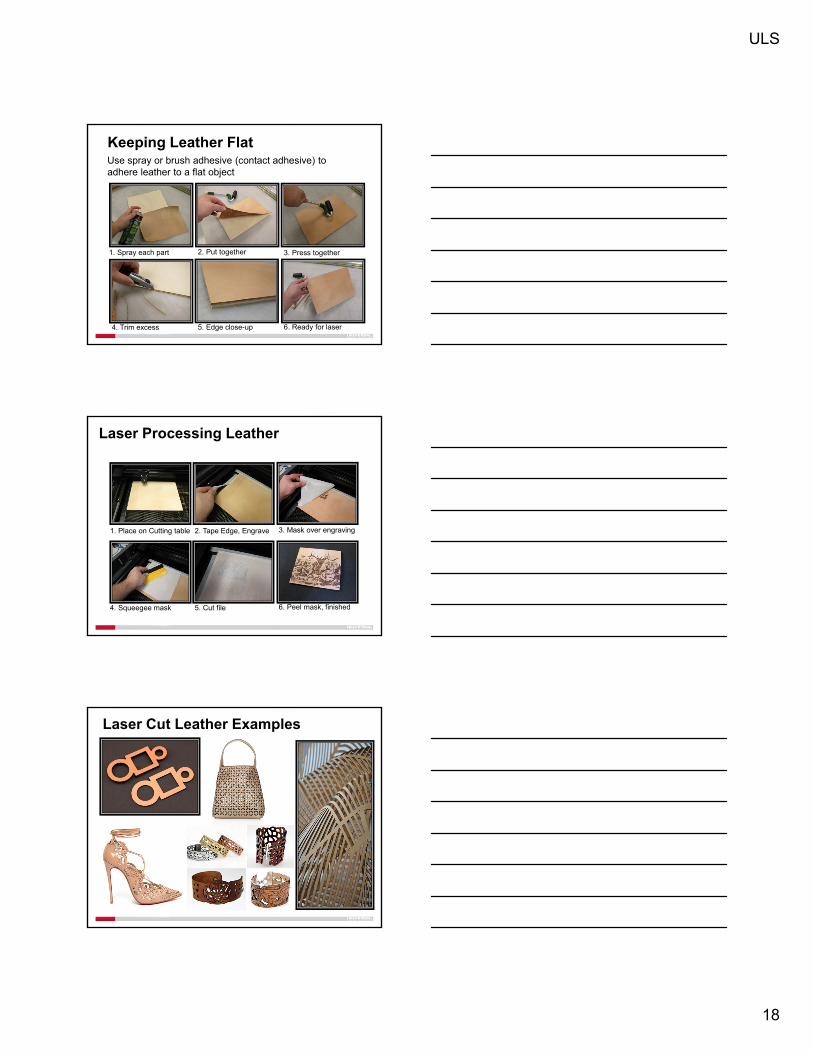
Keeping Leather FlatUse spray or brush adhesive (contact adhesive) to adhere leather to a flat object
1. Spray each part 2. Put together 3. Press together
4. Trim excess 5. Edge close-up 6. Ready for laser
Laser Processing Leather
1. Place on Cutting table 3. Mask over engraving2. Tape Edge, Engrave
4. Squeegee mask 6. Peel mask, finished5. Cut file
Laser Cut Leather Examples

ULS
19
Laser Marked Leather Examples
Laser Imaged Leather Examples
Large Laser Photo Imaged Leather (24”x36”)

ULS
20
Laser Marking and Cutting Leather
Marking design and cutting for stunning new looks
Deep Engraving
Mask the leather
Place into laser on cutting table
Engrave through the mask
Remove and peel mask
Clean out the engraving
Cleaning Leather
When cutting thick leather or deep engraving you may need to clean the charred or sooty residue from the leather.
Scrub it gently with Fast Orange or a similar non-abrasive hand cleaner. Apply the hand cleaner liberally to a small area of the leather and then scrub in small circles with a toothbrush. Wipe the excess off with a paper towel and then repeat the process on the next area. Avoid letting the leather soak up water.
ULS
21
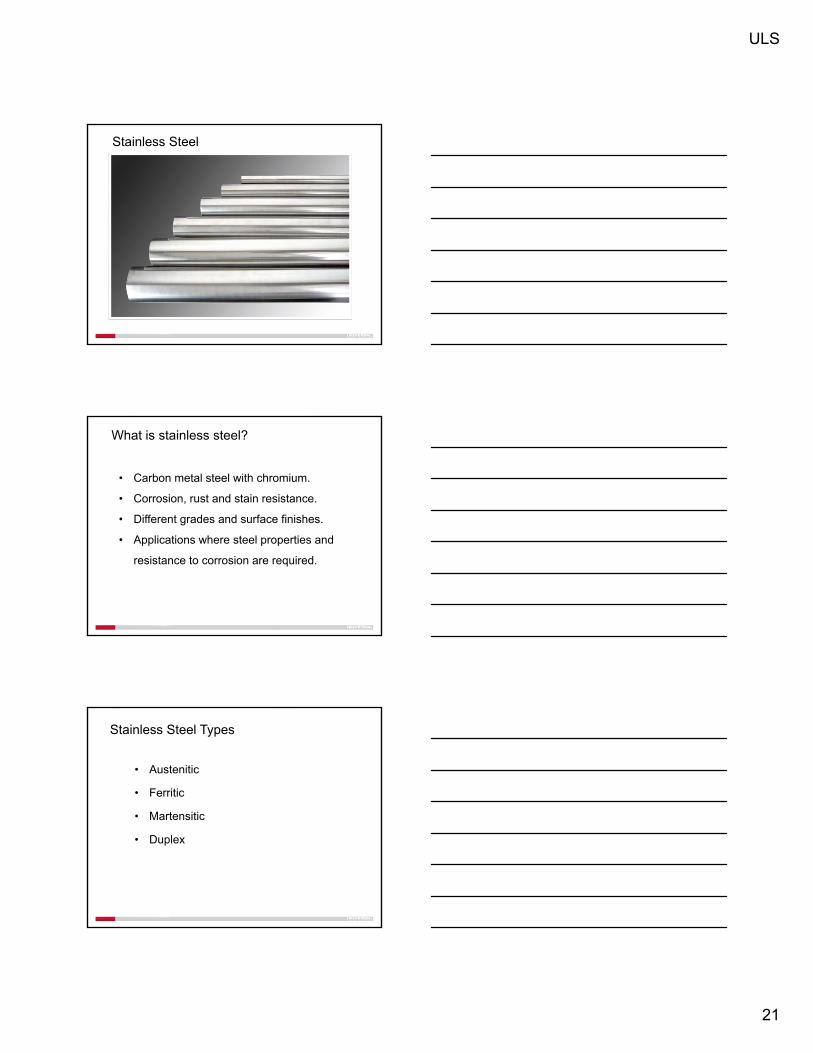
Stainless Steel
What is stainless steel?
• Carbon metal steel with chromium.
• Corrosion, rust and stain resistance.
• Different grades and surface finishes.
• Applications where steel properties and
resistance to corrosion are required.
Stainless Steel Types
• Austenitic
• Ferritic
• Martensitic
• Duplex
ULS
22
• Laser Material Interaction
• 10.6 micron – CO2
• 1.06 micron (Fiber Laser)
Working with a CO2 Laser
Limitations• Difficult to cut
• Heavy
• Time consuming to mark or cut
• Durable
• High perceived value
• Long lasting
• UV Stable material
Advantages
• Metal Marking Compound
• High Power Density Optics
• Fiber Laser
Laser Processing

ULS
23
• Metal must be uncoated
• Marking compound needs to be consistent
Using Metal Marking Compound
• Low cost
• Extra cost per part
• Not UV stable
• Surface marking
Using Metal Marking Compound
• High density optics
• Requires 50+ watts
• UV stable
• Sub surface Mark
Direct marking with 10.6 micron – CO2
ULS
24
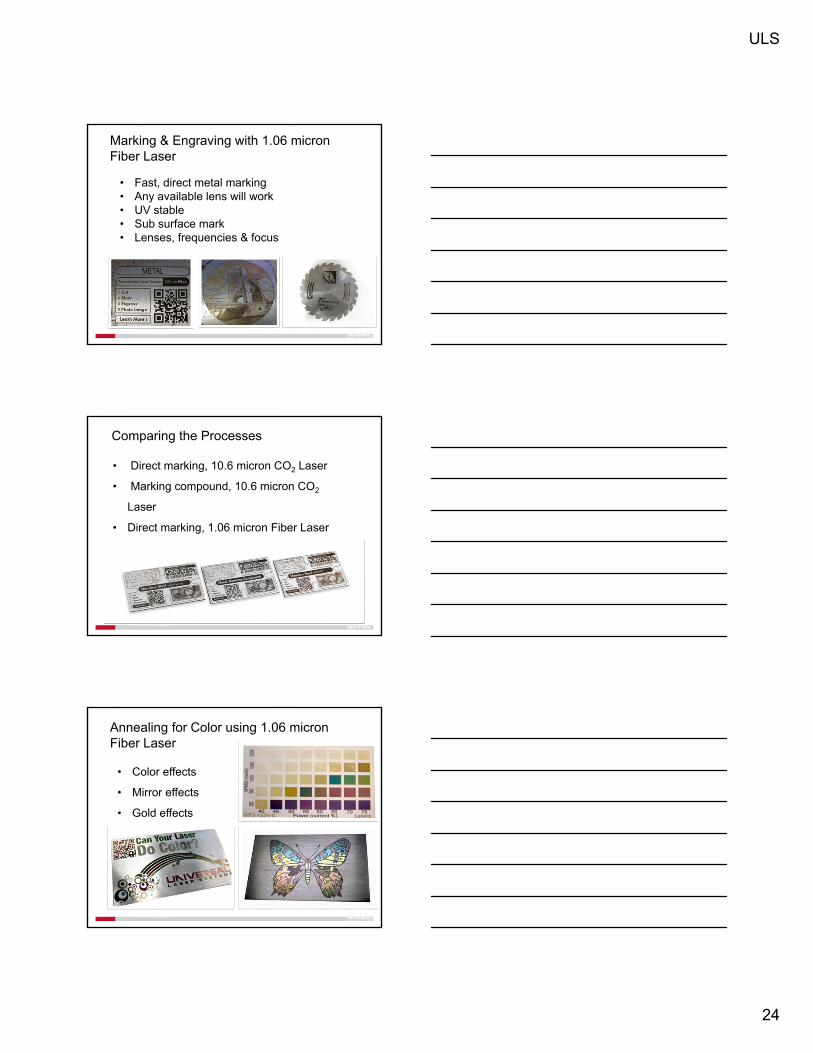
Marking & Engraving with 1.06 micron Fiber Laser
• Fast, direct metal marking• Any available lens will work• UV stable• Sub surface mark• Lenses, frequencies & focus
Comparing the Processes
• Direct marking, 10.6 micron CO2 Laser
• Marking compound, 10.6 micron CO2
Laser
• Direct marking, 1.06 micron Fiber Laser
Annealing for Color using 1.06 micron Fiber Laser
• Color effects
• Mirror effects
• Gold effects

ULS
25
Annealing for Color using 1.06 micron Fiber Laser
• Jewelry• Knife Blades• Decor
Cutting with a Fiber Laser
• Thin shim stock• Rough edge• Distortion
Questions
ULS
26
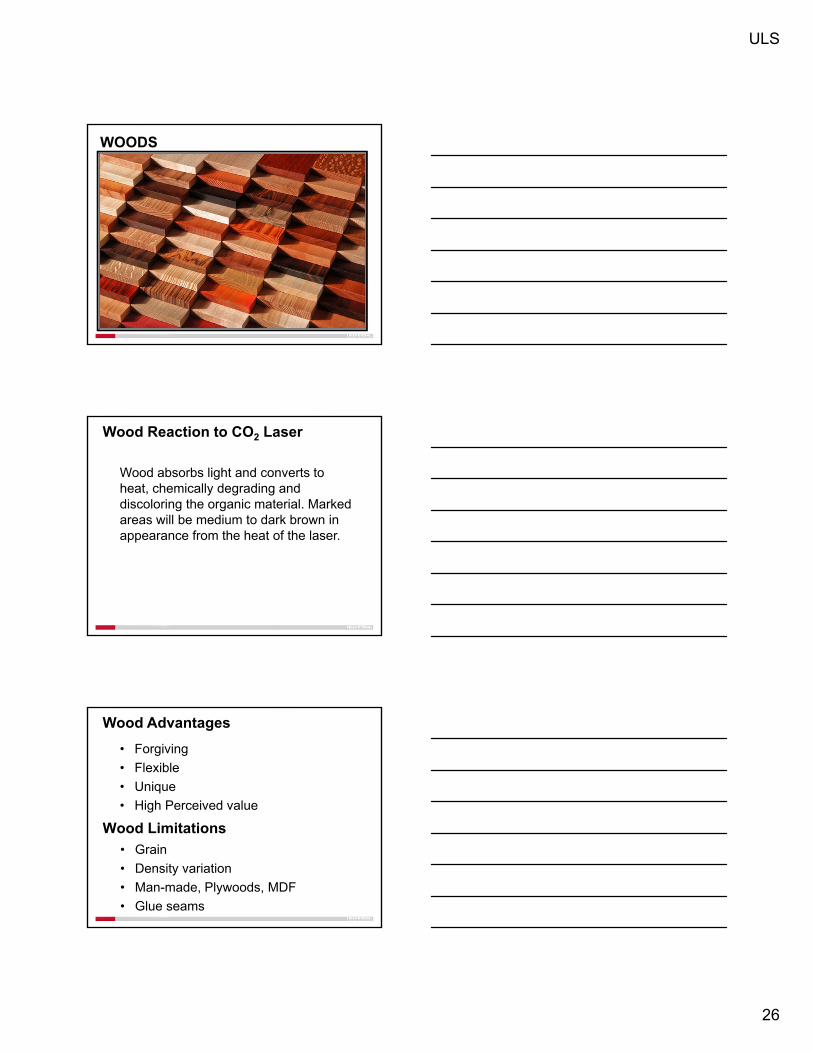
WOODS
Wood absorbs light and converts to heat, chemically degrading and discoloring the organic material. Marked areas will be medium to dark brown in appearance from the heat of the laser.
Wood Reaction to CO2 Laser
Wood Limitations
• Grain
• Density variation
• Man-made, Plywoods, MDF
• Glue seams
• Forgiving
• Flexible
• Unique
• High Perceived value
Wood Advantages

ULS
27
• Use cutting table.
• Use Air Assist.
• Use 50 Watts or more.
Wood Laser Processing- recommendations
• Does not require a special lens.
• Fairly easy to process.
Laser Engraving and Cuttingwith Wood
Wood Grains
More Grain:
Spruce, Oak, Pine
Less Grain:
Cherry, Maple, Birch
ULS
28
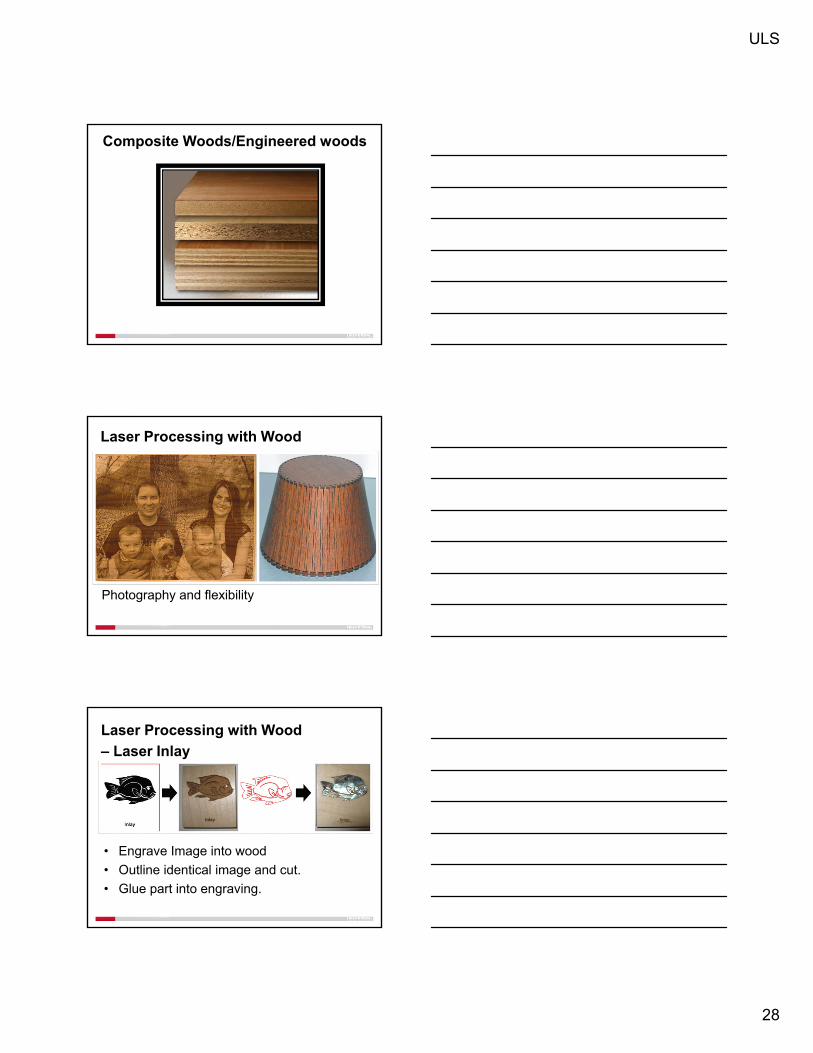
Composite Woods/Engineered woods
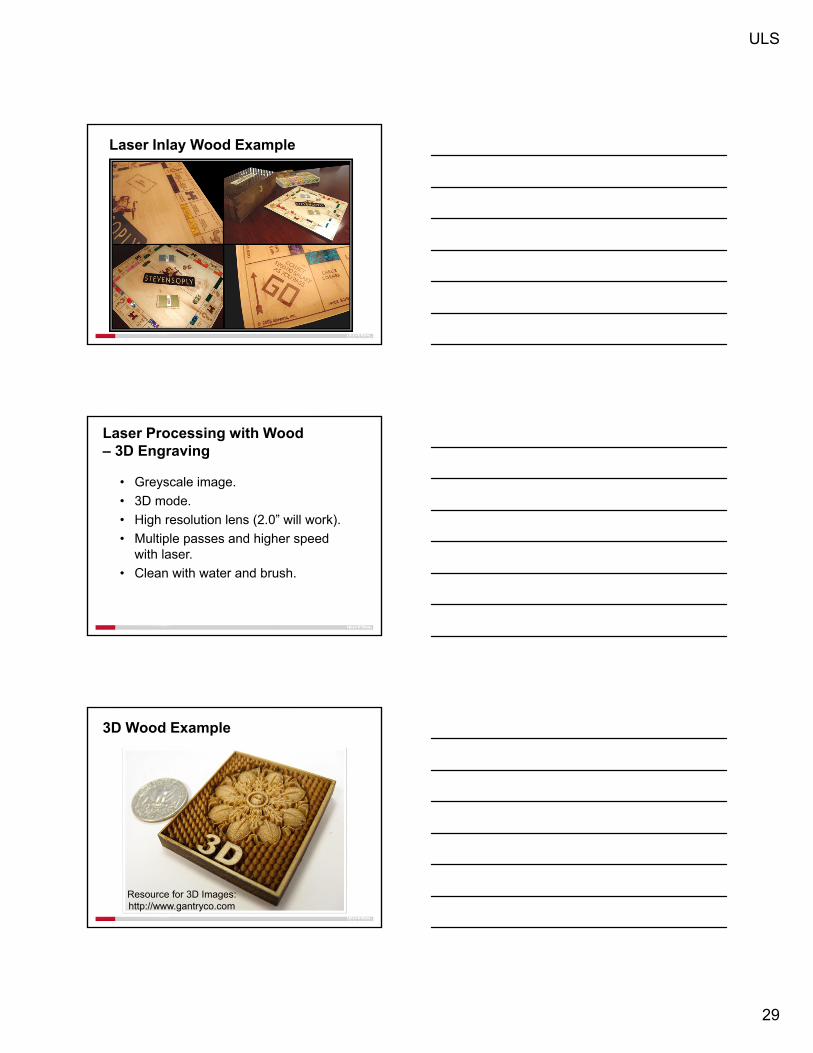
Photography and flexibility
Laser Processing with Wood
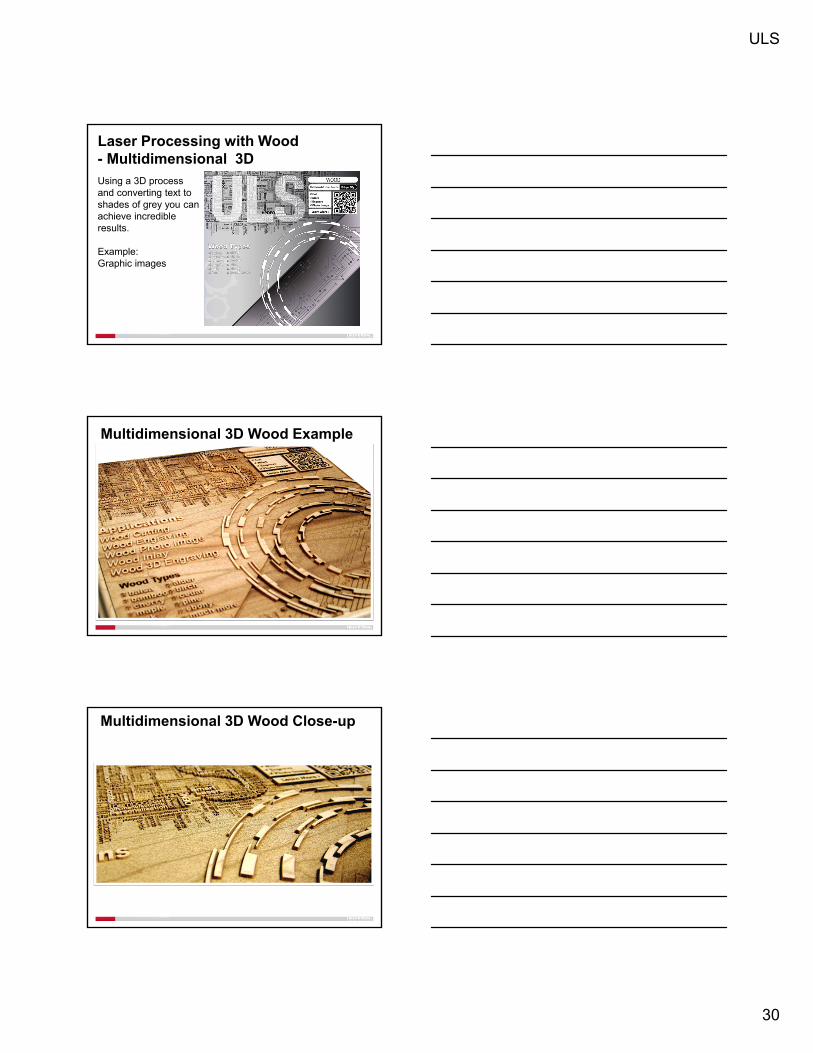
Laser Processing with Wood
– Laser Inlay
• Engrave Image into wood
• Outline identical image and cut.
• Glue part into engraving.
ULS
29
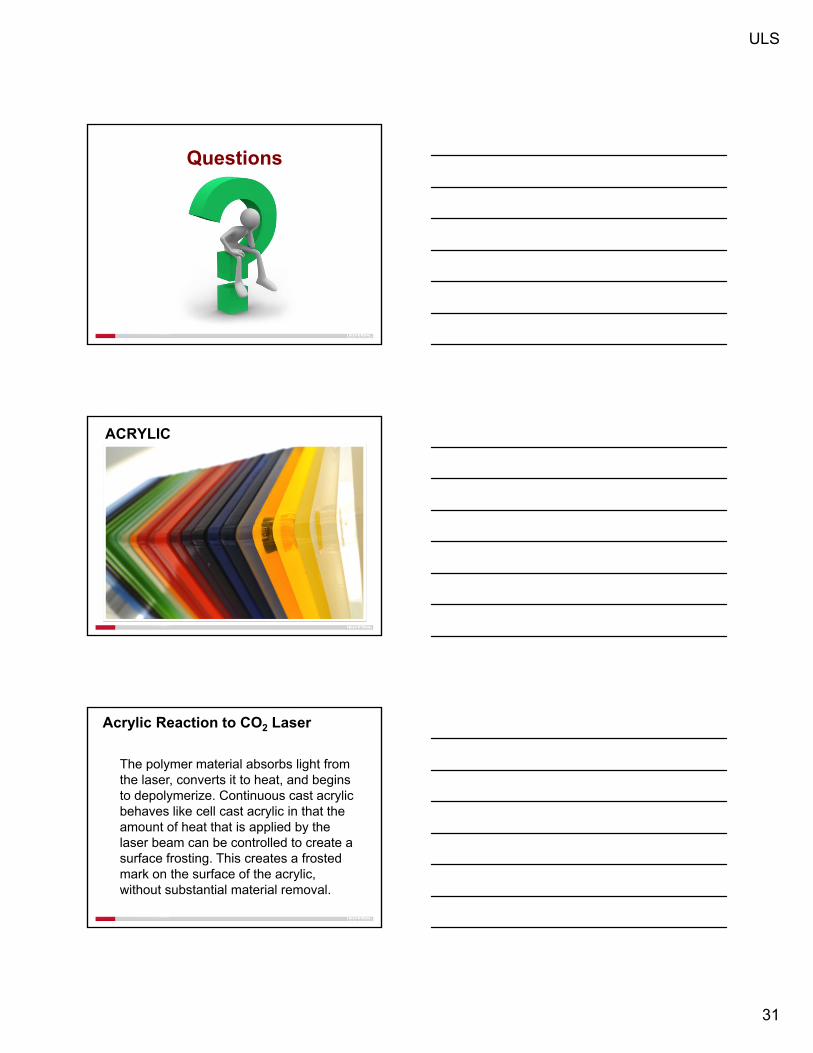
Laser Inlay Wood Example
Laser Processing with Wood– 3D Engraving
• Greyscale image.
• 3D mode.
• High resolution lens (2.0” will work).
• Multiple passes and higher speed with laser.
• Clean with water and brush.
3D Wood Example
Resource for 3D Images: http://www.gantryco.com
ULS
30
Laser Processing with Wood- Multidimensional 3DUsing a 3D process and converting text to shades of grey you can achieve incredible results.
Example:Graphic images
Multidimensional 3D Wood Example
Multidimensional 3D Wood Close-up
ULS
31
Questions
ACRYLIC
The polymer material absorbs light from the laser, converts it to heat, and begins to depolymerize. Continuous cast acrylic behaves like cell cast acrylic in that the amount of heat that is applied by the laser beam can be controlled to create a surface frosting. This creates a frosted mark on the surface of the acrylic, without substantial material removal.
Acrylic Reaction to CO2 Laser
ULS
32
Acrylic Types
• Cell Cast• Laser engraving appears frosted.
• Laser cutting easy.
• Continuous Cast• Laser engraving appears frosted.
• Laser cutting easy.
• Extruded• Laser engraving appears clear.
• Laser cutting produces oily residue.
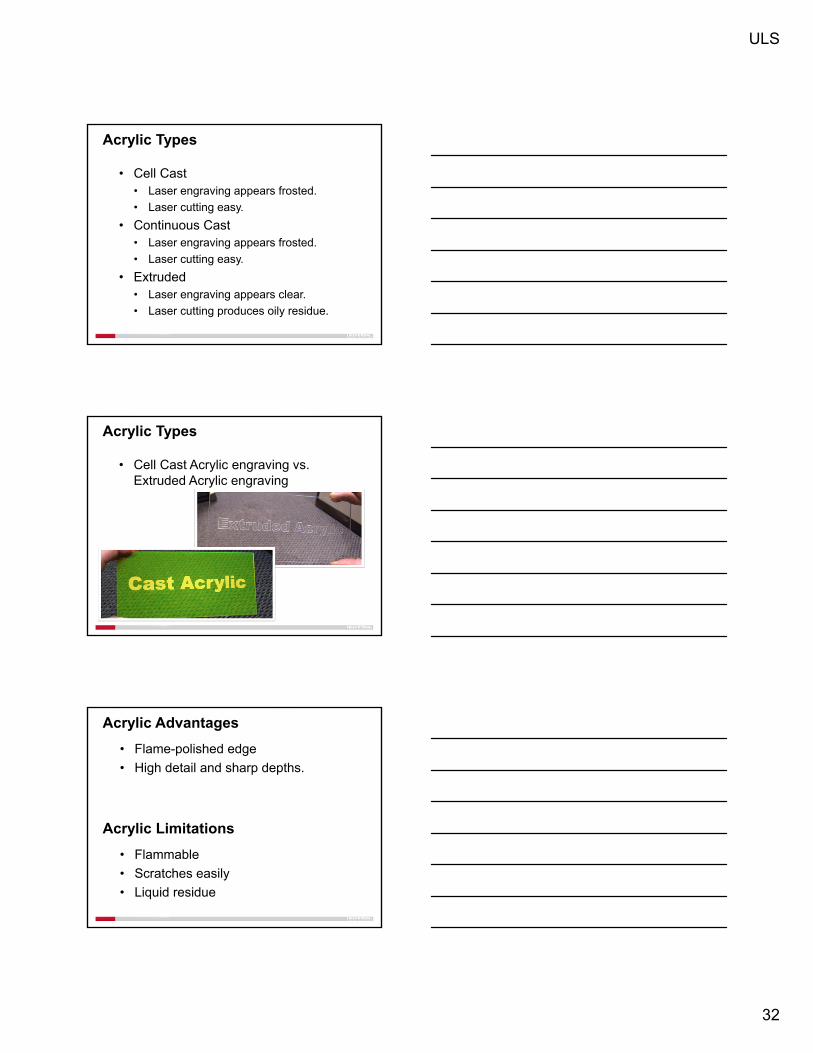
Acrylic Types
• Cell Cast Acrylic engraving vs. Extruded Acrylic engraving
Acrylic Limitations
• Flammable
• Scratches easily
• Liquid residue
• Flame-polished edge
• High detail and sharp depths.
Acrylic Advantages
ULS
33
• Use a Cutting Table or Pin Table.
• Use Air Assist.
• Use 50 Watts or more.
Laser Processing with Acrylic- recommendations
• Does not require a special lens.
• Fairly easy to process.
Laser Engraving and Cuttingwith Acrylic
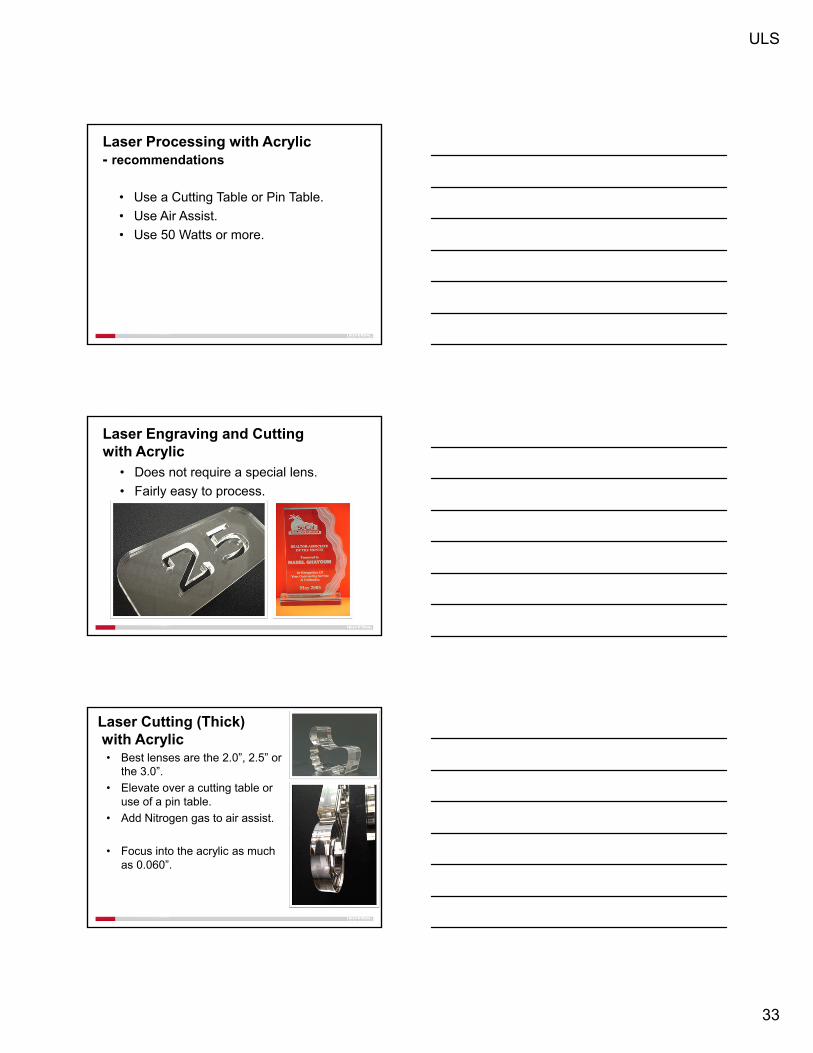
• Best lenses are the 2.0”, 2.5” or the 3.0”.
• Elevate over a cutting table or use of a pin table.
• Add Nitrogen gas to air assist.
• Focus into the acrylic as much as 0.060”.
Laser Cutting (Thick)with Acrylic
ULS
34
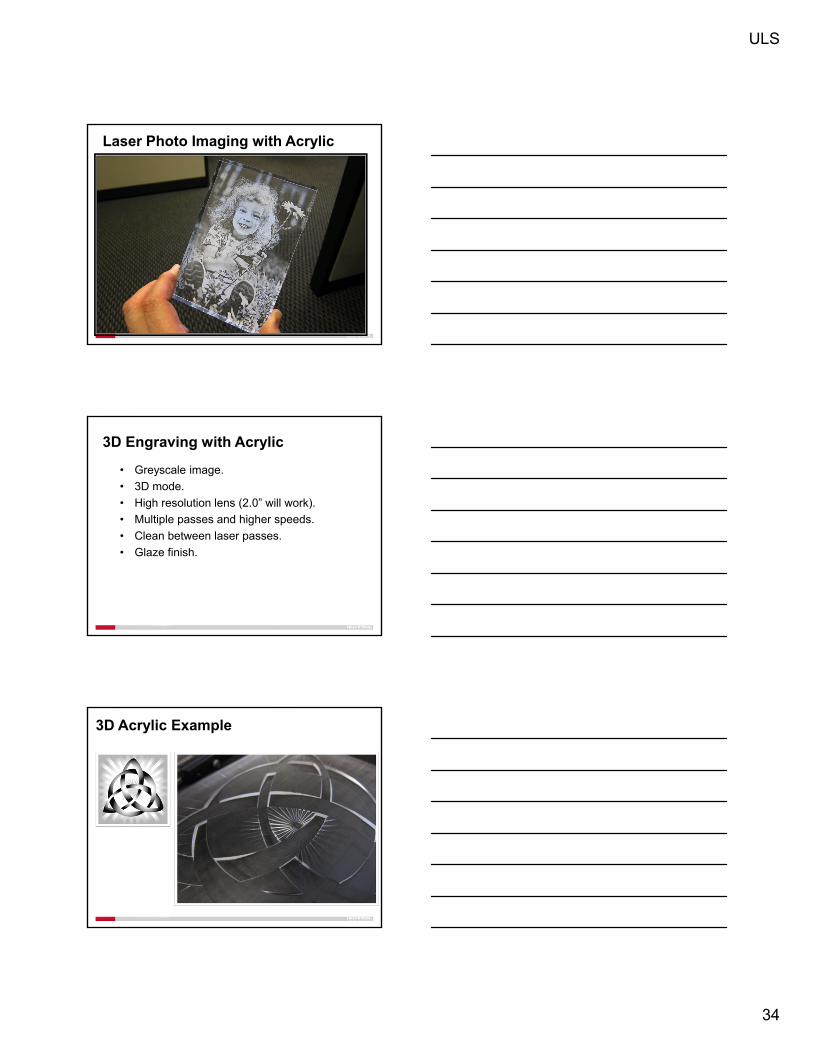
Laser Photo Imaging with Acrylic
3D Engraving with Acrylic
• Greyscale image.
• 3D mode.
• High resolution lens (2.0” will work).
• Multiple passes and higher speeds.
• Clean between laser passes.
• Glaze finish.
3D Acrylic Example
ULS
35
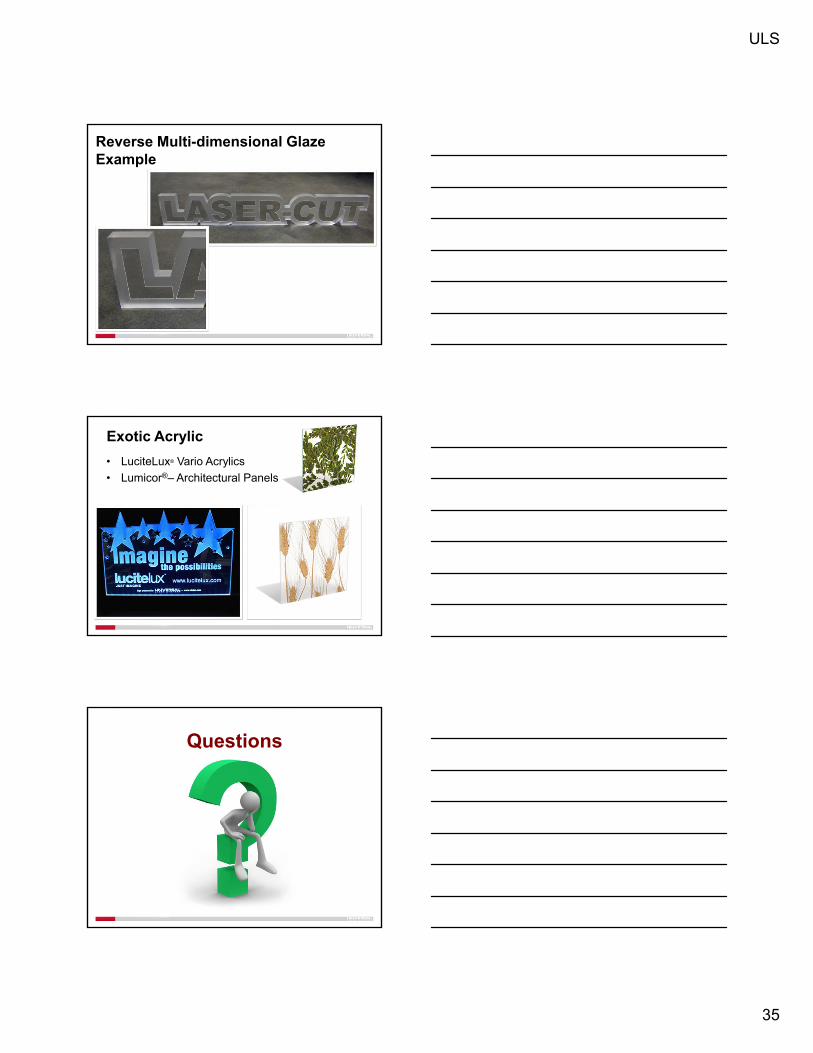
Reverse Multi-dimensional Glaze Example
• LuciteLux® Vario Acrylics
• Lumicor®– Architectural Panels
Exotic Acrylic
Questions
ULS
36
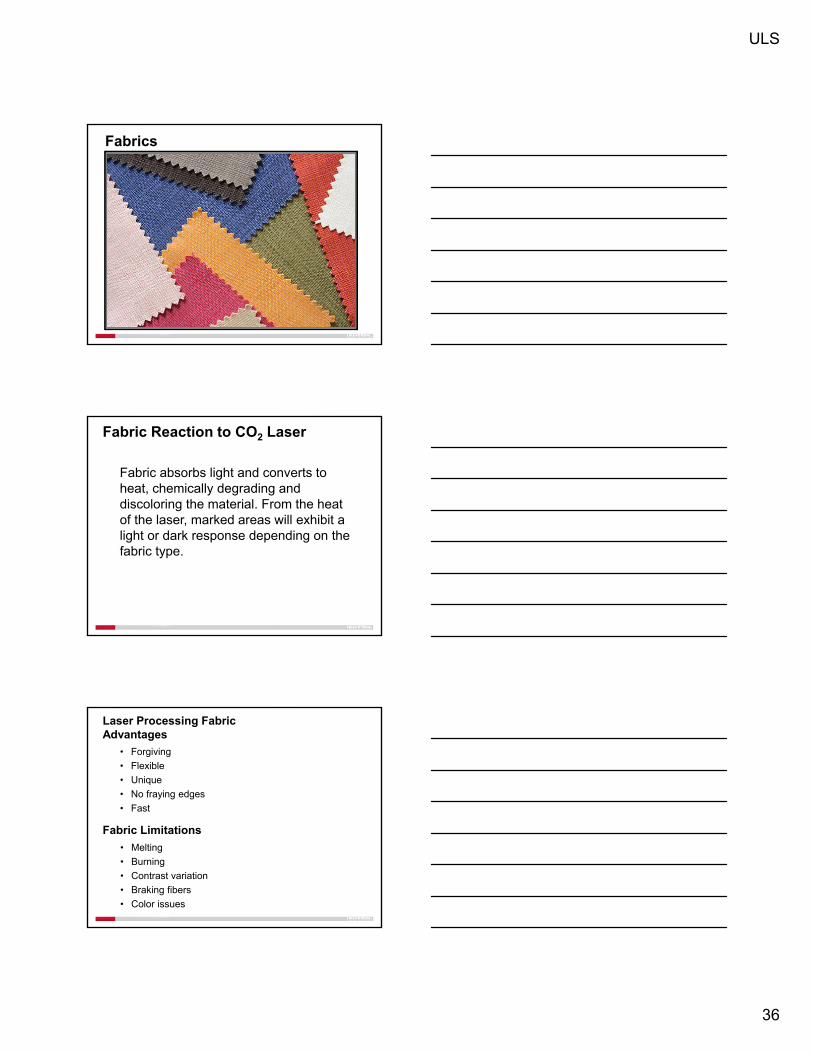
Fabrics
Fabric absorbs light and converts to heat, chemically degrading and discoloring the material. From the heat of the laser, marked areas will exhibit a light or dark response depending on the fabric type.
Fabric Reaction to CO2 Laser
Fabric Limitations
• Melting
• Burning
• Contrast variation
• Braking fibers
• Color issues
• Forgiving
• Flexible
• Unique
• No fraying edges
• Fast
Laser Processing Fabric Advantages

ULS
37
• Use cutting table
• Large field
• Use 25 Watts or more
Fabric Laser Processing- Recommendations
• Cotton
• Fleece
• Suede
• Rayon
• Chenille
• Satin
• Flannel
• Silk
• Polyester/Twill
• Wool
• Nylon
• Felt
• Many more
Fabric types (most common)
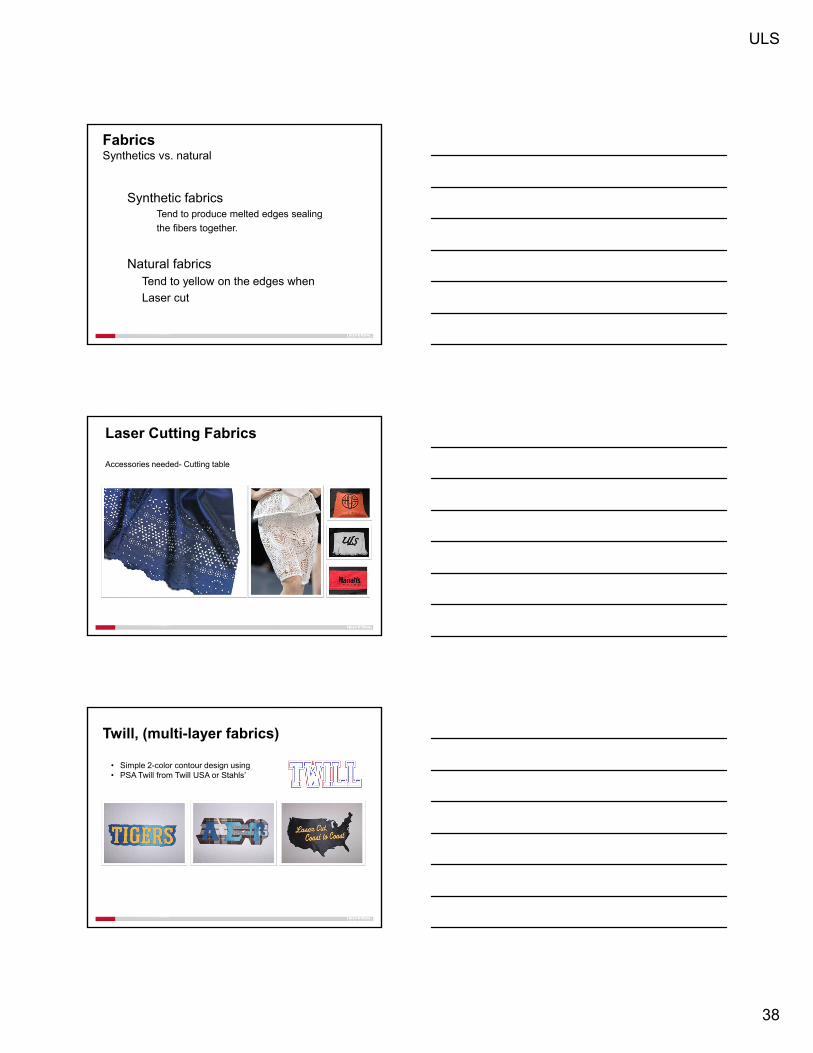
• Synthetic fabrics, such as Nylon and Polyester, are produced entirely from chemicals. Natural fabrics, such as Cotton, Silk, and Wool are made of fibers from plants and animals.
Synthetics vs. Natural
ULS
38
Synthetic fabricsTend to produce melted edges sealing
the fibers together.
Natural fabricsTend to yellow on the edges when
Laser cut
Fabrics Synthetics vs. natural
Laser Cutting Fabrics
Accessories needed- Cutting table
Twill, (multi-layer fabrics)
• Simple 2-color contour design using• PSA Twill from Twill USA or Stahls’
ULS
39
Twill, (multi-layer fabrics)
• Heat pressed and or stitched onto finished garment
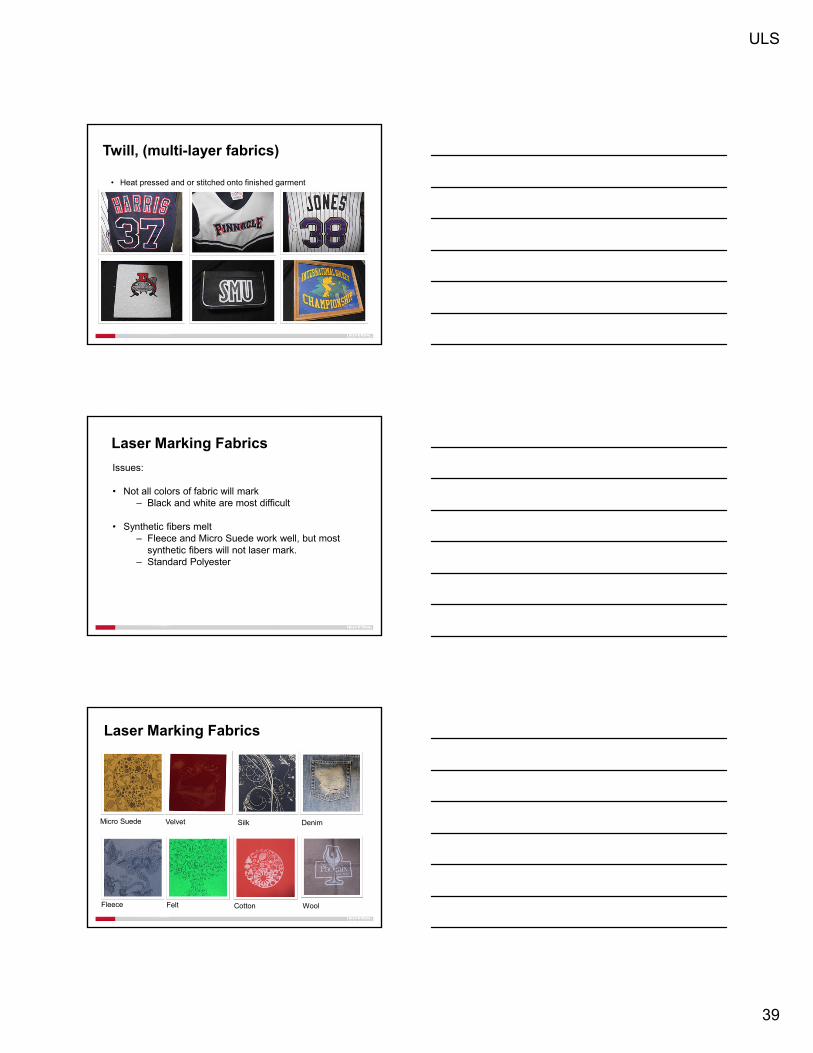
Laser Marking Fabrics
Issues:
• Not all colors of fabric will mark – Black and white are most difficult
• Synthetic fibers melt – Fleece and Micro Suede work well, but most
synthetic fibers will not laser mark.– Standard Polyester
Laser Marking Fabrics
Micro Suede Velvet Silk Denim
Fleece Felt Cotton Wool

ULS
40
Laser Marking Fabrics
Laser marking fabric technique:Natural fibers like Wool, Silk and Cotton
• Wet down fabric before laser processing, this will allow the laser to “bleach” the color out of the fabric without damaging the fibers.
• Use just enough laser power to lightly mark the fabric, when fabric driescontrast will develop.
Fabrics – Multi Material Design
Sample Backing: Photo Engraved Acrylic
Runner: Photo Engraved Micro-Suede adhered to Acrylic
Clothing: engraved and heat-pressed Flock
Number: Two-layer heat-pressed Twill
Total Size: 24” X 36”
Efficiency Fixtures and JIGS

ULS
41
Simple process for uneven partsLow volume
Modeling Clay
1. Place Clay into laser 2. Press part into clay 3. Locate part with laser
4. Mark part 5. Place new part into divot 6. Run new part
Quickly target a location
• Target location using red dot pointer• Send file to the ULS control panel• Select “Relocate View”• Select one of 9 handles• Select “To Pointer”
Efficiency
• The more parts in a row the betterExample:
1 Tag ran in 16 seconds 12 Tags ran in 41 seconds (3.4 seconds each)
ULS
42
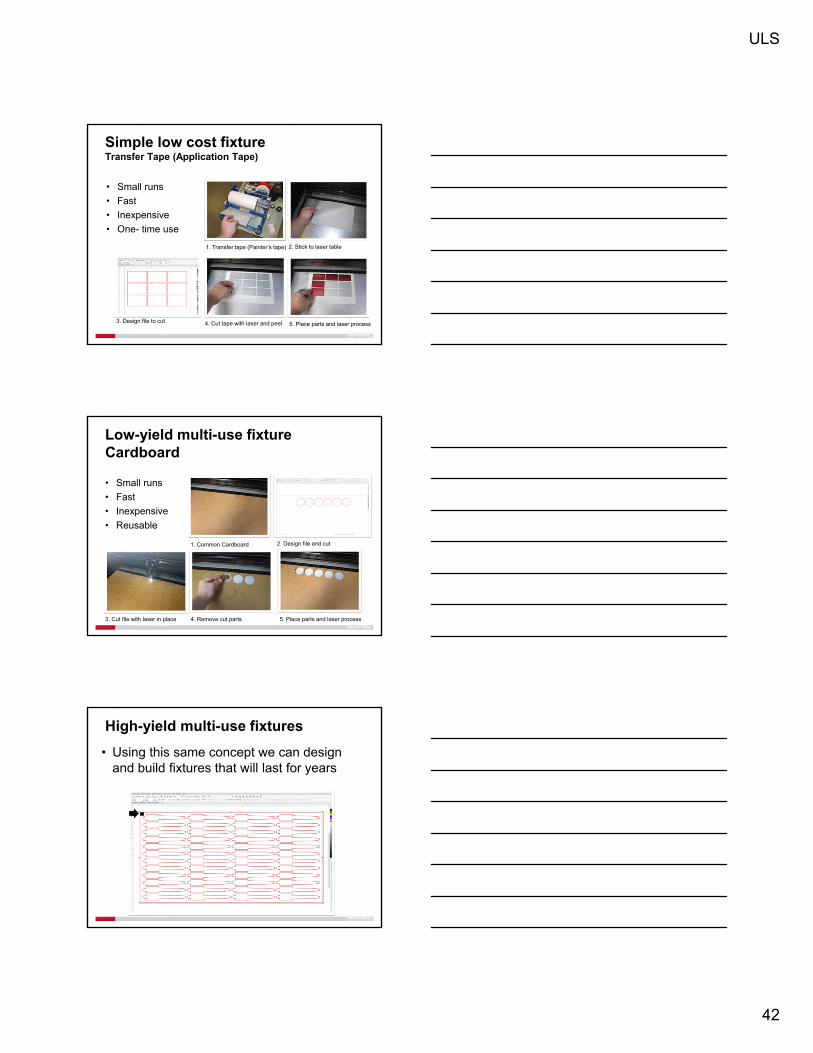
Simple low cost fixtureTransfer Tape (Application Tape)
• Small runs
• Fast
• Inexpensive
• One- time use
1. Transfer tape (Painter’s tape) 2. Stick to laser table
3. Design file to cut 4. Cut tape with laser and peel 5. Place parts and laser process
Low-yield multi-use fixtureCardboard
• Small runs
• Fast
• Inexpensive
• Reusable
1. Common Cardboard 2. Design file and cut
3. Cut file with laser in place 4. Remove cut parts 5. Place parts and laser process
High-yield multi-use fixtures
• Using this same concept we can design and build fixtures that will last for years
ULS
43
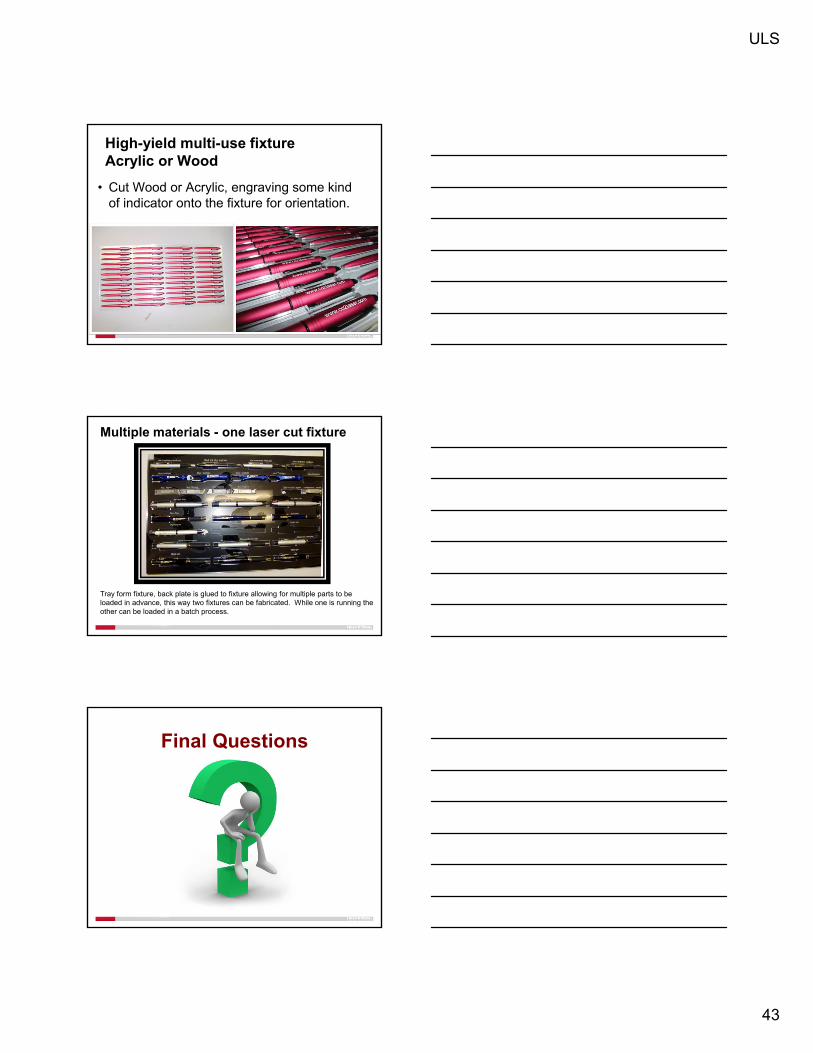
High-yield multi-use fixtureAcrylic or Wood
• Cut Wood or Acrylic, engraving some kind of indicator onto the fixture for orientation.
Multiple materials - one laser cut fixture
Tray form fixture, back plate is glued to fixture allowing for multiple parts to be loaded in advance, this way two fixtures can be fabricated. While one is running the other can be loaded in a batch process.
Final Questions
ULS
44
Unlimited possibilities! Let’s Get Creative
David Stevens Email Address:
Thank You!