Electronic Plan Submittal - Wisconsin · SharePoint Instructions for Electronic Plan Submitters ......
16
Division of Industry Services SharePoint Instructions for Electronic Plan Submitters (Last Revised: 04/10/18) Getting Started: 1.) In order to access the Division of Industry Services ePlan Review Site submitters must register for a State of WI/DOA account to use SharePoint. This registration is a one-time requirement. For instructions to register, please refer to Appendix 1 at the end of this document - see the last two pages. Please print out the submitter instructions and make a note of your user name and password for future reference. 2.) After registering, the next step is to schedule your Commercial Building or General Plumbing plan review appointment via the DSPS online scheduling process on our website at dsps.wi.gov. Please click on these links to schedule your plan review using either the Building Plan Review Web Scheduler or the Plumbing Plan Review Web Scheduler. 3.) Once you have received (via email) your appointment confirmation letter for your scheduled plan review showing a transaction ID number and review date, you will then receive an emailed SharePoint alert. You can then log into the SharePoint site, find the project folder that has been created for you and begin to upload your plans along with related documents and the signed appointment confirmation letter. Note: To request electronic plan review for Private Onsite Wastewater Treatment Systems (POWTS), Elevators or Gas Systems/Anhydrous plans, please complete the appropriate application form and e-mail it along with your registered SharePoint username to [email protected]. Your review will be scheduled for first available appointment and you will receive an email from us. At that point you will be able to log into SharePoint, find your project folder and upload your documents as stated in step 3 above.
Transcript of Electronic Plan Submittal - Wisconsin · SharePoint Instructions for Electronic Plan Submitters ......

Division of Industry Services SharePoint Instructions for Electronic Plan Submitters
(Last Revised: 04/10/18)
Getting Started: 1.) In order to access the Division of Industry Services ePlan Review Site submitters must register for a
State of WI/DOA account to use SharePoint. This registration is a one-time requirement. For instructions to register, please refer to Appendix 1 at the end of this document - see the last two pages. Please print out the submitter instructions and make a note of your user name and password for future reference.
2.) After registering, the next step is to schedule your Commercial Building or General Plumbing plan
review appointment via the DSPS online scheduling process on our website at dsps.wi.gov. Please click on these links to schedule your plan review using either the Building Plan Review Web Scheduler or the Plumbing Plan Review Web Scheduler.
3.) Once you have received (via email) your appointment confirmation letter for your scheduled plan
review showing a transaction ID number and review date, you will then receive an emailed SharePoint alert. You can then log into the SharePoint site, find the project folder that has been created for you and begin to upload your plans along with related documents and the signed appointment confirmation letter.
Note: To request electronic plan review for Private Onsite Wastewater Treatment Systems (POWTS), Elevators or Gas Systems/Anhydrous plans, please complete the appropriate application form and e-mail it along with your registered SharePoint username to [email protected]. Your review will be scheduled for first available appointment and you will receive an email from us. At that point you will be able to log into SharePoint, find your project folder and upload your documents as stated in step 3 above.

GETTING SIGNED IN TO SHAREPOINT - Step 1- Login: Log in to site using the link provided in your ‘Welcome to SharePoint’ email or your appointment confirmation letter, or by typing it in manually into your browser or by using the following link: https://dsps.eplan.wisconsin.gov/SitePages/Home.aspx. The Sign In page will appear as shown below.
Once ‘Forms Authentication’ is selected, see next page for login screen display. 2

When login screen is displayed, enter your State of WI-DOA username/password (see Appendix 1 if you don’t have an account). Click on Sign in button.
Please NOTE: the prefix of ‘wiext\’ is no longer needed. The next screen to be displayed will be a list of your active project folders. See Step 2 on the next page. 3

UPLOADING PLANS INTO PROJECT FOLDER -
Step 2: Click on the ‘Plan Review Documents’ link under ‘Libraries’ then
double click on the name of the project shown in the Project List. This will “open” the folder.
NOTE: If your project does not appear on list or to find your approved plan, select Plan Review
Documents from Libraries menu on left side of screen. Click the options that appear next to “_Plan Reviews-Active”, choose “_Plan Reviews – All”. 4

Step 3: Uploading a single document or file. Click on ‘new document’ shown in blue below in the
red box. (SharePoint allows for a maximum file size of 2G. If the file size exceeds that you will get an error message.)
Please note : The ‘or drag files here’ is disabled (greyed out). This feature is not available.
5

When you click on ‘New Document’, you will get this screen:
Choose your file to be uploaded and click ok. (No need to enter anything in the destination folder option shown above.)
6

Then use ‘Edit Properties’ on the document to update the ‘Content Type’.
Attention Designers: Please do not use the Adobe Acrobat certification tool to certify your plans prior to uploading.
7
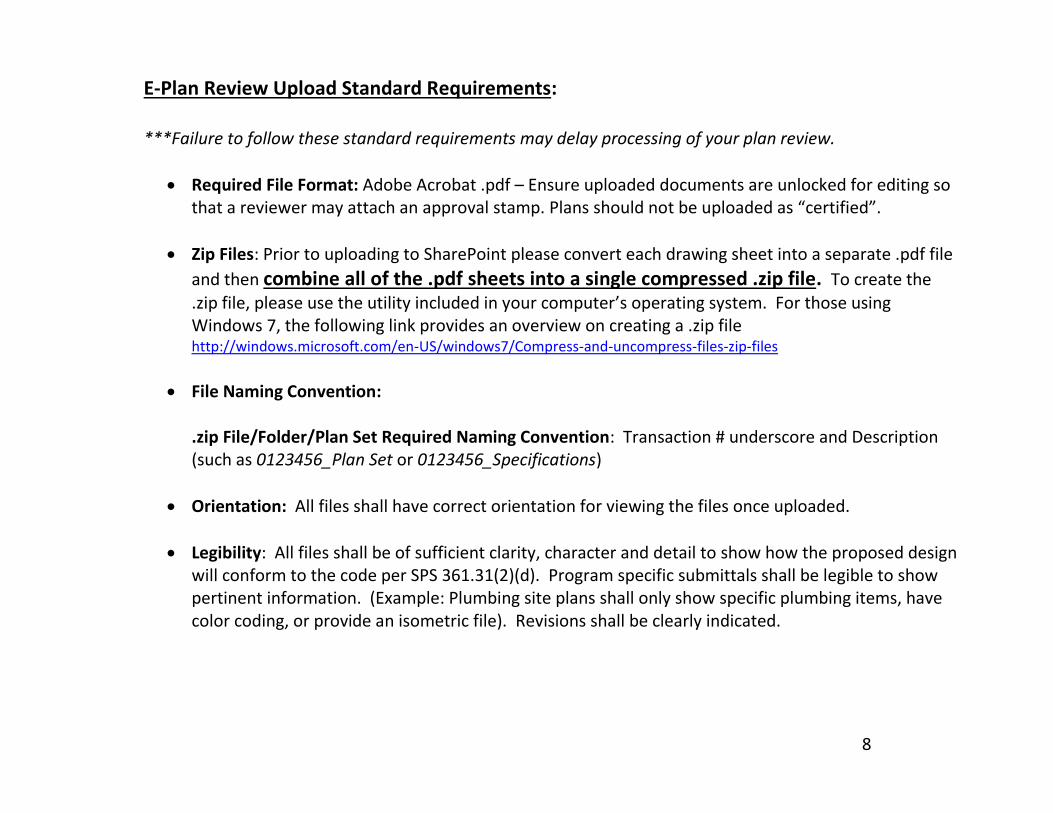
E-Plan Review Upload Standard Requirements: ***Failure to follow these standard requirements may delay processing of your plan review.
• Required File Format: Adobe Acrobat .pdf – Ensure uploaded documents are unlocked for editing so that a reviewer may attach an approval stamp. Plans should not be uploaded as “certified”.
• Zip Files: Prior to uploading to SharePoint please convert each drawing sheet into a separate .pdf file
and then combine all of the .pdf sheets into a single compressed .zip file. To create the
.zip file, please use the utility included in your computer’s operating system. For those using Windows 7, the following link provides an overview on creating a .zip file http://windows.microsoft.com/en-US/windows7/Compress-and-uncompress-files-zip-files
• File Naming Convention:
.zip File/Folder/Plan Set Required Naming Convention: Transaction # underscore and Description (such as 0123456_Plan Set or 0123456_Specifications)
• Orientation: All files shall have correct orientation for viewing the files once uploaded.
• Legibility: All files shall be of sufficient clarity, character and detail to show how the proposed design will conform to the code per SPS 361.31(2)(d). Program specific submittals shall be legible to show pertinent information. (Example: Plumbing site plans shall only show specific plumbing items, have color coding, or provide an isometric file). Revisions shall be clearly indicated.
8

DOCUMENT SUBMITTAL DUE DATE -
• Plans and related documents must be uploaded to the SharePoint site no later than two business days prior to review date.
• To request rescheduling or cancellation of your review, please e-mail [email protected] and reference your transaction #.
Uploading Plan Changes:
• Prior to the Review Appointment: If you wish to delete a document already uploaded, go into the project folder. Click on the three dots in document line you want to delete. When another box is displayed, click on the three dots in the gray area at the bottom. Then the list of options is displayed. Click on delete at the bottom of the list. The document will be deleted and then proceed with uploading the document you want to submit. Refer to Step 2.
• Prior to Approval: If you are asked by the Reviewer to make changes to any of the previously uploaded documents, refer to Step 3. Please note : A changed document should use the same filename as the original document along with a designation that it is revised to utilize version control within SharePoint for the Reviewers.
• Revisions after Approval - Revisions require a new Transaction ID and will get a new project folder. The revision review will be scheduled via a completed application form being emailed to [email protected]. If you have any questions regarding the revision submittal process, please contact the Plan Entry Office of the original review or the office assigned to do the revision review.
• Approved Plans: Once plans are approved, your permissions will be automatically modified to READ ONLY and you will no longer be able to upload additional documents. Please see the note in Step 2 about changing the view to find your approved plans.
9

Completed Plans (Approved, Denied, Closed or Withdrawn): Plans will be available under the Links section based on date range as shown in below in the Red box if they are not found under the ‘Plan_Reviews-All’ mentioned in the note in Step 2. Future completed batches will be listed in the Links Section with a date range. Just click on the link for the time frame for when your plan review was completed.
10

OTHER REQUIRED DOCUMENTATION AND FEE PAYMENT -
• Review Appointment Confirmation Notice: Upload (in a separate document) a scanned copy of your transaction confirmation notices with all applicable signatures. Computer fonts are not acceptable.
• Payment of Fees: Payment for electronic plan review is made by invoice only. An invoice for fees due will be mailed directly to the Designer of Record following plan approval. The Designer’s signature authorizing invoicing of fees is required where indicated on the Review Appointment Confirmation Notice and this signed form is required to be uploaded to SharePoint at the time of plan upload.
• Electronic Signature/Seal: Designers should provide an electronic version of their Wisconsin Professional Architect/Engineer/Designer signature and seal applied to the pdf plan documents prior to upload.
• Petition for Variance Notary Seals: If the Notary Public has used an embossed seal rather than an
inked stamp to validate the document, the plan submitter should shade the embossed area lightly with a pencil before scanning it for upload.
11

AUTOMATIC EMAIL ALERTS OF NEW DOCUMENTS -
• Plan Submitters along with the Plan Entry staff and the State Plan Reviewers will receive automated email alerts when documents are uploaded in to the project folders or when the status of the review changes.
• Status changes include: when the project is scheduled (includes that the folder was created), when plans are received, when request is for additional information- phone or email, when the requested additional information -received, when the plan has been approved or withdrawn or when a communication letter was issued. The alert looks similar to this:
A new Document has been uploaded to 2354574 : Document Name : 2354574_Architectural Plan Set Created By : Joe Smith Current Project Approval Status : Schedule Additional Document Information Document Verison : 2.0 Document Upload Date: 10/13/2017 4:14:24 PM Document Modified Date : 10/13/2017 4:32:36 PM Appointment Date : 11/3/2017 12:00:00 AM Designer : Brown, Devin Plan Submitter Email Address : [email protected] Plan Reviewer : Piquette, Mark A - DSPS Plan Entry Office : ePlan Review Waukesha Plan Entry Link to Transaction ID Link to Document
12

PRINTING PLAN DOCUMENTS -
• It is recommended that the User download plan documents to a personal drive before printing. Select document to be printed and use the Download a Copy icon to proceed.
• From the Adobe print menu prompt Select “Documents and Stamps” under the Comments and Forms option.
13
REPORTING TECHNICAL PROBLEMS- If after reviewing these SharePoint Instructions, if you are still experiencing technical problems and need further assistance, please e-mail: [email protected]. Please include your username & transaction # with a brief description of the trouble and any error messages you are getting. If you have tried several times to log into the SharePoint site, there is the possibility that the account is locked. Please send an email to [email protected] and provide them with your user name.
To Confirm Password/Password Recovery: • Please confirm you are using the correct password by attempting to log in under ‘Profile Management’ on
the DOA/State of WI account management page: https://register.wisconsin.gov .
• If you have forgotten your password or aren’t sure if you have a SharePoint ID please use the Login ID/Password Recovery option on https://register.wisconsin.gov .
• In order to disable duplicate user name accounts, request assistance at the following address: [email protected] . Provide the user name you want to keep.
NOTE: You can only have one user name attached to one email address. If you have set-up multiple user name accounts all with the same email address, you will need to have the duplicate accounts deleted as mentioned above. 14

Appendix 1: Register for a username/password on http://register.wisconsin.gov .
In order to access the DSPS ePlan Review site, Submitters must set up a State of WI/DOA username and password from this site http://register.wisconsin.gov .
To Begin, use the ‘Self Registration’ link
After accepting the user agreement, complete the ‘Account Creation’ form as shown on next page.
15
Not sure if you already have DOA/State of WI account? Use the ‘Profile Management’ link to check

Indicate ‘SharePoint’ under the section entitled, ‘Systems You Will Access’.
**Please note that you can only have one user name tied to one email address. Creating duplicate user names to the same email will prevent you from being able to log on to the SharePoint site. 16
You will not be able to access SharePoint to upload plans until you have a scheduled review appointment date. The next step once registered, is to submit your request for a plan review via the Web Scheduler at dsps.wi.gov and please provide your SharePoint Login ID (user name). Revisions must be submitted via SBD118 application for emailed to [email protected].
There is no need to contact system administrator to finish your account setup once you have completed and submitted your registration. Just please make note of your user name and password for future reference.