
Determining the Enthalpy of a Chemical · PDF file84 Experiment 7 • Determining the...
6
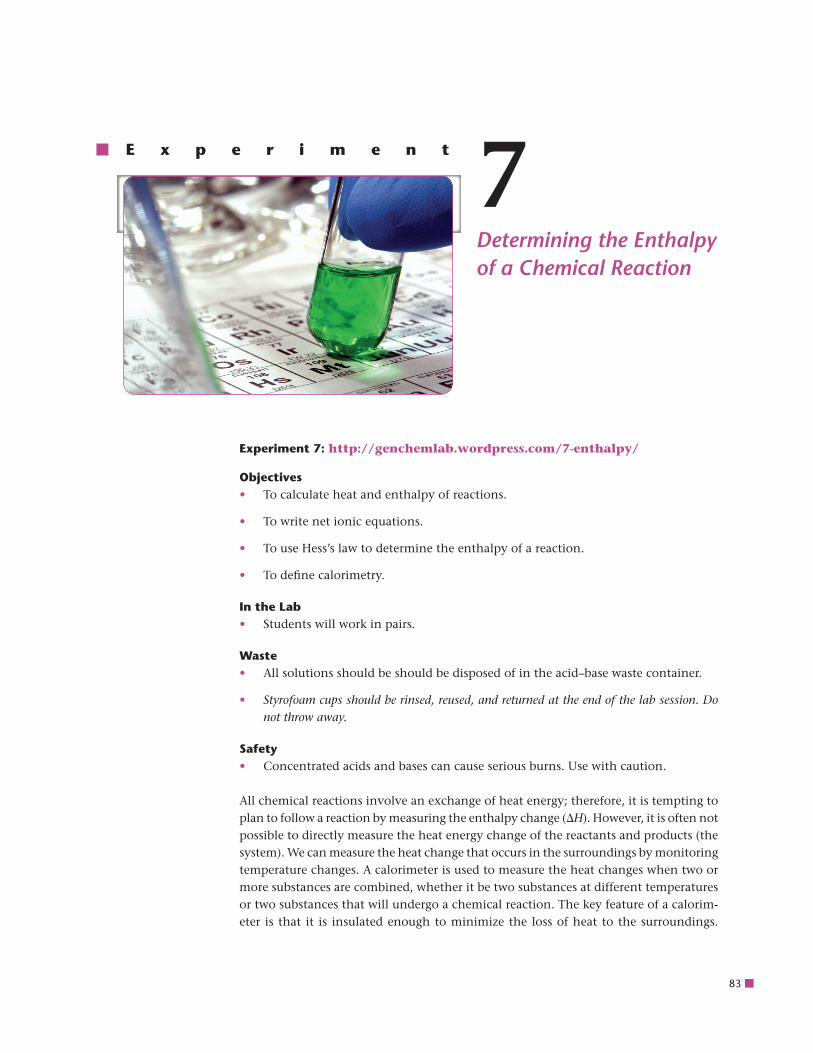
83 Determining the Enthalpy of a Chemical Reaction E x p e r i m e n t 7 Experiment 7: http://genchemlab.wordpress.com/7-enthalpy/ Objectives • To calculate heat and enthalpy of reactions. • To write net ionic equations. • To use Hess’s law to determine the enthalpy of a reaction. • To define calorimetry. In the Lab • Students will work in pairs. Waste • All solutions should be should be disposed of in the acid–base waste container. • Styrofoam cups should be rinsed, reused, and returned at the end of the lab session. Do not throw away. Safety • Concentrated acids and bases can cause serious burns. Use with caution. All chemical reactions involve an exchange of heat energy; therefore, it is tempting to plan to follow a reaction by measuring the enthalpy change (H). However, it is often not possible to directly measure the heat energy change of the reactants and products (the system). We can measure the heat change that occurs in the surroundings by monitoring temperature changes. A calorimeter is used to measure the heat changes when two or more substances are combined, whether it be two substances at different temperatures or two substances that will undergo a chemical reaction. The key feature of a calorim- eter is that it is insulated enough to minimize the loss of heat to the surroundings.
Transcript of Determining the Enthalpy of a Chemical · PDF file84 Experiment 7 • Determining the...
83
Determining the Enthalpy of a Chemical Reaction
E x p e r i m e n t 7
Experiment 7: http://genchemlab.wordpress.com/7-enthalpy/
objectives• To calculate heat and enthalpy of reactions.
• To write net ionic equations.
• To use Hess’s law to determine the enthalpy of a reaction.
• To defi ne calorimetry.
In the Lab• Students will work in pairs.
Waste• All solutions should be should be disposed of in the acid–base waste container.
• Styrofoam cups should be rinsed, reused, and returned at the end of the lab session. Do not throw away.
Safety• Concentrated acids and bases can cause serious burns. Use with caution.
All chemical reactions involve an exchange of heat energy; therefore, it is tempting to plan to follow a reaction by measuring the enthalpy change (H). However, it is often not possible to directly measure the heat energy change of the reactants and products (the system). We can measure the heat change that occurs in the surroundings by monitoring temperature changes. A calorimeter is used to measure the heat changes when two or more substances are combined, whether it be two substances at different temperatures or two substances that will undergo a chemical reaction. The key feature of a calorim-eter is that it is insulated enough to minimize the loss of heat to the surroundings.

84
E x p e r i m e n t 7 • Determining the Enthalpy of a Chemical Reaction
Expt.
7
A Styrofoam cup is an effective calorimeter because it acts as a good insulator. Inserting the calorimeter into a beaker provides extra insulation and stability to the cup. Ideally, a calorimeter would not absorb any heat, but in reality it does. By performing a calibration of the calorimeter, we will be able to determine the amount of heat absorbed by the calorimeter and will account for that loss when determining the heat change for our chemical reactions.
In this experiment, we will first determine the heat capacity for our calorimeter by mixing samples of hot and cold water together. Based on the difference in the temperature of the two water samples, we can determine the amount of heat lost to the calorimeter. This will allow us to account for the amount of heat lost to the calorimeter when we are measuring the heat change for three acid–base reactions. If we assume that no heat is lost to the surroundings, then the following expression is true
qcold water qhot water qcal 0 (1)
and this can be rearranged to the following,
qcal qhw qcw (2)
which will allow us to determine the heat of the calo-rimeter. There are two formulas which we will use to calculate the individual terms in the equation. The first formula, which is shown in equation 3, is used when you have varying masses of a substance but you know the specific heat of the substance. The specific heat, s, has been determined for many substances (i.e. water, iron, etc.) and can be found in a variety of reference sources.
q msT (3)
The second formula, shown in equation 4, is used for determining the heat when you are dealing with an object with a fixed mass whose composition will not change, such as a calorimeter. The value of the heat capacity, C, is unique to a particular item and must be determined experimentally for that object.
q CT (4)
These formulas can be substituted into equation 3 to yield the following equation
CcalTcal (mcw) (swater) (Tcw) (mhw) (swater) (Thw) (5)
where
Tcal change in temperature of the calorimeter (equals Tcw because they both start and end at the same temperature)
mcw mass of the cold water
swater specific heat of water
Tcw change in temperature of the cold water
mhw mass of the hot water
Thw change in temperature of the hot water
We can expand equation 5 further to the following
Ccal(TfTi, cw) (mcw) (swater) (TfTi, cw) (mhw) (swater) (TfTi, hw) (6)
Note that Tf values will all be the same because the cold water, hot water, and calorimeter reach the same tem-perature. When we look at equation 6, we can find all of the values either from experimental data or reference values except Ccal. The calculated result will serve as our experimental value for Ccal which will be used when we determine the heat of reaction for three chemical reactions using the same calorimeter.
If we conduct a reaction between two substances in an aqueous solution, any heat gained or lost by the chemi-cal reaction will be absorbed by either the solution or by the calorimeter. By measuring the temperature change as the reaction occurs, we can determine the amount of heat absorbed by the solution and the amount of heat absorbed by the calorimeter. The sum of those values will equal the amount of heat change from the actual chemical reaction. If we assume that no heat is lost from the system, then the following is true (similar to equation 1)
qrxn qsoln qcal 0 (7)

85
E x p e r i m e n t 7 • Determining the Enthalpy of a Chemical Reaction
Expt.
7
and this can be rearranged into the following form
qrxn qsoln qcal (8)
which will allow us to determine the heat of the reaction by calculating the heat of the solution and calorimeter. As before, we can expand this equation to obtain
qrxn –msolnsT CcalT (9)
where msoln is the total mass of the combined solution, s is the specifi c heat of water since we are using aqueous solutions, and T is the change in temperature of the solution and the calorimeter during the reaction. The initial temperatures of the solutions, as well as the calo-rimeter, should be the same since they are all starting at room temperature. The fi nal temperature will be the maximum temperature reached by the solution which will also be the fi nal temperature of the calorimeter. Using the heat capacity determined in the calibration process along with the other experimental data will al-low us to calculate the heat of the reaction.
While the heat can be readily calculated based on ex-perimental data, the values are only relevant when using identical amounts of reagents with the same calorimeter. A more universal value is that of enthalpy which is reported in kJ/mole of a particular reactant, which in this case will be the limiting reagent. To determine the enthalpy, one can use the following
Hqn
= (10)
where q is the heat change of the reaction and n is the number of moles of the limiting reagent. The enthalpy values can then be compared to the same reaction performed with different amounts of a substance or to accepted enthalpy values.
In this experiment, we will look at three reactions as out-lined in the pre-lab exercise. For each of these reactions, we will determine the heat of the reaction by looking at the change in temperature of the solution as well as using the heat capacity determined for our calorimeter. The values determined in the pre-lab exercise will serve as your accepted values for determining your percent error. We will also get the opportunity to use Hess’s law (see your textbook for review of this concept) which
will let us determine two different enthalpy values for the same reaction which can then be compared to the accepted value.
Materialstemperature probeStyrofoam cup calorimeter250 mL beaker50 mL graduated cylinderglass stirring rod2.0 M hydrochloric acid solution2.0 M sodium hydroxide solution2.0 M ammonium chloride solution2.0 M ammonium hydroxide solution (NH3/NH4OH)ring standiron clampcardboard squarebeakers, assorted sizes
Pre-lab ExerciseYou will conduct the following three reactions in this experiment. On Chem21, write the balanced net ionic reaction equations from the descriptions. Use the table of thermodynamic data in your general chemistry text-book to calculate the molar enthalpy of the reactions.
Reaction 1: An aqueous solution of sodium hydroxide reacts with an aqueous solution of hydrochloric acid, yielding water, and aqueous sodium chloride.
Reaction 2: An aqueous solution of sodium hydroxide reacts with an aqueous solution of ammonium chloride, yielding aqueous ammonia (NH3), water, and aqueous sodium chloride.
Reaction 3: An aqueous solution of hydrochloric acid reacts with aqueous ammonia, NH3, yielding aqueous ammonium chloride.
©Hayden-McNeil, LLC
Figure 7.1. Styrofoam cup calorimeter.

86
E x p e r i m e n t 7 • Determining the Enthalpy of a Chemical Reaction
Expt.
7
©Hayden-McNeil, LLC
©Hayden-McNeil, LLC
Figure 7.2. Setup for measuring temperature change
during a reaction.
ProcedureCalibration of Calorimeter1. Connect the clamp to the ring stand to hold the
temperature probe.
2. Connect the temperature probe to the MeasureNet workstation.
3. After verifying that your TA has logged you in to the workstation, press “MAIN MENU” on the worksta-tion.
4. Select “TEMPERATURE.”
5. Select “TEMP v TIME.”
6. Select “SETUP” to check limits (y0 to 100, x0 to 600). If necessary, press the arrow keys to select which variable to edit (marked by asterisks on ei-ther side of value), key in the new value and press “ENTER.”
7. Press “DISPLAY.”
8. Determine the mass of your styrofoam cup using the balance.
Record all digits on the display when using the
balance.
9. Pour approximately 25 mL of water into the cup.
10. Determine the exact mass of the cup and water.
11. Place the cup with the water inside the 250 mL bea-ker and lay the cardboard square on top as shown in Figure 7.2.
12. Determine the mass of your 100 mL beaker.
13. Add approximately 25 mL of water into the beaker and then determine the exact mass of the beaker and water.
14. Using the hot plate, gently heat the water in the bea-ker to approximately 50–60°C. Use the thermometer to measure the temperature of the hot water.
Steps 15–18 should be done quickly.
15. Once the temperature of the hot water is constant, record the initial temperature of the hot water in your lab notebook.
16. Insert the temperature probe into the clamp, through the hole in the cardboard square, and into the calorimeter (see Figure 7.2). Be careful not to poke a hole in the bottom of the styrofoam cup.
17. Press “START/STOP” on the workstation.
18. Wait until the temperature in the calorimeter is constant for a few seconds. Without removing the temperature probe from the water, pour the hot water into the styrofoam cup with the cold water. Replace the cardboard lid.
Gently swirl the calorimeter to mix the solution, being careful not to lose any of the water.
19. Continue collecting data until the temperature starts to drop. The maximum temperature will be the fi nal temperature. Press “START/STOP” to stop collecting data.

87
E x p e r i m e n t 7 • Determining the Enthalpy of a Chemical Reaction
Expt.
7
20. Press “FILE OPTIONS” on the workstation and select “SAVE DATA.” When prompted for a filename, use “010.” You must use the correct file name so that the data is associated with your Chem21 account. If you save your file with the wrong name, repeat the save with the correct name.
21. Check with your TA to make sure the file was saved and uploaded correctly.
22. Pour the water in the drain and dry the styrofoam cup.
Record the exact volumes of all liquids used.
Estimate one decimal place beyond the markings
on the glassware.
Part I – NaOH and HCl23. Using a clean, dry 50 mL graduated cylinder, mea-
sure approximately 25 mL of HCl and record the exact volume used.
24. Pour the HCl into the cup.
25. Place the cup with the HCl inside the 250 mL beaker and lay the cardboard square on top as shown in Figure 7.2.
26. Insert the temperature probe into the clamp, through the hole in the cardboard square, and into the calorimeter (see Figure 7.2). Be careful not to poke a hole in the bottom of the styrofoam cup.
27. Using a clean, dry 50 mL graduated cylinder, mea-sure approximately 25 mL of NaOH and record the EXACT VOLUME used.
28. Press “START/STOP” on the workstation.
29. Wait 5–10 seconds and then quickly, but carefully, pour the NaOH solution into the calorimeter with the HCl solution.
30. Gently swirl the calorimeter to mix the solution, being careful not to lose any of the solution.
31. The temperature will rise, plateau, and then drop. Once it is clear that the temperature is dropping, press “START/STOP” on the workstation.
32. T will be determined based on the initial tempera-ture of the solution and the maximum temperature. Since the solutions and calorimeter are all at room temperature, we can assume that the initial and final temperatures for all three are the same.
33. Press “FILE OPTIONS” on the workstation and select “SAVE DATA.” When prompted for a filename, use “001.” You must use the correct file name so that the data is associated with your Chem21 ac-count. If you save your file with the wrong name, repeat the save with the correct name. If you use a previous filename from this experiment, your data will be overwritten.
34. Check with your TA to make sure the file was saved and uploaded correctly.
35. Dispose of the solution and clean the cup for the next use.
Part II – NaOH and NH4Cl36. Repeat steps 24–36 with NaOH and NH4Cl solu-
tions. Put the NH4Cl in the cup first and add the NaOH.
37. Be aware that this reaction has a smaller T than Part I.
38. Save the file as “002.” If you use a previous filename from this experiment, your data will be overwritten.
Part III – HCl and NH3
39. Repeat steps 24–36 with HCl and NH3 solutions.
40. Save the file as “003.” If you use a previous filename from this experiment, your data will be overwritten.

88
E x p e r i m e n t 7 • Determining the Enthalpy of a Chemical Reaction
Expt.
7
Data Analysis1. What was the mass and value of T for the calo-
rimeter?
2. What was the mass and value of T for the cold water?
3. What was the mass and value of T for the hot water?
4. Determine the heat change (q) for the cold and hot water.
5. Calculate the heat change for the calorimeter (pay attention to the sign on the value of q).
6. Using T for the calorimeter, determine the heat capacity of the calorimeter.
7. Calculate the heat change for each of the three reactions. Use 1.03 g/mL for the density of all solutions.
8. For each reactant, determine the limiting reagent (all reactions have a 1:1 molar ratio) and use the amount of that reactant, in moles, to determine the enthalpy change for each of the three reactions.
9. Use the experimental data for reactions 1 and 2 along with Hess’s law to determine the enthalpy of Reaction III.
10. Using the two enthalpy values calculated previously (questions 8 and 9), determine the percent error in each of these values compared to the accepted value calculated in the pre-lab exercise.


