Corrosion Data Management Software Version 3.1 - … · Corrosion Data Management Software Version...
21
Corrosion Data Management Software Version 3.1.3 Metal Samples Corrosion Monitoring Systems A Division of Alabama Specialty Products, Inc. 152 Metal Samples Road, Munford, AL 36268 Phone: 256-358-4202 Fax: 256-358-4515 E-mail: [email protected] Internet: www.metalsamples.com Houston Office: 8811 Kensington Court, La Porte, TX 77571 Phone: 281-471-2777 Fax: 281-471-3405
-
Upload
truongkhue -
Category
Documents
-
view
239 -
download
0
Transcript of Corrosion Data Management Software Version 3.1 - … · Corrosion Data Management Software Version...

Corrosion Data Management Software Version 3.1.3
Metal Samples Corrosion Monitoring Systems A Division of Alabama Specialty Products, Inc. 152 Metal Samples Road, Munford, AL 36268
Phone: 256-358-4202 Fax: 256-358-4515 E-mail: [email protected] Internet: www.metalsamples.com
Houston Office: 8811 Kensington Court, La Porte, TX 77571 Phone: 281-471-2777 Fax: 281-471-3405
Table of Contents Setup 1
System Requirements 1
Installing The Software 1
Uninstalling The Software 2
Introduction 4
Instrument Download Center 5
Selecting A Serial Port 5
Selecting An Instrument 6
Downloading Data 6
Saving Data 6
Printing Data 6
Charting Data 6
Data Analysis 7
Loading A Data File 7
Data Table 7
Printing Data 8
Creating A Chart 8
Printing A Chart 8
Exporting A Chart 8
Chart Tools 8
Statistical Data 8
Finding A Data Points Value 9
The Tools Menu 9
LPR Alloy Multiplier Worksheet 11
Calculating An Alloy 11
Saving A Worksheet 11
Add To Data File 11
Save To Text File 12
Printing A Worksheet 12
Corrosion Coupon Worksheet 13
Calculating Corrosion Rate 13
Unit Selection 13
Saving A Worksheet 13
Add To Data File 13
Save To Text File 14
Printing A Worksheet 14
Support 15
Warranty 16
License Agreement 17
1
Setup This section will guide you through the process of installing the Corrosion Data Management Software on your PC. Before installation, make sure that you have read and accepted the License Agreement found in the back of this manual. System Requirements To run the Corrosion Data Management Software, you need a PC that meets the following requirements:
• Pentium® class processor • Windows® 95 or higher operating system • 16 MB of RAM • 10 MB of available hard-disk space • VGA monitor with 800 × 600 or greater resolution • Mouse or pointing device recommended • Available 9-pin or 25-pin serial port (for instrument
download) • CD-ROM drive for software installation (software
available on 3.5" diskettes by request) Installing The Software To install the Corrosion Data Management Software:
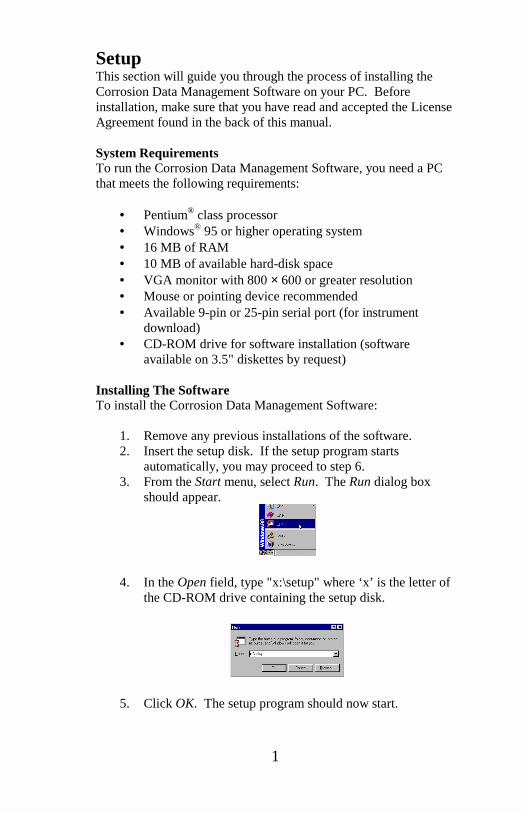
1. Remove any previous installations of the software. 2. Insert the setup disk. If the setup program starts
automatically, you may proceed to step 6. 3. From the Start menu, select Run. The Run dialog box
should appear.
4. In the Open field, type "x:\setup" where ‘x’ is the letter of the CD-ROM drive containing the setup disk.
5. Click OK. The setup program should now start.

2
6. You will be prompted to close any open programs. After you have done so, click OK to continue.
7. You may change the directory that will contain the
software by clicking the Change Directory button. To install the software in the default directory, click the Install button.
8. After clicking the Install button, the software will be
installed on your PC. If any errors occur during software installation, you should uninstall, then reinstall the software.
9. When the software installation is complete you should remove the setup disk, then reboot your computer.
Uninstalling The Software To uninstall the software:
1. Open the Windows® Control Panel.
3
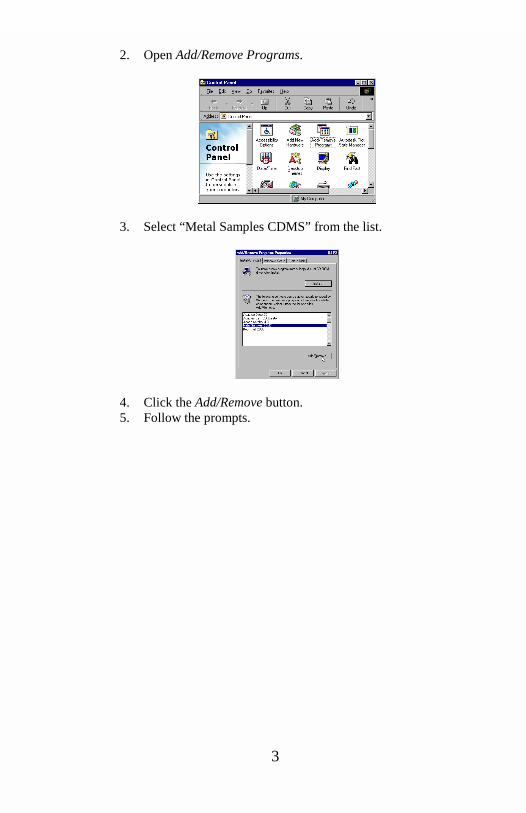
2. Open Add/Remove Programs.
3. Select “Metal Samples CDMS” from the list.
4. Click the Add/Remove button. 5. Follow the prompts.
4
Introduction
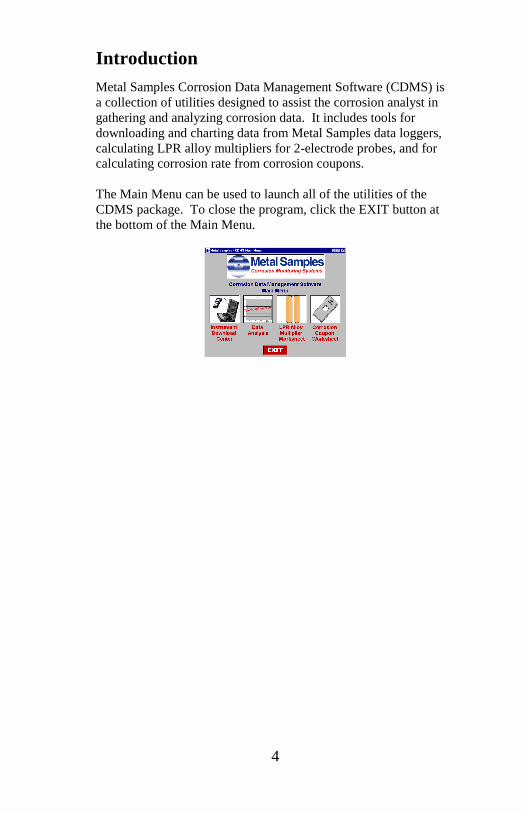
Metal Samples Corrosion Data Management Software (CDMS) is a collection of utilities designed to assist the corrosion analyst in gathering and analyzing corrosion data. It includes tools for downloading and charting data from Metal Samples data loggers, calculating LPR alloy multipliers for 2-electrode probes, and for calculating corrosion rate from corrosion coupons. The Main Menu can be used to launch all of the utilities of the CDMS package. To close the program, click the EXIT button at the bottom of the Main Menu.
5
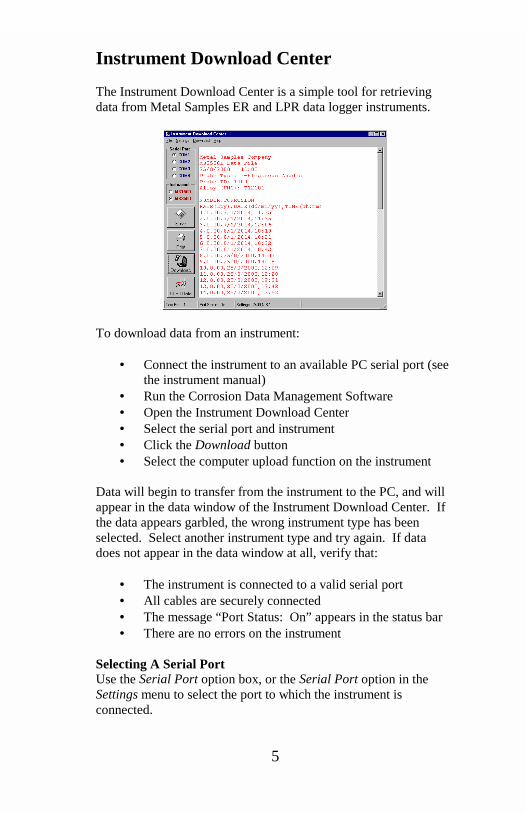
Instrument Download Center The Instrument Download Center is a simple tool for retrieving data from Metal Samples ER and LPR data logger instruments.
To download data from an instrument:
• Connect the instrument to an available PC serial port (see the instrument manual)
• Run the Corrosion Data Management Software • Open the Instrument Download Center • Select the serial port and instrument • Click the Download button • Select the computer upload function on the instrument
Data will begin to transfer from the instrument to the PC, and will appear in the data window of the Instrument Download Center. If the data appears garbled, the wrong instrument type has been selected. Select another instrument type and try again. If data does not appear in the data window at all, verify that:
• The instrument is connected to a valid serial port • All cables are securely connected • The message “Port Status: On” appears in the status bar • There are no errors on the instrument
Selecting A Serial Port Use the Serial Port option box, or the Serial Port option in the Settings menu to select the port to which the instrument is connected.

6
Selecting An Instrument Use the Instrument option box, or the Instrument option in the Settings menu, to select the model of Metal Samples instrument being downloaded. This sets the appropriate communication parameters, which will be displayed in the status bar at the bottom of the window (“9600,N,8,1” for an MS1500, “2400,N,8,1” for an MS3500). Downloading Data To toggle the selected port on and off, click the Download button, or click Start/Stop in the Download menu. Toggling the port on and off will also clear the data window. Once a valid serial port and instrument have been selected, click the Download button to turn the port on and enable the computer to receive data. If a valid serial port has been selected, the status bar at the bottom of the window will display the message “Port Status: On”. If an invalid serial port has been selected, an error message will appear, and the status bar will display the message “Port Status: Off”. If this happens, another serial port should be selected. Saving Data To save the data in the data window, click the Save button, or click Save in the File menu. The data is comma-delimited ASCII text. It can be saved to a standard text (.txt) file, or it can be saved to a comma-separated values (.csv) file, which greatly simplifies the process of importing the data into some spreadsheet programs such as Excel® or Quattro Pro®. Printing Data To print the contents of the data window, click the Print button, or click Print in the File menu. A print dialog box will be displayed to allow printer selection and setup. Charting Data To chart the contents of the data window, click the Chart Data button, or click Chart Data in the File menu. If the data has not yet been saved, the user will be prompted to do so before the charting process begins. For more information on charting data, see the Data Analysis section.

7
Data Analysis The Data Analysis utility is a convenient tool for charting data from Metal Samples ER and LPR data logger instruments. The Data Analysis utility can be opened from the Main Menu, or it can be opened directly from the Instrument Download Center. If the Data Analysis utility is opened from the Instrument Download Center, the contents of the data window will be loaded into the chart. However, if the Data Analysis utility is opened directly from the Main Menu, a valid data file must be loaded. The Select File box will open to allow selection of a data file. Loading A Data File After selecting a data file (or clicking the Chart Data button from the Instrument Download Center) a status window will display the progress of the file being opened, along with the Instrument Type, Probe Type, and Probe ID for the data file.
Data Table After a file has been successfully loaded, the data will be displayed in the Data Table for review. By default, all data points will be included in the chart. However, data points can be turned off, or excluded, from the chart. If the “Excluded” flag appears in the status column for a data point, that data point will not appear in the chart. To toggle the exclude/include status of a data point, double-click the data point, or select the data point and click Exclude/Include in the Options menu.

8
Printing Data The data table can be printed by clicking Print in the Options menu. A print dialog box will be displayed to allow printer selection and setup. Creating A Chart To chart the selected data, click the Chart Data button, or select Chart Data from the Options menu. The chart will be displayed in a new window.
Printing A Chart A chart can be printed using the Print Chart option in the File menu. A print dialog box will be displayed to allow printer selection and setup. Exporting A Chart A chart can be exported to other applications using the Copy Chart option in the File menu. This will copy both the chart and the raw data to the Windows® Clipboard. The chart can then be inserted into other applications using the Paste function. Note: In some applications, using the Paste function will insert the raw data instead of the chart. In this case, use the Paste Special function, then select Picture to insert the chart. Chart Tools • Statistical Data
The Statistical Data tab at the bottom of the Data Chart window will display a page with statistical information about the chart data. If the Statistical Data page is visible, this information can be printed by clicking Print Statistical Data in the File menu.

9
• Finding A Data Points Value While viewing the chart, the value of any data point can be determined by simply clicking it. The value will be displayed in the charts tool-tip box (a small text box that is displayed near the mouse pointer). If the tool-tip box does not appear immediately after clicking the data point, hold the mouse pointer stationary over the chart background for a moment.
• The Tools Menu
The Tools menu contains a collection of utilities for viewing and manipulating the chart. The Tools menu can be accessed by clicking Tools on the menu bar, or by right-clicking anywhere on the chart.
o Data Markers Show Data Markers toggles the data markers on and off.
o Mean Value Show Mean Value toggles the mean value line on and off.
o Trend Line Show Trend Line toggles the trend line on and off.
o Title/Footnote Setup Title/Footnote Setup displays a window that allows the chart title and footnotes to be toggled on and off, and to be modified.
o Plot Setup Plot Setup displays a window that allows configuration of Y-axis scaling, and of the chart type. The Y-axis can be scaled to default values by checking the Auto Scaling option box. The Y-axis can be scaled to manual values by un-checking the Auto Scaling box, then entering the desired values in the Minimum and Maximum fields.

10
The chart type can be set to Line Chart, Bar Chart, or Area Chart by selecting the appropriate button in the Chart Type box. The default chart type is Line Chart.
o Data Series Color Data Series Color displays a color selection box, which allows the user to select the brush color for the plot line. The default color for the plot line is Blue.
o Zoom In
Zoom In allows a region of the chart to be enlarged so that it may be viewed in greater detail. To enlarge a region of the chart, click on the two data points that define the left and right boundaries of the region. In zoom mode, the mouse pointer will change to a cross-hair. When zoom mode ends, the mouse pointer will return to its normal state. To cancel zoom mode, click Cancel Zoom In from the Tools menu, or simply press the Esc key.
o Zoom Out
Zoom Out restores the initial view of the chart, which displays the full data set.
o Calculate Corrosion Rate
If the chart contains ER data, the Calculate Corrosion Rate option will become available under the Tools menu. This option allows the corrosion rate to be calculated between any two data points on the chart. To calculate the corrosion rate click Calculate Corrosion Rate, then click two data points. The corrosion rate between those two data points will be displayed. In calculate mode, the mouse pointer will change to an arrow/question mark. When calculate mode ends, the mouse pointer will return to its normal state. To cancel a calculation, click Cancel Calculate from the Tools menu, or simply press the Esc key.

11
LPR Alloy Multiplier Worksheet The LPR Alloy Multiplier Worksheet simplifies the process of calculating alloy multipliers for use with the 2-Electrode LPR system.
Calculating An Alloy To calculate an alloy multiplier, the alloy must be “built” by adding each of its elements to the Alloy Composition list. An element is added to the list by selecting it from the drop-down menu, entering its percentage in the Percentage field, then clicking the Add button. To add the remaining percentage to an element, select that element, then click the Balance button. If it is necessary to remove an element from the list, highlight that element in the list, then click the Remove button. After all of the elements for an alloy have been entered, click the Calculate button to calculate the alloy multiplier. The Alloy Multiplier will be displayed in the Calculation Results box, along with the Equivalent Weight and Density for the alloy. If desired, an identification number or description can be entered into the UNS/Description field. Saving A Worksheet The File menu offers two options for saving a worksheet. • Add to Data File
Add to Data File can be used to save data from multiple worksheets as entries in a data file, which can be opened by spreadsheet programs such as Excel® or Quattro Pro®. The Save As dialog box will be displayed to allow selection of a file name. If an existing file name is selected, the data from the worksheet will be saved as a new entry in that data file. If the file name specified does not exist, a new file will be created with that name, and the worksheet data will be saved as the first entry in the new file.

12
• Save to Text File Save to Text File can be used to save an individual worksheet. The Save As dialog box will be displayed to allow selection of a file name and file location. The worksheet will be saved using the file name and location specified, and can be opened using any text editor or word processor.
Printing A Worksheet A worksheet can be printed using the Print option in the File menu. A print dialog box will be displayed to allow printer selection and setup.

13
Corrosion Coupon Worksheet The Corrosion Coupon Worksheet is a simple, step-by-step method for calculating metal loss and corrosion rate from corrosion coupons.
Calculating Corrosion Rate To calculate the corrosion rate of a coupon, enter the requested information in the Coupon Configuration and Exposure Data boxes, then click the Calculate button. The calculated Surface Area, Total Exposure, Metal Loss, and Corrosion Rate will be displayed in the Results box. Any comments or special information can be entered in the Comments field. Many standard Metal Samples coupons are listed in the Coupon Type menu. When using one of these coupons, its dimensions can be entered automatically by selecting it from the list. If the coupon being calculated is not found in the list, select Other, then enter the coupon dimensions manually. To reset the worksheet, click the Clear button, or click Clear in the Project menu. Unit Selection The measurement units for Density, Dimensions, Metal Loss/Corrosion Rate, and Weight can all be configured independently using the Units option in the Project menu. Saving A Worksheet The File menu offers two options for saving a worksheet. • Add To Data File
Add to Data File can be used to save data from multiple
14
worksheets as entries in a data file, which can be opened by spreadsheet programs such as Excel® or Quattro Pro®. The Save As dialog box will be displayed to allow selection of a file name. If an existing file name is selected, the data from the worksheet will be saved as a new entry in that data file. If the file name specified does not exist, a new file will be created with that name, and the worksheet data will be saved as the first entry in the new file.
• Save To Text File
Save to Text File can be used to save an individual worksheet as a text file. The Save As dialog box will be displayed to allow selection of a file name and file location. The worksheet will be saved using the file name and location specified, and can be opened using any standard text editor or word processor.
Printing A Worksheet A worksheet can be printed using the Print button, or the Print option in the File menu. A print dialog box will be displayed to allow printer selection and setup.

15
Support
While every effort has been made to ensure this software product is free from defects, problems may still occur during its use. If you do encounter a problem while using this product, follow these steps to resolve it.
1. Make sure your computer meets the System Requirements listedin the Setup section of this manual.
2. Visit the Metal Samples web site and search the FAQ's page(http://www.alspi.com/cdmsfaqs.htm). Your problem, and a solution, may already be posted there.
3. Visit the Metal Samples web site to see if there is a softwareupdate available. Software updates, and a list of the problems they fix, will be posted at http://www.alspi.com/cdmsupdate.htm. If an update is available, follow the directions on the web page to download and install it.
4. If your problem has not been addressed on the FAQ's page, orin a software update, use the support request form on the Metal Samples CDMS web page (http://www.alspi.com/cdms.htm) to request support for your problem. Please provide as much information as possible when describing your problem, and remember to complete the entire form. Your problem will be addressed as quickly as possible.
16
Warranty THE CORROSION DATA MANAGEMENT SOFTWARE (SOFTWARE PRODUCT) IS PROVIDED "AS IS," WITHOUT WARRANTY OF ANY KIND. METAL SAMPLES CORROSION MONITORING SYSTEMS DISCLAIMS ALL OTHER WARRANTIES AND CONDITIONS, EITHER EXPRESS OR IMPLIED, INCLUDING, BUT NOT LIMITED TO, IMPLIED WARRANTIES OF MERCHANTABILITY, FITNESS FOR A PARTICULAR PURPOSE, TITLE AND NON-INFRINGEMENT, WITH REGARD TO THE SOFTWARE PRODUCT, AND THE PROVISION OF OR FAILURE TO PROVIDE SUPPORT SERVICES. THIS LIMITED WARRANTY GIVES YOU SPECIFIC LEGAL RIGHTS. YOU MAY HAVE OTHERS, WHICH VARY FROM STATE/JURISDICTION TO STATE/JURISDICTION. IN NO EVENT SHALL METAL SAMPLES CORROSION MONITORING SYSTEMS BE LIABLE FOR ANY SPECIAL, INCIDENTAL, INDIRECT, OR CONSEQUENTIAL DAMAGES WHATSOEVER (INCLUDING, WITHOUT LIMITATION, DAMAGES FOR LOSS OF BUSINESS PROFITS, BUSINESS INTERRUPTION, LOSS OF BUSINESS INFORMATION, OR ANY OTHER PECUNIARY LOSS) ARISING OUT OF THE USE OF OR INABILITY TO USE THE SOFTWARE PRODUCT OR THE PROVISION OF OR FAILURE TO PROVIDE SUPPORT SERVICES, EVEN IF METAL SAMPLES CORROSION MONITORING SYSTEMS HAS BEEN ADVISED OF THE POSSIBILITY OF SUCH DAMAGES.
17
License Agreement IMPORTANT--READ CAREFULLY: This End-User License Agreement is a legal agreement between you (either an individual or a single entity) and Metal Samples Corrosion Monitoring Systems for the Corrosion Data Management Software (SOFTWARE PRODUCT). By installing or otherwise using the SOFTWARE PRODUCT, you agree to be bound by the terms of this agreement. If you do not agree to the terms of this agreement, do not install or use the SOFTWARE PRODUCT. SOFTWARE PRODUCT LICENSE The SOFTWARE PRODUCT is protected by copyright laws and international copyright treaties, as well as other intellectual property laws and treaties. The SOFTWARE PRODUCT is licensed, not sold. 1. GRANT OF LICENSE. This agreement grants you the following rights:
1.1 Software Product. Metal Samples Corrosion Monitoring Systems grants to you as an individual, a personal, nonexclusive license to use the SOFTWARE for the sole purposes of downloading and plotting corrosion data from data logger instruments purchased from Metal Samples Corrosion Monitoring Systems, and for calculating corrosion rate from corrosion coupons. 1.2 Storage/Network Use. You may also store or install a copy of the SOFTWARE PRODUCT on a storage device, such as a network server, used only to install or run the SOFTWARE PRODUCT on your other computers over an internal network. 1.3 You may not redistribute this SOFTWARE PRODUCT without prior permission from Metal Samples Corrosion Monitoring Systems. 1.4 You may not sell this SOFTWARE PRODUCT.
2. DESCRIPTION OF OTHER RIGHTS AND LIMITATIONS.
2.1 Limitations on Reverse Engineering, Decompilation, and Disassembly. You may not reverse engineer, decompile, or disassemble the SOFTWARE PRODUCT. 2.2 Rental. You may not rent, lease, or lend the SOFTWARE PRODUCT. 2.3 Support Services. At their discretion, Metal Samples Corrosion Monitoring Systems may provide you with limited support services related to the SOFTWARE PRODUCT. 2.4 Termination. Without prejudice to any other rights, Metal Samples Corrosion Monitoring Systems may terminate this agreement if you fail to comply with the terms and conditions of this agreement. In such event, you must destroy all copies of the SOFTWARE PRODUCT and all of its component parts.
3. COPYRIGHT. All title and copyrights in and to the SOFTWARE PRODUCT are owned by Metal Samples Corrosion Monitoring Systems. The SOFTWARE PRODUCT is protected by copyright laws and international treaty provisions. Therefore, you must treat the SOFTWARE PRODUCT like any other copyrighted material. 4. U.S. GOVERNMENT RESTRICTED RIGHTS. The SOFTWARE PRODUCT and documentation are provided with RESTRICTED RIGHTS. Use, duplication, or disclosure by the Government is subject to restrictions as set forth in

18
subparagraph (c)(1)(ii) of the Rights in Technical Data and Computer Software clause at DFARS 252.227-7013 or subparagraphs (c)(1) and (2) of the Commercial Computer Software-Restricted Rights at 48 CFR 52.227-19, as applicable. 5. EXPORT RESTRICTIONS. You agree that neither you nor your customers intend to or will, directly or indirectly, export or transmit the SOFTWARE PRODUCT to any country to which such export or transmission is restricted by any applicable U.S. regulation or statute, without the prior written consent, if required, of the Bureau of Export Administration of the U.S. Department of Commerce, or such other governmental entity as may have jurisdiction over such export or transmission.