Cisco Unified Collaboration Training
31
Gardner Long Vice President Technology November 1, 2020 8841, 8832, and 3905 Model IP Phones for CUCM Cisco Unified Collaboration Training
Transcript of Cisco Unified Collaboration Training

Gardner LongVice President TechnologyNovember 1, 2020
8841, 8832, and 3905 Model IP Phones for CUCM
Cisco Unified Collaboration Training

• Basic IP Phone Usage• Advanced Phone Features• IP Phone Customizations• What’s Next?
Agenda

8841 IP Phone Basics

Cisco 8841IP Phone
Handset with Message Waiting Indicator
MessagesNavigation PadMid-Call Options
HoldTransfer - Conference
Audio OptionsHeadset – Speaker
Mute
Volume
Session Buttons
Soft Keys
Dial Pad
SettingsContacts
Display
End Call KeyBack Key
Line Buttons

There are multiple ways to initiate a call on your new phone.
1. Lift the handset and begin to dial, just like you would on a standard desk phone.
2. Press the Speaker Phone button and begin to dial
3. Press the button next to the phone number you wish to call from (the Line button) and begin to dial.
4. Dial the number first, then choose any of the above options to place the call.
Making a Call

• External Calls• Dial 8 or 81(long distance), then enter the number you wish to call.
• Internal Calls (Calling others with ChattState numbers)• Your extensions are 4 Digit numbers. Dial a colleague’s 4-digit extension
number to call them.
• Calling between ChattState locations• Dial 4 digits between sites.
Dialing Options
Your External Caller-ID
Your Extension Number

Just as with making a call, you have several options for ending your call.1. If you are talking on your handset, simply place the handset back in
the receiver to end the call.2. Press the soft key located under the word End Call in the display of
your IP Phone.3. Press the Speaker Phone or End Call Button.
Ending a Call

1. Lift the handset, just like you would on your home phone.
2. Press the Speaker Phone button.3. Press the button next to the phone
number (the Line button) which is ringing.
4. Press the Answer softkey.
Answering a Call
The Caller ID of the person calling will appear in the display.
There are multiple ways to answer a call on your new phone

When you place a call on hold, the person on hold hears Music and you can not hear them. You should use hold if you are going to step away from your desk during a call, or need to leave the conversation for a brief period of time.• To place a call on hold, press the Hold button.
• Hanging up the handset will not disconnect the call when the caller is on hold.
• The hold icon will appear next to the call in the display of your IP Phone to indicate the call is currently on hold.
• To return to the call, press the soft key under the word Resume in the IP Phone display.
Place a Call on Hold

When you place a call on Mute, you can still hear the caller, but they cannot hear you. You should use mute if you want to remain in the conversation but do not wish to be heard. The other person (or people) on the phone will not have any indication you have momentarily silenced your end of the conversation.• To place a call on mute, press the Mute button. The button will
remain lit in red to indicate the call is currently on mute.• To remove yourself from mute, simply press the Mute button
again. The button will no longer be lit.
Mute a Call

When you have a call on your line, you may transfer that call to anyone in or outside the college. 1. With the call live on your line (not on hold), press the Transfer
button. This will put the caller on hold automatically, and you will hear dial tone.
2. Enter the telephone number you wish to transfer to. You will need to enter this just as you would dial it directly from your phone.
3. You may either press the Transfer button again to immediately complete the transfer, or you may wait for the other person to answer the call, speak to them, then press Transfer again when you are ready.
Transfer a Call

Conference Calls allow you to be on a single phone call with (6)additional participants.1. With the first participant on an active call, press the Conference
button. This will place the first caller on hold.2. Once the second call is answered, press the Conference button
again to add the second call to the first. You can now talk to both participants at the same time.
Repeat the above steps to add up to 6 total calls.
Conference

Before you may begin checking voicemail messages, you must first initialize your mailbox. It is very important that you do this only from YOUR assigned IP Phone.
1. Press the Messages button on your IP Phone.
2. Enter the default PIN: 8675309 then press #. 1. The system will begin to explain the process to you and walk your through setup, step-by-step.
3. Speak your first and last name when prompted to record your name for the company directory.
4. Record your standard voicemail greeting that callers will hear when you do not answer your phone.
5. Set your 6 PIN number to use when you log in to your voicemail.
6. Voicemail will be transcribed and sent to your email address.
Working with Voicemail

Working with Voicemail
IMPORTANT NOTICE!
Once the new system in place, your old voicemails will no longer be accessible. Prior to your cutover date, you must retrieve any new or saved messages in your old mailbox. These messages will NOT be moved over to the new system.

8841 IP Phone Advanced Features

Soft keys are pre-programmed options that will change depending on the current state of your phone. For example, if you are on an active call, you may see EndCall and Call Park in the display above the buttons, but when your phone is ringing, you will see Answer and Divert (send direct to voicemail) above those same buttons.
Soft keys offer more advanced features, such as Call Forward, Redial, and Speed Dial. If you do not see the feature you would like to use, press the Moresoft key to see the next page of options.
Soft keys

You have the ability to forward all your telephone calls to another extension, an external telephone number, or your voicemail. When your IP Phone is forwarded, your IP Phone will not ring with incoming calls.
1. Press the soft key under the Forward in the IP Phone display.
2. Enter the phone number you wish to forward your calls to, exactly how you would dial it directly from your IP Phone.
3. The phone number your calls are forwarding to will be shown in the display of your IP Phone.
4. To cancel the forwarding, press the Off Fwd soft key.
To forward to your voicemail, press the Fwd All soft key, then press your Messagesbutton.
Forward Calls

You can look up the phone numbers of colleagues and dial them directly from your Cisco IP Phone using the Contacts button.
1. Press the Contacts button.
2. Use the Navigation Pad to scroll down to the Corporate Directory.
3. Press the Select button in the center of the Navigation Pad.
4. Search for a colleague by entering some or all of the information in the First Name and Last Name fields, then select Search.
5. When you locate the person you wish to reach, highlight the name, then lift your handset or press the Speaker Phone button to place the call.
Contacts

You can view a list of all past received, placed, and missed calls.
1. Press the Applications button.
2. The first option will be Recents. Press the Select button in the center of the Navigation Pad.
To dial from Call History, use the Navigation Pad to highlight the number you wish to call, then lift the handset or press the Speaker button. Other options will show up in the Soft Keys.
Your last 150 calls will be saved.
Call History

Customizing Your 8841 IP Phone
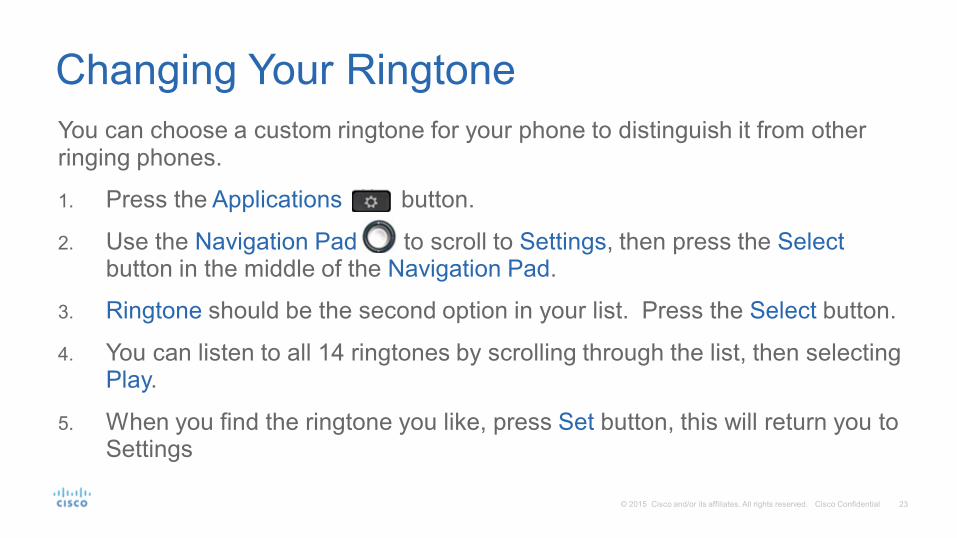
You can choose a custom ringtone for your phone to distinguish it from other ringing phones.
1. Press the Applications button.
2. Use the Navigation Pad to scroll to Settings, then press the Select button in the middle of the Navigation Pad.
3. Ringtone should be the second option in your list. Press the Select button.
4. You can listen to all 14 ringtones by scrolling through the list, then selecting Play.
5. When you find the ringtone you like, press Set button, this will return you to Settings
Changing Your Ringtone

• You may choose to wall mount your telephone.• You can change the brightness on your phone display by pressing
the Applications button, then choosing Settings, Navigate through options. Use the Navigation Pad to increase or decrease the contrast.
• You may use the Volume Bar to change the volume of the ringer when you are not on an active call, or change the handset volume when you are on an active call.
Other Customizations

• You may record up to 6 Alternate Greetings to play instead of your Standard Greeting. When logged in to your voicemail, choose Option 4 for Setup, then Option 1 to Manage Your Greetings.
• You can set your Out of Office message to turn off and on based on a schedule. The system will ask you if you wish to apply an end date when you select an alternate greeting.
• While listening to messages, you may press 64 to Speed Up playback, or 66 to Slow Down playback.
Customize Your Voicemail

Common Voicemail Commands
While Listening to Messages1 Repeat Message2 Save Message3 Delete Message4 Replay Message5 Fast Forward Message6 Mark as New7 Rewind Message* Return to Main Menu
Main Menu1 New Voicemail2 Send Voicemail3 Saved Messages4 Setup Options* Exit
Setup Options1 Greetings2 Message Options3 Personal Options4 Transfer Options* Return to Main Menu

• You may create up to 199 speed entries for frequently called contacts. To do this, you must open a web browser and navigate to the Communications Manager Self Care Portal located at:
https://cscm1.cstcc.lan/ucmuser/
Adding Speed Dials
• Your username and password is the same username and password you use to log in to your computer.
• Click Sign In to continue.

• Click the Phone Settings tab in the left column, then expand Speed Dial Numbers.
• Locate the phone you wish to modify, then click Add New Speed Dial.
Adding Speed Dials
Any existing speed dial entries will be displayed under your device name.

• Enter the telephone number for your speed dial exactly how you would dial it from your phone, including an 8 for external or 81 for long distance.
• Type a label for your entry.• Choose what speed dial
number you want to associate to the entry.
• Click Save.
Adding Speed Dials
You may enter commas in the telephone number to add a pause. Each comma represents a 2 second pause.

• To dial one of your speed dial entries, press the down dot on the Navigation Pad find the Speed Dial Number you assigned, then press the Call soft key, you will see the first 8 speed dial numbers.
• If you have line buttons not currently being used for other features, your first speed dials will appear on those available buttons. Simply press the corresponding button to dial these entries.
Using Speed Dials

What’s Next?

• Check Your Phone!1. Look at your phone and verify that your line information is correct. 2. Set up your new voicemail and clear out your existing mailbox.
• Practice!• Make some internal phone calls from your new phone while still receiving calls
on your old phone.
• Contact (HelpDesk or place a ticket) with any questions.
Your new Cisco IP Phone will go LIVE on 11/18/20 4:00PM!
Start Collaborating