
Bows and Arrows, Homemade - Paul Carpenter, hiking …mountain-moments.co.uk/web components/bows and...
15
Bows and Arrows, Homemade A pictorial guide Copyright © 2011 Paul Carpenter Learn how to make a long Bow a flat bow Plus the all important arrows and bow string
Transcript of Bows and Arrows, Homemade - Paul Carpenter, hiking …mountain-moments.co.uk/web components/bows and...
Bows and Arrows, Homemade
A pictorial guide
Copyright © 2011 Paul Carpenter
Learn how to make
a long Bow
a flat bow
Plus the all important arrows and bow string
2
Published by Lulu.com
ISBN number 978-1-4709-4008-9
Other publications by Paul Carpenter
Travel;
Six Mountain hikes from around the World
The Moray way and the Ben Macdui Trail
Crafts;
Leather and Wood Crafts
The leather lace Bullwhip
Leather Armour
Leather Projects
3
Contents
Make a Long Bow from staves 5
Including: tools, marking out, roughing out, tillering, final tiller and backing.
With an introduction to tanning and dying rawhide.
Make a Flat Bow from Timber 23
Including: selection of wood, marking out, initial floor tillering, backing with rawhide, final tiller and polish.
With ideas for other backing methods for weak spots or when using soft wood.
Make Arrows and String 41
Including: shaft sizes, making the nock, paint/decoration, points, different fletch and how to attach them.
String jig, setting up string, making end loops/serve, reverse twist dacron string.
Resources 63
4
As always, the procedures outlined within this book you do at your own risk.
Caution – if you do use axes, power tools and other potentially
dangerous tools, make sure you know how to use them i.e. how to
stand/hold/cut with them – it’s the wood your trying to cut not you
or anybody else – use of apparatus (which make bow making easier
and safer) such as shave Horse.
5
Making a long bow from staves
Making bows with timber or staves that you have cut down and dried for a year or bought is possibly one of the greatest ways to make a bow – it is essentially a naturally laminated bow of sap and heart wood made the way you want it like people all over the world have been doing since time began. I call these self bows because of that, although some call them long bows. I say call it what you want, you made it.
What most should agree on is that naturally dried wood, as opposed to heat dried wooden timbers retains alot more of its strength per similar volume to timbers because the cells and fibres are not damaged as much.
Tools, marking and roughing out, then tillering, backing finishing with two short pieces about tanning and dyeing of rawhide.
6
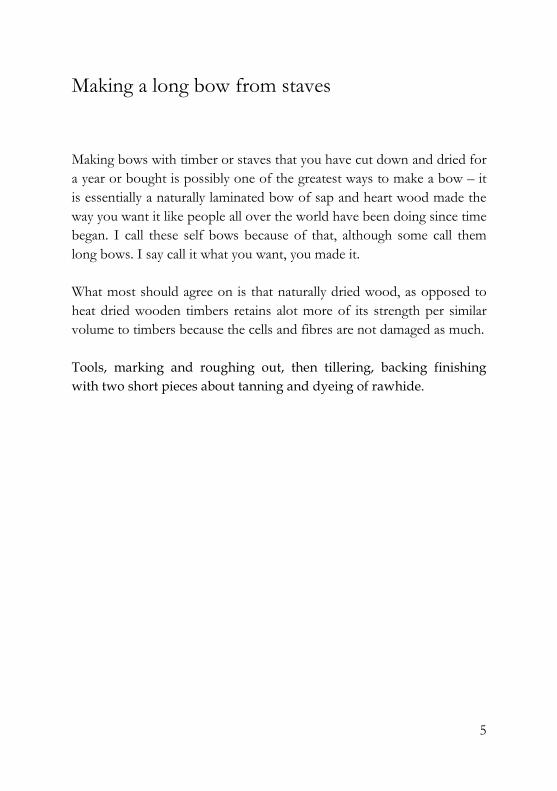
Figure 1
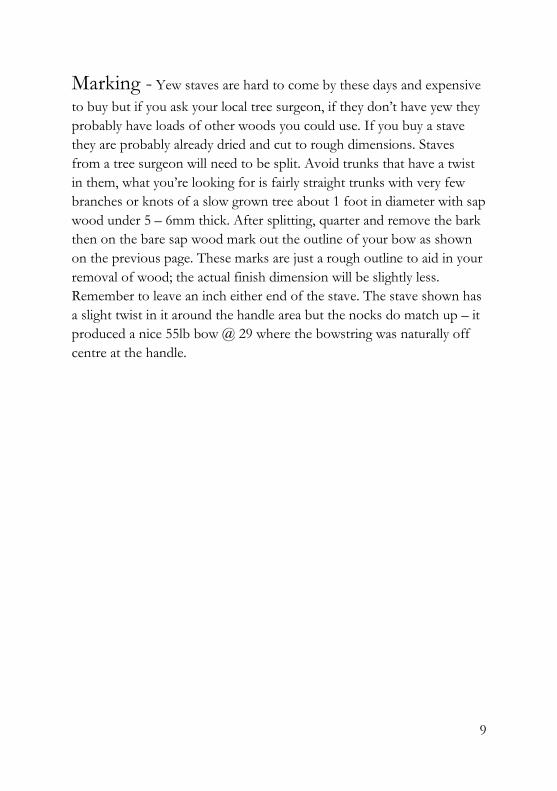
This is a 50lb yew bow (low altitude grown yew) and when first made could shoot an arrow to 160m but I have made bows out of mountainous American white ash and Osage orange which were longer and of narrower profile that could easily out shoot that distance (gotta make sure you’re in a really big field when testing these bows!!).
7
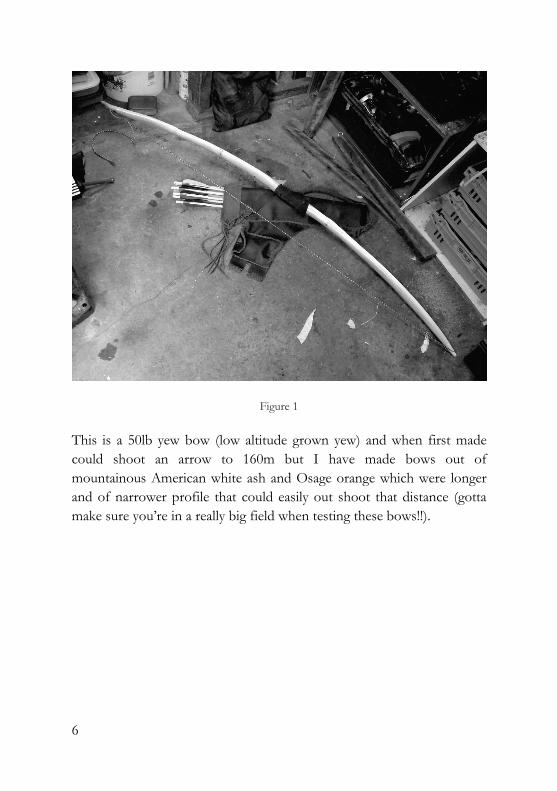
Figure 2
Tools - Gransfors axes are quite expensive but they are sharp and keep their edge very well, although other axes would do. The drawknife I use has a very thin blade unlike many others I’ve got and seems to allow me more control while cutting. Lastly the shaving horse is possibly the best bit of gear for self bow making, a perfect third hand positioning the bow at the right angle – plans for these can be found in Google land.
8
9
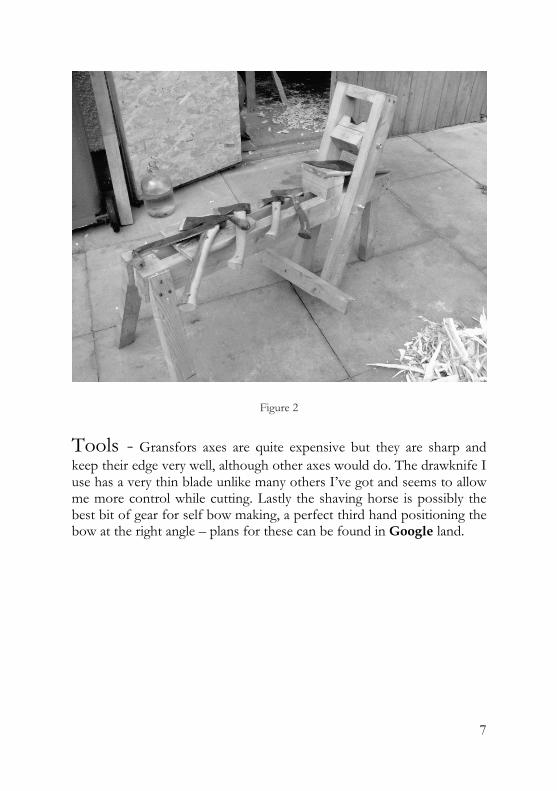
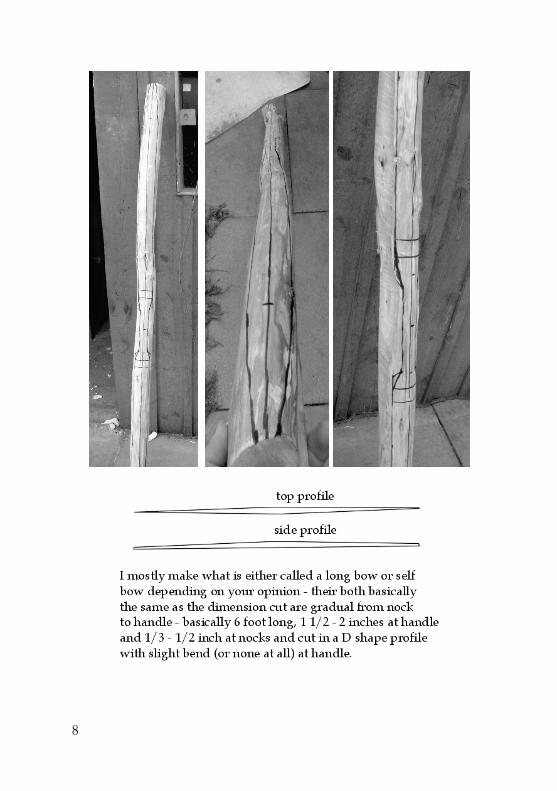
Marking - Yew staves are hard to come by these days and expensive to buy but if you ask your local tree surgeon, if they don’t have yew they probably have loads of other woods you could use. If you buy a stave they are probably already dried and cut to rough dimensions. Staves from a tree surgeon will need to be split. Avoid trunks that have a twist in them, what you’re looking for is fairly straight trunks with very few branches or knots of a slow grown tree about 1 foot in diameter with sap wood under 5 – 6mm thick. After splitting, quarter and remove the bark then on the bare sap wood mark out the outline of your bow as shown on the previous page. These marks are just a rough outline to aid in your removal of wood; the actual finish dimension will be slightly less. Remember to leave an inch either end of the stave. The stave shown has a slight twist in it around the handle area but the nocks do match up – it produced a nice 55lb bow @ 29 where the bowstring was naturally off centre at the handle.

10
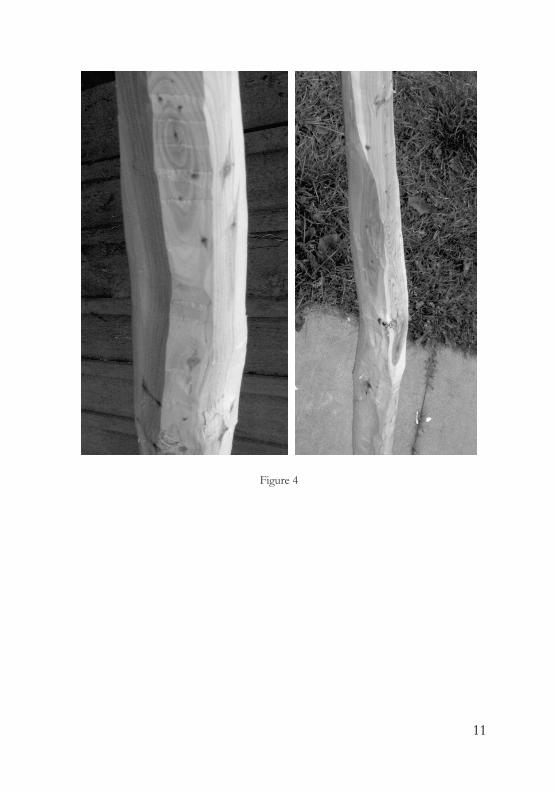
Figure 3
Roughing out – Both Figures 3 and 4 show different stages in the removal of wood – Start with the camp and mini hatchets to rough cut the stave to just above your dimension lines starting from the handle downwards – it is advisable to rest the stave on a chopping block as you near the nocks to protect the axe blade. Be careful as ever and take your time, chopping and looking at the stave now and again, plus make sure you are standing properly and well balanced – cut the wood not yourself or anyone else. Next the stave should now fit into the shaving horse clamp – starting at the handle again use the drawknife to shave the wood down to the dimension lines and create a rectangular profile of the stave. If the stave has thick sap wood, you will need to shave that down as well to roughly 5mm thick – the power of a bow is in the heart wood so leaving too much sap will produce a very weak bow.
11
Figure 4
12
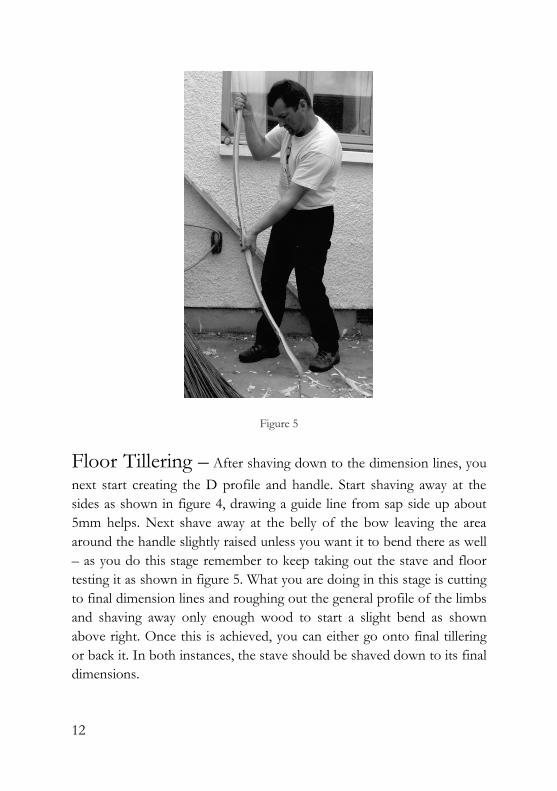
Figure 5
Floor Tillering – After shaving down to the dimension lines, you next start creating the D profile and handle. Start shaving away at the sides as shown in figure 4, drawing a guide line from sap side up about 5mm helps. Next shave away at the belly of the bow leaving the area around the handle slightly raised unless you want it to bend there as well – as you do this stage remember to keep taking out the stave and floor testing it as shown in figure 5. What you are doing in this stage is cutting to final dimension lines and roughing out the general profile of the limbs and shaving away only enough wood to start a slight bend as shown above right. Once this is achieved, you can either go onto final tillering or back it. In both instances, the stave should be shaved down to its final dimensions.
13
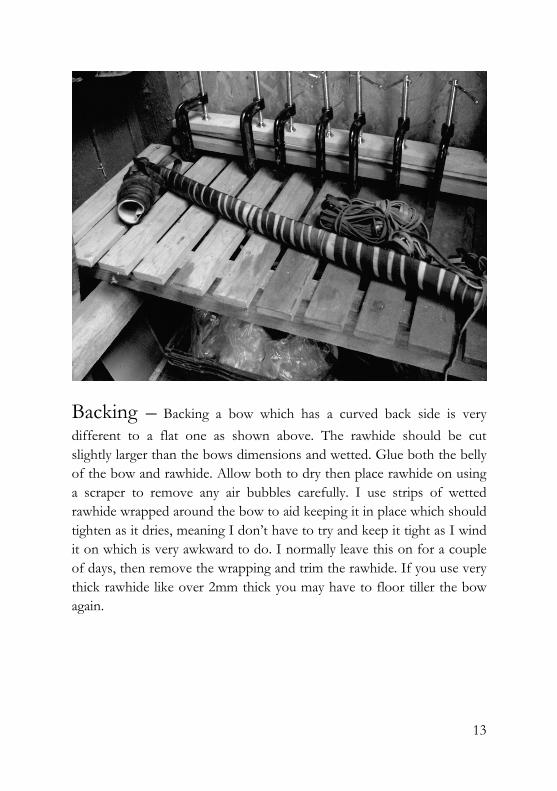
Backing – Backing a bow which has a curved back side is very different to a flat one as shown above. The rawhide should be cut slightly larger than the bows dimensions and wetted. Glue both the belly of the bow and rawhide. Allow both to dry then place rawhide on using a scraper to remove any air bubbles carefully. I use strips of wetted rawhide wrapped around the bow to aid keeping it in place which should tighten as it dries, meaning I don’t have to try and keep it tight as I wind it on which is very awkward to do. I normally leave this on for a couple of days, then remove the wrapping and trim the rawhide. If you use very thick rawhide like over 2mm thick you may have to floor tiller the bow again.
14
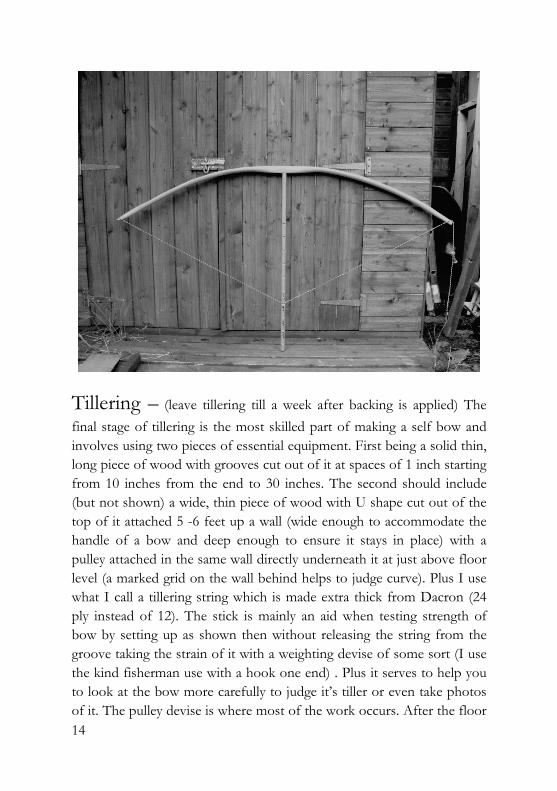
Tillering – (leave tillering till a week after backing is applied) The final stage of tillering is the most skilled part of making a self bow and involves using two pieces of essential equipment. First being a solid thin, long piece of wood with grooves cut out of it at spaces of 1 inch starting from 10 inches from the end to 30 inches. The second should include (but not shown) a wide, thin piece of wood with U shape cut out of the top of it attached 5 -6 feet up a wall (wide enough to accommodate the handle of a bow and deep enough to ensure it stays in place) with a pulley attached in the same wall directly underneath it at just above floor level (a marked grid on the wall behind helps to judge curve). Plus I use what I call a tillering string which is made extra thick from Dacron (24 ply instead of 12). The stick is mainly an aid when testing strength of bow by setting up as shown then without releasing the string from the groove taking the strain of it with a weighting devise of some sort (I use the kind fisherman use with a hook one end) . Plus it serves to help you to look at the bow more carefully to judge it’s tiller or even take photos of it. The pulley devise is where most of the work occurs. After the floor
15
tiller is over, attach the tillering string and place the bow in the wood fixed into the wall, then attach another string from that string directly underneath the centre of the bow, play it through the pulley and walk back. The purpose of this is so you can first pull the bow a few times (allowing the bow to compensate for any wood removed) and judge where any needs to be removed. In the photo above it is obvious that although the right limb is fairly even in the way it bends, the left one bends more near the handle then has no bend from the mid section to the nock – you only remove wood where it does not bend, so it would mean that a little should be removed from the left mid section to the nock. When I say a little, I mean that you may have to only use sand paper, definitely don’t use an axe or the drawknife. The most essential thing to do is re-test the tiller after every small piece of wood removed. It takes time and you may ruin it a few times, I did and still do after not making one for awhile. You test the tiller all the way from strung to 30 inches.