Art & Science of Discoverer A look at Discoverer 10g Release 2 Baton Rouge User Group Michael...
144
Art & Science of Discoverer Art & Science of Discoverer A look at A look at Discoverer 10g Release 2 Discoverer 10g Release 2 Baton Rouge User Group Baton Rouge User Group Michael Armstrong-Smith
-
Upload
loreen-fitzgerald -
Category
Documents
-
view
218 -
download
1
Transcript of Art & Science of Discoverer A look at Discoverer 10g Release 2 Baton Rouge User Group Michael...

Art & Science of DiscovererArt & Science of Discoverer A look at A look at
Discoverer 10g Release 2Discoverer 10g Release 2Baton Rouge User GroupBaton Rouge User Group
Michael Armstrong-Smith

A look at:Discoverer 10g Release 2
Data is limited – imagination knows no bounds
Please turn cell phones to mute
If you must make or take a call, please step outside

About Michael
Member of Oracle’s customer advisory board for business
intelligence
Co-author of Oracle Discoverer Handbook
Presenter at IOUG, OAUG and ODTUG
Fellow of Institute of Analysts and Programmers
MetaLink and OTN Forum panel expert
9 years experience of Discoverer and Oracle Applications
Over 25 years IT experience
Designated an Oracle ACE in 2006

Oracle Discoverer 10g Handbook
Released March 2006
Available on Amazon.com or via learndiscoverer.com

Armstrong-Smith BI Services
ASC offers the following BI services:Training
Standard Discoverer Training– End User – 3 days; Admin – 2 days
Customized Training – we train on your data– Discoverer– E-Business Suite– Oracle Warehouse Builder
ConsultancyInstallation; EUL creation; report creation; system evaluation; system security; data warehouse creation
Remote supportLet us manage your Discoverer environment or develop your data warehouse for you

http://learndiscoverer.com

http://learndiscoverer.blogspot.com

Session Objectives
This presentation covers: Is Discoverer going away?What’s good? A bullet point of the best featuresManaging Discoverer - a new approach to corporate best practices using librariesAn overview of Discoverer’s components - emphasis on best featuresLogging in - the log in mechanism makes for interesting possibilitiesCreating workbooks using Plus
Showing off the best featuresAvoiding the Query from the Twilight Zone
Executing workbooks using ViewerMaking use of the best features
Configuring Discoverer - set up a corporate look and feel

Questions and Answers
Question and Answers:
After each major section
10 minutes at the end

Is Discoverer going away?

Is Discoverer going away?
NO – NO – NO

Oracle acquisitions
In past few years:
Peoplesoft
Siebel
Hyperion, includes Brio
Others to come
Combining all of this:
Fusion

Impact of Siebel Analytics
At the time of purchase, Oracle inferred, but never officially announced, that Discoverer would no longer be developed and would eventually be de-supported.Outcry from the Discoverer community, particularly the U.S. Government who are heavily invested in Discoverer.Oracle told that if they were forced out of Discoverer, they would look elsewhere for a BI solution.Within a few months, Oracle restated their position concerning Discoverer and reaffirmed it in the most recent direction statement in June 2007.Oracle have announced the next two releases of Discoverer and the enhancements that will be made to those releases.
10.1.2.311g

Oracle Statement of Direction

Why BI Standard Edition?
You already know and use:Oracle DatabaseBI Discoverer, with hooks to
Oracle PortalSSO, OIDE-Business Suite
Oracle Warehouse BuilderComplete solution from one vendorYou need affordable BI now

Oracle offer a complete low-cost solution
No need to pick and choose from best of breed and hope that components fit together
ETL – Oracle Warehouse Builder
Ad-hoc query – Oracle BI Discoverer
Dashboards – Oracle Portal
Pixel perfect reporting – BI Publisher
Custom BI development – BI Beans
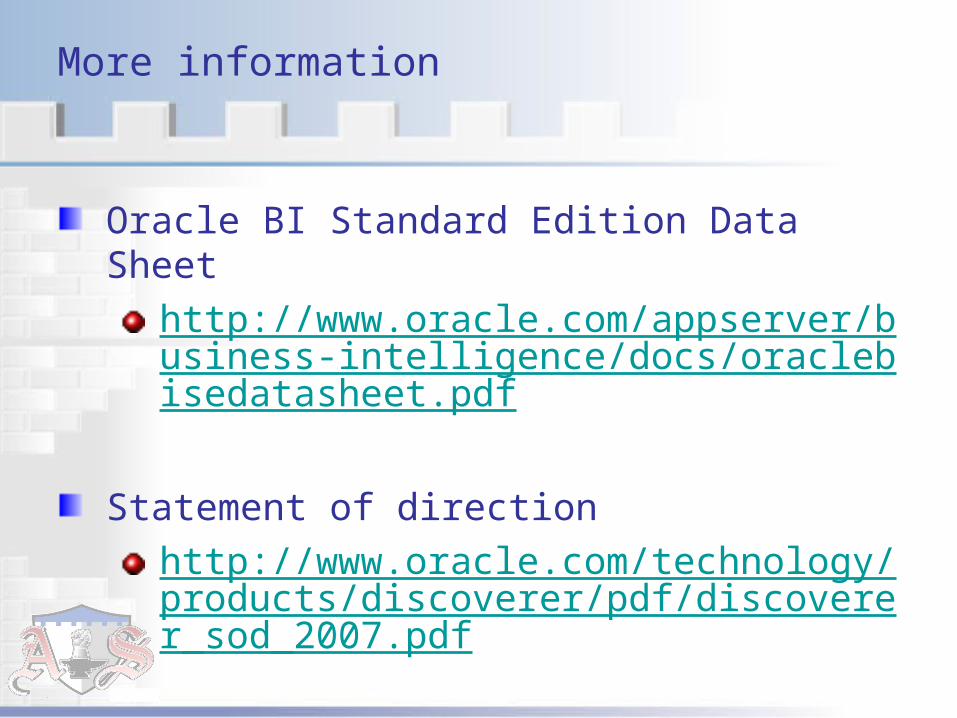
More information
Oracle BI Standard Edition Data Sheet
http://www.oracle.com/appserver/business-intelligence/docs/oraclebisedatasheet.pdf
Statement of direction
http://www.oracle.com/technology/products/discoverer/pdf/discoverer_sod_2007.pdf

What’s good in 10.1.2?

Reporting Possibilities
Parameter enhancements
Cascading parameters
Optional and Mandatory parameters
Support for keywords and tokens
SYSDATE, NULL and USER
Exception handling
Conditional formatting (formerly Exceptions)
Stoplight formatting

Reporting Possibilities
Greatly enhanced Viewer capability
Save
If enabled you can save changes
This depends on individual privileges
High fidelity printing within Viewer
Print to PDF
Export to PDF
If enabled, send worksheet content as an attachment to an email

Reporting Possibilities
ExportEnhanced export with more export types
Export to PDF
Text area for annotationAdd comments to help other users
Improved GraphingNew graph typesChoose where to place graphs in relation to the data
To the left, right, above, belowIn a separate window

Ease of Use
Discoverer Plus user interfaceSimple to use log on dialogAvailable items paneSelected items pane
Superb drillingHyper drill to other worksheetsHyper drill to URLs
Sharing of scheduled workbooksDisseminate information by allowing other users to share your results

Ease of Use
Workbook ManagementFiltering of users by typeUser and workbook lists fetched incrementallyNew views to organize workbook lists
Interactive PivotingInteractively pivot items direct in the worksheetNo need to go to the Edit Worksheet dialog box
Date selectionProvision of a calendar style date picker for entering dates in
ParametersWhen creating conditionsScheduling Workbooks

Not covered this presentation
Discoverer Plus for OLAP now leverages the OLAP that you will find in the databaseDiscoverer portlets enhanced
New gauges portletPersonalization that allows you to change:
Parameter valuesFormatsLayoutGraph Types
Portal parametersChange the results in all or some of your portlets via a Portal parameter. Wired to portlets so that when parameter changes the portlet will refresh.

What’s Missing?
As far as we can see, the only features missing in the web based Discoverer are:
Ability to save to the file systemYou can only save to the database
Ability to create and edit sub queriesThis can still be done in Discoverer Desktop and they can be executed in Plus and Viewer
The correct use of Hyper Drills can, in most cases, replace sub queries

Part 1
Managing Discoverer - a new approach to corporate best practices using libraries

Managing Discoverer is an art - not a science – and is not something you can just throw a resource at and expect to see a successful, efficient, smooth running environment.
Without adequate training and guidance you will not get the most out of Discoverer.

Objectives
In this section, we will cover:
Why libraries are needed
The definition of a Discoverer library
The characteristics of a Discoverer library
The library manager
How to gain access to a library report

Libraries end chaos
Do you have multiple, similar workbooks and worksheets?
Does the left hand know what the right hand is doing?
Do your users reinvent the wheel?
Do you have a myriad of report styles?
What happens when the original developer leaves the company?

Background
“What starts right – stays right”
The benefit of doing it correctly - the first time - is piece of mind and credibility with your customers
What defines success?
Success in many respects has more to do with delivering reliably on organizational expectations rather than simply installing the technical software environment.

What is a Discoverer library?
A Discoverer library is a collection of reports based around a common theme or business unit.
The reports in a library differ from normal workbooks, and reports that are owned by individual report writers.

Libraries in 10g Release 2

Characteristics of a Discoverer Library
Owned by a library manager
Guaranteed to be accurate and perform efficiently
Guaranteed to adhere to corporate standards
Centrally documented
Centrally maintained
Secure with access being strictly controlled

Owned by a library manager
Not normally a real user but
A database role or Oracle Applications responsibility that can be granted to a user.
Doing this
Ensures the continued existence of the library following the departure of a manager, either from the company or from the position of being the library manager.
The Discoverer manager also has the library manager role for all libraries.

Guaranteed to be accurate and perform efficiently
To be held in a library, candidate reports
Meet a specification or business need
Have stringent user testing to confirm that they do what they are supposed to do.
Before being put forward as candidates for the library, new reports will require
User sign off
Documentation

Guaranteed to adhere to corporate standards
Typical corporate standards dictateThe layout, style and naming conventions that will be usedThat there should be an agreed list of abbreviations to which all library reports conformThat standard headers and footers will be employedThat the data will be displayed in your corporate colorsA confidentiality statement will be used where necessary

Centrally documented
Library documentation is maintained
Documents have meaningful descriptions
Special requirements are explained in detail
Includes a set of screenshots
End Users can use this documentation to:Understand what the report does and
Decide whether it satisfies their needs

Centrally maintained
Change is controlled
Justification is required for all change
Consultation process, followed by acceptance or rejection of the request.
When accepted, the library manager will release the report and assign it to a report writer.
Following completion of the change the report will need
user testing, sign off, and updated documentation prior to acceptance back into the library.

Secure with access being strictly controlled
Access is controlledAccess request requiredNo user will be allowed to change a library reportFollowing the approval of a request the library manager will liaise with the Discoverer manager to ensure that the user has access to the relevant business areaWhen this confirmation has been received the library manager will share the report with the userFinally, the user will be informed that their request has been accepted and that the report is now available to them

The Library Manager
The library manager is a very important member of the support staff with whom users need to maintain contact. The library manager is responsible for the following:
Maintaining and publishing the approved list of reports within the library
Accepting or denying requests for new reports
Accepting or denying requests for access to reports
Being a source of help to management for report availability

The Library Manager - continued
Library managers do not write Discoverer reports.
They are working on a higher plane and are more concerned with:
Report availability and
The accuracy of the reports than the inner workings of the reports

Creating new library reports
This is the flow that should be used to get a new report created and added to the library1. New report specifications required2. Existing reports examined3. Report writer assigned the task4. User acceptance testing must be completed5. Documentation produced by report writer6. Library manager
Checks that corporate standards have been metChecks that requirements have been metChecks documentation is completeAccepts new report into the libraryMakes report available to the end users

Gaining access to a library report
This is the flow that should be used in order for access to a library report to be granted1. A request is raised2. DBA, Apps Administrator and Discoverer Manager
do their tasksCreate user accountAssign roles and responsibilitiesAssign business area accessArranges Discoverer training
3. Library manager does his / her tasksAssigns report accessArranges departmental training
4. Notification back to end user

Library Summary
You should have learned that libraries are essential to managing Discoverer
You will soon learn how 10.1.2 Discoverer handles libraries easily

Discoverer Components
Administration (T)Desktop (T)Spreadsheet Plugin for OLAP (T)Plus (BI)Viewer (BI)OEM Application Server Control (BI)Portlets (P)
T = Tool, BI = Business Intelligence,P = Portal & Wireless

OBI Install
Oracle Business Intelligence (OBI)
Discoverer Plus
Discoverer Viewer
Not tightly coupled to infrastructure and portal

Installing OBI on XP
It will work, just not certified

OBI Tools Install
Oracle Business Intelligence Tools (OBI Tools)
Discoverer Admin
Discoverer Desktop
Spreadsheet Plugin for OLAP
Separate install from OBI and can be installed without OBI

Tools Installation Screen
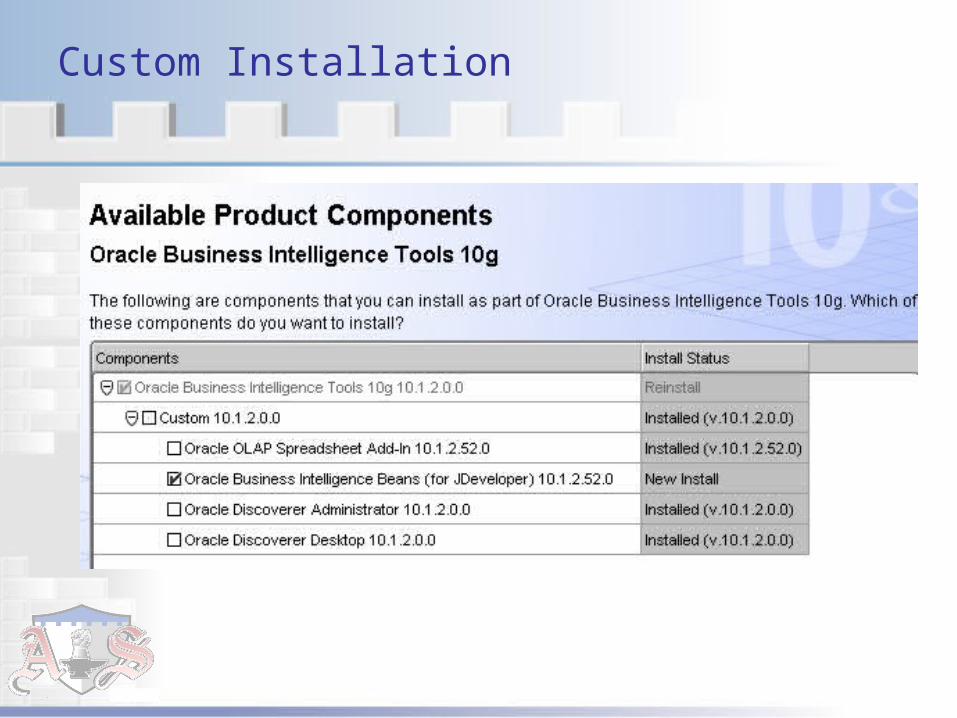
Custom Installation

Components Summary
Installing Discoverer is much easier than ever before
Not mandatory to install portal or an infrastructure at the same time that you install Discoverer Plus and Viewer
Logging In and Managing Connections
In this section we cover:
Types of Plus connection
Using an infrastructure
Creating private connections
Using OEM toHook up an Infrastructure
Manage public connections

Connecting without Infrastructure

Connecting with an Infrastructure

Hooking up an existing Infrastructure
Use this workflow to connect to an existing infrastructure:
1. Launch OEM Application Server Control
2. Click Infrastructure button
3. In Identity Management, click Configure
4. Provide your OID host and portusually 389

Creating a Private Connection
Workflow for creating private connection:
1. Click Create Connection
2. Provide Connection Details
3. Provide Account Details
4. Click Apply or Apply and Connect

Private Connection Screen
1. Give a name meaningful to yourself
3. Must be a TNS Names entry on the server
2. Enter you username and password

Multiple End User Layers
Then click
Select

Public Connections
Controlled by Discoverer Manager
Using OEM Application Server Control
You will need the ias_admin password
http://myserver:1810
E.g. http://devserver.abc.com:1810

OEM main screen
Infrastructure button

Main Discoverer screen
Administration button – use this to control connections
Use these links to control the individual Discoverer components
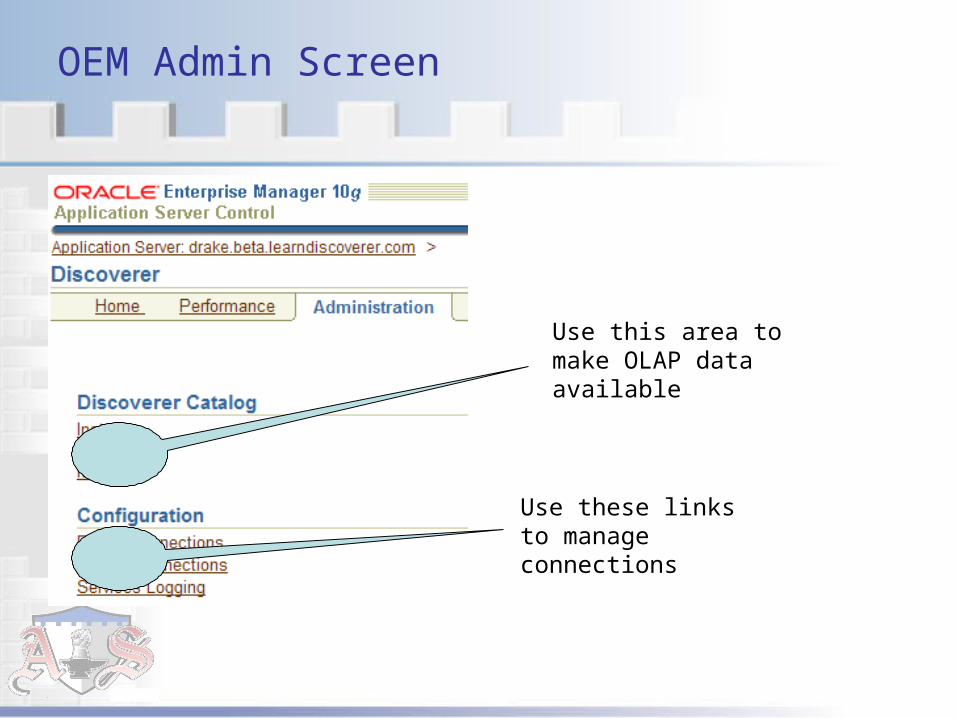
OEM Admin Screen
Use this area to make OLAP data available
Use these links to manage connections

OEM Connections Screen

Summary
In this section we covered logging in to Plus and Managing Connections and looked at:
Types of Plus connection
Using an infrastructure
Creating private connections
Using OEM toHook up an Infrastructure
Manage public connections
Using OEM to configure Plus and Viewer will be covered later
A first look at Viewer
In this section:We will now demonstrate the new Discoverer ViewerNote how the interface lends itself to the use of librariesSee in action
Cascading ParametersAnalytic FunctionsHyper DrillingConditional Formatting using Stoplights

Viewer Initial Screen

Viewer Workbook Selection
Library name
Click to see the list of worksheets

Expanded Worksheet List
Click worksheet name to execute the query

Getting Started in Viewer
Follow this workflow to get started with Viewer
1. Look at the list of available workbooks
2. If you are not sure which one you should open look at the
Description. Your Report Writer will have given you a
meaningful description of what the workbook does
3. After making your choice, click on the workbook title
4. Viewer will open the workbook and display the initial screen on
the next page
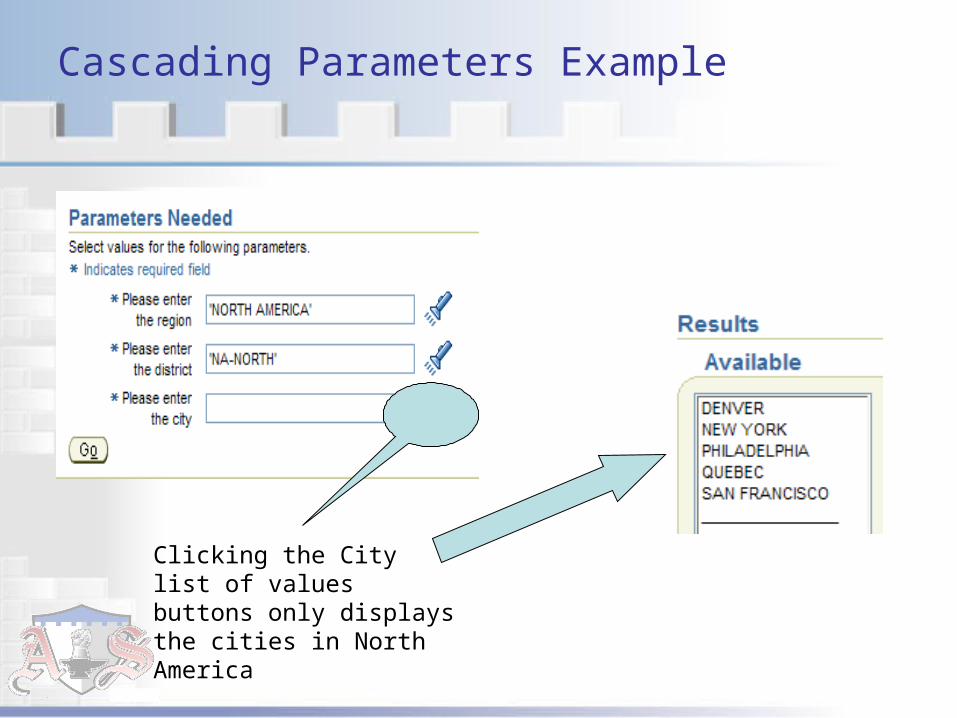
Cascading Parameters Example
Clicking the City list of values buttons only displays the cities in North America

Results – profit for American cities

Cascading Overview
You have seen how Discoverer has filtered the lists for District and City by the previous selections
Now we will move on to some of the analytic functions
From the list of workbooks, select Crosstab Analytics

Viewer – Crosstab sorting - hmm

Viewer – Table Sorting - better

Hyper Drilling in Viewer
Click the drill button
Pops up
Click on the drill you want

Drills through to new query
Notice how the date parameters are brought through from the previous workbook
Notice also that now we are now seeing all quarters for on customer

Drills to lowest level
Notice once again that the customer name has come through plus the quarter that we clicked on
This time we can see a month by month breakout for the quarter selected

Conditional Formatting in Viewer
Profit under 2m considered low,
2m to 4m is average,
while over 4m is high

How about this?
New profit types called:
High Profit
Average Profit
Low Profit
Not new in 10.1.2 but worth learning anyhow

Summary
You have seen how to connect and use Discoverer Viewer
You have also seen some examples of the new 10g features:
Cascading Parameters
Hyper Drilling
Conditional Formatting
In the next sections, Michael will show you how to build these queries using Plus

A first look at Plus
In this section:
The Query from the Twilight Zone
The new Plus interface
Watch as Michael used the new Discoverer Plus to build the queries you just saw in Viewer
Cascading Parameters
Analytic Templates
Hyper Drilling
Conditional Formatting
And more ….

The Query from the Twilight Zone
A query that never – or seems like never – returns any information. Once submitted, the query just appears to run forever; apparently having been submitted to that “big database in the sky” from whence nothing ever returns.
Somewhere out there in the bowels of data land are millions of queries still searching for their elusive data, and hopefully the users are not still sitting at their desks waiting

Six ways to avoid the Twilight Zone
1. Build Discoverer around efficient data warehouses or summary tables
2. Apply effective conditions (constraints) at the beginning to avoid long-running queries
3. Apply query governors to reduce• The time allowed, or• The number of rows returned
4. Apply a sort order after the query results have been determined
5. Create totals and subtotals on a subset6. Apply calculations after the query has run

Plus initial screen

Plus Workbook Selection
Library and workbook
names
Click to see list of worksheets

Plus Worksheet Selection
Notice the use of libraries

Available items and Selected Items

Visual Representation
As you check / uncheck items on the left, the graphic on the right changes to give you a visual
representation of how the worksheet will look

Cascading Parameters
Work best with hierarchies
Work beautifully with hierarchies
Build parameters in this order:
Highest detail to lowest detail
Place dependencies on lower level items

Base System

Time Hierarchy

Geographic Hierarchy

Product Hierarchy

Building Cascading Parameters
Create workbook including two or more items from a hierarchy, and at least one metric
We’ll work on the Geographic hierarchy
First condition on the Region
Second condition on the District
Third condition on the City

Workflow for a condition
Follow this workflow to create a condition using a parameter:1. Click Conditions tab2. Right click My Conditions3. Select New Condition4. Complete condition5. Set Values to New Parameter6. Complete New Parameter dialog box7. Complete New Condition dialog box

New Parameter dialog box

Complete Condition dialog box
This construct allows user to select ALL values by keying the word ALL

Adding the cascades
Check this box
Check one or more of the existing conditions
Note: pick the conditions that form the hierarchy

Using Analytic Templates
We will:
Duplicate the cascading worksheet as a crosstab
Add Rank function
Add Running total

Set up the Crosstab

Crosstab Formatting
Change to Inline

Add Analytic Function
To add an analytic function, using templates, use this workflow:
1. Right click My Calculations
2. Select New Calculation
3. Click Insert Formula from Template
4. Select function
5. Click OK

Function List (Rank Selected)Note the automatic selections

Result with Ranking
OK so far, need to sort the profit

Sorting in a Crosstab
In Plus, it is not possible to do the sort that we require, it is not possible in Desktop either!
Michael will demonstrate
Need to replicate as table, and then sort

Add running total
Use workflow to create calculation using analytic formula
This time select Running Total
Let’s go with the default settings
What went wrong?

What went wrong?
Why is running total wrong?

The corrected Running Total

Moving on to Hyper Drills
The new 10.1.2 Plus can Hyper Drill to:
Worksheets, passing parameters
URLs
Need to plan the worksheet hyperlinks in advance
Build workbooks in reverse order
Add hyperlinks as we go

Planning Hyperlinks
Decide how the worksheets will interlinkTop Level
Select Ship Qty by range of years, showing data for all customers – from here we want to select a customer and then drill to the:
Middle Level, whereWe will display the Ship Qty for all quarters for the year range and customer name passed from the top level - from here we want to select a quarter and then drill to the:
Lowest Level, whereWe will display the Ship Qty for the three months in the drilled quarter for the customer passed through from the top level
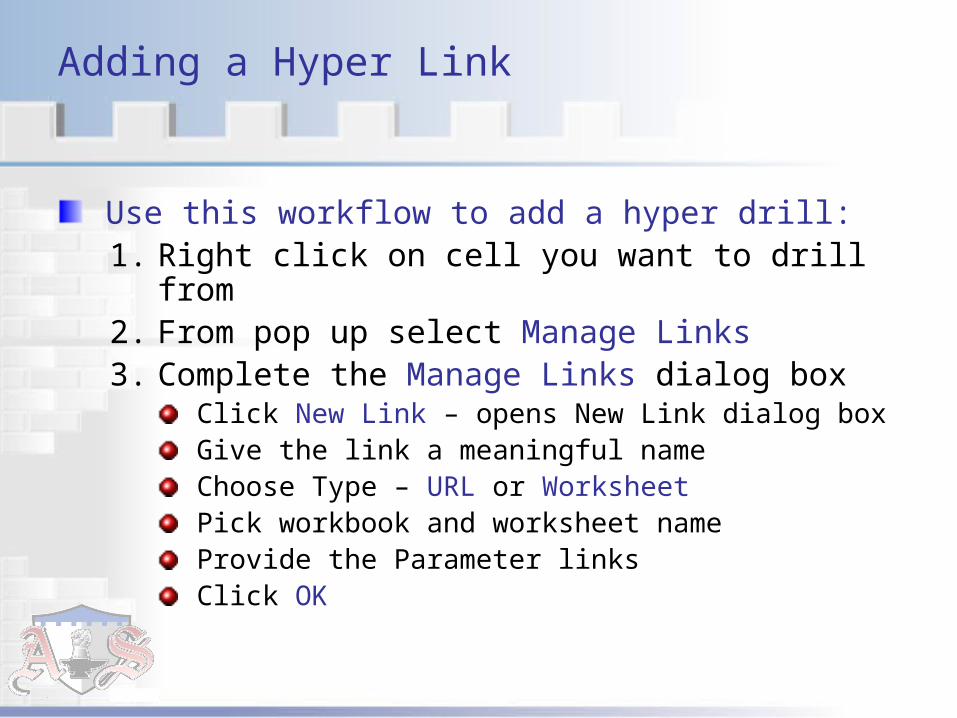
Adding a Hyper Link
Use this workflow to add a hyper drill:1. Right click on cell you want to drill from2. From pop up select Manage Links3. Complete the Manage Links dialog box
Click New Link – opens New Link dialog boxGive the link a meaningful nameChoose Type – URL or WorksheetPick workbook and worksheet nameProvide the Parameter linksClick OK

Edit Links dialog box
Give the link a name and decide whether it should be a URL or worksheet link

Conditional Formatting
Two Types:
Conditional Formatpreviously known as Exceptions
Stoplight FormatUsed to highlight ranges
Upper and a lower range value
Change the colors (default, red, amber, green)
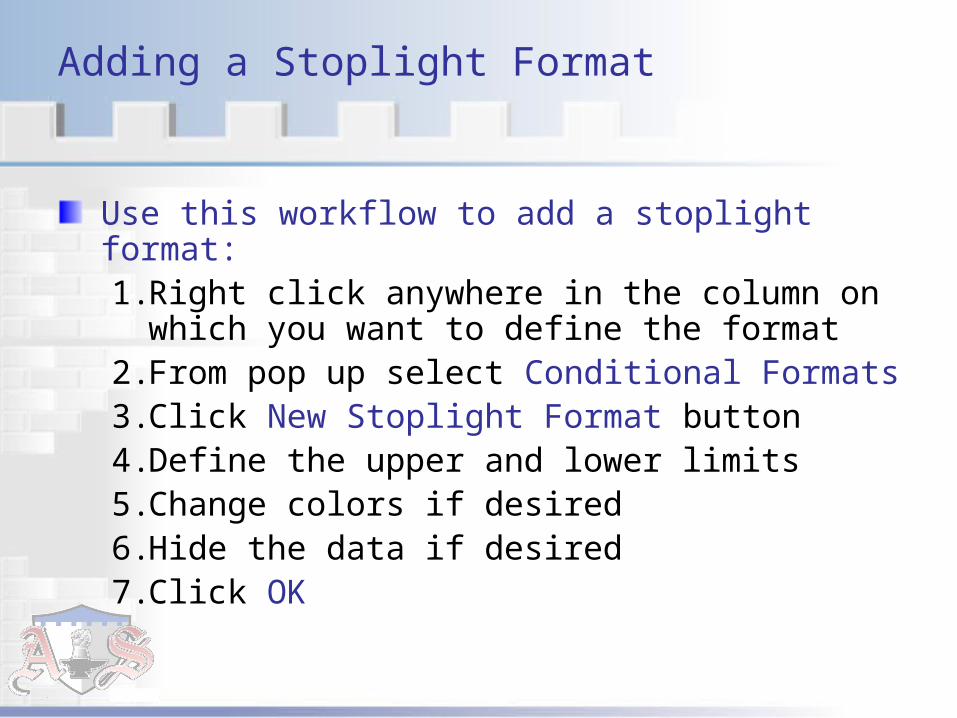
Adding a Stoplight Format
Use this workflow to add a stoplight format:1. Right click anywhere in the column on which
you want to define the format2. From pop up select Conditional Formats3. Click New Stoplight Format button4. Define the upper and lower limits5. Change colors if desired6. Hide the data if desired7. Click OK

New Stoplight Format dialog box
Upper range
Lower rangeClick to hide the
data

Using stoplight to create new type
Use this workflow to create a new type based on the stoplight:
1. Click Calculations tab
2. Right click My Calculations
3. Select New Calculation
4. Use the DECODE function to create a new type using LEAST or GREATEST
5. Use the type as page item

Trying to achieve
IF profit <= 2,000,000
THEN type = ‘Low Profit’
ELSE IF profit <= 4,000,000
THEN type = ‘Medium Profit’
ELSE type = ‘High Profit’

DECODE function
Typically, the DECODE looks like this:
DECODE(A,B,C,D), which translates to
IF A = B or IF A = B1THEN C THEN C1ELSE D ELSE IF A = B2
THEN C2ELSE D

Solution, based on Stoplight
DECODE (profit, LEAST (profit, 2000000), ‘Low Profit’, LEAST (profit, 4000000), ‘Medium Profit’, ’High Profit’)

Other 10.1.2 features
Sharing results of scheduled workbooks
Optional and Mandatory parameters
New calendar popup for dates
Email results from Viewer
Print to PDF from Viewer

Sharing results of scheduled workbooks
Very easy, nice new feature, perfect for working with libraries. Use this workflow:
1. Create a scheduled workbook
2. Use Tools | Manage Schedules
3. Select workbook you want to share
4. Click Share
5. Grant access to role or use

Optional and Mandatory parameters
Easy to set up. Use this workflow:
1. Create any workbook that uses parameters
2. On New Parameter dialog boxUse Require users to enter a value
Check to make parameter mandatory
Uncheck to make parameter optional
If user leaves parameter blank, Discoverer assumes user wants all values

New calendar popup
Another nice new feature. Use this workflow:
1. Create a workbook that has a date
2. Create a condition on the date
3. Create a parameter for the condition
4. Discoverer automatically provides a calendar popup whenever user runs the workbook

Email from within Viewer
Another much asked for feature. To send the results via Email when in Viewer, use this workflow:
1. Run Viewer and execute a workbook
2. Click Send as email
3. Choose attachment type
4. Complete Send Email dialog box
5. Click Finish

Send Email dialog box

Print to PDF
Printing from within Viewer greatly enhanced. Use this workflow:1. Run Viewer and execute a workbook2. Click Printable page3. Set the Printable Page Options4. Click Preview Sample5. Repeat steps 3 and 4 until ready6. Click Printable PDF7. Print

Tips for printing to PDF
On Printable Page Options (see next slide)
Click Page Setup
Pay attention to orientation
Adjust left and right margins
Use Scaling
Manually set column widths
Wrap text when data exceeds column width

Printable Page Options

Summary
In this section, you learned about:The Query from the Twilight ZoneSome of the new Discoverer features:
Cascading ParametersAnalytic TemplatesHyper DrillingConditional FormattingSharing Scheduled WorkbooksOptional and Mandatory ParametersNew Calendar PopupEmailing ResultsPrinting to PDF

Setting up a corporate look and feel
Principal weapon in your arsenal is the new Oracle Enterprise Manager (OEM) Application Server Control.
Accessed using: http://yourserver:1810
Need your ias_admin password

What can you configure?
Add your corporate logo
Define public connections
Customize the look and feel of Viewer
Manage links to an infrastructure database
Manage links to OLAP
Determine the Java plug-in to be used in Plus
Set up the SMTP server for Email

Add your corporate logo
Done in two places:
PlusLogo set in here is displayed on top of all internal Plus screens
ViewerLogo set in here is displayed on top of all internal Viewer screens and on top of the login page of both Plus and Viewer
Changes take immediate effect

Customize Viewer
Navigate to customization screen:
Launch OEM App Server Control
Under System Components click Discoverer
Under Components click Discoverer Viewer
Click Customization button
Customize Look and Feel or
Customize Layout

Customize Look and Feel

Customize Layout

Preview Changes

Add Email connectivity
Navigate to customization screen:
Launch OEM App Server Control
Under System Components click Discoverer
Under Components click Discoverer Viewer
Under General click Email
Set SMTP Server

Email connectivity
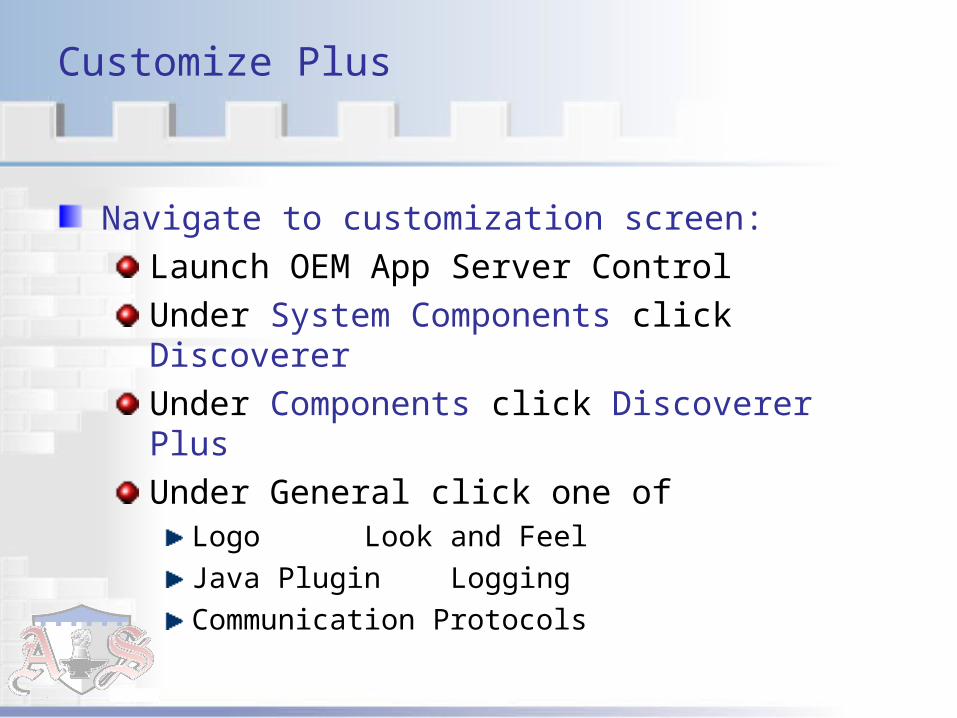
Customize Plus
Navigate to customization screen:
Launch OEM App Server Control
Under System Components click Discoverer
Under Components click Discoverer Plus
Under General click one ofLogo Look and Feel
Java Plugin Logging
Communication Protocols

Plus customization screen

Items Learned in this Presentation
This presentation covered: Managing Discoverer using libraries
An overview of Discoverer’s components
Logging in
Using Viewer to run workbooks
The Query from the Twilight Zone and how to avoid
Using Plus to create workbooks
Configuring Discoverer

Q & A

Thank You
For more information or to get help about Discoverer 10.1.2 please contact Michael

Copyright
The content provided as papers and presentations from Armstrong-Smith Consulting is copyrighted by the authors, and has been licensed to the Baton Rouge User Group. It is only authorized for the personal use of Baton Rouge User Group members and user group attendees.
Downloading the files, placing them on other web sites, sharing them with other individuals or third parties is prohibited, unless permission to do so has been granted by the authors or Baton Rouge User Group.