1 Kilovolt Peak (kVp) kVp determine the quality of the beam. X-ray penetration is governed by the...
20
1 Kilovolt Peak (kVp) • kVp determine the quality of the beam. • X-ray penetration is governed by the kVp setting. • kVp controls the contrast of the radiographic image. • Contrast is the difference in density of adjacent structures on the image.
-
Upload
cody-haycox -
Category
Documents
-
view
229 -
download
5
Transcript of 1 Kilovolt Peak (kVp) kVp determine the quality of the beam. X-ray penetration is governed by the...

1
Kilovolt Peak (kVp)
• kVp determine the quality of the beam.
• X-ray penetration is governed by the kVp setting.
• kVp controls the contrast of the radiographic image.
• Contrast is the difference in density of adjacent structures on the image.

2
Kilovolt Peak (kVp)
• kVp and the density of the body part impacts the amount of scatter radiation.
• High kVp = more scatter = low contrast = more penetration
• Low kVp = less scatter = high contrast = less penetration

3
Kilovolt Peak (kVp)
• Optimum kVp = consistent scatter = adequate contrast = sufficient penetration
• Optimum kVp is based upon the area of the body and film size to assure adequate penetration.

4
Technique Selection
• Adjusting kVp and mAs is a balancing act.
• When kVp is increased, mAs must be decreased.
• We are balancing both density and contrast of the image.

5
kVp Adjustment
• If kVp is increased without reducing the mAs, penetration increases and contrast is reduced.
• Over penetrated images lack contrast and have high density (black).
• Under penetrated images have very high contrast with dense structures not being penetrated.(white)

6
kVp and Radiation Exposure
• The higher the kVp used, the less enter -action the photons will have with the tissue being exposed.
• When we increase kVp by 10, we reduce the exposure by about 25%.
• Use as high as possible kVp that will provide adequate contrast.

7
kVp and Tissue Density
• The tissue types will determine how much kVp is needed. There are four basic tissue types.
• Air filled least dense
• Fat more dense
• Muscle more dense
• Bone most dense
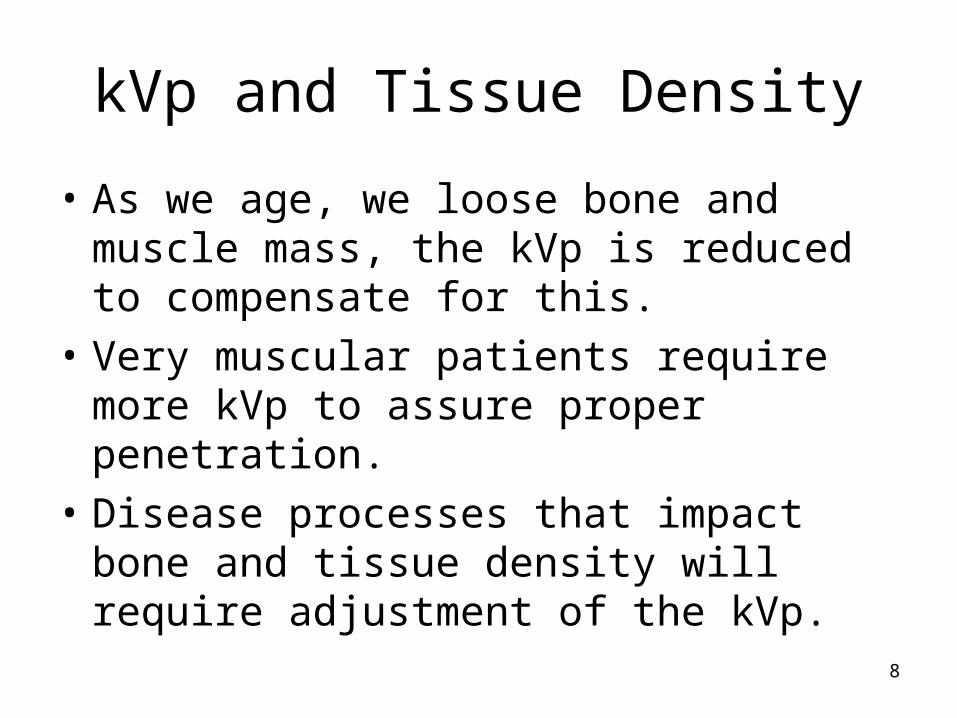
8
kVp and Tissue Density
• As we age, we loose bone and muscle mass, the kVp is reduced to compensate for this.
• Very muscular patients require more kVp to assure proper penetration.
• Disease processes that impact bone and tissue density will require adjustment of the kVp.

9
Over Penetrated Too High kVp
• Over penetrated view have too much kVp.
• They appear gray and lack contrast.
• The upper lumbar spine is hard to visualize.

10
The 15% Rule or the Rule of 10
• If kVp is increased by 15%, the mAs is reduced 50%.
• If kVp is reduced by 15%. The mAs is doubled.
• Between 60 and 90 kVp and adjustment of 10 kVp equal 15%.

11
The 15% Rule or the Rule of 10
• Increase kVp 8% = reducing mAs 25%
• Decrease kVp 8% = increasing mAs 25%
• Remember that it take a 20 to 30% change in mAs to see a visible difference in the density of the image.
• It can be said that an 8% change in kVp is needed to make a visible change on the film.

12
Adjusting Contrast Using the 15% Rule
• The kVp can be adjusted to enhance contrast .
• When the kVp is too low, the image is under penetrated.
• When the kVp is high, the image lacks contrast.
13
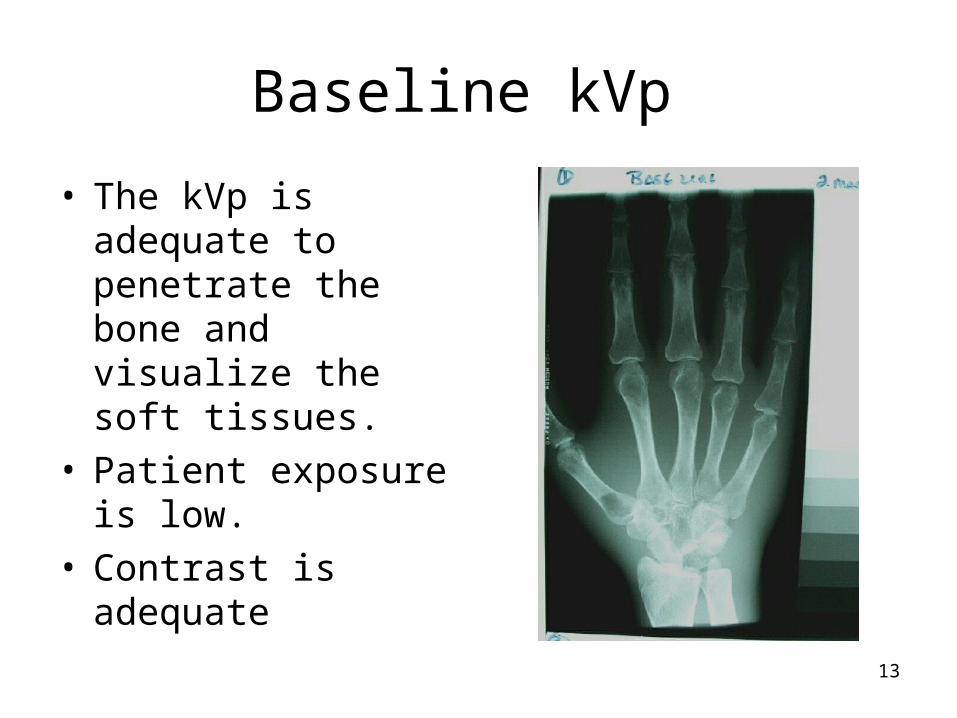
Baseline kVp
• The kVp is adequate to penetrate the bone and visualize the soft tissues.
• Patient exposure is low.
• Contrast is adequate

14
kVp increased 15%
• There are more shades of gray making this a broad scale of contrast.
• There is lower contrast compared to the base line image.

15
kVp Decreased 15%
• There are less shades of gray making this a shorter scale of contrast.
• This image is higher contrast than the base line image.
• Also higher exposure to the patient.

16
kVp Decreased 30%
• This is a very high contrast image.
• It has the shortest scale of contrast.
• The carpal bones are under penetrated.
• Much higher exposure to the patient.

17
Observations
• 1. Does Image #2 have more or less contrast?
• Less contrast, more shades of gray or broader contrast = higher kVp.
• 2. Compare the appearance of image #3 and #4 to image #1.
18
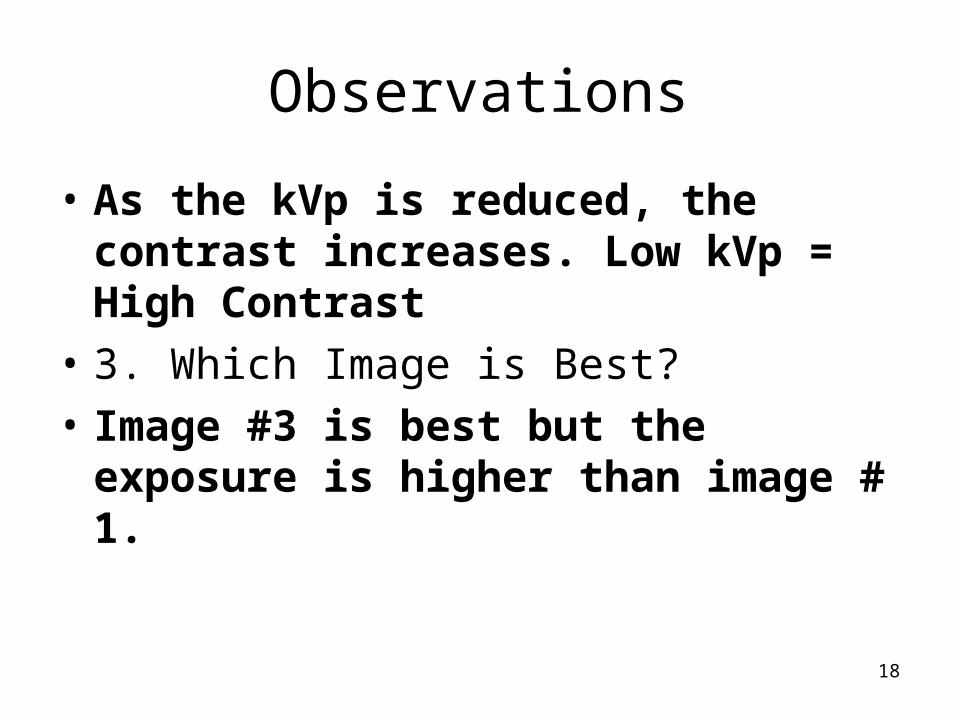
Observations
• As the kVp is reduced, the contrast increases. Low kVp = High Contrast
• 3. Which Image is Best?
• Image #3 is best but the exposure is higher than image # 1.

19
What would you do to this image?
• This image provides a real challenge.
• It is over penetrated or iver exposed for the upper lumbars.
• It is properly exposed for L5 and sacrum.
• Next week we will see how to improve the image.

20
The End
Return to Lecture Home Page