


Languages
Pages
Legal


Interactive Science
notebookWe will now call it our
ISN
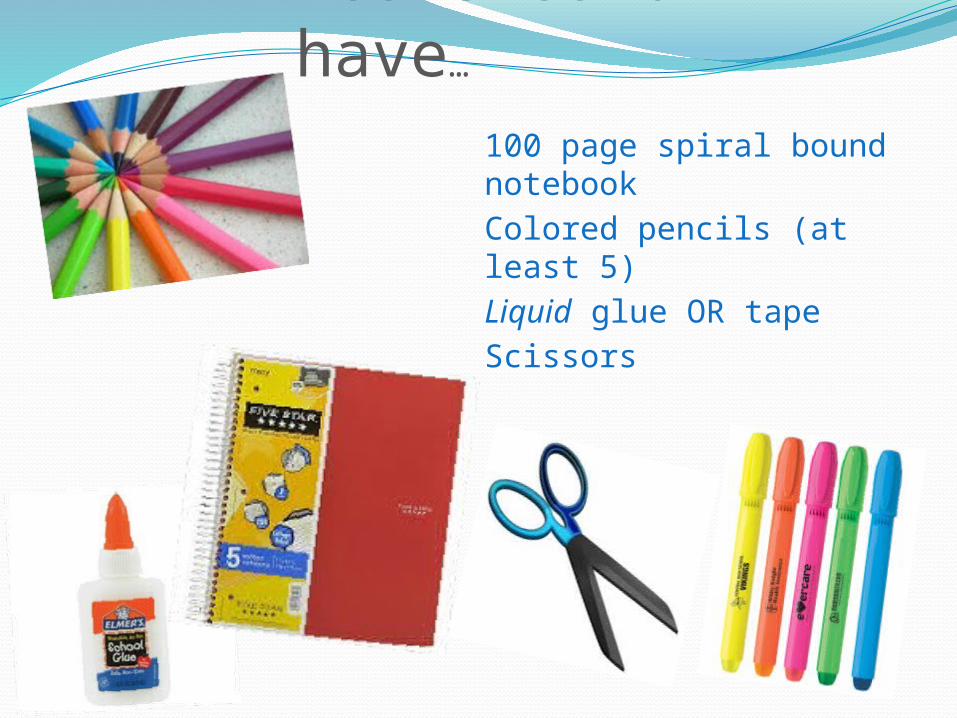
You should have…
100 page spiral bound notebookColored pencils (at least 5)Liquid glue OR tapeScissors

Questions…• Why not stick glue? – Because it dries out
faster than liquid glue and your pages can fall out!
• Can I use markers? - No; markers can bleed through the paper and cause your notebook to look sloppy. Only use markers on pages we paste into our notebook
• What if I forget? – I have emergency supplies that you can borrow.
• How often will I need these supplies? – EVERYDAY!

General Notebook RulesNo RIPPED OUT pagesNo DOODLEING that doesn’t relate to
scienceNotebook should be used for
SCICENCE CLASS ONLYAll entries must go into the Table Of
ContentsBe COLORFL & LOVE your notebook!
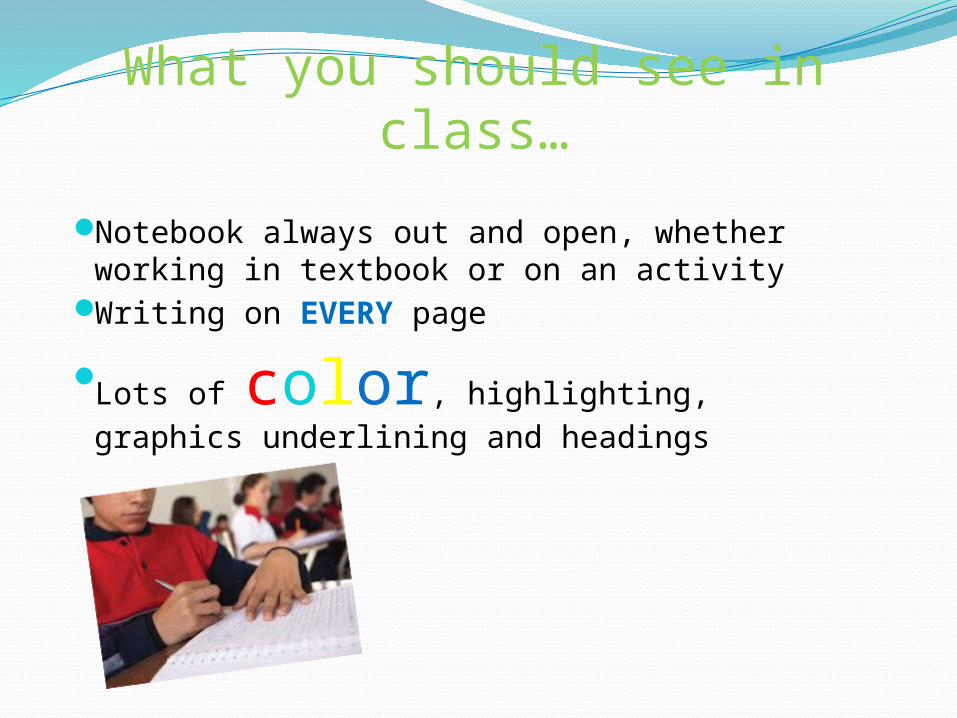
What you should see in class…
Notebook always out and open, whether working in textbook or on an activity
Writing on EVERY page
Lots of color, highlighting, graphics underlining and headings

Cover
• EVERYBODY, right now, put your name and class block on the front cover.
HOMEWORK: Illustrate your cover • Must contain at least 3 school
appropriate graphics- 1 must be science related
• Title of your choice

Inside
This will be know as…”Works in Progress”Any work (foldables, worksheets, activities
etc.) not finished will go here. ONLY “works in progress” go there. Anything
that is completed is pasted into your notebook

“Framing Your Paper”So everything will fit nicely and
neatly on your paper “frame” the edges.
Take your scissors and trim the a little of the white edges off

Inside Front Cover… RUBRIC
Frame your paper…
Using 4 pieces of TAPE ,glue will not work, attach the Notebook Rubric to the inside of the front over.
Why A Rubric? -Use it to help keep you on track
-Lets you know exactly what my expectations are

Open up your notebook…
Starting on the very first loose leaf page, number your pages from 1 -50, in the top right corner.
You have 3 MINTUES ….GO!
ODD on the rightEVEN on the left

Time’s UP!
Spot CheckPage 1
• Frame your paper…• Place 1 SMALL DOT of glue on each of
the 4 corners• Push it onto your paper.
I will check your notebook during tests.
Why??
To make sure you had the notes for the test we are taking!

Page 2 and 3
Table of ContentsEverything, everything, EVERYTHING will be logged in your Table of Contents.
Pay attention to page numbers and “output and input” pages
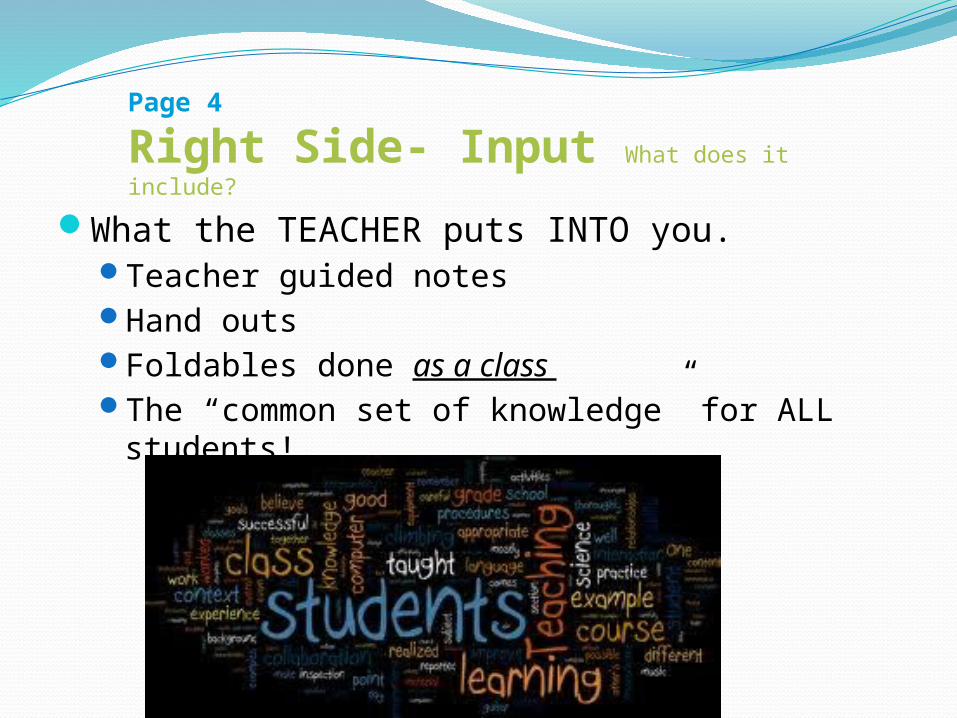
Page 4
Right Side- Input What does it include?
What the TEACHER puts INTO you.Teacher guided notesHand outsFoldables done as a class The “common set of knowledge” for ALL
students!

Page 4
Left Side-Output What can it include?What YOU get out of
the lessonDrawingsPersonal ConnectionsRhymesGraphic organizers CartoonsMaps Charts and graphsLetters
I must see SELF REFLECTION about the notes!

Page 5Grade Graphing
Cut out one of the graphs. Keep the other in your pocked. I will explain what we are doing here at another time.

Questions??• What about Vocabulary? - Vocabulary is
done opposite of the unit page. Illustrate the words you DON’T understand. This will help you understand them better!
• Can I print pictures off??- Yes but make sure you record WHY you chose that picture and how it helps you process the information I gave you.
Self reflection

Unit PagesAt the beginning of each
unit/chapter just like a cover page!!
They need a Title , color and Illustrations!!
And our first unit is…..
Top Related