


Languages
Pages
Legal


PAINTING TIPS
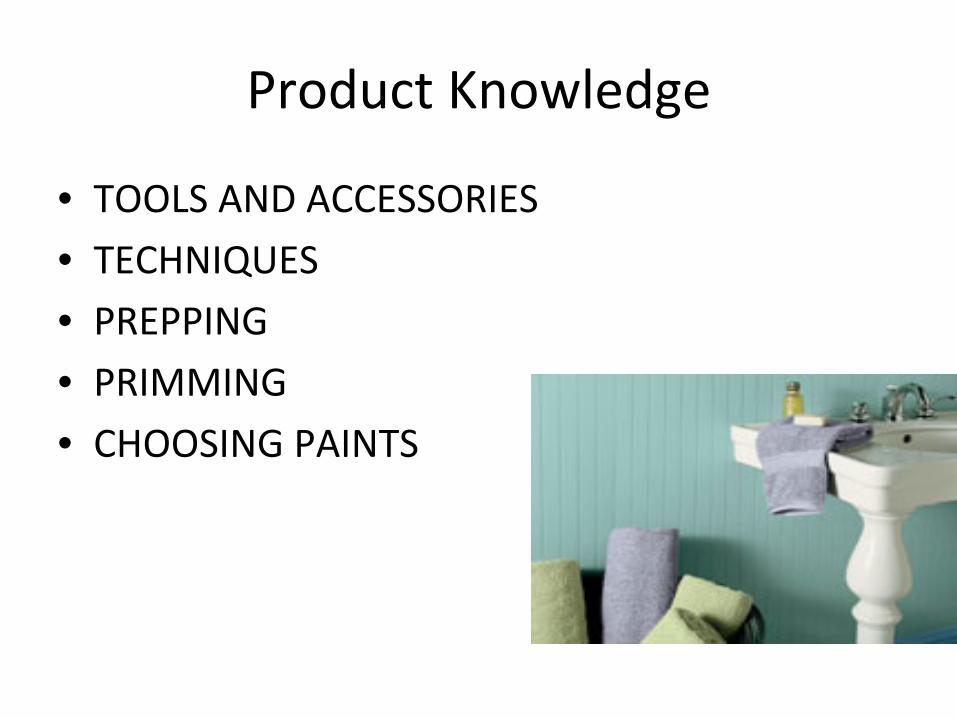
Product Knowledge
• TOOLS AND ACCESSORIES• TECHNIQUES• PREPPING • PRIMMING
• CHOOSING PAINTS
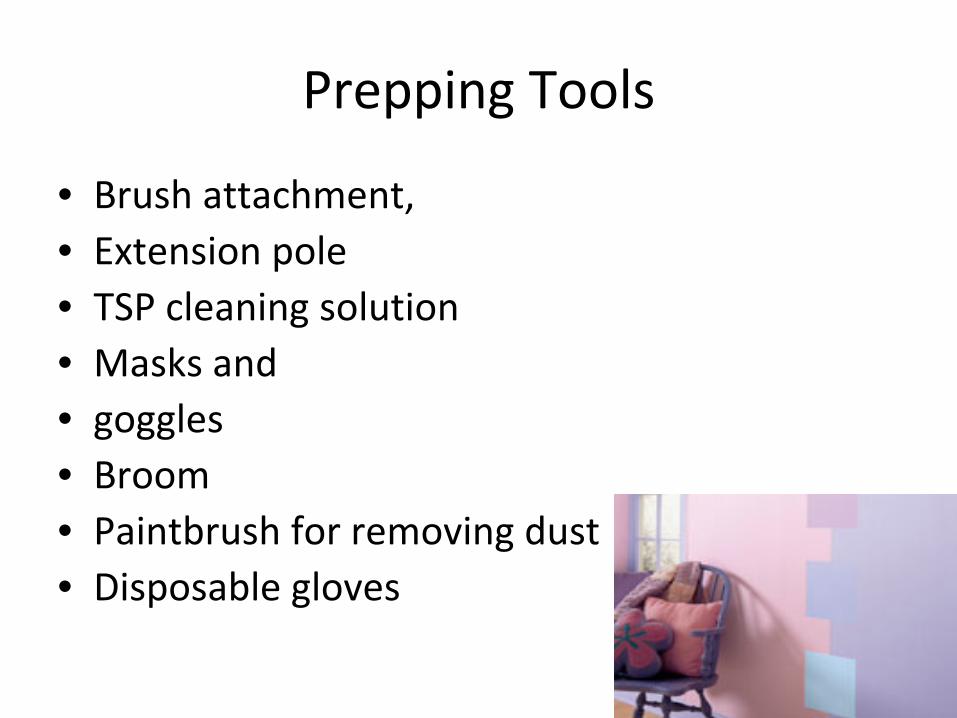
Prepping Tools
• Brush attachment,• Extension pole • TSP cleaning solution • Masks and • goggles • Broom • Paintbrush for removing dust• Disposable gloves

Cleaning Before
• A brush attachment and extension pole transforms an ordinary garden hose into an effective cleaning tool.
• If your surface looks dirty after washing, check to see if the problem is mildew. To check for mildew, first put on chemical resistant gloves.
• Then apply a few drops of chlorine beach to the surface. When working with bleach, protect your eyes
by wearing eye goggles. If the dark areas lighten substantially after a minute—without rubbing—you
may have mildew

Cleaning Mildew
• The mildew must be removed completely before repainting, or any new coat will soon show signs of discoloration.
• Paint cannot adhere to a mildewed surface. Spray mildewed areas with a solution of three parts
water to one part chlorine bleach and let the anti‐fungal treatment dry thoroughly—do not rinse with water.
• Let the anti‐fungal agent work its magic on your exterior surface.

Cleaning Mildew
• Mildew discoloration which resembles dirt is due to fungi feeding on oil contained in solvent‐based paint or protein thickeners in latex paint.
• Moisture is the most important single factor in the growth of mildew, which can lie dormant for
years.
• For this reason, discoloration is usually found in damp, dark areas or during prolonged humid
conditions.

Spot Primming
• Spot priming means you apply a primer only to those spots that need it.
• If you've sanded down to bare surface, you need to prime those spots.
• For some stains, spot priming is the best way to save time and lock in the stain from
migrating to the topcoat. Don't forget to feather sand so the topcoat applies evenly.
Stain Blocking Primmers
• Even after you have cleaned the surface, you may see stains that need to be covered before
you paint. • Some stains will come through the topcoat no
matter how many coats you apply.• Select a stain blocking primer best for the
type of stain, either an oil based or latex based product. Be sure the stain blocking primer is for exterior.

Primming
• Paint brushes and rollers Edge pads Foam pad Drop cloths Trim brushes Edge rollers.
• Sand Paper, Scrapper, bristled brush.
Primming
• Area must cleaned, sanded, and masked.• priming exterior surfaces.• Bare wood needs a primer to seal the surface.
You'll use less topcoat and the color
will lay rich on the top layer.
• If the surface is new construction or a recent repair, or if you have sanded down to bare
surface, apply a high quality primer before painting.
• For special colours use grey primer, monochromatic primer. (Gripper)

Painting Tools ‐
Brush
• Moisten the brush with water (for latex paint) then squeeze out any excess fluid.
• Dip the brush in the paint carefully, placing no more than 2/3 of the bristles into the paint and move the brush around a bit the first time to
saturate the brush with paint.• Pull the brush up and let the excess paint drip
off—overloading leads to drips, runs, and spatter. You can also remove some excess paint by pulling the bristles against the edge of the paint can.

Painting Tools ‐
Roller
• First get the roller a little damp. Use a thinner for alkyd‐based paint and plain old water for
latex.
• Roll off any excess. Fill the roller well about half way and lower the roller into the middle.
• Roll up and down the slope of the pan to saturate the roller and roll off any excess.

Choosing a Paint Finish
• Wood work cabinetry.• Go with semi‐gloss paint for detailed woodwork,
banisters, and the like. • That semi‐gloss gleam highlights wainscoting for
a pleasing contrast against matte or satin painted walls. Semi‐gloss paint is also a good choice for
kitchen cabinets‐airborne grease wipes right off.• Just be sure to prep meticulously. Glossy
surfaces are unforgiving‐they show every dent and ding.

Choosing a Paint Finish
• High traffic area.• Satin and eggshell paints are the preferred
finishes for highly‐trafficked areas. Attractive, long‐lasting, and practical, a satin finish is easy to maintain. Penta
Weather Shield can also be
used.• Just wipe up those little fingerprints with a
damp cloth.

Choosing a Paint Finish
• Baths and Laundry Rooms
• Semi‐gloss paint is also a good choice for high‐ moisture areas because of the ease of
cleanup. Be sure to select a mildew‐resistant paint formulation.
• You might also consider satin paint for a slightly subtler finish that's just as easy to
keep clean.

Choosing a Paint Finish
• Master Bedrooms, dining rooms etc.
• Flat, matte painted finishes should be reserved for surfaces unlikely to require
frequent washing.
• These gentle, soothing finishes conceal flaws making them an excellent choice for older
walls with "character.“
• Glidden or Weather Shield.

Choosing a Paint Finish
• Inspect the surface for cracking, peeling, flaking, loose paint.
Depending on the severity of the
damage you may choose to employ one or more of the methods described here to prepare the
surface for a new coating.
• Scraping
This is a traditional effective approach for most flat surfaces from plaster and wallboard to wood
and ferrous metal. Use shaped scrapers like triangle or oval shapes to get into corners and on
rounded profiles. Take care not to gouge, score or otherwise harm the surface. Feather sand all
rough edges with a medium, then fine grade sand paper.
• Wire Brushing
Use a stiff wire brush, being careful not to damage the substrate. Once all loose paint has been
removed sand the surface with a medium then fine grade sand paper.
• Sanding
If the surface is just flaking slightly you can simply sand the area with progressively finer grade sand
papers starting with coarse, then medium, then fine.
• Chemical removers
Choose a paint remover that is recommended for the coating and substrate you're preparing. Apply
a heavy coat of the remover with an old or a low‐end natural bristle paint brush since the remover
will likely ruin the brush.
Choose a Quality Paint Finish
• The key benefit of high quality paint is the fact that it delivers the best value for money because of the
superior performance it offers in many areas. The main benefits are listed below:
•
Better Coverage
Easier to Apply, Smoother Appearance
• Superior Durability and Protection• Easier to Clean• Lasting Colour
“• Mildew Resistance"

Painting Previously Painted surfaces•
Give the product plenty of time to work as recommended by the manufacturer, usually 15 to 20
minutes or longer depending on the thickness of the old paint.
• Carefully remove the softened paint using a putty knife or wooden blade and scrape the material into doubled paper bags inside a
cardboard box. • Reapply more stripper if needed and then clean the
surface with wadded up paper towelling, newspaper or a commercial pad designed for this purpose.
Before using these products, clear the area of children and pets; cover floors and steps and remove
plants, rugs and furniture.
Painting Previously Painted surfaces
• Reapply more stripper if needed and then clean the surface
with wadded up paper towelling, newspaper or a commercial
pad designed for this purpose. Before using these products,
clear the area of children and pets; cover floors and steps and
remove plants, rugs and furniture.
• Dispose of all waste after the job carefully following
manufacturer instructions. Wear goggles or face mask for eye
protection; use chemical resistant gloves, long sleeve shirt
and trousers to protect the skin; and protect breathing with a
respirator designed for use with chemical solvents.
.

Painting Previously Painted surfaces
Top Related