

Languages
Pages
Legal


4 Things that affect your pictures…
• ISO
• Aperture
• Shutter Speed
• LIGHT
Shutter Speed
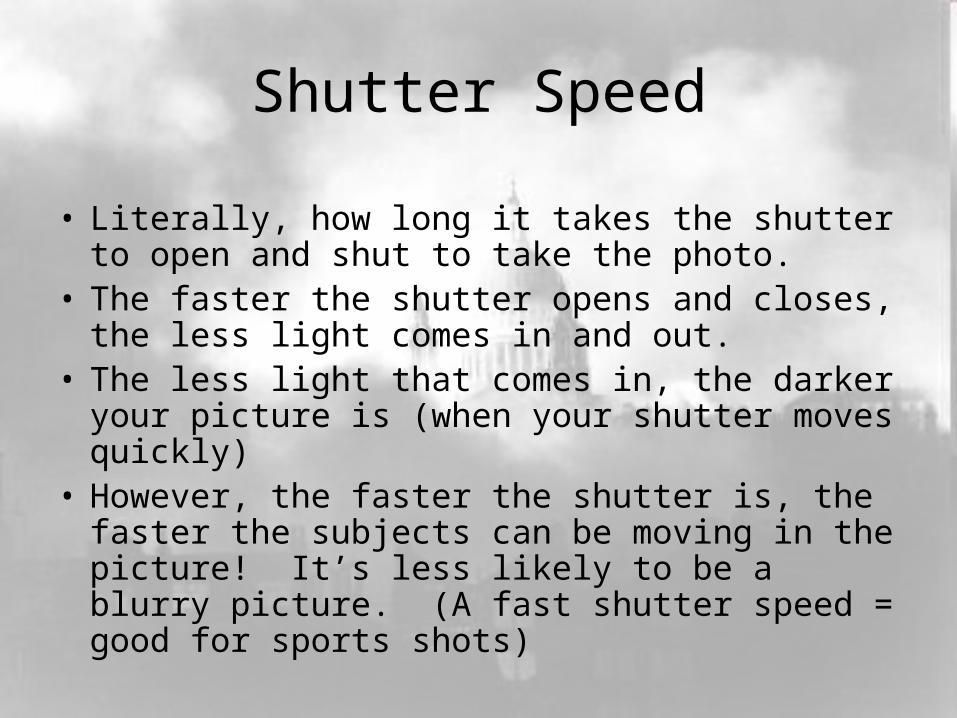
• Literally, how long it takes the shutter to open and shut to take the photo.
• The faster the shutter opens and closes, the less light comes in and out.
• The less light that comes in, the darker your picture is (when your shutter moves quickly)
• However, the faster the shutter is, the faster the subjects can be moving in the picture! It’s less likely to be a blurry picture. (A fast shutter speed = good for sports shots)
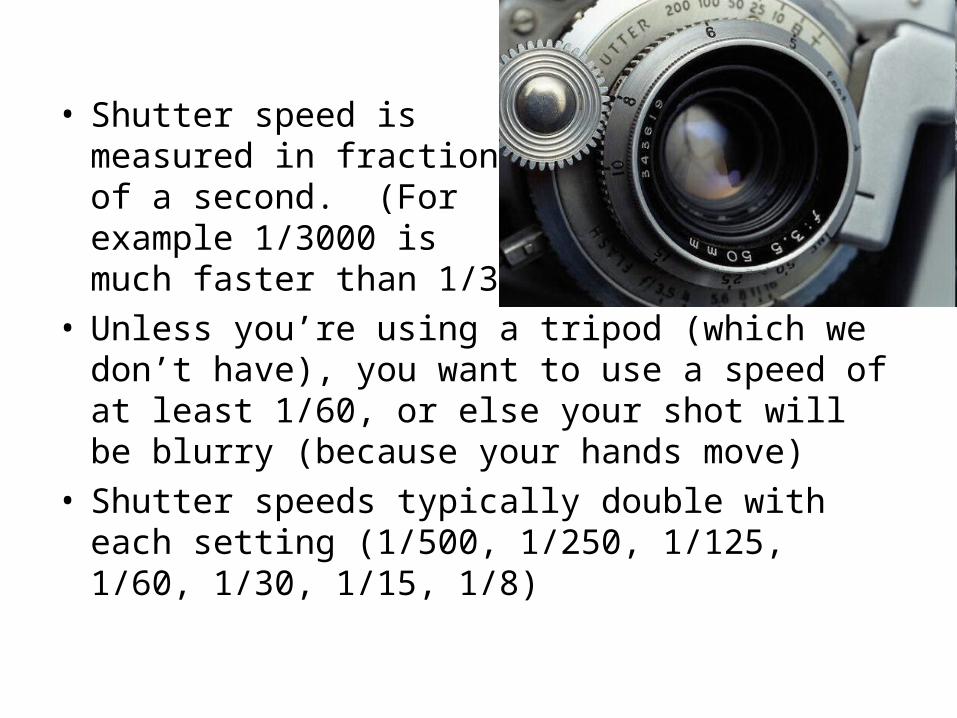
• Shutter speed is measured in fractions of a second. (For example 1/3000 is much faster than 1/30)
• Unless you’re using a tripod (which we don’t have), you want to use a speed of at least 1/60, or else your shot will be blurry (because your hands move)
• Shutter speeds typically double with each setting (1/500, 1/250, 1/125, 1/60, 1/30, 1/15, 1/8)

• Faster shutter speed

• Slower shutter speed.
• Sometimes,a slower speedcan be good. Consider whatyou are tryingto do!
• Slower is alsogood for still photography.

Aperture
• Aperture affects how much light gets in and out.
• It is the part of the lens that allows light in (like a funnel). It can be opened wide to allow a lot of light in, or closed up to let a little light in.

• Aperture works like your eyes. When it’s dark, your pupil gets big to get as much light as possible, but when it’s bright, your pupils get smaller because there’s so much more light!
Dark
(exaggerated, but you get the idea)
More light
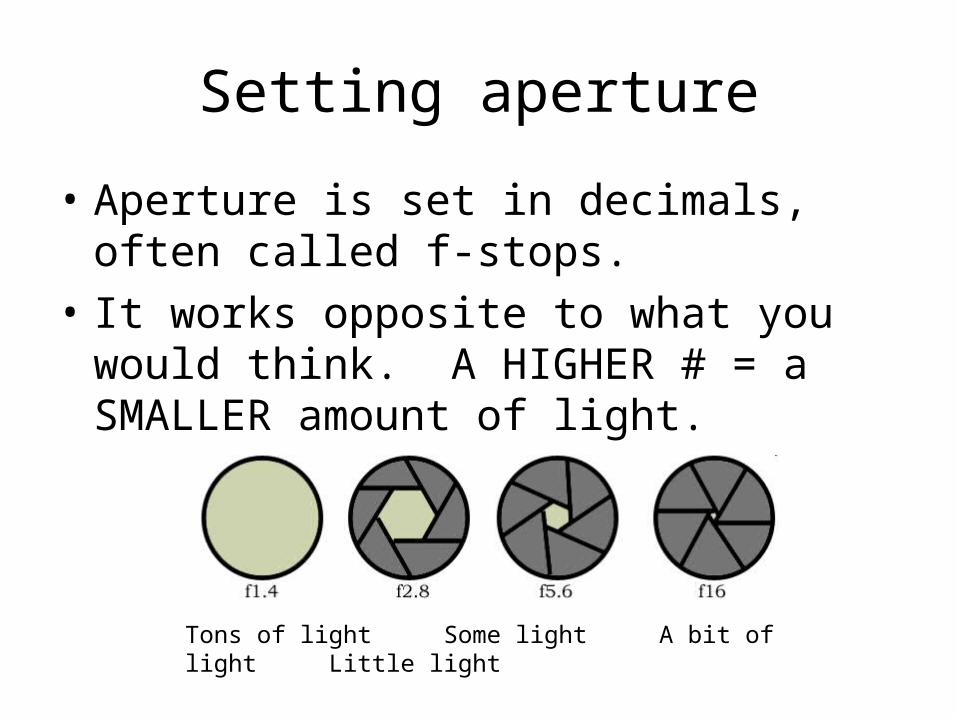
Setting aperture
• Aperture is set in decimals, often called f-stops.
• It works opposite to what you would think. A HIGHER # = a SMALLER amount of light.
Tons of light Some light A bit of light Little light

ISO
• The measurement of how sensitive a camera is to light
• It is measured in numbers (100, 200, 400, 800, 1600, etc.), with 100 being the lowest
• 100 is the least sensitive to light, which means you probably want to use it for a situation that already has a lot of light (typically not nighttime shots)

• 100 also typically means the clearest, least “grainy” shots. (less sandy looking)
• Use a higher ISO when necessary to get a high enough shutter speed to freeze camera or subject motion (fast moving shots)
• Your best bet is to use the lowest ISO you can. Try not to go above 800, since you are not a professional
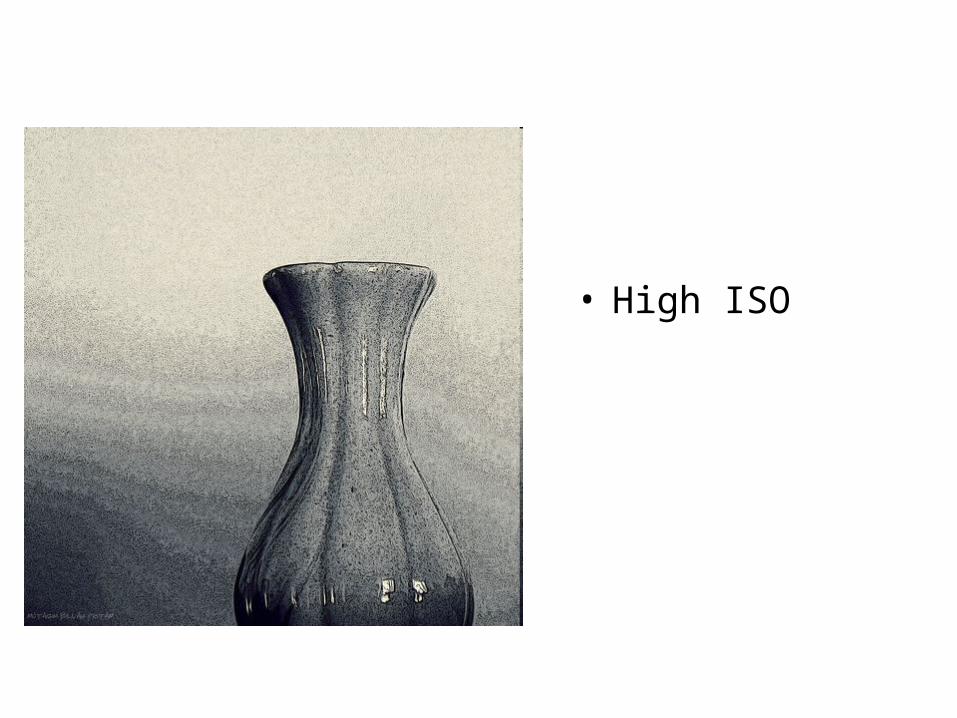
• High ISO
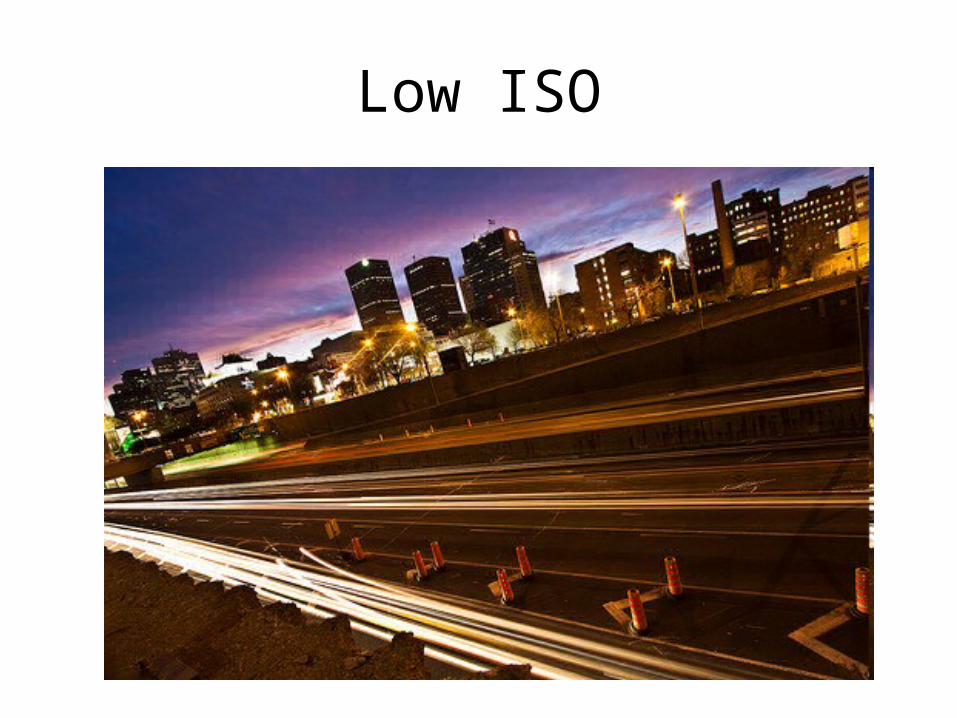
Low ISO

ISO Settings
The best quality photos are shot using the lowest ISO (usually ISO 100). Using a higher ISO results in more noise (grain) and less detail.
• ALWAYS USE THE LOWEST POSSIBLE ISO IN ANY SITUATION
• Use a higher ISO when necessary to get a high enough shutter speed to freeze camera or subject motion.

Working together
• All 3 of these things need to work together for a good photo. Try taking the same photo while adjusting the ISO, aperture, and shutter speed. See the last slide for some example settings.
Notes:
• Try NOT to use the flash on the camera. Turn it off. Try to use the natural light.
• Consider using the A Mode if the subject is moving a lot. The camera will help choose a shutter speed for you that way.
• For now, unless you really KNOW cameras, don’t touch the other buttons. You’ll end up doing something you can’t fix!

To get to the ISO
• Turn camera on
• Set to M (for Manual)

• Press the buttonunder the letters“ISO” on back panel and holdit down.
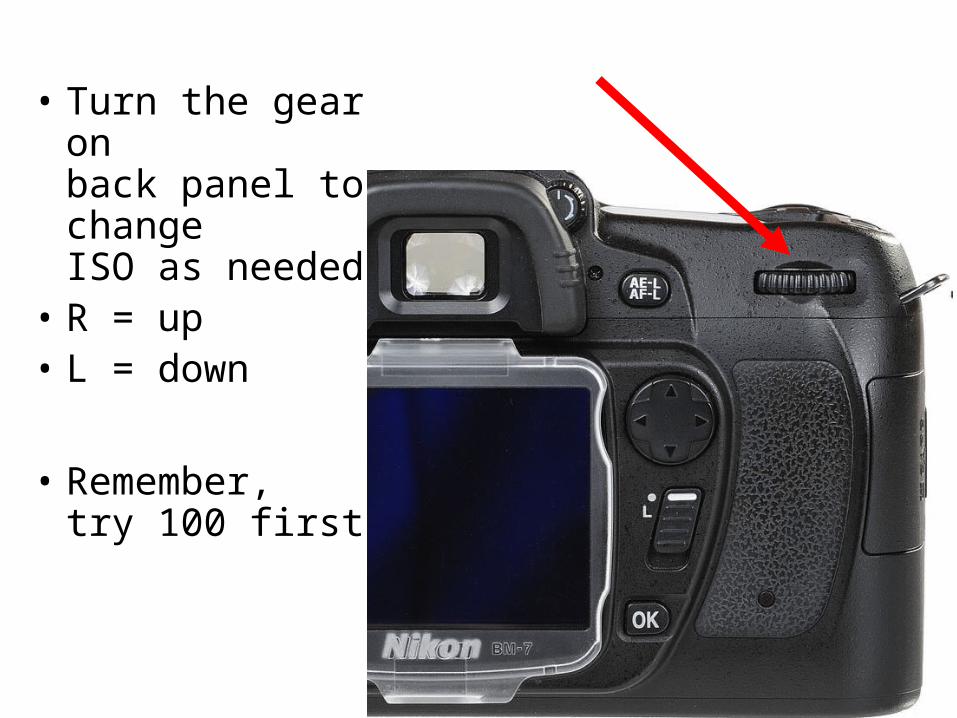
• Turn the gear onback panel to changeISO as needed.
• R = up• L = down
• Remember,try 100 first

• When the cameraturns on, on topyou should seethe setting foraperture.
• If you don’t, press“Menu” on theback panel twice.
To get to the Aperture

• Use the front gearto change thef-stop (it says f it front of it)to what you wantit to be.

To get to the Shutter Speed
• When the cameraturns on, on topyou should seethe setting foraperture.
• If you don’t, press“Menu” on theback panel twice.
Stands for 1/160in photo

• Turn the gear onback panel to changeISO as needed.
• R = up• L = down
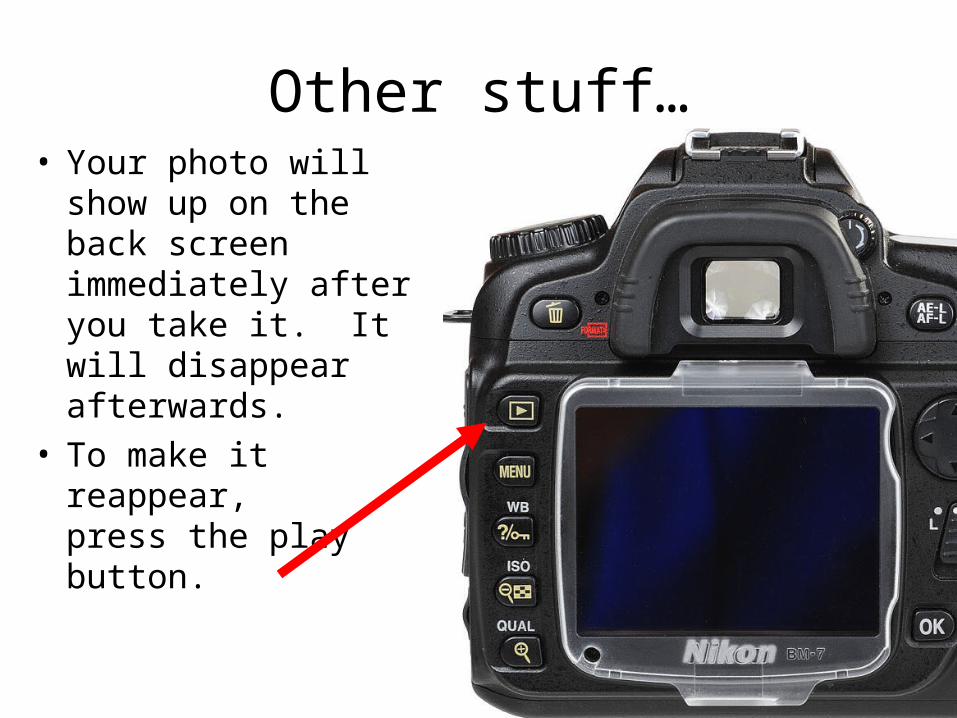
Other stuff…• Your photo will show
up on the back screen immediately after you take it. It will disappear afterwards.
• To make it reappear,press the play button.

• If you don’t like it, press the trash button twice.
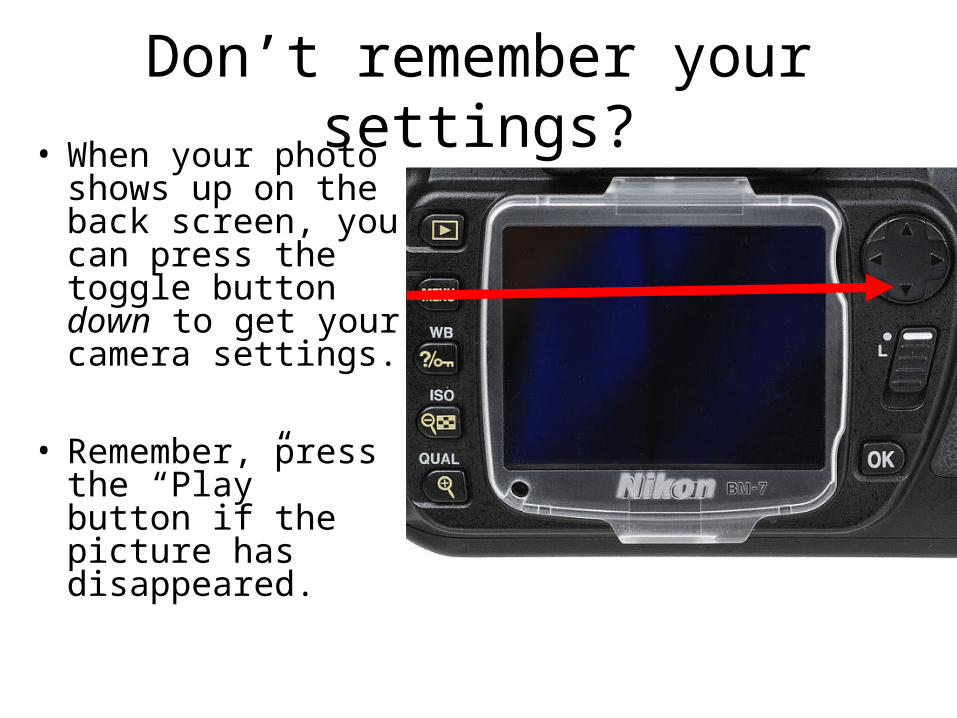
Don’t remember your settings?• When your photo
shows up on the back screen, you can press the toggle button down to get your camera settings.
• Remember, press the “Play” button if the picture has disappeared.
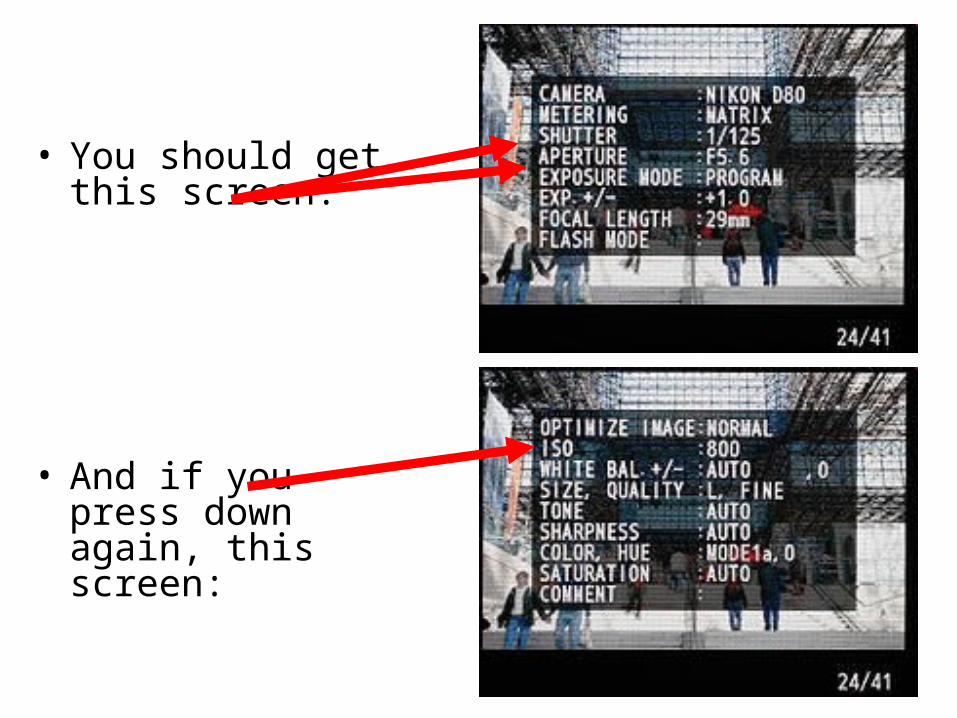
• You should get this screen:
• And if you press down again, this screen:
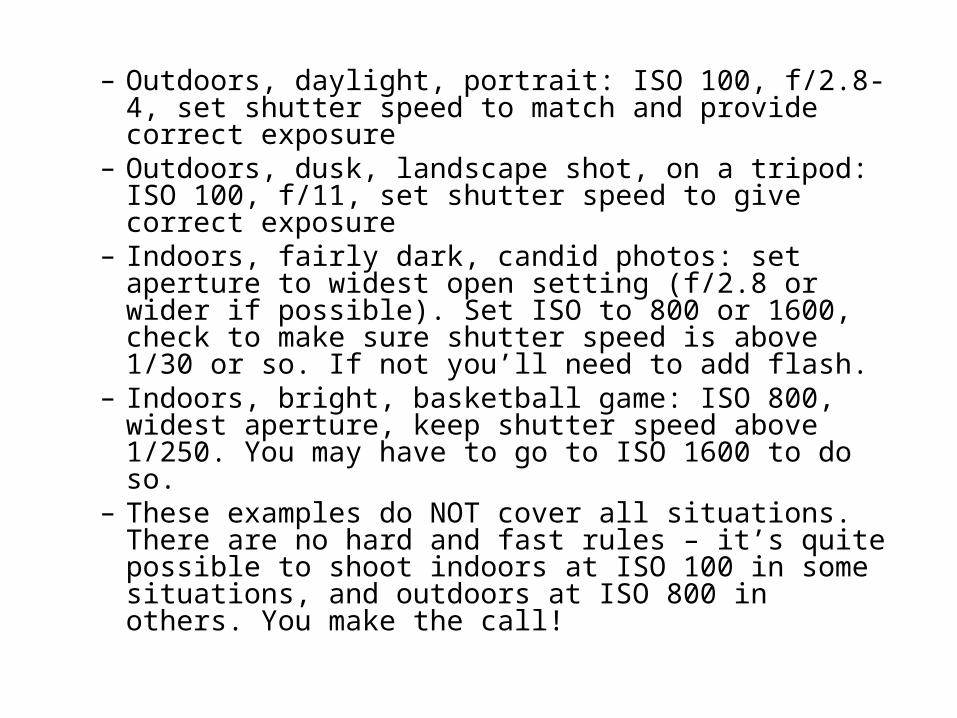
– Outdoors, daylight, portrait: ISO 100, f/2.8-4, set shutter speed to match and provide correct exposure
– Outdoors, dusk, landscape shot, on a tripod: ISO 100, f/11, set shutter speed to give correct exposure
– Indoors, fairly dark, candid photos: set aperture to widest open setting (f/2.8 or wider if possible). Set ISO to 800 or 1600, check to make sure shutter speed is above 1/30 or so. If not you’ll need to add flash.
– Indoors, bright, basketball game: ISO 800, widest aperture, keep shutter speed above 1/250. You may have to go to ISO 1600 to do so.
– These examples do NOT cover all situations. There are no hard and fast rules – it’s quite possible to shoot indoors at ISO 100 in some situations, and outdoors at ISO 800 in others. You make the call!
Top Related