Yingcai Xiao Game Development Intro to Unreal Engine.
22
Yingcai Xiao Game Development Intro to Unreal Engine
-
Upload
uriel-wears -
Category
Documents
-
view
246 -
download
4
Transcript of Yingcai Xiao Game Development Intro to Unreal Engine.

Yingcai Xiao
Game Development
Intro to Unreal Engine
Unreral Game EngineEngine (https://www.unrealengine.com)
Open Source (complete source code)
IDE (Blueprint, C++)
Documentation
Tutorials
Examples
Discussion Forums
Educational Use (free)

Installation
• Register an account
https://www.unrealengine.com/register
• Download the dashboard (1GB)
https://www.unrealengine.com/dashboard
• Start the Dashboard, then go to Library, +Add Engine, Subscribe
• Subscribe with the code from the GA
https://www.unrealengine.com/code-redemption
• Download the engine (3GB)
Dashboard, Library, Engines, Download.
(Can be downloaded on multiple computers with one account.)

Basic Game Engine Components
• Rendering
• Collision detection
• AI
• Visibility
• Networking
• Scripting
• File system management
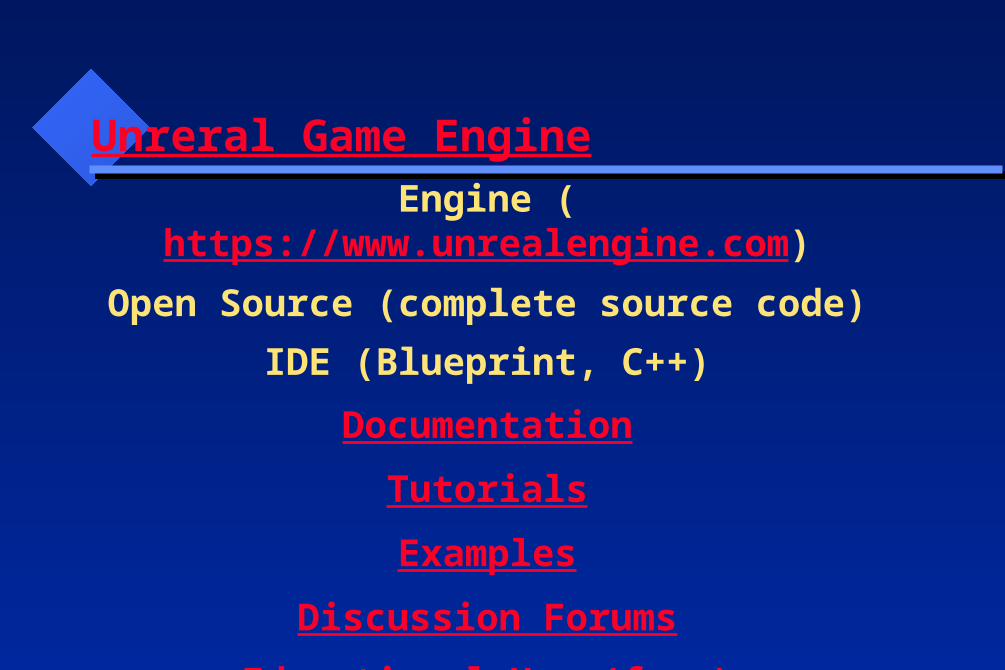
Supporting rendering/graphics engines
• Microsoft DirectX
for Microsoft Windows, Xbox One, Windows RT
• OpenGL
for OS X, Linux, PlayStation 4, iOS, Android, and Windows XP
• JavaScript/WebGL
for HTML5 Web browsers

UE4
• Tim Sweeney, Epic Games, Started in 2003
• Released in 2014
• Shaders/GPU
• Android
• Blueprint
visual scripting
Kismet in UE3 and UnrealScript in UE2/1

Blue prints
• Visual scripting
• Nodes
• Events
• Functions
• Variables

Blue print types
• Level (each level can have one)
• Class (game objects)
• Prefabs
• Pawns (player charactors)
• HUD (heads-up display, status bar)
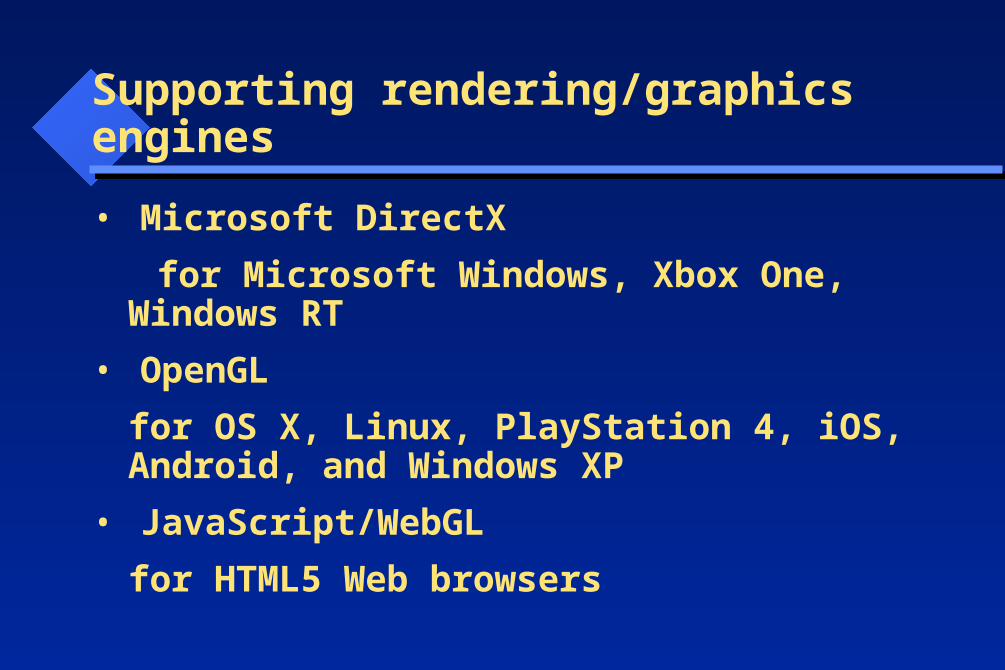
Blueprint Tutorial• A third person game
• FBX (Autodesk 3D model files)
• https://wiki.unrealengine.com/File:ThirdPerson_FBX.zip
• Skeletons (animation joints/bones)
• Have to use the same skeleton or skeletons with the same hierarchy to share animation.

Import FBX• Create a “Character” directory in the Content
Browser
• Drag HeroTPP from the unzipped FBX.zip to file pan.
• Import.
• Double click on the HeroTPP in the file pan.
• In the skeleton editor, select the Mesh tab.

Import Animation• Create an “Animation” directory under “Character”
directory in the Content Browser
• Drag all the animaton files from the unzipped FBX.zip to the file pan.
• Select the HeroTPP skeleton in the import dialog. file pan.
• Import All.
• Ctrol+S often to save everthing.

Persona• Animation editor in UE4
• Filter animaton files
• Click on the idle animation file.
• Persona will start.
• Right click on a bone allow you to add sockets to hold other things.
• Double click on any animation file in Content Browser will start the Asset Browser. Brows through the list to view the animations.

Persona - Mesh • Mesh tab gives you more details on the mesh than
the Skeleton tab.
• Mesh allow you to morph (change the shape of) a mesh.

Persona - Animation • Click on the animation pan (below the viewing
window).
• You can add notification to trigger a secondary animation.
• You can add a surve to change a property (varable), say, face color.
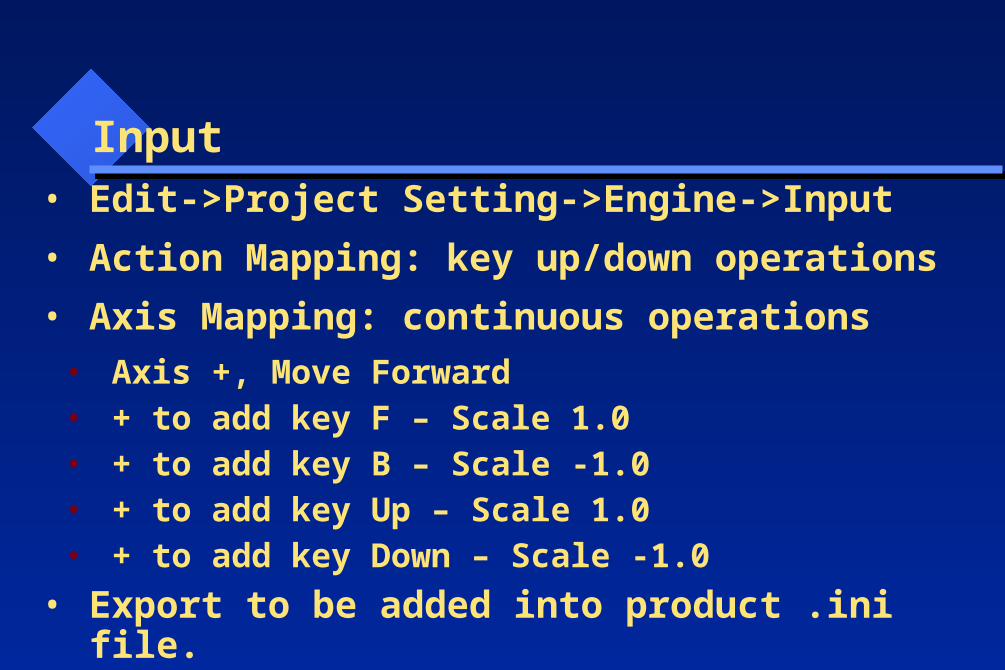
Input• Edit->Project Setting->Engine->Input
• Action Mapping: key up/down operations
• Axis Mapping: continuous operations
• Axis +, Move Forward• + to add key F – Scale 1.0 • + to add key B – Scale -1.0 • + to add key Up – Scale 1.0 • + to add key Down – Scale -1.0
• Export to be added into product .ini file.
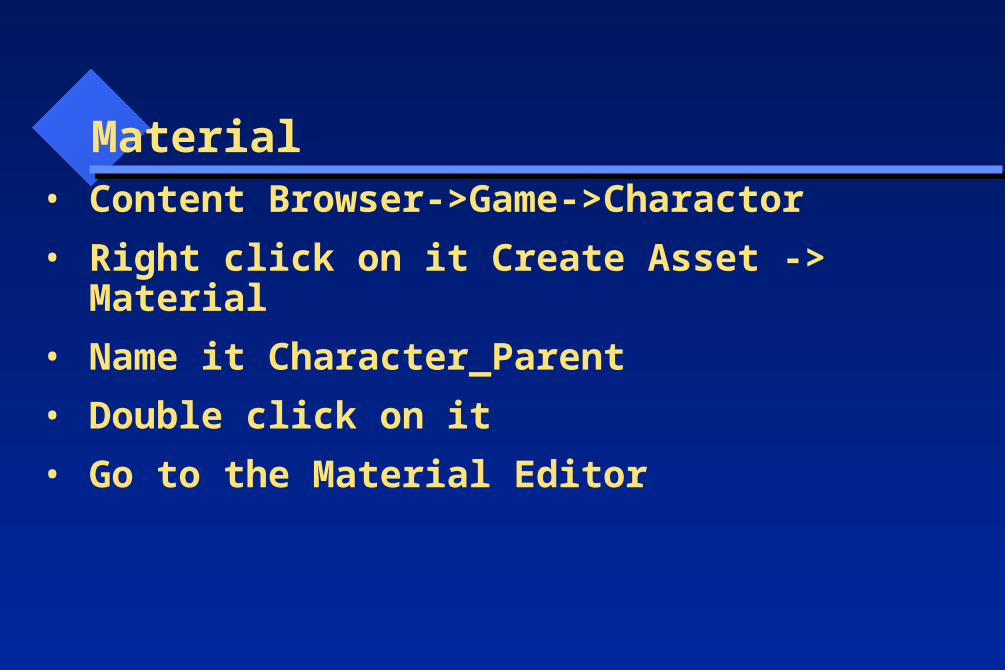
Material• Content Browser->Game->Charactor
• Right click on it Create Asset -> Material
• Name it Character_Parent
• Double click on it
• Go to the Material Editor

Material Editor• Right click in the material editor pan.
• Select a desired color.
• Ok to see the update of the color on the object.
• Create another parameter (scalar) and name it metallic.
• Change its value in “Details” to 0.2
• “Apply”
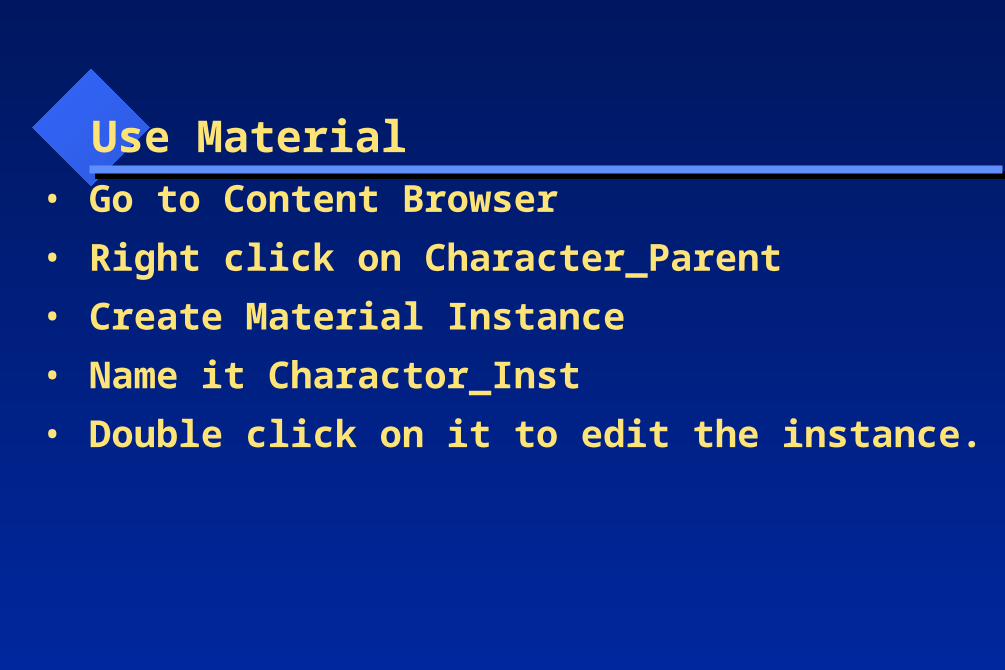
Use Material• Go to Content Browser
• Right click on Character_Parent
• Create Material Instance
• Name it Charactor_Inst
• Double click on it to edit the instance.

Use Material• Go to Content Browser
• double click on HeroTPP
• Persona will be up.
• Drag the Character_inst from Content Browser to Mesh Details
• The color of the character will change after compilation.
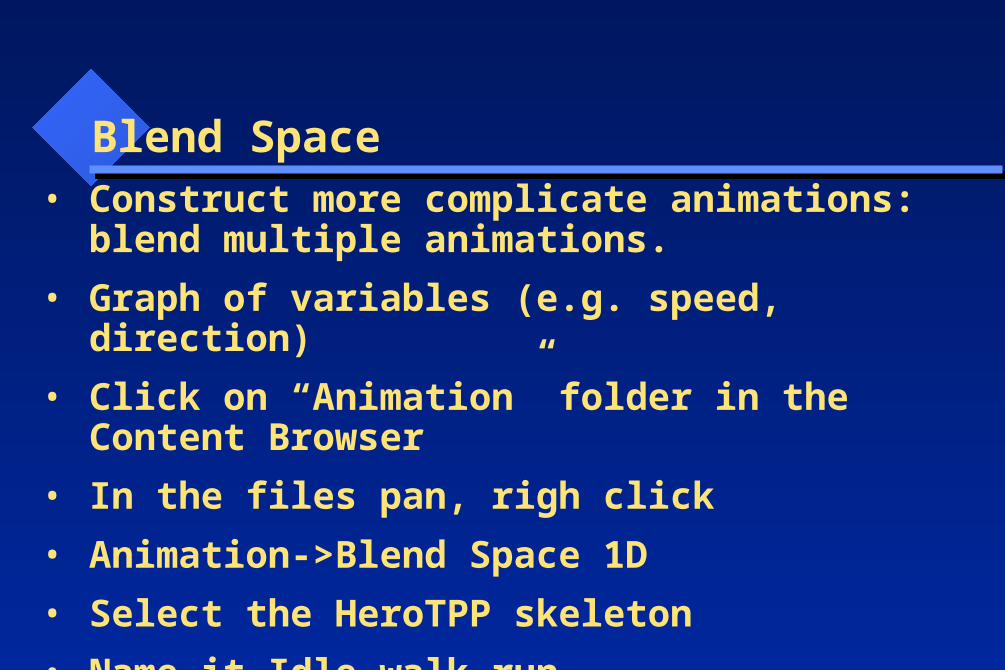
Blend Space• Construct more complicate animations: blend
multiple animations.
• Graph of variables (e.g. speed, direction)
• Click on “Animation” folder in the Content Browser
• In the files pan, righ click
• Animation->Blend Space 1D
• Select the HeroTPP skeleton
• Name it Idle_walk_run
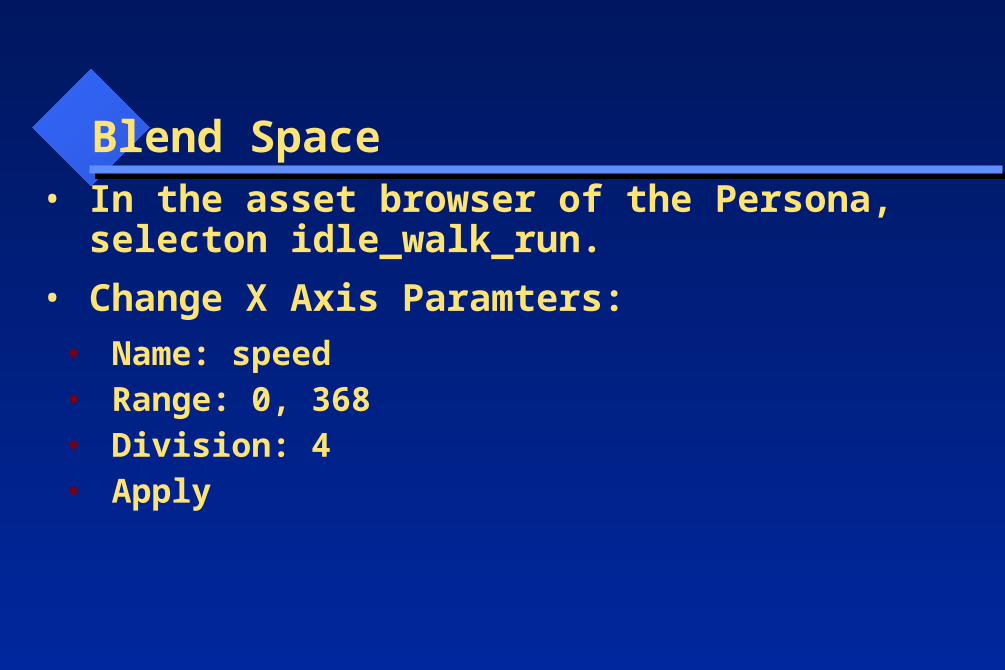
Blend Space• In the asset browser of the Persona, selecton
idle_walk_run.
• Change X Axis Paramters:
• Name: speed• Range: 0, 368• Division: 4• Apply

Blend Space• Drag the animations from Asset Browser of
Persona to blend animations
• Idle to Speed 0• Walk to the middle• Run to Speed 368