Workplace Ergonomics Dr. Neo Chee Beng Orthopaedic and Traumatalogy Surgeon Kluang Utama Specialist...
47
Workplace Ergonomics Dr. Neo Chee Beng Orthopaedic and Traumatalogy Surgeon Kluang Utama Specialist Hospital Ergonomic and Backache
-
Upload
justin-simpson -
Category
Documents
-
view
217 -
download
1
Transcript of Workplace Ergonomics Dr. Neo Chee Beng Orthopaedic and Traumatalogy Surgeon Kluang Utama Specialist...

Workplace Ergonomics
Dr. Neo Chee BengOrthopaedic and Traumatalogy Surgeon
Kluang Utama Specialist Hospital
Ergonomic and Backache

Workplace Ergonomics
Aim
To provide the user with the knowledge and skills to:
•Ergonomically setup their workstation• •Perform correct pause stretch exercises
•Questions and answers to win a prizes
2

What is ergonomics?
Ergonomics
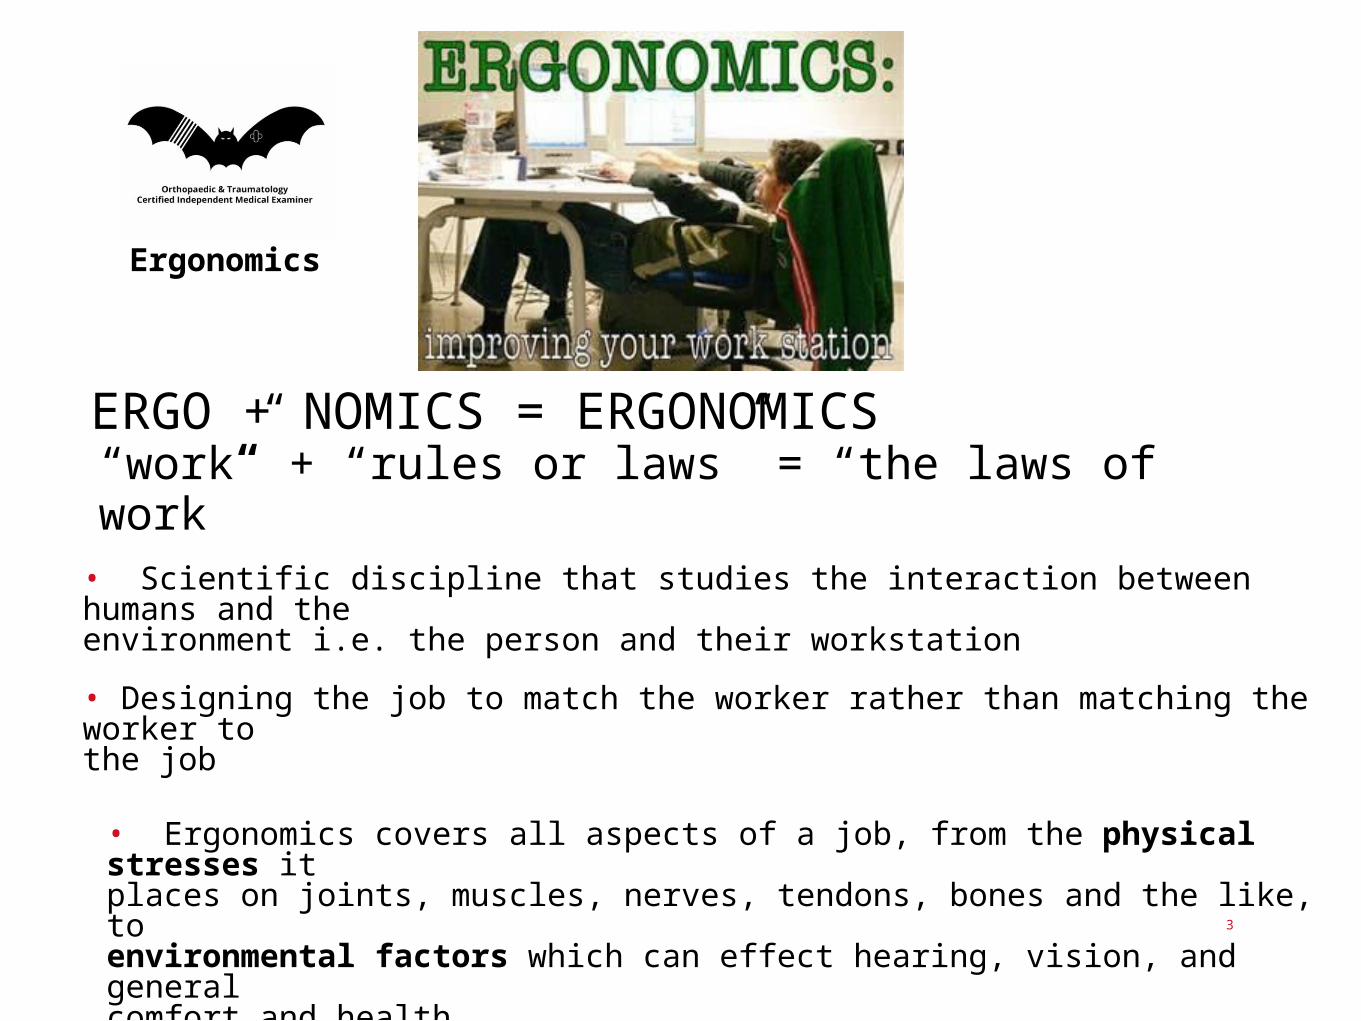
ERGO + NOMICS = ERGONOMICS“work” + “rules or laws” = “the laws of work”
• Scientific discipline that studies the interaction between humans and theenvironment i.e. the person and their workstation
• Designing the job to match the worker rather than matching the worker tothe job
• Ergonomics covers all aspects of a job, from the physical stresses itplaces on joints, muscles, nerves, tendons, bones and the like, toenvironmental factors which can effect hearing, vision, and generalcomfort and health. 3

Injuries due to PoorErgonomics
4
BackacheNeck Pain

Workplace Ergonomics
What is occupational overuse?
• Conditions characterised by discomfort or persistent pain inmuscles, tendons and other soft tissues.
5
Workplace Ergonomics
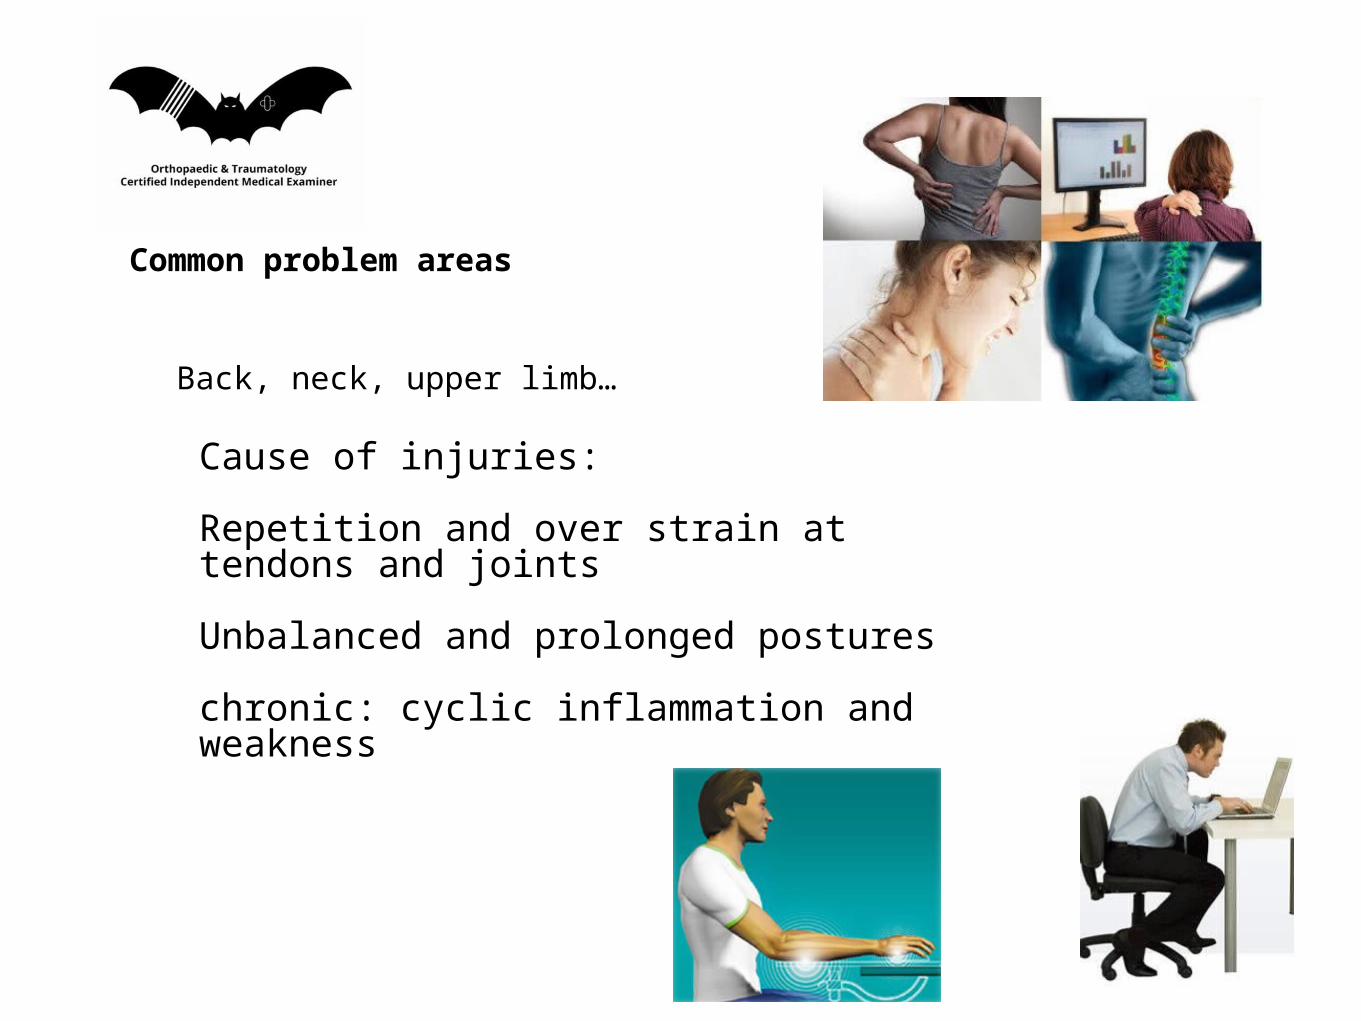
Common problem areas
Back, neck, upper limb…
Cause of injuries:
Repetition and over strain at tendons and joints
Unbalanced and prolonged postures
chronic: cyclic inflammation and weakness
6

Workplace Ergonomics
Common problem areas
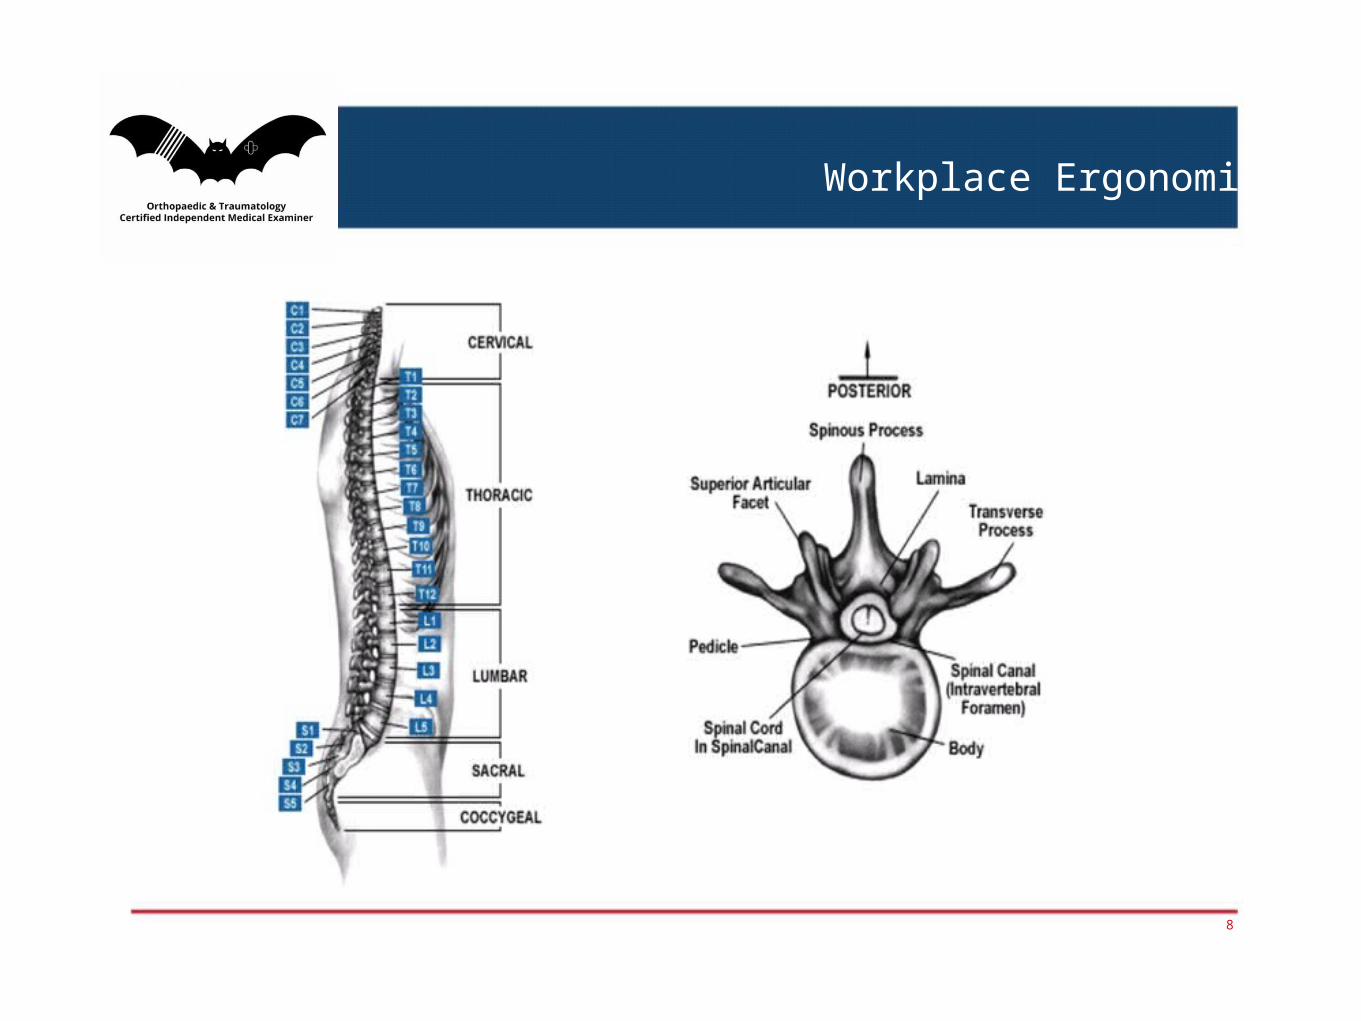
The Spine is divided into 5 parts:
• Cervical Vertebrae - C1-C7
• Thoracic Vertebrae - T1-T12
• Lumbar Vertebrae - L1 - L5
• Sacral Vertebrae (fused) - S1 - S5
• Coccyx
Normal Spine: S shaped curve
ØEach vertebrae is separated by an intervertebral disc
7
Workplace Ergonomics
8
Workplace Ergonomics
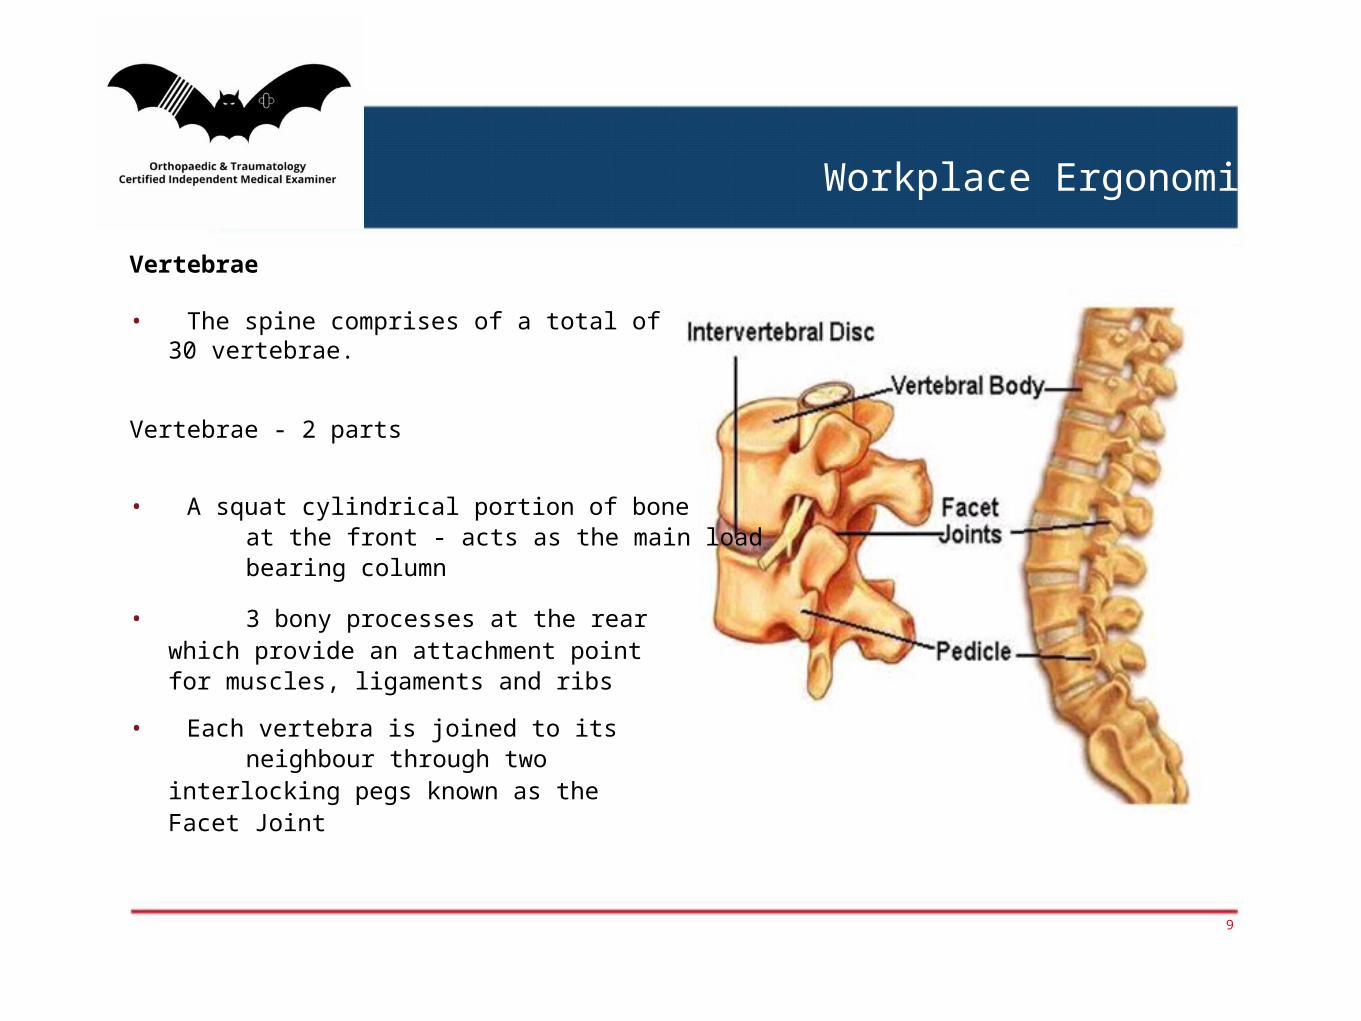
Vertebrae
• The spine comprises of a total of30 vertebrae.
Vertebrae - 2 parts
• A squat cylindrical portion of boneat the front - acts as the main loadbearing column
• 3 bony processes at the rearwhich provide an attachment pointfor muscles, ligaments and ribs
• Each vertebra is joined to itsneighbour through two
interlocking pegs known as theFacet Joint
9

Workplace Ergonomics
Intervertebral Discs
• Act as Shock Absorbers
• Each disc made up of two parts:
- Annulus: Outer part of the disc made of a fibrous ligaments. Extremelystrong and responsible for connecting each vertebrae to one another. Actsas a coiled spring
- Nucleus Pulposus - a soft jelly like centre. Acts as a ball bearing that thevertebrae roll over during flexion, extension and lateral bending.
10

Workplace Ergonomics
• When you lean forward, the front of the vertebrae come closertogether forcing the disc fluid backwards.
• When you lean backwards, the back of the vertebrae come closertogether forcing the disc fluid forwards.
• When you lean to the right, the disc fluid moves to the left. Whenyou lean to the left, the disc fluid moves to the right.
• This is normal!!
11

Owing to our postures during the day, we tend to mainly move into a forward (flexed) position for example:-
sitting at a computer, removing items from boxes, driving the car,cleaning the house, putting on shoes, or relaxing in a sofa.
Therefore the disc fluid is gradually pushed backwards over time. It eventually places increased pressure on the back wall of the disc (toothpaste tube)
12
Workplace Ergonomics
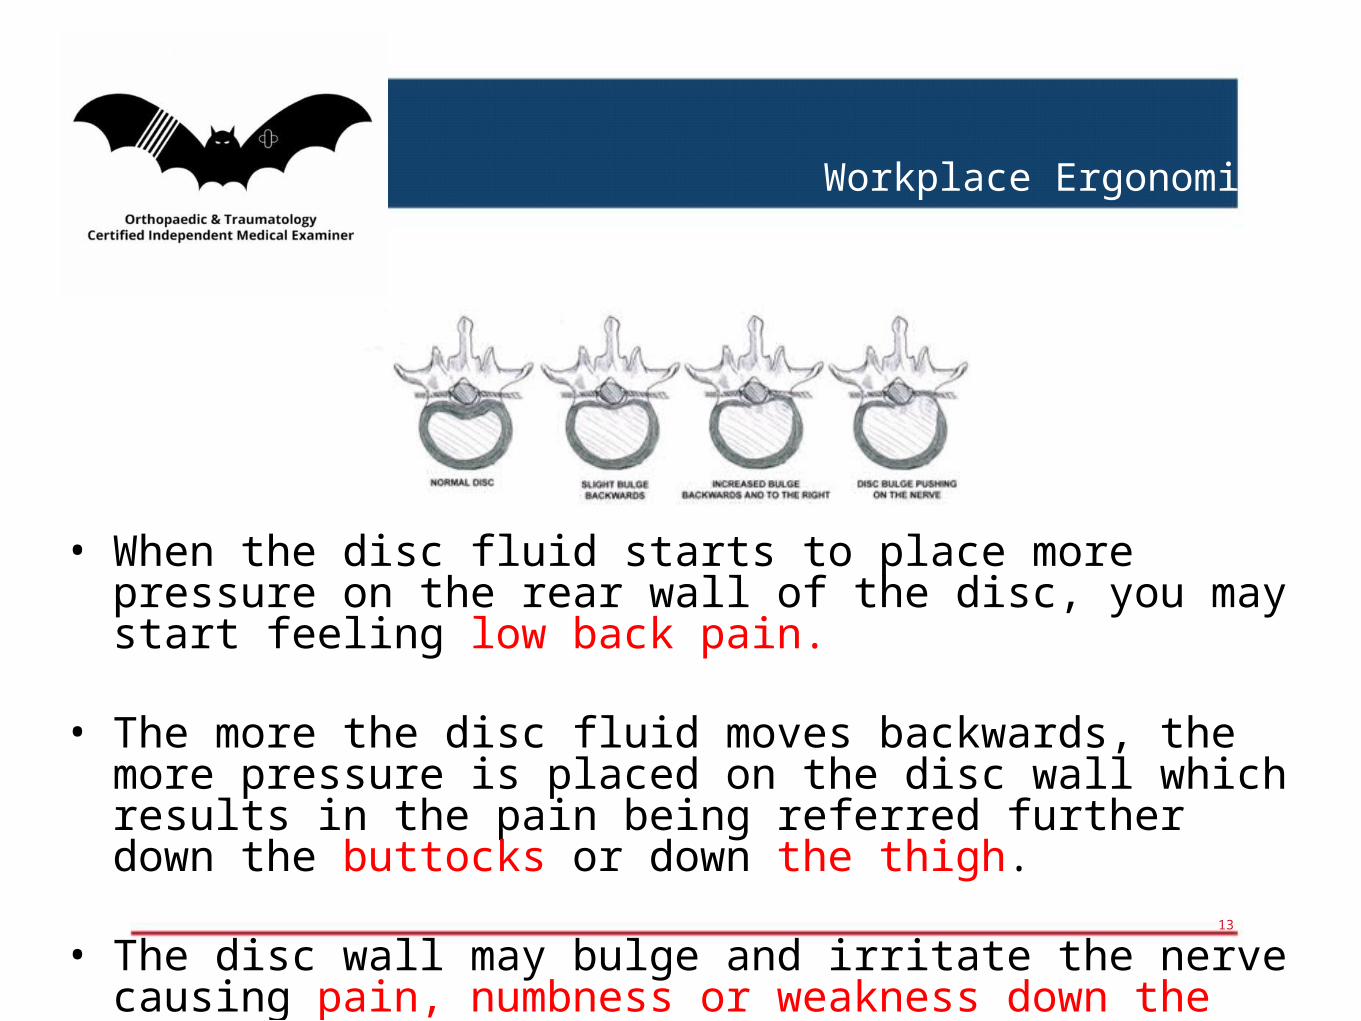
• When the disc fluid starts to place more pressure on the rear wall of the disc, you may start feeling low back pain.
• The more the disc fluid moves backwards, the more pressure is placed on the disc wall which results in the pain being referred further down the buttocks or down the thigh.
• The disc wall may bulge and irritate the nerve causing pain, numbness or weakness down the leg.
13
Workplace Ergonomics
14

Adjusting the workstation
15

Workplace Ergonomics
Step 1 Start with the chair…
What makes an ergonomic chair
• 5 star base of support
• Height adjustable base
• No armrests present
16

Workplace Ergonomics
Height of chair
• Chair needs to be at a height sothat your forearms are parallel tothe desk with your shouldersrelaxed and elbows at 90 degrees.
• If your feet can’t reach the floorcomfortably, you require a footrest.
• Backrest at 90o to 100o to the floor.
17

Workplace Ergonomoics
Step 2 The Visual Display Unit (VDU)
• The VDU should be approximately one arms length away from the user.
• This is the average focal distance for a person and reduces the need toslouch forward to read the screen
18
One arm length

Workplace Ergonomics
• The top of the VDU should be ateye-level.
• People with bi-focalsmay need to have theirVDU lower to avoidexcessive neck extension.
19
Eye level
Workplace Ergonomics
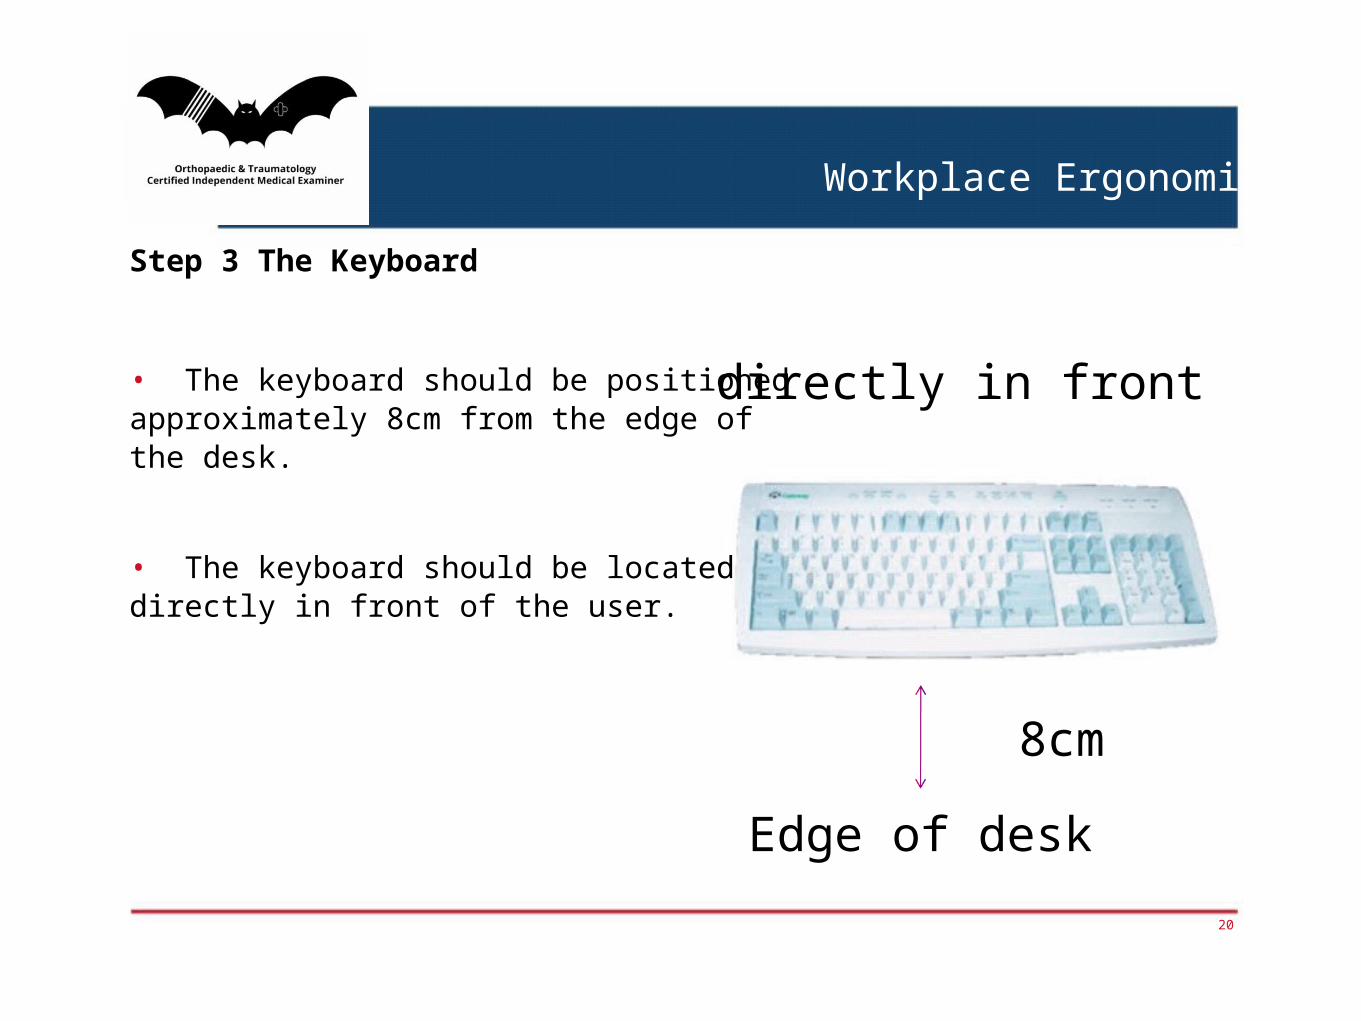
Step 3 The Keyboard
• The keyboard should be positionedapproximately 8cm from the edge ofthe desk.
• The keyboard should be locateddirectly in front of the user.
20
8cm
Edge of desk
directly in front

Workplace Ergonomics
versus
• The keyboard should not be inclined to avoid excessive andprolonged extension of the wrist whilst typing.
21
x

Workplace Ergonomics
Step 4 The Mouse
• The mouse should be positioned to allow the elbow by the side of theuser’s body and the wrist remains in a neutral position.
• Positioning the mouse too far backwards and to the right (right handdominant people) places the wrist in an unnatural angle which canpredispose the user to carpel tunnel and tennis elbow type symptoms.
22
neutral positionthe elbow by the side of body

Workplace Ergonomics
The Mouse and Keyboard
23

Workplace Ergonomics
Step 5 The zone of frequent use
• Items used repetitively during theday (for example pens, stapler,punch or telephone) need to beclose enough so that the user doesnot have to stretch for the item.
• This reduces the risk of slouchingonce the item has been grasped.
24

Workplace Ergonomics
Task & equipment layout
Keying priority
Non-mouse priority
Mouse priority
Phone and writing priority
25

Workplace Ergonomics
Laptops
• Always adjust the laptop for thescreen height.
• Preferentially use a laptop stand ordocking station.
• Use an external mouse andkeyboard.
26
Manual Handling
27

Plan the Lift
• Can manual handling aids be used?
• Where is the load to be placed?
• Will two people be required to perform the lift?
• Clear the work area of hazards, obstructions etc
28

Workplace Ergonomics
Plan the Lift
• Use the large muscles of your legs to lift, let the quadriceps and hamstringsdo the work.
• Hold the item close to your body and as close to your centre of gravity aspossible
• Don’t twist with your back, move with your feet. Keep your hips andshoulders in alignment.
• Pull or push if able, rather that lift.
• Don’t jerk the load. Lift smoothly.
29

Workplace Ergonomics
30

Workplace Ergonomics
Accessing Files and Deskside Cabinets
• Do NOT sit in your chair, lean to theside and reach for a file.
• Stand up, bend down with your hipsand knees in front of the cabinetand access the file.
• Do NOT bend your back
31

Workplace Ergonomics
Pause Stretch Exercises
• These exercises help reduce the pressure on the intervertebral discs,muscles, joints and ligaments of the spine.
• They should be performed regularly (every 1-2 hours) during the day.
32

Workplace Ergonomics
Chin Retraction
• Pull your entire head backwardson your neck
• Your chin should not go down or upbut directly backward
• Hold 2 seconds then relax
• Do not poke the chin forwards
• Repeat 10 times approximately everyhour
33
Workplace Ergonomics
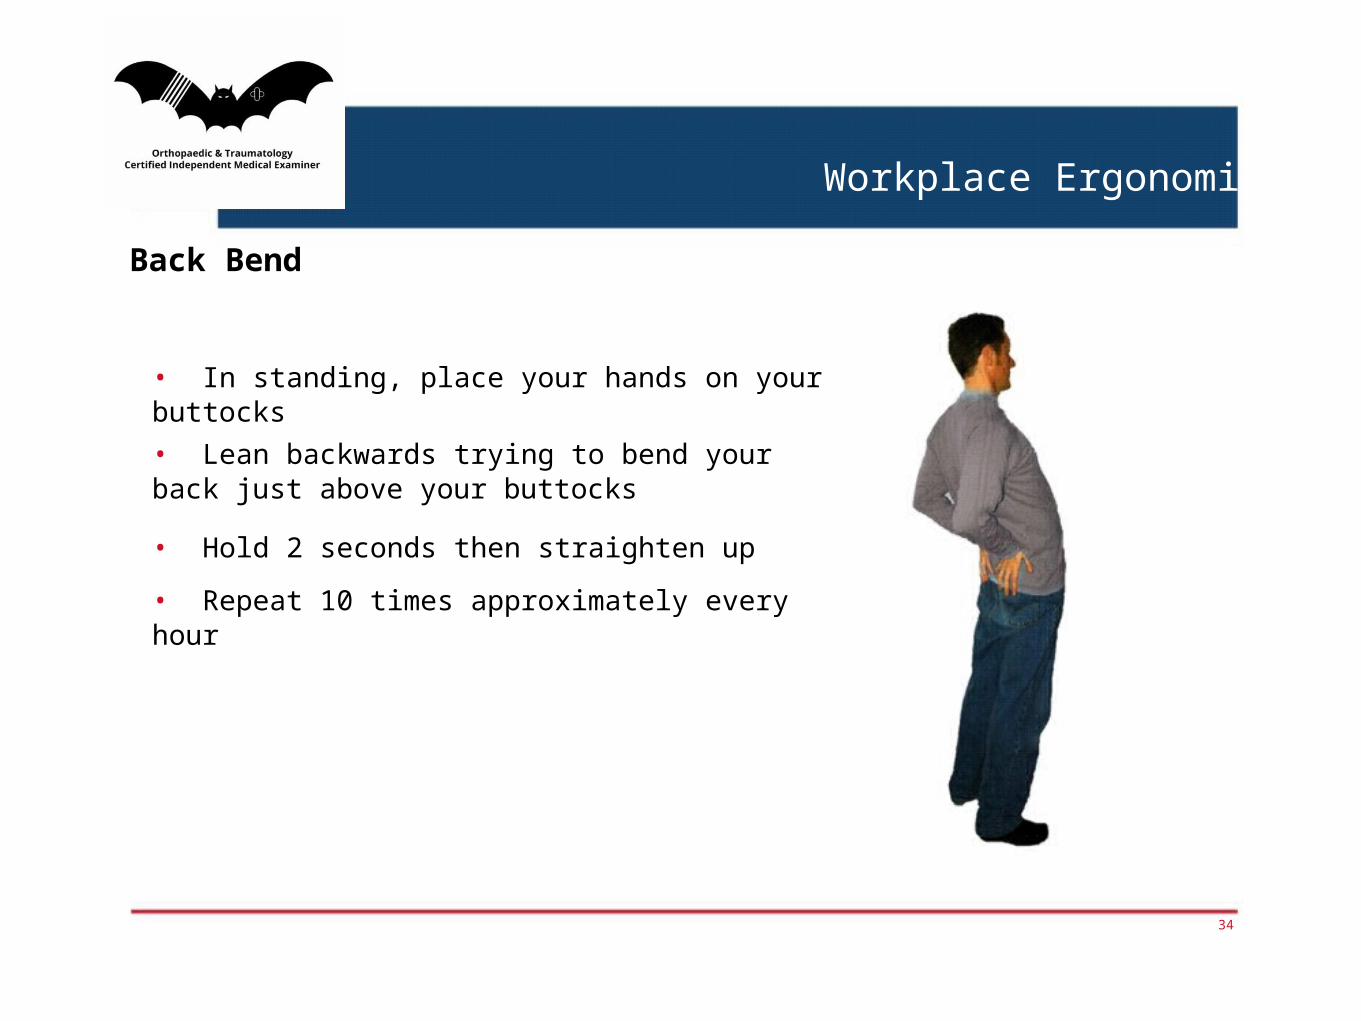
Back Bend
• In standing, place your hands on yourbuttocks
• Lean backwards trying to bend yourback just above your buttocks
• Hold 2 seconds then straighten up
• Repeat 10 times approximately everyhour
34
Workplace Ergonomics
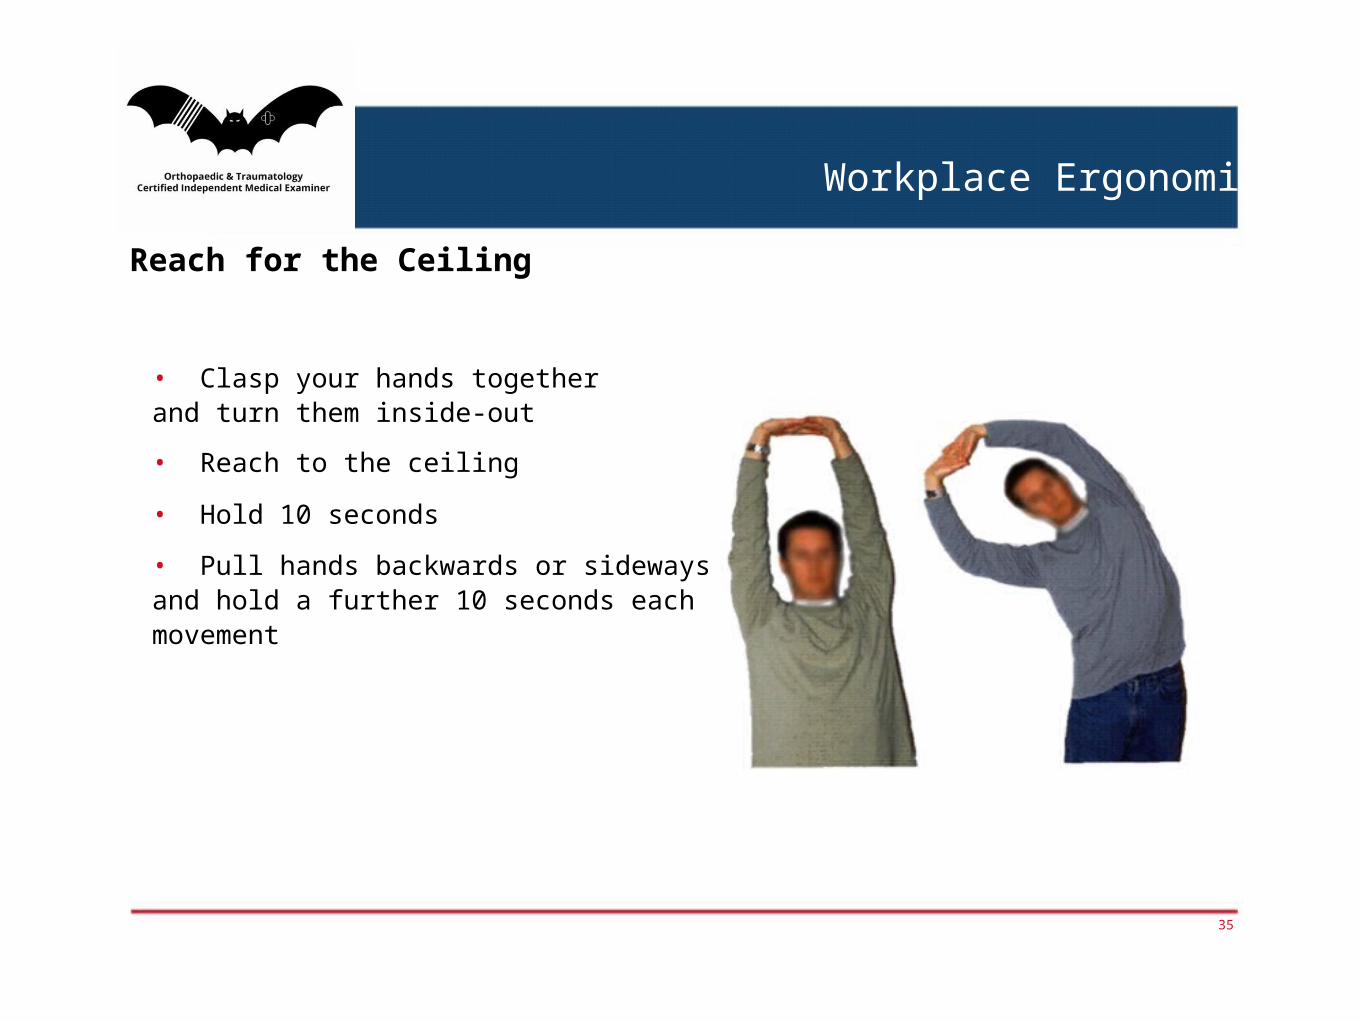
Reach for the Ceiling
• Clasp your hands togetherand turn them inside-out
• Reach to the ceiling
• Hold 10 seconds
• Pull hands backwards or sidewaysand hold a further 10 seconds eachmovement
35
Workplace Ergonomics
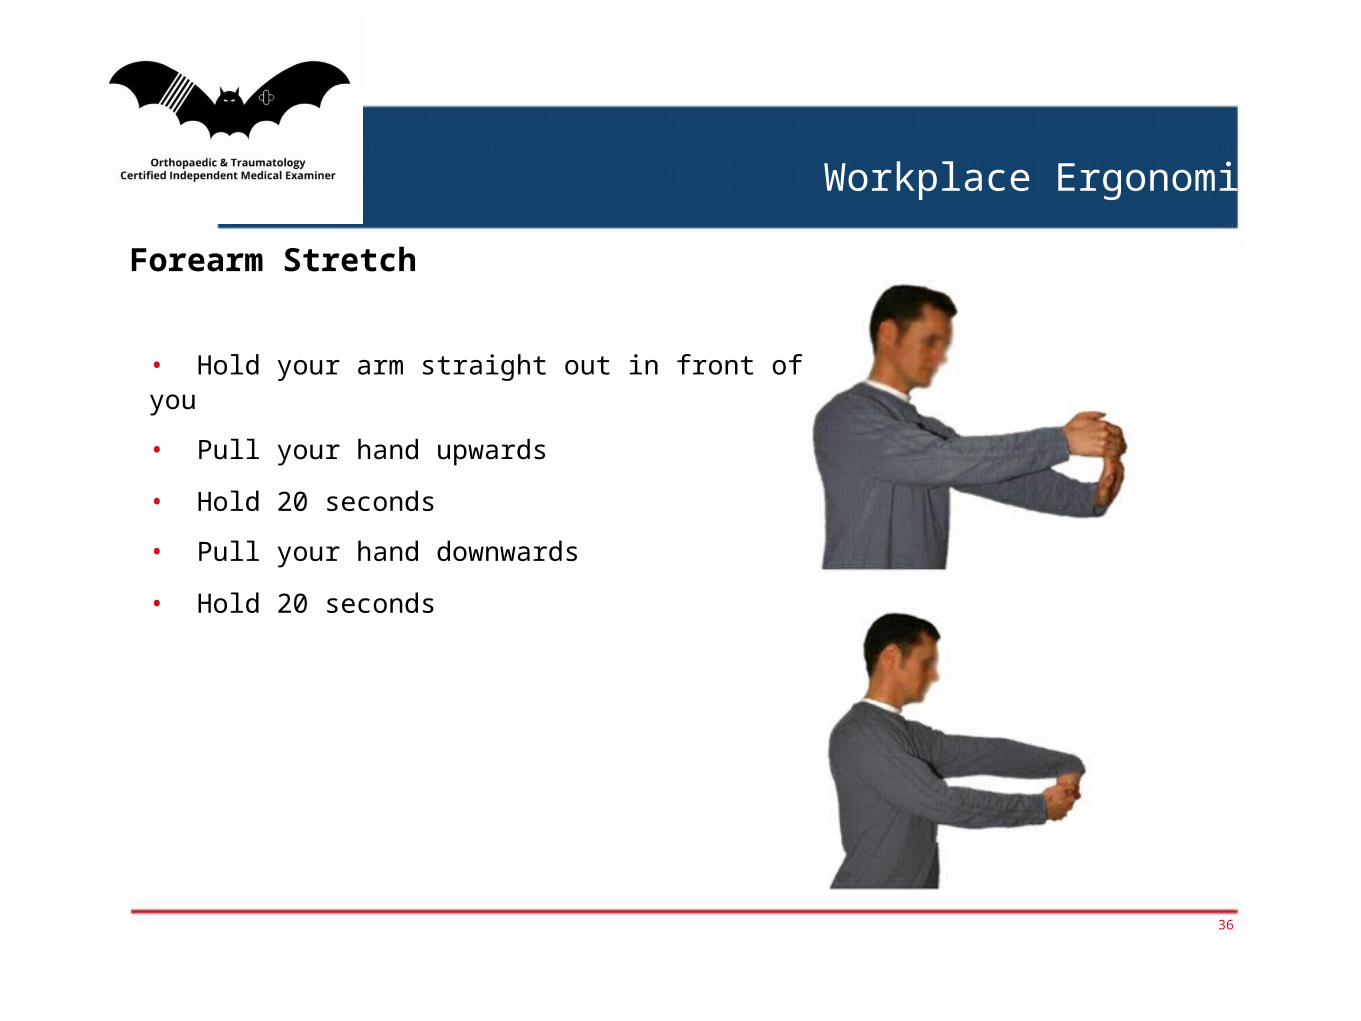
Forearm Stretch
• Hold your arm straight out in front ofyou
• Pull your hand upwards
• Hold 20 seconds
• Pull your hand downwards
• Hold 20 seconds
36
Workplace Ergonomics
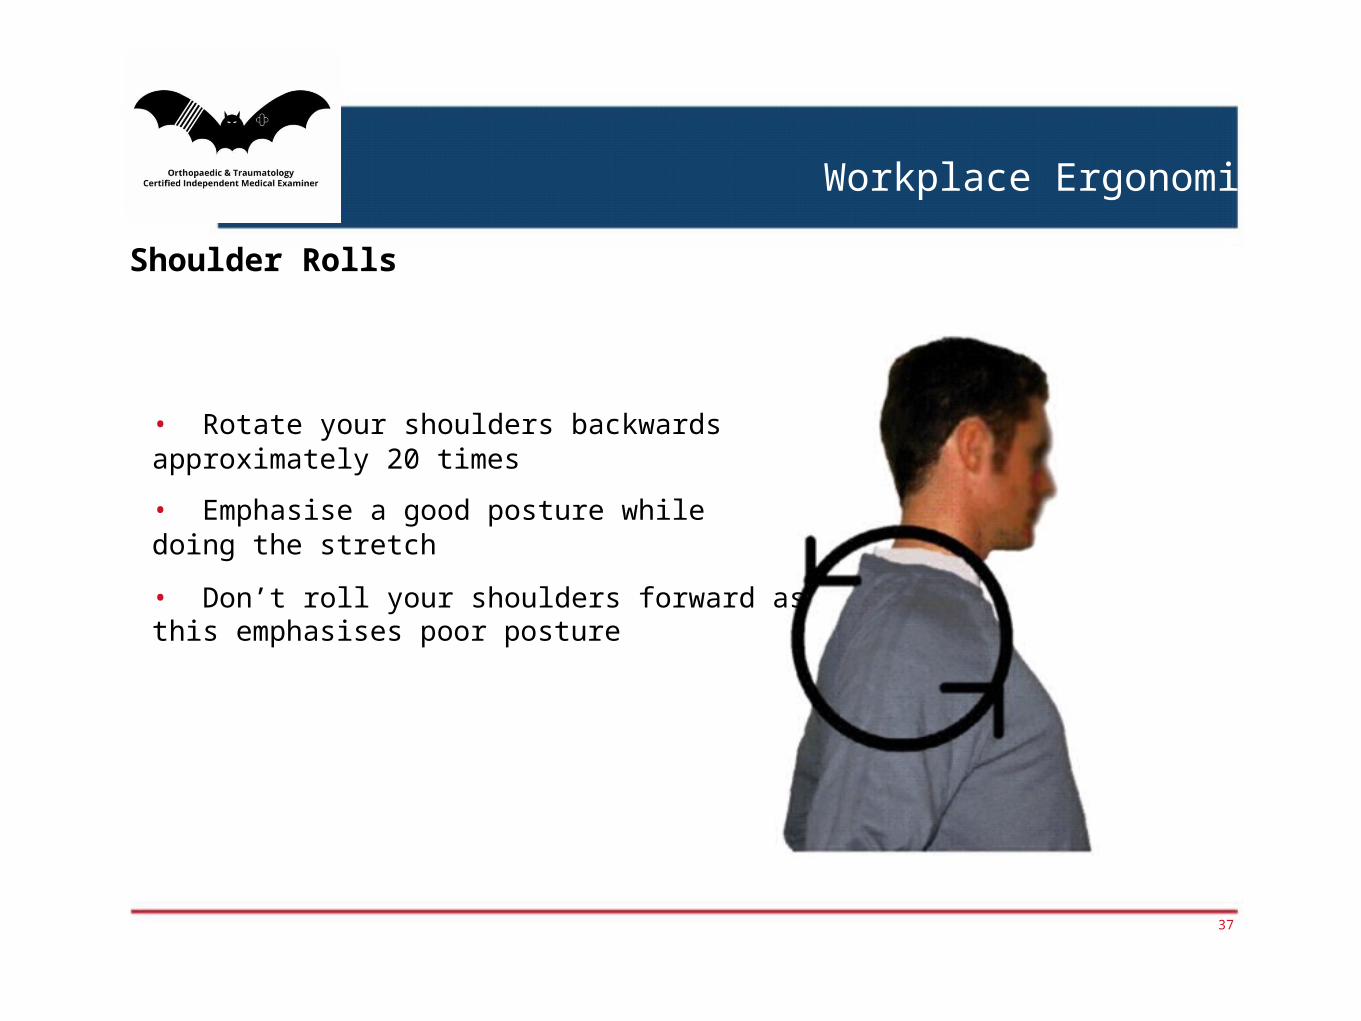
Shoulder Rolls
• Rotate your shoulders backwardsapproximately 20 times
• Emphasise a good posture whiledoing the stretch
• Don’t roll your shoulders forward asthis emphasises poor posture
37

Workplace Ergonomics
Thoracic Extensions
• (To be performed in a chair with a
30-50cm backrest)
• Support your head in your hands.
• Slowly and gently lean backwards in
your chair.
• Hold 2 seconds.
• Slide approximately 3cm down the
chair. Slowly and gently lean
backwards again.
• Repeat along your thoracic spine to
just below your neck.
38

31
QUESTIONS?
1. Ergonomics applies to:
a) Workstation design and how work is organized
b) Working postures and handling manual materials
c) Tools, equipment and furniture design
d) Temperature, humidity and lighting
e) All of the above

2.The primary risk factors for musculoskeletal injuries are
a) Repetitive movements
b) Forceful movements
c) Fixed or awkward postures
d) Bending, twisting and heavy lifting
e) All of the above

3.While working at your workstation, usual work should be kept within forearm length.
a) True
b) False

4.One of the ways I can protect myself from a back injury is by
a) Testing the object before lifting
b) Keeping the load close
c) Not twisting at the waist when lifting
d) Lifting the load with a partner
e) All of the above

5. Which is the proper way of lifting heavy object?
A B


Terima Kasih