
Wired.RoboticCar
30
WIRED ROBOTIC CAR P rimary Step in the Field of Robotics…
-
Upload
palash-bolia -
Category
Documents
-
view
217 -
download
0
Transcript of Wired.RoboticCar

8/7/2019 Wired.RoboticCar
http://slidepdf.com/reader/full/wiredroboticcar 1/30
WIRED ROBOTIC CAR
Primary Step in the Field of Robotics…

8/7/2019 Wired.RoboticCar
http://slidepdf.com/reader/full/wiredroboticcar 2/30
Objective
10/23/20102
To design a manually controlled car capable of crossinga track flooded with various hurdles in minimum
possible time.
This basically requires:• A good design• A good control
• Team co-ordination

8/7/2019 Wired.RoboticCar
http://slidepdf.com/reader/full/wiredroboticcar 3/30
Design

8/7/2019 Wired.RoboticCar
http://slidepdf.com/reader/full/wiredroboticcar 4/30
Wired Robotic Car
10/23/20104
A simple assembly of various components like
For Bot:
Motors Wheel Set Grip
For Remote: DPDT Switches
Circuit Board
AC to DC Converter
8/7/2019 Wired.RoboticCar
http://slidepdf.com/reader/full/wiredroboticcar 5/30

8/7/2019 Wired.RoboticCar
http://slidepdf.com/reader/full/wiredroboticcar 6/30
General Constraints
10/23/20106
Every Robotic Hurdle Race involves various constraintslike:
Size Constraint(Generally 30x 30x 30cm or 25x 25x 25cm)
Voltage Constraint(Generally 24 V DC)
Power Constraint

8/7/2019 Wired.RoboticCar
http://slidepdf.com/reader/full/wiredroboticcar 7/30
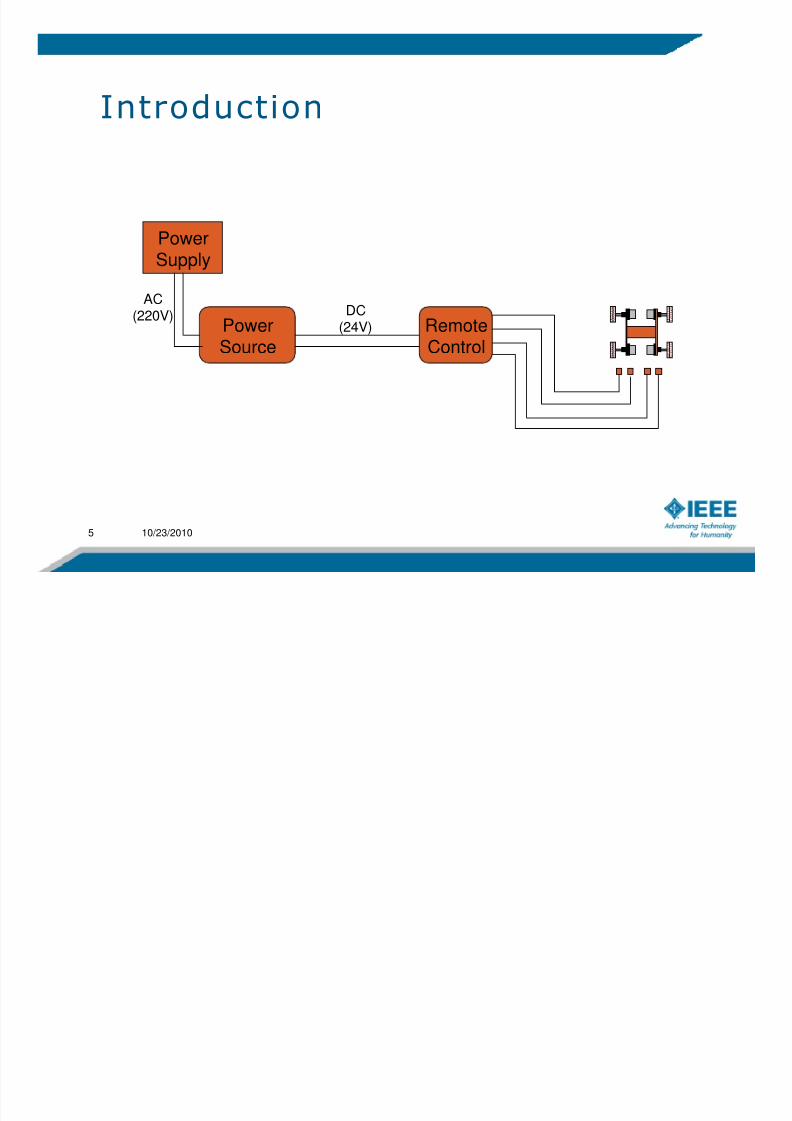
Power Source
(AC to DC Conversion)
10/23/20107
We are already familiar with the concept of AC & DC supply andconversion of AC into DC.Various methods used for this purpose are:
Rectifier Transformer – step down transformer Diode & Capacitor – to convert a.c to d.c
Battery – for onboard operations of car
Adapter – should be minimum of 12v and 500mA
Laptop Charger

8/7/2019 Wired.RoboticCar
http://slidepdf.com/reader/full/wiredroboticcar 8/30
Transformer
Transformer
CenterTapping
MultiTapping
AutoTransformer
Advantages:• Easily Available• Cheap
Disadvantages:
• Current Weakens Due to Heating Effect• Bulky

8/7/2019 Wired.RoboticCar
http://slidepdf.com/reader/full/wiredroboticcar 9/30
Transformer » Rectifier
T r an s f or m er
Input
Input
Output
Output
12
12
0
8/7/2019 Wired.RoboticCar
http://slidepdf.com/reader/full/wiredroboticcar 10/30
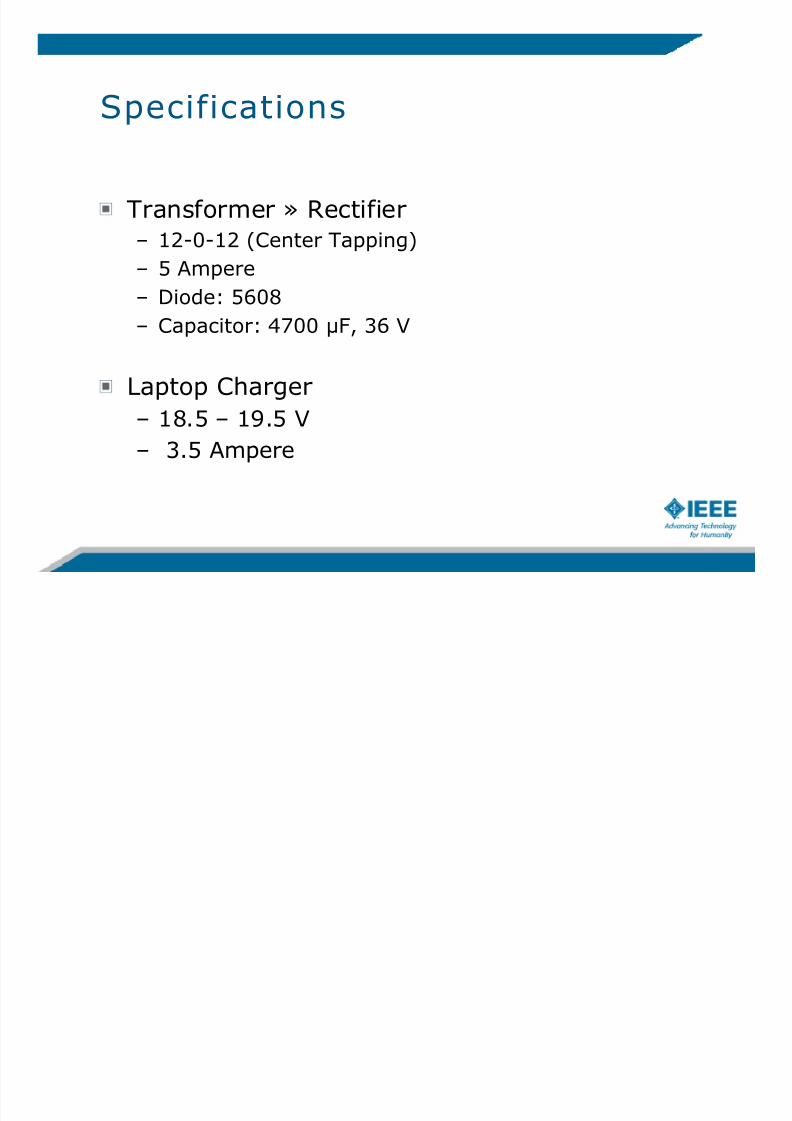
Specifications
Transformer » Rectifier
– 12-0-12 (Center Tapping)
– 5 Ampere– Diode: 5608
– Capacitor: 4700 µF, 36 V
Laptop Charger
– 18.5 – 19.5 V– 3.5 Ampere

8/7/2019 Wired.RoboticCar
http://slidepdf.com/reader/full/wiredroboticcar 11/30
Remote Design
DPDT Connections(Double Pole Double Throw)
+ - + - + -

8/7/2019 Wired.RoboticCar
http://slidepdf.com/reader/full/wiredroboticcar 12/30
PCB Circuits
(Printed Circuit Board)
+ - + -

8/7/2019 Wired.RoboticCar
http://slidepdf.com/reader/full/wiredroboticcar 13/30
Motors
Motors
AC Motor DC Motor
Toy Motor Geared Motor
Internal Geared
External Geared
Self Locking, High Torque

8/7/2019 Wired.RoboticCar
http://slidepdf.com/reader/full/wiredroboticcar 14/30
Specifications
Voltage Rating
Current RatingRPM
Weight
Shaft Dimension

8/7/2019 Wired.RoboticCar
http://slidepdf.com/reader/full/wiredroboticcar 15/30
General Basics
Linear Speed = RPM x Radius
RPM x Torque≡
Power≡
V x I
Control Vs. Speed
Gear Ratio

8/7/2019 Wired.RoboticCar
http://slidepdf.com/reader/full/wiredroboticcar 16/30
Wheels
Wheels
Robotic WheelBicycle Supporting
Wheel
Cheap
Easily Available
Robust
Expensive
Weak

8/7/2019 Wired.RoboticCar
http://slidepdf.com/reader/full/wiredroboticcar 17/30
Specification
how to select wheel
External Diameter
Internal Diameter– Bush
Thickness
– Doubling
Material & Surface

8/7/2019 Wired.RoboticCar
http://slidepdf.com/reader/full/wiredroboticcar 18/30
Wheel Surface
(Track Belts & Grips)
Floor Mat
Cricket Bat Grip
Tyre Tube
Front to Rear Belt
– Tank type track belt

8/7/2019 Wired.RoboticCar
http://slidepdf.com/reader/full/wiredroboticcar 19/30
Assembly of Components
Using Internal Geared Motor
Using External Geared Motor

8/7/2019 Wired.RoboticCar
http://slidepdf.com/reader/full/wiredroboticcar 20/30
Simplest Car
Material Used:
– 4 x 100 rpm Motors (Robokit, Vega)
– 8 Wheels (Diameter = 6 cm)
– Floor Mat as Track Belt
– Iron Chassis
– DPDT Remote Control– Laptop Charger as Power Source
8/7/2019 Wired.RoboticCar
http://slidepdf.com/reader/full/wiredroboticcar 21/30
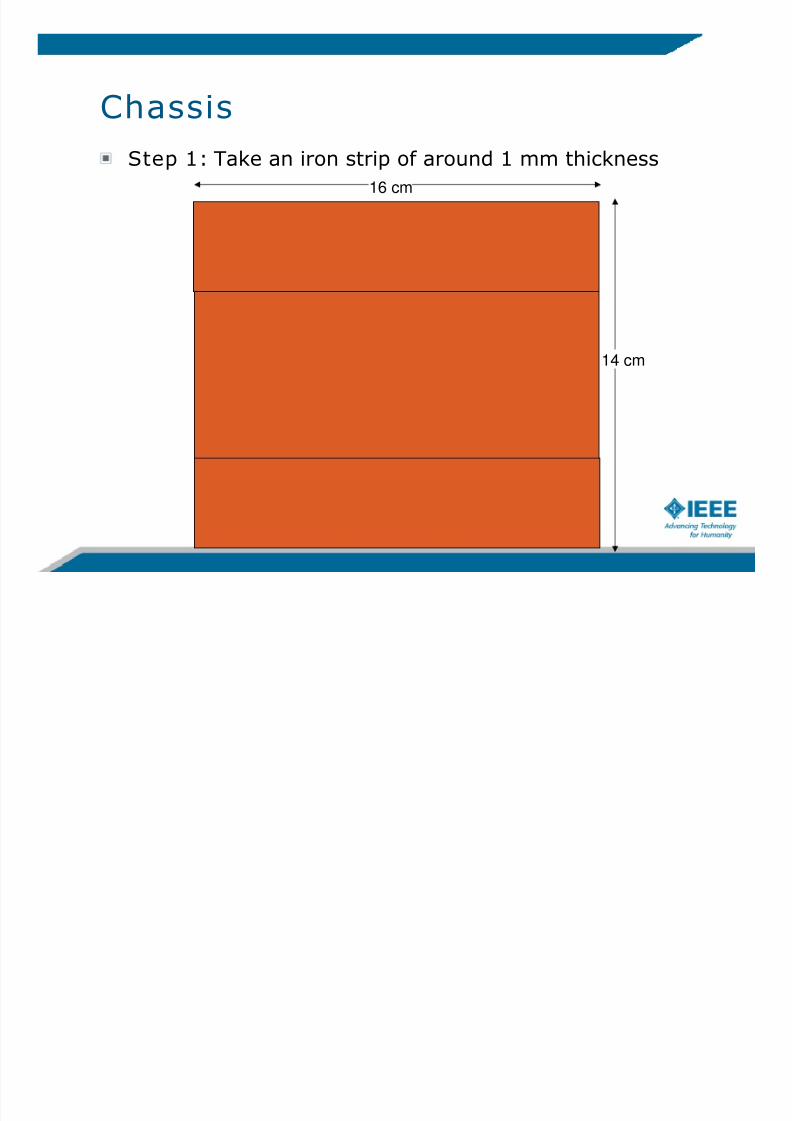
Chassis
Step 1: Take an iron strip of around 1 mm thickness
14 cm
16 cm

8/7/2019 Wired.RoboticCar
http://slidepdf.com/reader/full/wiredroboticcar 22/30

8/7/2019 Wired.RoboticCar
http://slidepdf.com/reader/full/wiredroboticcar 23/30
Chassis
Step 3: Bend the strip perpendicularly at a distance of 4cm from left & right edge
Step 4: Screw up motors & other accessories.
Top View Bottom View

8/7/2019 Wired.RoboticCar
http://slidepdf.com/reader/full/wiredroboticcar 24/30
Slight Change
Step 1: Take an iron strip of around 1 mm thickness
18cm
4cm
Step 2: Drill the strip as shown 2cm
2cm
13mm

8/7/2019 Wired.RoboticCar
http://slidepdf.com/reader/full/wiredroboticcar 25/30
Step 3: Mark lines on the strip as shown. 2cm
2cm
13mm4cm
1.5cm
1.5cm
1cm
Repeat Step 1-3 to make a similar strip.
Step 4: Take two another strips of shown dimensions
4cm
10cm

8/7/2019 Wired.RoboticCar
http://slidepdf.com/reader/full/wiredroboticcar 26/30
Step 5: Place the two strips made in Step1-3 in the vertical plane and weld themtogether with the help of strips made in step 4.
4cm
10cm
18cm

8/7/2019 Wired.RoboticCar
http://slidepdf.com/reader/full/wiredroboticcar 27/30
Most Successful Design
Material Used:
– 4 x 100 rpm Motors (External geared)
– 4 Wheels (Diameter = 10 cm)
– Floor Mat as Track Belt
– Iron Chassis
– DPDT Remote Control– Transformer as Power Source

8/7/2019 Wired.RoboticCar
http://slidepdf.com/reader/full/wiredroboticcar 28/30

8/7/2019 Wired.RoboticCar
http://slidepdf.com/reader/full/wiredroboticcar 29/30
Milind Singal: 9873243053Ajay Verma: 9911982505Mohit Gupta: 9466643004

8/7/2019 Wired.RoboticCar
http://slidepdf.com/reader/full/wiredroboticcar 30/30


