Windows XP ppt(1).ppt
30
1 - 2 ---Types of partition 3-5 --- ways of Hard Disk Drive jumper settings
-
Upload
kailasamravi -
Category
Documents
-
view
281 -
download
8
Transcript of Windows XP ppt(1).ppt
1 - 2 ---Types of partition
3-5 --- ways of Hard Disk Drive jumper settings

Explain briefly the purpose of partitioning hard disk drive in your own word

Software Installatio
n
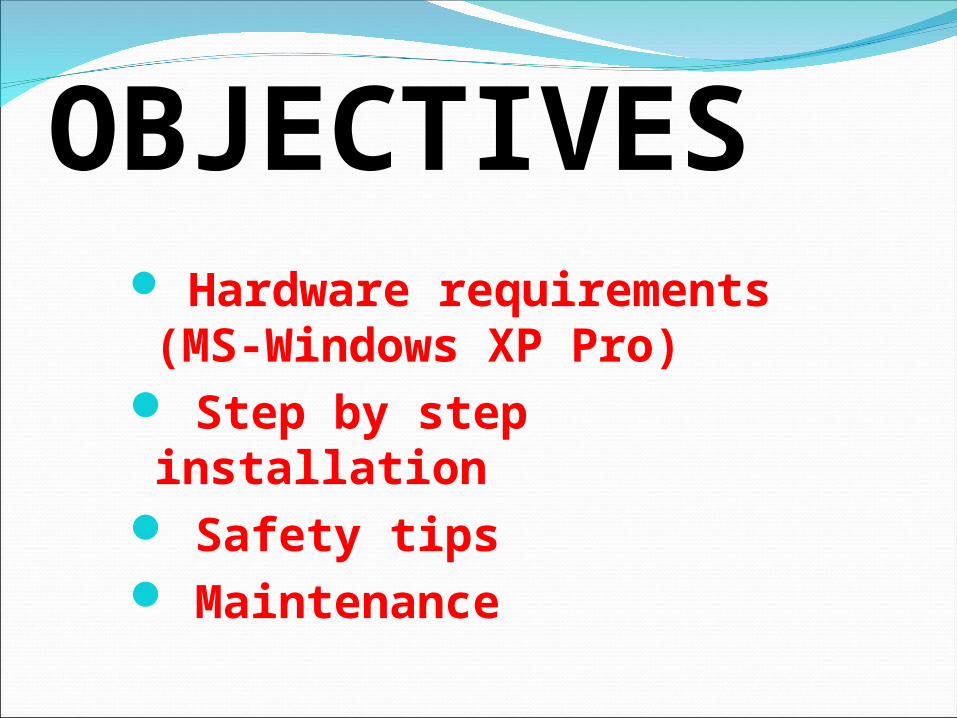
Hardware requirements (MS-Windows XP Pro)
Step by step installation
Safety tips Maintenance
OBJECTIVES
MinimumHARDWARE REQUIREMENTS
PC with 300 megahertz or higher processor clock speed recommended; 233 MHz minimum required (single or dual processor system);* Intel Pentium/Celeron family, or AMD K6/Athlon/Duron family, or compatible processor recommended

128 megabytes (MB) of RAM or higher recommended (64 MB minimum supported; may limit performance and some features)
4 gigabytes (GB) of available hard disk space*
Super VGA (800 x 600) or higher-resolution video adapter and monitor
CD-ROM or DVD driveKeyboard and Microsoft Mouse or compatible pointing device
Pre-installation checklist Windows Product Key Check all connections of your computer system
Check the device driver software
Check the utilities
Windows XP Pro Step by Step Installation
Booting SequenceSwitch the computer on and press delete keys to view the CMOS Setup Utility.
Go to Booting tab and change the settings into CD/DVD boot first.
Press F10 key to save the new setting.
Begin the installation
Insert the Windows XP CD into your computer and restart your computer.
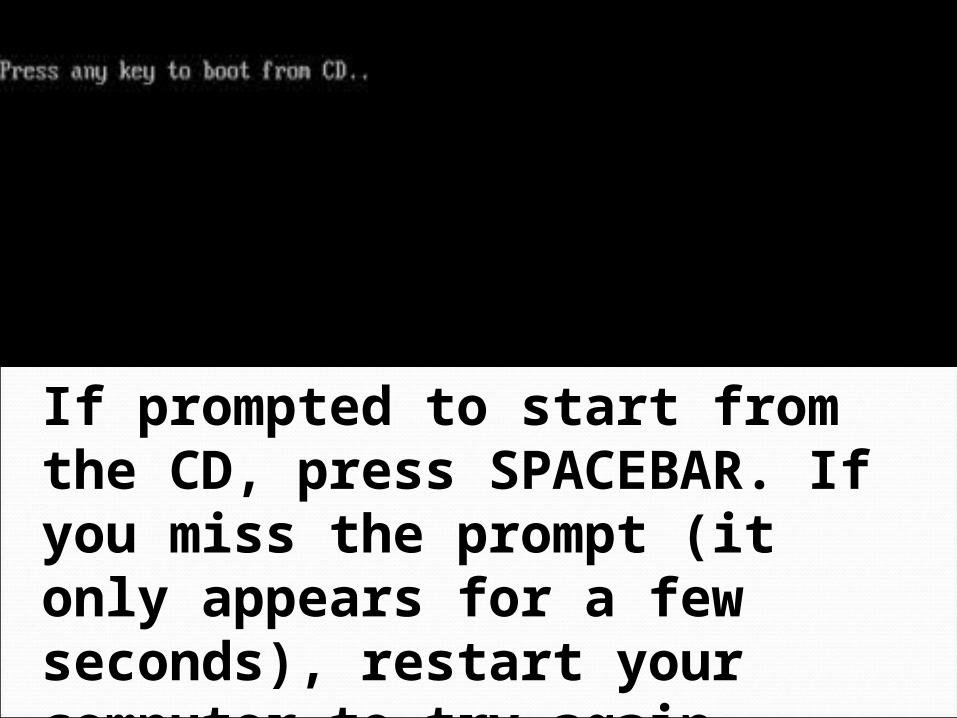
If prompted to start from the CD, press SPACEBAR. If you miss the prompt (it only appears for a few seconds), restart your computer to try again

On the Welcome to Setup page, press ENTER.
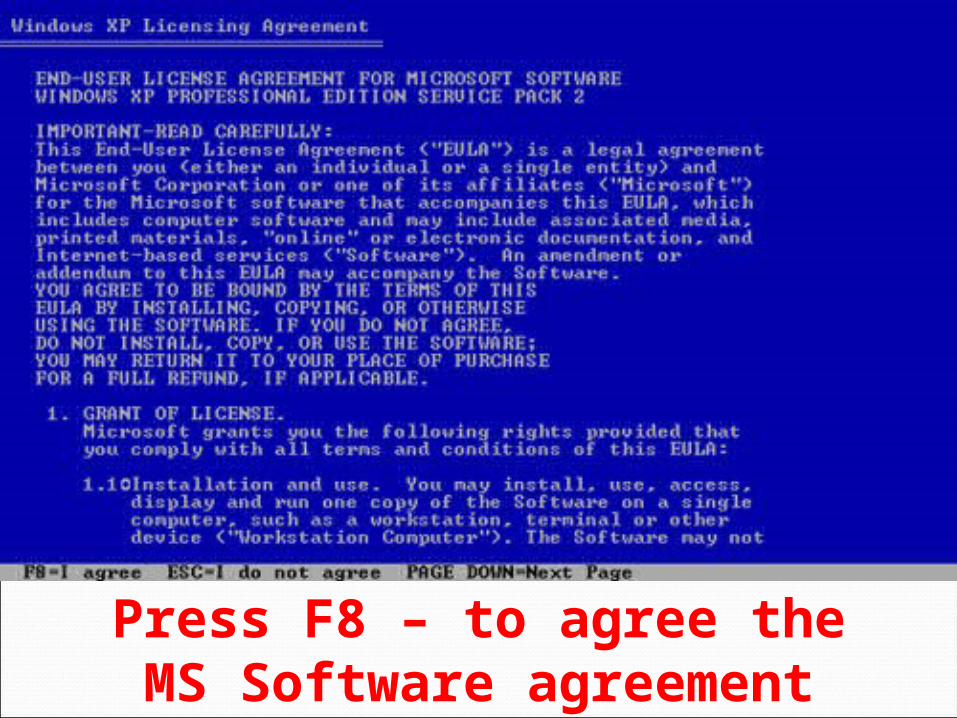
Press F8 – to agree the MS Software agreement
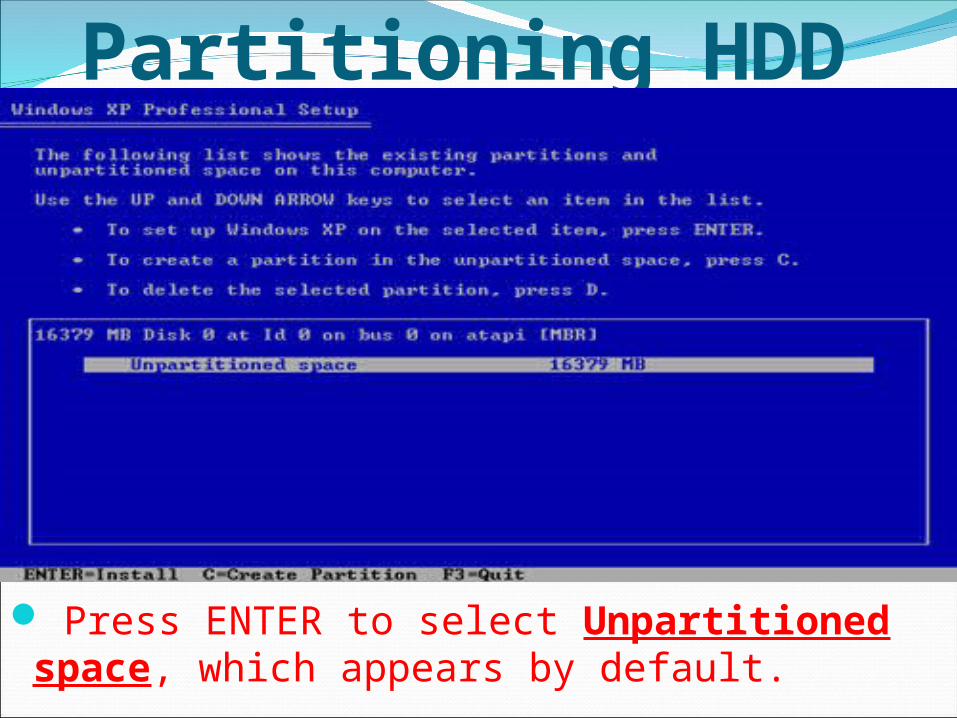
Press ENTER to select Unpartitioned space, which appears by default.
Partitioning HDD
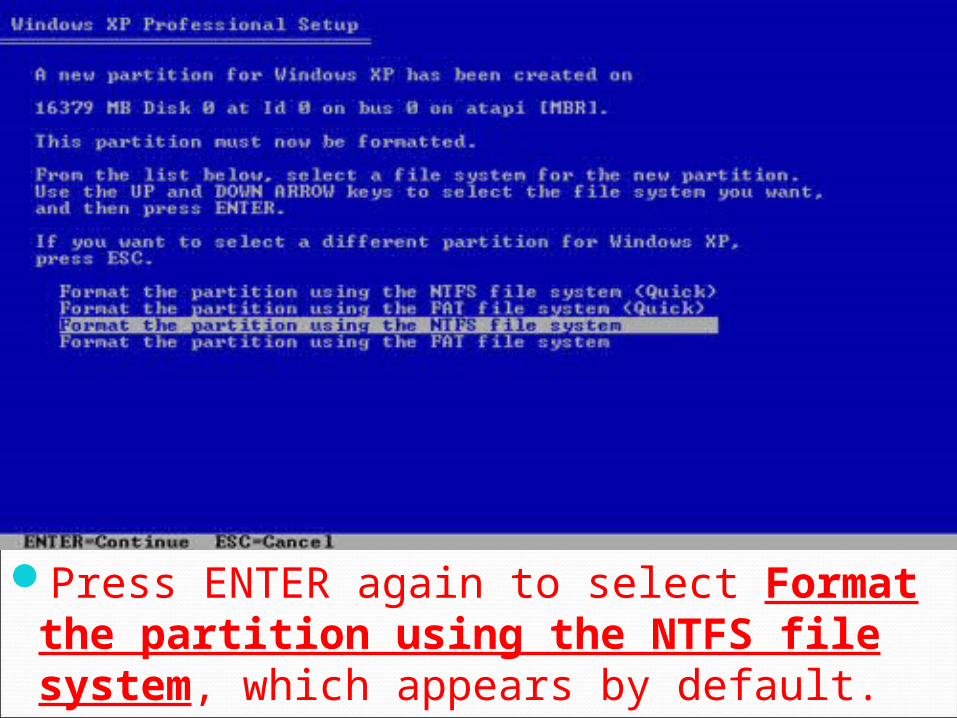
Press ENTER again to select Format the partition using the NTFS file system, which appears by default.
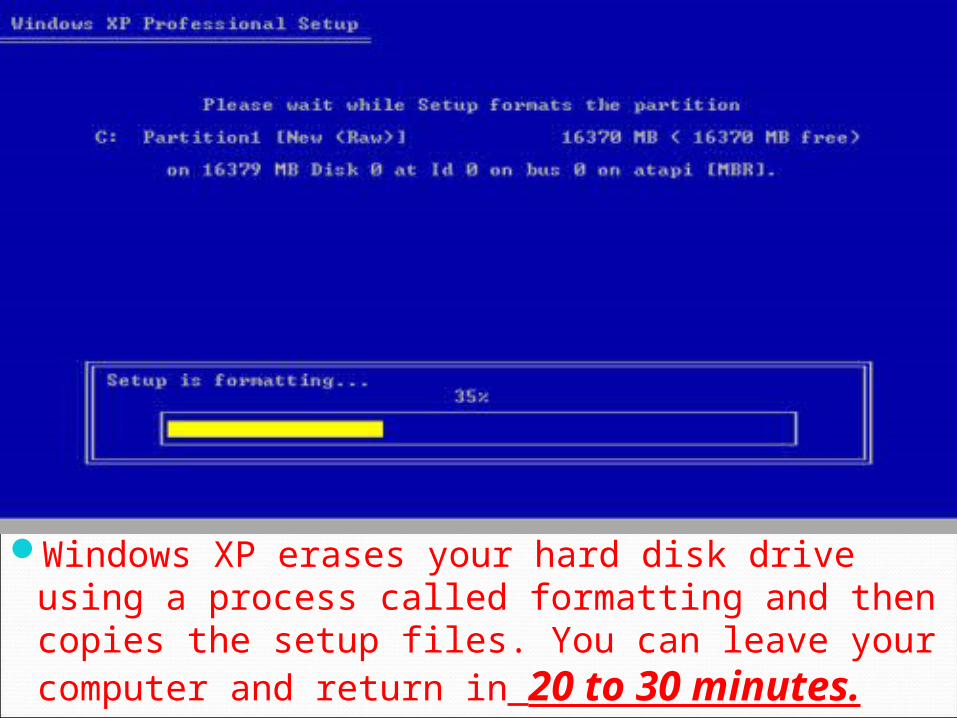
Windows XP erases your hard disk drive using a process called formatting and then copies the setup files. You can leave your computer and return in 20 to 30 minutes.
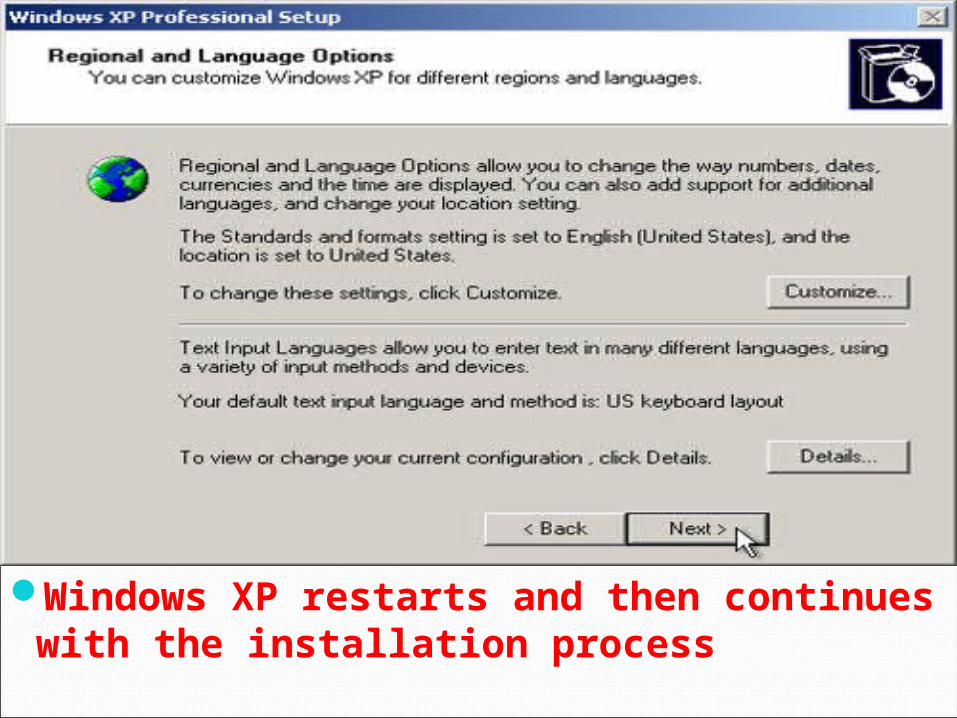
Windows XP restarts and then continues with the installation process
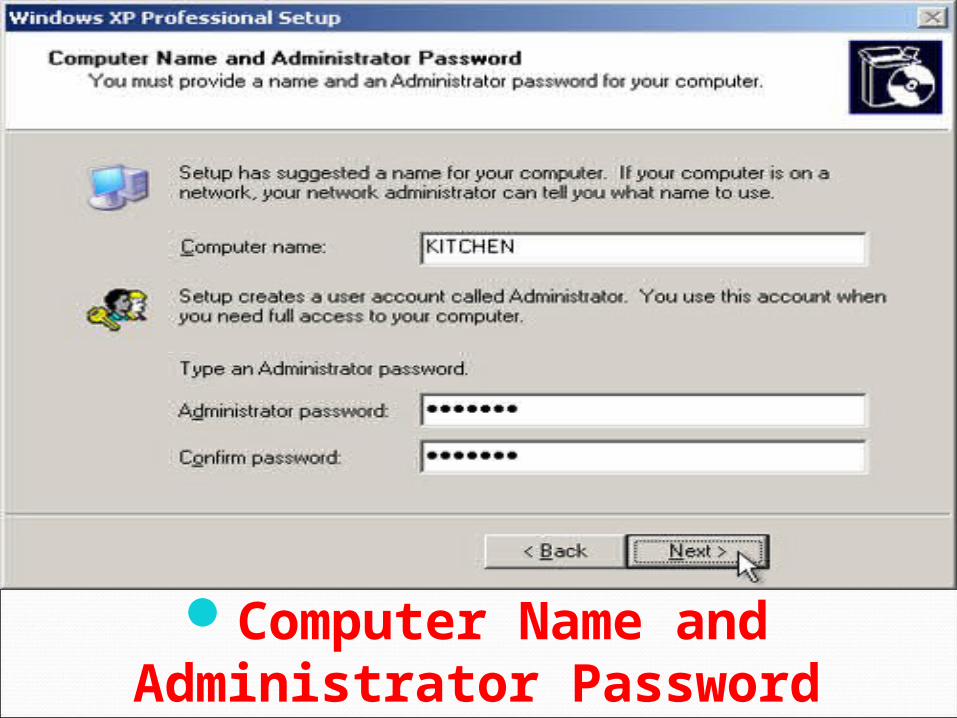
Computer Name and Administrator Password
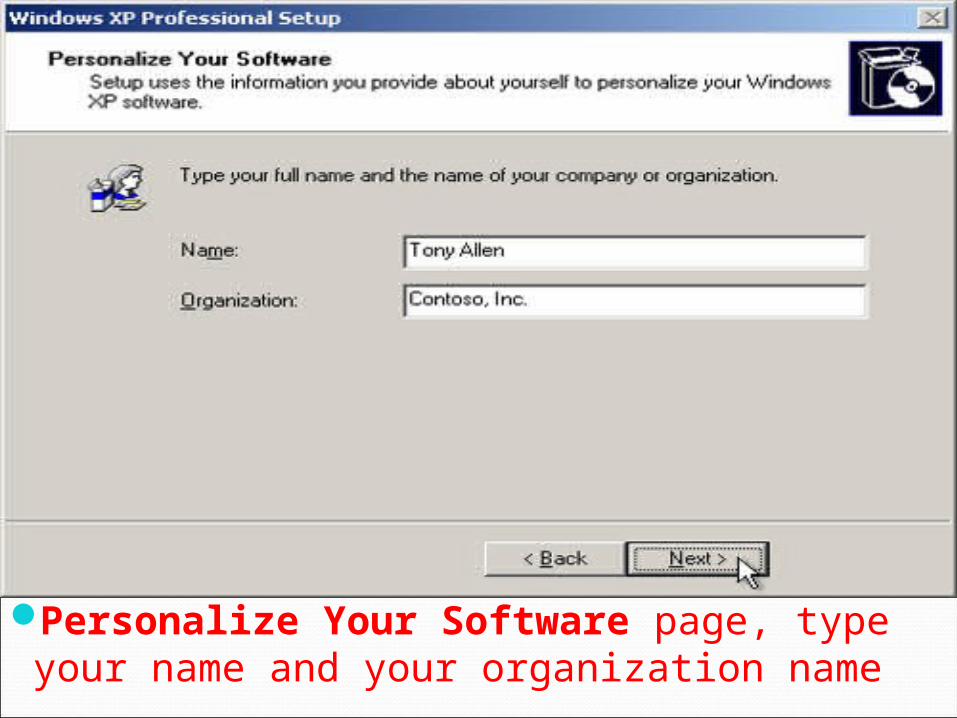
Personalize Your Software page, type your name and your organization name
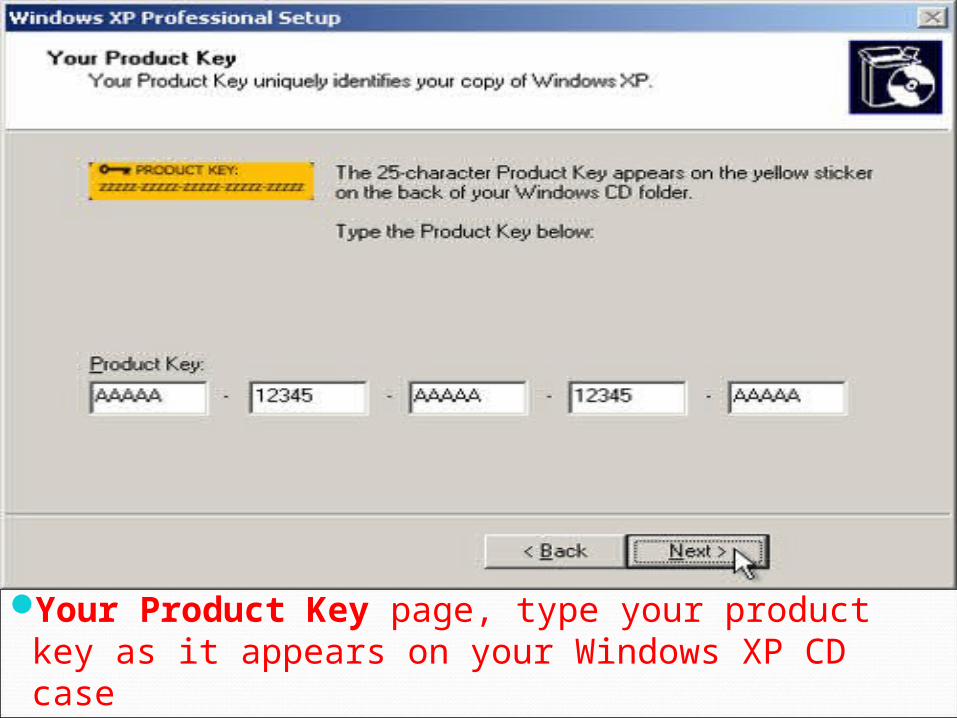
Your Product Key page, type your product key as it appears on your Windows XP CD case
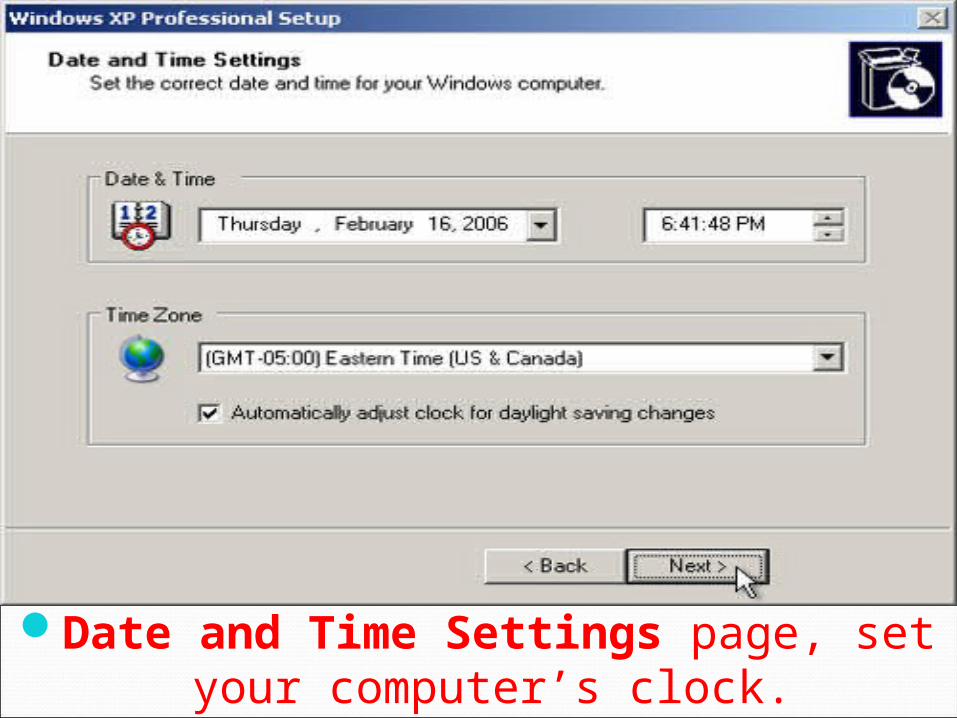
Date and Time Settings page, set your computer’s clock.
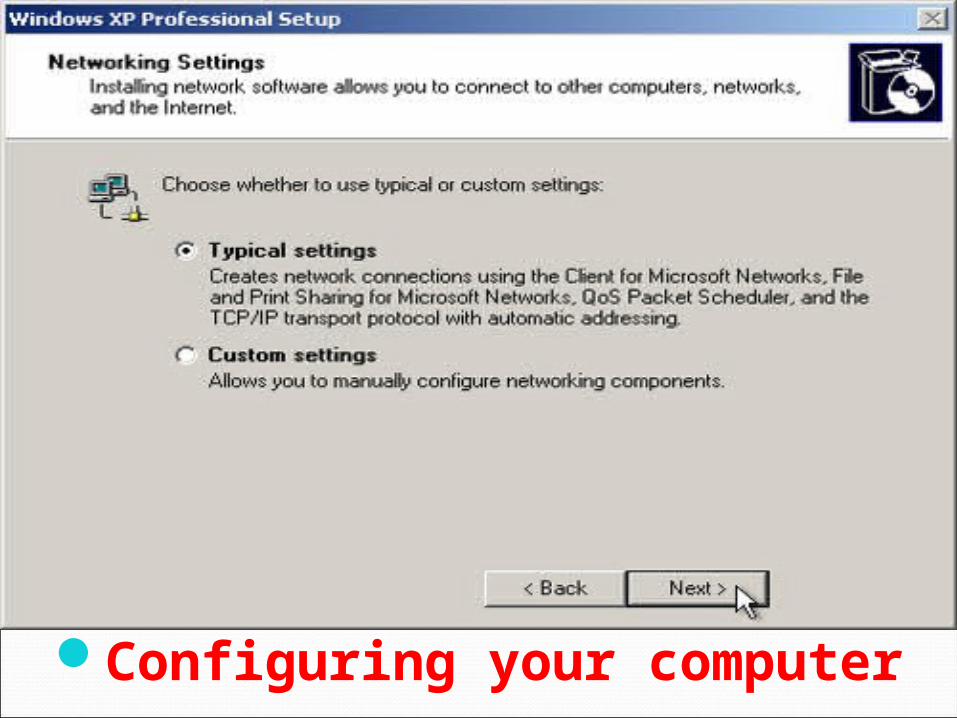
Configuring your computer
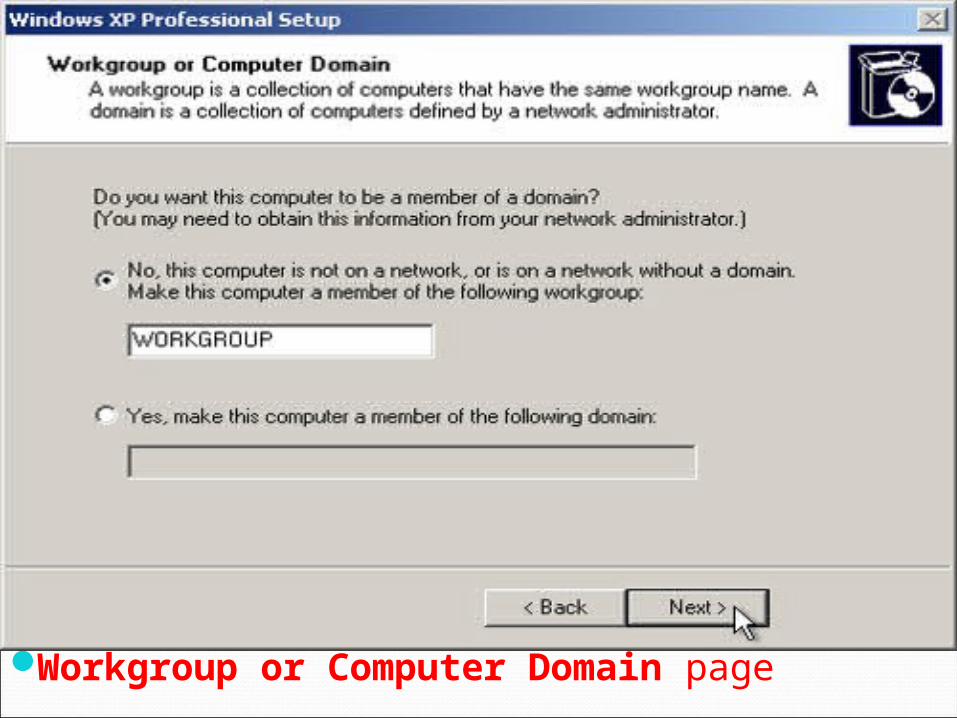
Workgroup or Computer Domain page
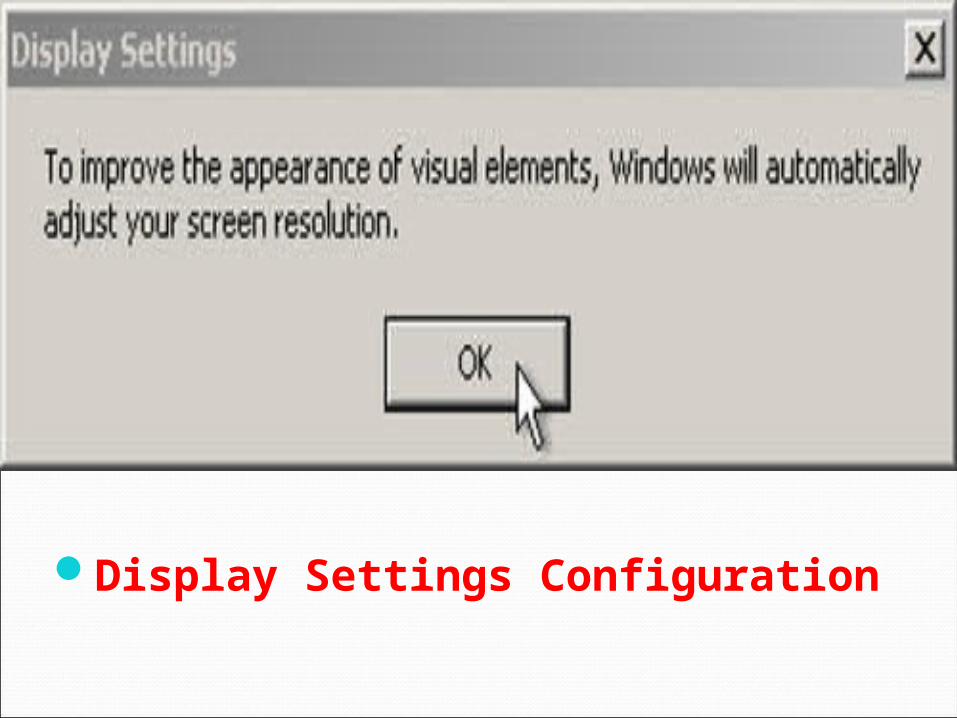
Display Settings Configuration
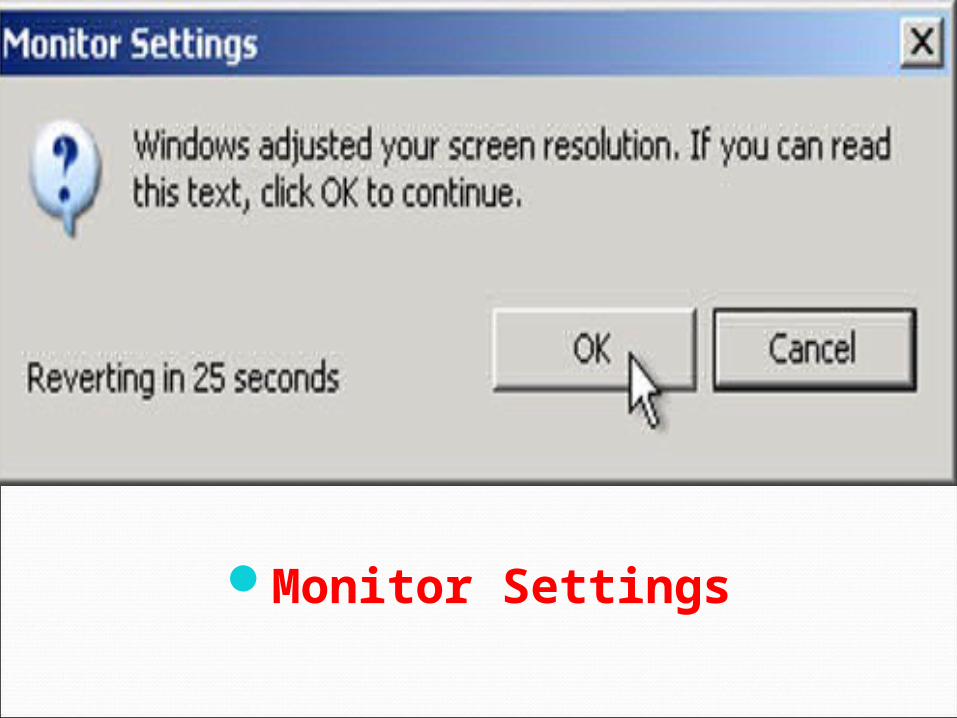
Monitor Settings
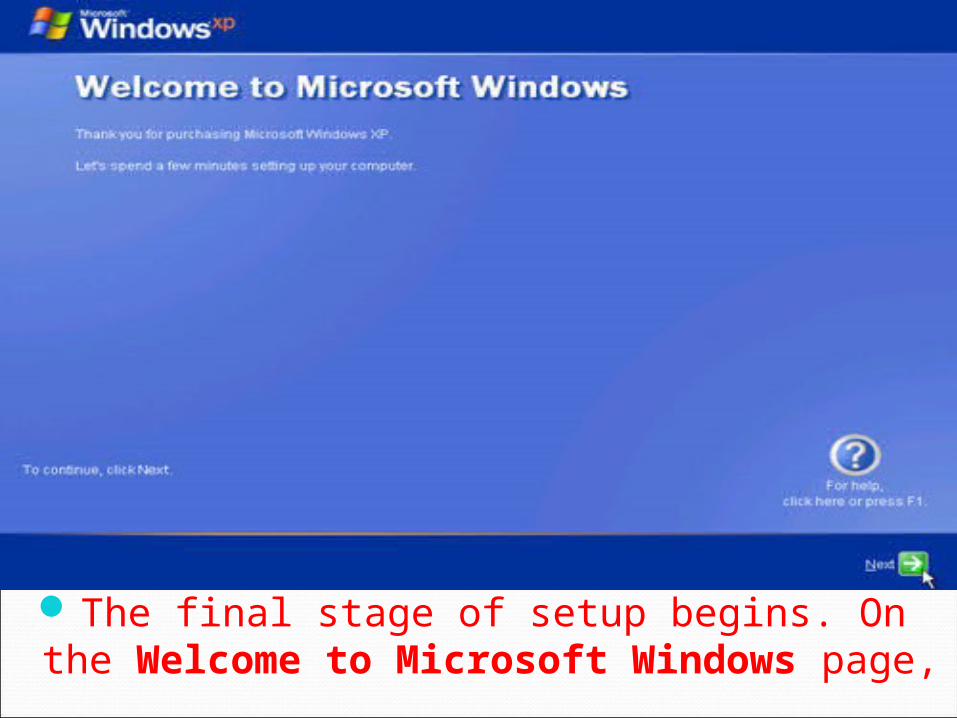
The final stage of setup begins. On the Welcome to Microsoft Windows page,
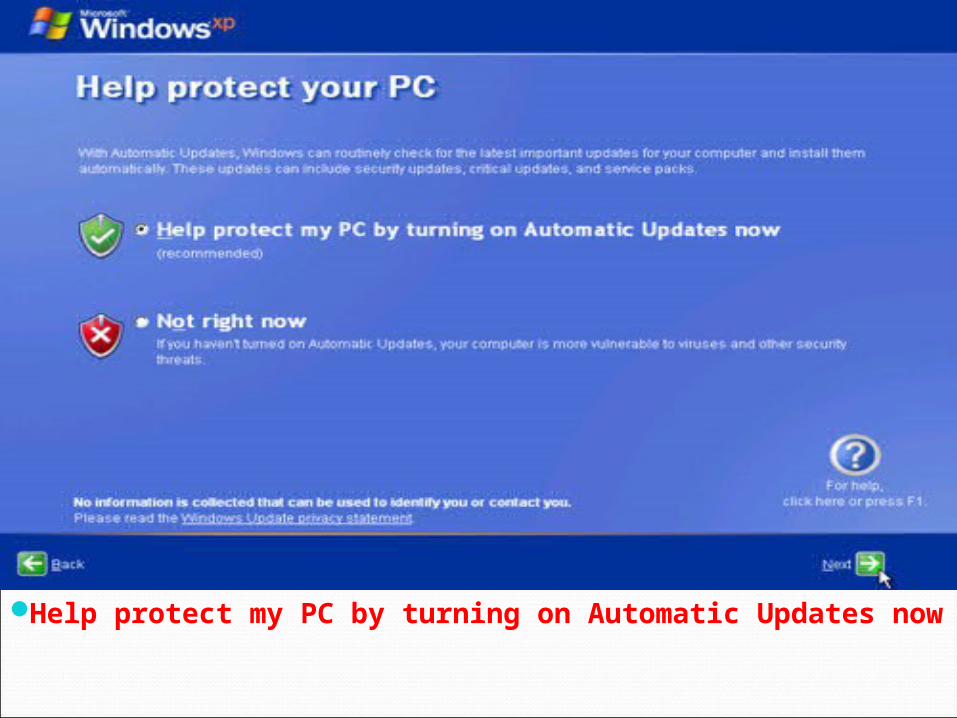
Help protect my PC by turning on Automatic Updates now
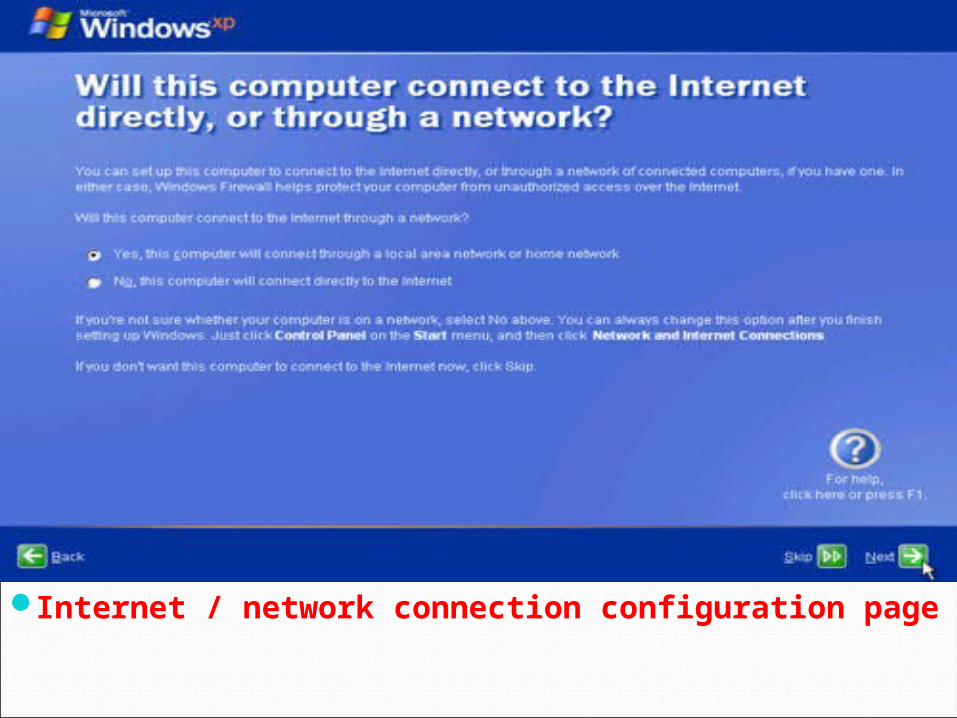
Internet / network connection configuration page
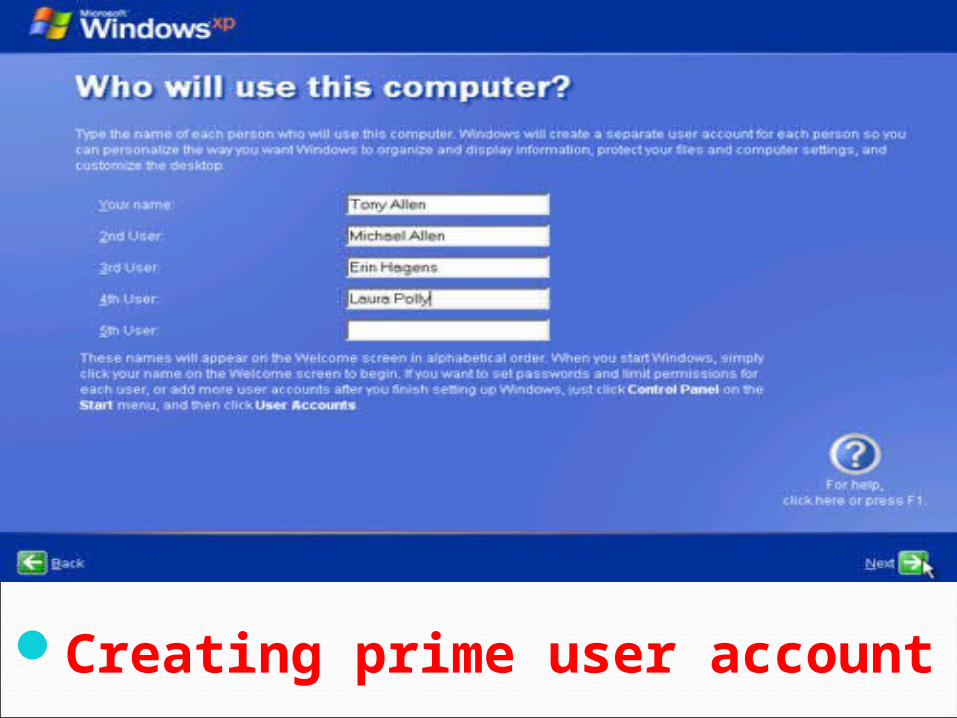
Creating prime user account
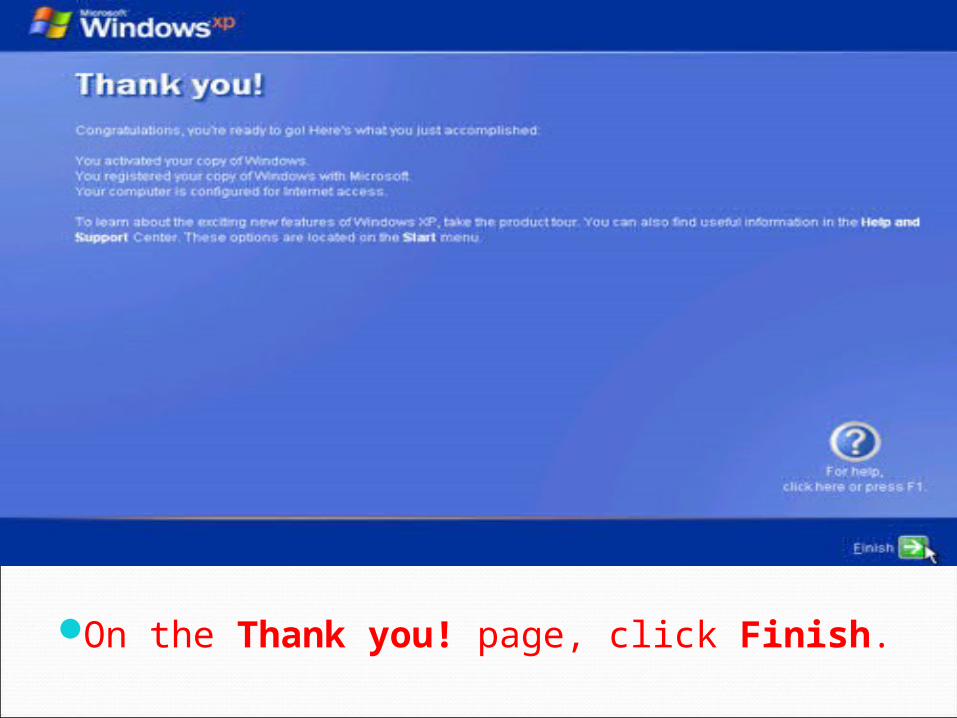
On the Thank you! page, click Finish.