Which Shapes and Forms Are the Strongest?
10
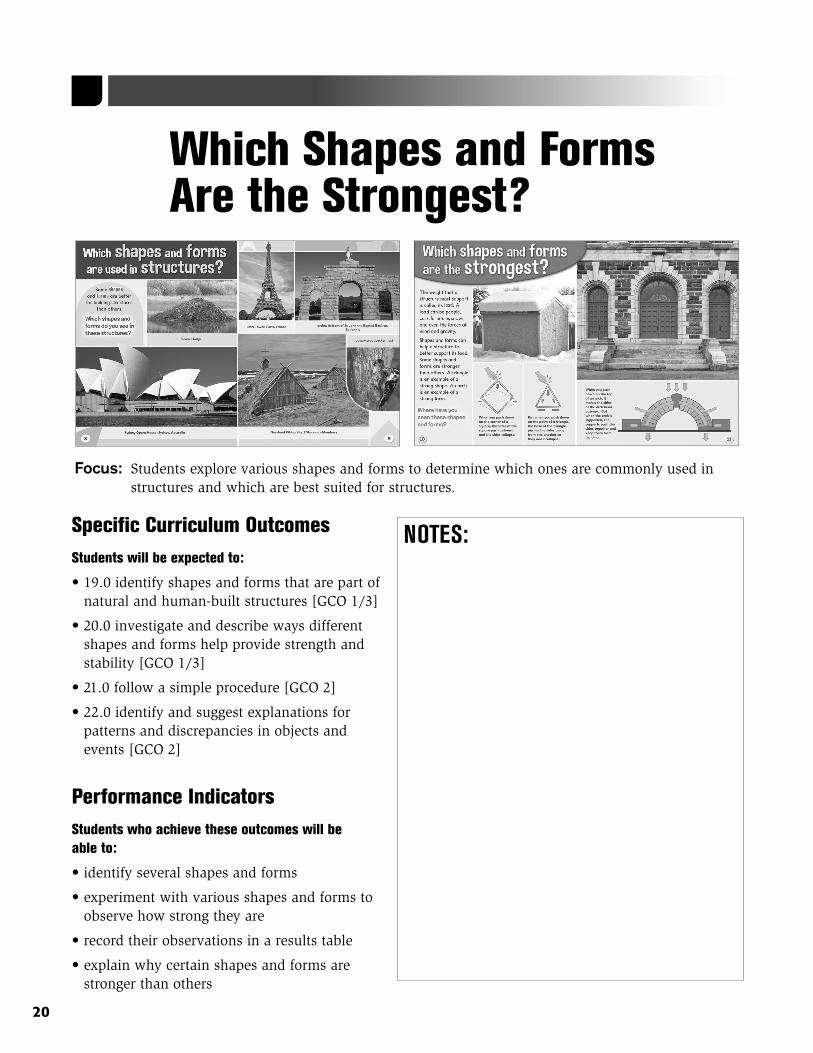
Focus: Students explore various shapes and forms to determine which ones are commonly used in structures and which are best suited for structures. Which Shapes and Forms Are the Strongest? Specific Curriculum Outcomes Students will be expected to: • 19.0 identify shapes and forms that are part of natural and human-built structures [GCO 1/3] • 20.0 investigate and describe ways different shapes and forms help provide strength and stability [GCO 1/3] • 21.0 follow a simple procedure [GCO 2] • 22.0 identify and suggest explanations for patterns and discrepancies in objects and events [GCO 2] Performance Indicators Students who achieve these outcomes will be able to: • identify several shapes and forms • experiment with various shapes and forms to observe how strong they are • record their observations in a results table • explain why certain shapes and forms are stronger than others NOTES: 20
Transcript of Which Shapes and Forms Are the Strongest?
Focus: Students explore various shapes and forms to determine which ones are commonly used in structures and which are best suited for structures.
Which Shapes and Forms Are the Strongest?
Specific Curriculum OutcomesStudents will be expected to:
• 19.0 identify shapes and forms that are part of natural and human-built structures [GCO 1/3]
• 20.0 investigate and describe ways different shapes and forms help provide strength and stability [GCO 1/3]
• 21.0 follow a simple procedure [GCO 2]
• 22.0 identify and suggest explanations for patterns and discrepancies in objects and events [GCO 2]
Performance IndicatorsStudents who achieve these outcomes will be able to:
• identify several shapes and forms
• experiment with various shapes and forms to observe how strong they are
• record their observations in a results table
• explain why certain shapes and forms are stronger than others
NOTES:
20
Attitude Outcome StatementsEncourage students to:
• consider their observations and their own ideas when drawing a conclusion [GCO 4]
Cross-Curricular ConnectionsMathIt is expected that students will:
• describe 3-D objects according to the shape of the faces and the number of edges and vertices [3SS6]
• sort regular and irregular polygons, including triangles, according to the number of sides [3SS7]
• collect first-hand data and organize it using charts to answer questions [3SP1]
English Language ArtsStudents will be expected to:
• speak and listen to explore, extend, clarify, and reflect on their thoughts, ideas, feelings, and experiences [GCO 1]
• communicate information and ideas effectively and clearly, and to respond personally and critically [GCO 2]
• Caution students not to use too much force with one another as they follow Procedure 1: Triangles.
Getting OrganizedComponents Materials Before You Begin Vocabulary• Five Busy Beavers
(Read Aloud)• Student Magazine
pages 8–11• BLM Results
Table 1• IWB Activity 3• IWB Activity 4
• hardcover books (4 per pair of students)
• rulers (1 per pair of students)• sheets of construction paper
(3 per pair of students)• small plastic or paper cups (or
yogurt containers) (2 per pair of students)
• marbles (10 per pair of students)• students’ Science Folders• pipe cleaners• computers or tablets with Internet
access
• Copy simple diagrams for Procedures 1 and 2 onto chart paper. When appropriate, post the diagrams on the wall for students to reference.
• circle• curved line• oval• rectangle• square• triangle• cube• cylinder• pyramid• sphere
Safety
Unit 2: Materials and Structures 21
• Shapes are generally defined as 2-D figures, such as circles, squares, rectangles, triangles, and curved lines. Forms are generally defined as 3-D figures, such as spheres, cubes, pyramids, cylinders, and cones. Forms also include arches and domes, in the context of structure building.
• Some shapes and forms are better suited to structures that need to support a load. Triangles, pyramids, and supported arches are among the strongest. They provide stability for the structure.
• The wider the foundation of a structure, the more stable it is.
• Students may think that a shape must look the same in every context. They may not recognize, for example, that a three-sided shape with the pointed end at the bottom is still a triangle. Expose students to a variety of types of triangles, rectangles, and curved lines. As each shape is identified, ask students how they can tell what the shape is.
• Students may believe that if an object is not moving, no forces are acting on it. Explain that gravity is a force that pulls things toward the earth, so it is always working on objects.
• Students may think that a square is just as rigid as a triangle, not able to be compressed and stretched like a circle is. Procedure 2 in this teaching plan is intended to clarify this concept for students.
CSummary A charming story which uses rhyme and a familiar counting book format to explore how beaver dams are built.
Remind students that people aren’t the only ones who build structures—many animals build them as well. Tell students that you are going to share a story about five busy beavers who are building a dam but whose many friends would like them to come and play instead.
Set a focus for listening by asking students to find out how a beaver dam is constructed, what materials are used to build it, and what shape it is.
Science Background
Possible Misconceptions
ACTIVATE Read Aloud: Five Busy Beavers
Before Reading
22
As you read the story to students, pause to clarify any vocabulary as necessary. You may wish to pay special attention to word choice and the variety of verbs/action words used to express types of movement. Prompts for discussion could include:
After reading pages 4–5:
• What is the purpose of a beaver dam? (to create a pond of deep, quiet water where beavers build their lodge, or home, to protect themselves from predators)
• What do you thing “ferrying the logs” means?
• Why would they “slap on mud”?
After reading pages 14–15:
• What does it mean when it says, “one little beaver frolicked away”?
After reading pages 16–17:
• What is the mud and silt being used for? (to fill holes and cracks; to reinforce and make the structure stronger)
After reading pages 20–21:
• What does “shoring up the dam” mean?
• What “tricks” might a beaver use?
After reading pages 24–25:
• What does it mean to “make amends”?
• Do you think a beaver’s lodge is made of the same materials as the dam? Why do you think this?
• Why are tree branches and mud good materials for building beaver dams and lodges?
After reading pages 28–29:
• Where is the “door” or entrance to a beaver lodge?
Ask if any students have ever seen a beaver lodge. Prompt by asking:
• What shape does it have? (a rough triangle shape with a wide base or bottom that narrows at the top—this is where beavers leave an air hole)
• What other structures do we find in nature? (e.g., birds’ nests and wasps’ nests)
• What shapes or forms can we see in natural structures?
Invite students to write and illustrate a procedure for building a beaver dam or lodge. Students may wish to do further research to add any interesting details such as the fact that beaver lodges have a foundation of piled stones
During Reading
After Reading
Unit 2: Materials and Structures 23
and mud on the riverbed, or that beavers line the inside of their lodges with dried plants and leaves.
Alternatively, students could research the procedure for constructing another natural structure such as a bird’s nest. Have students identify any shapes and forms used in the structure.
Naming Shapes and Forms
Ask students to name as many shapes (2-D) and forms (3-D) as they can. On the Word Wall, draw and write the names of the shapes and forms as students call them out (e.g., circle, square, triangle, rectangle, oval, curved line, sphere, cube, pyramid, cylinder, arch).
Then have students turn to pages 8–9 in their Student Magazine, read the heading and text, and look at the images. Invite each student to choose a shape or a form (e.g., triangle, arch, curved line, circle) and to find examples of it in the structures shown on the spread. Discuss why the shapes and forms may have been chosen for the structures. Then ask what shapes they don’t see. Students should identify squares and rectangles as shapes that have not been used very often in the structures shown.
Following Procedures
Ask students to consider which shapes and forms they might use to create a structure. What qualities would they want the shapes or forms to have? Tell students that they are going to test some shapes and forms by following two procedures.
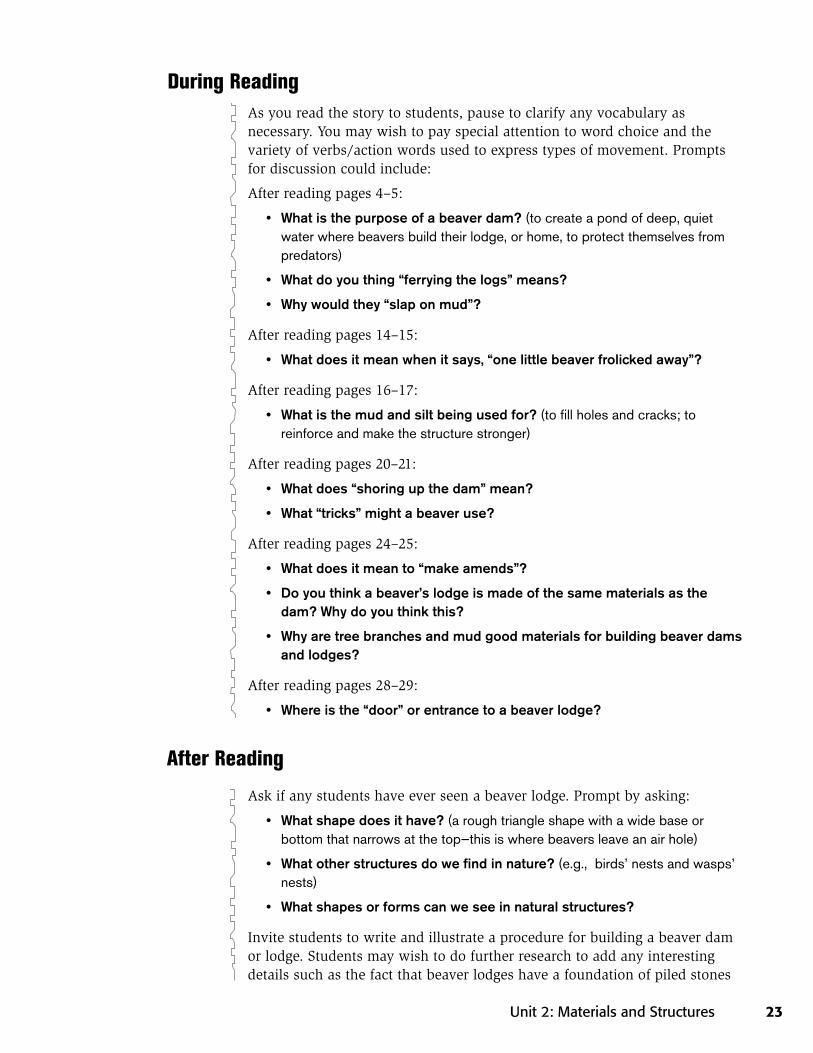
Procedure 1: Triangles
1. Working in pairs, one partner stands up tall with his/her feet together.
2. The other partner pushes gently on the first partner’s shoulder to test his/her stability and strength.
Word
CONNECT
24
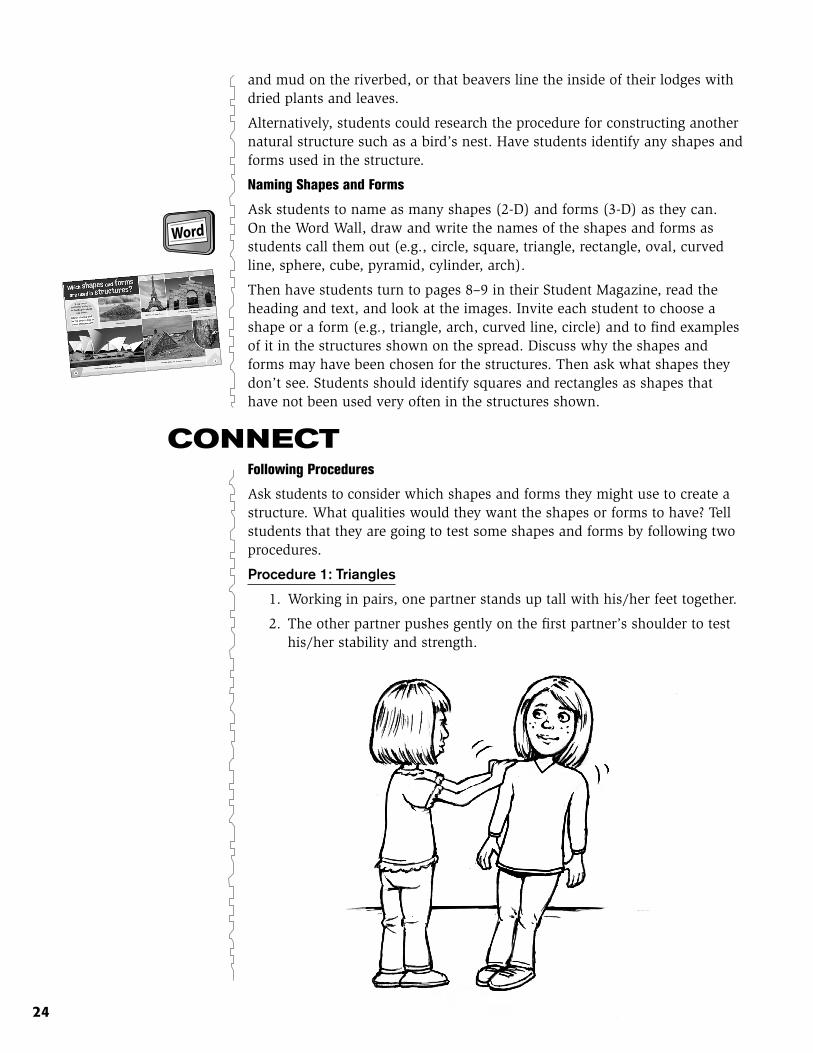
3. Partners switch roles and repeat steps 1 and 2.
4. The first partner then stands with his/her feet spread apart.
5. The other partner pushes gently on the first partner’s shoulder to test stability and strength in this new position.
6. Partners switch roles and repeat steps 1 and 2.
7. Partners evaluate which stance provided more stability and strength, and suggest reasons why.
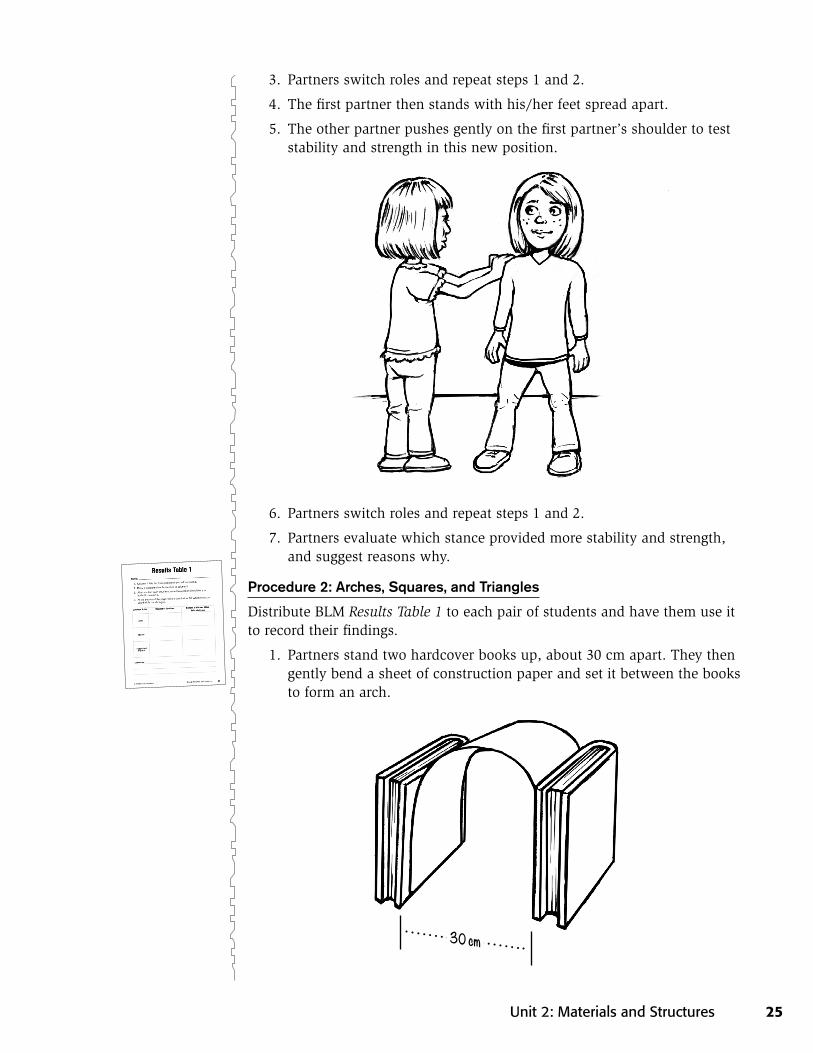
Procedure 2: Arches, Squares, and Triangles
Distribute BLM Results Table 1 to each pair of students and have them use it to record their findings.
1. Partners stand two hardcover books up, about 30 cm apart. They then gently bend a sheet of construction paper and set it between the books to form an arch.
30 cm
Unit 2: Materials and Structures 25

2. Beside the arch, partners stand up two more books about 30 cm apart. They then fold a second sheet of construction paper into thirds and set it between the books to form a square (with the floor or table top being the fourth side).
3. Partners gently place a small plastic or paper cup (or yogurt container) on top of each shape. One partner adds one marble to one cup, while the other partner adds one marble to the other cup. They continue slowly adding marbles to each cup until one of the shapes collapses (should be the square). Partners evaluate which shape was the strongest (the arch) and suggest reasons why.
4. Partners then fold a third piece of construction paper in half diagonally, twice, to form a triangle shape. They set up the arch shape and the square shape again, this time with the triangle shape under the square. They then repeat step 3.
30 cm
30 cm
26
Hold a whole-class discussion about the two procedures and students’ findings. Discuss the conclusions that students wrote on their BLMs. Create a class table showing the number of marbles that were supported in each case. Encourage students to discuss discrepancies between pairs and why these might have occurred. Record any questions digitally or on the I Wonder Wall. Have students store their completed BLMs in their Science Folders.
Pipe Cleaner Shapes
Provide students with pipe cleaners and invite them to use the pipe cleaners to make various shapes. Students can then test the strength and stability of the pipe cleaner shapes by pulling apart and pushing together opposite corners. Discuss students’ observations and conclusions as a class. Then invite students to make the shapes stronger by reinforcing them in any way they wish. The shapes can then be placed on a continuum from strongest to weakest.
Effect of Forces
Have students turn to pages 10–11 of their Student Magazine. Ask a volunteer to read the heading then have students read the text. Discuss the technical drawings and explain how different forces act on the different shapes and forms. Remind students of their investigations with pipe cleaner shapes and discuss which shapes they found to be strong and stable. Ask:
• What makes some shapes and forms stronger than others?
• Why is this important in structures?
Ensure that students understand that a triangle is an example of a strong shape and an arch is an example of a strong form.
IWB Activity:
Students can use Activity 3: Where are the triangles? (see the Teacher’s Website) to identify the triangle shapes within the structures and describe how the triangles make structures stronger.
CONSOLIDATE
IWB Activity:
Students can use Activity 4: Which form? (see the Teacher’s Website) to identify the forms which match each structure.
Unit 2: Materials and Structures 27

Shapes Lab
Students can work with the Shapes Lab at the Website http://www.pbs.org/wgbh/buildingbig/lab/shapes.html. Small groups can choose one of the three shapes, experiment with it in the Lab, and create a report on their observations. Groups can then do a Stay and Stray activity to share information with classmates.
Forces Lab
Students can work with the Forces Lab at the Website http://www.pbs.org/wgbh/buildingbig/lab/forces.html. Small groups can choose one of the five types of forces, experiment with it in the Lab, and create a poster showing their observations. Posters can be displayed in the classroom.
EXPLORE MORE
28
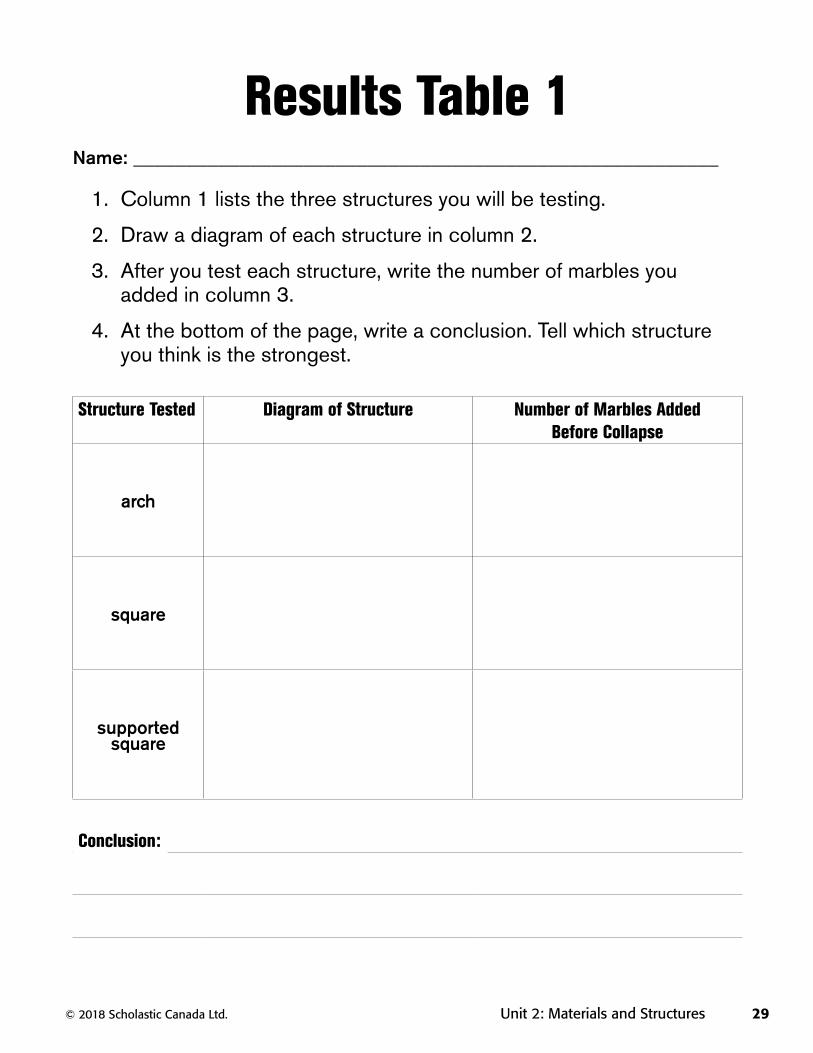
Results Table 1Name: _______________________________________________________
1. Column 1 lists the three structures you will be testing.
2. Draw a diagram of each structure in column 2.
3. After you test each structure, write the number of marbles you added in column 3.
4. At the bottom of the page, write a conclusion. Tell which structure you think is the strongest.
Structure Tested Diagram of Structure Number of Marbles Added Before Collapse
arch
square
supported square
Conclusion:
© 2018 Scholastic Canada Ltd. Unit 2: Materials and Structures 29