€¦ · Web viewRedEye's Video Production Guide. Checklist . for a Successful Video Projects:...
20
RedEye's Video Production Guide Checklist for a Successful Video Projects: Putting together a video production is no easy feat. So it's easy to get caught up in one aspect of production, and forget to prepare for everything else. Whether you are managing your first video project or have been doing this for years, it can be both exciting and terrifying, exhilarating and confusing. At RedEye we've put together this updated comprehensive checklist of every element needed for a successful production. Preparing your Vision Conceptualizing Your Project Consider the old adage: “Good-Fast-Cheap…Pick 2!” ^You will get what you pay for! What are your objectives?—In order to get the most out of your project and tell the best story, you should start the video production process by asking the right questions. Think about what you're doing. Are you... • Introducing a subject to a new audience? • Demonstrating a process, technique or equipment? • Providing historical background? • Showing an event or series of events? Another way to think of this question is to ask yourself what end result you would like to see from the project. Should this video persuade people to buy your product or service? Apply to work at your company? Donate money to your cause? Think about what action this video should inspire, and we can craft the video to be the catalyst. In what way will this project be used for? • Information ◦ Training (How-to) ◦ Tips (for particular project) ◦ Animated Explainer Video • Corporate ◦ Conference Presentation ◦ Webinars
Transcript of €¦ · Web viewRedEye's Video Production Guide. Checklist . for a Successful Video Projects:...
RedEye's Video Production GuideChecklist for a Successful Video Projects:Putting together a video production is no easy feat. So it's easy to get caught up in one aspect of production, and forget to prepare for everything else. Whether you are managing your first video project or have been doing this for years, it can be both exciting and terrifying, exhilarating and confusing. At RedEye we've put together this updated comprehensive checklist of every element needed for a successful production.
Preparing your VisionConceptualizing Your ProjectConsider the old adage:“Good-Fast-Cheap…Pick 2!”^You will get what you pay for!What are your objectives?—In order to get the most out of your project and tell the best story, you should start the video production process by asking the right questions. Think about what you're doing.Are you...• Introducing a subject to a new audience?• Demonstrating a process, technique or equipment?• Providing historical background?• Showing an event or series of events?Another way to think of this question is to ask yourself what end result you would like to see from the project. Should this video persuade people to buy your product or service? Apply to work at your company? Donate money to your cause? Think about what action this video should inspire, and we can craft the video to be the catalyst.In what way will this project be used for?• Information◦ Training (How-to)◦ Tips (for particular project)◦ Animated Explainer Video• Corporate◦ Conference Presentation◦ Webinars◦ Company Culture◦ Events• Pure entertainment◦ Music Videos◦ Documentary◦ Legacy◦ Ceremonial• Educational
• Sales and Marketing◦ Online Marketing (WebsiteWelcome videos)◦ Promotional◦ Testimonial◦ Product◦ Advertising◦ Giveaways◦ News◦ Digital (Online) Journalism◦ Interview◦ Video PSAs (Public Service Announcement)• Blogging or as they say Vlogging!• Social Networking SitesWhat is your budget?Most people don’t like to talk about money, but budgets are an essential part of any video production and budgets come into play right after an idea has hatched.What a budget really is: A blueprint...it helps you map out all the fine details of every phase of production.• Client time available for pre-production• What kind of video is it?• How long is your video?• Deadline for completion• Location of shoot• With what and with whom do you shoot?• Who will edit on what software?• Number of rough edits required• What are your graphic and/or music assets?What source material will be used?• Scenes shot by you• Black and white/color photographs• Animation• Graphic stills• Narration/script• Natural sound• Music (Are performance rights-cleared?)• Printed materials• Previously existing video How will you distribute this Project?• Social Networks / Web based ChannelsMost Common Social Media
Sites:FacebookInstagramTwitterLinkedInG+
TumblrPinterestVideo based sitesYoutubeVimeoSlide Share◦ Email Campaigns◦ Press Releases online◦ Embedded onto your Website• Broadcast, Commercials
Who is the target audience?• Level of interest• General-interest audience• Technical audience• Level of education• AgeIf possible, be able to describe a persona that represents your target audience, including age range, gender, income level, etc. We want to know as much as possible about the people who will be watching this video, in order for us or you to tailor the messaging so that the video speaks directly to and resonates with them.
What is the title of your project?• Do you have performance copyrights and location releases• *Please note that we are unable to accept responsibility for the use
of copyright material in post-production.• We must assume that clients have acquired copyright permissions
prior to duplication or post-production sessions.By asking questions within your team and working through the answers with a production company, you can be confident with the story’s direction. Introductory questions and the resulting conversations ultimately help to define your audience and create a compelling story.
Pre-production: Developing a Visual Style ? Plan a pre- production session with your editor/create a visual styleAre there existing treatments in your project? • Fonts or colors• Can you bring copies of a graphic look you wish to achieve prior to
your post-production?
What visual language will be used?• Minimize the intrusion of techniques on content
• Plan to cut between shots just as the eye blinks when looking around
• Use dissolves to represent changes to a new place or time
Can you tell a story about your project?• Plan a beginning, middle and end• For a piece longer than 5 minutes, capture interest with an open
segment• Develop sequences or scenes to illustrate the story• Capture actions and reactions• Shoot discreet shots• Vary the visual scale• Use wide shots to establish location• Use tight shots that show the action• Shoot only as much material as you need to cover your outline
Will you use narration?• Pre-interview talent, record narration, write script, re-record
narration audio• Prepare script for on-camera talent• If you want to go old school have a teleprompter available or use
talent who can use an ear prompt
Will you conduct interviews?• Prepare a full range of questions covering the topic◦ with follow up questions• Interview several participants with the same questions• Be sure to shoot multiple “cutaway” shots illustrating the
themes/questions
Shooting to Edit "Don’t get lost in the specs – get lost in your story."A video camera is the centerpiece of your filmmaking gear package. What camera you choose depends on your budget, the type of shooting you're doing (static, stealth, run-and-gun, etc.) and where you plan to showcase your film (web-only, theater, broadcast, etc). You can shoot a documentary on anything from your iPhone to a DSLR to a top of line digital cinema camera such as the Red Epic. Whatever camera you choose, make sure you capture excellent audio. Choose a camera that records time code• All professional cameras- and many prosumer cameras- record
invisible frame numbers, usually in the format HH:MM:SS:FF (for hours, minute, seconds, frames
• Timecode is required for nonlinear, or computerized, video editing
• Types of Timecode Linear timecode (LTC), in a separate audio track Vertical interval timecode (VITC), in the vertical
blanking interval of a video track AES-EBU embedded timecode used with digital
audio Burnt-in timecode, in human-readable form in the
video itself CTL timecode (control track) MIDI timecode
Choosing the best camera for your projectGone are the days where you can shoot and know exactly what you will get based on whatever equipment you have. Times have changes and now think of it like this, everyone has a GPA or knows its purpose, to get you
from point A - point B but one thing you have to do is to look at the directions to make sure the route is going to work for you. If you don't look before you drive it, you may not exactly end up where you planned for instance it could route you straight into the pond or off a bridge, therefore looking
before you drive is the best move in order to pin point exactly where you want to go. Same goes for production and editing. Yes, you can use anything now a days to shoot and still get high quality material, but at the end once you pull it all together it may not do the job, or it gets out of lip sync, the material may not work with your editing software, etc. Countless issues can arise from this method you chose to shoot in therefore you must make sure all elements work and line up together.
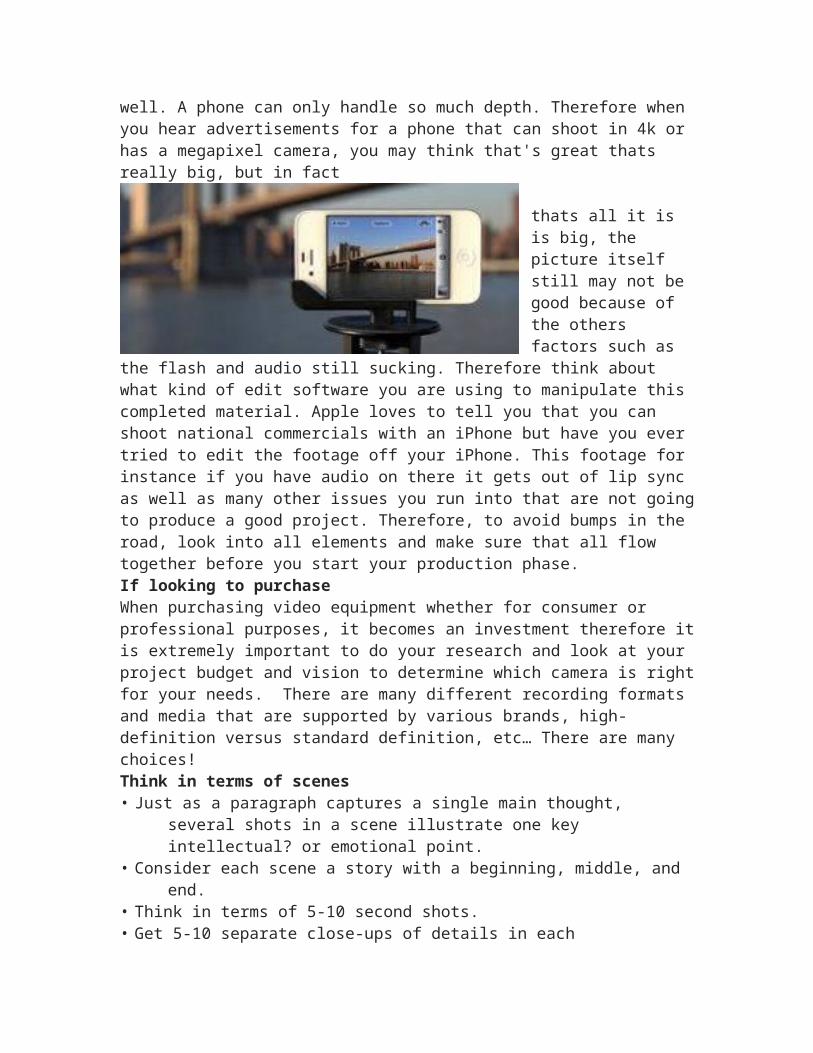
One important thing to keep in mind when deciding your method to shoot is how you plan to edit, what software are you using, if the material will work with your editing system, etc. Think about this, Yes this footage you have was shot on a mobile device that gives you footage in HD and that yes when you view it on that device it is good quality, but you need to remember that if your going to take that HD footage and incorporate it into something else that's been shot with different levels of depth then it may not match up well. A phone can only handle so much depth. Therefore when you hear advertisements for a phone that can shoot in 4k or has a megapixel camera, you may think that's great thats really big, but in fact
thats all it is is big, the picture itself still may not be good because of the others factors such as the flash and audio still sucking. Therefore think about what kind of
edit software you are using to manipulate this completed material. Apple loves to tell you that you can shoot national commercials with an iPhone but have you ever tried to edit the footage off your iPhone. This footage for instance if you have audio on there it gets out of lip sync as well as many other issues you run into that are not going to produce a good project. Therefore, to avoid bumps in the road, look into all elements and make sure that all flow together before you start your production phase.If looking to purchaseWhen purchasing video equipment whether for consumer or professional purposes, it becomes an investment therefore it is extremely important to do your research and look at your project budget and vision to determine which camera is right for your needs. There are many different recording formats and media that are supported by various brands, high-definition versus standard definition, etc… There are many choices!Think in terms of scenes• Just as a paragraph captures a single main thought, several shots in
a scene illustrate one key intellectual? or emotional point.• Consider each scene a story with a beginning, middle, and end.• Think in terms of 5-10 second shots.• Get 5-10 separate close-ups of details in each “environment”Camera Placement• Mount the camera on a tripod if at all possible so that you don’t
have the movement, which is caused by handheld shakiness, or the vertical motion caused by breathing.
• If you must hold the camera, think of your body and the camera as one unit.
• Do not zoom during a shot. If you must change the image, move your body and the camera, not the zoom.
• Try not to pan or tilt the camera, unless the move is quick (1-2) seconds. Motion comes from editing and slow camera moves are very difficult to edit. (Swaying to and from may also make the viewer uneasy)
• If you do not have to make a quick move, look outside the viewfinder to plan the move ahead of time, so that you're are not searching
with the lens to get to the right place. In fact, practicing the move before you roll tape is a good idea.
• Try to use the camera “wide” (fully zoomed out) and move your body closer and further away from the subject; this will make your camera work smoother.
• If necessary, put the camera close to the face of the person you are taping, this may make them laugh and relax, which is generally good.
Composition suggestions3 main things to remember:
Rule of Thirds
1. This is a basic composition principle to follow for a well balance and interesting shots
2. For this concept imagine breaking an image down into thirds horizontally and vertically like a tic tac toe board
3. Then you will want to frame your shot so that your elements are along the lines and preferably at one of the four points where the lines intersect to make your shot interesting
Lead Room For balance within your frames when shooting people and
objects that are not facing the camera, you will want to leave space in front of them
Head Room When a person is the main subject of a shot, make sure that
there is a small amount of space above their head. You don’t want too much space, but you don’t want to cut off their head either
Additional Composition Tips:• Change the point of view between shots -- shoot from different
angles
• Change your shooting height: higher or lower angles add interest.• Keep action within the “safe area” in the middle 75% of the screen.• Place eyes on a line about one-third down from the top of the
screen.• Add some space in front of people.• If you have to capture audio with the camera microphone, don’t be
further than 5 feet away from the subject.• No wide shots (head to foot) of a talking person.
Tips when shooting an interview• Prepare a set of questions about each idea or event and interview at
least two people. Asking all participants the same questions will allow a much more interesting edit.
• If you can create a rough script before the shoot, you should reverse the position of each person so they’re not all facing in the same direction. This adds visual variety.
• When interviewing, start your questions with “Tell me about…”• Also when interviewing, its also a good idea to have the interviewee
repeat the question in their answer. For instance, Question: “Tell me what you like about Prof. Lewin’s classes? Answer: “One thing I like about Prof. Lewin’s class is...”
• Be sure there is complete silence for 1-2 seconds between and after all questions and answers.
Tips for Advanced Shooting• Record continuously; never leave blank spaces, which interrupts the
timecode.• Count to 5 before and after every shot.• Use manual focus, the automatic focus on prosumer cameras tends
to mirco-adjust that you may not see through the viewfinder.If using a camera with manual settings make sure you know how to adjust the camera’s focus. If your video comes out blurry it is generally not usable. The best way to focus is to set your camera up where you want it, zoom in as far as possible and adjust the focus. You can then zoom back out to the shot you want.
• Use automatic white balance and exposure controls unless you have the knowledge and expertise to always adjust them.
White balancing tells the camera what “white” is for different kinds of lighting so that it doesn’t look discolored. If possible, use the manual white balance setting on the camera.
• Don’t use camera fades (fade to white or fade to black.)• Don’t add titles with camcorder on an original tape. Turn off date
stamp.•

Lighting Suggestions^Don't leave your subjects in the dark!• Low levels can reduce detail and quality, so shoot in strong light.• Shoot near (but not toward) windows.• Turn on all lights• White balance camera• Consider setting up your own soft lights. A strong single light
source creates deep shadows. A secondary, diffused light or a reflector fills the shadows. Reflect light off walls or a sheet of foam core.
• 3-Point Lighting◦ Using a light kit will help make your video look better when
shooting interviews or similar footage. Standard lighting set-up is 3-point lighting, using 3 lights. Whenever possible, place the lights at 45º angles above the subject.
• High Contrast & Low Light◦ Keep lighting in mind when choosing shooting locations.
Having bright light behind a subject will be distracting and will discolor or “backlight” what you aim to shoot. A camera with auto exposure will compensate for the bright backlight and will leave your subject in the dark.
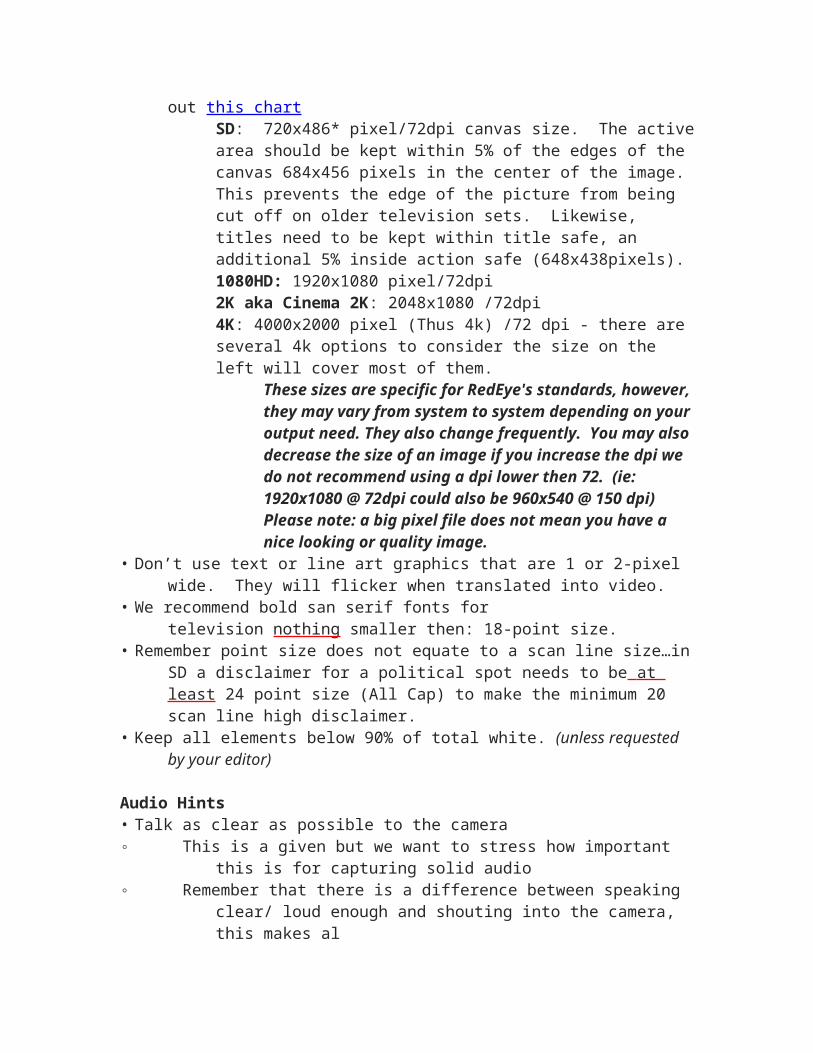
Graphics Acquisition• All graphics should be sized according to needs: - to look at the
aspect ratios in all their tech glory check out this chartSD: 720x486* pixel/72dpi canvas size. The active area should be kept within 5% of the edges of the canvas 684x456 pixels in the center of the image. This prevents the edge of the picture from being cut off on older television sets. Likewise, titles need to be kept within title safe, an additional 5% inside action safe (648x438pixels).1080HD: 1920x1080 pixel/72dpi2K aka Cinema 2K: 2048x1080 /72dpi4K: 4000x2000 pixel (Thus 4k) /72 dpi - there are several 4k options to consider the size on the left will cover most of them.
These sizes are specific for RedEye's standards, however, they may vary from system to system depending on your output need. They also change frequently. You may also decrease the size of an image if you increase the dpi we do not recommend using a dpi lower then 72. (ie: 1920x1080 @ 72dpi could also be 960x540 @ 150 dpi) Please note: a big pixel file does not mean you have a nice looking or quality image.
• Don’t use text or line art graphics that are 1 or 2-pixel wide. They
will flicker when translated into video.• We recommend bold san serif fonts for television nothing smaller
then: 18-point size.• Remember point size does not equate to a scan line size…in SD a
disclaimer for a political spot needs to be at least 24 point size (All Cap) to make the minimum 20 scan line high disclaimer.
• Keep all elements below 90% of total white. (unless requested by your editor)
Audio Hints• Talk as clear as possible to the camera◦ This is a given but we want to stress how important this is for
capturing solid audio◦ Remember that there is a difference between speaking clear/
loud enough and shouting into the camera, this makes al◦ the difference to the sound quality of your video• Record in a Very Quiet Space◦ Eliminate any possible background noise therefore the camera
mic can focus right in on the subject's voice which will enhance the audio quality
▪ Possible interruptions within your control▪ Cell phone call or text▪ appliances (A/C unit, fan blowing, refrigerator,
etc.)▪ people talking on set or around where recording is
taking place▪ Interruptions beyond you control▪ sirens▪ loud trucks▪ cars honking▪ if these are the case just pause then resume• Get as Close to the Mic as You Can!◦ Like most microphones the farther the subject is the worse the
sound will be therefore either get the subject or if your are filming yourself to be as close as possible to the mic
◦ Use a wide angle lens so you can stand as near the camera as possible this will ensure the best possible chance of capturing high quality audio
• Don't use the Zoom!◦ Avoid zooming in on your subject while recording the◦ The mic can usually pick up the sound of the camera zooming
in and out◦ Instead, film a shot of your subject in one position, then film
then in another, closer position.• Use an External Microphone!◦ Avoid the default camera mic because it usually isn't the best
quality and will be more inclined to pick up every little background nois
◦ Invest in an external mic▪ Lavaliere Mic: you can get as close as possible to your
face and eliminate a lot of external audio annoyances.
▪ Hand Held Mic: For a really noisy environment, can isolate any sound other than the voice speaking directly into it
▪ Boom Mic: You can hold it above your subject's head out of shot. That way you can still capture the best audio
you can without being too intrusive• Record natural, or ambient, sound (sometimes called “room noise”)
at the end of each scene. This helps the editor create clean audio edits.
LoggingEvaluating your footageNo matter the scope of your project at some point after the shoot you will need to go through and log all of your footage before diving right into the editing process. If this step is skipped it can cause the end result of your project to suffer.1 Organize your raw footage
We recommend this being the first thing you do, organize your hard drive folder structure in a similar way that you will structure your bin in NLE will make everything flow a lot more smoother when in the middle of editing. Think of it like this the more organized you are the easier every other element to follow will be.
2 Import Footage into you preferred NLEOnce everything is in order and ready to go, you can begin importing into your NLE. Keep in mind that yes drag and drop of your footage is easy it may not be the most reliable so always double check to see if footage is all there. Remember to use the structure your set up originally in the Organization phase.
3 Review your FootageThis will be the most time consuming step, you need to go through and see everything you have and then determine what is going to work verse what won't. This is a great reminder of every clip before you start editing.
4 Sort out Footage
When you have determined exactly what you have to use and what your going to do away with it is important to move out what your not using. Put this footage in a separate bin together and do not DELETE! You never know if you will need it again.
5 Break Your Footage Down and Create Sub-clipsOnce everything is reviewed all of the must have footage and your ready for your next step, it is good to begin trimming that footage down. By trimming the excess and only keeping exactly what you need you can form sub clips which makes it easy to be dragged and dropped all over the timeline.
6 Write it Down!When going through each step it is really important to write everything down as you do it. A note pad is going to be your best friend through the process, when logging all the footage ideas or thoughts may pop up or just need to write down how you prepared everything therefore this will help you when you move onto your next step whether that is editing on your own or working with one.
Edit Preparation• An edit script or outline, communicates a general idea about how
the video might flow. This step, although optional, can make sure the structure of the first rough edit follows your vision.
• To prepare an edit script, simply copy and paste the complete information for each clip (the full line of text) into a new document in the order you wish.
Prepare the visual elements• Provide existing print or other graphic designs ahead of time• Create a list of participants and their titles• Write text for full-frame graphic scenes• Prepare a full list of credits including all participants• Music preparation- remember that commercially recorded music is
protected by copyright• Use a rights-clearinghouse to purchase rights• Use local musician’s recordings for a small fee or in exchange for
credit
The Edit Session: Putting it all together First look at the scope of your project and pin point the type of editing system you need. Is your project something simple that only allows

you to throw a few clips together and then add some titles and pictures? iMovie, Windows Movie Maker, or the YouTube video editor will be just fine in that case. If your project calls for more depth and is a more complex that allows you to layer videos and clips and utilize keyboard shortcuts…then the Adobe Creative Cloud’s Premiere Pro (which is used to edit the latest movie releases) is going to be a good pick. However, bear in mind that there’s a learning curve to these editors. Sometimes it’s good to get started in an introductory prosumer editor, like Adobe Premiere Elements, Final Cut Pro X, or Sony Vegas, first.
Cut the Editing Process up into 5 Phases:(get client approval before moving on to each phase)1 First Assembly: gather all the materials and footage collected on the
shoot for each scene and then re-order it all in the order that best tells the story of your vision
◦ No transitions or audio mixing are added yet; the story structure is simply assembled in order to make sure the intended message come through clearly.
◦ First assembly is like a sketch of the finished scene. It is a good idea to save these sketches for reference later,
◦ should the editor get stuck.2 Rough Cut and Variations: Everyone works differently and projects
are different therefore this part can take people different amounts of time to complete to their liking. You can do this yourself or with the director, or if you are working with an editor you can go through this together dissecting every aspect.
◦ During this phase all the sciences are put in place in order and to be checked for continuity
◦ This phase is important to do all revisions and to try out and test new ideas
◦ Make the edit points between the scenes very obvious in order to emphasise the ‘roughness’. Failure to do so may result in the editor committing to an edit before it is ready.
3 The First Cut: At this point the selection and sequence are all fixed for the most part even though it can still be changed if need be. Detailed fine cut starts out from its proportions, structures, rhythms and emphasises them.
◦ Never be afraid to let the first cut ‘rest’ for a few days so everyone involved can see it with fresh eyes.
4 The Fine Cut: This is the chance where you go over every little part with a microscope digging into all the fine details of each and every cut
◦ After client approval, we make a second pass to add transitions between scenes, clean up the sound, and add music, if any. We may go back and forth with additional
rough edits to make sure the content is just right.◦ this is suppose to emphasize and strengthen the rhythms and
structures identified in the first cut5 The Final Cut: Once everyone is in agreement of the project at this
point, bring in the other material resources such as music, title design, sound design, etc. and then add every element into this final cut
◦ Before final mastering, we add titles to identify people, places and things; to help tell the story; or to give credit. Titles are rendered. Bars and tone are added to the beginning for future reference.
Distribution: Getting the Word out Digital duplication• RedEye Post can duplicate your project in a variety of formats.Compression for the web• RedEye Post can compress any size program into any web or email
format for multi-media use
Labels• Labeling is important; it determines information that will be printed
on distributed copies. We ask clients to spend time considering this step carefully.
Social Media Distribution/ MarketingSocial media has become such a prevalent part of our daily lives and has developed into a great tool for distributing and marketing your project.Each social media site is different therefore your going to want to tailor your vision to fit each site in order to reach your audience and fully convey your message to them.
How to market based on the site you are using:• Instagram -- Important things to take note on when uploading to
Instagram is everything gets cropped into a square therefore you are going to want to make sure your content doesn't get cut off and format it correctly, also you can only upload 60 seconds worth of content per video therefore consider either making it into a preview post of your content or like a trailer of it and redirect audience to a full link of your project in your Instagram bio. Check out these helpful guidelines !
• LinkedIn -- is the gold standard of business focused social networking therefore when posting content you want to be direct and to the point because you don't have a lot of space for
extra 'fluff' and your audience doesn't want to spend all day reading about your project therefore a simple post explaining your project attached with the link. Then encourage workers/co-workers to share this content onto their profiles creating opportunity for it to reach more people. Check out more helpful tips here!
• Facebook-- is a premiere platform for marketing your project. It offers opportunity to show case not just your project but background on who you are. You can directly interact with consumers and build your network. It is also constantly updating with new easy to use features that can help further promote your project and brand. Check out more helpful hints here!
• Vimeo -- This popular video-sharing platform is perfect for sharing your project because it offers so many versatile features that help you control your video and how it looks, feels, and functions. Check out these helpful guidelines here!
• Twitter -- 141 characters can go a long way! You can increase your reach with just one tweet therefore tweeting your project can be shared and retweeted to reach a bigger network. Get instant answers for the most common questions and learn how to use 140 characters like a pro here!
• Youtube -- The king of video sharing sites! This popular video sharing platform is a good tool when wanting to get your project out to the public. The use of tags ensures your video pops up whenever that keyword or words are searched. By pushing your project to influencer's, subscribers, fans, followers, etc. can help videos gain views an popularity. For more helpful hints check out this link !
Snapchat--One of the newest social media sites that is growing a reputation in the marketing realm. This site allows users to follow the journey of how your project was created and see the behind the scenes of this project as well as interacting live with followers. This live interaction is perfect for creating in the moment stories! Check out more helpful hints here!