indiaskillskerala.comindiaskillskerala.com/common/downloadFile?fileName=13FEB202… · Web...
45
Test project: IT Network Systems administration Category: Information and Communication Technology
Transcript of indiaskillskerala.comindiaskillskerala.com/common/downloadFile?fileName=13FEB202… · Web...

Test project: IT Network Systems administration
Category: Information and Communication Technology

Skill Explained
Network technologies knowledge has become essential nowadays for people who want to build a successful career in any IT engineering field. This test project contains a lot of challenges from real life experience, primarily IT integration and IT outsourcing. If you are able to complete this project with the high score, you are definitely ready to implement network infrastructure for any multi-branch enterprise.
Eligibility Criteria- Competitors born on or after 01 Jan 1999 are only eligible to attend the Competition Duration of Test project: 16 hours
Description of project and tasks This test project is designed using a variety of network technologies that should be familiar from the Linux Microsoft and Cisco certification tracks. Tasks are broken down into following configuration sections:
WS-TASK-A Network WS-TASK-B Network WS-TASK-C Network
Preface
Section A-Test Project Section B-Network Infrastructure Design (Tool and equipment including raw material) Section C-Marking Scheme Section D- Instruction for Competitors Section E- Health, Safety and Environment
SECTION A WS-TASK A – NETWORK
COMPETITOR INSTRUCTION Resources that will be necessary for the future migration, preparing for secure connectivity between the new domain and the old domain - which will involve setting up a VPN server.
INTRODUCTION The competition has a fixed start and finish time. You must decide how to best divide your time. Please carefully read the following instructions!
When the competition time ends, please leave your station in a running state. The assessment will be done in the state as it is. No reboot will be initiated as well as powered off machines will not be powered on!

Please do not touch the VMware configuration as well as the configuration of the VM itself except the CD-ROM / HDD drives
PHYSICAL MACHINE (HOST)
FOLDER PATHS ISO Images: VMware ESXi Datastore
LOGIN Username: root / LDAP-Users Password: 1nd!@5k!ll5 Domain: IndiaSkills.com
System Tools • Install CURL • Install SSH daemon and allow root access
Description of Project and Tasks
You are a system engineer and you have the task to implement a complex Linux based IT environment for an international assembly of professional experts. The requirements are gathered where possible and documented. Please get an overview of the project by studying the physical and logical diagrams at the end of this document.
System Configuration (General)
All the server and client systems are pre-installed with a basic configuration of Debian Linux. Please use the credentials and settings stated on the introduction page. You are allowed to change these values to the ones you prefer. But at the end of the day, all the settings must be reverted to its initial values.
Configure all servers with the correct hostname and network settings found in the appendix. Install on every machine the system tools that have been mentioned in the introduction.
Please use the default configurations if you are not given any details.
For values which do not impact the assessment, such as ‘Region’ or ‘Local’, will result in losing minor points. If the process of assessment is impaired you will lose all points respectively.
The “Internet” network/subnet is connected to the management station. This means that you can leverage PUTTY/SSH to manage your virtual machines, given that your network is properly configured.
Login Banner Must be shown before the login prompt. Must appear for local and network logins.++++++++++++++++++++++++++++++++++++++++++++++++++++++++++++++++++++++++ World Skills 2020 – Delhi (India) WS-TASK A ++++++++++++++++++++++++++++++++++++++++++++++++++++++++++++++++++++++++
Load balancer (HAPROXY)
Configure a HTTP/HTTPS load balancer for “www.indiaskills.cloud”. Connect to back ends by using HTTPS and make sure that certificates are fully trusted (no browser or other certificate errors).
DNS • Install Bind9.
o Configure a forward zone called “www.indiaskills.cloud”. ▪ Create for each host an A record to the respective IP ▪ Create a CNAME record for ‘www’ that points to the appropriate host
that serves websites for all clients ▪ Create a CNAME record for ‘mail’ that points to the mail server ▪ Create the appropriate MX records ▪ Create a CNAME record for ‘ftp’ that points to the ftp server ▪ Create a CNAME record for ‘files’ to access the DFS shares
o Configure a forward zone called “competition.in” ▪ Create the appropriate records for email to work
o Configure a reverse zone for the IP range defined in DMZ network.
MAIL • Install Postfix and Dovecot.
o Configure SMTPS and IMAPS server for "indiaskills.cloud" and “competition.in” domain using certificates issued by SSC-CA. o Configure mail directory in /home/[user]/Maildir. o Authentication has to be done through LDAP
▪ Make sure that the corresponding local user do not exist ▪ Allow only users from the OU “mail”. o Enable SMTP submission (TLS tcp/587).
▪ Disable port tcp/25 o Enable secure IMAP (TLS tcp/143)
SSC-WEB1 AND SSC-WEB2
Webserver – Apache
The marking will be done on either of the two servers. Which one will be decided prior the marking starts by the assessment team. So you have to configure both servers!
• Install Apache o Configure a HTTPS-only website for "www.indiaskills.cloud" domain and “localhost” using certificates issued by SSC-CA.
o The website page should display the following message: ▪ “Welcome to the India Skills cloud on [HOSTNAME]”. ▪ Add the hostname dynamically with PHP
o Add the HTTP header “X-Served-By” with the server hostname as the value.

o Install rsync on SSC-web1 and synchronize /var/www directory (recursive) from SSC-web1 to SSC-web2, automatically every minute. ▪ To run the script don’t use crontab, solve it within the script only ▪ Script must be running while assessing the test project ▪ Make the script available in ‘/root/web_sync.sh’
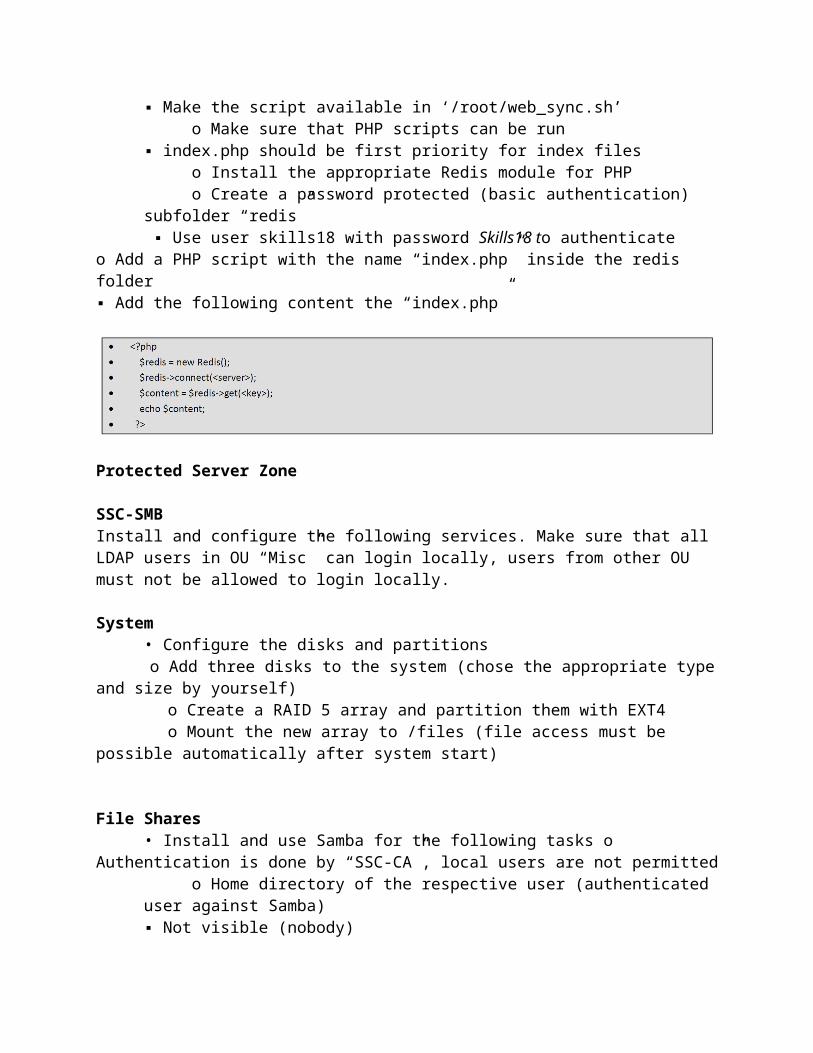
o Make sure that PHP scripts can be run ▪ index.php should be first priority for index files
o Install the appropriate Redis module for PHP o Create a password protected (basic authentication) subfolder “redis”
▪ Use user skills18 with password Skills18 to authenticate o Add a PHP script with the name “index.php” inside the redis folder ▪ Add the following content the “index.php”
Protected Server Zone
SSC-SMB Install and configure the following services. Make sure that all LDAP users in OU “Misc” can login locally, users from other OU must not be allowed to login locally.
System • Configure the disks and partitions
o Add three disks to the system (chose the appropriate type and size by yourself) o Create a RAID 5 array and partition them with EXT4 o Mount the new array to /files (file access must be possible automatically after
system start)
File Shares • Install and use Samba for the following tasks o Authentication is done by “SSC-CA”,
local users are not permitted o Home directory of the respective user (authenticated user against Samba)
▪ Not visible (nobody) ▪ Accessible only for the authenticated user through “\\[server]\[user]” ▪ The home share is only accessible from the client’s subnet ▪ Local data path: /files/users/[user]

Distributed File Share (DFS) • Configure Samba for DFS o Enable DFS
o DFS should be accessible through “\\SSC-CA\dfs” for clients ▪ Local DFS root: /files/samba/dfs
o Distribute the share “public” through DFS (\\SSC-CA\dfs\public) ▪ Local data path: /files/samba/public ▪ Share is not visible outside the DFS (e.g. \\SSC-CA\public) ▪ Creating a “public” sub-folder inside the DFS share is not allowed (real DFS linking) ▪ This share is writable by everyone (authenticated and anonymous)
o Distribute the share “private” through DFS (\\SSC-CA\dfs\private) ▪ Remote data path: \\wsc-i-calgary\private ▪ Creating a “private” sub-folder inside the DFS share is not allowed (real DFS linking) ▪ This share is readable / writable for every LDAP user
FTP • Setup FTP with PureFTP
o Use a virtual user configuration (not system users) ▪ User: skills18-ftp / Password: Skills18 ▪ Home directory: “/files/users/skills18-ftp”
o The virtual user has to be mapped to the system user/group “ftpuser/ftpgroup”
o Per user only one active concurrent session is allowed o Only allow explicit SSL / TLS (ftpes://) o File renaming is not allowed
Internal Server Zone
SSC-MON
Redis • Install redis server (key-value store)
Add a new entry to the store with following command line code. Replace the content in brackets with some hard-coded equivalents
CACTI Monitoring • Install Cacti monitoring service • Change the administrator’s password to “IndiaSkills2020” • Add a graph of SCC-Mail network traffic
PING MONITORING • Install Icinga monitoring service, use password “IndiaSkills2020” as the password for
“skilladmin”.
• Setup a basic ICMP ping monitor SSC-SMB. • When monitoring fails, after 60 seconds send a notification to [email protected].
SYSTEM • Create a script (shell or php) with the name ‘index_update.*’ in the folder ‘/root’ • The script should update the redis entry (created above) with the current date and the
mentioned time. The same command as above can be used for shell scripts or $content =
$redis->get('skilladmin:index'); if you prefer php
• Schedule the execution of the script o Every two minutes where the execution must happen on odd-minutes
• Create a script ‘ftp_listing.sh’ in the folder ‘/root’ that lists the content of the ftp user
Client Zone
SSC-Clients Install and configure the following services. Make sure that all LDAP users in OU “Misc” can login locally; users from other OU must not be allowed to login locally.
E-mail • Use Icedove as the e-mail client and configure using the user “skillsadmin”. o Configure to use [email protected] o Send an email to [email protected] o Use IMAP to connect to the mailbox
Web • Use Firefox as the web browser. o Make sure that www.indiaskills.cloud is accessible. o No certificate warning o Shows appropriate content
FTP • Use FileZilla as FTP-client o Make sure that a connection to SSC-Clients
(ftp.indiaskills.cloud) can be established.
Samba • Make sure that users can access the file shares from SSC-Clients o Mount DFS share to /mnt/dfs o You must be able to access both shares (public, private) through DFS

Login • Add offline capabilities • After LDAP is offline, it should still be possible for users to access the host within one
minute
Add the indiaskills.cloud CA certificate as trusted, so that no certificate warnings are shown for all the above
SSC-IPSEC
E-mail • Use Icedove as the e-mail client and configure using the user “skillsadmin”. o Configure to use [email protected] o Send an email to [email protected] o Use IMAP to connect to the mailbox
VPN • Install a VPN client for (L2TP/IPSEC) o Connect to WSC-P-STGALLEN using any of the VPN-Users. o Create a script on “/root/vpn.sh start | stop” to start and stop the VPN connection.
Add the wsc2020.cloud CA certificate as trusted, so that no certificate warnings are shown for all the above.

WS-TASK-B: Network Windows Environment
Introduction to Test Project documentation The competition has a fixed start and finish time. You must decide how to best divide your time.
Contents This Test Project consists of the following document/file:
WS-TASK-B required (This document) • Excel file for the user import (RU-Users.xlsx) • Websites for install
• Manager Website • www.IndiaSkills2020.net Website
• RSAT Tools (WindowsTH-RSAT_WS2016-x64.msu) • Windows 10 ADMX files (Windows_ 10_Creators_Update_ADMX.msi) • Windows Server 2016 ISO
Description of project and tasks
Introduction There is already an existing domain IndiaSkills.net. You have to build and configure the network for the next World Skills competition, which consists of a new domain IndiaSkills2020.net and copy some of the users to this new domain and also implement features for external access to the network, policies and file services.
This project several components, you need to: 1. Build a new domain (IndiaSkills2020.net) which will eventually host all the users and computers for the next competition 2. Maintain connectivity and access to resources between the new domain and the old domain (IndiaSkills.net) while the transition is being made 3. Copy some of the users and data from the old domain to the new one 4. Setup a new site-to-site connection
Quick Specifications
Part 1 – RUSSIA.net In Part 1 you will be responsible for preparing the new domain prior to performing the migration. This will involve building the IndiaSkills2020.net domain, including all of the resources that will be necessary for the future migration, preparing for secure connectivity between the new domain and the old domain - which will involve setting up a VPN server and a multi-tier PKI infrastructure.
NOTE: Please use the default configuration if you are not given the details
All local and domain users on ALL machines should have a password of "P@ssw0rd" unless otherwise specified. Pre-supplied machines that the competitor needs to logon to will also be pre-configured with this password.
All supplied software and files needed to complete this project can be found in C:\software on the competitor computer.
WORK TASK IndiaSkills2020-DC
Install/Configure • Modify the default Firewall rules to allow ICMP (ping) traffic
Active Directory • Configure this server as the primary domain controller for IndiaSkills2020.net • Configure an ONE-WAY (Forest) trust between the domains IndiaSkills2020.net and
IndiaSkills.net • Users from IndiaSkills2020.net must have access to resources from IndiaSkills.net but not vice versa
DHCP • Configure DHCP for the clients • Mode: Load balancer • Partner Server: IndiaSkills2020-FILES • State Switchover: 10 minutes • Range 172.16.0.150-180 • Set the appropriate scope options for both DNS servers and default gateway • Set the lease period for the client to 5 days
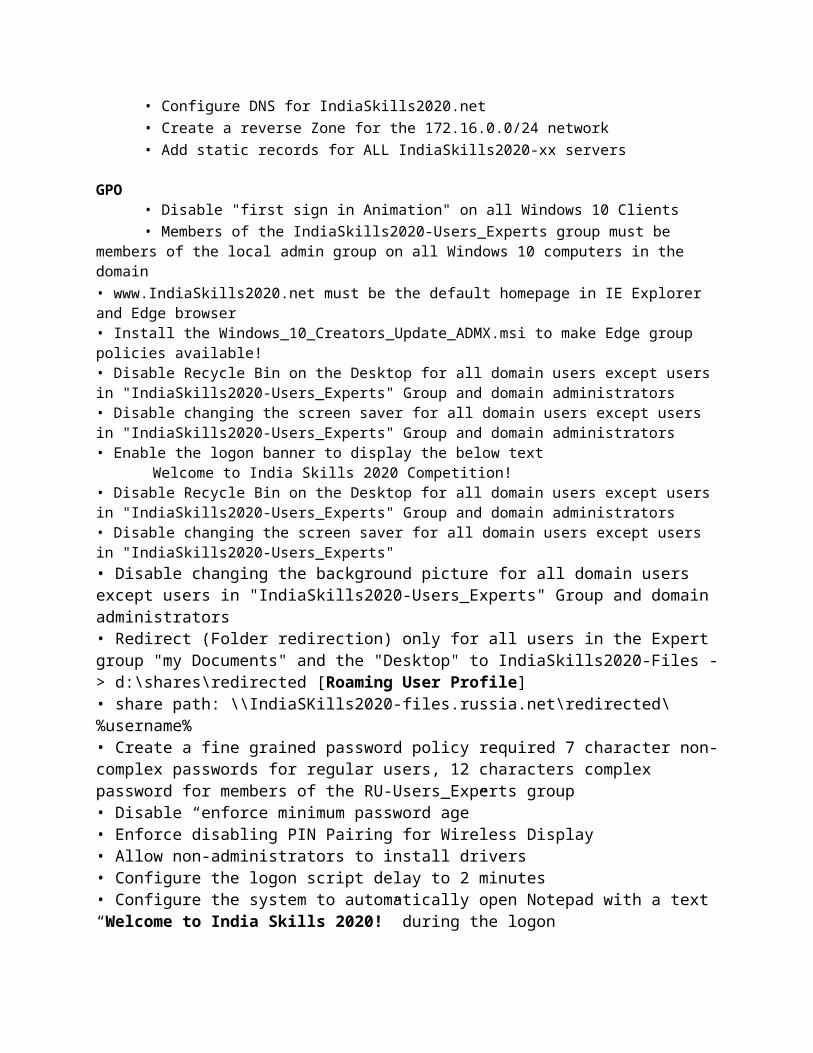
DNS • Configure DNS for IndiaSkills2020.net • Create a reverse Zone for the 172.16.0.0/24 network • Add static records for ALL IndiaSkills2020-xx servers
GPO • Disable "first sign in Animation" on all Windows 10 Clients • Members of the IndiaSkills2020-Users_Experts group must be members of the local admin
group on all Windows 10 computers in the domain • www.IndiaSkills2020.net must be the default homepage in IE Explorer and Edge browser • Install the Windows_10_Creators_Update_ADMX.msi to make Edge group policies available! • Disable Recycle Bin on the Desktop for all domain users except users in "IndiaSkills2020-
Users_Experts" Group and domain administrators • Disable changing the screen saver for all domain users except users in "IndiaSkills2020-
Users_Experts" Group and domain administrators • Enable the logon banner to display the below text Welcome to India Skills 2020 Competition! • Disable Recycle Bin on the Desktop for all domain users except users in "IndiaSkills2020-
Users_Experts" Group and domain administrators

• Disable changing the screen saver for all domain users except users in "IndiaSkills2020-Users_Experts"
• Disable changing the background picture for all domain users except users in "IndiaSkills2020-Users_Experts" Group and domain administrators
• Redirect (Folder redirection) only for all users in the Expert group "my Documents" and the "Desktop" to IndiaSkills2020-Files -> d:\shares\redirected [Roaming User Profile]
• share path: \\IndiaSKills2020-files.russia.net\redirected\%username% • Create a fine grained password policy required 7 character non-complex passwords for
regular users, 12 characters complex password for members of the RU-Users_Experts group • Disable “enforce minimum password age” • Enforce disabling PIN Pairing for Wireless Display• Allow non-administrators to install drivers• Configure the logon script delay to 2 minutes• Configure the system to automatically open Notepad with a text “Welcome to India
Skills 2020!” during the logon
Users/Groups • Create OUs named "Expert", "Competitor", "Manager" and "Visitor"
• Create the following AD groups: • INDIASKILLS2020-Users_Experts
• INDIASKILLS2020-Users_Competitors • INDIASKILLS2020-Users_Managers • INDIASKILLS2020-Users_Visitors • INDIASKILLS2020-Project_Budget-R • INDIASKILLS2020-Project_Budget-W • INDIASKILLS2020-Project_Intranet-R • INDIASKILLS2020-Project_Intranet-W • INDIASKILLS2020-Project_Logistics-R • INDIASKILLS2020-Project_Logistics-W • INDIASKILLS2020-DAClients
NOTE: This is a required list of groups and OUs that have to be created in the domain. If you believe that you should create additional groups to perform the tasks you can create them.
• Create the users from the excel sheet IndiaSkills2020-Users.xlsx (c:\software) on the competitor machine
• Fill up all fields in the Active Directory user object and add the users to the corresponding IndiaSkills2020-Users_xx groups, IndiaSkills2020-Project_xx groups and OUs
• Create for every user a home drive in on IndiaSkills2020-Files d:\shares\users. • Connect the home drive automatically to drive U: -> \\indiaskills2020-files.indiaskills2020.net\users$\
%username%

WORK TASK INDIASKILLS2020-FILES
This will be the primary file server for the indiaskills2020.net domain, but will also provide redundancy for other network services, including DHCP and DNS and AD
Install/Configure • Install a Windows Server 2016 (no GUI) from ISO • When creating the VM, build with 4 drives
• 1 System drive (c:\) • Size 25 GB
• 1 Raid 5 array with the remaining three drives (d:\) • Size 10 GB in total • Rename to IndiaSkills2020-FILES
• Configure the network settings as per configuration table/network diagram • Modify the default Firewall rules to allow ICMP (ping) traffic • Join to IndiaSkills2020.net domain
Shares • Create shares for departments (Competitors, Experts and Managers) on
IndiaSkills2020-FILES -> d:\shares\departments • \\IndiaSkills2020-Files\Experts --> d:\shares\departments\Experts • \\INDIASKILLS2020-Files\Competitors --> d:\shares\departments\Competitors • \\INDIASKILLS2020-Files\Managers --> d:\shares\departments\Managers
• Create a share for projects in INDIASKILLS2020-FILES -> d:\shares\projects • Create the following folders in d:\shares\projects
• Budget • Intranet • Logistics
• Set the permissions for these folders according to the table in the appendix • Map the project share (\\IndiaSkills2020-files.IndiaSkills2020ssia.net\projects) to P:\
for all users except the Visitor group • Users should see only the folders in P:\ where they have permissions to access them (Access-based Enumeration)
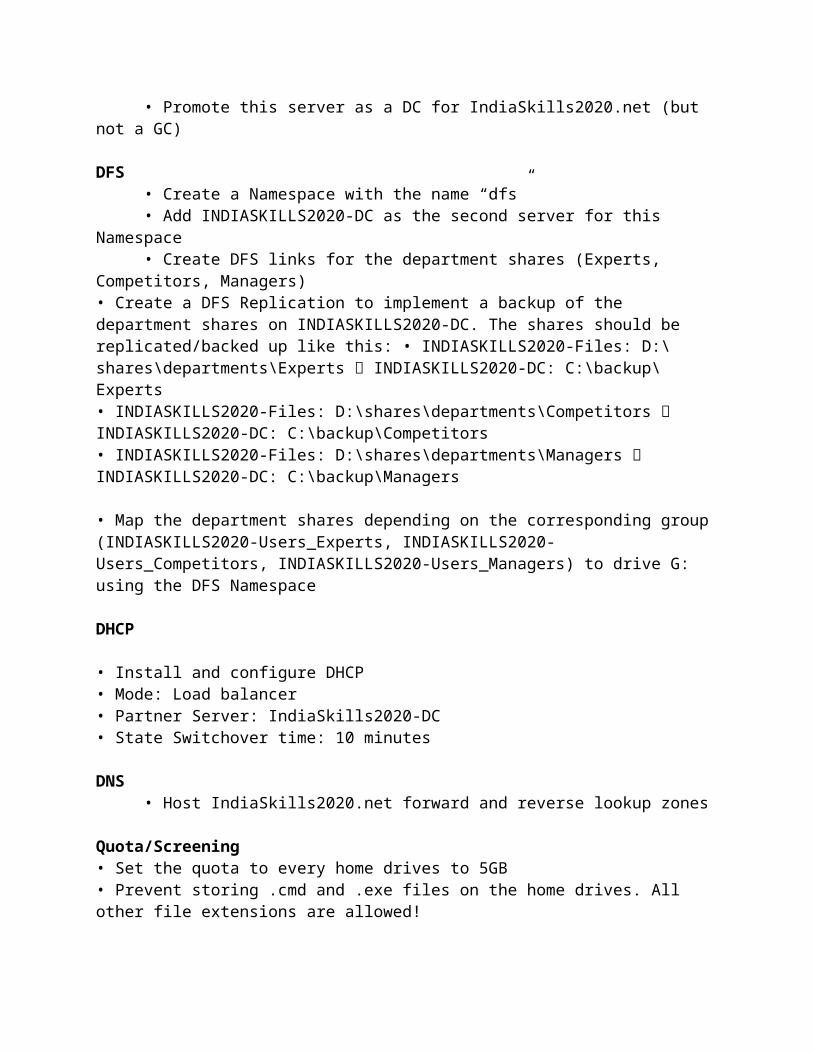
Active Directory • Promote this server as a DC for IndiaSkills2020.net (but not a GC)
DFS • Create a Namespace with the name “dfs” • Add INDIASKILLS2020-DC as the second server for this Namespace • Create DFS links for the department shares (Experts, Competitors, Managers)

• Create a DFS Replication to implement a backup of the department shares on INDIASKILLS2020-DC. The shares should be replicated/backed up like this: • INDIASKILLS2020-Files: D:\shares\departments\Experts INDIASKILLS2020-DC: C:\backup\Experts
• INDIASKILLS2020-Files: D:\shares\departments\Competitors INDIASKILLS2020-DC: C:\backup\Competitors
• INDIASKILLS2020-Files: D:\shares\departments\Managers INDIASKILLS2020-DC: C:\backup\Managers
• Map the department shares depending on the corresponding group (INDIASKILLS2020-Users_Experts, INDIASKILLS2020-Users_Competitors, INDIASKILLS2020-Users_Managers) to drive G: using the DFS Namespace
DHCP
• Install and configure DHCP • Mode: Load balancer • Partner Server: IndiaSkills2020-DC • State Switchover time: 10 minutes
DNS • Host IndiaSkills2020.net forward and reverse lookup zones
Quota/Screening • Set the quota to every home drives to 5GB • Prevent storing .cmd and .exe files on the home drives. All other file extensions are allowed!
Customized error messages • Make sure that unauthorized users get the following error message, when they want to access one of the three department shares (Experts, Competitors and Managers) they are not allowed to! o Expert share: ▪ Error message: “Access only for EXPERTS allowed”
o Competitor share: ▪ Error message: “Access only for COMPETITORS allowed”
o Manager share: ▪ Error message: “Access only for MANAGERS allowed”
IIS • Create a website for the managers (use the provided html file as the default page from C:\software on the competitor computer) • This website should be accessible via managers.IndiaSkills2020.net • Only users in the in IndiaSkills2020-Users_Managers group should have access to the website using "user certificate based authentication"
WORK TASK IndiaSkills2020-ROOTCA
This will be the ROOT Certificate authority for the PKI infrastructure.
Install/Configure • Modify the default Firewall rules to allow ICMP (ping) traffic • DO NOT join this server to any domain
Install AD CS services • standalone Root CA – Use default key length, hash, etc. if not specified • Name: IndiaSkills 2020 Root CA • Lifetime: 10 years • CRL location: http://IndiaSkills2020-SUBCA.IndiaSkills2020.net/certenroll/<caname><crlnamesuffix><deltacrlallowed>.crl
• AIA location: http://IndiaSkills2020-SUBCA. IndiaSkills2020.net/certenroll/<serverdnsname>_<caname><certificatename>.crt • Create certificate revocation list, and necessary root certificates for IndiaSkills2020-SUBCA, and export them to IndiaSkills2020-SUBCA, via share or any other method
• Approve subordinate Certificate request from IndiaSkills2020-SUBCA • Take the server offline when not in use (disable the network interface only)
WORK TASK IndiaSkills2020-SUBCA
This will be the online subordinate CA in the PKI infrastructure.
Install/Configure • Modify the default Firewall rules to allow ICMP (ping) traffic • Join the machine to the IndiaSkills2020.net domain
Install AD CS and Web Enrolment services • Install Enterprise Sub CA • Name: IndiaSkills2020Sub CA • Import and publish CRL for Root CA • Lifetime: 5 years • Configure a template for all clients called "_Skills39_ IndiaSkills2020Clients"
o Set the "subject name format" to Common Name o Auto enroll this template to all IndiaSkills2020.net Windows 10 Clients
• Configure a template for a group of users called "_Skills39_SpecialUsers" o Set the "subject name format" to Common Name o Auto enroll this template only to the IndiaSkills2020-Users_Managers group
• Create the necessary certificates for the two websites on IndiaSkills-IIS

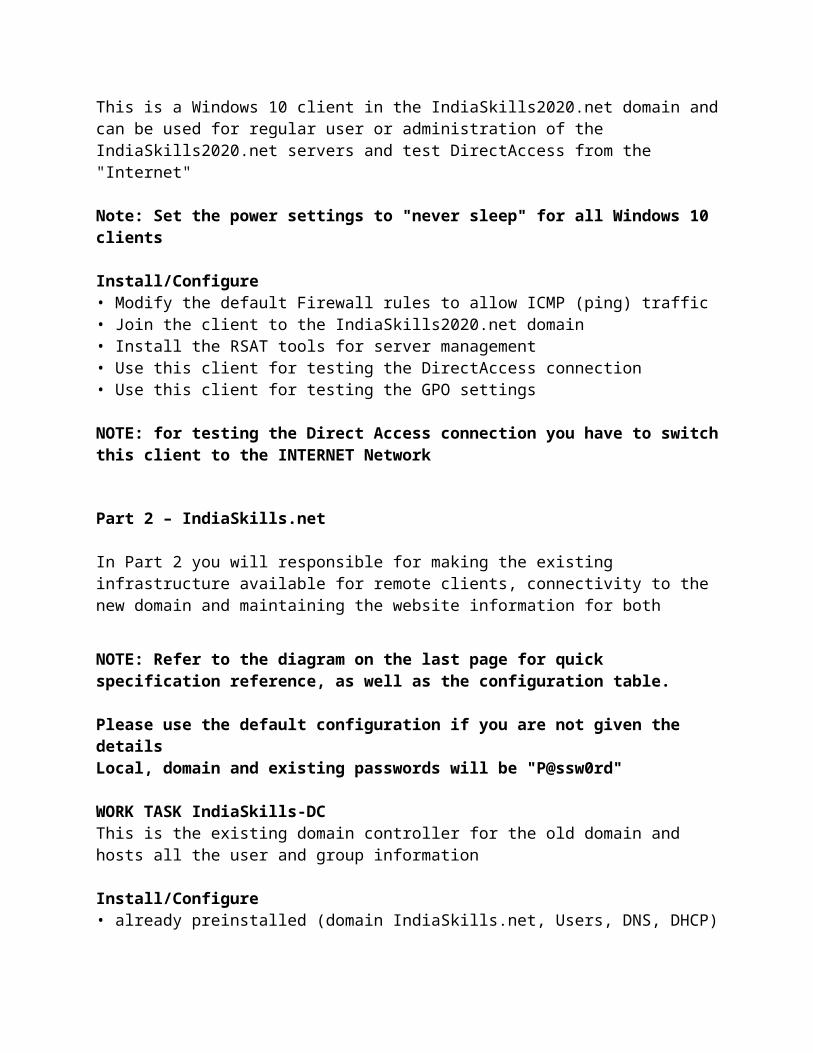
WORK TASK RU-CLIENT This is a Windows 10 client in the IndiaSkills2020.net domain and can be used for regular user or administration of the IndiaSkills2020.net servers and test DirectAccess from the "Internet"
Note: Set the power settings to "never sleep" for all Windows 10 clients
Install/Configure • Modify the default Firewall rules to allow ICMP (ping) traffic • Join the client to the IndiaSkills2020.net domain • Install the RSAT tools for server management • Use this client for testing the DirectAccess connection • Use this client for testing the GPO settings
NOTE: for testing the Direct Access connection you have to switch this client to the INTERNET Network
Part 2 – IndiaSkills.net
In Part 2 you will responsible for making the existing infrastructure available for remote clients, connectivity to the new domain and maintaining the website information for both
NOTE: Refer to the diagram on the last page for quick specification reference, as well as the configuration table.
Please use the default configuration if you are not given the details Local, domain and existing passwords will be "P@ssw0rd"
WORK TASK IndiaSkills-DC This is the existing domain controller for the old domain and hosts all the user and
group information
Install/Configure • already preinstalled (domain IndiaSkills.net, Users, DNS, DHCP)
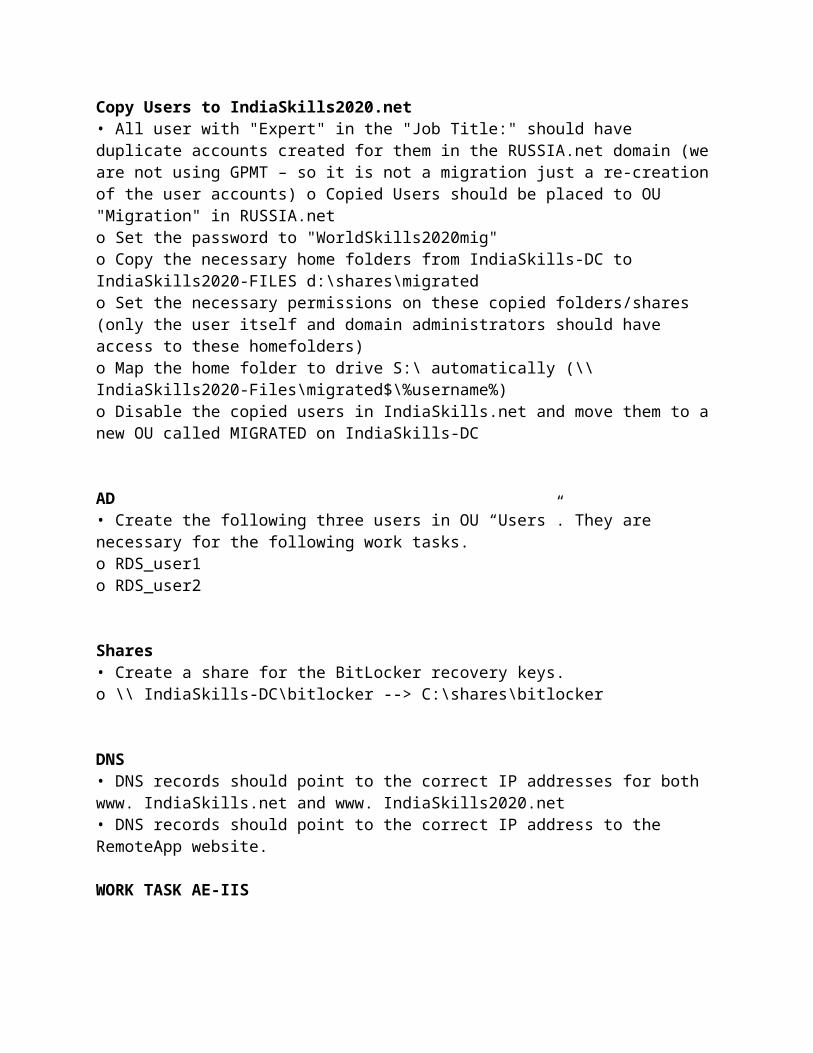
Copy Users to IndiaSkills2020.net • All user with "Expert" in the "Job Title:" should have duplicate accounts created for
them in the RUSSIA.net domain (we are not using GPMT – so it is not a migration just a re-creation of the user accounts) o Copied Users should be placed to OU "Migration" in RUSSIA.net
o Set the password to "WorldSkills2020mig" o Copy the necessary home folders from IndiaSkills-DC to IndiaSkills2020-FILES d:\
shares\migrated

o Set the necessary permissions on these copied folders/shares (only the user itself and domain administrators should have access to these homefolders)
o Map the home folder to drive S:\ automatically (\\IndiaSkills2020-Files\migrated$\%username%)
o Disable the copied users in IndiaSkills.net and move them to a new OU called MIGRATED on IndiaSkills-DC
AD • Create the following three users in OU “Users”. They are necessary for the following
work tasks. o RDS_user1 o RDS_user2
Shares • Create a share for the BitLocker recovery keys. o \\ IndiaSkills-DC\bitlocker --> C:\shares\bitlocker
DNS • DNS records should point to the correct IP addresses for both www. IndiaSkills.net and
www. IndiaSkills2020.net • DNS records should point to the correct IP address to the RemoteApp website.
WORK TASK AE-IIS This server hosts your current IndiaSkills.net website and need to have the content for
the IndiaSkills2020.net added to your network to provide access to the new IndiaSkills2020.net domain
IIS • Host www. IndiaSkills.net website o Move the default website from wwwroot to c:\
inetpub\ IndiaSkills • Host www. IndiaSkills2020.net website (provided) in c:\inetpub\ IndiaSkills2020• Both websites should be available by hostname • Both of these sites should use https using certificate approved in IndiaSkills2020.net
Work Task AE-RDS This server is used for Published Applications in the IndiaSkills.net domain.
Install/Configure • Install Windows Server 2016 from ISO • Rename to IndiaSkills-RDS • Configure the network settings as per configuration table/network diagram
• Modify the default Firewall rules to allow ICMP (ping) traffic • Join to IndiaSkills.net domain
Remote Desktop Services • Install Remote Desktop Services o Do not install RD Licensing component.
• Configure web-access for terminal services. • The RDS login page should be accessible by entering the URL https://rds.IndiaSkills.net • On the IndiaSkills2020-SUBCA server, generate and use the corresponding SSL
certificate for terminal services. Apply this certificate for all components of the terminal services. When connecting to the website https://rds.IndiaSkills2020.net from any computer in the IndiaSkills.NET domain, the certificate must be trusted and valid (no certificate warning should be shown).
• Make sure, only users RDS_user1 and RDS_user2 are able to login via RDP. • Publish Wordpad on the web-portal of RemoteApp for the domain user “RDS_user1” • Publish Notepad on the web-portal of RemoteApp for the domain user “RDS_user2”
WORK TASK AE-CLIENT Note: Set the power settings to "never sleep" for all Windows 10 clients Install/Configure • Modify the default Firewall rules to allow ICMP (ping) traffic • Join the client to the IndiaSkills.net domain • Use this client for all tests in the IndiaSkills.net domain
BitLocker • Encrypt the system drive using BitLocker • Use the password “P@ssw0rd” • Save the recovery key in the share \\IndiaSkills-DC\bitlocker\ on IndiaSkills-DC with
the filename “IndiaSkills-Client_recovery-key.txt”
WORK TASK AE-REMOTE Note: Set the power settings to "never sleep" for all Windows 10 clients Install/Configure
• Modify the default Firewall rules to allow ICMP (ping) traffic • DO NOT join this client to any domain
VPN • Configure the VPN client settings for all users on this computer o Connect the VPN using the public IP of IndiaSkills-EDGE o Use IKEv2 protocol with machine certificate authentication o www.IndiaSkills2020.net and www.IndiaSkills.net

Use this client for testing the "external" access to the websites
Part 3 – INTERNET/VPN/REMOTE ACCESS In Part 3 you have to setup remote access to the IndiaSkills2020.net domain for the
clients, Site-to-Site VPN between the two networks/domains and a client VPN solution for the IndiaSkills.net domain.
NOTE: Refer to the diagram on the last page for quick specification reference, as well as the configuration table.
Please use the default configuration if you are not given the details
WORK TASK INET
Note: This server has already been preconfigured with all the necessary settings for "simulating the internet in a test lab" and also DHCP is already setup.
Install/Configure • Modify the default Firewall rules to allow ICMP (ping) traffic
DNS/IIS • Create the appropriate resource records (DNS) for external access to the Direct Access
server in the IndiaSkills2020.net domain and also for www.IndiaSkills.net and www.IndiaSkills2020.net websites access.
WORK TASK IndiaSkills-EDGE This is the VPN server that will allow access for external clients to the internal network.
It will also create a VPN tunnel to the IndiaSkills2020.net domain.
Install/Configure • Modify the default Firewall rules to allow ICMP (ping) traffic • Join to IndiaSkills.net domain • Install RRAS service • Install server authentication certificate from IndiaSkills2020-SUBCA
NAT configuration • Port mapping for external access to IndiaSkills-IIS websites o Both IndiaSkills2020.net and IndiaSkills.net web content (verify from IndiaSkills -
REMOTE)
VPN • Configure VPN for client access.

• Use the IKEv2 protocol and make sure authentication is done by client certificate • Use the IP range 172.19.0.50 – 172.19.0.79 • The VPN clients should have access to all internal networks (IndiaSkills.net and
IndiaSkills2020.net)
Site-to-Site VPN • Configure Site-to-Site VPN to IndiaSkills2020-EDGE server • Use machine certificate for the authentication • Set the connection type to “persistent connection” • All traffic bound for IndiaSkills2020.net will be placed in the VPN tunnel
WORK TASK IndiaSkills2020-EDGE This is the VPN and DirectAccess server that will allow access for external clients to the
internal network. It will also create a VPN tunnel to the old IndiaSkills.net domain.
Install/Configure • Modify the default Firewall rules to allow ICMP (ping) traffic • Join to IndiaSkills2020.net domain • Install server authentication certificate from IndiaSkills2020-SUBCA
Configure Direct Access • Add IndiaSkills2020-Client to the AD group "IndiaSkills2020-DAClients" • Only members of " IndiaSkills2020-DAClients" group can use remote connection • Use IndiaSkills2020-FILES server as the only NCA • Generate SSL certificate on the PKI and use it for client connections (no self-signed
certs are allowed) • DirectAccess connection name "my W@rkplace" • Use connect.IndiaSkills2020.net for the access from the internet • The DA clients must get full access to the resources of IndiaSkills2020.net network and
IndiaSkills.net
Site-to-Site VPN • Configure Site-to-Site VPN to the IndiaSkills-EDGE server • Use machine certificate for the authentication • Set the connection type to “persistent connection” • All traffic bound for IndiaSkills.net will be placed in the VPN tunnel
Configuration Table
Hostname Operation System
Domain IP Address(es) Preinstalled
IndiaSkills-DC Windows Server 2016 GUI
IndiaSkills.net 172.19.0.1/24 Yes - configured
IndiaSkills-CLIENT
Windows 10 IndiaSkills.net DHCP Yes - configured
IndiaSkills-IIS Windows Server 2016 no GUI
IndiaSkills.net 172.19.0.3/24 Yes - configured
IndiaSkills-RDS Windows Server 2016 GUI
IndiaSkills.net 172.19.0.2 NO
IndiaSkills-EDGE Windows Server 2016 GUI
IndiaSkills.net 172.19.0.250/24 200.100.50.101/24
Yes - configured
IndiaSkills2020-DC
Windows Server 2016 GUI
IndiaSkills2020.net
172.16.0.1/24 Yes - configured
IndiaSkills2020-FILES
Windows Server 2016 no GUI
IndiaSkills2020.net
172.16.0.2/24 NO
IndiaSkills2020-ROOTCA
Windows Server 2016 GUI
None 172.16.0.3/24 Yes - configured
IndiaSkills2020-SUBCA
Windows Server 2016 GUI
IndiaSkills2020.net
172.16.0.4/24 Yes - configured
IndiaSkills2020-EDGE
Windows Server 2016 no GUI
IndiaSkills2020.net
172.16.0.250/24 200.100.50.100/24
Yes - configured
IndiaSkills2020-CLIENT
Windows 10 IndiaSkills2020.net
DHCP Yes - configured
IndiaSkills-REMOTE
Windows 10 None DHCP Yes - configured
INET Windows Server 2016 GUI
None 200.100.50.200/24
Yes - configured
Machines indicated as being preinstalled with "Yes – configured" will have the operating system installed and Hostname and network settings configured.
Shares/Permission Table
Sharename Location Read access group Read/Write access group
Budget IndiaSkills2020-Files -> D:\shares\projects
IndiaSkills2020-Budget-R
IndiaSkills2020-Budget-W
Intranet IndiaSkills2020-Files -> D:\shares\projects
IndiaSkills2020-Intranet-R
IndiaSkills2020-Intranet-W
Logistics IndiaSkills2020-Files -> D:\shares\projects
IndiaSkills2020-Logistics-R
IndiaSkills2020-Logistics-W
WS-TASK-C: Network Cisco Environment
Description of project and tasks This test project is designed using a variety of network technologies that should be familiar from the Cisco certification tracks. Tasks are broken down into following configuration sections: • Basic configuration • Switching • WAN • Routing • Services • Security • Monitoring and backup • WAN and VPN
All sections are independent but all together they build very complex network infrastructure. Some tasks are pretty simple and straightforward; others may be tricky. You may see that some technologies are expected to work on top of other technologies. For example, IPv6 routing is expected to run on top of configured VPNs, which are, in turn, expected to run on top of IPv4 routing, which is, in turn, expected to run on top of PPPoE, and so on. It is important to understand that if you are unable to come up with a solution in the middle of such technology stack it doesn’t mean that the rest of your work will not be graded at all. For example, you may not configure IPv4 routing that is required for VPN because of IP reachability but you can use static routes and then continue to work with VPN configuration and everything that runs on top. You won’t receive points for IPv4 routing in this case but you will receive points for everything that you made operational on top as long as functional testing is successful.
Instructions to the Competitor It is very important to read the whole test project first. However, be aware that not all tasks are written in chronological order. Some sections may require configuration from other sections below them. For example, task 6 in the “Basic configuration” section asks you to configure authentication using RADIUS server which obviously will not work if you do not apply all necessary configurations from the “Switching configuration” section that comes right after. It is your responsibility to manage your time effectively and the sequence you decide to complete the tasks.
As mentioned above, do not waste your time if you’re stuck with some tasks. You can use temporary solution (if you have technology stack dependency) and continue to work with other tasks, this may allow you to go back afterwards and fix things that are not working properly if you still have time. In addition, we recommend that you to check all your previous work when you complete following modules.
The RADIUS server is already preconfigured with rsyslog, freeradius, tftpd and snmpd to save your time, you are only required to complete the necessary configuration from your side.

Equipment, machinery, installations, and materials required It is expected that all Test Projects can be completed by Competitors based on the equipment and materials specified in the Infrastructure List.
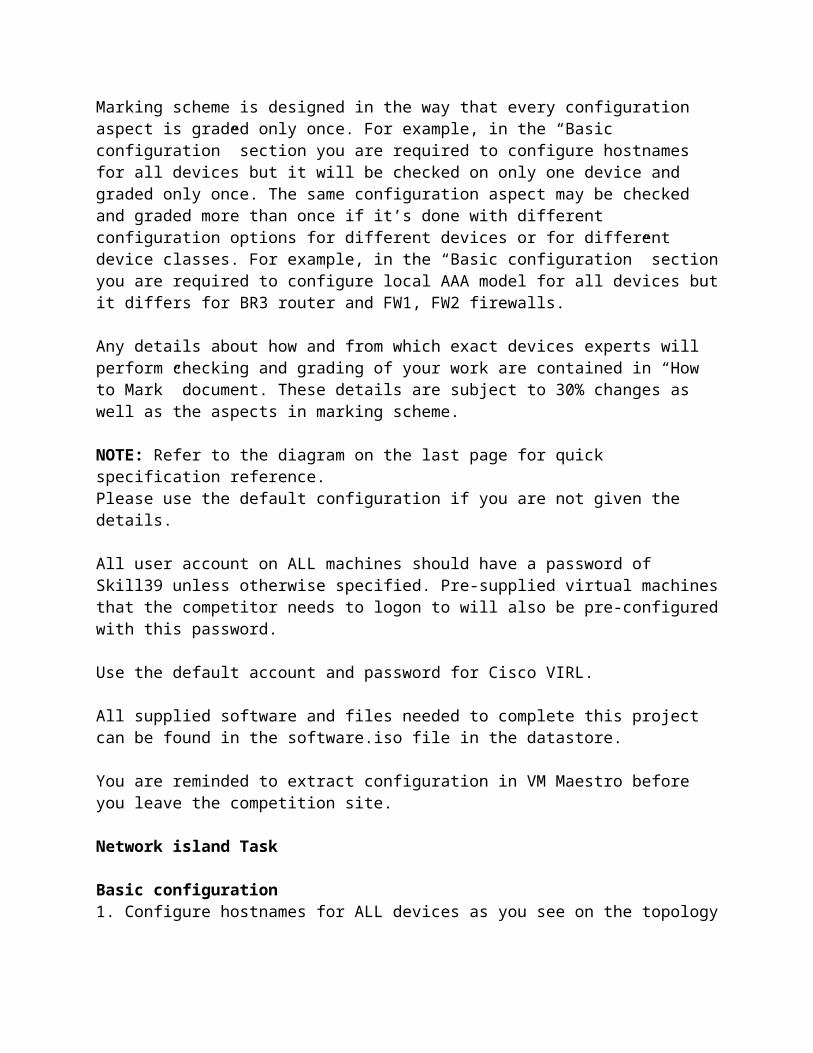
Marking Scheme Marking scheme is designed in the way that every configuration aspect is graded only once. For example, in the “Basic configuration” section you are required to configure hostnames for all devices but it will be checked on only one device and graded only once. The same configuration aspect may be checked and graded more than once if it’s done with different configuration options for different devices or for different device classes. For example, in the “Basic configuration” section you are required to configure local AAA model for all devices but it differs for BR3 router and FW1, FW2 firewalls.
Any details about how and from which exact devices experts will perform checking and grading of your work are contained in “How to Mark” document. These details are subject to 30% changes as well as the aspects in marking scheme.
NOTE: Refer to the diagram on the last page for quick specification reference. Please use the default configuration if you are not given the details.
All user account on ALL machines should have a password of Skill39 unless otherwise specified. Pre-supplied virtual machines that the competitor needs to logon to will also be pre-configured with this password.
Use the default account and password for Cisco VIRL.
All supplied software and files needed to complete this project can be found in the software.iso file in the datastore.
You are reminded to extract configuration in VM Maestro before you leave the competition site.
Network island Task
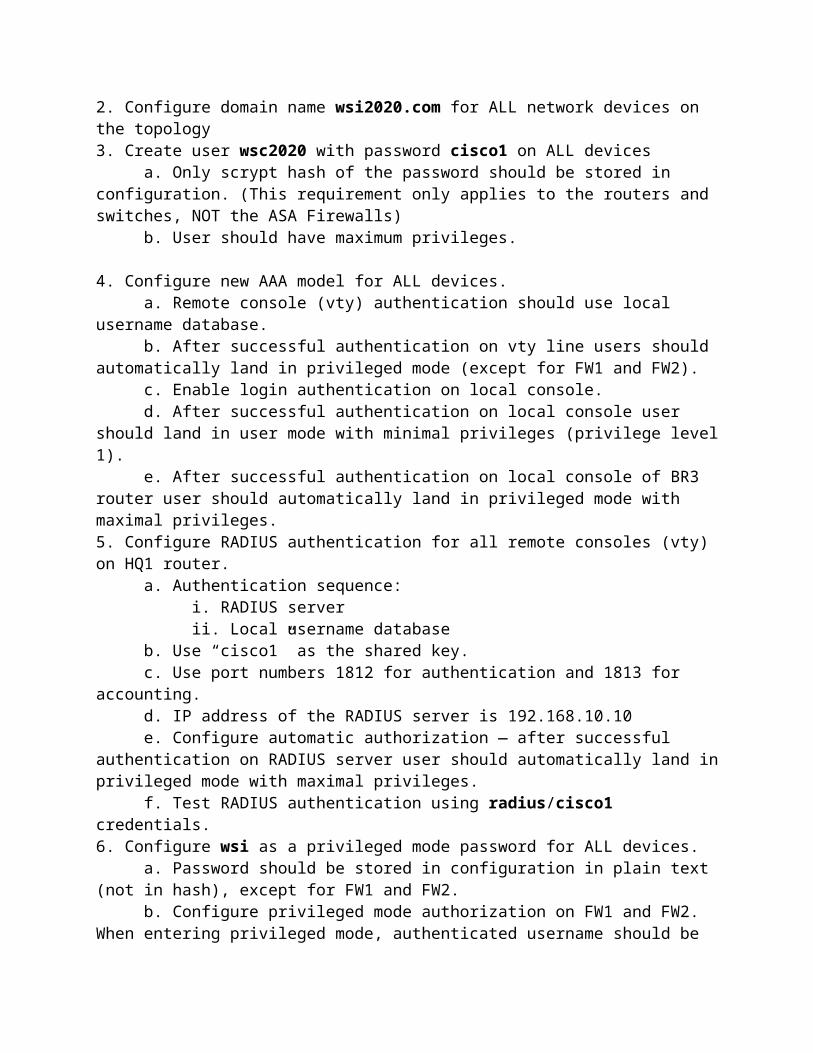
Basic configuration 1. Configure hostnames for ALL devices as you see on the topology 2. Configure domain name wsi2020.com for ALL network devices on the topology 3. Create user wsc2020 with password cisco1 on ALL devices
a. Only scrypt hash of the password should be stored in configuration. (This requirement only applies to the routers and switches, NOT the ASA Firewalls)
b. User should have maximum privileges.
4. Configure new AAA model for ALL devices.

a. Remote console (vty) authentication should use local username database. b. After successful authentication on vty line users should automatically land in
privileged mode (except for FW1 and FW2). c. Enable login authentication on local console. d. After successful authentication on local console user should land in user mode with
minimal privileges (privilege level 1). e. After successful authentication on local console of BR3 router user should
automatically land in privileged mode with maximal privileges. 5. Configure RADIUS authentication for all remote consoles (vty) on HQ1 router.
a. Authentication sequence: i. RADIUS server ii. Local username database
b. Use “cisco1” as the shared key. c. Use port numbers 1812 for authentication and 1813 for accounting. d. IP address of the RADIUS server is 192.168.10.10 e. Configure automatic authorization — after successful authentication on RADIUS
server user should automatically land in privileged mode with maximal privileges. f. Test RADIUS authentication using radius/cisco1 credentials.
6. Configure wsi as a privileged mode password for ALL devices. a. Password should be stored in configuration in plain text (not in hash), except for FW1
and FW2. b. Configure privileged mode authorization on FW1 and FW2. When entering privileged
mode, authenticated username should be used automatically (no username prompt) and only password of authenticated user should be prompted. For example:
#Connect to FW1 using SSH or Console Username: wsc2020 Password: cisco1 Type help or '?' for a list of available commands. FW1> enable Password: cisco1FW1#
Set the mode where all the passwords in the configuration are stored as a reversible cipher text.
a. Use VLAN101 as a virtual interface for SW1, SW2 and SW3 switches. Use IP address 192.168.10.51 for SW1, 192.168.10.52 for SW2 and 192.168.10.53 for SW3.
b. For HQ1 and HQ2 use automatic IPv6 addresses generation (EUI-64) for LAN1 subnet.

7. Create all necessary interfaces, subinterfaces and loopbacks on ALL devices. Use IP addressing according to the L3 diagram. 8. ALL devices should be accessible using SSH protocol version 2. For FW1 and FW2, allow SSH connection on the “inside” interface. 9. Configure current local time zone (GST/GMT +5:30) on HQ1 router.
Switching configuration 1. Configure VTP version 2 on SW1, SW2 and SW3. Use SW3 as VTP server, SW1 and
SW2 as clients. Use WSI as VTP domain name and 2018 as a password. VLAN database on all switches should contain following VLANs:
a. VLAN 101 with name LAN1. b. VLAN 102 with name LAN2. c. VLAN 103 with name EDGE.
2. On SW1, SW2 and SW3 switches configure dynamic trunking protocol: a. For Gi1/1-2 ports on SW3 switch configure mode that will listen for trunk negotiation
but won’t initiate it itself. b. For Gi1/1 ports on SW1 switch and for Gi1/2 ports on SW2 switch configure mode
that will initiate trunk negotiation. c. Configure ports Gi0/1-3 on SW1 and SW2 for traffic transmission using IEEE 802.1q
protocol.
3. Configure link aggregation between switches SW1 and SW2. Use following port-channel number 1. a. SW1 switch should use PAgP desirable mode.
b. SW2 switch should use PAgP auto mode.
4. Configure spanning tree protocol: a. For ALL switches use STP protocol version which is compatible with 802.1w standard. b. SW1 switch should be STP root in VLAN 101. In case of SW1 failure, SW2 should
become a root. c. SW3 switch should be STP root in VLAN 102. In case of SW3 failure, SW1 should
become a root. d. SW2 switch should be STP root in VLAN 103. In case of SW2 failure, SW3 should
become a root. e. For traffic transmission in VLANs 101, 102 and 103 on SW1 and SW2 use ports that
are not participating in channel-groups.
5. Turn on security mechanism that prevents STP root change on SW1 port which is connected to RADIUS VM. In case a superior BPDU arrives on this port, the port should transfer to root-inconsistent state.
6. Configure port on SW2 switch which is connected to PC1 VM so that it goes to Forwarding state without waiting for STP recalculation.

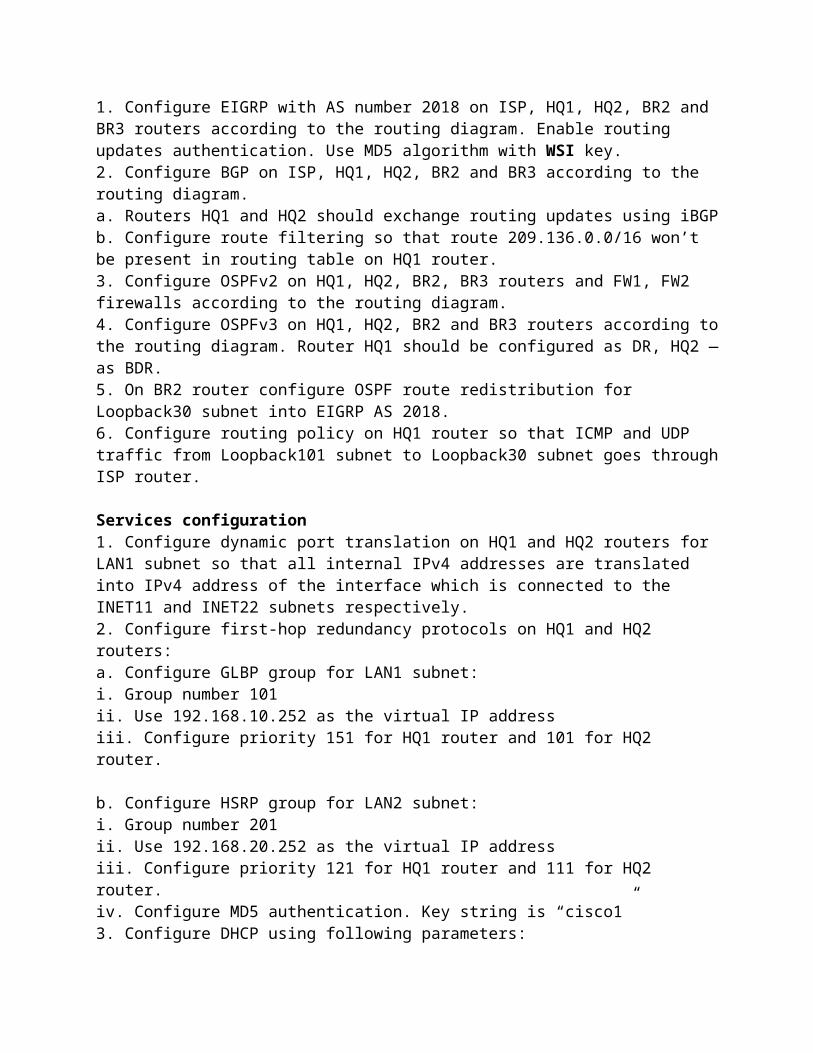
7. LAN1 subnet traffic between HQ1 router and SW3 switch should be forwarded without IEEE 802.1q tag. Routing configuration 1. Configure EIGRP with AS number 2018 on ISP, HQ1, HQ2, BR2 and BR3 routers according to the routing diagram. Enable routing updates authentication. Use MD5 algorithm with WSI key.
2. Configure BGP on ISP, HQ1, HQ2, BR2 and BR3 according to the routing diagram. a. Routers HQ1 and HQ2 should exchange routing updates using iBGP b. Configure route filtering so that route 209.136.0.0/16 won’t be present in routing
table on HQ1 router. 3. Configure OSPFv2 on HQ1, HQ2, BR2, BR3 routers and FW1, FW2 firewalls according
to the routing diagram. 4. Configure OSPFv3 on HQ1, HQ2, BR2 and BR3 routers according to the routing
diagram. Router HQ1 should be configured as DR, HQ2 — as BDR. 5. On BR2 router configure OSPF route redistribution for Loopback30 subnet into EIGRP
AS 2018. 6. Configure routing policy on HQ1 router so that ICMP and UDP traffic from
Loopback101 subnet to Loopback30 subnet goes through ISP router.
Services configuration 1. Configure dynamic port translation on HQ1 and HQ2 routers for LAN1 subnet so that all internal IPv4 addresses are translated into IPv4 address of the interface which is connected to the INET11 and INET22 subnets respectively. 2. Configure first-hop redundancy protocols on HQ1 and HQ2 routers:
a. Configure GLBP group for LAN1 subnet: i. Group number 101 ii. Use 192.168.10.252 as the virtual IP address iii. Configure priority 151 for HQ1 router and 101 for HQ2 router.
b. Configure HSRP group for LAN2 subnet: i. Group number 201 ii. Use 192.168.20.252 as the virtual IP address iii. Configure priority 121 for HQ1 router and 111 for HQ2 router. iv. Configure MD5 authentication. Key string is “cisco1” 3. Configure DHCP using following parameters: a. On HQ1 router for LAN subnet: i. Network address — 192.168.10.0/24; ii. Default gateway — virtual IP address of GLBP group; iii. DNS server — 192.168.10.10; iv. Exclude first 50 usable addresses from DHCP pool. v. DHCP server should assigned 192.168.10.10 to the “RADIUS” server. vi. Make sure “RADIUS” server and “PC01” are configured as DHCP clients.
Security configuration 1. Configure role-based access control on BR3 router:

a. Create user1, user2, user3, user4 and user5 with cisco1 password. i. user1 should be authorized to issue all privileged mode commands except “show
version” and “show ip route” but should be able to issue “show ip *” commands. ii. user2 should be authorized to issue all user (unprivileged) mode commands including
“show version” but not “show ip route”. b. Create view-context “show_view”: c. Create view-context “ping_view”: d. Create superview-context that combines these 2 contexts. user5 should land in this superview-context after successful authentication on local or remote console. e. Make sure that users cannot issue any other commands within contexts that are assigned to them (except show banner and show parser, which are implicitly included in any view).
i. Include “show version” command ii. Include all unprivileged commands of “show ip *” iii. Include “who” command iv. user3 should land in this context after successful authentication on local or remote
console. i. Include “ping” command ii. Include “traceroute” command iii. user4 should land in this context after successful authentication on local or remote
console. 2. On port of SW2 switch which is connected to PC1 VM enable and configure port-security using following parameters:
a. Maximum MAC addresses — 2 b. MAC addresses should be automatically saved in running configuration. c. In case of policy violation, security message should be displayed on the console; port
should not go to err-disabled state. 3. Turn on DHCP snooping on SW1 switch for LAN1 subnet. Use internal flash to keep DHCP-snooping database. 4. Turn on dynamic ARP inspection on SW1 for LAN1 subnet. Create access control list that permits static IP address 192.168.10.10 for RADIUS server.
Monitoring and backup configuration 1. Configure logging of system messages on HQ1 router and FW1 firewall. All logs including informational messages should be sent to the RADIUS server (location /var/log/hq1.log and /var/log/fw1.log).
2. Configure SNMP v2c on HQ1 router and FW1 firewall: a. Use read-only community string snmp_ro b. Configure device location Delhi, Indiac. Configure system contact [email protected]
3. Configure configuration backup on HQ1 router: a. Backup copy of running configuration should be automatically saved on RADIUS server using TFTP each time configuration is saved (copied to startup);
b. Use following naming convention for backup files: <hostname>-<time>.cfg

c. Location for configuration backup files is /srv/tftp/ on RADIUS server WAN & VPN configuration 1. Configure ISP router as PPPoE server and BR3 router as PPPoE client. Use PAP for authentication with papuser\cisco1 credentials. 2. Configure DMVPN on HQ1, HQ2, BR2 and BR3 routers:
a. Use Tunnel100 as VTI for all routers; b. Configure MTU 1400 on all VTIs; c. Configure IP addressing according to the VPN-diagram; d. Use GRE Multipoint mode; e. Use Loopback interface as tunnel source interface on each router according to the
VPN-diagram; f. NHRP configuration: i. Network ID — 100 ii. Authentication key — wsi2018 g. Use HQ1 router as DMVPN hub NHS server; h. Spoke routers should not use hub router for traffic transmission between each other;
3. Configure IKEv2 IPsec Site-to-Site VPN on FW1, FW2 firewalls: a. Phase 1 parameters: i. Hash – MD5 ii. Encryption – AES-128 iii. DH group – 5 iv. Authentication – pre-shared key (cisco1) b. Phase 2 parameters: i. Protocol – ESP ii. Encryption – AES-128 iii. Hash – MD5 c. For transmission through IPsec tunnel permit all TCP traffic from network of IP
address of HQ2 subinterface in LAN2 subnet to network of IP address of BR2 interface in LAN3 subnet.
4. Configure SSL VPN server on FW2 firewall: a. Create local user vpnuser with cisco1 password. b. Users should be able to connect using AnyConnect client. Deployment package is
located on PC1 desktop. c. Create VPN address pool using following addresses: 10.255.255.1 - 10.255.255.30 d. Create two tunnel groups — VPN and Gateway. After connection on login prompt
user should be able to choose tunnel group from drop-down menu as shown on the picture below.

f. When choosing VPN profile client should receive secure-route list, which contains only route to Loopback20 subnet.
g. When choosing Gateway profile all traffic should be tunneled through SSL VPN tunnel.
d. When connecting from PC1, IP address of Loopback20 should be accessible for ICMP echo requests (using any connection profile).
Section B-Network Infrastructure Design (Tool and Equipment Including Raw Material)
WS-Task A: Network Diagram

WS-TASK-C: NETWORK DIAGRAM NETWORK INDIA
L1 DIAGRAM
Network IndiaL3 Diagram


Section C: Network Infrastructure Design & configuration (Tool and equipment including raw material)
WS-TASK A: Configuration Table
HOSTNAME OPERATION SYSTEM DOMAIN IP ADDRESS(ES) PREINSTALLED DMZ Zone (10.1.1.0/24) SSC-Mail Linux Server IndiaSkills.cloud 10.1.1.10/24 Yes – configured SSC-Web1 Linux Server IndiaSkills.cloud 10.1.1.20/24 Yes – configured SSC-Web2 Linux server IndiaSkills.cloud 10.1.1.30/24 Yes – configured Protected Server (10.2.1.0/24) SSC-SMB Linux Server IndiaSkills.cloud 10.2.1.10/24 Yes – configured SSC-CA Linux Server IndiaSkills.cloud 10.2.1.20/24 Yes – configured Internet Server (10.2.2.0/24) SSC-MON Linux Server IndiaSkills.cloud 10.2.2.10/24 Yes – configured SSC-Clients Linux Client IndiaSkills.cloud 10.2.2.20/24 Yes – configured Internet (172.16.1.0/24) SSC-Firewall Firewall 10.1.1.1/24 (VLAN10)
10.2.1.1/24 (VLAN20) 10.2.2.1/24 (VLAN30) 10.2.3.1/24 (VLAN40) 10.2.4.100-120 (VPN) 172.16.1.254/24 (Internet)
Yes – configured
SSC-IPSEC Linux Server Indiaskills.cloud 172.16.1.10/24(Internet) 10.2.4.1xx/24 (VPN)
Yes – configured
LDAP UsersUSERNAME OU PASSWORD DOMAIN user1 VPN Skills39 IndiaSkills.clouduser2 VPN Skills39 IndiaSkills.clouduser3 MAIL Skills39 IndiaSkills.clouduser4 MAIL Skills39 IndiaSkills.clouduser5 SSC-SMB Skills39 IndiaSkills.clouduser6 – user99 MISC Skills39 IndiaSkills.cloudCompetitor MAIL Skills39 competition.in
DNS Nameserver address should be equal on all hosts (except on the DNS server itself, which instead uses localhost) and point to the same address as the gateway.
If you are unable to setup SSC-Firewall properly, use the direct IP address of SSC-mail and adjust firewall accordingly. You will lose those points.
Section D: Instruction for Competitors • Do not bring any materials with you to the competition.
• Mobile phones are not to be used. • Do not disclose any competition material / information to any person during each day’s competition. • Read the whole competition script prior to you starting work. • Be aware different tasks attract a percentage of the overall mark. Plan your time carefully. • If your virtual machines spontaneously turned off, run slmgr /rearm command with the administrator credentials
Judges Advice Sheet to Competitors • One reminder to use PPE is permitted before deducting marks • One warning regarding safe practices permitted before deducting marks • Grab through to Installation & configuration and testing for >75% - award 2 marks. 50% - award 1 mark. Less than 50% - award no marks.
Section E- Health, Safety and Environment 1. All accredited participants, and supporting volunteers will abide by rules and regulations with regards to Health, Safety, and Environment of the Competition venue. 2. All participants, technicians and supporting staff will wear the required protective Personnel clothing. 3. All participants will assume liability for all risks of injury and damage to property, loss of property, which might be associated with or result from participation in the event. The organizers will not be liable for any damage; however in case of Injury the competitor will immediately inform the immediate organizer for medical attention