Walking the Grid: Robotics in CS 2 LMICSE Workshop June 14 - 17, 2005 Alma College.
27
Walking the Grid: Robotics in CS 2 LMICSE Workshop June 14 - 17, 2005 Alma College
-
date post
21-Dec-2015 -
Category
Documents
-
view
217 -
download
0
Transcript of Walking the Grid: Robotics in CS 2 LMICSE Workshop June 14 - 17, 2005 Alma College.
Walking the Grid: Robotics in CS 2
LMICSE Workshop
June 14 - 17, 2005
Alma College

Presentation Outline
• Overall Goals
• Occupancy Grids
• Project 1: Random Walk (and Back)• Rotation sensors and the RotationNavigator Class
• Project 2: Path Planning using Wavefront Propagation• Propagation using a modification of breadth-first search• Traveling the path

Overall Goals
• Create engaging projects that:• introduce AI themes in a CS 2:
• robotic systems• graph searching algorithms (without the graph)• occupancy grids and path planning
• use basic user defined data structures like stacks and queues
• reinforce material learned in CS 1 such as• classes and inheritance• two dimensional arrays• exceptions

Occupancy Grid
• An occupancy grid is a discrete grid that represents the environment.
• Each cell in the grid is either• occupied (part of an obstacle).• empty (part of free space).
• If any part of an obstacle is in a grid cell, then the cell is considered to be occupied.
• Grids representing real world environments are often fine grained (cells representing 4” to 6” square area).

Occupancy Grid Example
A 14 by 8 gridBlack figures are the obstacles
Gray areas are the occupied cells

Limitations of Occupancy Grids
• If it is fine grained, an occupancy grid will use large amounts of memory.• a problem on the RCX!
• If course grained, environmental features may be lost.• e.g., narrow passageways.
• Despite these limitations, occupancy grids are often used in mobile robot path planning solutions.
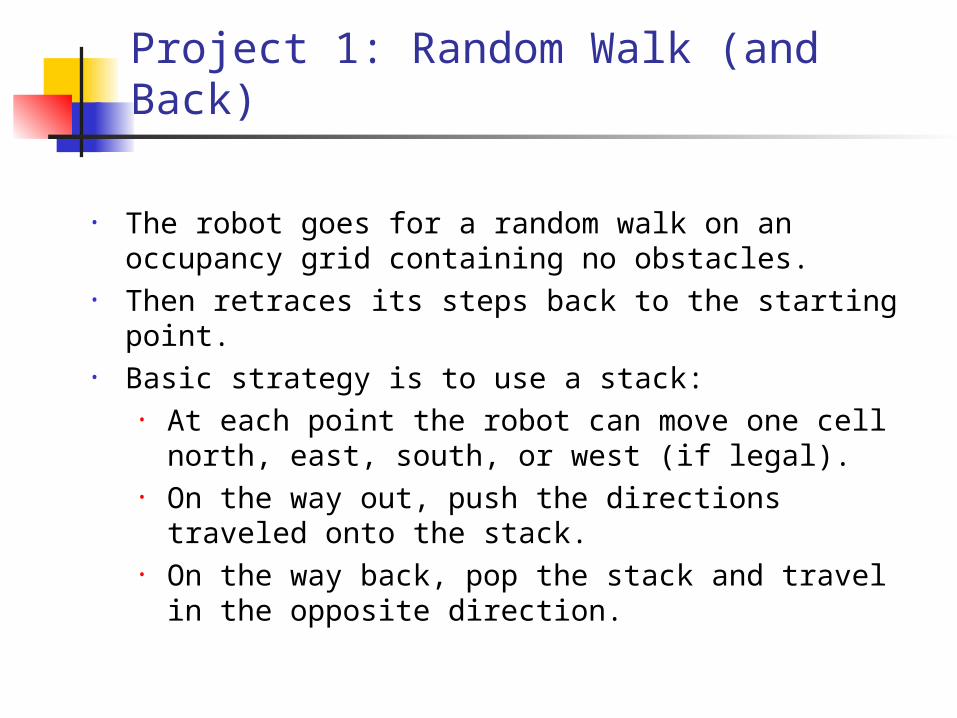
Project 1: Random Walk (and Back)
• The robot goes for a random walk on an occupancy grid containing no obstacles.
• Then retraces its steps back to the starting point.• Basic strategy is to use a stack:
• At each point the robot can move one cell north, east, south, or west (if legal).
• On the way out, push the directions traveled onto the stack.
• On the way back, pop the stack and travel in the opposite direction.

Project 1: Overall Architecture

Project 1: The Grid Walker Class
• The heart of this project is the definition of the GridWalker class. It contains• a constructor that specifies the grid size and the starting
point of the robot• a goto method that takes as a parameter a grid location
and causes the robot to move from its current grid position to that location
• convenience methods north, east, south, and west that move the robot one cell in the respective direction.

Project 1: Grid Walker Implementation
• Three possibilities• Implement the grid walker directly, using timing for
distances and turns• this is like our CS 1 lab 10: Navigation• but timing depends on battery strength so is inexact
over time• Use one of the two LeJOS navigation classes
• Timed Navigator: same problem as above• Rotation Navigator: this is the ticket!
• but requires two rotation sensors

The Rotation Sensor
• Thread an axle through the sensor• One revolution of the axle is 16 clicks of the sensor• So it can measure a changes in angle of 22.5 degrees• Which is why it is also known as an angle sensor
A Rotation Sensor

Mounting Rotation Sensors
• Here is a solution that is a simple modification of the basic Roverbot:
Rear View of Roverbot Chassis

The LeJOS Rotation Navigator Class (1)
• Rotation Navigator implements the Navigator interface
• Important Navigator methods:• public void gotoPoint(float x, float y)
• Rotates the RCX robot towards the target point and moves the required distance
• public float getX()• Returns the current x coordinate of the RCX.
• public float getY()• Returns the current y coordinate of the RCX
• public float getAngle()• Returns the current angle the RCX robot is facing

The LeJOS Rotation Navigator Class (2)
• assumes differential drive, with rotation sensors (encoders) for the left and right sides in sensor ports 1 and 3.
• the constructor:
public RotationNavigator(float wheelDia, float AxleWidth, float ratio)
the diameter of
a wheel
the distance from the center of the left
wheel to the center of the right wheel
the ratio of encoder
revolutions to axle revolutions

Project 1: Grid Walker Implementation (1)
• Define GridWalker to extend RotationNavigator• Have instance variables for
• initial grid position (x and y)• current grid position (x and y)• the number of columns and rows in the grid• the size of a grid cell (assume it is square)
• The constructor is passed this information, plus the information the RotationNavigator class needs

Project 1: Grid Walker Implementation (2)
import josx.robotics.*;
public class GridWalker extends RotationNavigator { int currentH, currentV, initialH, initialV; int dimensionH, dimensionV; int cellSize;
public GridWalker(int cH, int cV, int dimH, int dimV, int cSize, float wDia, float wBase, float ratio) { super(wDia, wBase, ratio); initialH = currentH = cH; initialV = currentV = cV; dimensionH = dimH; dimensionV = dimV; cellSize = cSize; }
The beginning of the class definition and the constructor

Project 1: Grid Walker Implementation (3)
• In implementing the the goto method:• need to check that the new location is legal (i.e., in the grid)
• if not, throw an exception (optional, but a good opportunity to reinforce the use of programmer defined exceptions)
• need to convert grid locations to absolute locations• RotationNavigator assumes the robot starts at 0,0 with an
orientation of 0 degrees• GridWalker allows the programmer to specify any cell as
the starting location, but still assumes orientation of 0 degrees

Project 1: Grid Walker Implementation (4)
public void gotoCell(int h, int v) throws OutOfBoundsException { if (h >= 0 && h < dimensionH && v >= 0 && v < dimensionV) { gotoPoint(gridHToPoint(h), gridVToPoint(v)); currentH = h; currentV = v; } else throw new OutOfBoundsException(h, v); } private float gridVToPoint(int n) { return (n - initialV) * cellSize; }
private float gridHToPoint(int n) { return (n - initialH) * cellSize; }
The goto method and helpers

Project 1: Remaining Details
• Add the north, east, south, and west methods to the GridWalker class
• Implement a stack of ints (or Objects - Integers)• Then in the main class
• First (random walk)• Generate a series of random ints between 0 and 3• Travel in that direction and push on stack
• Second (travel back)• Pop the stack until empty, traveling in the appropriate
direction

Project 2:Path Planning using Wavefront Propagation
• Design a program that will move the robot from a starting point to a goal point• using the shortest possible path• navigating around obstacles• assume the robot can only move north, east, south, or
west (Manhattan movement).
• Use the GridWalker class for movement
• So main problem is finding the path

Wavefront Propagation (1)
• Image a wave moving out from the goal cell.• When the wave first reaches each of the other cells, it is
labeled with the time it took to reach it.• The wave moves Manhattan

Wavefront Propagation (2)
• If there are occupied cells, the wavefront simply flows around them.

Wavefront Propagation (3)
• The path from any cell to the goal is implicit in the grid labels:• Until at the goal, move to an adjacent cell with a “smaller”
label• There may be many different equal length paths

Wavefront Propagation Implementation (1)
• The basic approach for propagating the wave is breath-first:• Initialize the value of empty locations in the grid to -1,
occupied locations to high values• Implement a queue of points• Initialize the queue with the goal point, and set that point’s
value to 0• Then while the queue is not empty
• Dequeue a point (the current point)• For each of its four neighbors
• If the neighbor value is -1• Set its value to the value of the current point + 1• Enqueue that point

Wavefront Propagation Implementation (2)
public void setValues (Queue q, int [][] grid) {q.enqueue(new Point (goalX, goalY));grid[goalY][goalX] = 0;
while ( !q.empty() ) {Point currentP = (Point) q.dequeue();int x = currentP.x;int y = currentP.y;
int newX = x+1; // go eastif (newX < grid[y].length && grid[y][newX] == -1) {
grid[y][newX] = grid[y][x] + 1;q.enqueue(new Point(newX,y));}
}// also need cases for the other three directions
}
The base method for setting the wavefront values

Wavefront Propagation Implementation (3)
public void travel () {int curX = startX;int curY = startY;
while (curtX != goalX || curY != goalY) {int curValue = grid[curY][curX];
if (curX+1 < grid[0].length && grid[curY][curX+1] == curValue - 1)curX = curX + 1; // move to the east
else // cases for the other three directions
robot.goto(curY, curX);}
}
Making the robot move to the goal location

Hands-on Activities
• Implement the GridWalker class and do a random walk• Complete Project 1 - Random Walk and Back• Complete Project 2 - Wavefront Propagation
• (well, maybe when you get back home!)