Using Windows Movie Maker By: Dr. Punnipa Hossain Professor of Educational Technology Fall 2005.
18
Using Windows Movie Using Windows Movie Maker Maker By: By: Dr. Punnipa Hossain Dr. Punnipa Hossain Professor of Educational Technology Professor of Educational Technology Fall 2005 Fall 2005
-
Upload
marsha-thomas -
Category
Documents
-
view
215 -
download
0
Transcript of Using Windows Movie Maker By: Dr. Punnipa Hossain Professor of Educational Technology Fall 2005.

Using Windows Movie MakerUsing Windows Movie Maker
By:By:Dr. Punnipa HossainDr. Punnipa Hossain
Professor of Educational TechnologyProfessor of Educational TechnologyFall 2005Fall 2005
Before you BeginBefore you Begin
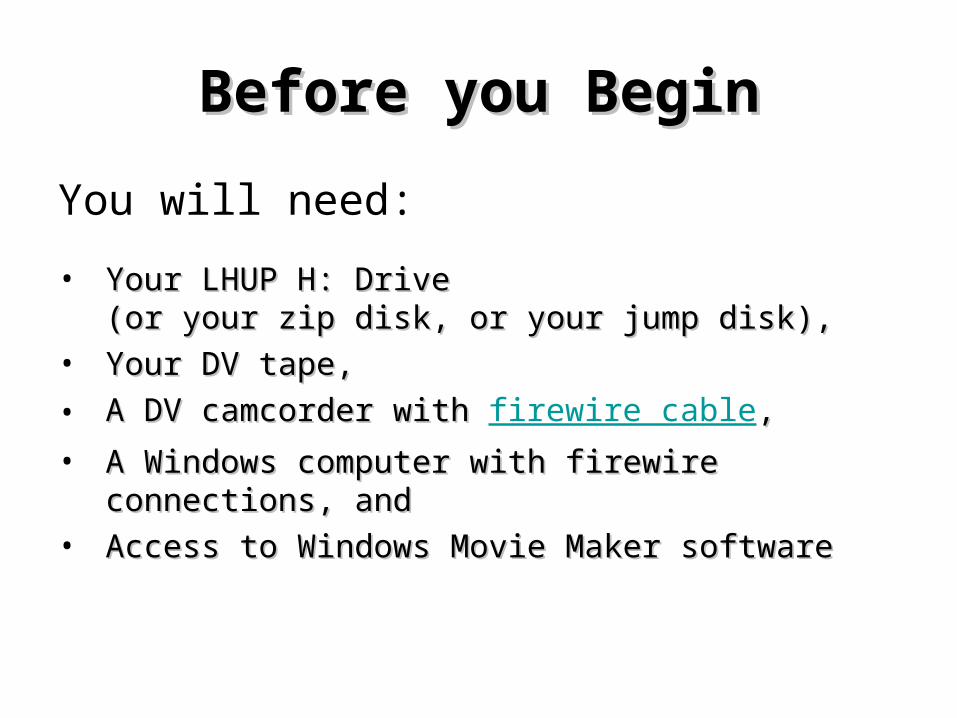
You will need:
• Your LHUP H: Drive Your LHUP H: Drive (or your zip disk, or your jump disk), (or your zip disk, or your jump disk),
• Your DV tape, Your DV tape, • A DV camcorder with A DV camcorder with firewire cable, , • A Windows computer with firewire connections, and A Windows computer with firewire connections, and • Access to Windows Movie Maker softwareAccess to Windows Movie Maker software

1.1. SetupSetup
a. Connect camcorder to computer

so you can monitor the tape during video captureso you can monitor the tape during video capture..
b. Load tape in camcorder
C. Set camcorder power to VCR
d. Open the camcorder LCD screen
1.1. SetupSetup

a. Choose Movie Maker in the Start> Programs menu.
b. Start a New Project:– File menu > New Project
c. Save the project on the hard drive
– File menu > Save Project As…– Use the default location:
My Videos, inside My Documents
2. Open Movie Maker2. Open Movie Maker

Movie Maker WindowMovie Maker Window

3.3. Import Video Clips Import Video Clips
a. In Tasks window, click Capture…b. Enter a name for the clip and a location to
save it.Use the default location: My Videos.
c. Choose a video settingUse Best for Computer (unless you will be putting your final movie onto tape).Do NOT check Show Preview During Capture.
d. Click Capture parts…e. Locate start of desired section
Use Play (>), Fast Forward (>>) and rewind (<<).

3.3. Import Video Clips Import Video Clips
f. Click and hold on << to move back a few seconds
g. Click Start Capture just before desired section startsThe clip will be trimmed later.
h. Click Stop Capture after the end of the desired section– The clip will appear on the Collections window.– Naming your clips will help keep them organized. – Repeat steps for additional clips.
i. Click Finish to import the clip(s)The clip(s) will be placed in a folder in Collections
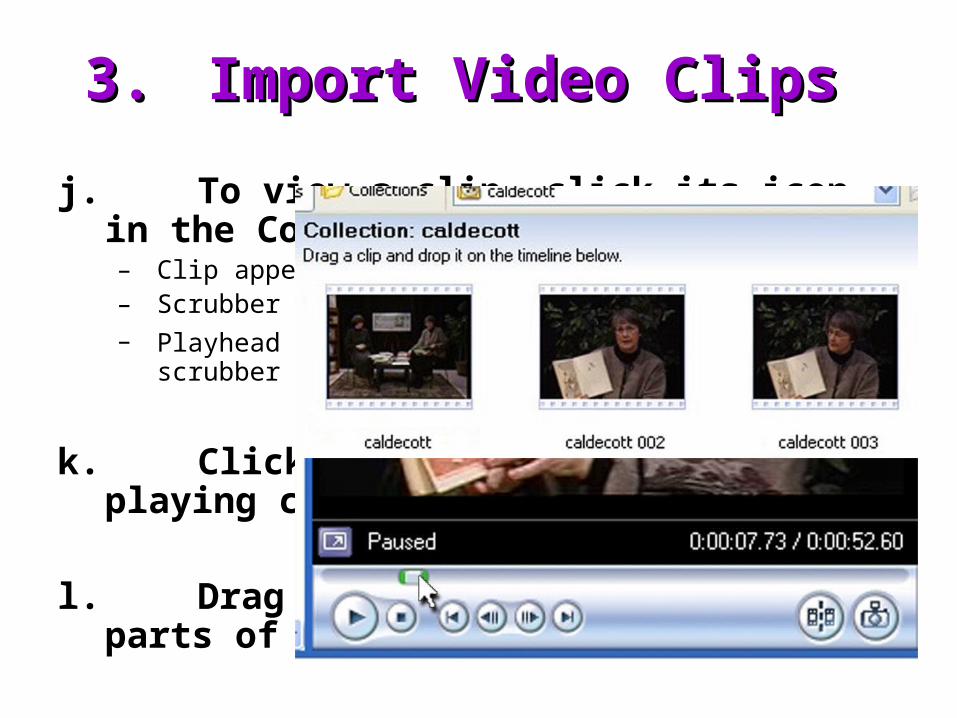
3.3. Import Video Clips Import Video Clips
j. To view a clip, click its icon in the Collections window– Clip appears in monitor– Scrubber bar appears under picture– Playhead (white rectangle) appears at start of scrubber bar
k. Click Play to start and stop playing clip
l. Drag playhead to see different parts of clip
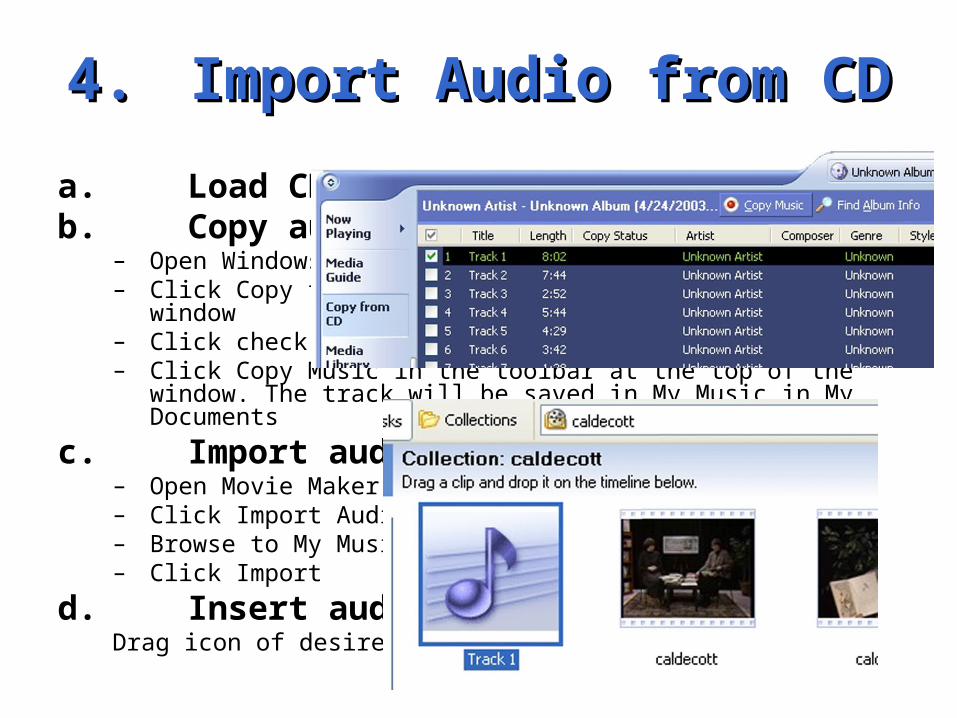
4.4. Import Audio from CD Import Audio from CD
a. Load CD into computerb. Copy audio to computer
– Open Windows Media Player (Start menu > Programs)– Click Copy from CD in the menu on the left of the window– Click check-box next to desired track– Click Copy Music in the toolbar at the top of the window. The
track will be saved in My Music in My Documents
c. Import audio– Open Movie Maker Tasks window– Click Import Audio…– Browse to My Music…then Click the desired track– Click Import
d. Insert audioDrag icon of desired audio track to timeline

5.5. Splitting Clips Splitting Clips
a. Click clip icon in the Collections window,
timeline or storyboard– Clip appears in monitor– Scrubber bar appears under picture– Playhead appears at start of scrubber bar.
b. Drag playhead to split pointUse the ALT+arrow keys to find the exact frame.
c. Click the Split iconThe new clip appears in the Collections window.

6.6. Edit Movie Edit Movie
I. Edit movie on storyboarda. Click clips in Collections window and drag to the
storyboard
b. Drag, cut, copy, paste clips into desired order
II. Edit movie on timelinea. Click clips in Collections window and drag to the
timeline
b. Drag left end of a clip to set the start point
c. Drag right end of a clip to set the endpoint
d. Drag, crop, cut, copy, paste clips into desired order

7.7. Add Transitions Add Transitions
a. Click Transitions in Collections window or choose View Video Transitions from the Tasks window
b. Drag desired transition to desired location on timeline or storyboard
c. Adjust transition duration
Drag left or right end of transition to set duration.

8.8. Add Titles Add Titles
a. Choose Make Titles or Credits from the Tasks window
b. Click the appropriate link for title placement
c. Enter the title – The title appears in the monitor.– Click the appropriate link change type animation,
color or font– Click Done to add the title to the movie
d. To move the title drag its icon to the desired location on the timeline or storyboard
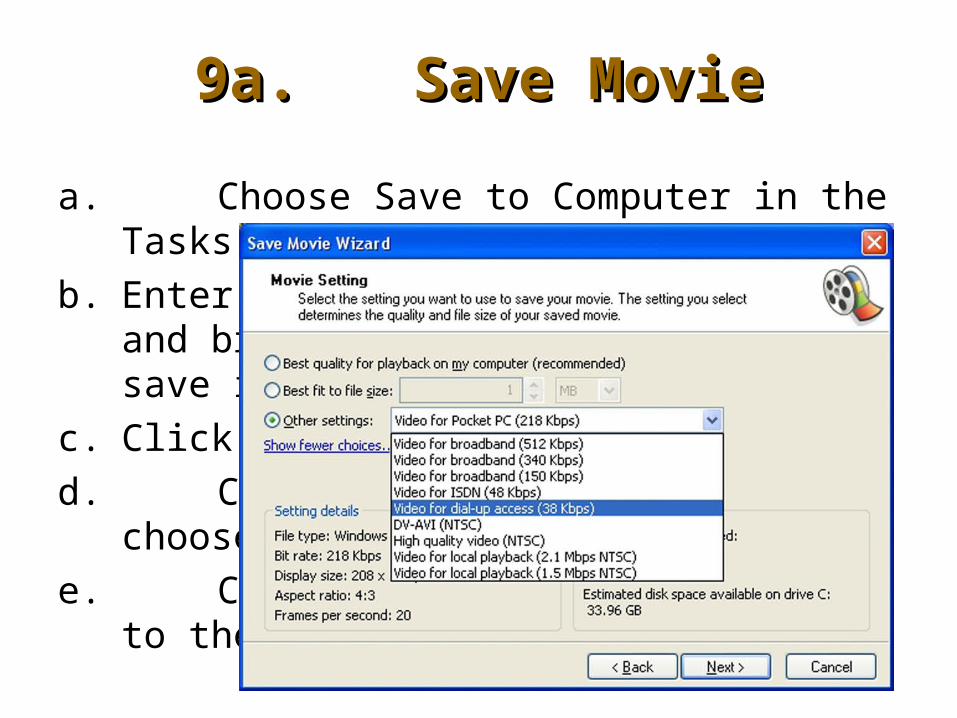
9a.9a. Save Movie Save Movie
a. Choose Save to Computer in the Tasks window
b. Enter a name for the movie file and browse to where you want to save it
c. Click Next
d. Click Other Settings and choose Video for Dial-Up
e. Click Next to save the movie to the specified location

9b.9b. Save Movie to Tape Save Movie to Tape
a. Load tape into camcorder
b. Set camcorder power to VCR
c. Using the camcorder's controls, locate the point on the tape where you want to record your project
Anything on the tape will be recorded over.
d. In Movie Maker, choose Send to DV Camera in the Tasks window
e. Click Next Movie Maker will control the camera to record the movie.

FireWireFireWireFireWire's main advantage: FireWire's main advantage:
• Its enormous speedIts enormous speed• Its ease of connectivityIts ease of connectivity• Its ability to deliver data at a pre-determined fixed rateIts ability to deliver data at a pre-determined fixed rate
FireWire is so fast and simple it makes SCSI look like something out of the Flintstones.FireWire is so fast and simple it makes SCSI look like something out of the Flintstones.