Using - PrismNethcexres/mcm-ace/student... · Outline Surround, Glow, Hot Text Glow, Cool Text...
36
Using
Transcript of Using - PrismNethcexres/mcm-ace/student... · Outline Surround, Glow, Hot Text Glow, Cool Text...
Using


3
Contents1 Getting Started 5
TheLogoCreator6
TheLogoCreatorDesktop6
2 Building a Logo 9UsingaTemplate9
AlteringtheTemplate11
BuildingaNewLogo13
SavingaLogo14
ExportingaLogo15
3 Working with Text 17UsingtheFormatButton17
UsingtheColorButton19
UsingtheShadowButton20
4 Working with Images 23SelectinganImage23
UsingAttributes24
UsingColor25
UsingShadow26
UsingBlur27
5 Working with Special Effects 29UsingTwoLinesofTextonaCurve29
UsingImageinText30
Using“DoubleUp”onText31

4

5
1 Getting StartedThis help system is intended to provide you with a set of basic instructions in the use of the Logo Creator software. While there are a number of details that are not covered in this help system, you are provided with everything you need to know in order to create a logo, work with basic text and object functionality, and add several special effects.
The Logo Creator is intended for use by individuals with responsibility for designing and developing business or personal logos for web sites, business cards or marketing materials. Its target audience will most likely be moderately experienced users of desktop editing and publishing software, as opposed to professional graphic designers and artists who will be using much more sophisticated design and engineering tools.
No special knowledge beyond the ability to use a computer and a minimal amount of text editing software is required. Nothing other than a computer and the Logo Creator software is needed. This software will run on either a PC or a MAC.

6Chapter 1
The Logo Creator
The Logo Creator is an easy-to-use logo design tool that you can use to create all sorts of graphics for a web site using a library of unique designs and objects. You can customize images and text by adding objects, changing colors, applying gradients, changing fonts and applying various other special effects.
The Logo Creator Desktop
The Logo Creator desktop consists of three components: the canvas, the menu panels, and the Element Setter. These components are not physically linked as they can be moved around the desktop independently of one another. They are, however, functionally linked as what happens in one will create changes in the others. The desktop components serve the following purposes.
• Canvas: appears as a large rectangle in the lower right corner of the screen. All text and objects that are entered into the system appear here, although nothing is entered directly onto the canvas. It is an exact representation of your logo.
.
• Menu panels: appear as a series of narrow vertical rectangles on the left side of the screen. There are separate sets of panels that apply to text and objects. They contain a variety of buttons, tabs and slider scales that are used to perform both basic editing and the generation of more special effects upon the material seen on the canvas.

Getting Started 7
• Element Setter: appears as a narrow, horizontal rectangle in the upper right quarter of the screen. You can use the Element Setter for direct text entry and editing and object selection. Anything that you enter in the Element Setter will also appear on the canvas.

8Chapter 1

9
2 Building a LogoThe Logo Creator gives you the ability to create a new logo either from a blank canvas or a pre-built template. In both instances you will open the software and a narrow vertical panel will appear on the left side of your screen.
Using a Template
There are multiple topic-oriented sets of pre-built templates that you will use as a foundation to modify and meet your requirements.
1 From the File menu click on Open Logo.
2 Open the Select a Logo drop-down list at the bottom of the panel

10 Chapter 2
on the left side.
3 Click on the logo set with which you would like to work from the Select a Logo list.
4 A thumbnail canvas containing all of the individual logos in the set will appear. Use the left and right arrows to navigate through the logo templates.
5 Click on the specific logo template that you choose to use.
The selected logo that appears is the base upon which you will build your customized logos.

Building a Logo 11
Altering the Template
The logo with which you are working can be altered in many ways. You can change its text, images, format and object elements by working within the Element Setter dialog box that opens when you select your logo.
Clicking the More Text Effects tab in the Text Editing panel will provide you with access to the following additional effects: Cool3D, Double Outline, Outline Surround, Glow, Hot Text Glow, Cool Text Glow, Metallic, Neon and Mirror.
1 Click on the Text button at the top left of the Element Setter box to add or edit text.

12 Chapter 2
2 Click on the text in the logo canvas that you would like to replace or delete.
3 Click on the Edit Current Text tab in the Element Setter dialog box.
4 Alter or delete the text using the Delete key on your keyboard.
5 Click on the Edit Current Text button again.
6 Click on the Images tab to add an image or import one of your own
7 Open the Select more logo objects drop-down list within the Element Setters dialog box.
8 Select a category, for example Stars, Shapes, or Swooshes, from that list.
Building a Logo 13
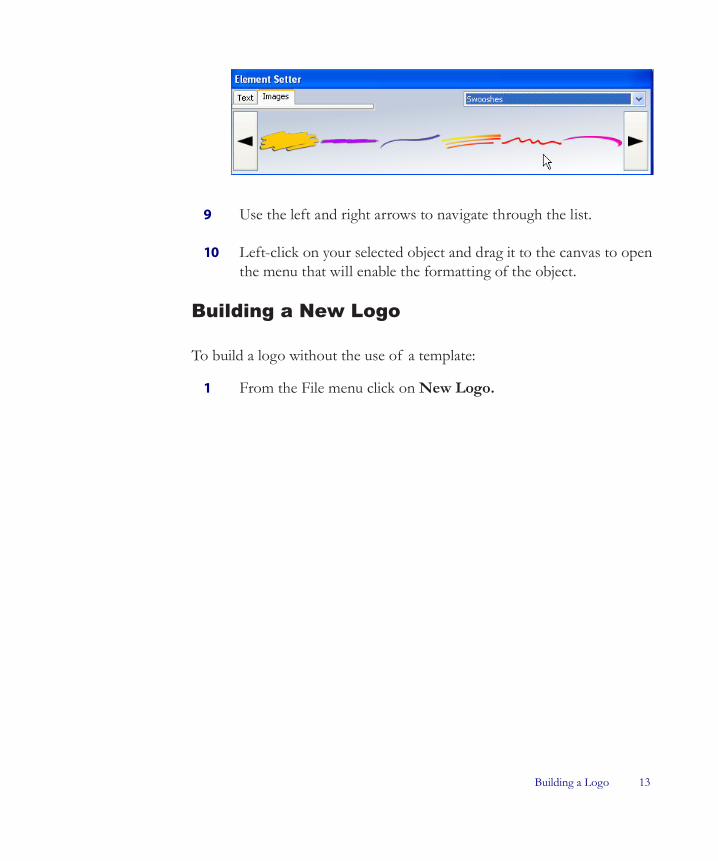
9 Use the left and right arrows to navigate through the list.
10 Left-click on your selected object and drag it to the canvas to open the menu that will enable the formatting of the object.
Building a New Logo
To build a logo without the use of a template:
1 From the File menu click on New Logo.

14 Chapter 2
2 Click on the Text button to add text.
3 Type your new text into the Element Setter dialog box.
4 Click on the Add New Text button.
5 To add additional text, click on a blank space on the canvas, then click on the Add New Text button.
6 Type the text into the Element Setter box and click on the Add New Text button again.
7 To add images, click on the Images button, navigate to the desired image and drag it onto your canvas.
Saving a Logo
You have several options for saving your logo:
• From the Save menu click on Save and the logo will be saved as a .tlc document to a default location. It can later be retrieved for editing by using the Open Logo option from the File menu.
• Click on Save As from the Save menu and the logo will be saved to the location you navigate to or type into the file name box. It too will be saved as a .tlc document and can be opened as cited above.
• Click on Save as Template from the Save menu and the logo will be stored as a template which can later be retrieved for use by choosing My Template from the Logo Sets menu.
Note: You can e-mail a logo saved using any of these methods to a client by selecting e-Mail your logo from the File menu.

Bulding a Logo 15
Exporting a Logo
Your logo can also be exported to another program or device:
1 Pull down the Export menu and click on Export Options. Click on the Image Format tab.
Note: you will be presented with a variety of formats for your custom logo, each represented by a button. Print formats include TIFF, BMP and PDF. Web formats include GIF, JPEG and PNG. There are also buttons for TranspGIF and TranspPNG representing transparent GIFs and transparent PNGs, respectively.
2 Double-click on the Width and Height boxes directly below the Format buttons and type in the desired size for each. Click the Tab or Enter key to set.
3 Click the Export button at the bottom of the panel. Enter the file name for the image’s destination in the Image Export dialog box
4 Click the Done tab.

16 Chapter 2
3 Working with TextThe Logo Creator provides you with many options with which to alter the color, size and rotation of your text, as well as the ability to add an outline or subtle drop shadows to it. Clicking on your text in the canvas will turn the left side panel into a Text Menu that consists of a number of buttons that will let you modify the logo’s text. Buttons provided include Format, Color, Shadow, Blur, Outline and More Text Effects.
Clicking the More Text Effects tab in the Text Editing panel will provide you with access to the following additional effects: Cool3D, Double Outline, Outline Surround, Glow, Hot Text Glow, Cool Text Glow, Metallic, Neon and Mirror.
Using the Format Button
The Format menu provides you with the opportunity to control fonts, impact, spacing, rotation and justification.
17

18Chapter 3
1 Click on the Format button to open the Format menu.
2 A series of buttons that control rotation are at the top of the menu. You can either:
• Click on the Normal button to leave the text as is.
• Click on the Circle button to curve your text. Slide a ball around the Rotation Circle at the bottom of the dialog box to control the shape of the circle.
• Click on the Rotation button to manipulate the angle of the text. Text Angle and Character Angle sliding scales let you control the degree of angle.

Working with Text 19
3 Click on the Fonts button. You can click on any of the more than fifty fonts that are available to use for your logo.
4 Click on the Justification button just below the Fonts button to select left, right or center justification.
5 Adjust the sliding balls left or right to control scale, character spacing and line spacing using their respective scales.
6 Click on the Done button at the bottom of the menu.
Using the Color Button
The Color button is used to control the selection and various types of gradients of color.
1 Click on the Color button on the Text menu. The Text Color menu will appear.
2 Buttons at the top of the menu allow you to pick a solid color or a color gradient.
Note: Color gradients will be covered in a subsequent help module.

20Chapter 3
3 Click on the Solid box in the top left corner of the Text Color dialog box.
4 Open the Select a Palette drop-down list and click on your selected palette.
5 Use the medicine dropper selection tool to choose a specific color.
6 Move the sliding ball on the Opacity scale to adjust the opacity of your text.
7 Click on the Done button at the bottom of the menu.
Using the Shadow Button
The Shadow button provides you with the ability to add a subtle background shadow to your logo’s text and add your own formatting to it.

Working with Text 21
1 Click on the Shadow button in the Text menu.
2 Click on the Toggle Shadow On/Off button at the top of the Shadow menu to either turn the shadowing capability on or off.
3 Adjust the ball on the Opacity slider scale left or right to increase or decrease the opacity of your text.
4 Adjust the ball on the Shadow Opacity slider scale left or right to increase or decrease the opacity of the shadow.
5 Adjust the ball on the Shadow Blur Radius left or right to increase or decrease the degree of the shadow’s crispness.
6 Open the Select a Palette drop-down list.
7 Adjust the ball on the Horizontal scale either up or down to increase or decrease the shadow’s horizontal proximity to the text.
8 Adjust the ball on the Vertical scale either up or down to increase or decrease the shadow’s vertical proximity to the text.
9 Click on the Done button at the bottom of the menu.

22Chapter 3

23
4 Working with ImagesThe Image tab of the Logo Creator provides you with access to a set of image objects that can be added to your logo and the ability to alter the object’s color, size, and rotation as well as to add shadows and outlines to it.
Selecting an Image
You can select an image from an extensive set of objects that the system provides for you or you can import an image from an external source by simply selecting Import Image from the File menu and providing a file name. To use an internal system image:
24Chapter 4
1 Click the Images tab in the Element Setter box.
2 Open the Select new logo objects here drop-down menu.
3 From the drop-down menu select an image category such as Alphabets, Banners and Stars, or Swooshes.
4 Use the back and forward arrows to navigate through the chosen category.
5 Left-click the specific image you have selected and drag the image to the logo’s canvas.
6 An Object Menu will open in the panel on the left side of the screen. Buttons are provided for:
• Attributes
• Color
• Shadow
• Blur
Using Attributes
To use the Attributes function:
1 Click on the Attributes button on the Object menu. An Object Attributes panel will appear.
2 Slide the ball on the Opacity scale to the left and right to adjust the
Working with Images 25
degree of the object’s opacity.
3 Slide the ball on the Scale bar to the left or right to size the object.
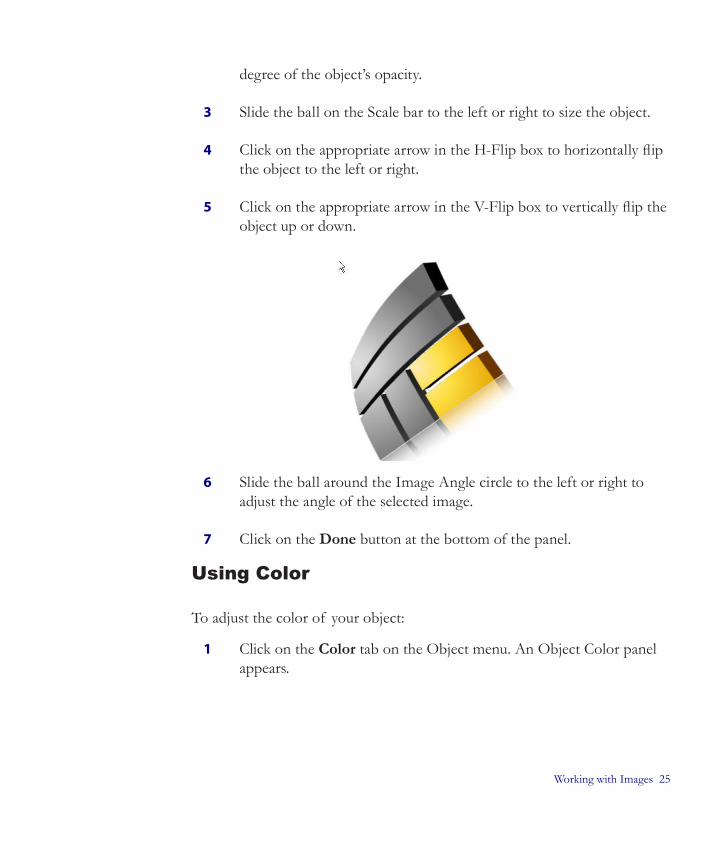
4 Click on the appropriate arrow in the H-Flip box to horizontally flip the object to the left or right.
5 Click on the appropriate arrow in the V-Flip box to vertically flip the object up or down.
6 Slide the ball around the Image Angle circle to the left or right to adjust the angle of the selected image.
7 Click on the Done button at the bottom of the panel.
Using Color
To adjust the color of your object:
1 Click on the Color tab on the Object menu. An Object Color panel appears.
26Chapter 4
2 You can pick a solid color or a color gradient using the buttons at the top of the menu.
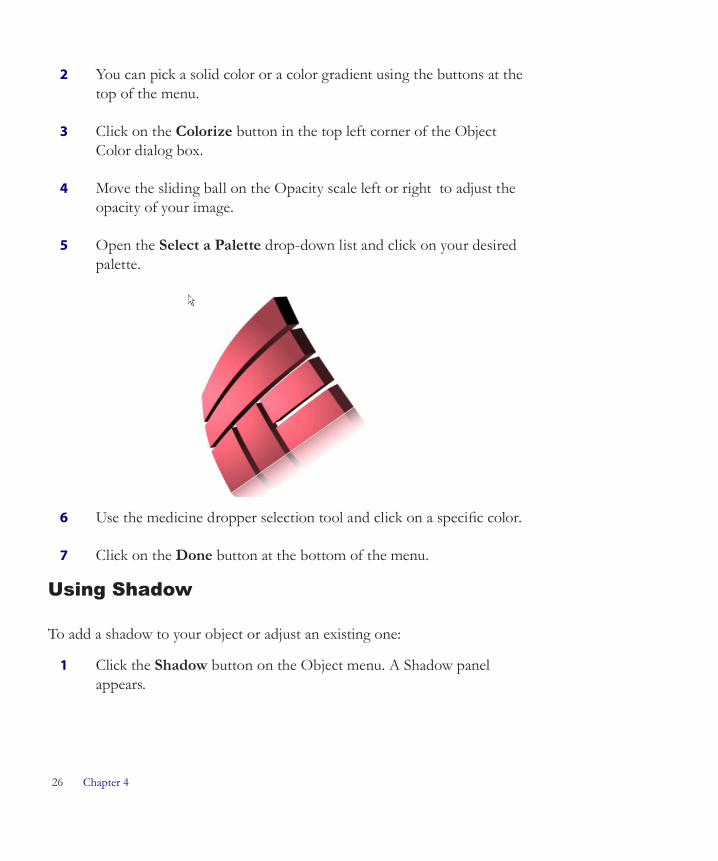
3 Click on the Colorize button in the top left corner of the Object Color dialog box.
4 Move the sliding ball on the Opacity scale left or right to adjust the opacity of your image.
5 Open the Select a Palette drop-down list and click on your desired palette.
6 Use the medicine dropper selection tool and click on a specific color.
7 Click on the Done button at the bottom of the menu.
Using Shadow
To add a shadow to your object or adjust an existing one:
1 Click the Shadow button on the Object menu. A Shadow panel appears.

Working with Images 27
2 Click the Toggle Shadow On/Off button to set the object’s state. Make sure it is turned On.
3 Slide the ball on the Opacity scale left or right to establish the object’s degree of opaqueness.
4 Slide the ball on the Shadow Opacity scale left or right to adjust the shadow’s degree of opaqueness.
5 Slide the Shadow Blur Radius ball left or right to adjust the shadow’s degree of blurriness.
6 Open the Select a Palette drop-down menu and choose a palette.
7 Use the eye dropper selector tool to pick a color for the shadow.
8 Slide the ball on the Horizontal scale up or down to adjust the shadow’s horizontal proximity to the object.
9 Slide the ball on the Vertical scale up or down to adjust the shadow’s vertical proximity to the object.
10 Click the Done button at the bottom of the panel.
Using Blur
To use the Blur function:
1 Click the Blur button on the Object menu. A Blur dialog panel appears.
2 Click the Toggle Blur On/Off button at the top of the panel to set

28Chapter 4
the appropriate state.
3 Slide the ball left or right on the Capacity scale to adjust the blurriness of the object.
4 Slide the ball left or right on the Blur Radius scale to further refine the degree of blurriness.
5 Click on the Done button at the bottom of the panel.
5 Working with Special EffectsThe Logo Creator offers many opportunities to apply special effects to your logo’s text and images. These special effects are developed using the standard editing features applied in creative ways. Several examples follow.
Using Two Lines of Text on a Curve
In this example, two lines of text are typed into the Element Setter. The upper line will curve around the top of a circle and the lower line will curve around the bottom.
1 Click the Format button in the Text Menu. The Text Attributes panel will appear.
2 To create two different text items, click the Return or Enter key for the top line. Your bottom line will start on the second line.
3 Click the Circle button at the top of the panel. The first line will automatically be curved around the top of a circle, and the second line around the bottom. A Circular Text panel appears.
29

30Chapter 5
Note: Creating these lines separately will allow you to use two differ-ent fonts, sizes and effects for them.
4 Use the sliding ball on the Text Angle rotatable button to adjust the arc of each line separately.
5 Click Done.
Using Image in Text
The Image in Text effect allows you to use any JPEG, GIF or BMP as filler background in your text
.
1 Click on your text after you have entered it to select it.
2 Click the Color button on the Text Menu. The Text Gradient panel will appear.
3 Select the Insert image into text button in the top right corner of the panel.
4 Enter the File name of the image you select into dialog box.
5 Click Done.

Working with Special Effects 31
Using “Double Up” on Text
By “doubling up” you create multiple layers of text that produce an outline effect.
1 Select the Outline button from the Text Menu panel. Click the Toggle Outline On/Off button and make sure it is in the On state.
2 Use the Outline Width slider ball to make the outline thick.
3 Open the Select a Palette drop-down list and choose a palette. Use the medicine dropper selector tool to click on a color for the outline. Select the same color for the text.
4 Open the Modify menu that is located right next to the File menu tab. Select the Duplicate Logo Element option. You will now have two layers of the text. Make the new layer a different color than the original.
5 Move the new layer and place it on top of the old one. Click on the canvas and drag a “marquee” box over the text layers to lock them together.
6 Open the Modify menu again and select Group. The size and font of this grouped unit can now be altered all at once.
7 Click Done.

32Chapter 5

33
Index AAdd New Text 9Altering 9Template9
Attributes button 23Objectmenu23
BBlur 17, 23Blur dialog 23Blur Radius 23BMP 9, 29Building 9Logo9NewLogo9
CCapacity 23Character Angle 17Choosing 9MyTemplate9
Circle 17Circular Text 29Color 17, 23Color Button 17Using17
Colorize 23
Curve 29
DDelete key 9Using9
Done button 23Double Up 29Drop-down list 17WithinElementSettersdialog9
Drop-down menu 23Duplicate Logo Element 29Select29
EEdit Current Text 9Element Setter 9, 23Element Setter dialog 9Drop-downlistwithin9
Enter key 29Export button 9Exporting 9Logo9
Export Options 9
FFile menu 9, 23Flip 23Fonts button 17

34
Format 17Format Button 9, 17Using17
Format menu 17
GGIF 9, 29Group 29
HHeight boxes 9Horizontal 17, 23
IImage Angle 23Image Export dialog 9Image Format 9Images 9, 23Selecting23
Images button 9Import Image 23Selecting23
JJPEG 9, 29
LLeft 9ElementSetter9Use9
Logo 9Building9Exporting9Saving9Select9
Logo Creator 9, 17Logo list 9
Select9Logo Sets menu 9
MModify menu 29More Text Effects 17My Template 9Choosing9
NNew Logo 9Building9
Normal 17
OObject Attributes 23Object Color 23Object Color dialog 23Corner23
Object Menu 23Attributesbutton23Shadowbutton23
Opacity 17, 23Open Logo 9Using9
Outline 17Outline button 29Select29
Outline Width 29Use29
PPalette 17, 23Select17,23
PDF 9PNG 9
R

Index 35
Rotation 17Rotation Circle 17
SSave As 9Save menu 9Saving Logo 9Scale bar 23Select 9, 17, 23DuplicateLogoElement29Image23ImportImage23Insert29Logo9Logolist9Outlinebutton29Palette17,23
Shadow 17, 23Shadow Blur Radius 17, 23Slide23
Shadow Button 17, 23Objectmenu23Using17
Shadow menu 17Shadow Opacity 17, 23Slide 23ShadowBlurRadius23
Solid 17Special Effects 29
TTab 9Template 9Altering9Using9
Text Angle , 17Text Attributes 29Text Color dialog 17Corner17
Text Color menu 17Text Gradient 29Text Menu 17The Logo Creator 23TIFF 9tlc 9Toggle Blur On 23Toggle Outline On 29Toggle Shadow On 17, 23TranspGIF 9TranspPNG 9
UUse 9, 23Back23Left9OutlineWidth29
Using 9, 17ColorButton17Deletekey9FormatButton17OpenLogo9ShadowButton17Template9
Using Attributes 23Using Blur 23Using Color 23Using Shadow 23
VVertical 17, 23
WWidth 9Double-click9

36