Universidad Nacional de Colombia Facultad de Ingeniería Departamento de Sistemas
79
Universidad Nacional de Universidad Nacional de Colombia Colombia Facultad de Ingeniería Facultad de Ingeniería Departamento de Sistemas Departamento de Sistemas ertificación ertificación en en AVA AVA
-
Upload
beau-moore -
Category
Documents
-
view
25 -
download
0
description
C. ertificación en. J. AVA. Universidad Nacional de Colombia Facultad de Ingeniería Departamento de Sistemas. Objectives Why Java uses Layout Managers Layout Manager Theory Layout Policies. 9. LAYOUT MANAGERS. Objectives. Write code using component, container, and layout manager - PowerPoint PPT Presentation
Transcript of Universidad Nacional de Colombia Facultad de Ingeniería Departamento de Sistemas

Universidad Nacional de Universidad Nacional de ColombiaColombia
Facultad de IngenieríaFacultad de Ingeniería
Departamento de SistemasDepartamento de Sistemas
ertificación enertificación en
AVAAVA
9. 9. LAYOUT MANAGERSLAYOUT MANAGERS
ObjectivesObjectives
Why Java uses Layout ManagersWhy Java uses Layout Managers
Layout Manager TheoryLayout Manager Theory
Layout PoliciesLayout Policies
ObjectivesObjectives
Write code using component, container, and layout managerclasses of the java.awt package to present a GUI with specifiedappearance and resize behavior, and distinguish the responsibilities of layout managers from those of containers
IntroductionIntroduction
The Abstract Windowing Toolkit (AWT) provides a handful of layout managers, each of which implements its own layout policy
In Java, you create a GUI by choosing one or more layout managers and letting them take care of the details.
When you started working with layout managers, you probably had two impressions:
• You no longer bore the burden of specifying the exact position and dimensions of each component
• You no longer had the power to specify the exact position and dimensions of each component
Some people enjoy working with layout managers, and others resent them
They are here to stay, so the job at hand is to master this feature of the language. Acquiring this competence requires three things:
• An understanding of why Java uses layout managers
• An understanding of the layout policies of the more basic layout managers
• Some practice

Why Java Uses Layout Managers
The theory lies in the position that precise layout (that is, specification in pixels of each component's size and position) is a repetitious and often-performed task; therefore, according to the principles of object-oriented programming, layout functionality ought to be encapsulated into one or more classes to automate the task
The practical reason for having layout managers systems from Java's platform independence.
Java components borrow their behavior from the window system of the underlying hardware on which the Java Virtual Machine is running. Thus on a Macintosh, an AWT button looks like any other Mac button; on a Motif platform, a Java button looks like any other Motif button, and so on
Problem:buttons and other components
have different sizes when instantiated on different platforms!!

On a Windows 95 machine: 32 pixels wide by 21 pixels high.
On a Motif platform:32 pixels wide, but 22 pixels high, even though it
uses the same font
The difference seems small until you consider the effect such a difference would have on a column of many buttons.
Button b = new Button( "ok" );
Layout Manager TheoryLayout Manager Theory
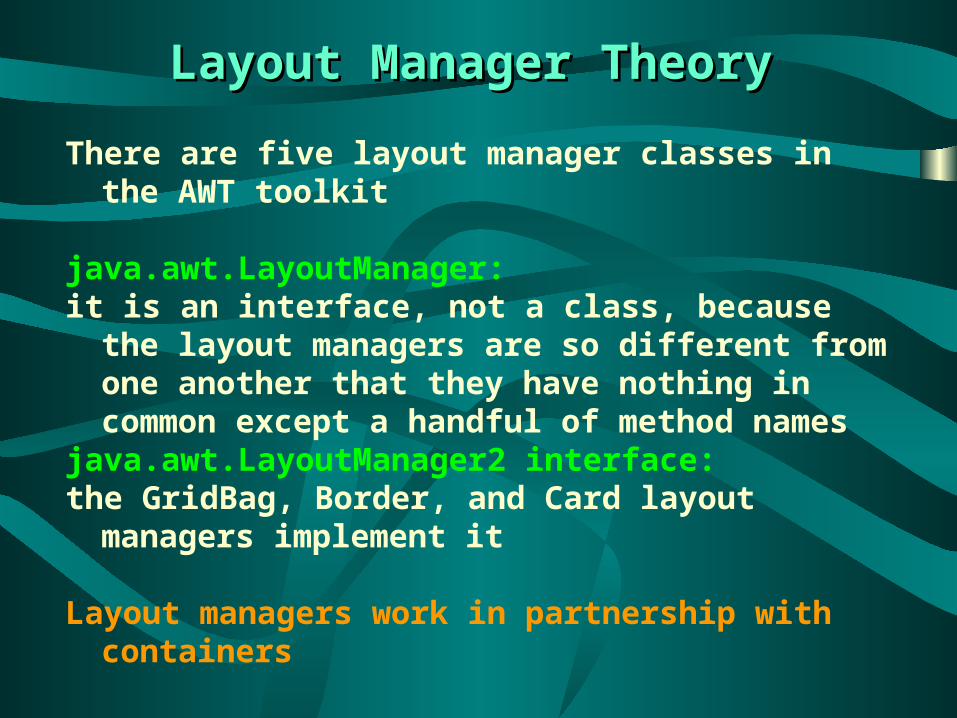
There are five layout manager classes in the AWT toolkit
java.awt.LayoutManager:it is an interface, not a class, because the
layout managers are so different from one another that they have nothing in common except a handful of method names
java.awt.LayoutManager2 interface:the GridBag, Border, and Card layout
managers implement it
Layout managers work in partnership with containers
Containers and Components
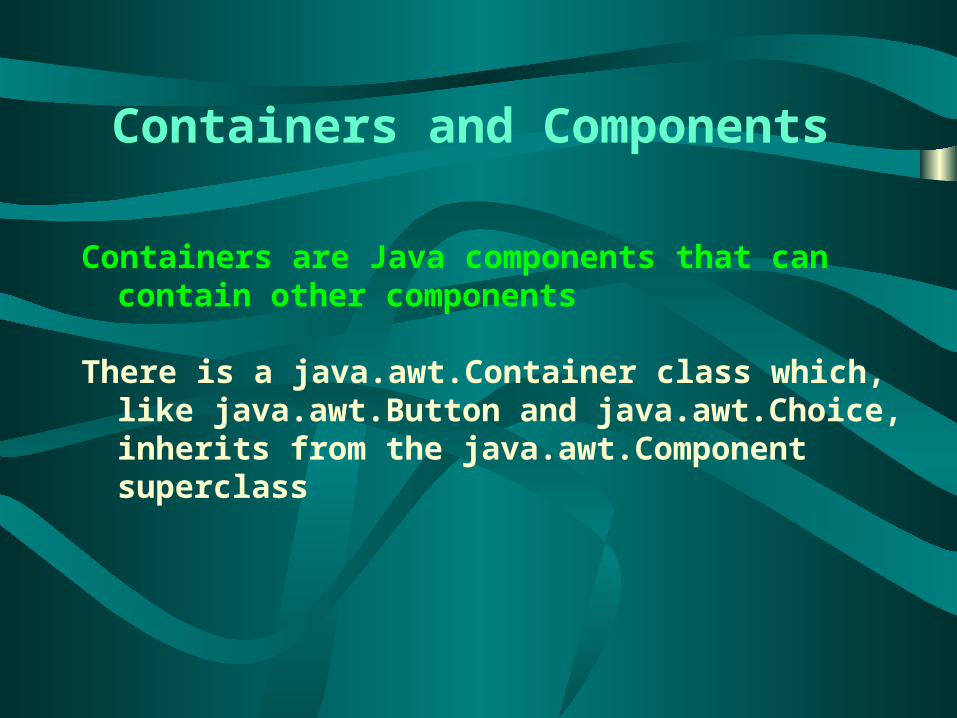
Containers are Java components that can contain other components
There is a java.awt.Container class which, like java.awt.Button and java.awt.Choice, inherits from the java.awt.Component superclass

Button TextArea Container
. . .
Component
Object
Inheritance of java.awt.Container
The Container class was abstract, but now it isn't; its most commonly used concrete subclasses are Applet, Frame, and Panel, (Note that Applet is a subclass of Panel)
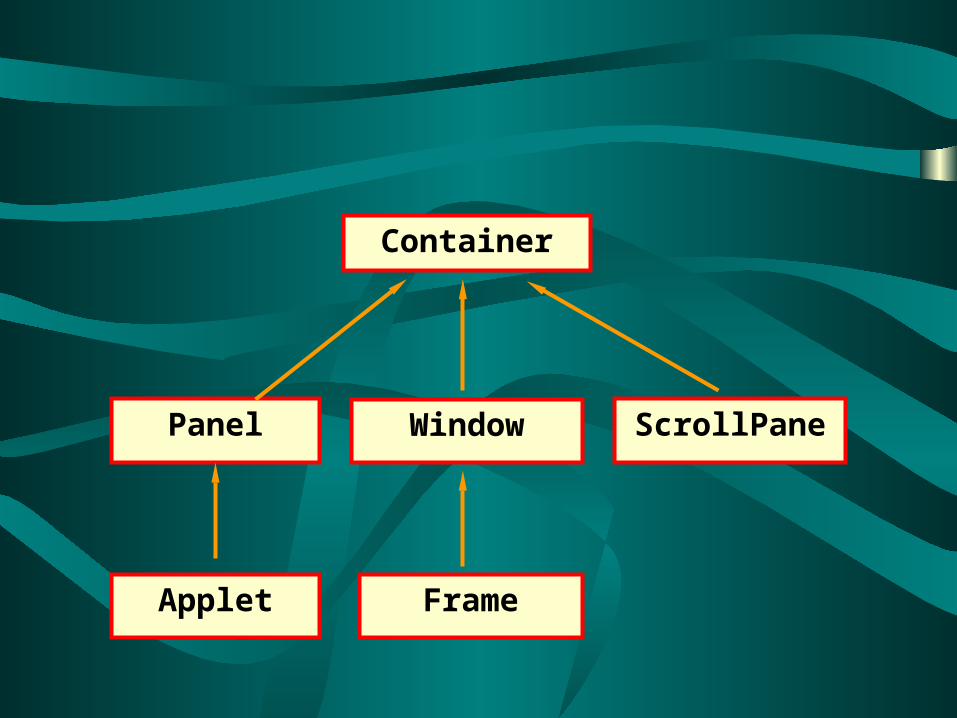
Panel Window ScrollPane
Applet Frame
Container
If Java encouraged precise pixel-level sizing and positioning, there would be a lot of Java GUIs that looked exquisite on their platform of origin, and terrible on other hosts
There is no guarantee that fonts with identical names will truly be 100 percent identical from platform to platform; there could be minute differences. Therefore, Java cannot even guarantee that two strings drawn with the same text and font will display at the same size across platforms
Java GUIs reside in applets or in frames
Simple applets:Put your components in your applet
Simple applications: put your components in your frame.
In both cases, you might wonder how the components end up where they do; layout managers are lurking in the background, taking care of details)

More complicated GUIs: it is convenient to divide the applet or frame
into smaller regions
These regions might constitute, for example, a toolbar or a matrix of radio buttons
GUI sub-regions are implemented most commonly with the Panel container.
can contain other components: • buttons, • canvases, • check boxes, • scroll bars, • scroll panes, • text areas, • text fields, and • other panels
Panels
Complicated GUIs sometimes have very complicated containment hierarchies of panels within panels within panels within panels, and so on, down through many layers of containment
In Java, the term hierarchy is ambiguous.
• When discussing classes, hierarchy refers to the hierarchy of inheritance from superclass to subclass
• When discussing GUIs, hierarchy refers to the containment hierarchy of applets or frames, which contain panels containing panels containing panels
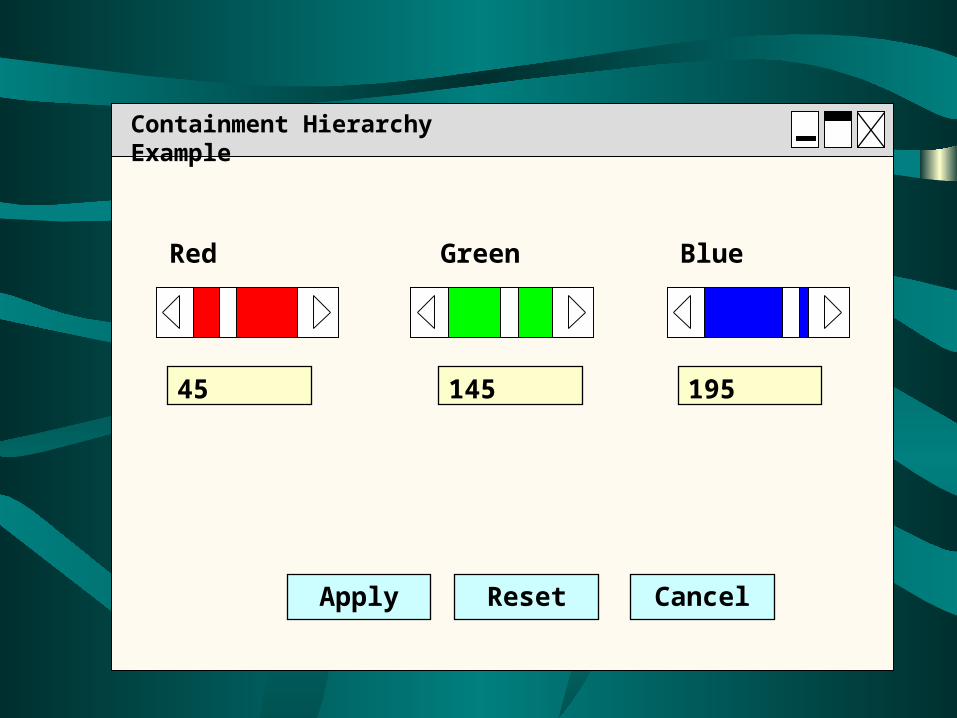
Containment Hierarchy Example
Red Green Blue
14545 195
ResetApply Cancel
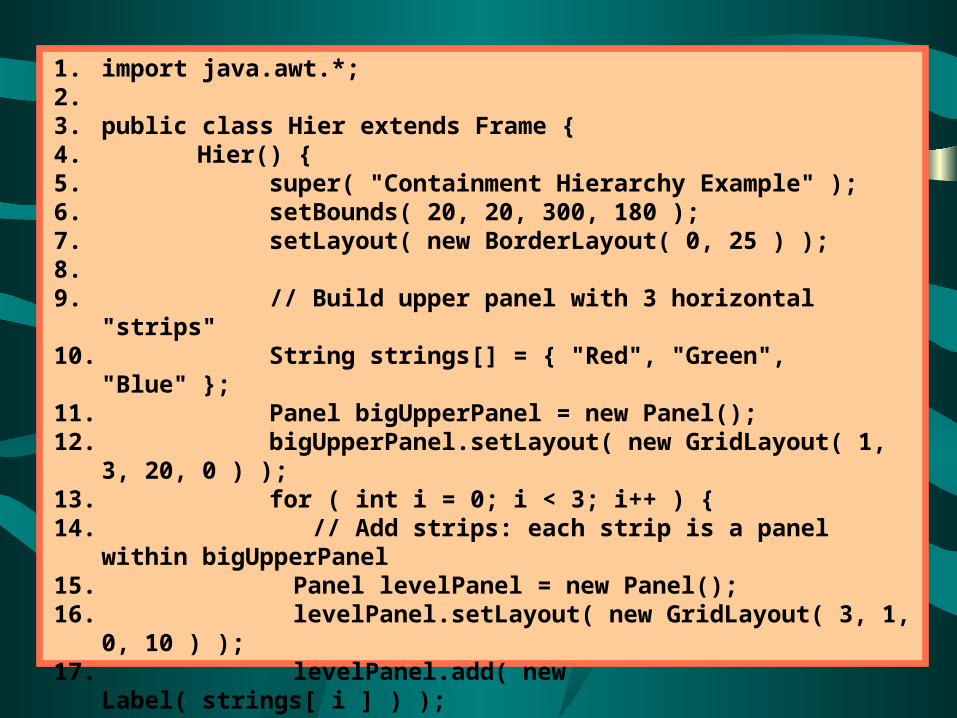
1. import java.awt.*;2.3. public class Hier extends Frame {4. Hier() {5. super( "Containment Hierarchy Example" );6. setBounds( 20, 20, 300, 180 );7. setLayout( new BorderLayout( 0, 25 ) );8.9. // Build upper panel with 3 horizontal "strips"10. String strings[] = { "Red", "Green", "Blue" };11. Panel bigUpperPanel = new Panel();12. bigUpperPanel.setLayout( new GridLayout( 1, 3,
20, 0 ) );13. for ( int i = 0; i < 3; i++ ) {14. // Add strips: each strip is a panel within
bigUpperPanel15. Panel levelPanel = new Panel();16. levelPanel.setLayout( new GridLayout( 3, 1,
0, 10 ) );17. levelPanel.add( new Label( strings[ i ] ) );
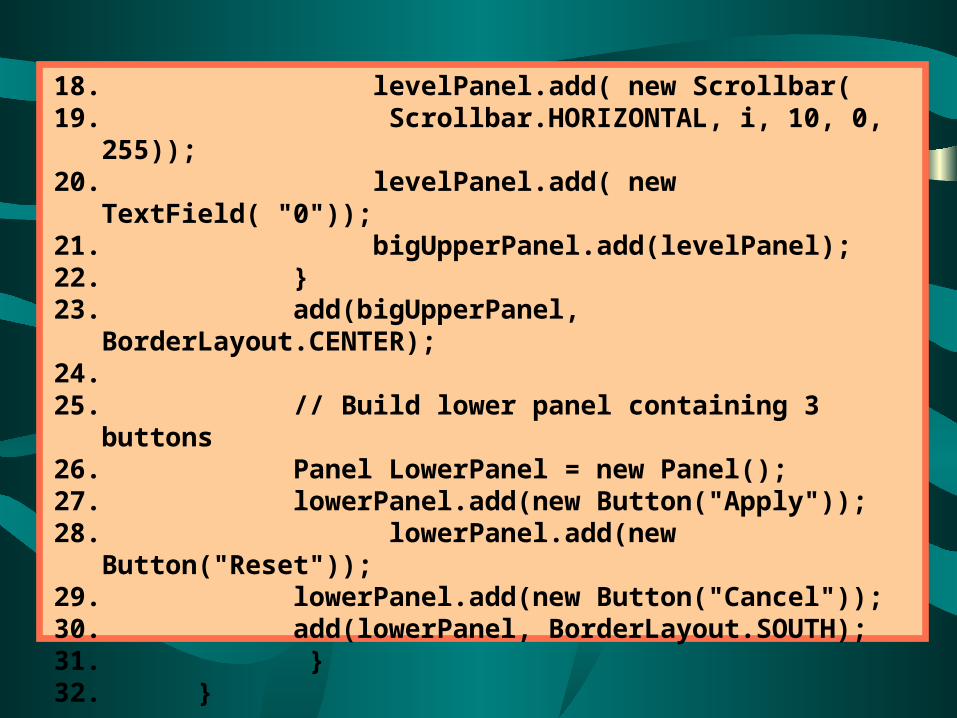
18. levelPanel.add( new Scrollbar( 19. Scrollbar.HORIZONTAL, i, 10, 0,
255));20. levelPanel.add( new TextField( "0"));21. bigUpperPanel.add(levelPanel);22. } 23. add(bigUpperPanel,
BorderLayout.CENTER);24. 25. // Build lower panel containing 3 buttons26. Panel LowerPanel = new Panel();27. lowerPanel.add(new Button("Apply"));28. lowerPanel.add(new Button("Reset"));
29. lowerPanel.add(new Button("Cancel"));30. add(lowerPanel, BorderLayout.SOUTH); 31. }32. }
Layout Manager Theory
Panel
Panel
Button Button Button
Panel
Label
ScrollBar
TextField
Frame
Panel
Label
ScrollBar
TextField
Panel
Label
ScrollBar
TextField
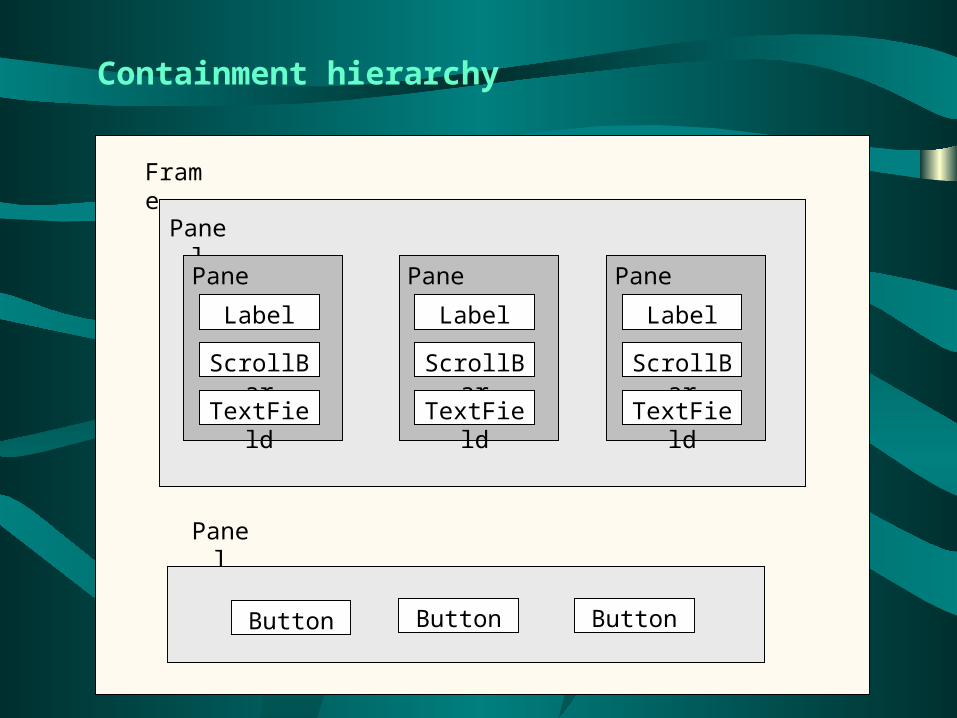
Containment hierarchy
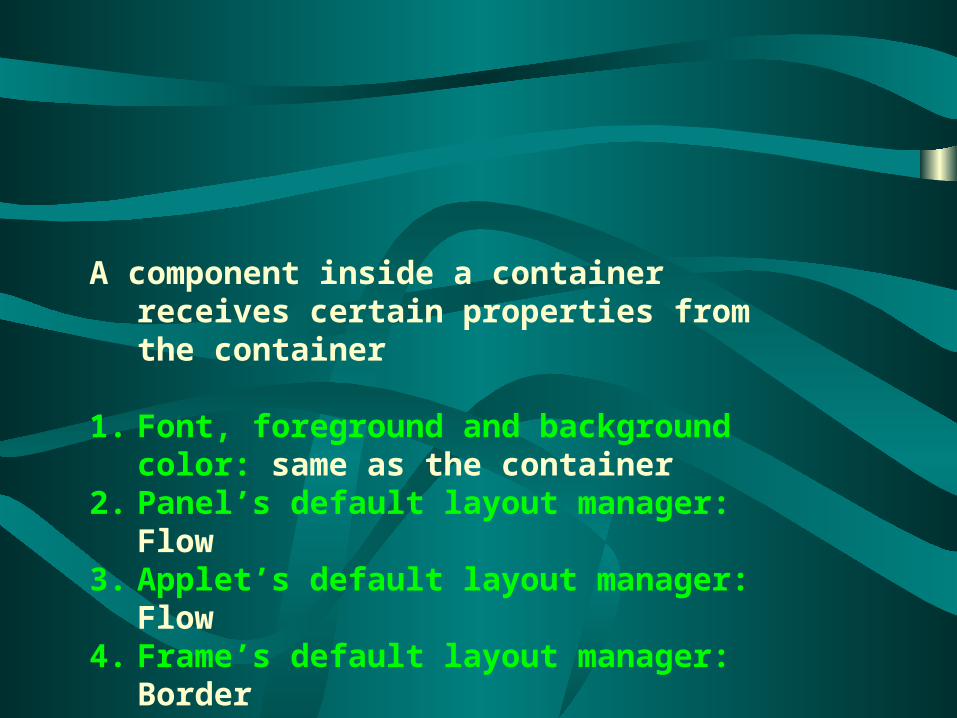
A component inside a container receives certain properties from the container
1. Font, foreground and background color: same as the container
2. Panel’s default layout manager: Flow3. Applet’s default layout manager: Flow4. Frame’s default layout manager: Border
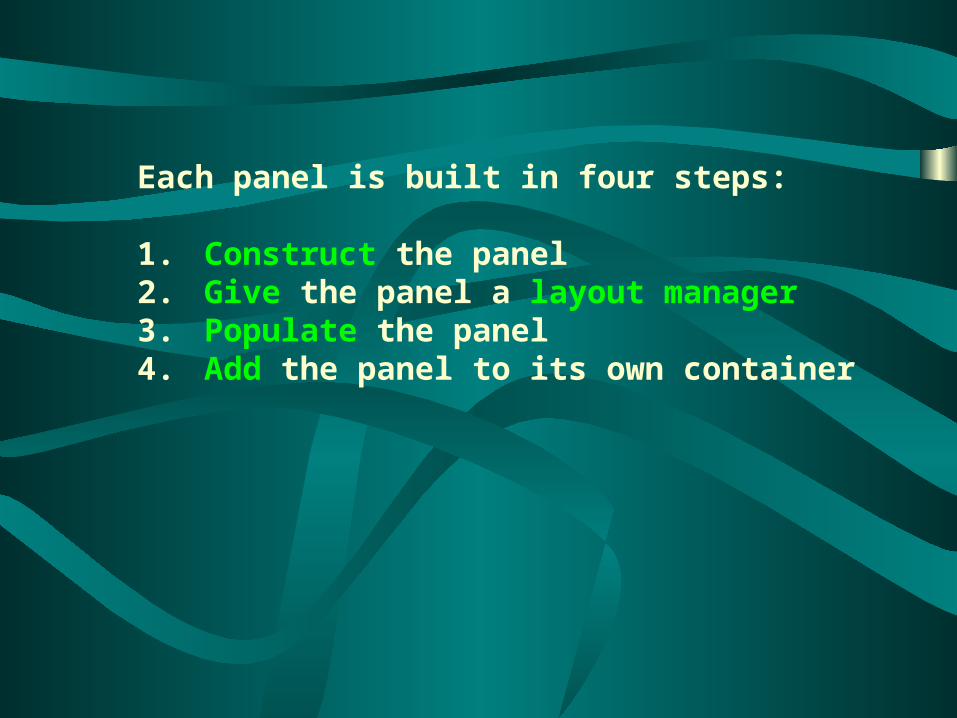
Each panel is built in four steps:
1. Construct the panel2. Give the panel a layout manager3. Populate the panel4. Add the panel to its own container
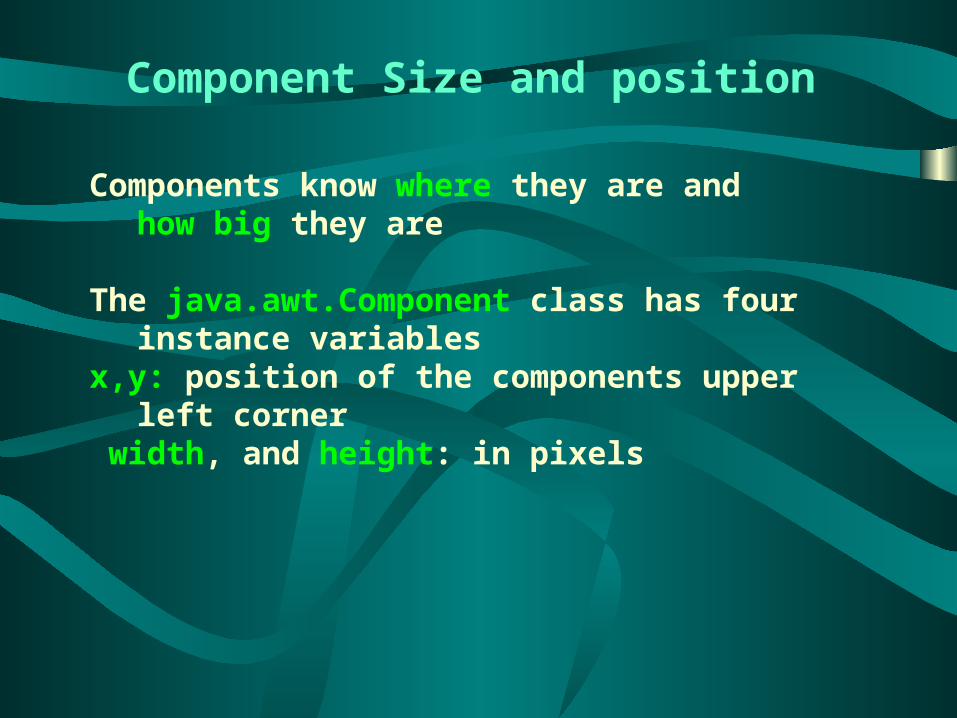
Component Size and position
Components know where they are and how big they are
The java.awt.Component class has four instance variables
x,y: position of the components upper left corner
width, and height: in pixels
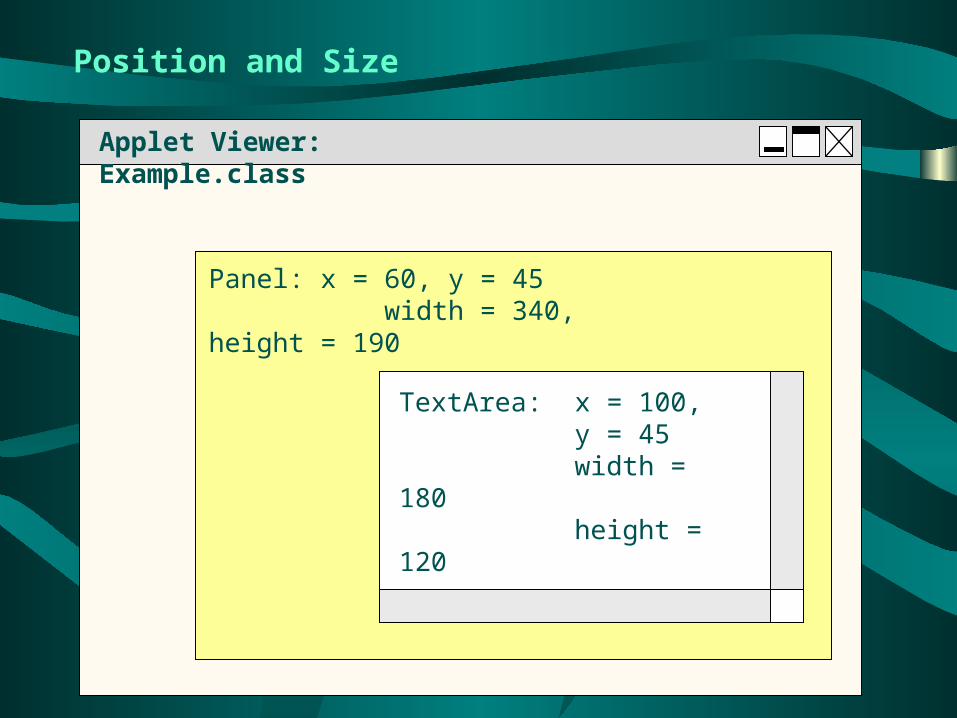
Applet Viewer: Example.class
Panel: x = 60, y = 45 width = 340, height = 190
TextArea: x = 100, y = 45
width = 180 height = 120
Position and Size
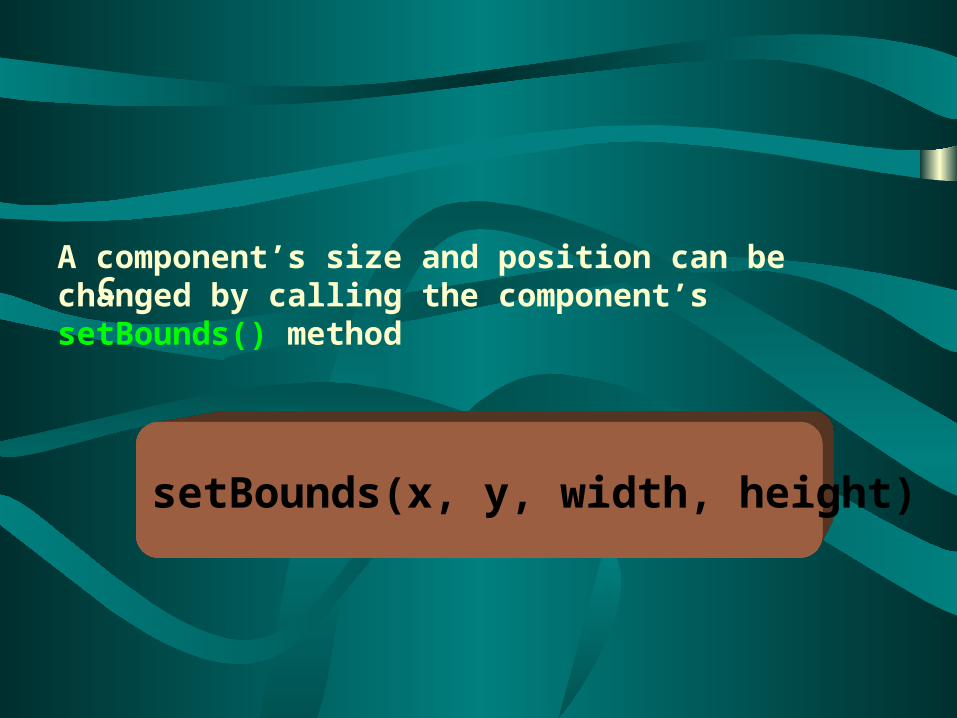
CA component’s size and position can be changed by calling the component’s setBounds() method
setBounds(x, y, width, height)
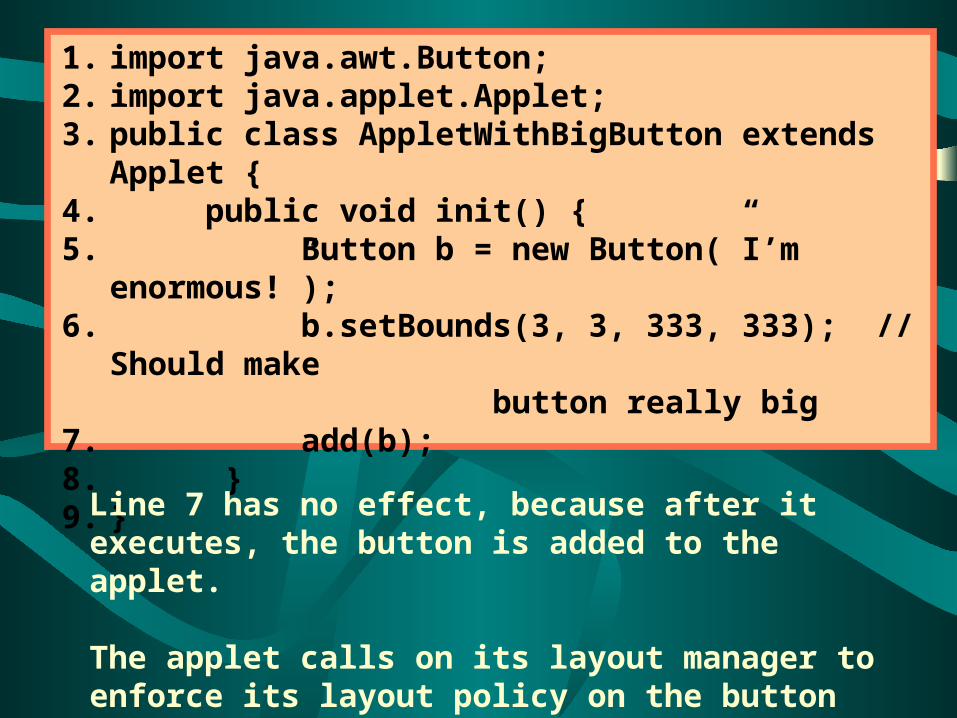
1. import java.awt.Button;2. import java.applet.Applet;3. public class AppletWithBigButton extends Applet {4. public void init() {5. Button b = new Button(”I’m
enormous!”);6. b.setBounds(3, 3, 333, 333); // Should
make button really big7. add(b);8. }9. }
Line 7 has no effect, because after it executes, the button is added to the applet.
The applet calls on its layout manager to enforce its layout policy on the button
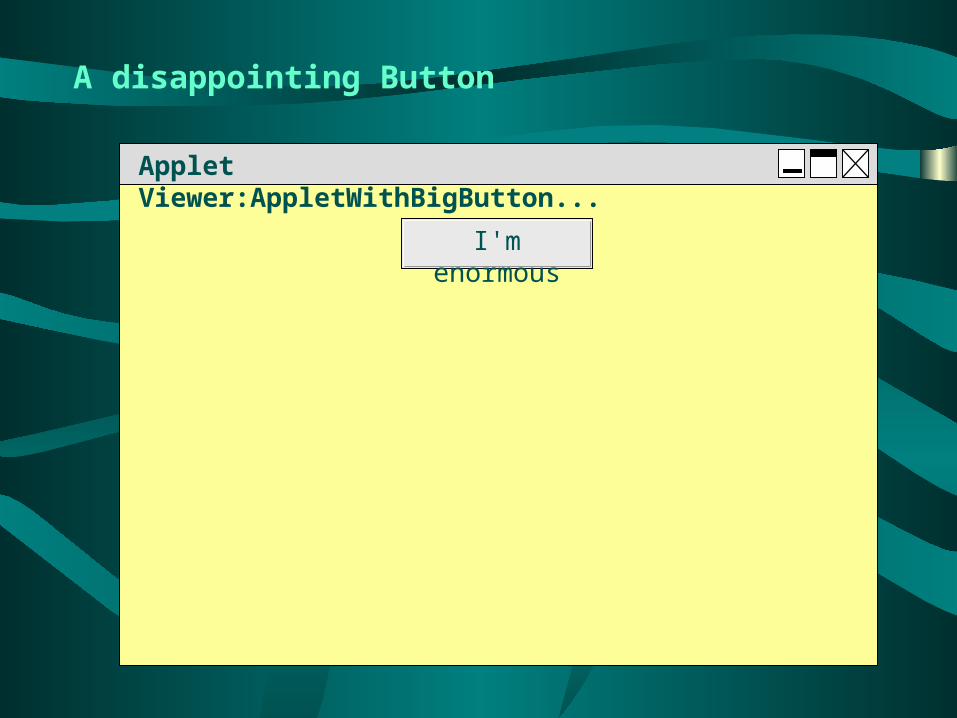
Applet Viewer:AppletWithBigButton...
I'm enormous
A disappointing Button
Layout Policies
Every Java component has a preferred size
The preferred size expresses how big the component would like to be, barring conflict with a layout manager
Preferred size is generally the smallest size necessary to render the component in a visually meaningful way
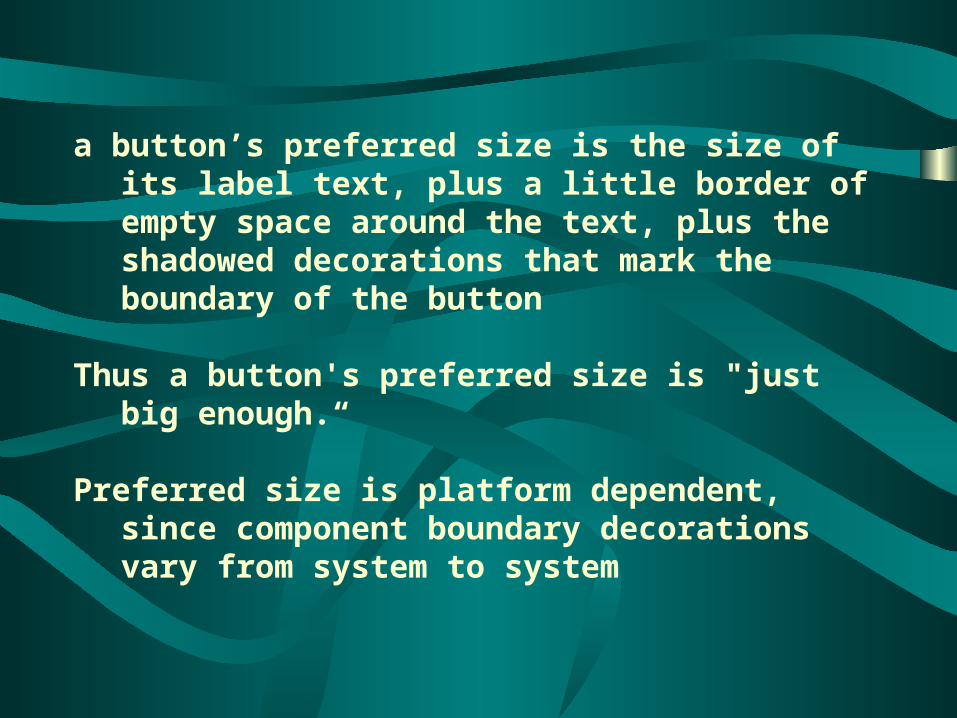
a button’s preferred size is the size of its label text, plus a little border of empty space around the text, plus the shadowed decorations that mark the boundary of the button
Thus a button's preferred size is "just big enough.“
Preferred size is platform dependent, since component boundary decorations vary from system to system
The Flow Layout Manager
arranges components in horizontal rows
Default layout manager type for panels and applets
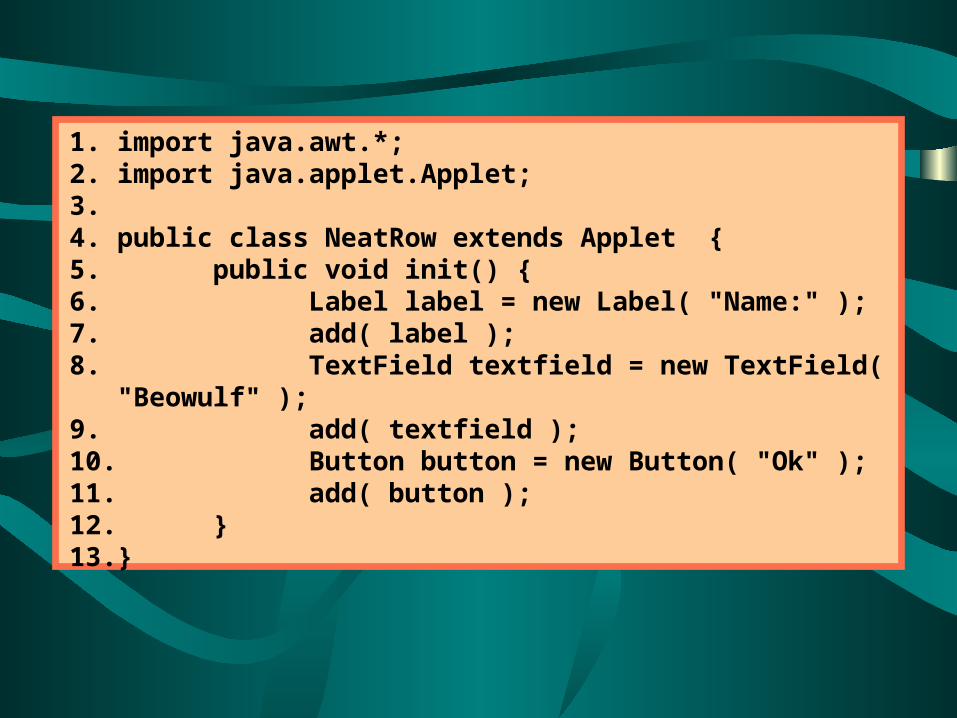
1. import java.awt.*;2. import java.applet.Applet;3. 4. public class NeatRow extends Applet { 5. public void init() {6. Label label = new Label( "Name:" );7. add( label );8. TextField textfield = new
TextField( "Beowulf" );9. add( textfield );10. Button button = new Button( "Ok" );11. add( button );12. }13.}
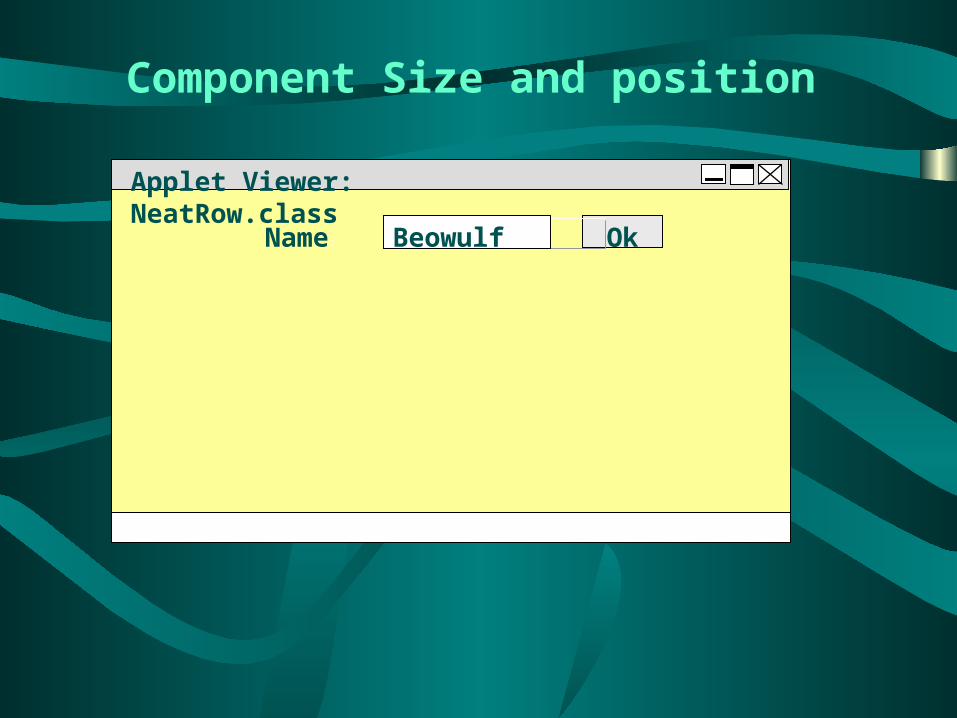
Component Size and position
Applet Viewer: NeatRow.class
Ok
Applet started.
BeowulfName:
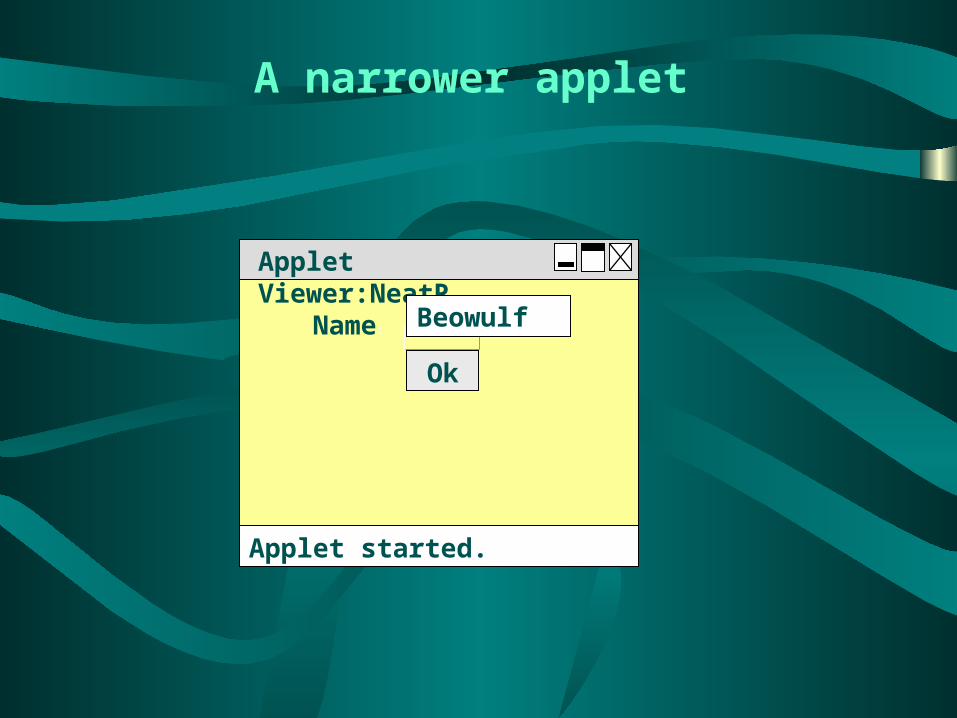
A narrower applet
Applet Viewer:NeatR...
Ok
Applet started.
BeowulfName:
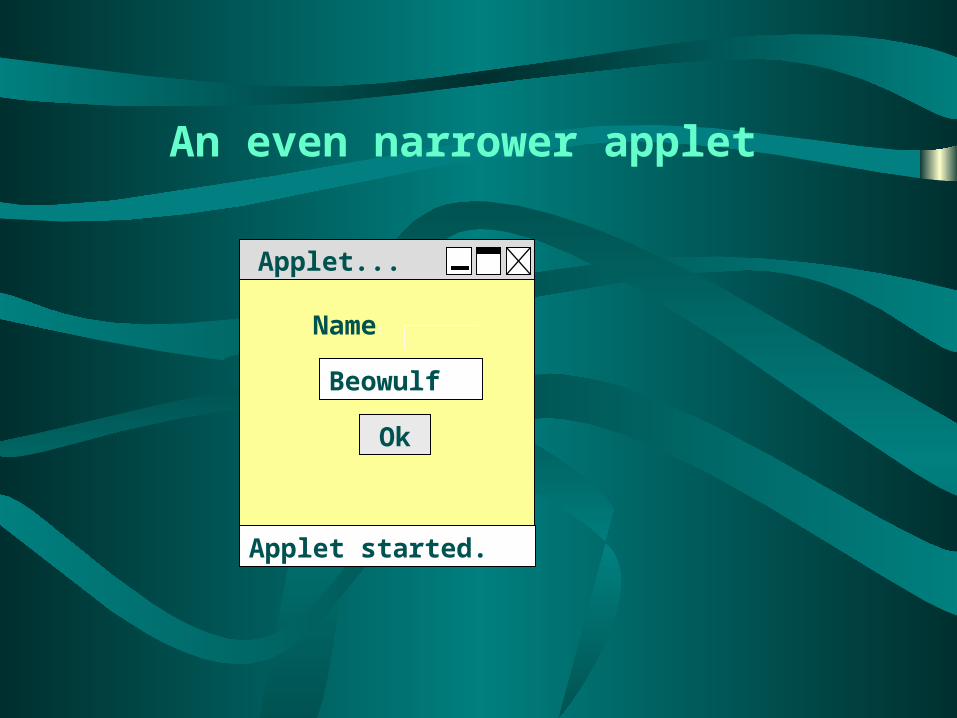
An even narrower applet
Applet...
Ok
Applet started.
Beowulf
Name:
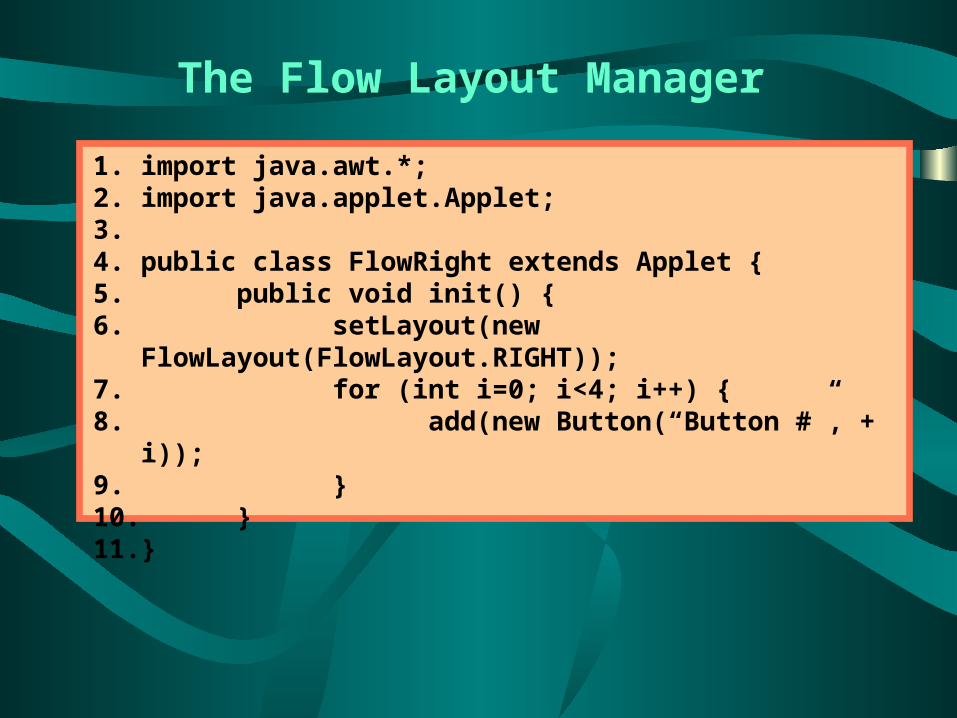
The Flow Layout Manager
1. import java.awt.*;2. import java.applet.Applet;3. 4. public class FlowRight extends Applet {5. public void init() {6. setLayout(new
FlowLayout(FlowLayout.RIGHT));7. for (int i=0; i<4; i++) {8. add(new Button(“Button #”, + i));9. }10. }11. }
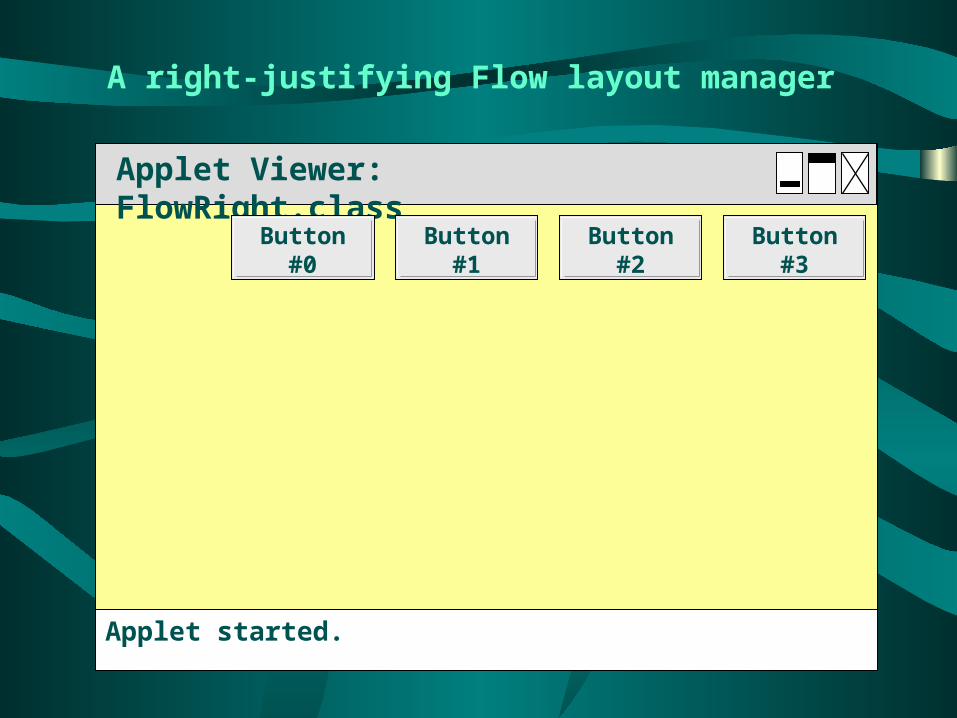
A right-justifying Flow layout manager
Applet Viewer: FlowRight.class
Applet started.
Button #0 Button #1 Button #2 Button #3
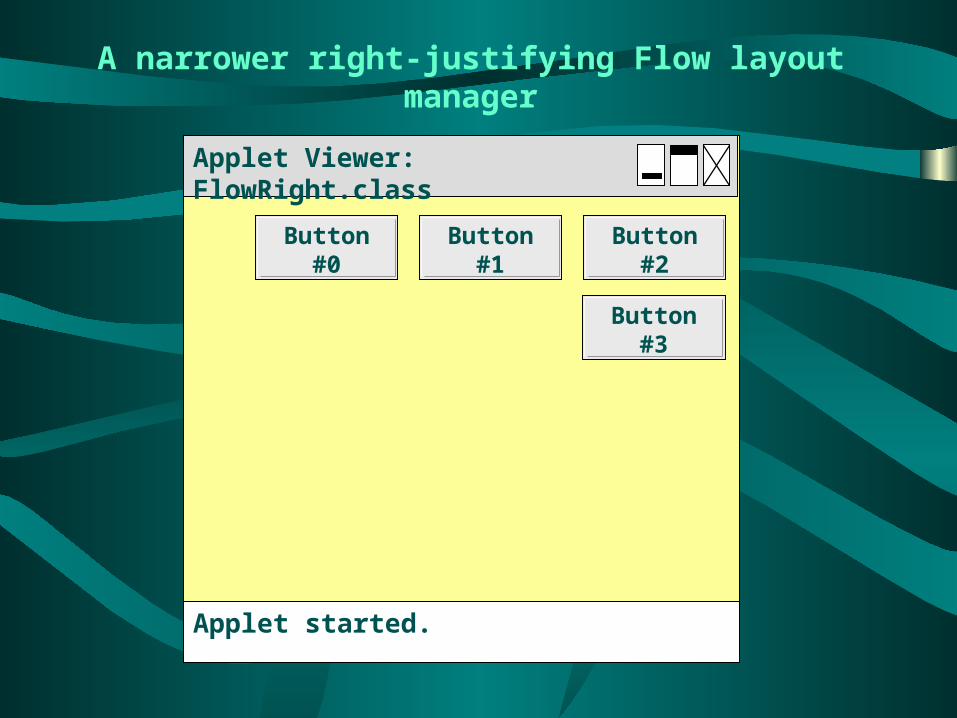
A narrower right-justifying Flow layout manager
Applet Viewer: FlowRight.class
Applet started.
Button #0 Button #1 Button #2
Button #3
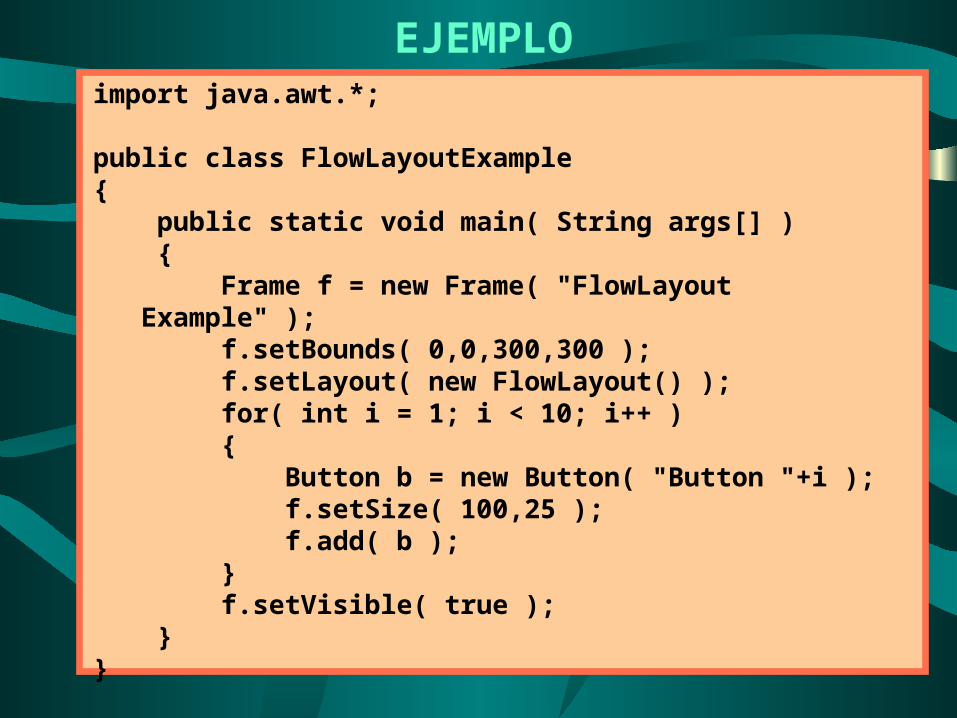
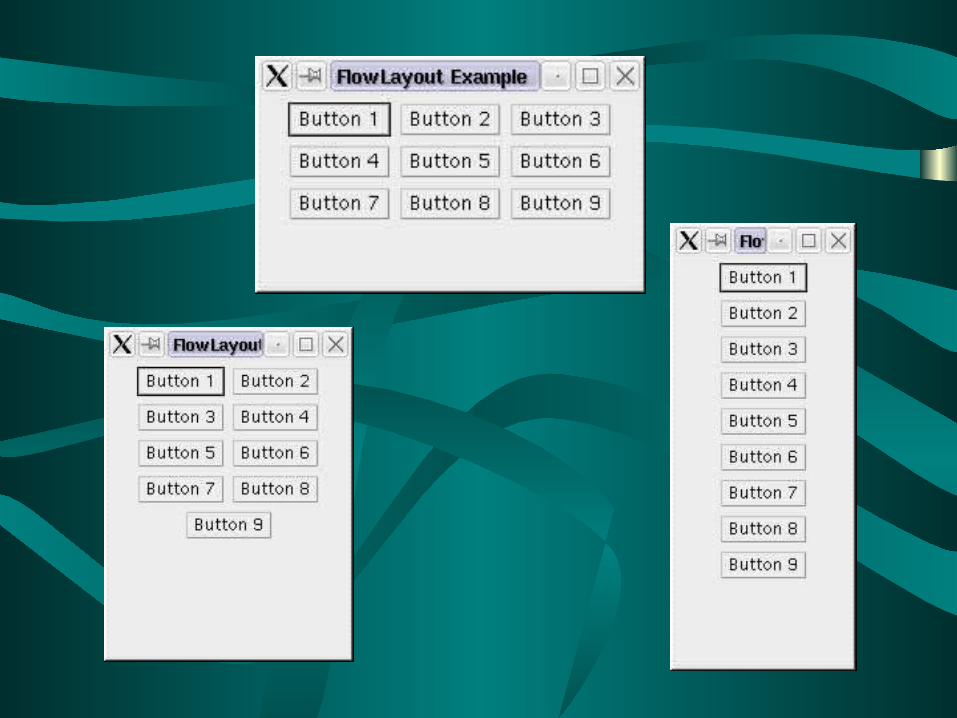
EJEMPLOimport java.awt.*;
public class FlowLayoutExample{ public static void main( String args[] ) { Frame f = new Frame( "FlowLayout Example" ); f.setBounds( 0,0,300,300 ); f.setLayout( new FlowLayout() ); for( int i = 1; i < 10; i++ ) { Button b = new Button( "Button "+i ); f.setSize( 100,25 ); f.add( b ); } f.setVisible( true ); }}
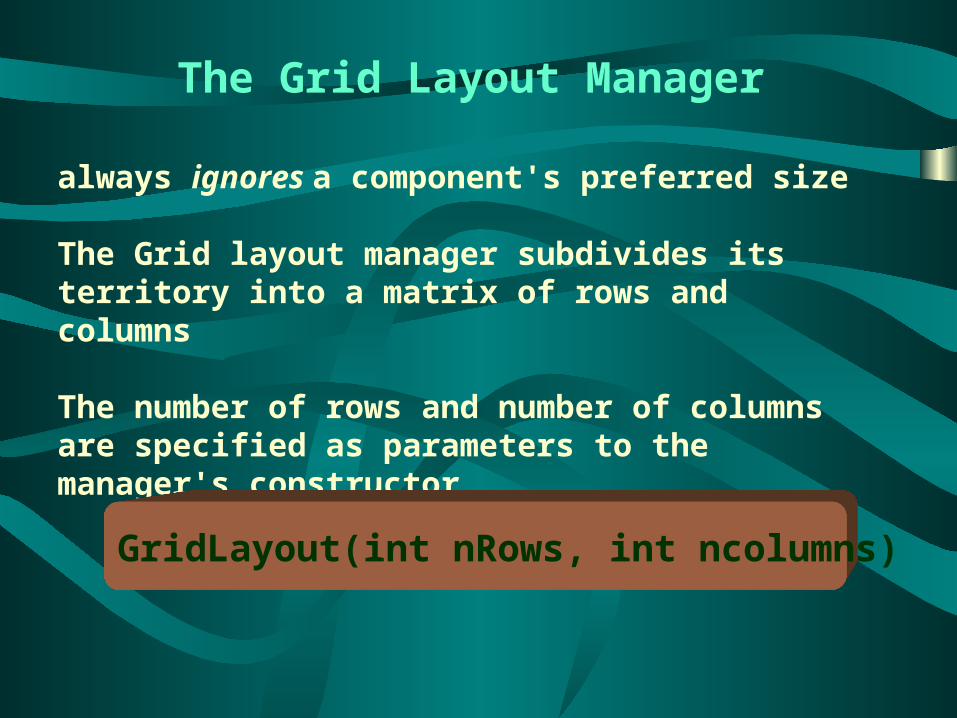
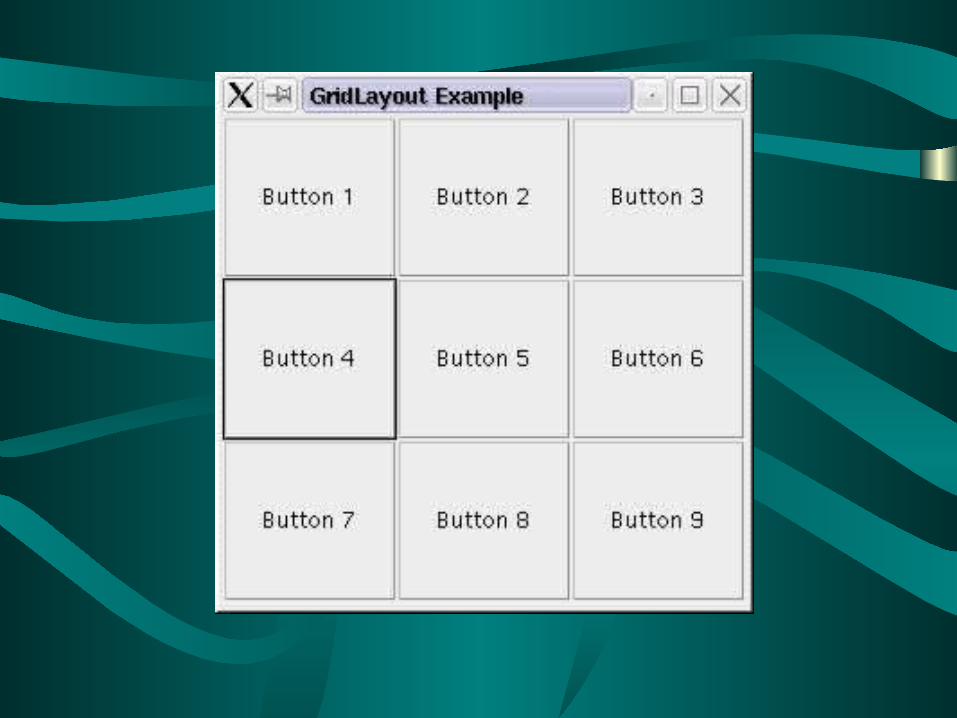
The Grid Layout Manager
always ignores a component's preferred size
The Grid layout manager subdivides its territory into a matrix of rows and columns
The number of rows and number of columns are specified as parameters to the manager's constructor
GridLayout(int nRows, int ncolumns)
Components know where they are and how big they are
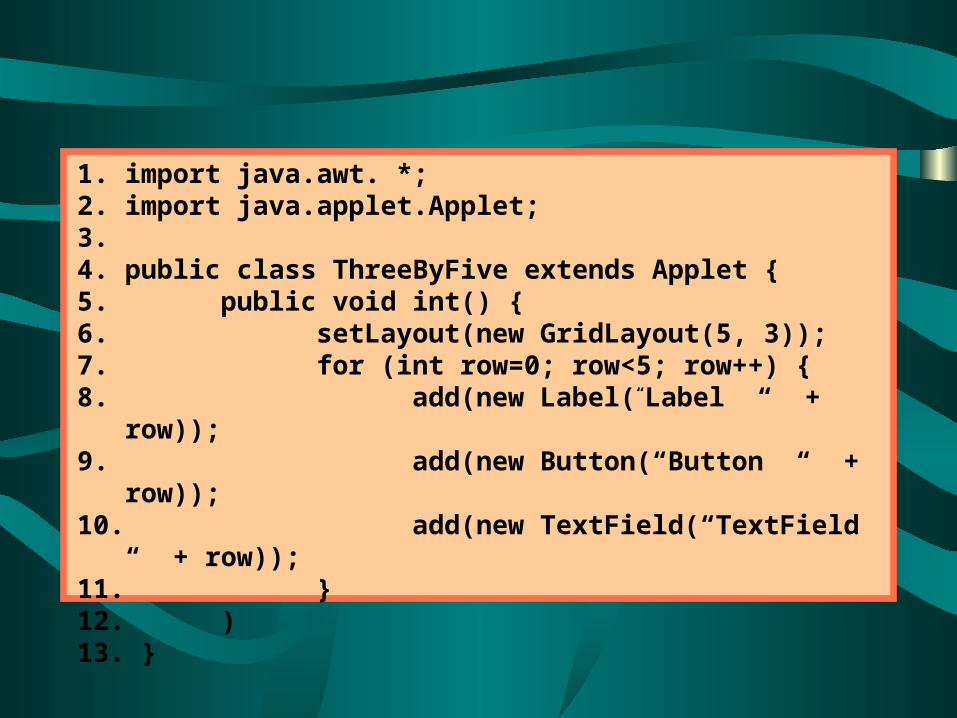
1. import java.awt. *;2. import java.applet.Applet;3. 4. public class ThreeByFive extends Applet {5. public void int() {6. setLayout(new GridLayout(5, 3));7. for (int row=0; row<5; row++) {8. add(new Label(“Label “ + row));9. add(new Button(“Button “ + row));10. add(new TextField(“TextField “ +
row));11. }12. )13. }
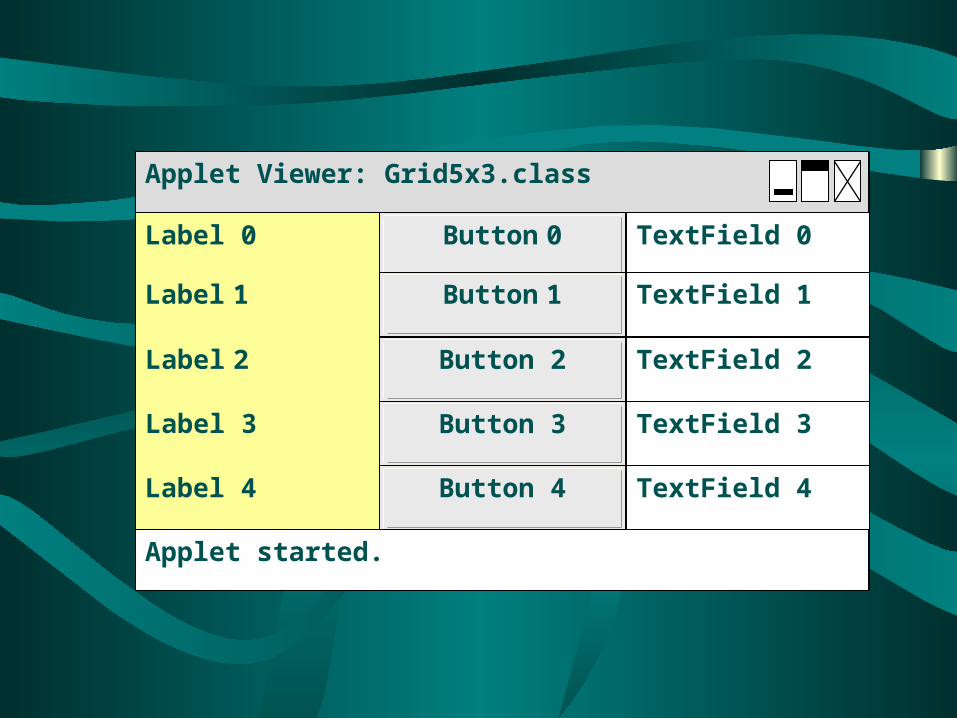
Applet Viewer: Grid5x3.class
Applet started.
Button 0Label 0 TextField 0
Button 1Label 1 TextField 1
Button 2Label 2 TextField 2
Button 3Label 3 TextField 33
Button 4Label 4 TextField 44
Applet started.
Button 0Label 0 TextField 0
Button 1Label 1 TextField 1
Button 2Label 2 TextField 2
Button 3Label 3 TextField 3
Button 4Label 4 TextField 4
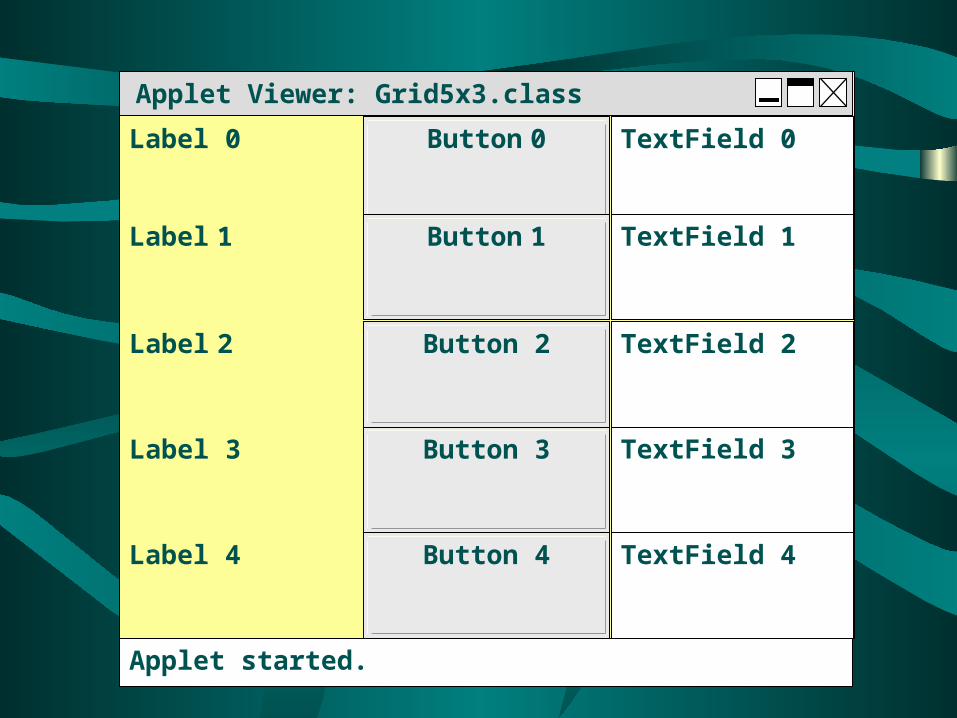
Applet Viewer: Grid5x3.class
Components know where they are and how big they are
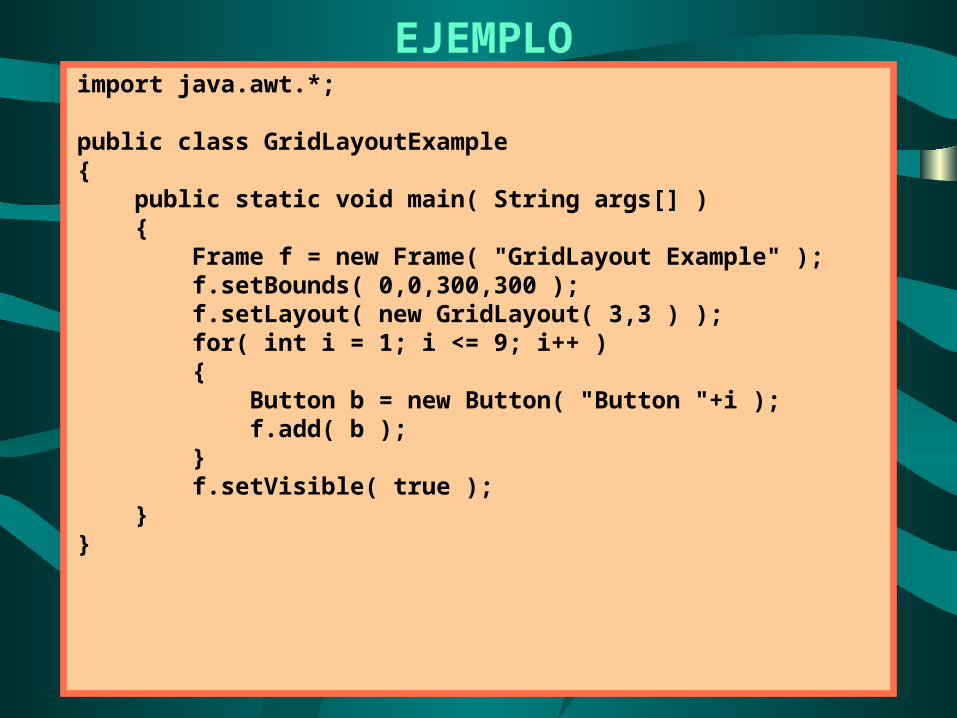
import java.awt.*;
public class GridLayoutExample{ public static void main( String args[] ) { Frame f = new Frame( "GridLayout Example" ); f.setBounds( 0,0,300,300 ); f.setLayout( new GridLayout( 3,3 ) ); for( int i = 1; i <= 9; i++ ) { Button b = new Button( "Button "+i ); f.add( b ); } f.setVisible( true ); }}
EJEMPLO

The Flow layout manager always honors a component's preferred size: the Grid layout manager never does. The Border layout manager does something in between
It is the default manager for frames
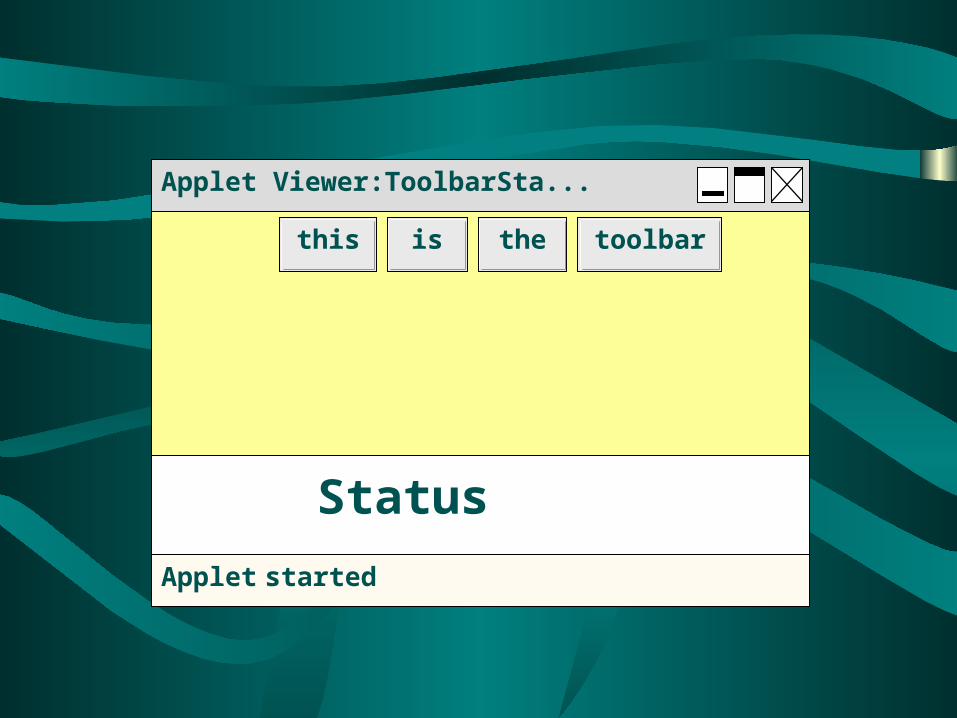
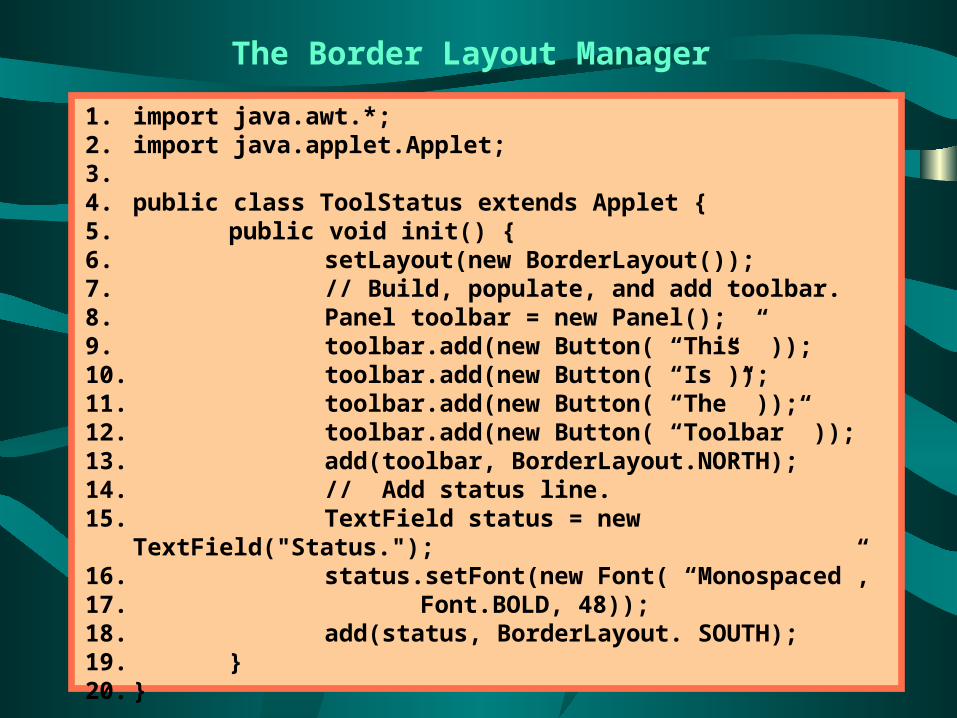
The Border Layout Manager
Applet Viewer:ToolbarSta...
Applet started.
this is the toolbar
Status

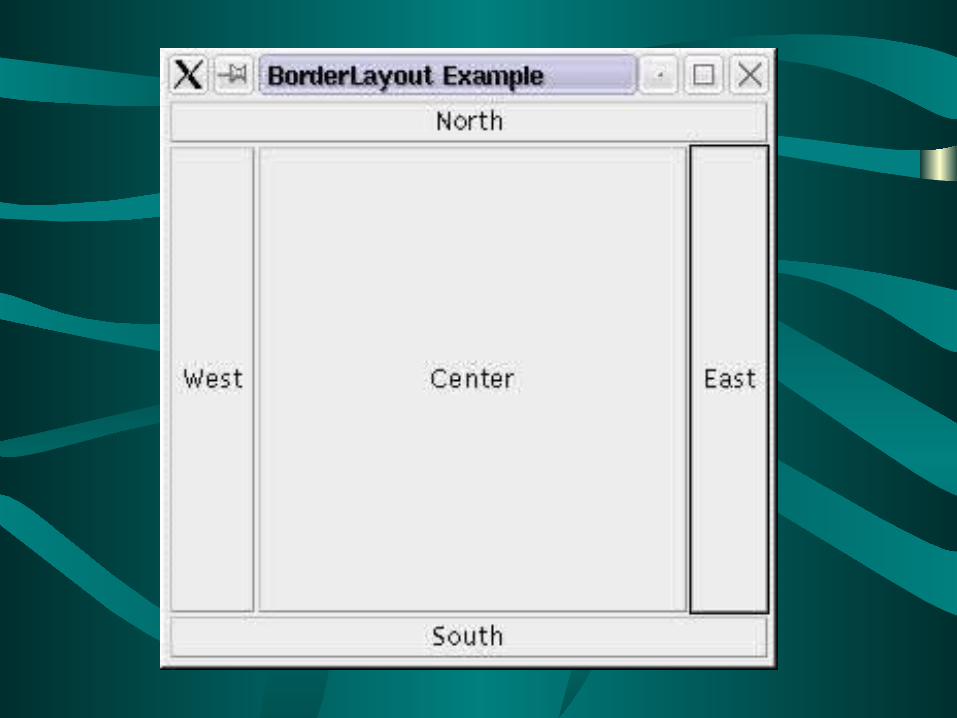
The Border layout manager divides its territory into five regions
NorthSouthEastWestCenter
Each region may contain a single component
No region is required to contain a component!!
Applet Viewer:ToolbarSta...
Applet started.
this is the toolbar
Status
Components know where they are and how big they are
1. import java.awt.*;2. import java.applet.Applet;3. 4. public class ToolStatus extends Applet {5. public void init() {6. setLayout(new BorderLayout());7. // Build, populate, and add toolbar.8. Panel toolbar = new Panel();9. toolbar.add(new Button( “This” ));10. toolbar.add(new Button( “Is”));11. toolbar.add(new Button( “The” ));12. toolbar.add(new Button( “Toolbar” ));13. add(toolbar, BorderLayout.NORTH);14. // Add status line.15. TextField status = new TextField("Status.");16. status.setFont(new Font( “Monospaced”,17. Font.BOLD, 48));18. add(status, BorderLayout. SOUTH);19. }20. }
The Border Layout Manager
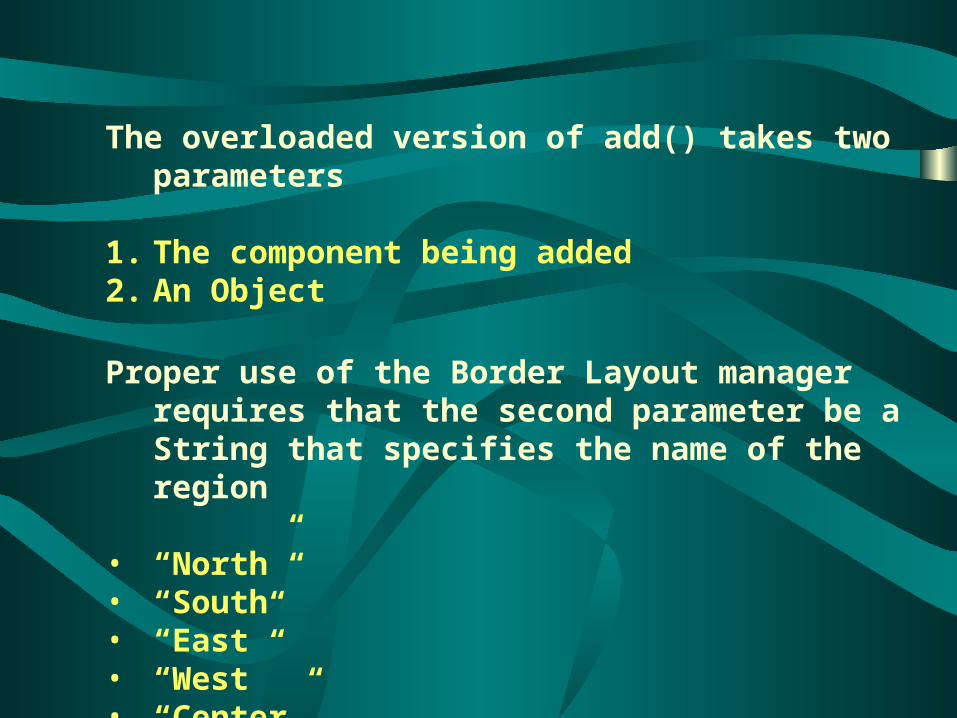
The overloaded version of add() takes two parameters
1. The component being added2. An Object
Proper use of the Border Layout manager requires that the second parameter be a String that specifies the name of the region
• “North”• “South”• “East”• “West”• “Center”
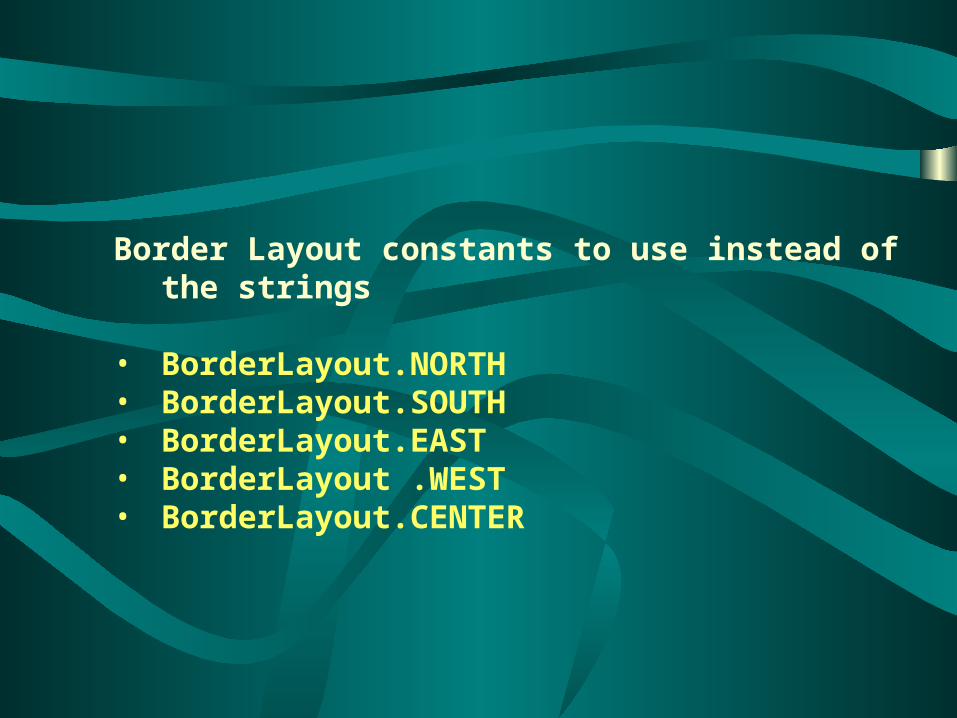
Border Layout constants to use instead of the strings
• BorderLayout.NORTH• BorderLayout.SOUTH• BorderLayout.EAST• BorderLayout .WEST• BorderLayout.CENTER
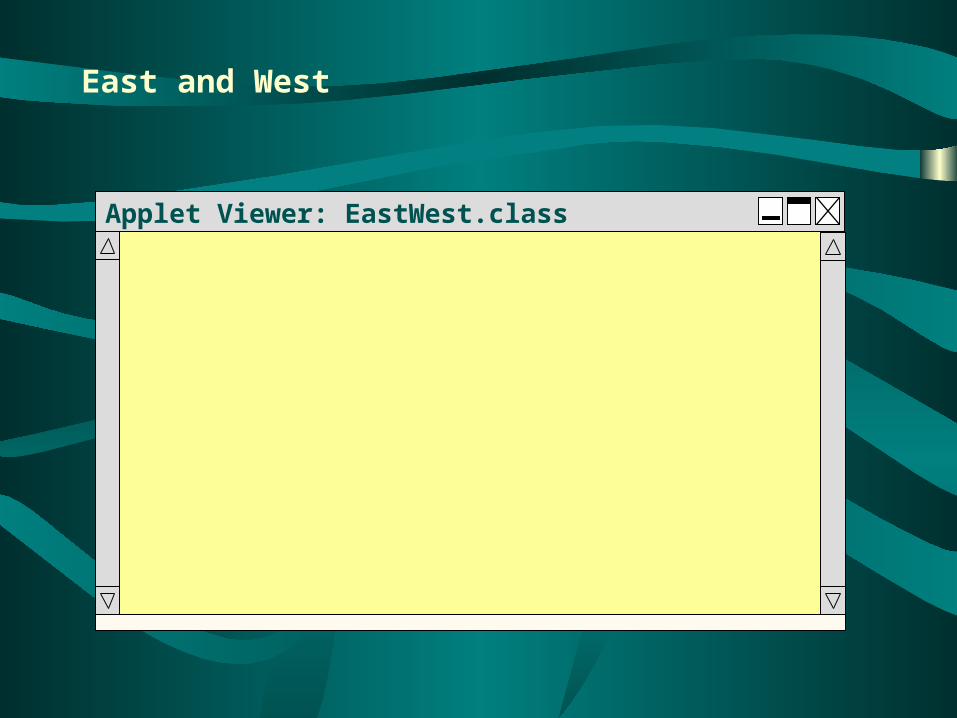
East and West
Applet Viewer: EastWest.class
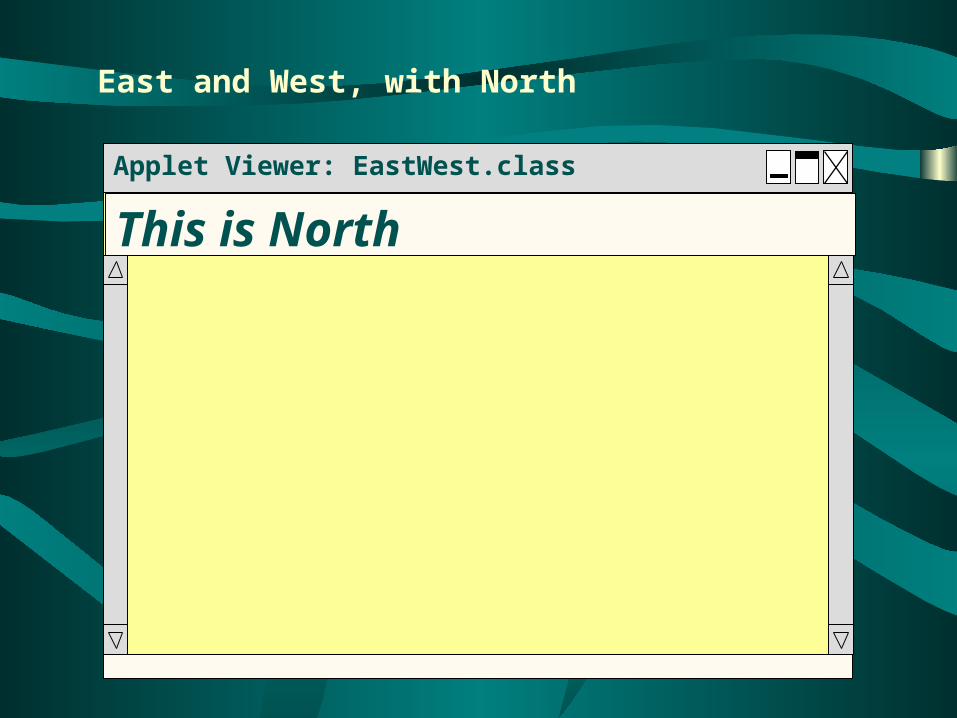
East and West, with North
Applet Viewer: EastWest.class
This is North
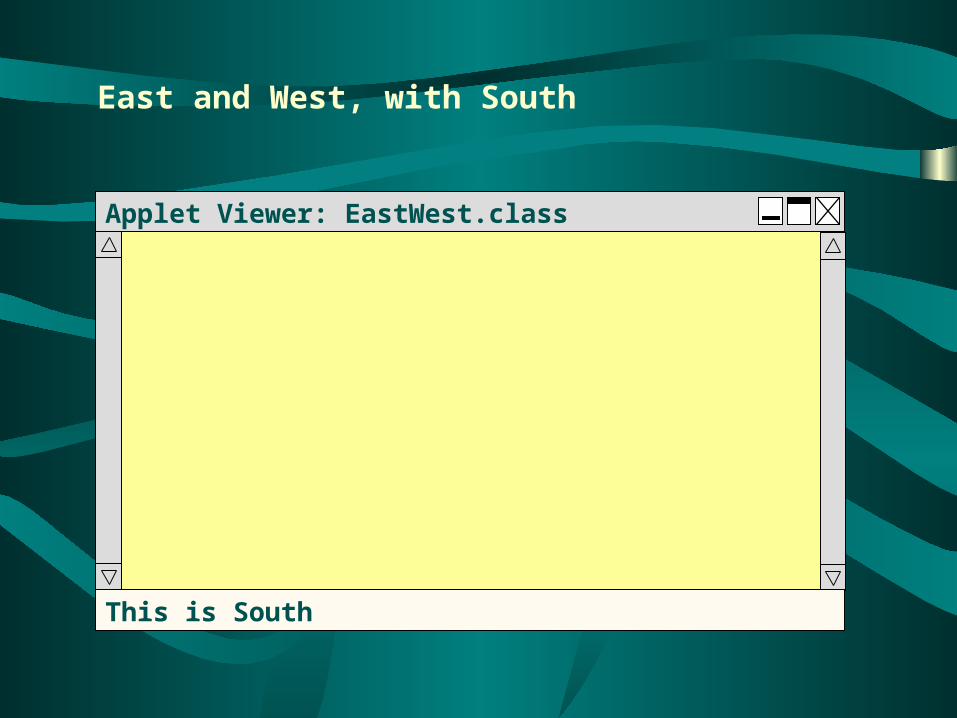
East and West, with South
Applet Viewer: EastWest.class
This is South
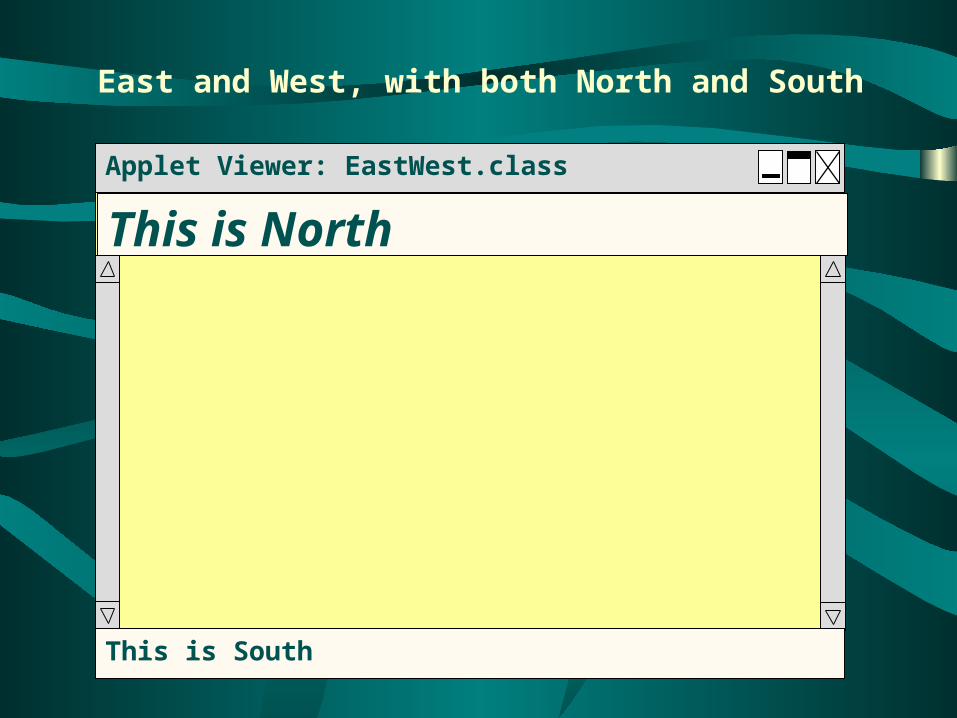
East and West, with both North and South
Applet Viewer: EastWest.class
This is South
This is North
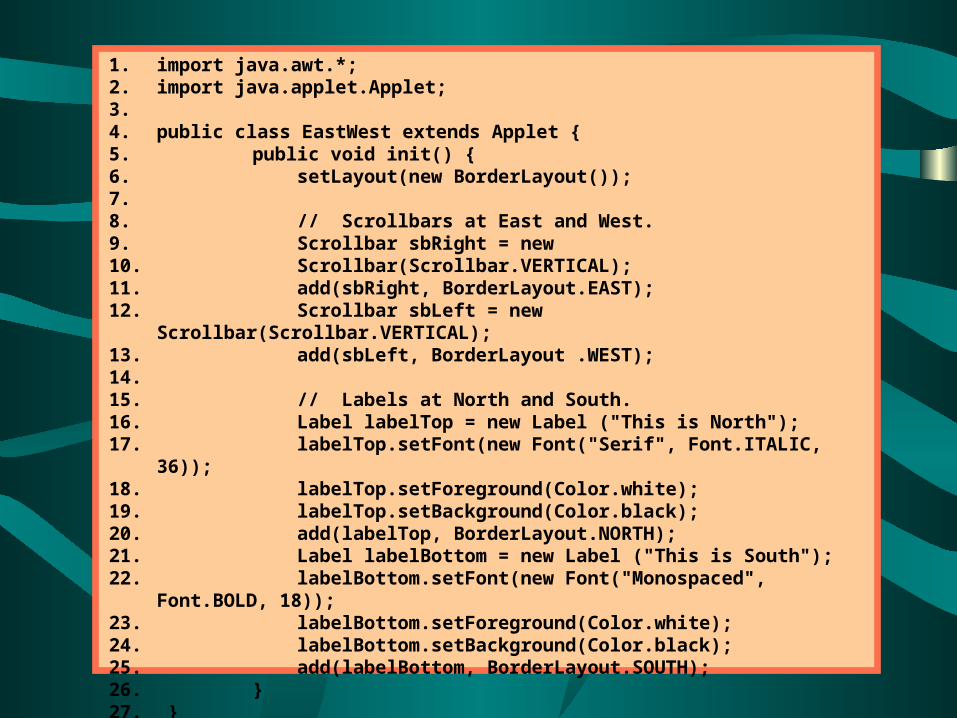
1. import java.awt.*;2. import java.applet.Applet;3. 4. public class EastWest extends Applet {5. public void init() {6. setLayout(new BorderLayout());7. 8. // Scrollbars at East and West.9. Scrollbar sbRight = new 10. Scrollbar(Scrollbar.VERTICAL);11. add(sbRight, BorderLayout.EAST);12. Scrollbar sbLeft = new Scrollbar(Scrollbar.VERTICAL);13. add(sbLeft, BorderLayout .WEST);14. 15. // Labels at North and South.16. Label labelTop = new Label ("This is North");17. labelTop.setFont(new Font("Serif", Font.ITALIC, 36));18. labelTop.setForeground(Color.white);19. labelTop.setBackground(Color.black);20. add(labelTop, BorderLayout.NORTH);21. Label labelBottom = new Label ("This is South");22. labelBottom.setFont(new Font("Monospaced", Font.BOLD, 18));23. labelBottom.setForeground(Color.white);24. labelBottom.setBackground(Color.black);25. add(labelBottom, BorderLayout.SOUTH);26. }27. }
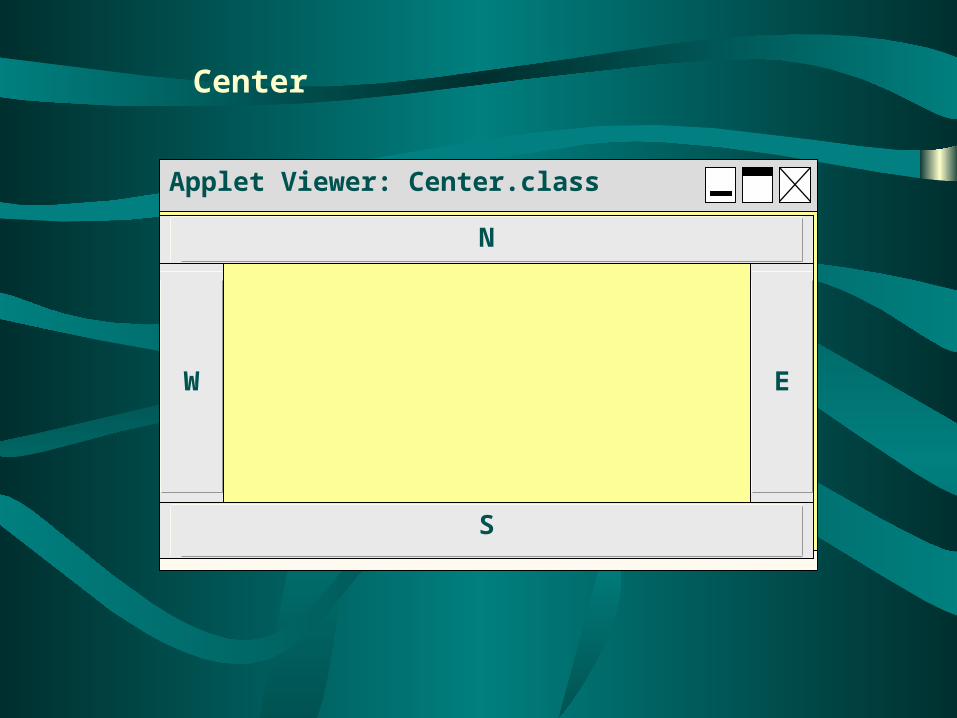
Applet Viewer: Center.class
.
S
N
W E
Center
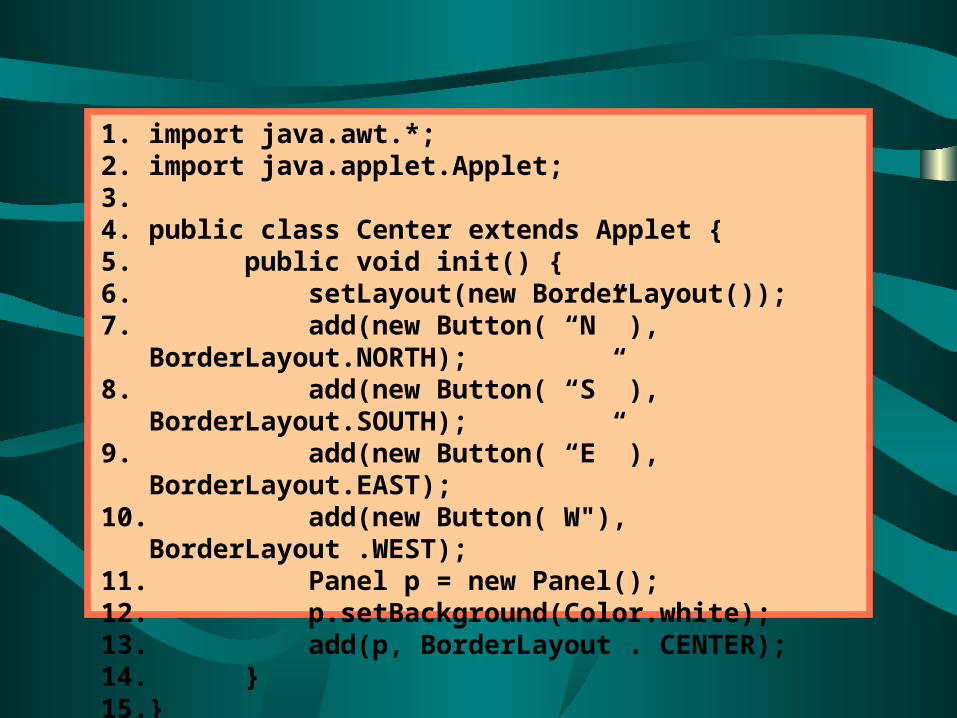
1. import java.awt.*;2. import java.applet.Applet;3. 4. public class Center extends Applet {5. public void init() {6. setLayout(new BorderLayout());7. add(new Button( “N” ),
BorderLayout.NORTH);8. add(new Button( “S” ),
BorderLayout.SOUTH);9. add(new Button( “E” ), BorderLayout.EAST);10. add(new Button( W"), BorderLayout .WEST);11. Panel p = new Panel();12. p.setBackground(Color.white);13. add(p, BorderLayout . CENTER);14. }15. }
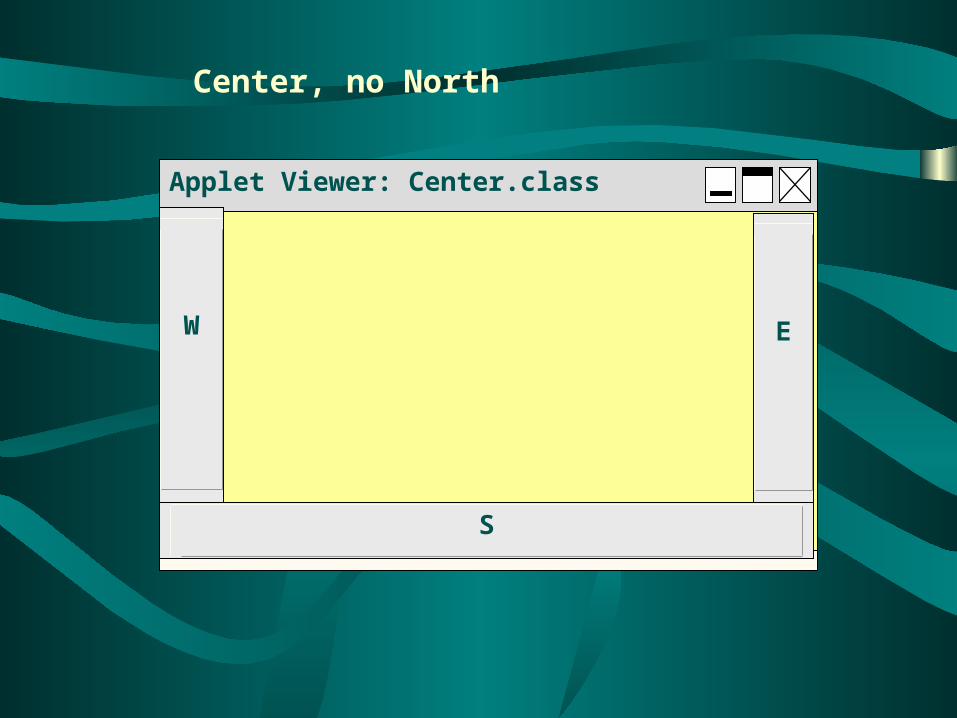
Applet Viewer: Center.class
.
S
W E
Center, no North
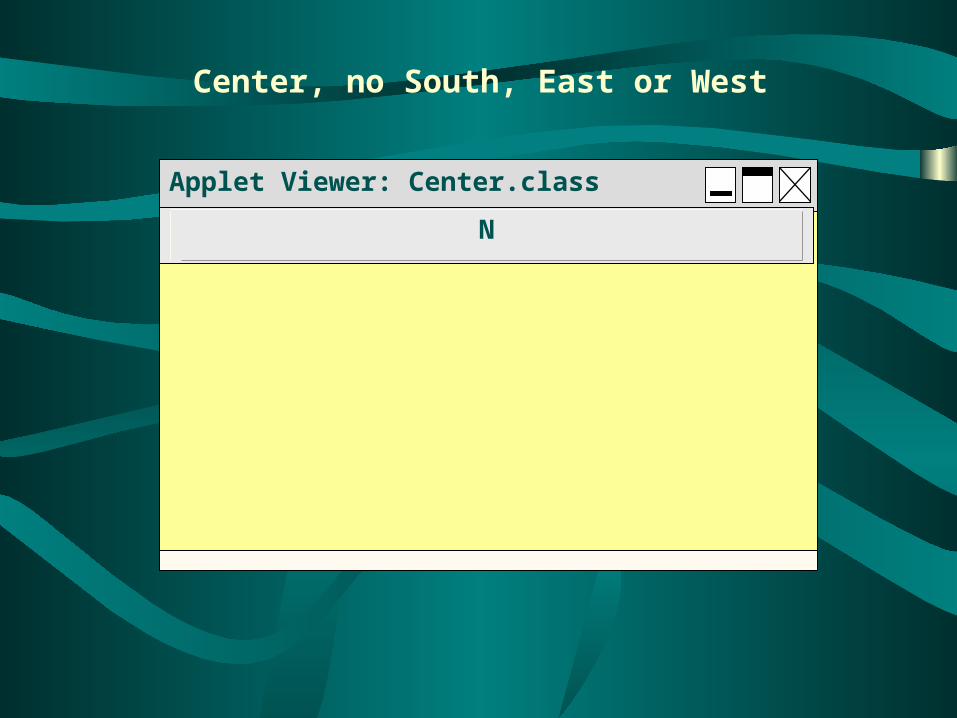
Applet Viewer: Center.class
.
N
Center, no South, East or West
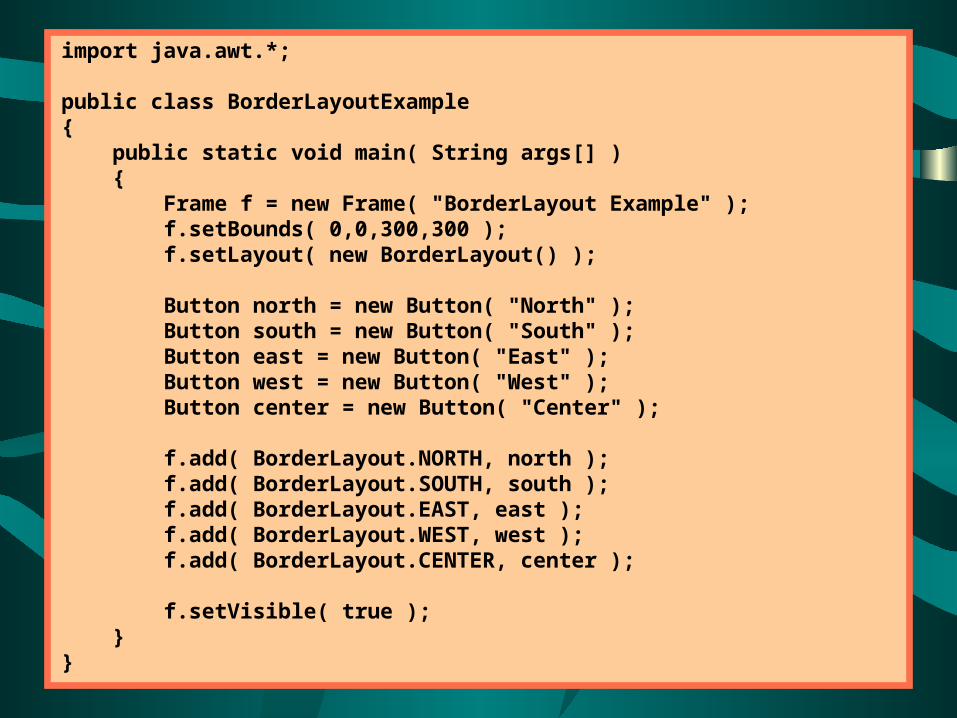
import java.awt.*;
public class BorderLayoutExample{ public static void main( String args[] ) { Frame f = new Frame( "BorderLayout Example" ); f.setBounds( 0,0,300,300 ); f.setLayout( new BorderLayout() );
Button north = new Button( "North" ); Button south = new Button( "South" ); Button east = new Button( "East" ); Button west = new Button( "West" ); Button center = new Button( "Center" );
f.add( BorderLayout.NORTH, north ); f.add( BorderLayout.SOUTH, south ); f.add( BorderLayout.EAST, east ); f.add( BorderLayout.WEST, west ); f.add( BorderLayout.CENTER, center );
f.setVisible( true ); }}
Other Layout Options
If you are in a situation where Flow, Grid, and Border will not create the layout you need, your choices are:
• To use a GridBag layout manager• To use a Card layout manager• To use no layout manager• To create your own layout manager
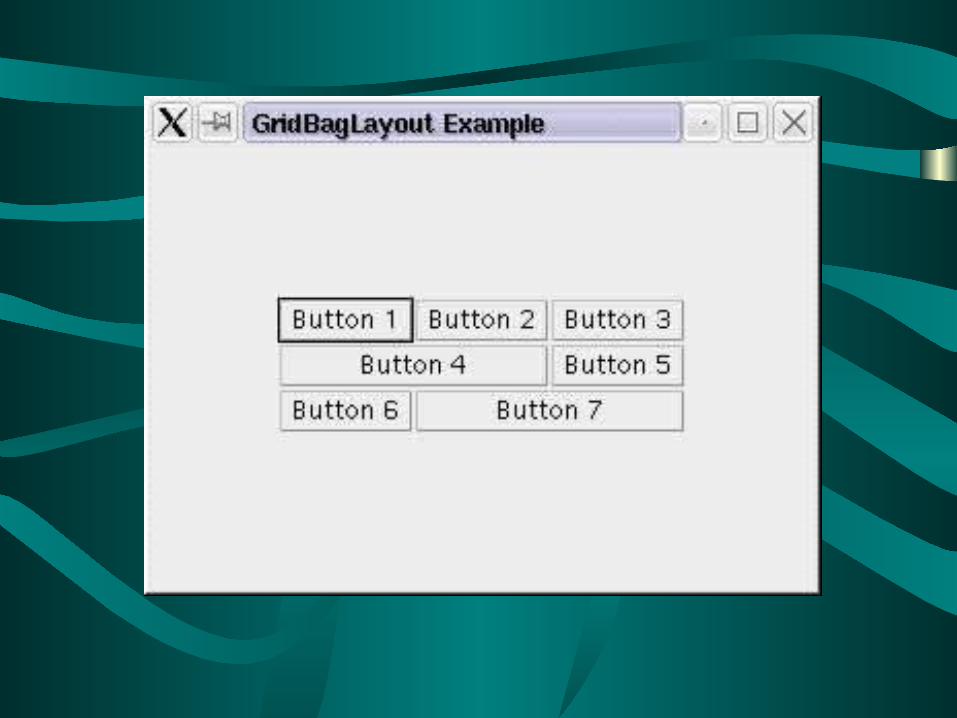
GridBag Layout Manager
is by far the most complicated layout manager
It divides its container into an array of cells, but (unlike the cells of a Grid layout manager) different cell rows can have different heights, and different cell columns can have different widths
A component can occupy a single cell or it can span a number of cells. A GridBag layout manager requires a lot of information to know where to put a component
GridBag Layout Manager ...
A helper class called GridBagConstraints is used to hold all the layout position information.
When you add a component, you use the add(Component, Object) version of the add() method, passing an instance of GridBagConstraints as the Object parameter.
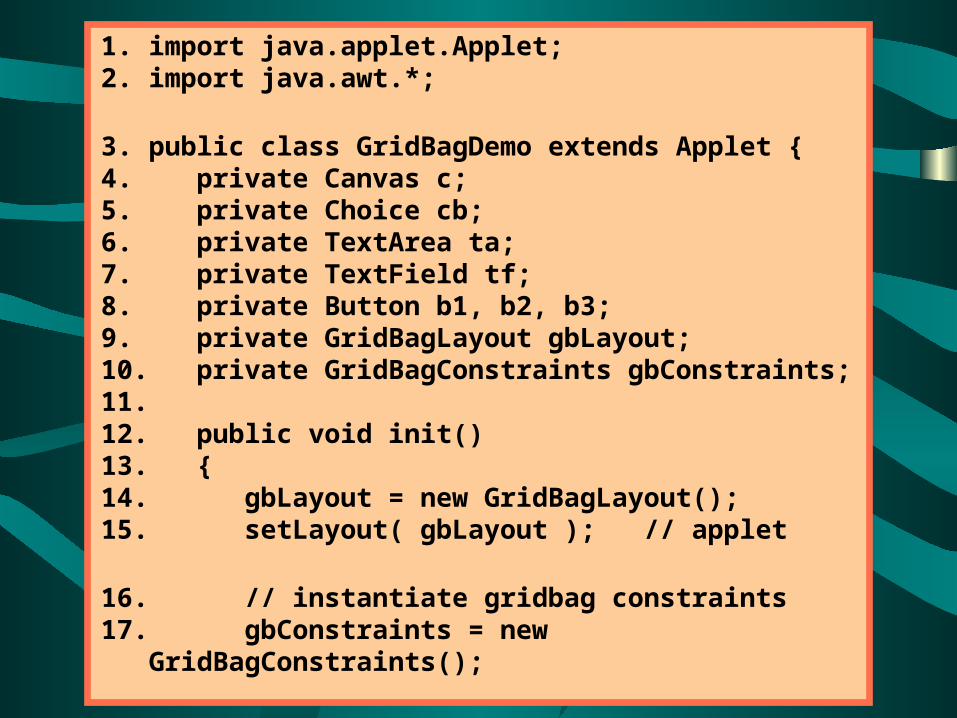
1. import java.applet.Applet;2. import java.awt.*;
3. public class GridBagDemo extends Applet { 4. private Canvas c;5. private Choice cb;6. private TextArea ta;7. private TextField tf;8. private Button b1, b2, b3;9. private GridBagLayout gbLayout;10. private GridBagConstraints gbConstraints; 11. 12. public void init()13. {14. gbLayout = new GridBagLayout();15. setLayout( gbLayout ); // applet
16. // instantiate gridbag constraints17. gbConstraints = new GridBagConstraints();
18. ta = new TextArea( "Text Area", 5, 10 );
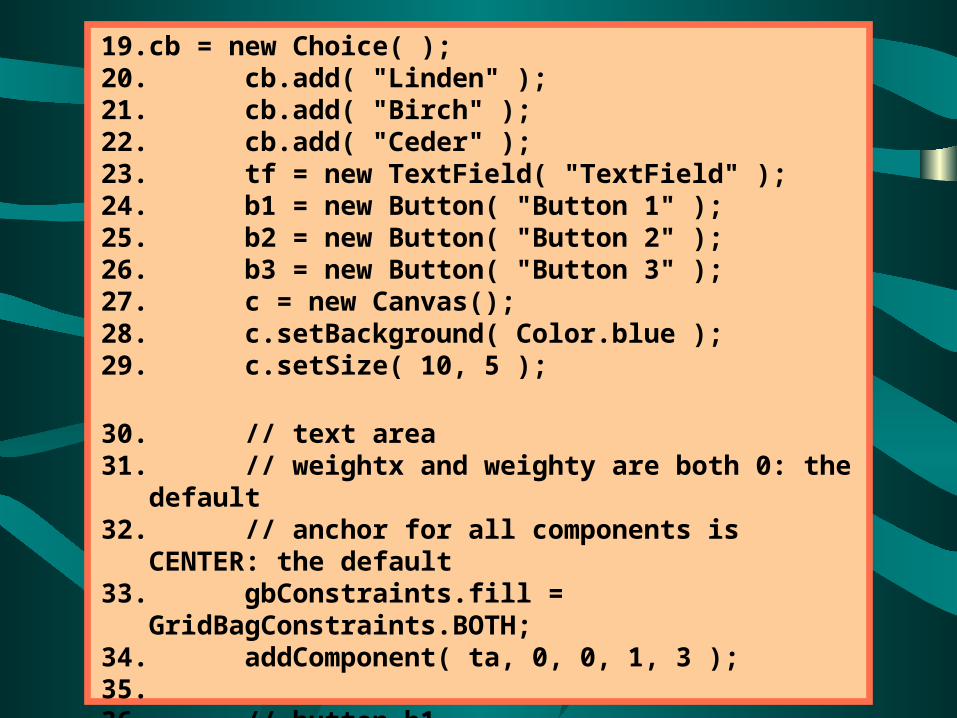
19. cb = new Choice( );20. cb.add( "Linden" );21. cb.add( "Birch" );22. cb.add( "Ceder" );23. tf = new TextField( "TextField" );24. b1 = new Button( "Button 1" );25. b2 = new Button( "Button 2" );26. b3 = new Button( "Button 3" );27. c = new Canvas();28. c.setBackground( Color.blue );29. c.setSize( 10, 5 );
30. // text area31. // weightx and weighty are both 0: the default32. // anchor for all components is CENTER: the default33. gbConstraints.fill = GridBagConstraints.BOTH;34. addComponent( ta, 0, 0, 1, 3 ); 35. 36. // button b137. // weightx and weighty are both 0: the default
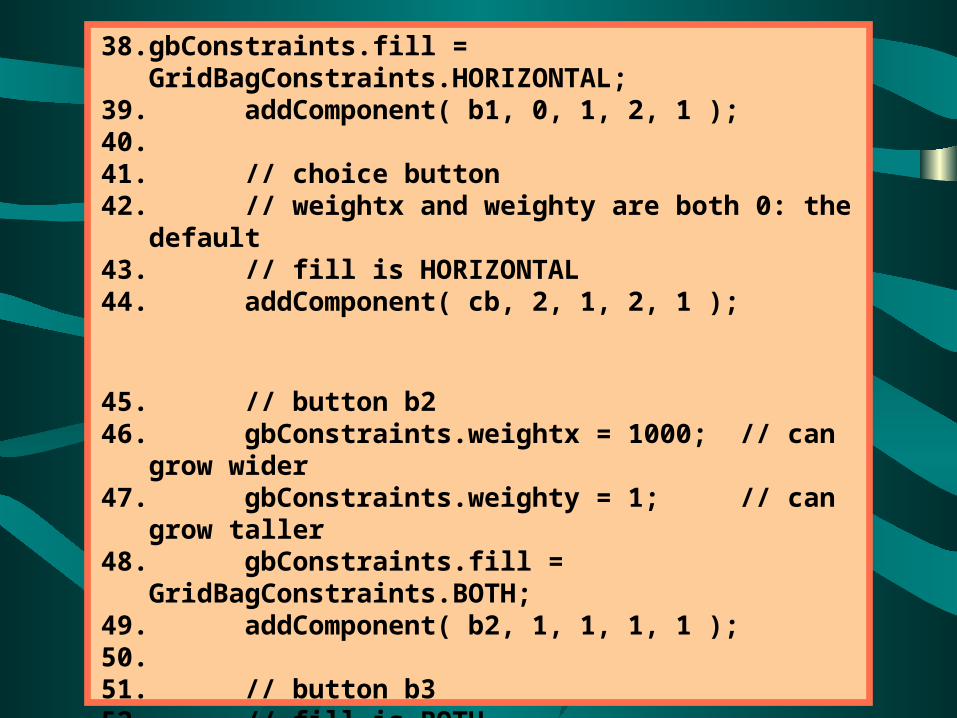
38. gbConstraints.fill = GridBagConstraints.HORIZONTAL;39. addComponent( b1, 0, 1, 2, 1 );40. 41. // choice button42. // weightx and weighty are both 0: the default43. // fill is HORIZONTAL44. addComponent( cb, 2, 1, 2, 1 );
45. // button b246. gbConstraints.weightx = 1000; // can grow wider47. gbConstraints.weighty = 1; // can grow taller48. gbConstraints.fill = GridBagConstraints.BOTH;49. addComponent( b2, 1, 1, 1, 1 );50. 51. // button b352. // fill is BOTH53. gbConstraints.weightx = 0;54. gbConstraints.weighty = 0; 55. addComponent( b3, 1, 2, 1, 1 );56. 57. // textfield
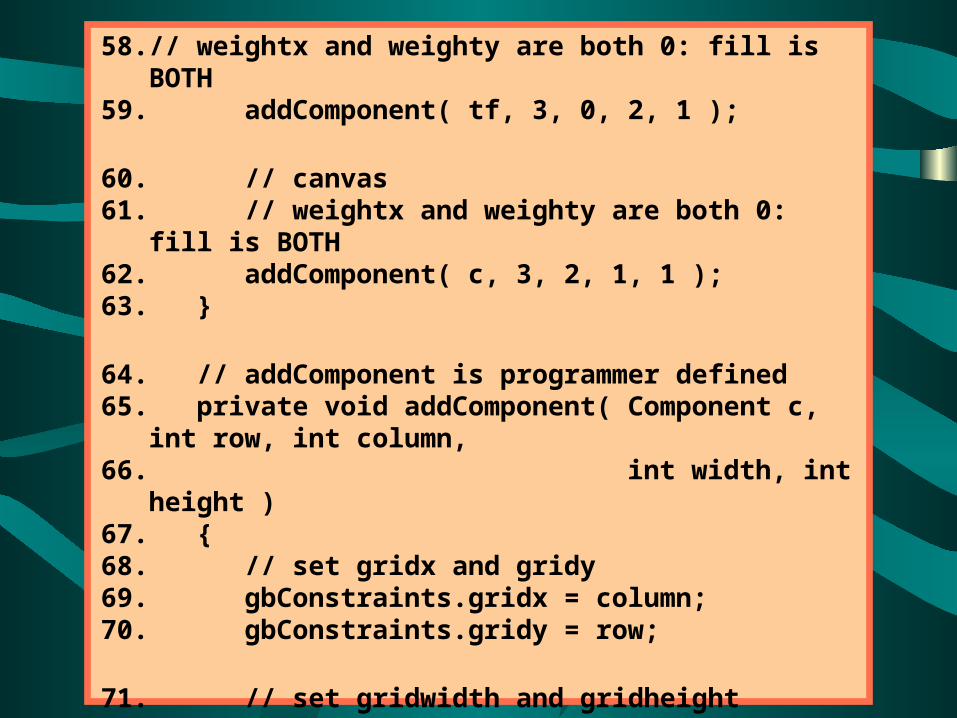
58. // weightx and weighty are both 0: fill is BOTH59. addComponent( tf, 3, 0, 2, 1 );
60. // canvas61. // weightx and weighty are both 0: fill is BOTH62. addComponent( c, 3, 2, 1, 1 ); 63. }
64. // addComponent is programmer defined65. private void addComponent( Component c, int row, int
column,66. int width, int height )67. {68. // set gridx and gridy 69. gbConstraints.gridx = column;70. gbConstraints.gridy = row;
71. // set gridwidth and gridheight72. gbConstraints.gridwidth = width; 73. gbConstraints.gridheight = height;
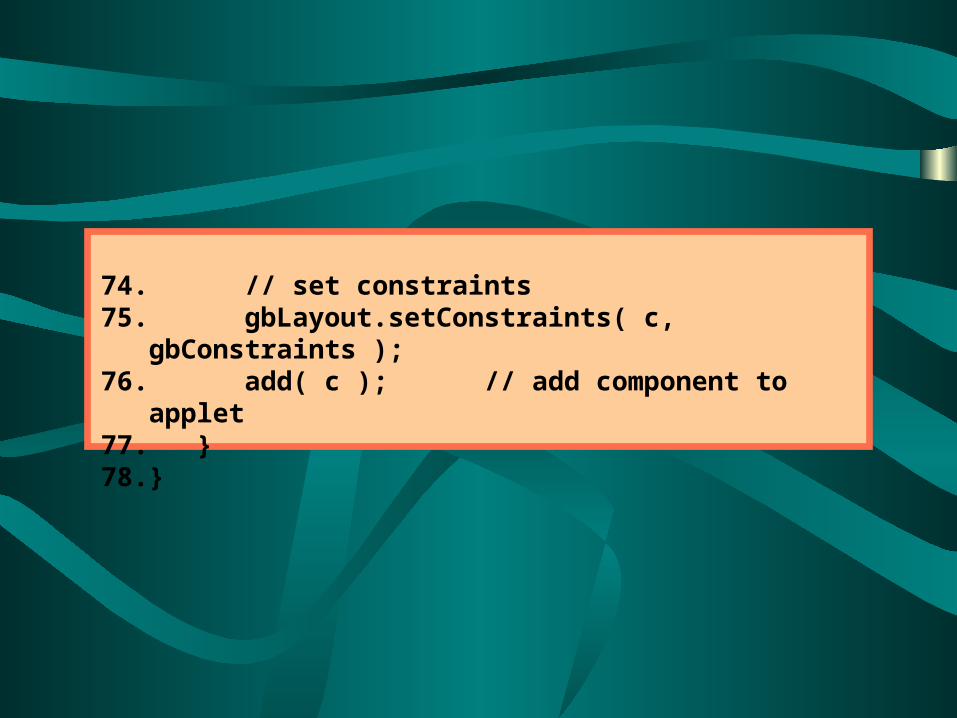
74. // set constraints75. gbLayout.setConstraints( c, gbConstraints ); 76. add( c ); // add component to applet77. }78. }
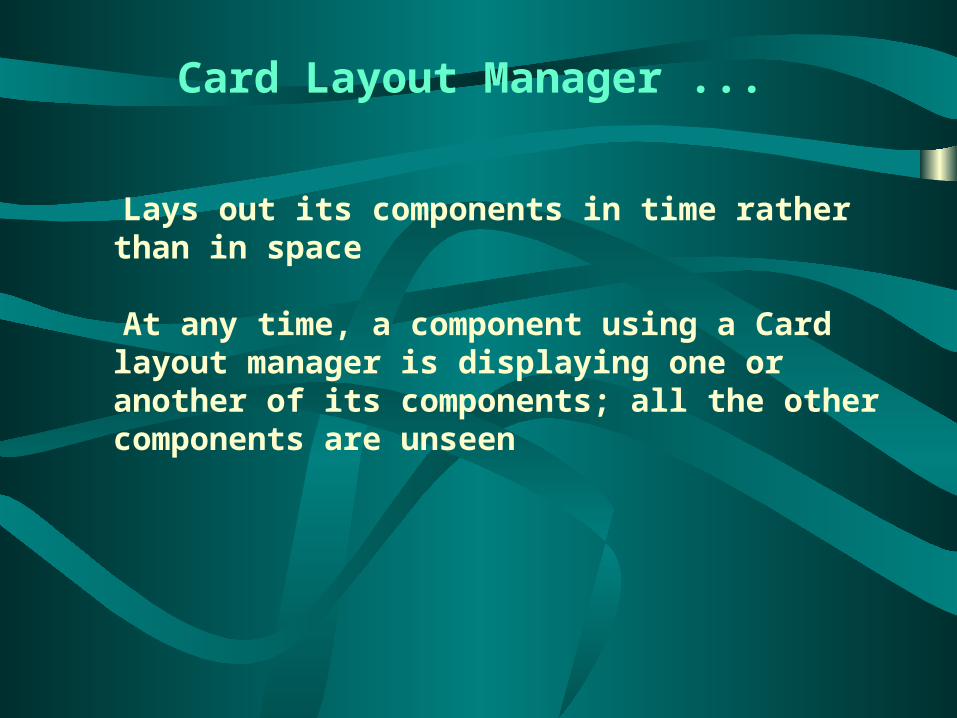
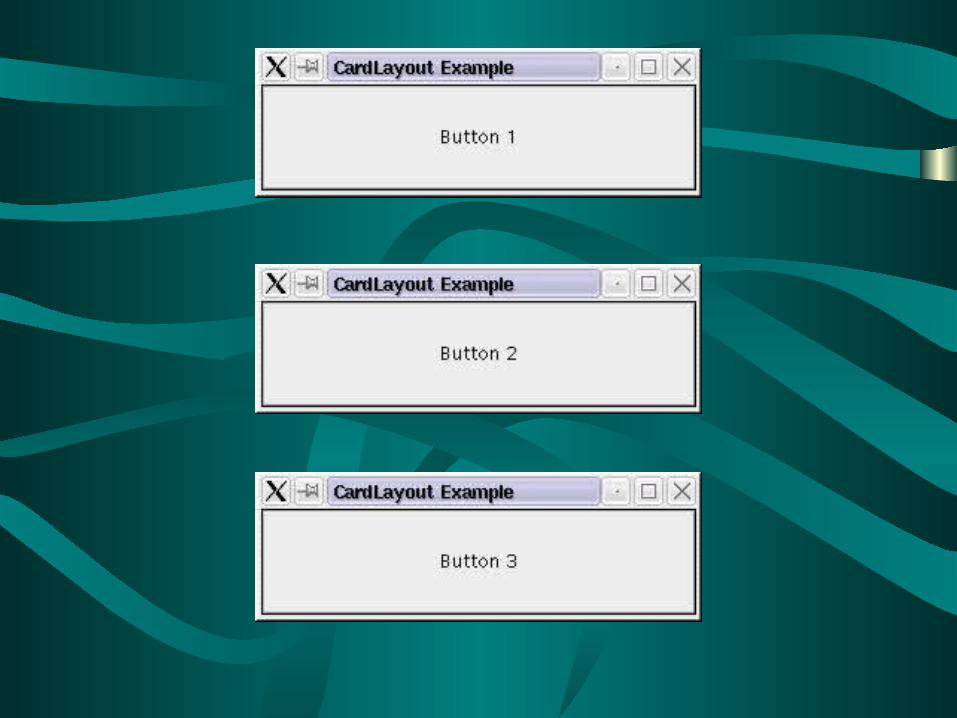
Card Layout Manager ...
Lays out its components in time rather than in space
At any time, a component using a Card layout manager is displaying one or another of its components; all the other components are unseen
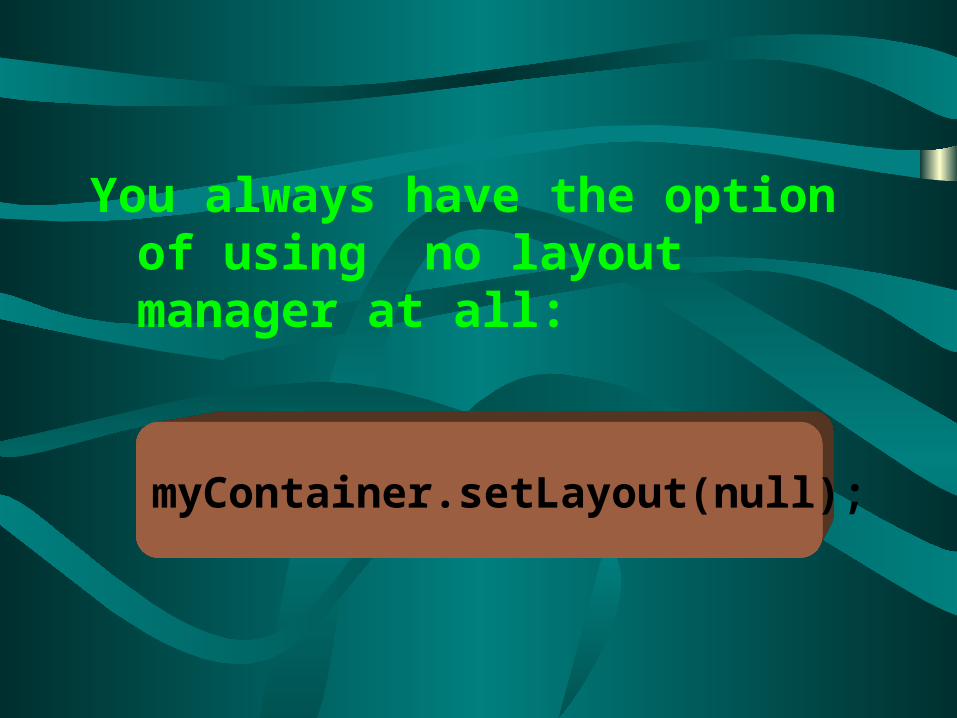
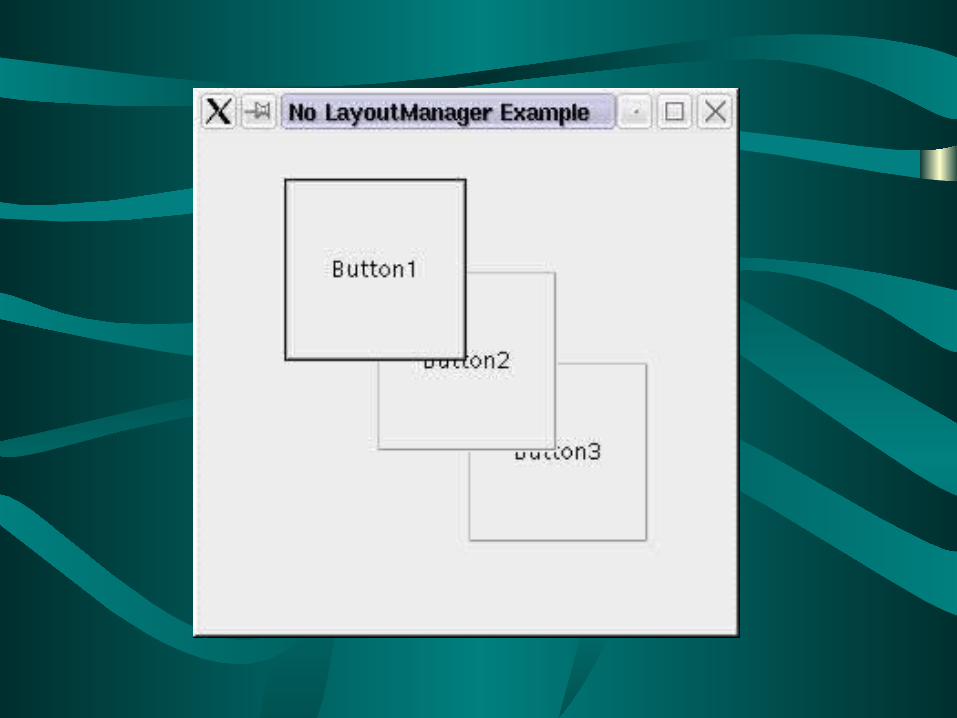
You always have the option of using no layout manager at all:
myContainer.setLayout(null);