Unique Bach Design Brief: DVC NCEA Level 3 (2016)williamvanzyldvchc.co.nz/resources/Unique Bach...
38
Unique Bach Design Brief: DVC NCEA Level 3 (2016) Unique bach-sustainable architecture (Design and Visual Communication-Secondary School-NCEA Level 3)* 17/18-year-old students BRIEF: Design your own unique sustainable bach (holiday home) located anywhere in the world. *Ensure you illustrate, document, and explain all the different stages of your design.
Transcript of Unique Bach Design Brief: DVC NCEA Level 3 (2016)williamvanzyldvchc.co.nz/resources/Unique Bach...
Unique Bach Design Brief:
DVC NCEA Level 3 (2016)
Unique bach-sustainable architecture (Design and Visual
Communication-Secondary School-NCEA Level 3)* 17/18-year-old
students
BRIEF: Design your own unique sustainable bach (holiday home)
located anywhere in the world. *Ensure you illustrate, document,
and explain all the different stages of your design.

LICENSE:
Creative Commons License for this document: Intellectual property of W van
Zyl
Unique sustainable bach (Design and Visual Communication) by W van Zyl is licensed under a
Creative Commons Attribution-NonCommercial-ShareAlike 4.0 International License.
Based on a work at http://williamvanzyldvchc.co.nz/.
It is share and share alike. IMPORTANT: Under no circumstances are you allowed to publish this
work!
Credit background: Marti Bodek. Be'er Ganim Synagogue early sketches. File:Bodek
Architects Synagogue sketches. Wikipedia. Created: 21 March 2015.
https://en.wikipedia.org/wiki/Moti_Bodek#/media/File:Bodek_Architects_Synagogue_
sketches.jpg
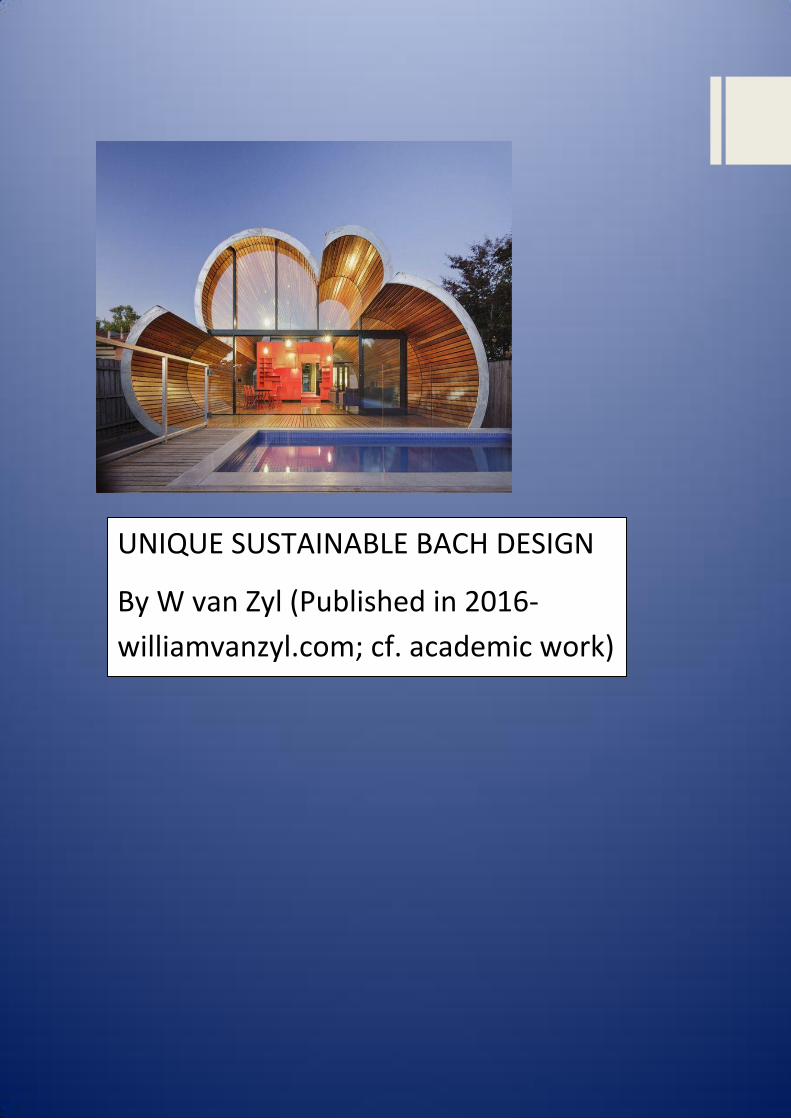
UNIQUE SUSTAINABLE BACH DESIGN
By W van Zyl (Published in 2016-
williamvanzyl.com; cf. academic work)

Unique Sustainable Bach Design
SITUATION:
You are privileged to design and build your own unique bach. You are in a situation where
you have the freedom to choose any location in the world. The only restrictions you are
facing are the specifications given (room sizes). To design your own unique bach is the
challenge you are facing. Use this freedom to investigate, to do research, and to discuss the
many possibilities with your friends in class or others. Remember to document these
conversations (short form).
BRIEF:
Design your own unique bach located anywhere in the world. *Ensure you illustrate,
document and explain all the different stages of your design.
KEYWORDS:
Unique bach; sustainable bach; bio-mimetics; design era, artistic; scientific; economic;
engineering, ideation; exhibition
KEYPHRASES:
Study of the terrain (USE Google maps & Google Earth).
Site investigation and surrounding sites.
Explore the immediate environment.
Consider nature (insects, vegetation. landmarks, animals, etc.)
Consider weather and climate
Identify your design era (modernism/post modernism, etc.)
Apply sustainable features and functions.
Apply scientific concepts.
Consider artistic techniques (shape, form, pattern, texture-sculpture, etc.).
Meet all set specifications (room sizes).
Use ideation techniques like: tessellation, exaggeration, deconstruction, inversion, rotation,
re-combination, translocation, abstraction (download the PDF activity sheet from the TKI
website below).
IMPORTANT: Go to this website below and study the DVC level 3 exemplar of the student’s
work, specifically IDEATION TECHNIQUES. You have to use some of these techniques
(minimum 3) in your own design work. Challenging! Search YouTube tutorials for more
information on ideation.
Read and study everything on this web page it is very important!!!
Top Scholar DVC 2013 (Resource)
http://technology.tki.org.nz/Resources/Student-showcases/Design-and-visual-communication/Top-scholar-
DVC-2013
SUGGESTED PLANNING AND LAYOUT FOR YOUR DESIGN:
SECTION 1: Choose location. Investigate and research the area, terrain, environment,
weather, climate and more. Look for charts and diagrams with precipitation, sunny days,
wind speed, temperatures, etc. Copy and paste these charts into your PowerPoint, make
comments about the casual relationship and possible effects on your building and the role
the weather and climate could play. For example how will you harvest rain water, where and
how many solar panels (photovoltaic) will you install, where will you position your wind
turbines, and so on?
SECTION 2: Investigate sustainable baches, research and explore possible shapes and
forms for your unique bach. Identify the style you prefer, for example Modernism or Post
Modernism.
DESIGN ERAS TIMELINE:
Remember this website? http://architecture.about.com/cs/historicperiods/a/timeline.htm
Use this website and determine (assess) which style you prefer. For example: MINIMALIST
(under Modernism category). Below an excerpt copied from the website.
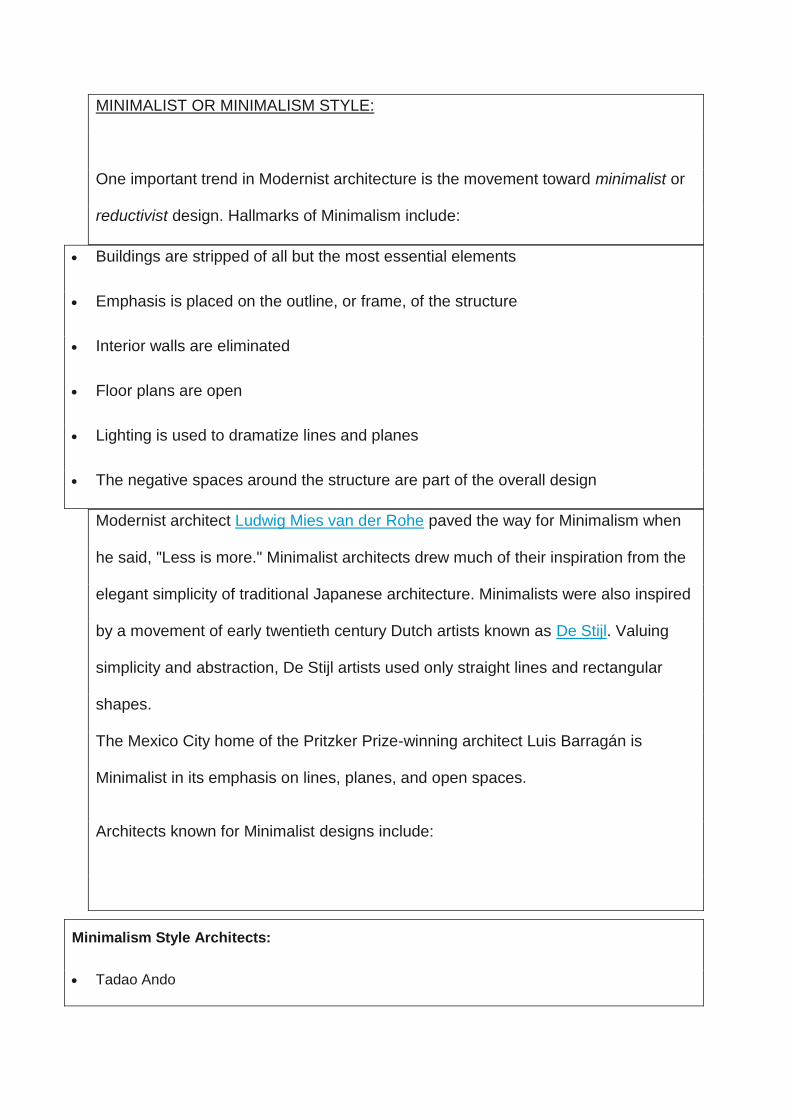
MINIMALIST OR MINIMALISM STYLE:
One important trend in Modernist architecture is the movement toward minimalist or
reductivist design. Hallmarks of Minimalism include:
Buildings are stripped of all but the most essential elements
Emphasis is placed on the outline, or frame, of the structure
Interior walls are eliminated
Floor plans are open
Lighting is used to dramatize lines and planes
The negative spaces around the structure are part of the overall design
Modernist architect Ludwig Mies van der Rohe paved the way for Minimalism when
he said, "Less is more." Minimalist architects drew much of their inspiration from the
elegant simplicity of traditional Japanese architecture. Minimalists were also inspired
by a movement of early twentieth century Dutch artists known as De Stijl. Valuing
simplicity and abstraction, De Stijl artists used only straight lines and rectangular
shapes.
The Mexico City home of the Pritzker Prize-winning architect Luis Barragán is
Minimalist in its emphasis on lines, planes, and open spaces.
Architects known for Minimalist designs include:
Minimalism Style Architects:
Tadao Ando

Luis Barragan
Yoshio Taniguchi
Richard Gluckman
SECTION 3: Identify the specifications for the batch (size of rooms, different rooms and
possible layouts). Use a bubble diagram to explore the possible layouts and configurations.
*See specifications in this document for details
BUBBLE DIAGRAM (ARCHITECTURE):
Credit: http://teckids.blogspot.co.nz/2005/11/art-of-bubble-diagram-what-i-find.html
SECTION 4: Explore a vast range of components, influences, ideas, scientific / artistic
/sustainable ideas for your unique bach.
SECTION 5: Once you have done all the investigation, research and explored the
possibilities it is time to do your ideation (generate design ideas). Look at the exemplars
for ideation. Use freehand sketches (soft Pencil / pro-markers) to start the ideation
process. For example you could start with the idea of a sand dune. Look at different shapes
and forms of sand dunes. Choose one and develop the idea (make changes to it). The
ideation must be very extensive, in other words it should contain several pages including
images from the internet, your own freehand sketches with annotations, 2-D and 3-D
sketches of 2 to 3 final ideas. The ideation should show a flow of ideation progression and
the development of your design ideas. Think, draw and make notes like an architect and
designer.
See videos below –Architect Barry Berkus
‘How to think like an architect’.
https://youtu.be/vmHoGicPQQQ
‘How To Think Like An Architect: Designing From Organic Form’
https://youtu.be/fwJB7KzDEbQ
Google search & do YouTube searches: Ideation, design and visual communication and /or
ideation, architecture…copy and paste these ideas/images into an inspiration board
(PowerPoint).
SECTION 6: Now only are you ready to make a freehand drawing of your 2 to 3 floor
plans. The challenge is to merge (mix everything you have done to this point) together to
come up with a unique bach design. You are encouraged to think differently, extend your
own boundaries, be adventurous, be creative and innovative and break the mould.
See YouTube video: How to draw a house floor plan like an Architect (freehand
sketching & tracing)
https://youtu.be/DOV3bYfQ8ys
THE FOLLOWING SECTIONS (7, 8 & 9): As per previous DVC courses. You have to
produce the following:
Floor plans with dimensions (Plan view, North Elevation, East Elevation and West
Elevation – on Sketch-up (take screenshots and paste it into your PowerPoint as
you have done for DVC L 2 in 2015
2-D and 3-D drawings – Sketch-up (with dimensions in mm), Some screenshots from
different angles to illustrate what the final building will look like (ideas & final
design)
See the exemplar and continue to do exactly the same as with previous DVC
courses. See exemplars.
SECTION 10: EXHIBITION OF MODEL, WORK DRAWINGS AND MORE:
This is a new brief; you have not done this before. Follow his example.
This specific brief (additional) is about the display & exhibition of your completed unique
bach: You have to plan and design an exhibition for your unique bach which will be
displayed at the Waikato Museum. This brief is not available in this document, but an
additional brief will be given to students: EXHIBITION OF UNIQUE SUSTAINABLE BACH IN
THE WAIKATO MUSEUM (NZ).
Just to inform you about the brief (to follow):
SITUATION: You are a new and upcoming architect in the Waikato area (New Zealand) and
you get the opportunity to display your work and market yourself as an architect who
specialises in sustainability and biomimetics.
BRIEF: Design an exhibition for your unique sustainable bach in a room in the Waikato
Museum, which will be provided by the museum. Include your portfolio, 3-d model, enlarged
pictures of your model and design sketches/work drawings, etc. (Sketch-up). Use the
computer, data projector & screen to loop parts of your presentation (choose a component
like research, for instance). Show possible flyers and brochures of your design work
(assume you are an architect marketing your work). Show the link to your website or blog.
SPECIFICATIONS AND AVAILABLE RESOURCES AT THE MUSEUM:
Size of room: 10 meter x 8 meter=80 sq. m. One entrance and one exit door.
Available are: data projector, computer, screen, displays of your choice, small tables,
website/blog facilities, and printing facilities (posters & flyers.
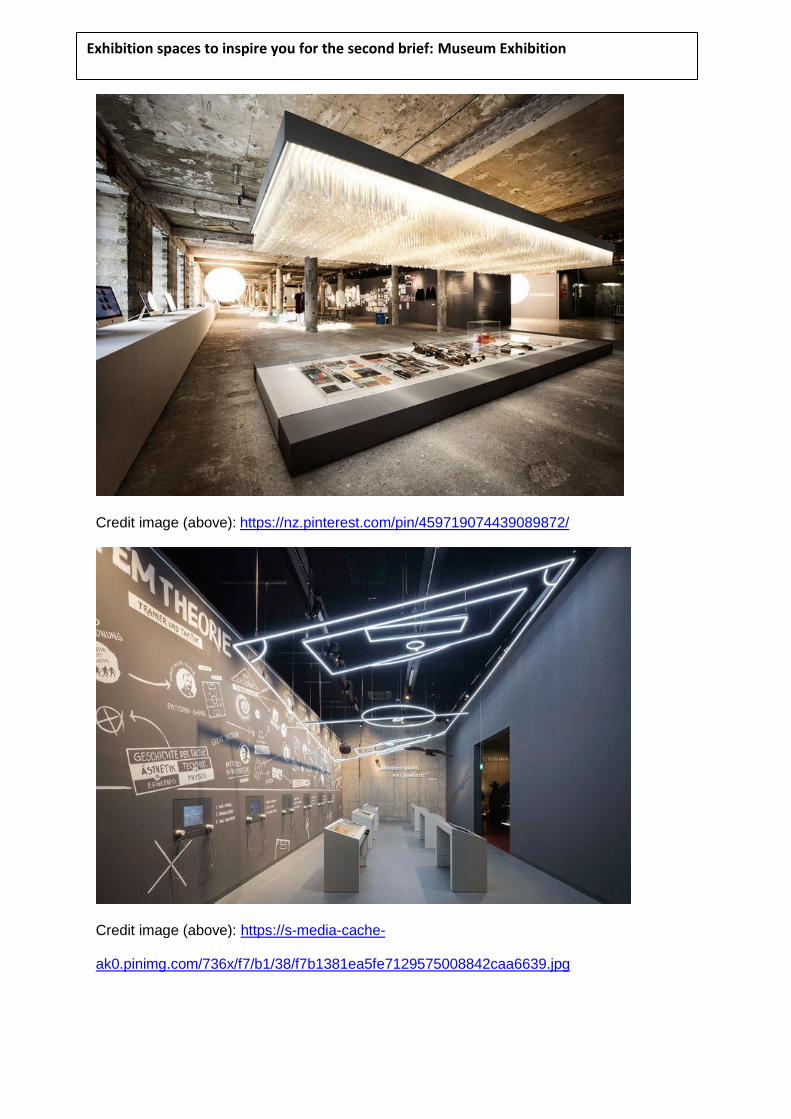
Credit image (above): https://nz.pinterest.com/pin/459719074439089872/
Credit image (above): https://s-media-cache-
ak0.pinimg.com/736x/f7/b1/38/f7b1381ea5fe7129575008842caa6639.jpg
Exhibition spaces to inspire you for the second brief: Museum Exhibition

More about this additional brief later…
Use the specification exactly as given in the exemplar. The exact size & shape of the room,
position of data projector, location of entrances, position of display boards and more are all
illustrated. Use the sketch/diagram of the room at Waikato museum as specified.
Video YouTube-exhibition Architecture: STUDENTS PREPARING A MUSEUM OR
EXHIBITION SPACE TO DISPLAY THEIR WORK (ARCHITECTURE)
Cross-ed // Taylor's Architecture Exhibition @ White Box (Opening Ceremony/
Behind the Scenes)
“On the 8th Jan 2016, the team has delivered a successful grand opening for Cross-ed, Taylor's
University's Architecture Exhibition. This video highlights the sweat and tears of our committee
members with weeks of preparation. But nonetheless, we are all proud of the work and outcome as a
cohesive cohort”.
https://youtu.be/Bgag2GX3sAU
3-D MODEL: You should create a 3-D model with the 3-D printer of your unique sustainable
bach.
SPECIFICATIONS FOR UNIQUE BACH (Areas specified are not to be exceeded):
Sizes of rooms / areas of the bach:
Lounge = 30sqm, Open plan kitchen / dining area = 30sqm, Main bedroom = 25sqm, 2nd
Bedroom = 25sqm, Bathroom = 16sqm, Bathroom 2 = 16sqm, Patios = 35sqm, Pantry =
14sqm, Garage / Carport = 40sqm. * If you include a pool area do not spend heaps of time
on it, it is all about the building! Just show the outlines of the pool or spa area—that is fine.
Do not spend any time on landscaping and gardens!! You could indicate the position
of some deciduous trees (shed leaves during summer-passive solar), but that is
enough. Focus on the building itself!
SOME UNIQUE BUILDINGS AND IDEAS YOU COULD INVESTIGATE AND USE:
To start you off visit and explore the following links:
Design eras (you should recognize this site from previous DVC courses).
http://architecture.about.com/cs/historicperiods/a/timeline.htm
Look at the Inverloch Sand Dune House, Australia. This program was on NZTV
1, 2 or 3 two nights ago (Grand Designs Australia). Search it -you could stream
it on video. The architect studies the environment and it all started with the
shape and form of a sand dune. There are great ideation possibilities here.
Look at the shape of sand dunes and how the wind (aerodynamics) will
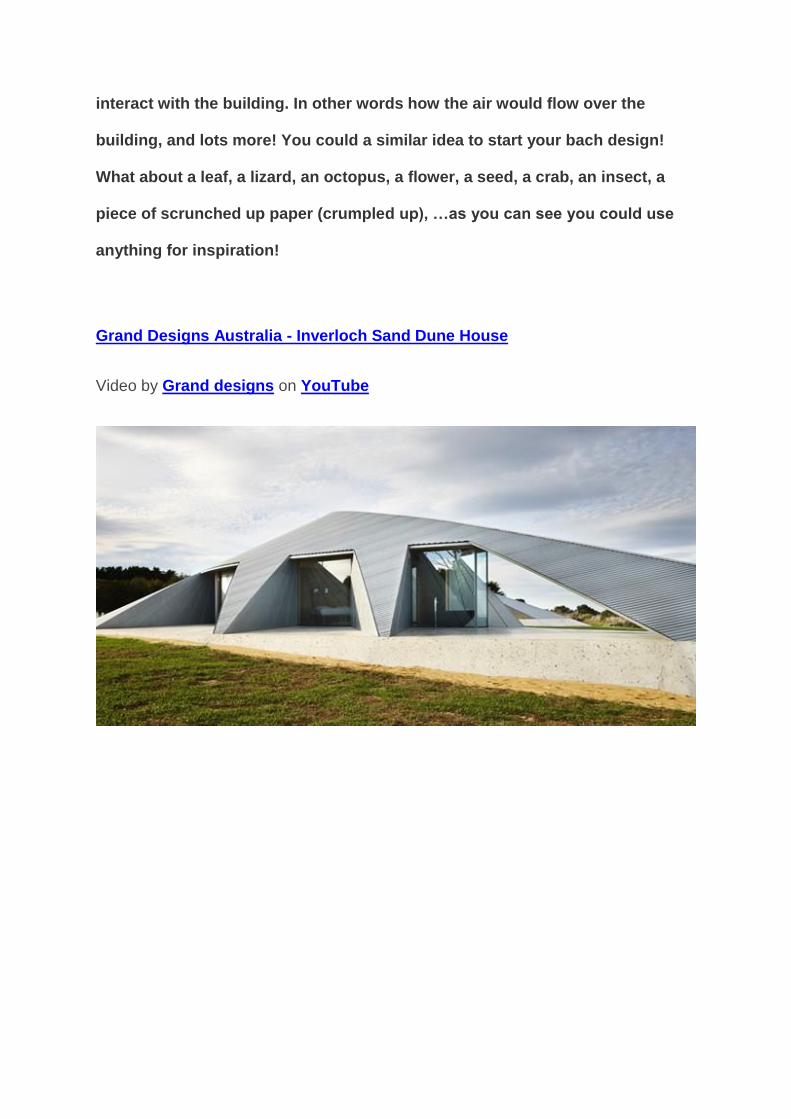
interact with the building. In other words how the air would flow over the
building, and lots more! You could a similar idea to start your bach design!
What about a leaf, a lizard, an octopus, a flower, a seed, a crab, an insect, a
piece of scrunched up paper (crumpled up), …as you can see you could use
anything for inspiration!
Grand Designs Australia - Inverloch Sand Dune House
Video by Grand designs on YouTube
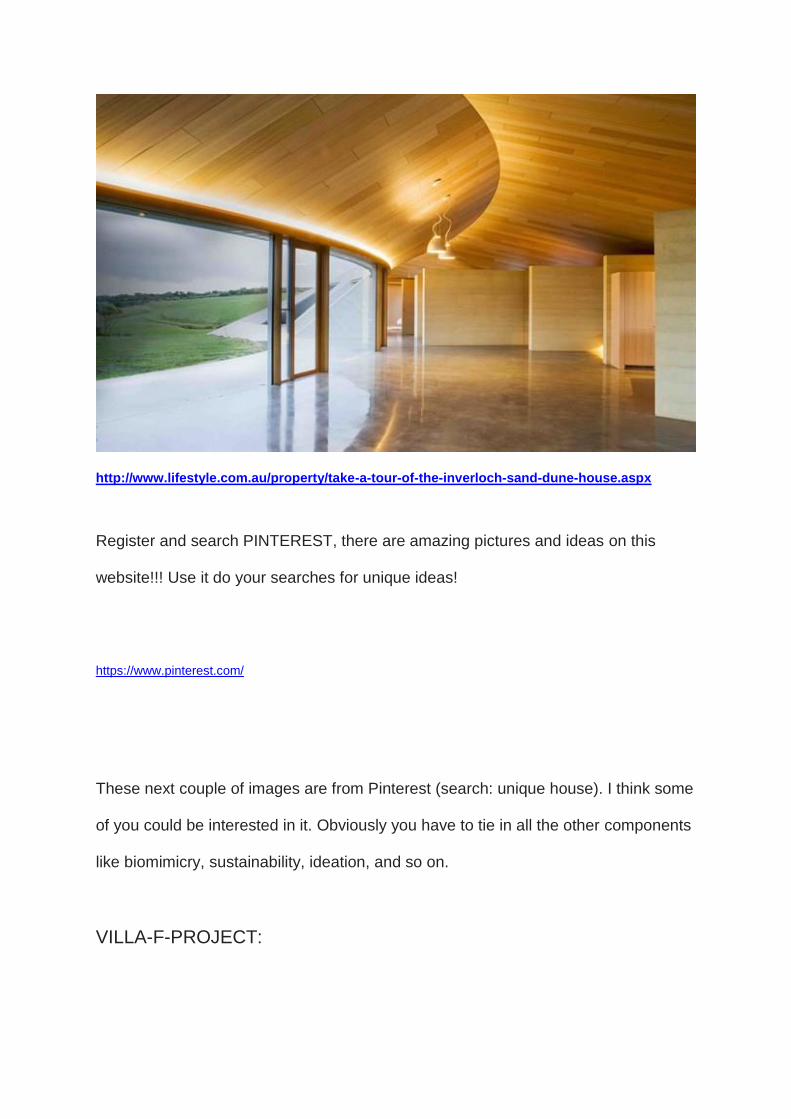
http://www.lifestyle.com.au/property/take-a-tour-of-the-inverloch-sand-dune-house.aspx
Register and search PINTEREST, there are amazing pictures and ideas on this
website!!! Use it do your searches for unique ideas!
https://www.pinterest.com/
These next couple of images are from Pinterest (search: unique house). I think some
of you could be interested in it. Obviously you have to tie in all the other components
like biomimicry, sustainability, ideation, and so on.
VILLA-F-PROJECT:
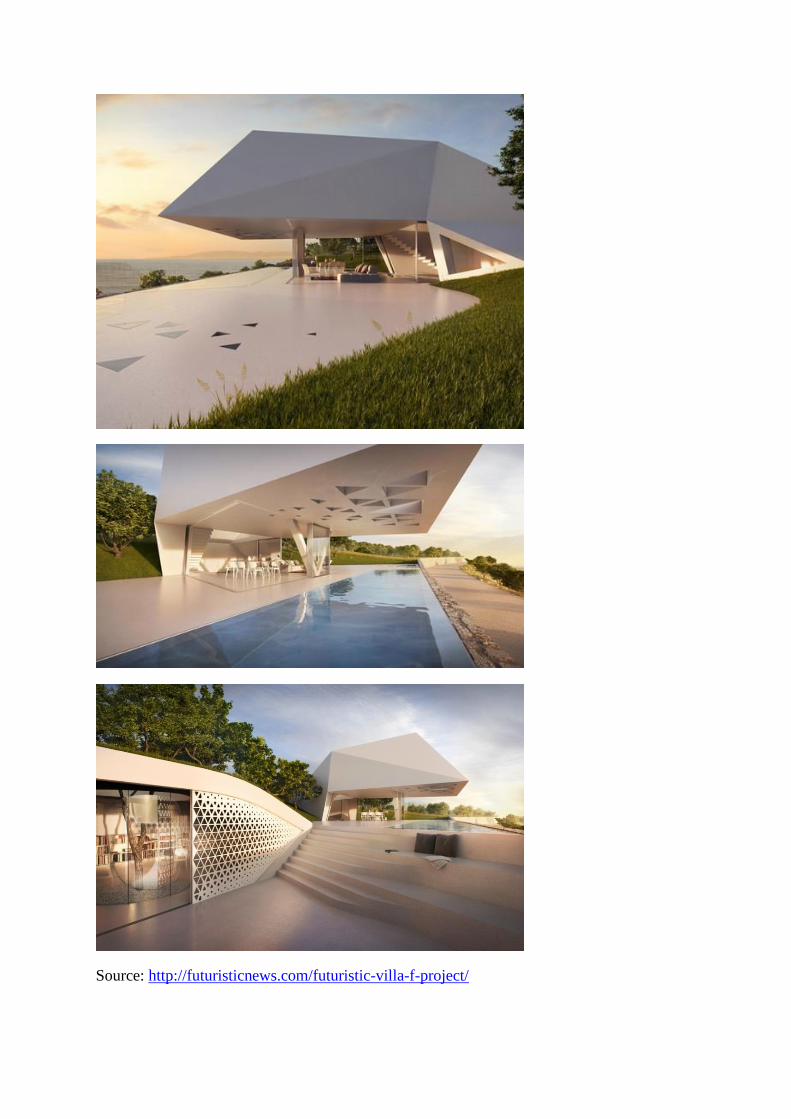
Source: http://futuristicnews.com/futuristic-villa-f-project/
Remember you are a DVC L 3 student and the standard (complexity/details) of your design
work should reflect it. You have to consider the building materials you are considering to
use.
For example you could use the following building materials for your bach: Aluminium
cladding for the exterior walls and roof. Shuttered rammed earth sections for interior
walls. Coloured concrete floors. A macrocarpa ceiling (sustainable timber). Large triple
glazed windows in aluminium frames. Aluminium frames with large glass sections for interior
/external doors.
Discuss and illustrate the following with regards to you design
decision (Unique Bach Design):
Weather and climate of the location (precipitation, sunny days during the year, wind
speed and wind direction)
Terrain of the location (screenshots Google Maps and Google Earth)
Bio-mimetic influences (for example the shape of a sand dune could be considered
for the unique bach). To make the building more aerodynamic it will channel the air
flow effortlessly over the building when the wind blows, and you could perhaps trap
some moving air into tubes which could spin smaller wind turbines (blades) in the
tubes to generate electrical power (engineering).
Sustainable architecture (e.g. Passive Solar Design – Sun, Passive Ventilation-Air
Flow, and more). Apply what you know and explore additional and new sustainable
features and functions. View this slideshow from slide share about passive solar
design: http://www.slideshare.net/WilliamZyl/passive-solar-design-architecture-
33264758
Scientific concepts and ideas. For example some engineering features you are
thinking of. Discuss and collaborate with your friends in class-you could get some
new ideas!
Artistic inspired shapes/forms and ideas.
Other…
Once you have completed your design work, it will take the entire year to complete this one
portfolio; ensure that all the sections discussed here have been included. Obviously it should
fit together chronologically, in other words the ‘flow’ of the design process should make
sense and tie in with your overall design (‘tell the story’).
Format and software used to compile your work:
Document everything you do! Use a MS PowerPoint to compile all you work (Portfolio). The
entire PowerPoint will be printed off at the end of the year, your freehand sketches (soft dark
pencil/A3 size drawing paper—Pro-markers are optional) and photos of your 3-D model will
also be included. Take close-up photos of your 3-D model and add annotations. Annotations
and notes are very important to ‘tell the story’ of the design process.
The DVC L3 CREDITS:
See course outline to guide you on the DVC website.
http://williamvanzyldvchc.co.nz/course-outlines-2016.php
See also NZQA Website: Design and Visual Communication Level 3:
http://www.nzqa.govt.nz/ncea/assessment/search.do?query=design+and+visual+communication&v
iew=all&level=03
DVC website:
http://williamvanzyldvchc.co.nz/
Other resources/academic papers, etc. (for teachers):
https://wvanzylacademic.atavist.com/
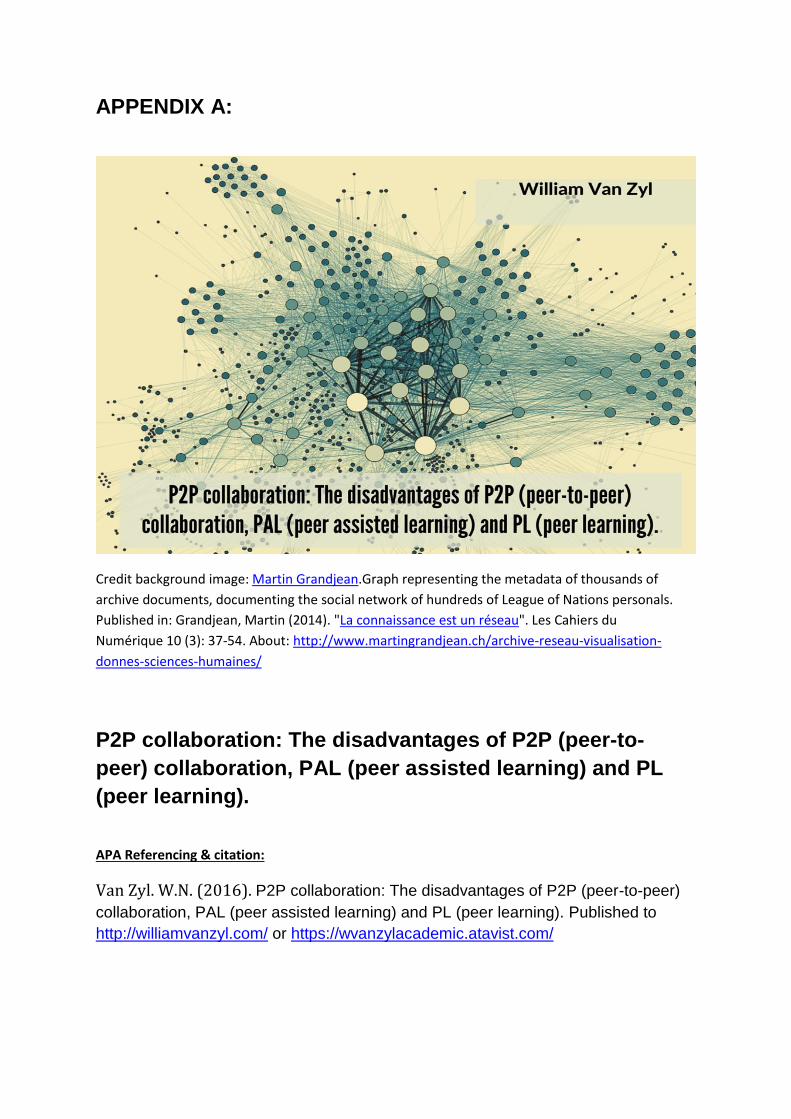
APPENDIX A:
Credit background image: Martin Grandjean.Graph representing the metadata of thousands of
archive documents, documenting the social network of hundreds of League of Nations personals.
Published in: Grandjean, Martin (2014). "La connaissance est un réseau". Les Cahiers du
Numérique 10 (3): 37-54. About: http://www.martingrandjean.ch/archive-reseau-visualisation-
donnes-sciences-humaines/
P2P collaboration: The disadvantages of P2P (peer-to-
peer) collaboration, PAL (peer assisted learning) and PL
(peer learning).
APA Referencing & citation:
Van Zyl. W.N. (2016). P2P collaboration: The disadvantages of P2P (peer-to-peer)
collaboration, PAL (peer assisted learning) and PL (peer learning). Published to
http://williamvanzyl.com/ or https://wvanzylacademic.atavist.com/
SECTION FOR TEACHERS (INCLUDING REFERENCES TO RESEARCH):
‘Managing the collaborative processes in and from the
classroom’.
This paper is to inform teachers on the disadvantages of Peer Learning (PL),
Peer-to-Peer collaboration (P2P), and Peer Assisted Learning (PAL). By
looking at the disadvantages, it will consequently inform and prompt
teachers to think about the advantages. The management of P2P
collaborative processes PAL and PL is at the heart of this research.
.
Abstract:
Peer Learning (PL), Peer-to-Peer collaboration (P2P), and Peer Assisted Learning
(PAL) are very useful in the classroom to promote teaching and learning, however,
there are some disadvantages. In this section, the disadvantages will be discussed
in general contexts, which could be used in any subject area. The practical
implications for Design and Visual Communication are summarised in the conclusion
(subject specific). The importance of building time into courses is evident; teachers
should set aside time to train students on how to collaborate, and explain that a
successful collaborative process looks like (Van Zyl, 2016). Quality control by
teachers is important; by monitoring students closely during the collaborative
process, and by providing constructive feedback (scaffolding) to students as soon as
possible will impact on the success of collaboration in class (Van Zyl, 2016).
Teachers should demarcate the appropriate ‘depth’ and ‘range’ as per identified
curriculum level for each student and within the context of the different groups (Van
Zyl, 206). Learners should know exactly what is expected and to what ‘depth’ they
should investigate (Van Zyl, 2016). Teachers should be very specific. The constant
monitoring of the peer processes and the rapid action by the tutor to make changes
within the process is critical for managing the collaborative process successfully. The
evidence of tutors ‘steering’ the collaborative process is important to the foster
confidence of students (Van Zyl, 2016). Teachers should not leave it to chance.
Ethical concerns, like accountability, peer-competence, intellectual property rights,
and informed consent regarding PAL and P2P courses is to be managed with clear
competence by the teacher (Van Zyl, 2016). See the ethical concern section for a
detailed discussion on the management of peer related teaching and learning. The
last disadvantages are discussed in the following categories: no equal opportunities
exist to students; students are not teachers; collaboration is not effective for all
groups (e.g. gifted and talented, students with learning difficulties, physically
disabled students, and other categories). Teachers should ensure that students
perceive that the peer learning and peer teaching include equal opportunities for all
students (Van Zyl, 2016). Teachers should not advantage some students by
spending more time with them. Students should be trained to act as ‘co-teachers’ so
everyone wins. There are some students and groups who will not benefit from peer
teaching and learning. Teachers should identify these students and develop
alternative programmes to suit their needs.
The advantages of peer learning and peer teaching are invaluable. Within a Design
and Visual Communication context the collaborative process stimulates and
develops a creative and innovative environment which stimulates students, and
teachers, to provide enthusiasm, energy and competition. This could be an excellent
tool for teachers to extend teaching and learning in the classroom and by
incorporating technology into the process. It should be managed with care and
proper planning to ensure all participants feel safe and their rights are protected.

Care should be taken when students engage with technology via the Internet. Clear
guidelines must be in place for students (rules of engagement).
Keywords:
Peer-to-peer, peer learning, Peer assisted learning, collaboration, monitor, feedback,
ethical concerns, curriculum level, steering by teacher, equal opportunities, safe
environment, and take care when using technology
Introduction
What is peer-to-peer collaboration?
In simple terms Peer-to-Peer (P2P) “…is an approach to content distribution in which
digital files and communication are transferred between ‘peer’ computers over the
Internet. In a client/server structure, servers store content and, when requested,
send that content to client machines—a one-to-many distribution model. With P2P,
the client machines are peers and communicate with one another.” (Educause,
2009, p.1). For example when academic papers are uploaded as a ‘working paper’ to
Academia.edu the ‘working paper’ allows others to comment on (drafts and
feedback).
What is peer assisted learning?
Peer assisted learning (PAL) has been defined as "the development of knowledge
and skill through active help and support among status equals or matched
companions" (Topping, 1996). The process of PAL can also be described as a
situation in which "people from similar social groupings who are not professional
teachers help each other to learn and learn themselves by teaching" (Topping,
1996).
What is peer learning?
Peer learning essentially refers to students learning with and from each other as
fellow learners without any implied authority to any individual, based on the tenet that
“Students learn a great deal by explaining their ideas to others and by participating in
activities in which they can learn from their peers” (Boud, 2001).
Greenwood & Delquadri (1995) argues that the most effective peer assisted learning
methods are those that systematically train students in their teaching roles and then
monitors the ongoing accuracy and effectiveness in their implementation.
Unfortunately the time constraints on assistance, training, and monitoring of
student’s performance and their effective collaboration and learning, are sometimes
lacking. Hence, in the next table is more comprehensive summary of the
disadvantages of PAL (Topping, K., & Ehly, S., 1998).
*Direct link to Table 3 in Google Drive (Google docs):
https://docs.google.com/spreadsheets/d/1F4waKfGIUoRDaabxRd5s0wk2p3mtJzILK
bWMwQhpk3k/edit#gid=0
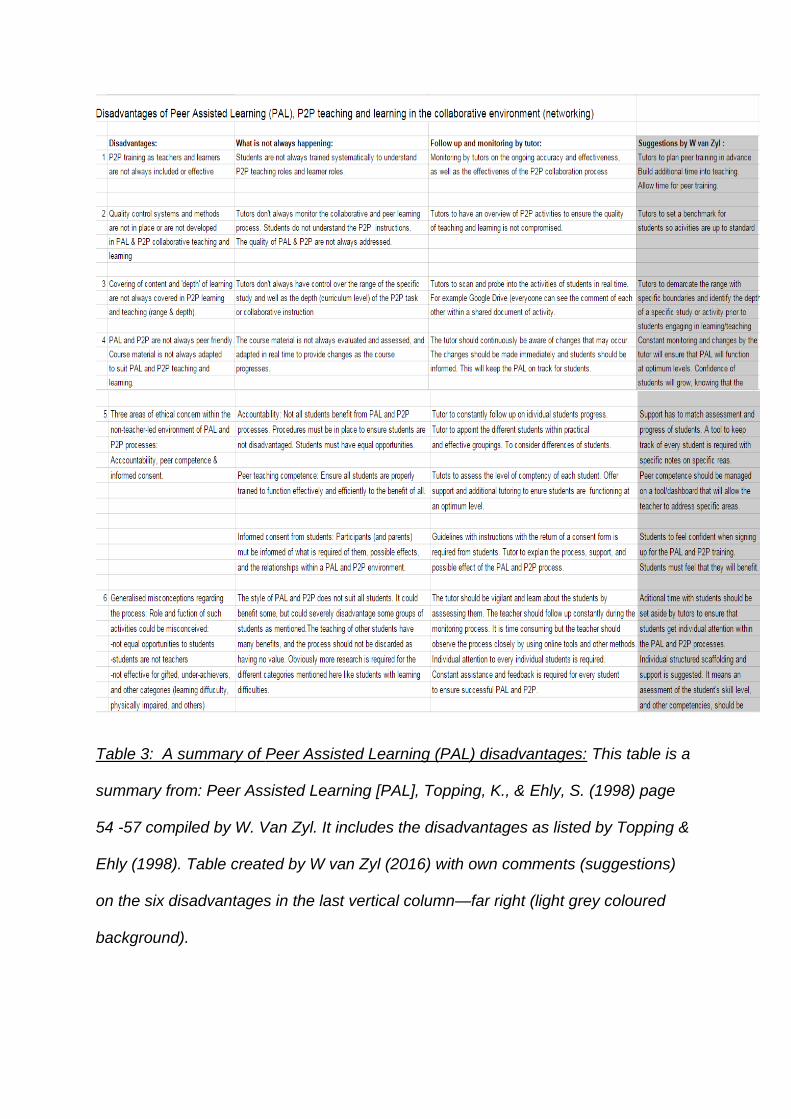
Table 3: A summary of Peer Assisted Learning (PAL) disadvantages: This table is a
summary from: Peer Assisted Learning [PAL], Topping, K., & Ehly, S. (1998) page
54 -57 compiled by W. Van Zyl. It includes the disadvantages as listed by Topping &
Ehly (1998). Table created by W van Zyl (2016) with own comments (suggestions)
on the six disadvantages in the last vertical column—far right (light grey coloured
background).

Direct link to Table 3 available in Google Drive (Google docs):
https://docs.google.com/spreadsheets/d/1F4waKfGIUoRDaabxRd5s0wk2p3mtJzILK
bWMwQhpk3k/edit#gid=0
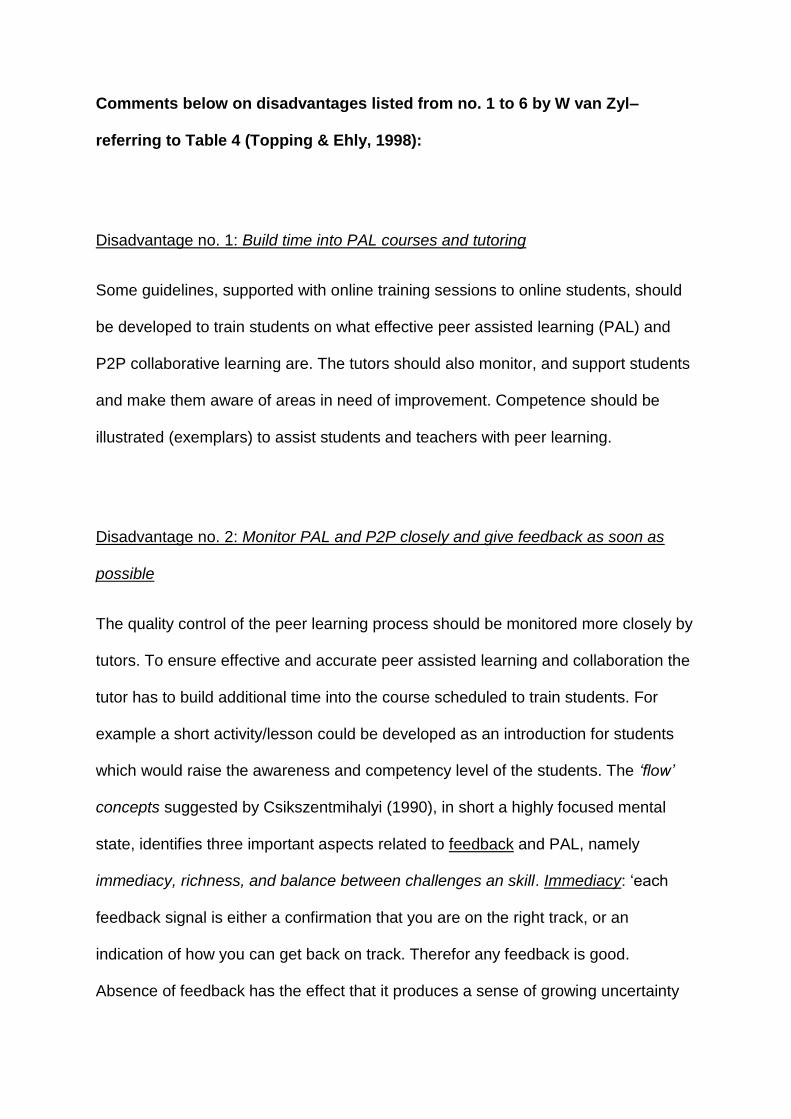
Comments below on disadvantages listed from no. 1 to 6 by W van Zyl–
referring to Table 4 (Topping & Ehly, 1998):
Disadvantage no. 1: Build time into PAL courses and tutoring
Some guidelines, supported with online training sessions to online students, should
be developed to train students on what effective peer assisted learning (PAL) and
P2P collaborative learning are. The tutors should also monitor, and support students
and make them aware of areas in need of improvement. Competence should be
illustrated (exemplars) to assist students and teachers with peer learning.
Disadvantage no. 2: Monitor PAL and P2P closely and give feedback as soon as
possible
The quality control of the peer learning process should be monitored more closely by
tutors. To ensure effective and accurate peer assisted learning and collaboration the
tutor has to build additional time into the course scheduled to train students. For
example a short activity/lesson could be developed as an introduction for students
which would raise the awareness and competency level of the students. The ‘flow’
concepts suggested by Csikszentmihalyi (1990), in short a highly focused mental
state, identifies three important aspects related to feedback and PAL, namely
immediacy, richness, and balance between challenges an skill. Immediacy: ‘each
feedback signal is either a confirmation that you are on the right track, or an
indication of how you can get back on track. Therefor any feedback is good.
Absence of feedback has the effect that it produces a sense of growing uncertainty
and questions whether one is following the right course of action. The second is
richness, which has an impact on the ‘flow’. Effective feedback should inform one
about the precise degree and direction of the deviation in each dimension, so
adjustment could be made. The third concept is the balance between challenges and
skills. Too easy a task set for students produces boredom, as it does not fully
engage the student. It the task is too complex it produces anxiety as the person
becomes afraid to fail (Nakamura & Csikszentmihalyi, 2002). It means that tutors
should be either focusing on individual ability or group students with the same
interest or level of competence together in specific P2P activities or tasks. In other
words tutors should know their students and their abilities—this could be time
consuming for the tutor/facilitator or teacher in a P2P teaching and learning context.
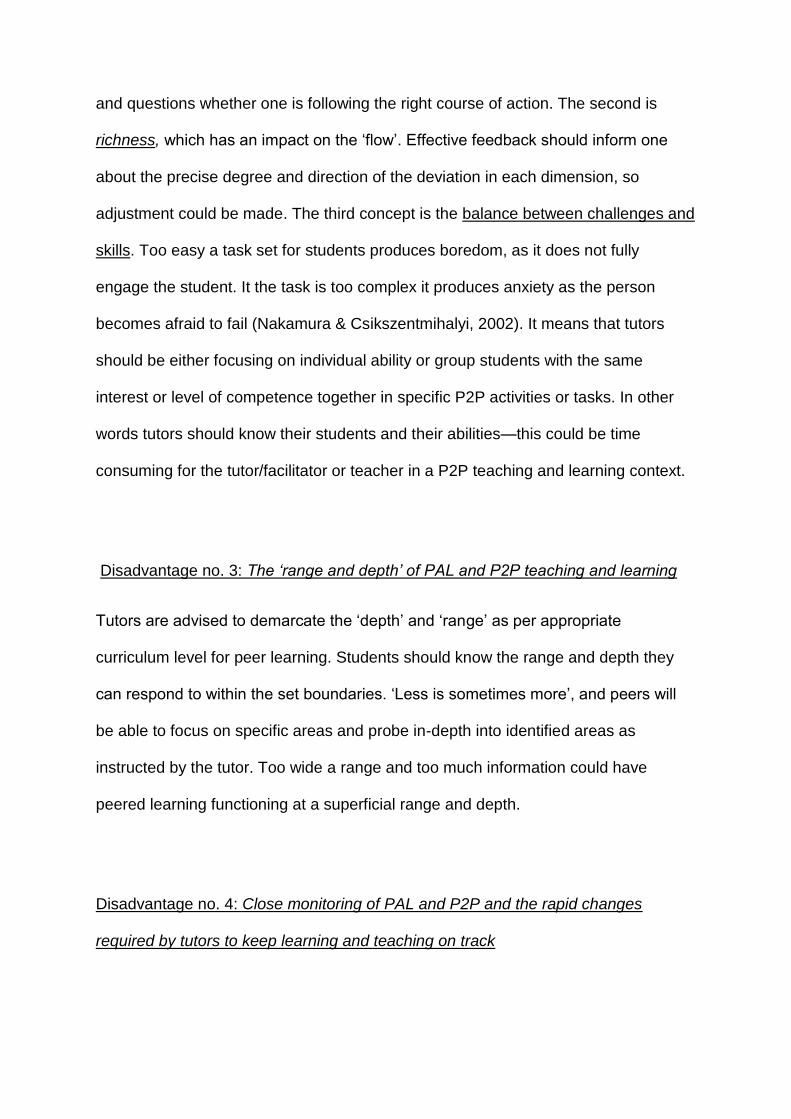
Disadvantage no. 3: The ‘range and depth’ of PAL and P2P teaching and learning
Tutors are advised to demarcate the ‘depth’ and ‘range’ as per appropriate
curriculum level for peer learning. Students should know the range and depth they
can respond to within the set boundaries. ‘Less is sometimes more’, and peers will
be able to focus on specific areas and probe in-depth into identified areas as
instructed by the tutor. Too wide a range and too much information could have
peered learning functioning at a superficial range and depth.
Disadvantage no. 4: Close monitoring of PAL and P2P and the rapid changes
required by tutors to keep learning and teaching on track
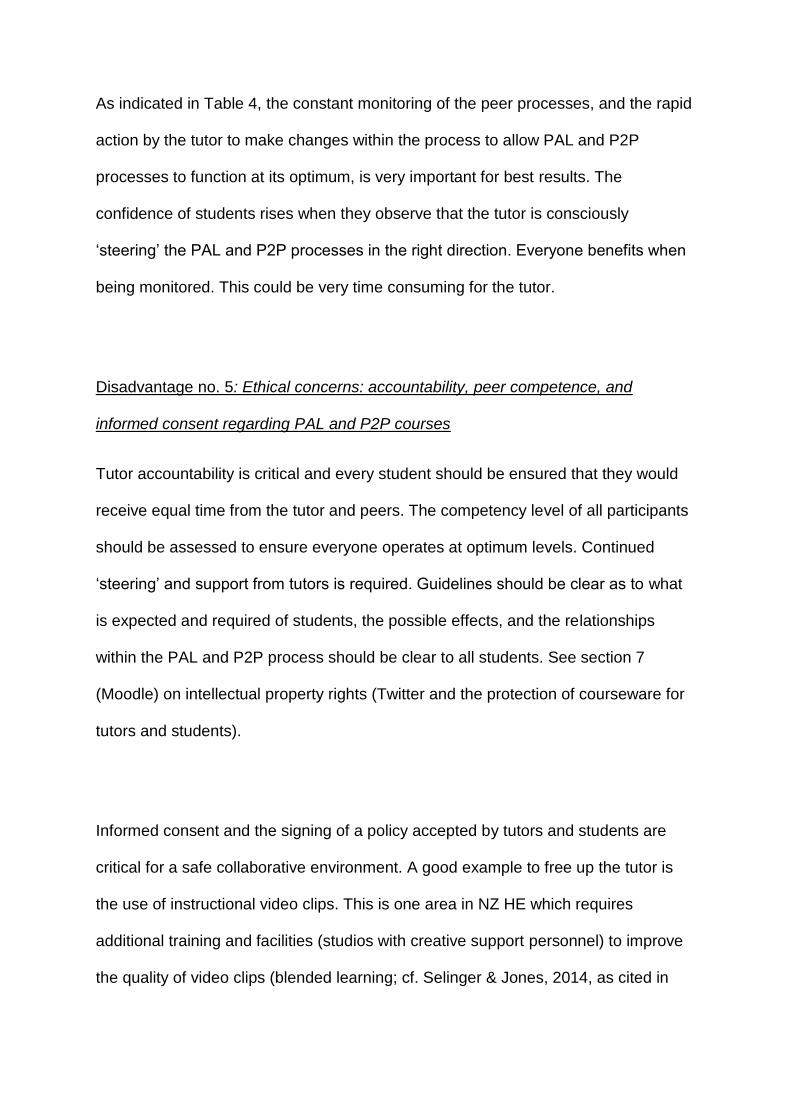
As indicated in Table 4, the constant monitoring of the peer processes, and the rapid
action by the tutor to make changes within the process to allow PAL and P2P
processes to function at its optimum, is very important for best results. The
confidence of students rises when they observe that the tutor is consciously
‘steering’ the PAL and P2P processes in the right direction. Everyone benefits when
being monitored. This could be very time consuming for the tutor.
Disadvantage no. 5: Ethical concerns: accountability, peer competence, and
informed consent regarding PAL and P2P courses
Tutor accountability is critical and every student should be ensured that they would
receive equal time from the tutor and peers. The competency level of all participants
should be assessed to ensure everyone operates at optimum levels. Continued
‘steering’ and support from tutors is required. Guidelines should be clear as to what
is expected and required of students, the possible effects, and the relationships
within the PAL and P2P process should be clear to all students. See section 7
(Moodle) on intellectual property rights (Twitter and the protection of courseware for
tutors and students).
Informed consent and the signing of a policy accepted by tutors and students are
critical for a safe collaborative environment. A good example to free up the tutor is
the use of instructional video clips. This is one area in NZ HE which requires
additional training and facilities (studios with creative support personnel) to improve
the quality of video clips (blended learning; cf. Selinger & Jones, 2014, as cited in
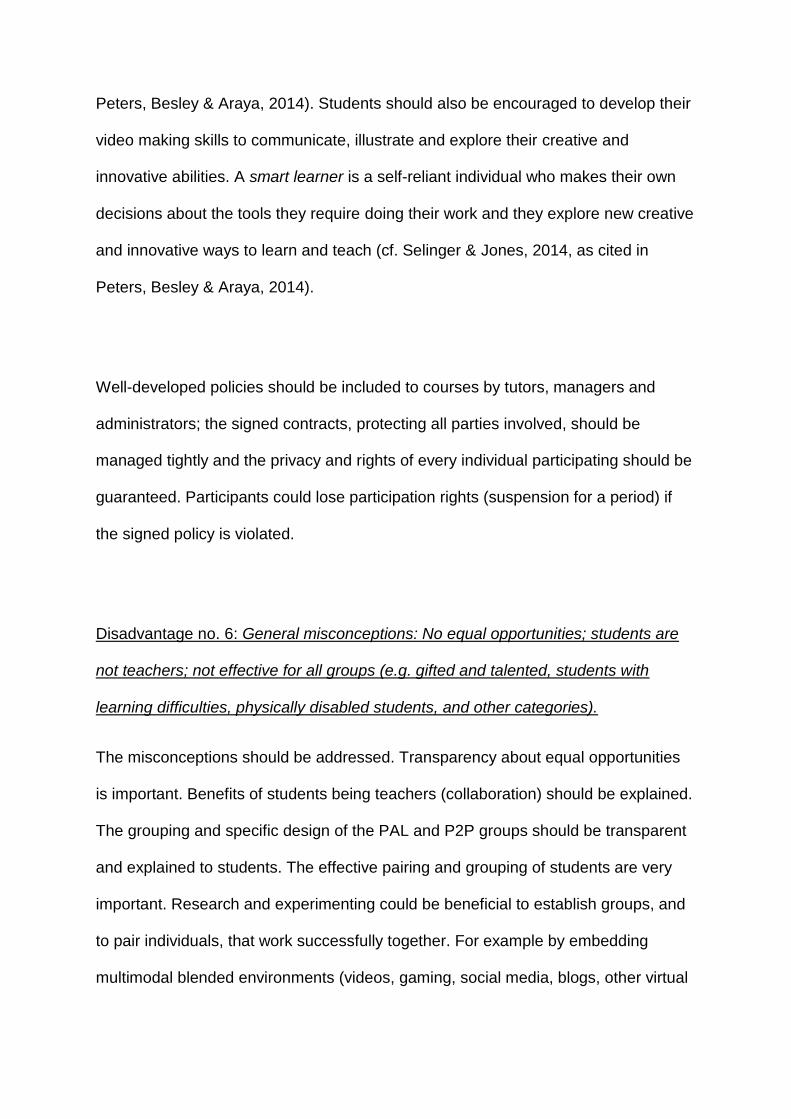
Peters, Besley & Araya, 2014). Students should also be encouraged to develop their
video making skills to communicate, illustrate and explore their creative and
innovative abilities. A smart learner is a self-reliant individual who makes their own
decisions about the tools they require doing their work and they explore new creative
and innovative ways to learn and teach (cf. Selinger & Jones, 2014, as cited in
Peters, Besley & Araya, 2014).
Well-developed policies should be included to courses by tutors, managers and
administrators; the signed contracts, protecting all parties involved, should be
managed tightly and the privacy and rights of every individual participating should be
guaranteed. Participants could lose participation rights (suspension for a period) if
the signed policy is violated.
Disadvantage no. 6: General misconceptions: No equal opportunities; students are
not teachers; not effective for all groups (e.g. gifted and talented, students with
learning difficulties, physically disabled students, and other categories).
The misconceptions should be addressed. Transparency about equal opportunities
is important. Benefits of students being teachers (collaboration) should be explained.
The grouping and specific design of the PAL and P2P groups should be transparent
and explained to students. The effective pairing and grouping of students are very
important. Research and experimenting could be beneficial to establish groups, and
to pair individuals, that work successfully together. For example by embedding
multimodal blended environments (videos, gaming, social media, blogs, other virtual
platforms) in learning and teaching, with students sharing their skills and expertise,
students will be more effective, motivated, and successful, by becoming lifelong
learners (Selinger & Jones, 2014; as cited in Peters, Besley & Araya, 2014).
Conclusion:
It is clear that the collaborative process and the management of it can be
challenging. However, it is a highly effective and successful tool to use in class.
Teachers should make it their business to develop their management skills to
provide a safe and effective collaborative environment for their students. The
benefits of peer-to-peer collaboration stack up and everyone wins in the process if it
is well managed. If the collaborative process is in a ‘closed’ environment, like Google
Classroom/Moodle, the management is straight forward. However, when ‘open’
collaboration are used teachers and tutors are advised to learn about the risks
involved for their students and take the appropriate steps. For example, when
students are setting up an individual WordPress blog (open) for collaborative
purposes. ‘Moodle’ and ‘Google Classroom’ as closed systems, and ‘WordPress’
blogs as an open system are freeware and teachers could investigate the use of
these online services for collaboration, peer learning and peer assisted learning
processes.
References:
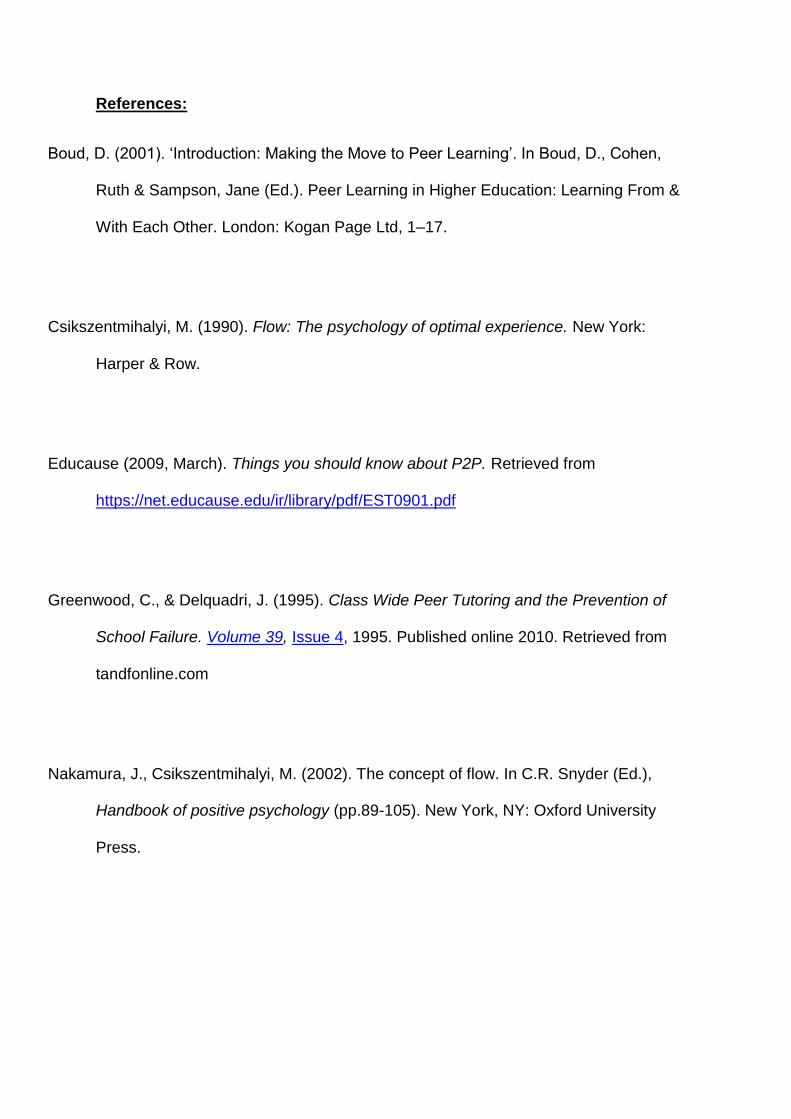
Boud, D. (2001). ‘Introduction: Making the Move to Peer Learning’. In Boud, D., Cohen,
Ruth & Sampson, Jane (Ed.). Peer Learning in Higher Education: Learning From &
With Each Other. London: Kogan Page Ltd, 1–17.
Csikszentmihalyi, M. (1990). Flow: The psychology of optimal experience. New York:
Harper & Row.
Educause (2009, March). Things you should know about P2P. Retrieved from
https://net.educause.edu/ir/library/pdf/EST0901.pdf
Greenwood, C., & Delquadri, J. (1995). Class Wide Peer Tutoring and the Prevention of
School Failure. Volume 39, Issue 4, 1995. Published online 2010. Retrieved from
tandfonline.com
Nakamura, J., Csikszentmihalyi, M. (2002). The concept of flow. In C.R. Snyder (Ed.),
Handbook of positive psychology (pp.89-105). New York, NY: Oxford University
Press.

Topping, K.J. (1996). The effectiveness of peer tutoring in further and higher education: A
typology and review of the literature. Higher Education (Historical Archive) 1996;
32:321–345.
Topping, K., & Ehly, S. (1998). Peer-assisted Learning. Published by Routledge.
Peters, M.A., Besley, T., Araya, D. (Eds.). (2014). The new Development Paradigm:
Education Knowledge and Digital futures. New York: Peter Lang.
Van Zyl, W. N. (2016). Openness: Exploring Conceptualisations of Peer-to-Peer (P2P)
Collaboration and Peer Learning in New Zealand Higher Education. M. Ed.
dissertation (University of Waikato). Manuscript submitted for publication.

Additional Resources: Tutorials on P2P/PL/PAL platforms and
systems
What is Google classroom?
https://youtu.be/-apCIbV9YKA
What is Moodle?
https://youtu.be/wop3FMhoLGs
What is WordPress?
https://youtu.be/92kqkJfdXo8
Credit background image: Martin Grandjean.Graph representing the metadata of thousands of
archive documents, documenting the social network of hundreds of League of Nations personals.
Published in: Grandjean, Martin (2014). "La connaissance est un réseau". Les Cahiers du
Numérique 10 (3): 37-54. About: http://www.martingrandjean.ch/archive-reseau-visualisation-
donnes-sciences-humaines/
ABOUT THE RESEARCHER (AUTHOR):
William van Zyl is a Design and Visual Communication teacher at a
secondary school in New Zealand. As a postgraduate student and
researcher his academic interests are Open Education (Radical
Openness), Alternatives to Neoliberalism, Peer-to-Peer (P2P)
Collaboration, P2P Teaching and Learning Technologies, and the
Philosophy of P2P Processes and P2P Technologies (Theorists:
Foucault, Habermas & Popper). He also has keen interests in the
Gifted and Talented, Technology Education, and Virtual Learning
Environments (VLE’s) like Moodle & Google Classroom. Sustainable
Architecture, the implementation of bio-mimetics, and animal
architecture are some of his Design and Visual Communication areas
of study.
Other resources:
http://williamvanzyl.com/
https://wvanzylacademic.atavist.com/
APA REFERENCING AND CITATION:
Van Zyl, W. N. (2016). Sustainable architecture design brief: Unique Sustainable
Bach. Design brief for Visual Communication students (New Zealand-NCEA, level 3-
Secondary School – 17/18-year-old students). Published to
http://williamvanzyldvchc.co.nz/ncea-l-3.php (Ref: NCEA L 3).
and http://williamvanzyl.com/ (Ref: Academic work)
and https://wvanzylacademic.atavist.com/
Credit background: Marti Bodek. Be'er Ganim Synagogue early sketches. File:Bodek
Architects Synagogue sketches. Wikipedia.Created: 21 March 2015.
https://en.wikipedia.org/wiki/Moti_Bodek#/media/File:Bodek_Architects_Synagogue_
sketches.jpg
![2015 NCEA Student Booklet[1] · 5 | Page INFORMATION#NCEA#INFORMATION# # NCEA:#GAININGA#LEVEL#1,#2#OR#3#NCEA#CERTIFICATE# # # # # # # # # # # # # # #####NCEA#Level#1#!!!!! !10of!these!credits](https://static.fdocuments.in/doc/165x107/604a3e44ec6e437d0f2cf635/2015-ncea-student-booklet1-5-page-informationnceainformation-nceagainingalevel12or3nceacertificate.jpg)