Ultragrid – How to use – How to use.pdf$ 2$ tableof&contents& ultragriduser)guide) 3$...
16
Sam Jones Audio and Video Specialist support Janet and Jisc Collections Ultragrid Walkthrough – Windows edition
Transcript of Ultragrid – How to use – How to use.pdf$ 2$ tableof&contents& ultragriduser)guide) 3$...

Sam Jones Audio and Video Specialist support
J a n e t a n d J i s c C o l l e c t i o n s
Ultragrid Walkthrough – Windows edition

2
Table of Contents
ULTRAGRID USER GUIDE 3
FULL LIST OF COMMANDS 4
DOWNLOADING THE SOFTWARE. 6
STEP 1 – DIRECTING THE COMMAND LINES AT THE SOFTWARE 7
STEP 2 – CHECKING IT IS FOLLOWING THE CORRECT PATH. 8
STEP 3 – LOADING AND DISPLAYING A TESTCARD 9
STEP 4 – USING A VIDEO INPUT 11
STEP 5 – DIRECTING THE DISPLAY SETTINGS 12
STEP 6 – CREATING SOUND IN ULTRAGRID. 13
STEP 7 – CREATING A SIMPLEX AUDIO AND VIDEO TRANSMISSION 14
STEP 8 – CREATING A DUPLEX AUDIO AND VIDEO TRANSMISSION 15
EQUIPMENT USED FOR THIS WALKTHROUGH. 16

3
Ultragrid User Guide Ultragrid is a command line driven software developed by CESNET (the Czech Republic NREN) for video transportation using commodity PC and Mac hardware. Ultragrid can send uncompressed or low ratio compression for low latency point to point video streaming. It can produce video ranging from NTSC or PAL through to 8K video. The software is developed for Linux, OSX and Windows operating systems. This will be a step-‐by-‐step guide on how to use Ultragrid on Windows machines, starting with generating a simple test card locally, to sending UHD video across the network to another computer in a duplex connection. It is possible to use this software as a point to point delivery system. It will approach each command line individually and show you how to tailor the command to fit your needs. Ultragrid runs on ports 5004, 5006, 5104, and 5016 as default, so ensure that these are free. You may need to disable a piece of software called “Windows media player network sharing service” in the processes window on task manager. Whilst it is aimed at more commodity based computer systems, there is a set recommendation that should be used for Ultragrid.
• i7 processor or equivalent • 16GB RAM • High spec graphics card such as the Nvidia K2000
These specifications are required for HD video transportation. It is possible to send 4K video using this system but it is very taxing on the computer. For capture of video, dependent on equipment, capture cards are required. Capture cards that are supported by Ultragrid are the following
• AJA • BlackMagic Design • Deltacast • DVS • Linsys
It is also possible to use firewire cameras using OSX and Linux. Whilst it is possible to use audio with those cards as well, it is possible to use external cards as well. The only external sound cards currently tested are the Hammerfall capture cards. A list of commands/controls to know CTRL + C – this will stop Ultragrid running when on the command prompt
window. Q – when viewing the video on the new window, Ultragrid will stop
transmitting by pressing.

4
Full list of commands Command Description -‐-‐verbose Print verbose messages -‐d <display device> Select display device, use ‘-‐d help’ to get a list
of supported devices -‐t <capture device> Select capture device, use’-‐t help’ to get a list
of supported devices -‐c <cfg> Compresses video, use ‘-‐c help’ to get a list of
available compression -‐-‐rtsp server RTSP server: dynamically serving H264 RTP
standard transport -‐i|-‐-‐sage[=<opts>] iHDTV compatability mode/sage TX -‐6 Use IPv6 -‐-‐mcast-‐if <iface> Bind to specified interface for multicast -‐r <playback device> Audio Playback device, use ‘-‐r’ to see list of
available outputs -‐s <capture device> Audio capture device, use ‘-‐s help’ to see list
of available inputs -‐j <settings> JACK audio connection kit settings -‐M <video mode> Received video mode (eg tiled-‐4K, 3D, dual-‐
link) -‐p <postprocess> Postprocess module -‐f [A: |V: ]<settings> FEC settings 9audio or video) – use “none”
“mult:<nr>” “ldgm:<max_expected_loss>%” or “ldgm:<k>:<m>:<c>”
-‐-‐ldgm-‐device (GPU|CPU) Device to be used to compute LDGM -‐P <port> | <video_rx>:<video_tx> [:<audio_rx>:<audio_tx>]
<port> is base port number, also 3 subsequent ports can be used for RTCP and audio streams. Default: 5004. You can also specify all two or four ports directly
-‐l <limit bitrate> | unlimited Limit sending bitrate (aggregate) To limit_bitrate (with optional k/M/G suffix)
-‐-‐audio-‐channel-‐map <mapping> | help
-‐
-‐-‐audio-‐scale <factor> | <method> | help
-‐
-‐-‐audio-‐capture-‐channels <count>
Number of inputs channels that will be captured (default 2)
-‐-‐echo-‐cancellation Apply acoustic echo cancellation to audio -‐-‐cuda-‐device <index> | help Use specified CUDA device -‐-‐playback <directory> Replays captured recorded audio and video -‐-‐record[<=directory>] Records captured audio and video -‐A <address> Audio destination address
If not specified, the same will be used for video

5
-‐-‐audio-‐codec <codec[:,sample_rate>]|help
Audio codec
-‐-‐capture-‐filter <filter> Capture filter(s), must preceed -‐-‐encryption <passphrase> Key material for encryption address(es) Destination address
If comma-‐separated list of addresses is entered, video frames are split and chunks are sent/received independently.
6
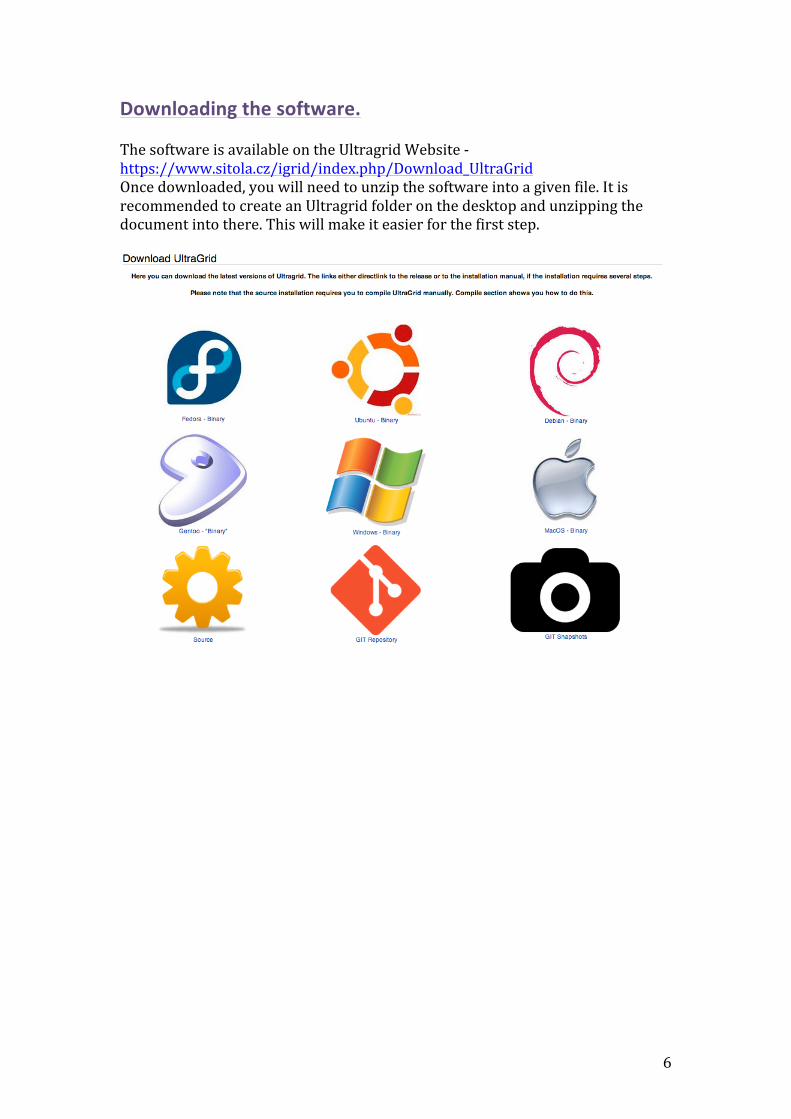
Downloading the software. The software is available on the Ultragrid Website -‐ https://www.sitola.cz/igrid/index.php/Download_UltraGrid Once downloaded, you will need to unzip the software into a given file. It is recommended to create an Ultragrid folder on the desktop and unzipping the document into there. This will make it easier for the first step.

7
Step 1 – Directing the command lines at the software To direct the command prompt at the correct folder to read the Ultragrid software, you will need to open the command prompt and type the following command and hit enter. cd desktop/Ultragrid
This will direct the command prompt from now on at this directory.

8
Step 2 – Checking it is following the correct path. To check that it is following the correct pathway now to find Ultragrid, type uv.exe and hit enter. This will load a list of commands such as those in the image below.
Now Ultragrid is loaded within the command prompt, it is time to start testing Ultragrid on your system by using a testcard.
9
Step 3 – Loading and displaying a testcard To load a test card, you will need to run the uv.exe command in the command prompt window. But before hitting enter, you will need to add additional commands. –t is the command for setting the transmission source. This could be a testcard or the capture cards in which you have installed. To begin with, we will use the testcard. Below are the options available to be used with the testcard. -‐t allows the video input to be transmitted input can be any of the following
• Testcard: width: height: frame rate: Colour space Width and height can be;
• 720:576 (PAL video) • 1280:720 (HD ready) • 1920:1080 (Full HD) • 3840:2160 (Ultra High Definition) • 4096:2160 (4K video)
Frame rate can be; • 23.98 • 24 • 25 • 29.98 • 30 • 50 • 59.94 • 60
Colour Space • RGB • UYVY • 2vuy
-‐t testcard:1920:1080:25:RGB To begin with, use –t testcard:1920:1080:30:UYVY This will display a HD ready testcard (colour bars), at 30 frames per second in a Red, Green, Blue colour space. But more is needed before you can view the testcard. Two other factors are needed before the testcard will work, a local display of the testcard, and compression. There are many types of compression that vary dependant on the drivers available. To see what compression is available type uv.exe -‐c help This will print the available compression types for you. The two types mostly in use is either MJPEG compression or H.264 These are available in the libavcodec library. To use them, type the following command line

10
-‐c libavcodec:codec=MJPEG or -‐c libavcodec:codec=H.264 To set the display parameters, -‐d will allow you to define the display destination. For this instance, I would use a local display parameter, which would be -‐d gl This will create a local window to display the transmitted video. Lastly, you will need to set the destination IP address. To display locally, you can either use the IP address designated to the computer or use 127.0.0.1 This will tell it to display the content locally rather than transmitting it out to another computer. So the command line that will be needed to transmit locally will be the following uv.exe –t testcard:1920:1080:30:UYVY –c libavcodec:codec=MJPEG –d gl 127.0.0.1 This will create a testcard like the one in the following image.
11
Step 4 – Using a video input Now that you have successfully displayed a testcard, the next part is to get a successful camera input into the computer and Ultragrid. For the purposes of this test, a Decklink 4K extreme will be used to show how to input a live camera feed. Ensure that the black magic control panel (found in control panel) is set up to the format in which you are intending to use with your decklink card. This follows the same principals as the previous step, however it changes the parameters used with –t. instead of it being a testcard, it will be decklink. To show what the capture card is capable of, type –t decklink:help This will allow you to see the options available for your video capture card. For Decklink, this is as follows -‐t decklink: index number: format: colour space: connection index number: this depends on the amount of capture cards installed. The
numbers begin at 0 and work up per card. Format: This chooses the designated input format, this is dependant
on the camera and the cards capabilities. (ensure latest drivers are installed for correct format list)
Colour Space: This is the colour space in which the video will be using, generally for broadcast, the YUV colour space is used so I would recommend one of the YUV options.
Connection: This is the type of video connection, this is either HDMI or SDI for a Decklink capture card.
An example then is; -‐t decklink:0:22:UYVY:connection=HDMI So putting this into a command line will look like this Uv.exe –t decklink:0:22:UYVY:connection=HDMI –c libavcodec:codec=MJPEG –d gl 127.0.0.1

12
Step 5 – Directing the display settings This step shows the process of directing a video signal out of a video card installed in your computer. This can be one of a range of cards, but this demonstration will showcase using the Decklink 4K extreme capture card. This will work in principal the same as the previous transmission case in step 4, however using the –d command instead of –t. So using –d decklink:help will show how the viable options available to use -‐d decklink: index number: video format so an example of the command line will be –d decklink:1:10 In a full command line, it will look like the following Uv.exe –t decklink:0:22:UYVY:connection=HDMI –c libavcodec:codec=MJPEG –d decklink:1:10 127.0.0.1 This will capture the camera signal that you are using and then display it through another capture card. PLEASE NOTE THAT NOT ALL VIDEO CARDS ARE ABLE TO HANDLE MULTIPLE SIGNALS AT A TIME. THE EXCEPTIONS TO THIS ARE THE DECKLINK DUO AND DECKLINK QUAD AND SOME OF THE AJA KONA RANGE. THERE MAY BE ADDITIONAL CARDS THAT WILL WORK BUT ARE UNKNOWN AT THE MOMENT.

13
Step 6 – Creating sound in Ultragrid. Inputting sound into Ultragrid is easy. It is created using the command –s -‐s is the command line for the input/creation of sound. Sound playback is harder than creating sound in Ultragrid though. This is due to the possibility of creating a feedback loop on the motherboard of the computer dependent on the equipment that you use. For audio output/playback, the command to be used is –r The audio playback is always started as –r portaudio. This is derived from Linux which was the initial operating system designed for this software. Ultragrid has been adapted to work for Windows. By using the command followed by help, will display the possible options open to you. An example of the command lines is below Uv.exe –s testcard –r portaudio 127.0.0.1 By not defining which portaudio to use, it uses the default sound output device on the computer sound settings. This is normally the inbuilt speakers or headphone jack. It is possible to alter this in the sound settings via Control Panel on the computer. To use other sound devices, change the parameter to the one you want by finding it under uv.exe –s help

14
Step 7 – Creating a simplex audio and video transmission A simplex transmission is a unidirectional broadcast. This is combining steps four and six. When used in conjunction with each other, it is possible to create a video broadcast that will output to the destination IP address. (Both computers need an instance of Ultragrid running for the transmission to work.) So for this step, begin in the same way shown in step 4. Setting the capture input. Don’t forget to add compression. Uv.exe –t decklink:0:10:2vuy:connection=HDMI –c libavcodec:codec=MJPEG Next will be to follow step 6. This will add the audio into the stream, however, it should be written differently in the command line. It will only contain the command lines for using an audio transmitter. It will appear as follows; Uv.exe –t decklink:0:10:2vuy:connection=HDMI –s embedded –c libavcodec:codec=MJPEG <destination IP> This will enable for one location to broadcast and another location to receive the stream. The other computer at the target location must be set up to receive both audio and video dependent on its own specification/equipment. An example of the code needed at the other location would be uv.exe –d gl –r portaudio <senders IP> This will display the audio on the computer monitor and play the audio through the default sound settings.

15
Step 8 – Creating a duplex audio and video transmission A duplex transmission is a bidirectional transmission. This is combining steps four, five and six. When used in conjunction with each other, it is possible to create a video broadcast that will output to the destination IP address. (Both computers need an instance of Ultragrid running for the transmission to work.) So for this step, begin in the same way shown in step 4. Setting the capture input. And don’t forget to add compression. Uv.exe –t decklink:0:10:2vuy:connection=HDMI –c libavcodec:codec=MJPEG Next add the destination for the display as shown in step 5. Uv.exe –t decklink:0:10:2vuy:connection=HDMI –c libavcodec:codec=MJPEG –d decklink:1:7 Next will be to follow step 6. This will add the audio into the stream; however, it should be written differently in the command line. It will appear as follows: Uv.exe –t decklink:0:10:2vuy:connection=HDMI –s embedded –c libavcodec:codec=MJPEG –d decklink:1:7 –r portaudio <destination IP> This will enable for one location to broadcast and receive via the one command prompt and stream. The other computer at the target location must be set up to send and receive both audio and video dependent on its own specification/equipment.

16
Equipment used for this walkthrough. Computer 1 – This was designed for use with 4K transmission and video
handling -‐ Dell Precision T5610 -‐ Dual Xeon Processor E5-‐2620 -‐ 32GB RAM -‐ 3GB NVIDIA QUADRO K5000 Graphics card -‐ Blackmagic Design Decklink 4K Extreme capture card -‐ Hammerfall HDSP 9632 sound card
Computer 2 – this was designed for use with HD transmission and video handling
-‐ HP Z420 -‐ Intel i7 processor -‐ 16GB RAM -‐ 2GB NVIDIA QUADRO K2000 graphics card -‐ Blackmagic Design Decklink 4K extreme Capture card -‐ Blackmagic Design Intensity Pro capture card -‐ Hammerfall HDSP 9632 sound card
Video Equipment -‐ 2x Canon LEGRIA HF S20 cameras -‐ Sony FDR-‐AX1 4K camera -‐ BlackMagic Design ATEM Production Studio 4K -‐ All cables were HDMI
Audio Equipment -‐ 2x Shure SM58 -‐ 2x XLR -‐ Twin Phono cables -‐ 2 speakers -‐ Mackie Onyx 1620 – 16 channel sound desk