Tinkercad lesson 2
48
Spring 2015
-
Upload
aaron-maurer -
Category
Education
-
view
135 -
download
2
Transcript of Tinkercad lesson 2

Spring 2015

3D PrintingLesson 2
Section Topics:-What is 3D Printing?-How does it work?-Examples of 3D Printing-Brief History of 3D Printing-Open Source 3D Printing -RepRap
-Makerbot - Replicator-Tinkercad

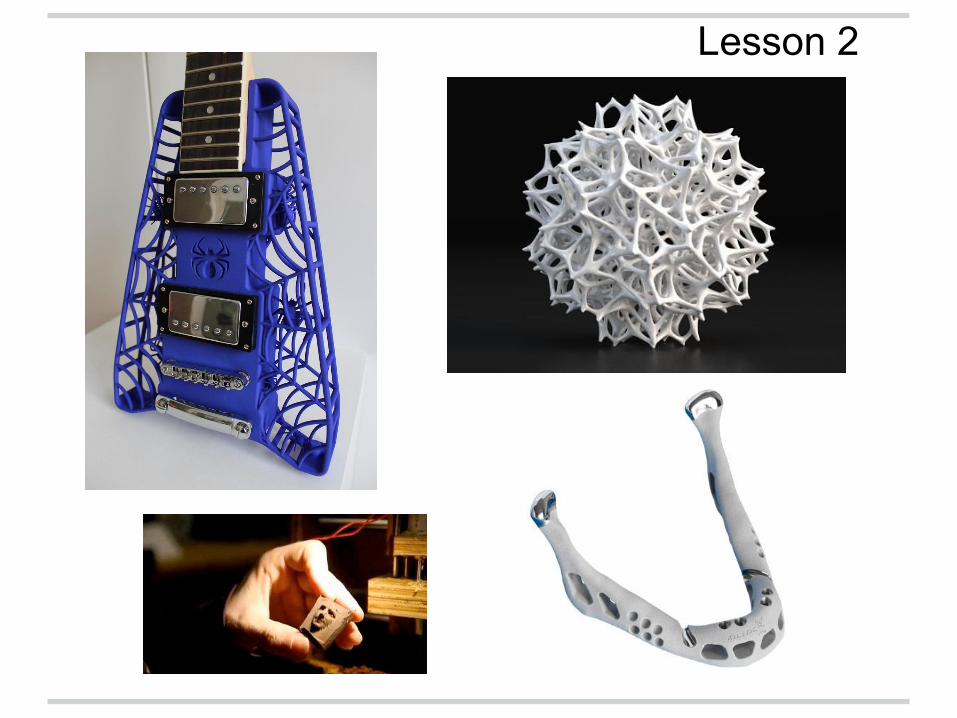
What is 3D Printing?
-'Additive Manufacturing'-The process of making a 3D, solid object of almost any shape from a digital model
Lesson 2

How Does 3D Printing Work?-Basic Process:
-Designed using 3D modeling software-Sent to the machine-Design assembled layer-by-layer
-Considered distinct because it uses an additive process to create items, as opposed to a subtractive process
-The difference in the main types of 3D Printing mostly comes down to how these layers are assembled
Lesson 2
Lesson 2

Brief History of 3D PrintingLesson 2
-Chuck Hull-'Stereolithography'-Created the first 3D Printing Machine-Developed the STL file format
-Devices continue to get smaller, faster, and cheaper

Open-Source PrintingLesson 2
-RepRap-The first 'self-replicating manufacturing machine'
-Can print another fully-working version of itself
-The designs are free to share and use, including the design of the machine itself
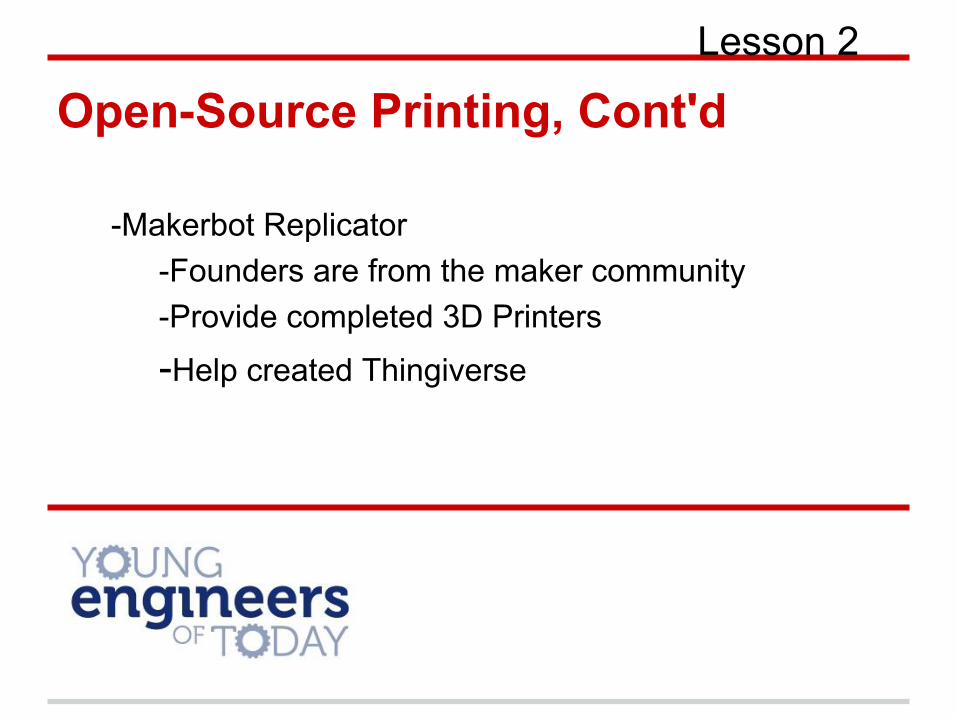
Open-Source Printing, Cont'dLesson 2
-Makerbot Replicator-Founders are from the maker community-Provide completed 3D Printers
-Help created Thingiverse

Getting Started With Tinkercad Lesson 2
First, visit the official website at https://tinkercad.com/
Next, click the blue 'Sign Up For Free Account' button in the top-right corner of the screen

Getting Started With TinkercadLesson 2
The following window should pop up:
Fill out the information and create your account!

Getting Started With Tinkercad Lesson 2
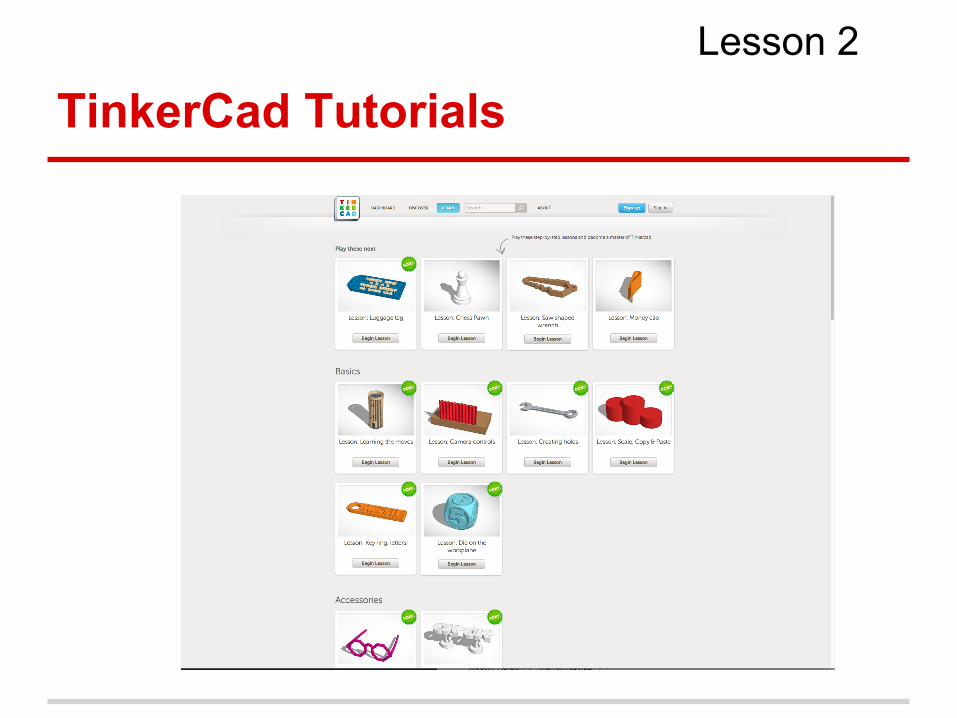
Welcome to your Dashboard - To create new projects, simply click the 'Create Project' button on the sidebar to the left
-This creates a brand new workspace which you will use to try out the concepts discussed, and ultimately to create your designs
-At one point we follows along with 'Lesson: Making Holes'
-at this point you will just simply return to your dashboard to select the lesson (seen in picture)

Lesson 2
Tinkercad Lesson Topics:-Basic Movement and Camera Controls-Object Interaction-Inspector-Object Manipulation

Moving ObjectsLesson 2
-Objects can be moved by either clicking and dragging, or using the keyboard arrow keys
-Note how changes in distance are displayed - helpful!

Moving ObjectsLesson 2
-Objects can be moved by either clicking and dragging, or using the keyboard arrow keys
-Note how changes in distance are displayed - helpful!
-Objects also 'snap-to-grid' to maintain accuracy in moving things without being too sensitive to mouse input

Lesson 2
Moving the Camera
Two Primary ways to control the camera:-Use the navigation located in the top-left corner of the screen-Hold down the right mouse button and move the mouse in the desired direction

Making HolesLesson 2
Orange area shows where the hexagonal prism should be placed
Correctly placed hexagonal prism
Lesson 2
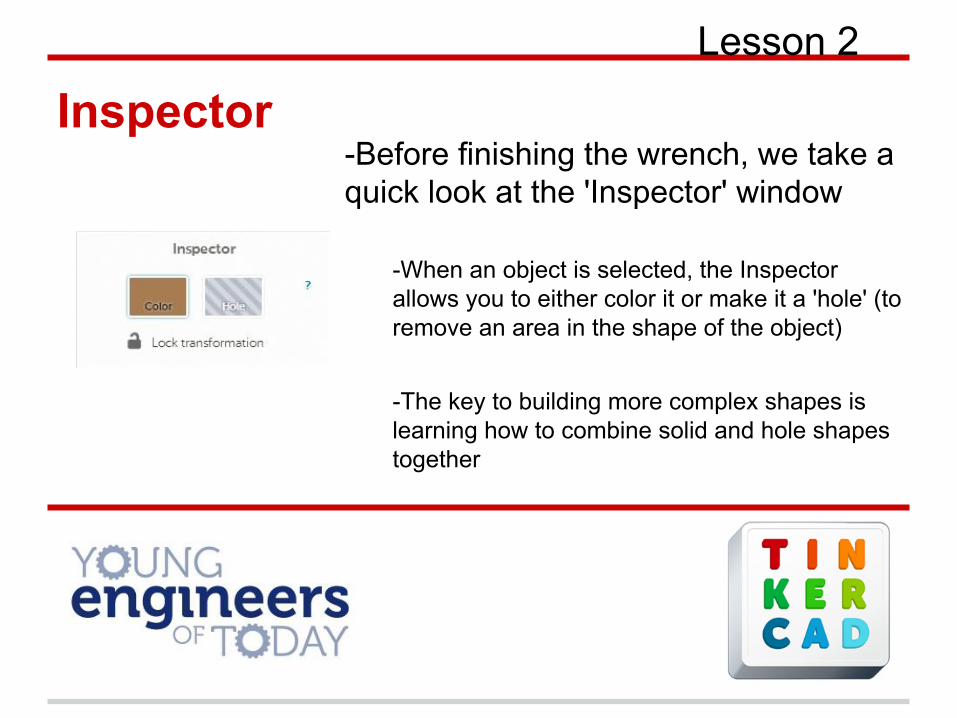
Inspector-Before finishing the wrench, we take a quick look at the 'Inspector' window
-When an object is selected, the Inspector allows you to either color it or make it a 'hole' (to remove an area in the shape of the object)
-The key to building more complex shapes is learning how to combine solid and hole shapes together

Lesson 2
Hexagonal Prism is designated a hole
Both wrench and hole selected via shift-clicking
'Group' button pressed, and the wrench is fixed!

Lesson 2
Object ManipulationWhen selecting an object in Tinkercad, the various symbols around the box might look intimidating.
In the next slide, you will be shown what these dots and arrows do, so you will be able to make your designs much more interesting!

Object Manipulation Cont'dLesson 2
Arrow: Raises/lowers objects off of the workspace depending on direction pulled
Upper White Dot: Makes objects taller/shorter depending on direction pulled
Lower Dots: Extends/compresses objects in the direction based on the dot being pulled
Curved Arrows: Rotates the object

Object Manipulation HelpersLesson 2
Helpers: Establishes workspace and adds a ruler Ruler: You can set dimensions. Tip - be sure to place it away from your object
Curved Arrows: Rotates the object

Object Manipulation HelpersLesson 2
Helpers: Establishes workspace and adds a ruler Ruler: You can change the workspace orientation. You can press W and click outside the workspace to return to the original workspace setting. Tip - use the W key to select workspace.

Object Manipulation HelpersLesson 2
Adjust: Align text and “mirror” objects Align: This is important tool. Use it!

Object Manipulation HelpersLesson 2
Adjust: Align text and “mirror” objects Align: This is important tool. Use it!

Object Manipulation HelpersLesson 2
Adjust: Align text and “mirror” objects

Object Manipulation HelpersLesson 2
Helpers: Establishes workspace and adds a ruler Mirror: You can mirror objects
Red Arrows: Flips the object
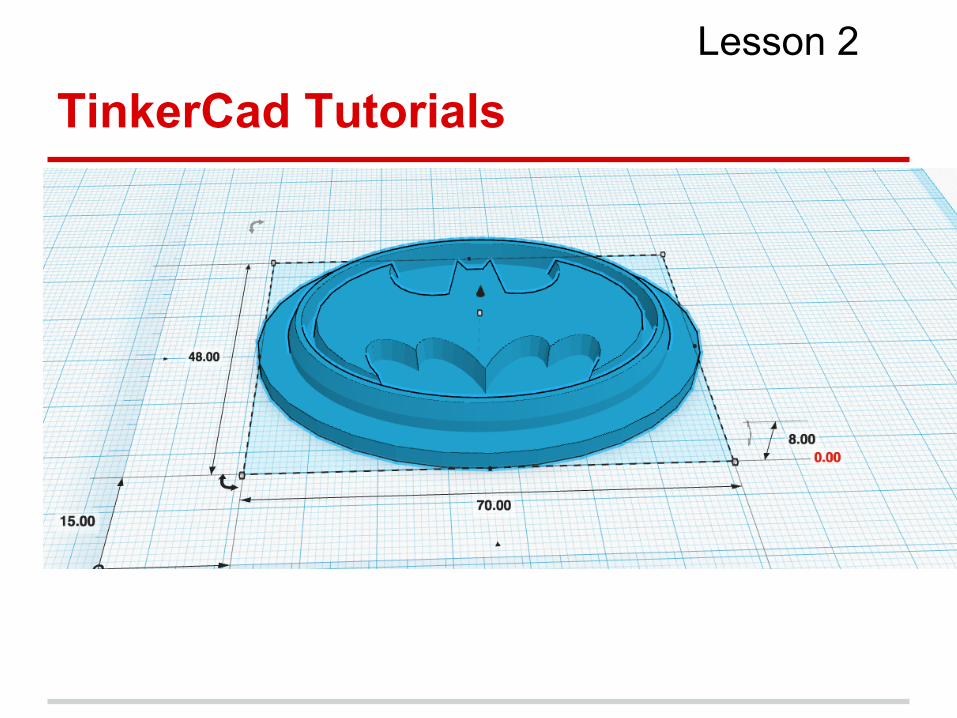
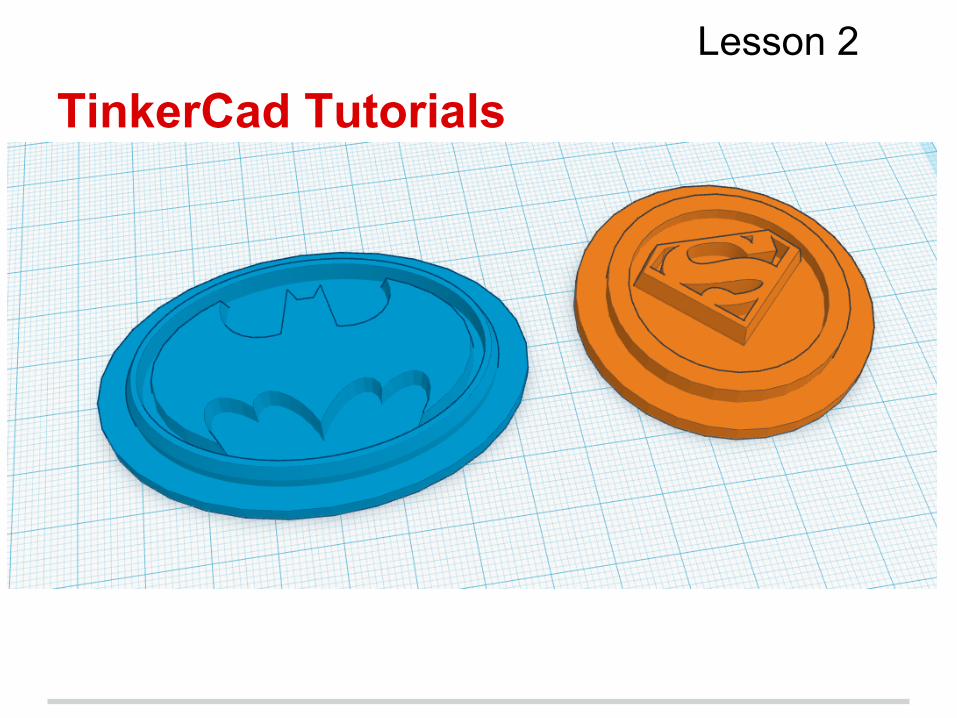
TinkerCad TutorialsLesson 2

TinkerCad TutorialsLesson 2

TinkerCad TutorialsLesson 2

TinkerCad TutorialsLesson 2

TinkerCad TutorialsLesson 2

TinkerCad TutorialsLesson 2

TinkerCad TutorialsLesson 2
TinkerCad TutorialsLesson 2

TinkerCad TutorialsLesson 2
TinkerCad TutorialsLesson 2

TinkerCad TutorialsLesson 2

TinkerCad TutorialsLesson 2

TinkerCad TutorialsLesson 2

TinkerCad TutorialsLesson 2

TinkerCad TutorialsLesson 2
TinkerCad TutorialsLesson 2
TinkerCad TutorialsLesson 2

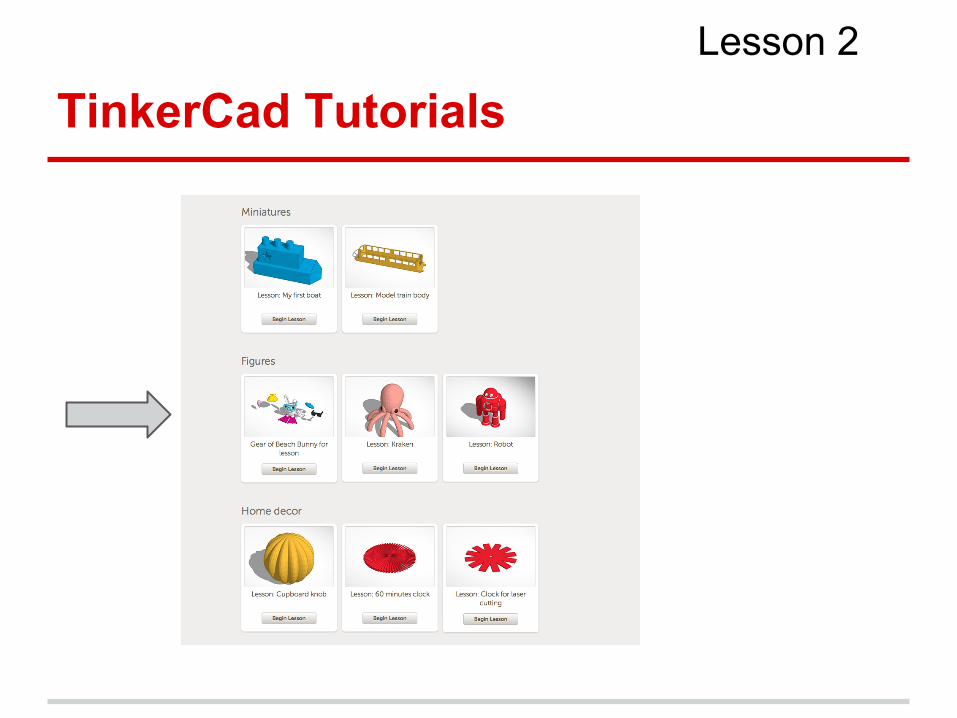
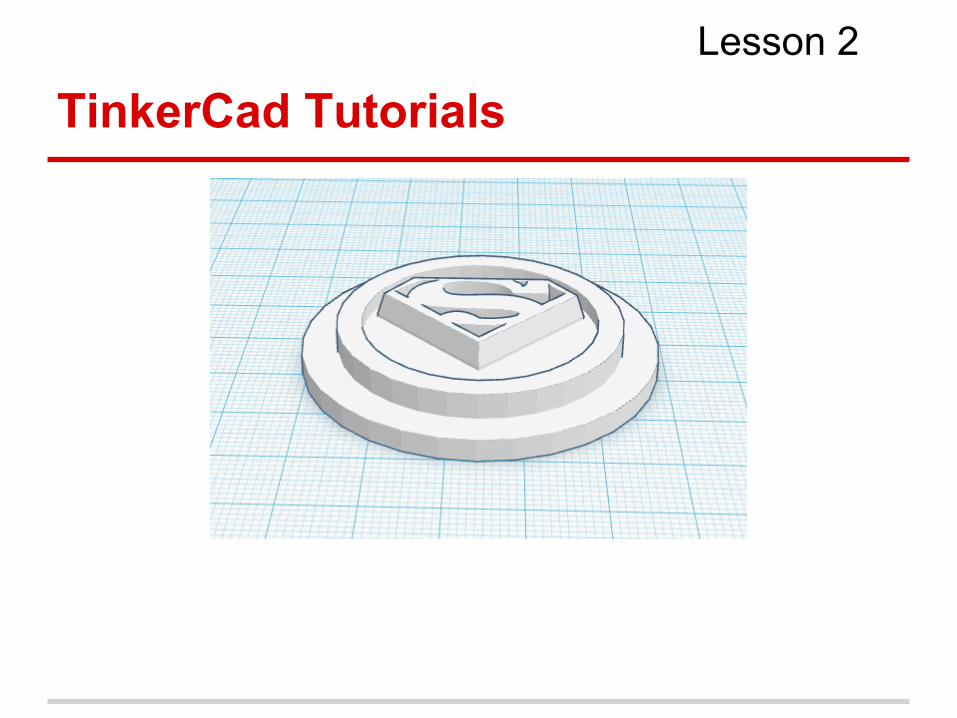
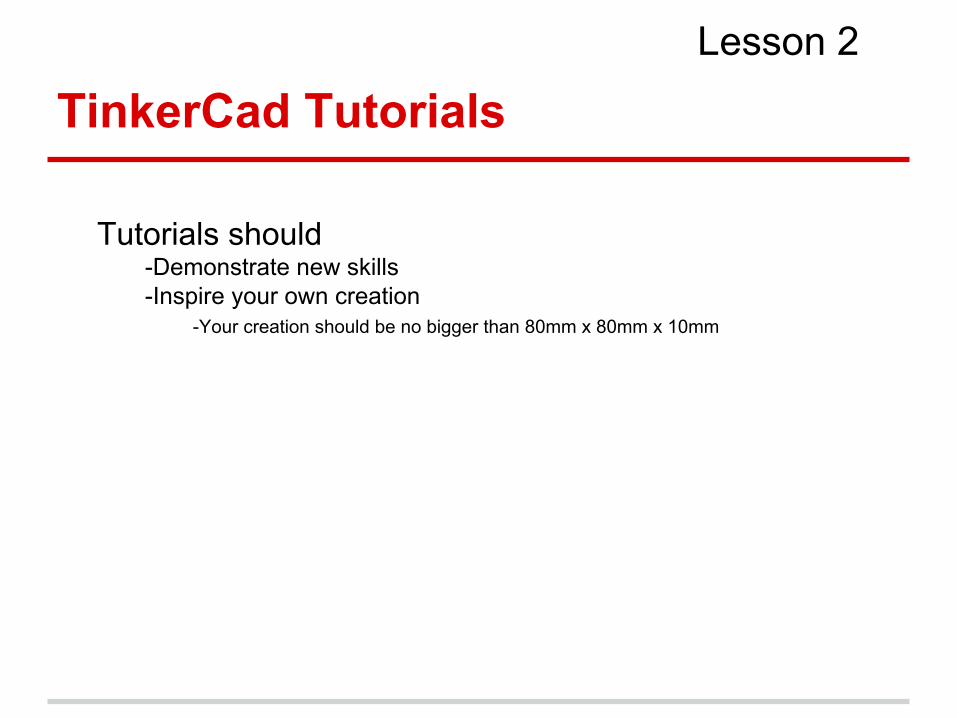
Tutorials should-Demonstrate new skills-Inspire your own creation
TinkerCad TutorialsLesson 2
TinkerCad TutorialsLesson 2
Tutorials should-Demonstrate new skills-Inspire your own creation
-Your creation should be no bigger than 80mm x 80mm x 10mm

TinkerCad TutorialsLesson 2
Tutorials should-Demonstrate new skills-Inspire your own creation
-Your creation should be no bigger than 10mm x 10mm x 10mm
10x10x10

TinkerCad TutorialsLesson 2
Tutorials should-Demonstrate new skills-Inspire your own creation
-Your creation should be no bigger than 40mm x 40mm x 20mm
40x40x20
GET STARTED