Timesheet - Manpower · the timesheet. • If you have to visit a doctor or dentist during working...
22
Create timesheet Timesheet Submitting
Transcript of Timesheet - Manpower · the timesheet. • If you have to visit a doctor or dentist during working...
Create timesheet
Timesheet
Submitting
2
What?
Manpower use online service for timesheet
submitting and electronical payslips for
their external employees.
The following is a short presentation of
how the employee is supposed to use this
online functionality.
3
How?
Please visit this website:
http://timereg.manpower.no
4
Login
• Your username is the same as your Manpower employee number.
• Alternatively use your e-mail address instead of username at login. This address has to match what your personnel consultant got registered in our data base.
• Your password is your last name. You may use both small and capital letters. The next step is selecting “Employee”, ”Language” and
”Login”.
5
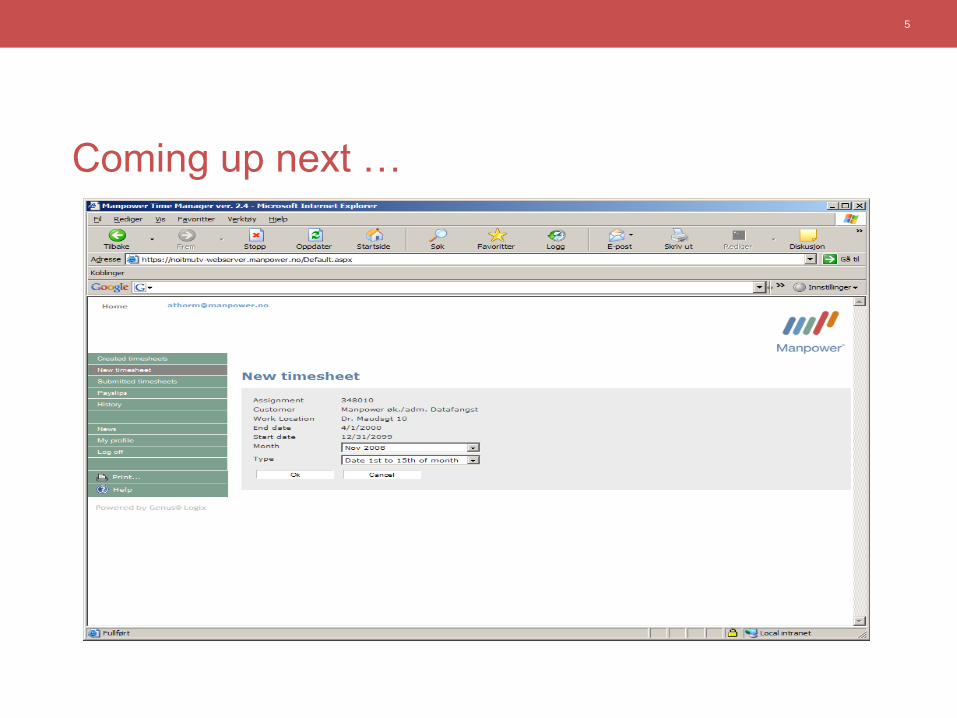
Coming up next …
6
Change your password at first login!
• Your password has to contain at least 8 characters.
• Your password needs to contain both letters and
numbers.
• If your password is denied approval, click ”Change
password”.
• For security reasons, change your password regularly!
7
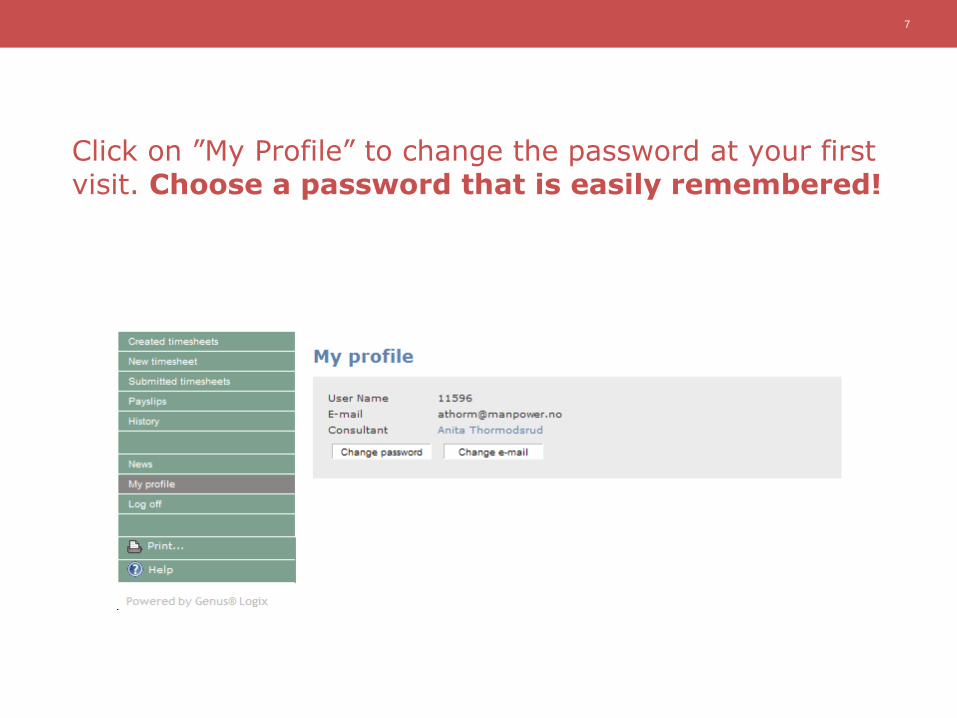
Click on ”My Profile” to change the password at your first visit. Choose a password that is easily remembered!
8
In the menu at the left you got 5 choices:
• Created timesheets
• New timesheet
• Submitted timesheets
• Payslips
• History
• PS! You will not find the timesheets in the menues at your first login.
9
Created timesheets
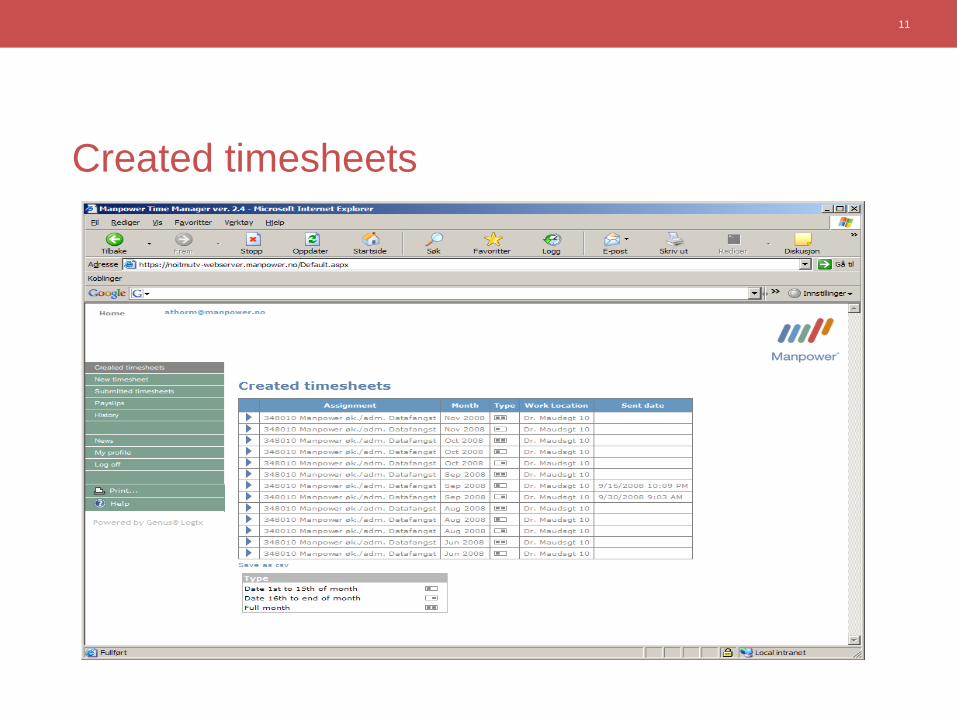
• In the menu ”Created timesheets” you will find an outline regarding the timesheets you have created, but not yet approved.
• The list will be empty if nothing is registered.
• You create a new timesheet by selecting ”New timesheet” in the menue at the left.
10
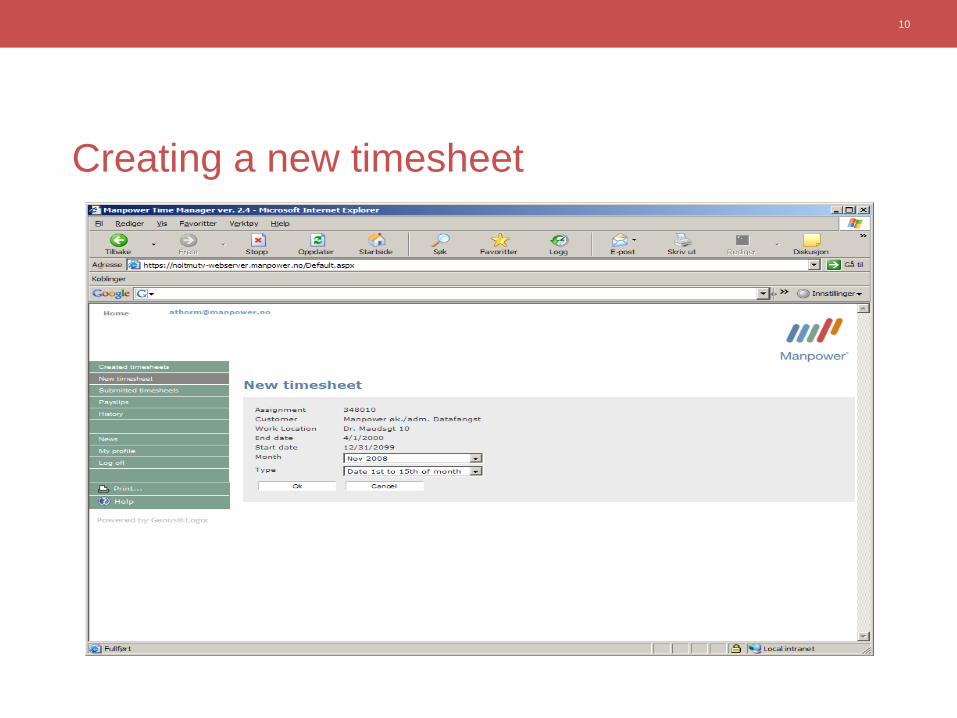
Creating a new timesheet
11
Created timesheets
12
New timesheets
• In the menue ”New timesheet” you will find all assignments you have worked on.
• Select the assignment you want and fill in your working hours by clicking on the blue arrow.
• You then select the month you worked and the type of
timesheets. • Finally select the type of timesheet you wish to use (half / full month). • Press the ”OK” button when finished.
13
• If you need instructions click on the menue at the left. A new window will open with further information.
• At the bottom of the screen there are two different buttons:
– Save-button – when you click ”Save” the registered numbers will only be temporarily saved on our server along with calculations and logical control. The timesheet is not submitted when you click ”Save”.
– Submitt-button - The timesheet should be submitted by clicking the ”submitt” button at the bottom of the page. When the timesheet has been sent in, it is not possible to make further changes.
• If you would like to check that your timesheet has been sent in, you can check under ”Submitted Timesheets”. If your timesheet is there, it has been sent to us. If you don’t find it, send the timesheets again.
Saving and submitting timesheets
14
Logical controls
• If any mistakes are found you will get a message on the screen: • ORANGE box – Make sure you have entered valid inputs. Follow the
onscreen instructions. • RED box – Your inputs are wrong and should be corrected before
submitting the timesheets. Examples of an entries that would be marked red: If you have not
made an entry of a meal break or you have entered a time that does not exists.
PS! You will not be able to send in timesheets if any marked red
boxes is on the screen.
15
Submitted timesheets
• ”Submitted timesheets” You may backtrack and check the status of the timesheets you have already sent in.
• You can at any time view all of the available timesheets stored.
• The timesheet should be sent in by the end of the
period i.e. the 15th and/or the last day of the month to secure the correct date of payment.
• All timesheets will be available in the system for 6
months.
16
History
• The choice ”History” let you run your own report for working hours.
• Statistics shows automatically all registered working hours in the present month.
• You may choose if you want to view the report as a graph or a table chart.
17
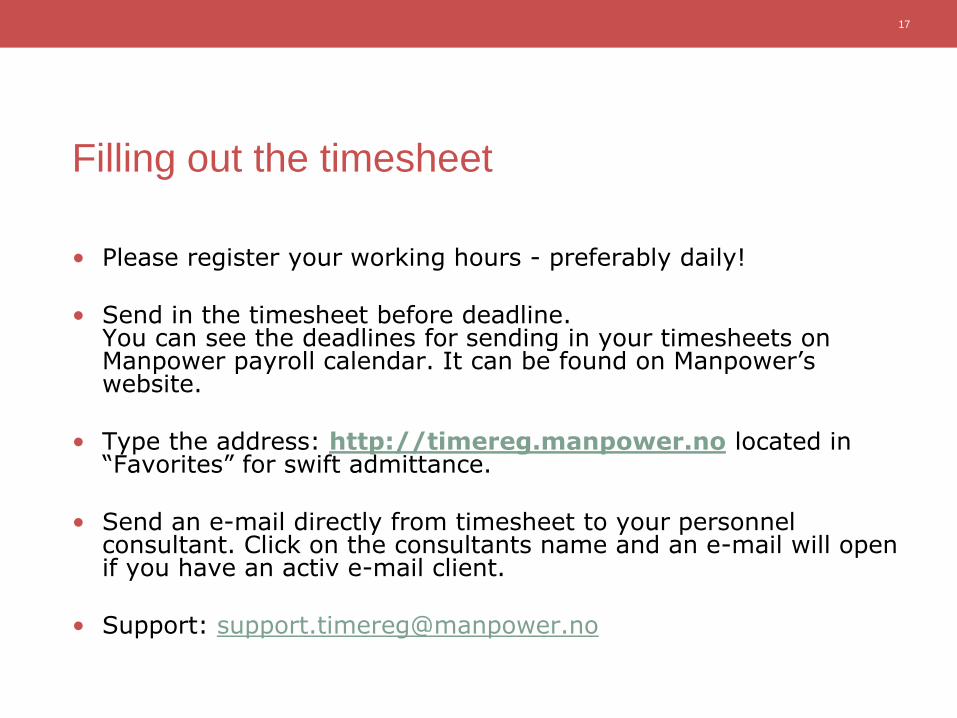
Filling out the timesheet
• Please register your working hours - preferably daily! • Send in the timesheet before deadline.
You can see the deadlines for sending in your timesheets on Manpower payroll calendar. It can be found on Manpower’s website.
• Type the address: http://timereg.manpower.no located in “Favorites” for swift admittance.
• Send an e-mail directly from timesheet to your personnel
consultant. Click on the consultants name and an e-mail will open if you have an activ e-mail client.
• Support: [email protected]
18
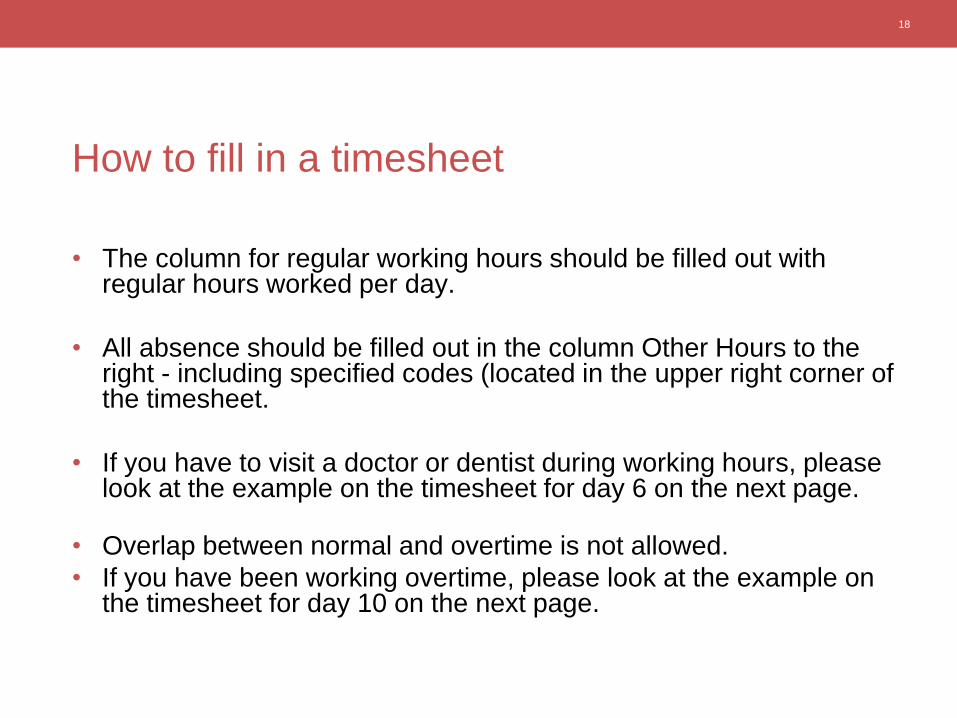
• The column for regular working hours should be filled out with regular hours worked per day.
• All absence should be filled out in the column Other Hours to the right - including specified codes (located in the upper right corner of the timesheet.
• If you have to visit a doctor or dentist during working hours, please look at the example on the timesheet for day 6 on the next page.
• Overlap between normal and overtime is not allowed.
• If you have been working overtime, please look at the example on the timesheet for day 10 on the next page.
How to fill in a timesheet
19
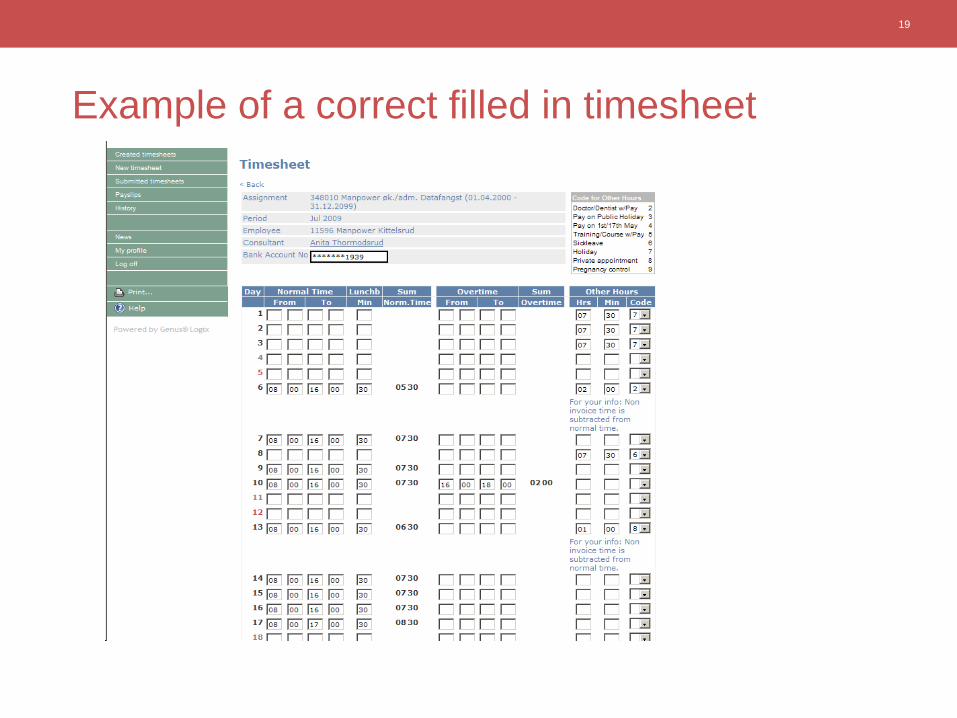
Example of a correct filled in timesheet
20
Payslips
21
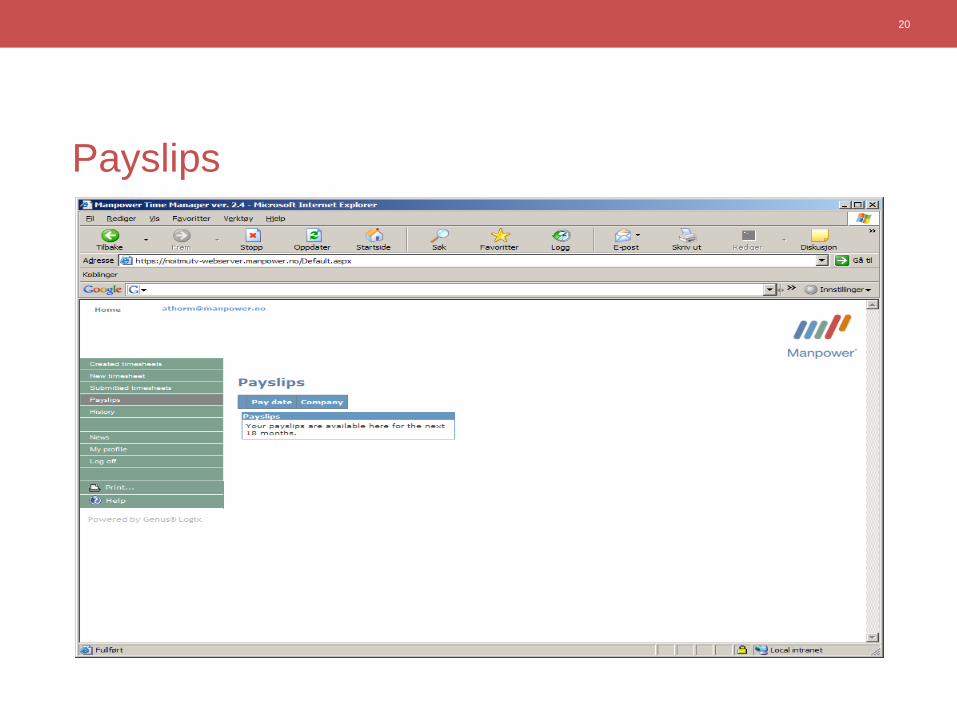
Payslips
• Select a paydate to view your payslip.
• You may print out a copy if you want.
• The payslips will be available for a period of 18 months
from 2008.11.24.
• You need the Adobe Reader installed to be able to view
your payslip.

22
…This is just too easy….