Time Stamp Unlocker SOP for CR640/CR640/CX640MX System Crash -...
10
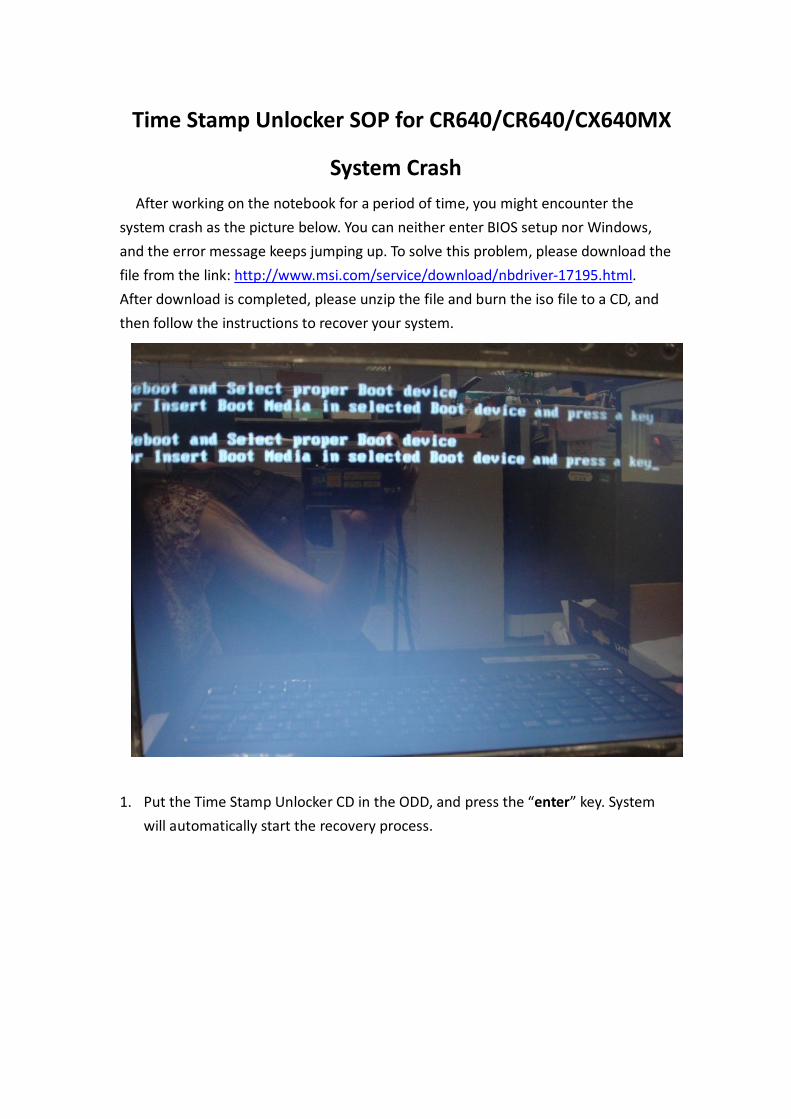
Time Stamp Unlocker SOP for CR640/CR640/CX640MX System Crash After working on the notebook for a period of time, you might encounter the system crash as the picture below. You can neither enter BIOS setup nor Windows, and the error message keeps jumping up. To solve this problem, please download the file from the link: http://www.msi.com/service/download/nbdriver-17195.html . After download is completed, please unzip the file and burn the iso file to a CD, and then follow the instructions to recover your system. 1. Put the Time Stamp Unlocker CD in the ODD, and press the “enter” key. System will automatically start the recovery process.
Transcript of Time Stamp Unlocker SOP for CR640/CR640/CX640MX System Crash -...
Time Stamp Unlocker SOP for CR640/CR640/CX640MX
System Crash After working on the notebook for a period of time, you might encounter the
system crash as the picture below. You can neither enter BIOS setup nor Windows, and the error message keeps jumping up. To solve this problem, please download the file from the link: http://www.msi.com/service/download/nbdriver-17195.html. After download is completed, please unzip the file and burn the iso file to a CD, and then follow the instructions to recover your system.
1. Put the Time Stamp Unlocker CD in the ODD, and press the “enter” key. System
will automatically start the recovery process.
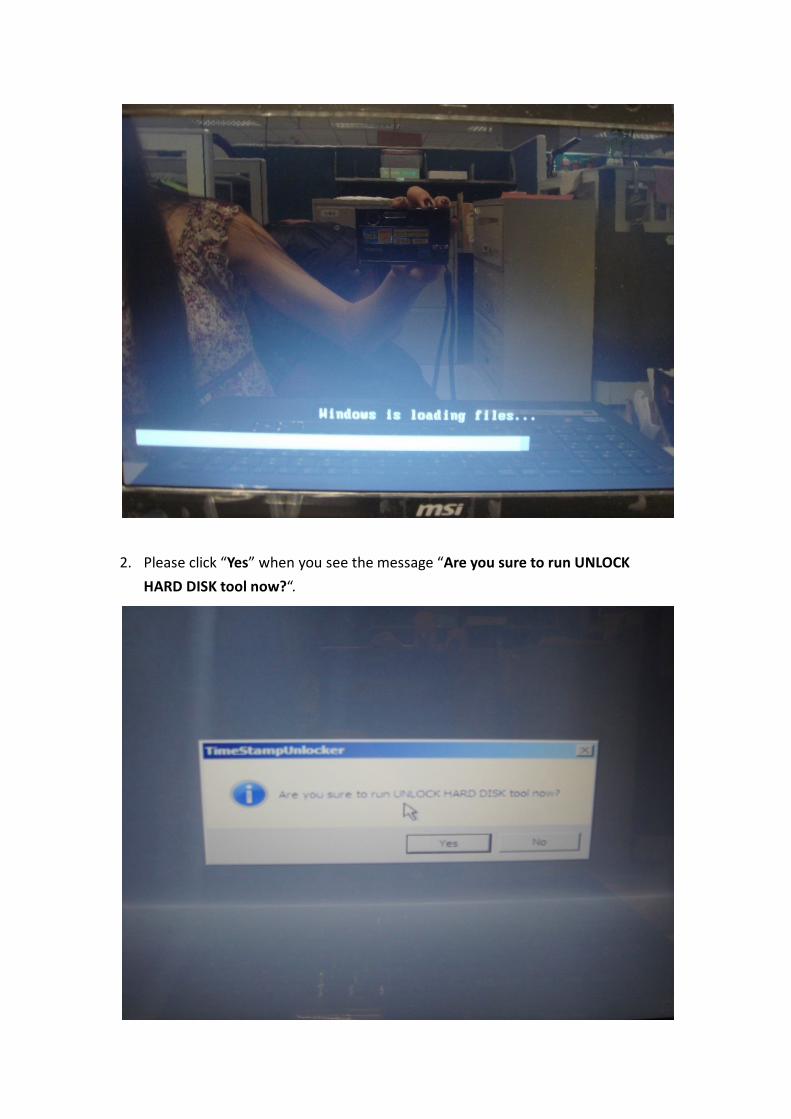
2. Please click “Yes” when you see the message “Are you sure to run UNLOCK
HARD DISK tool now?“.
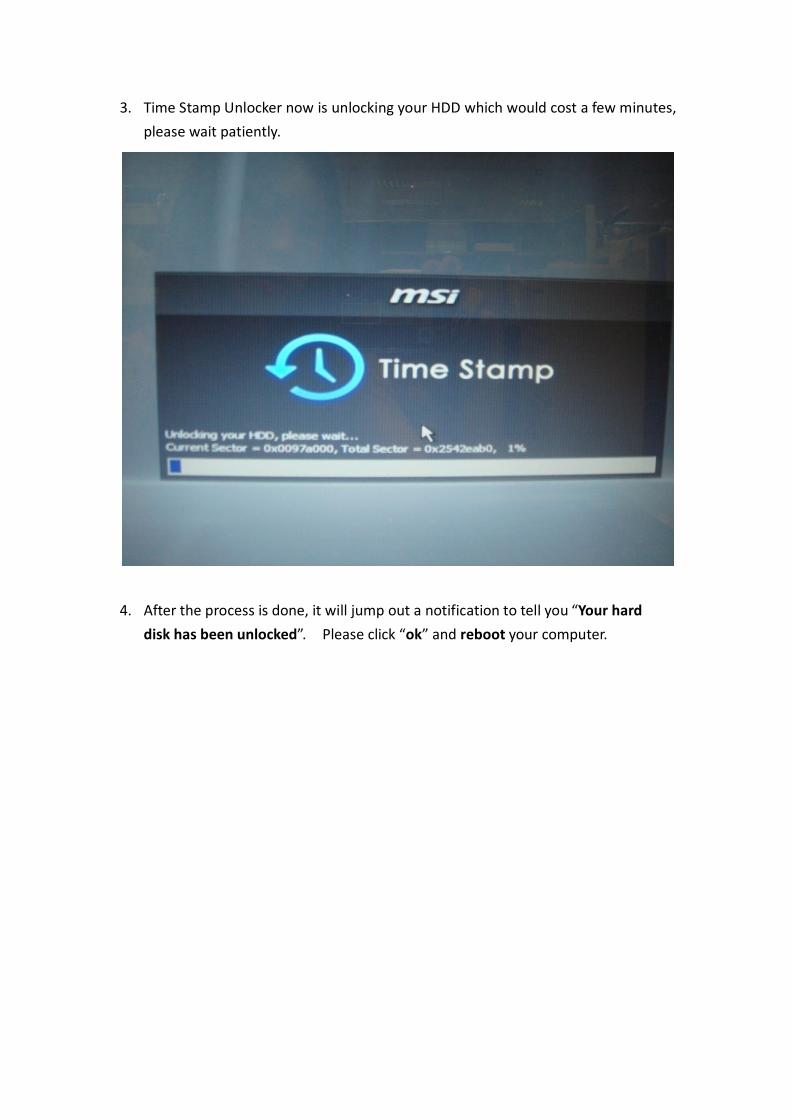
3. Time Stamp Unlocker now is unlocking your HDD which would cost a few minutes, please wait patiently.
4. After the process is done, it will jump out a notification to tell you “Your hard
disk has been unlocked”. Please click “ok” and reboot your computer.
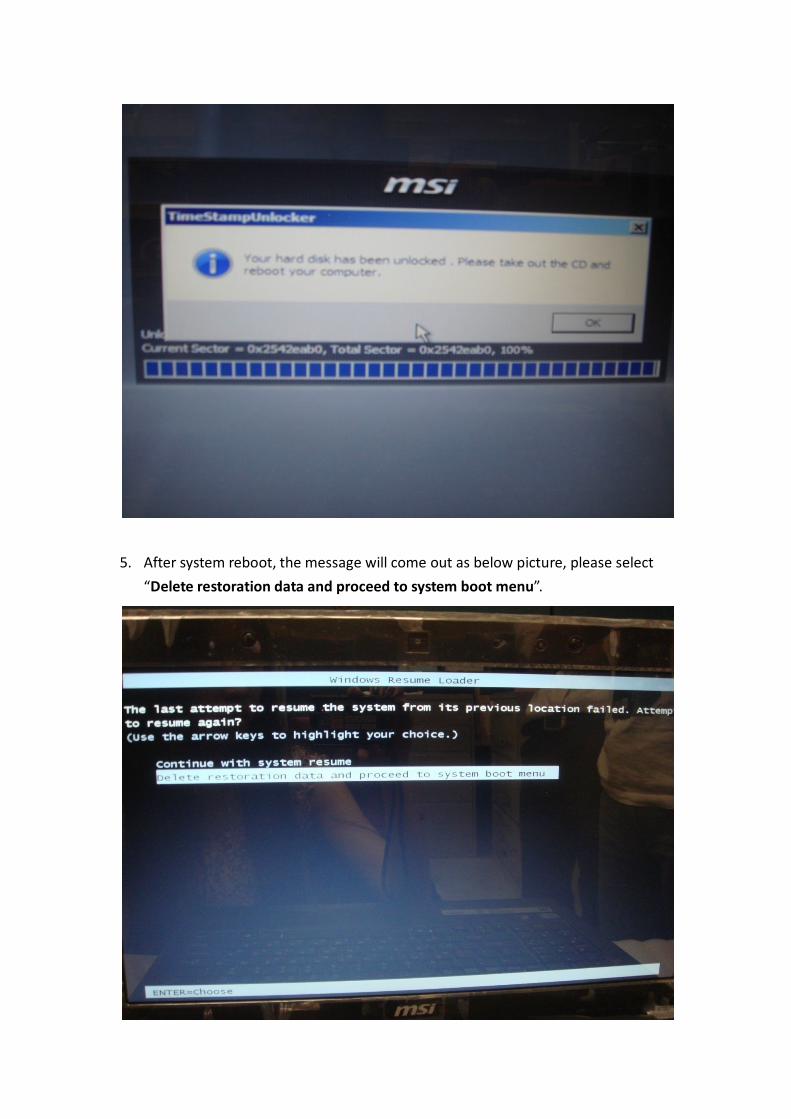
5. After system reboot, the message will come out as below picture, please select
“Delete restoration data and proceed to system boot menu”.

Your system is now recovered. In case the symptom would occur again, please update your Time Stamp version to the latest one and you may follow the instructions below to complete it.
Time Stamp version update
NOTICE: Please be noted that the older version of Time Stamp must be removed before you install a new one. Once Time Stamp is removed, all backup data preserved by it will be erased as well and you will not be able to recover system back to those backups again. 1. Please uninstall older version by clicking UnInstall shortcut. Or you may go to
Programs and Features in Control Panel to uninstall Time Stamp. If UAC dialog pops up, please click Yes to continue the process.

2. Click Next.
3. Time Stamp is now being uninstalled.
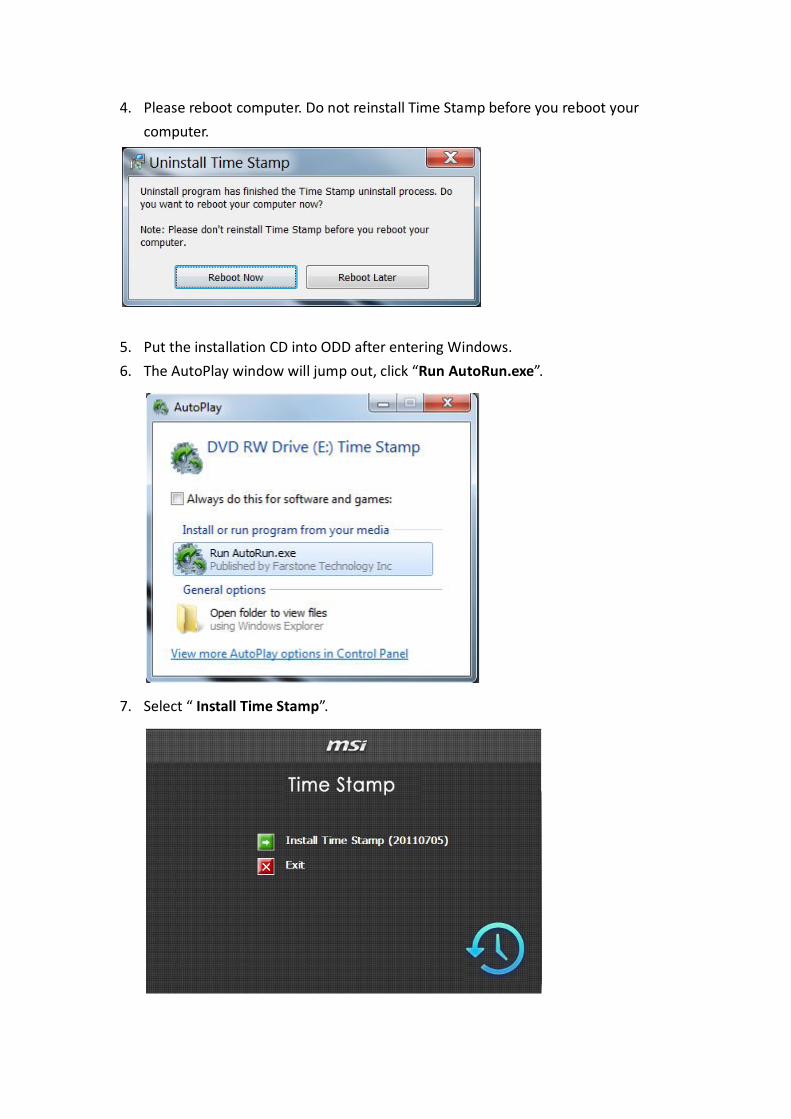
4. Please reboot computer. Do not reinstall Time Stamp before you reboot your computer.
5. Put the installation CD into ODD after entering Windows. 6. The AutoPlay window will jump out, click “Run AutoRun.exe”.
7. Select “ Install Time Stamp”.

8. Click Next to start the installation.
9. Select I Agree and click Next.
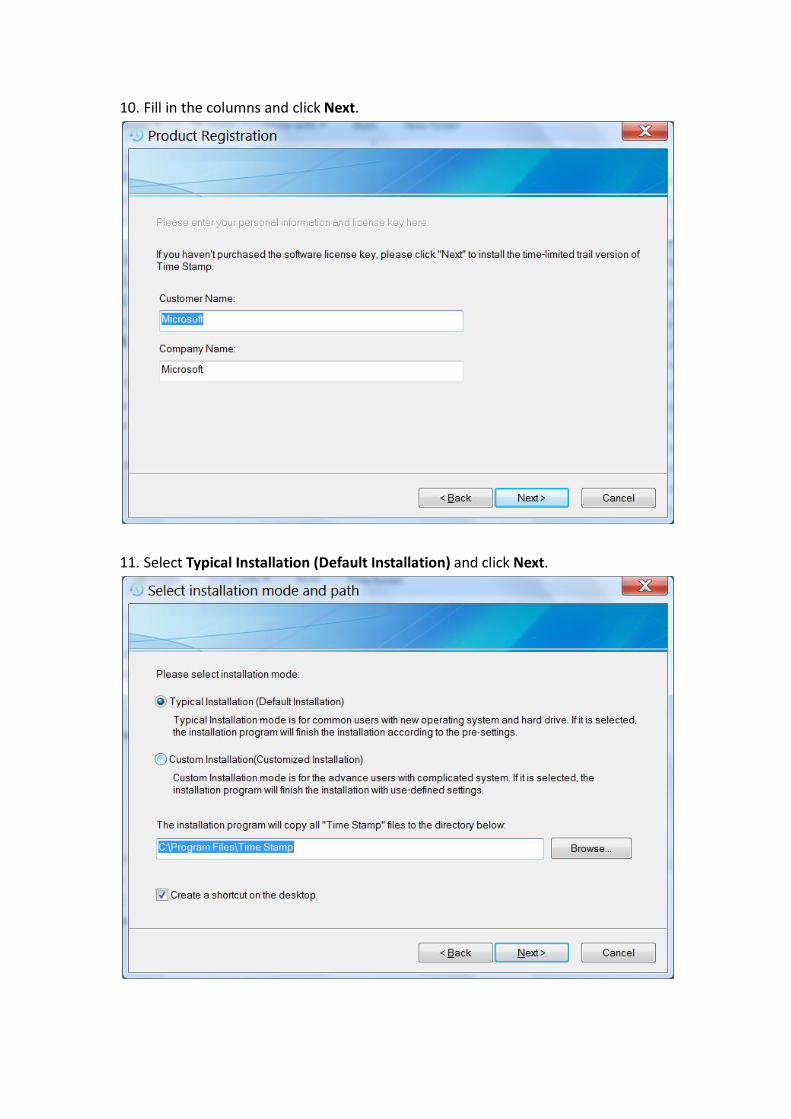
10. Fill in the columns and click Next.
11. Select Typical Installation (Default Installation) and click Next.

12. Click OK.
13. Time Stamp is now being installed.
14. Please click Reboot Now to complete the installation. After reboot, you are able
to enjoy the Time Stamp again.