
The Perfect Fit
24
T he Perfect Fi t VERTIGO TEXTILES A short guide to growing your own clothing W o m e n s w e a r B a s i c s www.vertigotextiles.com.au/
-
Upload
eugenia-pantazis -
Category
Documents
-
view
214 -
download
0
description
A short fiction guide on how we may grow our own clothing in the future to achieve fashion enlightenment.
Transcript of The Perfect Fit

T he Perfect Fi t
VERTIGO
TEXTILES
A short guide to growing your own clothing
W o m e n s w e a r B a s i c s
www.vertigotextiles.com.au/
In our third year of domestically growing clothing, Vertigo Textiles presents it’s 7th guide for successfully growing fitted garments in your own home. No need to place your seasonal order at the Nursery, now you can
process a collection in your own time without the confusing motion graphics of most manuals. We also provide seasonal colours and prints. You can buy the seeds and supplements online which will be delivered to your door
within 4 hours guaranteed.
Each garment you grow will have a personal attachment and must be treated with care. In return, your garment will respond to your environment and perform to its highest ability. As these items are made with a natural
element base, the pieces won’t last forever. Eventually they will begin to decompose and will need to be recycled through the element they were created with. Earth based garments will simply be buried, wind-powered items will be hung out and blown away, heat based clothing will be burnt and water-grown pieces will dissolve when
immersed in liquid.
This guide covers women’s essentials, including the basic dress, the shirt, the skirt, the evening gown and light underwear. We hope Vertigo Textiles can provide you with the information you seek and help guide you into the
24th century of eco-friendly production.
For other manuals and more range options, log onto www.vertigotextiles.com.au/ to browse our collections and to buy any ingredients.
W o m e n s w e a r B a s i c s
B e f o r e Y o u S t a r tBe careful to follow the garment instructions carefully. All recipes require the basic body measurements of the
intended wearer: the bust, the waist, the hips and dresses the length from the waist to the knee (for dresses and skirts). These must be written on dissolvable Sodichloric paper with an ink marker. For in-depth instructions on
how to take these body measurements and any questions go to our website.
1
C o n t e n t s
The Basic Dress 3
The Shirt 7
The Skirt 11
The Evening Gown 15
Underwear 18
References 23
2
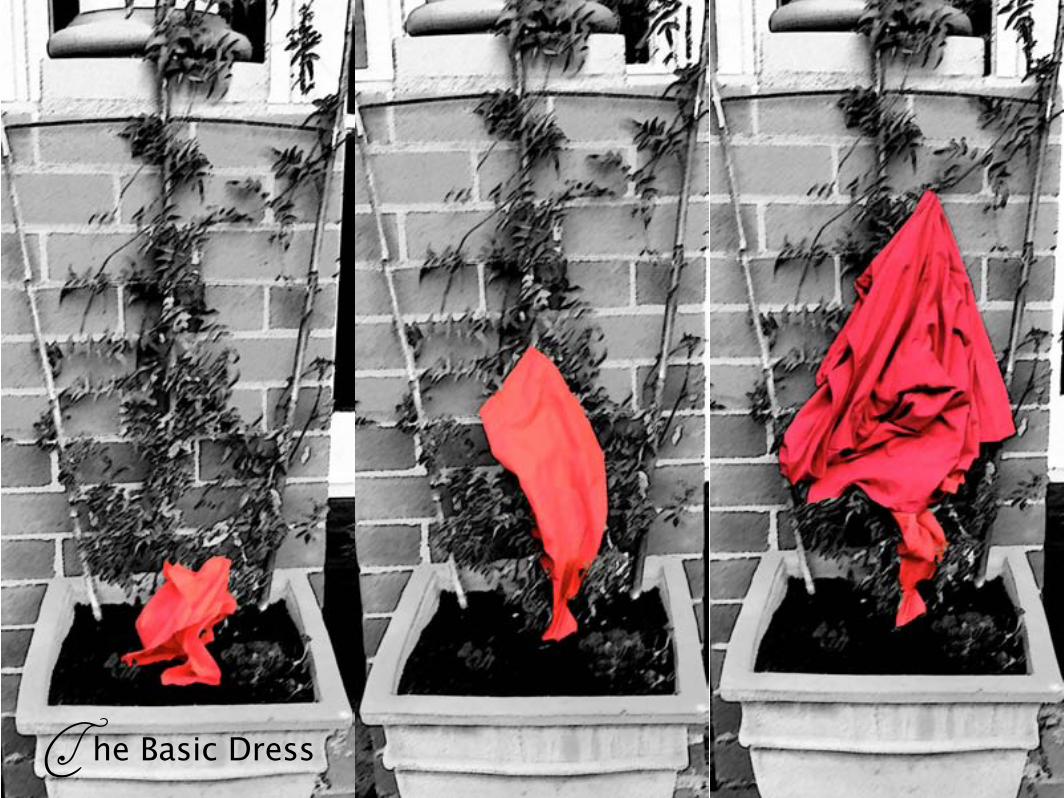
T he Basic Dress
5
T h e B a s i c D r e s sPrep time: 15 minutes per day Growth Period: 3 days Element: Earth
The basic dress will be a staple item in your wardrobe. By choosing to grow your own dress, you will have a fit like no other and be on your way to finding fashionable enlightenment, while others are still scrambling about buying mass produced garments. What you should expect out of your basic dress is its ability to fit your figure immaculately. The dress will form without seams and be of the upmost comfort. The reason the dress will take so long to form is its durability which will last over 7 years before decomposing.
Textile ChoiceThe fabric formed by this recipe creates a cross-grain springy fabric of natural fibres. Its absorbency will keep your body cool especially if you live in broken ozone affected areas. They have good drape to streamline your figure for a flattering cut. To add a pattern or texture to the dress, add a motif coin to your process.
Ingredients 1 kg Soil 250g Self-raising Flour40mL Cottonseed oil 75g Mixed natural fibres 1 Stone marble 25mL Drezgroh 600mL H2O MeasurementsColour Pill 200mL Aerosol fabric illuminator
ToolsCeramic pot 40cm deep OR A garden bed Small Spade 1m Lattice100mL Syringe Needle head500g Measuring Cup Watering Can
6
Day 1 (15minutes)Secure the lattice frame to a fence in a sheltered area. In front of the frame, dig a small hole about the depth and width to fit a tennis ball (7cm3). Dampen the soil with cottonseed oil and line the hole the with natural fibres. Place the marble, measurements, a colour pill (and motif coin) in the centre of the hole and fill the hole in with the flour. Inject the Drezgroh liquid into the centre of the hole surface and approximately 2cm deep. Leave for 24 hours.
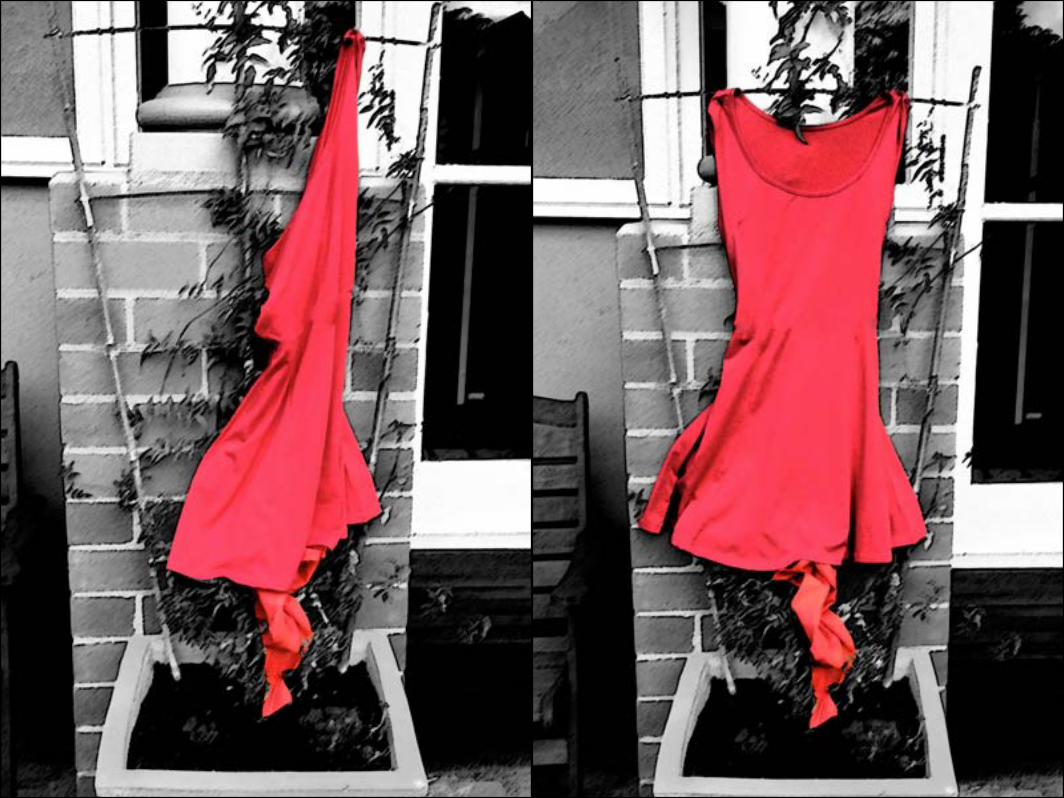
Day 2 (10minutes) A vine will have rapidly sprouted up onto the lattice over the 24 hours and at the base of the plant, an absorbent bud of fabric will have bloomed. When the fabric has grown to about 10cm long, gradually water the base of the plant with 400ml of H2O over a 10 minutes. This will cause rapid growth within 20 minutes and the fabric will expand and climb the lattice. The skirt will begin to form and stretch up forming the bodice. Allow the dress to form for another 20 hours.
Day 3 (20minutes)Durable fabric will have formed a clear seamless silhouette creating the dress. Take measurements of your dress to see if the bust and waist has grown to accordance. If it has not grown to your measurements, add 200ml to the soil and wait another 2 hours.The dress will be ready when the measurements are accurate and fabric surface is rigid. Cut away the dress from its fabric roots and the lattice. The fabric will immediately soften. There may be small holes and frays along the hem. To seal the edges and holes, spray the dress with fabric illuminator and wait 2 minutes for it to dry. Repeat until all irregularities have healed.
Method
The dress will always aim to serve its wearer to its upmost ability. In the heat the fabric will absorb sweat with-out leaving damp patches and loosen its fabric structure to become porous and breathable. The fabric expands its dimensions when body temperature drops for more coverage and to trap heat over the skin. To ensure the
dress performs to its highest ability, store it carefully folded when not in use.
NEVER leave the dress on the floor amongst decaying or mass-produced clothing. It will pick up on the negative vibes of these discarded garments and become weak in its ability to react to its
wearer.
Tips

T he Shirt

9
T h e S h i r tPrep time: 10 minutes Growth Period: 5 hours Element: Earth
The shirt, complex in opening, button holes and selected structure whether pleated, darted or gathered is quick and simple to grow. It will always aim to give the wearer a professional, fitted appearance and will stiffen or loosen its fibres according to the wearer’s environment.
Textile ChoiceA consideration many growers like to implant in their shirts are motif coins. They grow very well with the plant’s photosynthesis cells to create a pattern or colour differentiations similar to tie-dye or dip-dye.
Ingredients Soil Motif coin or colour pillBlooming bud Measurements1L Water 20g Growzel
ToolsCeramic pot 40cm deep OR A garden bed Small Spade Scissors500mL Measuring Cup Watering CanHot Iron
10
The shirt can be grown inside or outside. It isn’t fussy and will only need a little bit of sunlight coming through your window or in your garden. Lay the measurements of the shirt inside a 20cm3 hole of dry Earth and place the blooming bud on top. If you would like a pattern or selected colour on your shirt, add a colour pill or a motif coin. Sprinkle the Growzel over the hole and watch it instantly moss over and make a seamless surface on top of the soil. Within 20 minutes a green leafy plant, will sprout and form a bush. Add the litre of water, which will be absorbed by the thirsty plant instantly. The growth will become more rapid and a shirt sleeve will bloom from the centre of the shrub. The body of the garment will be squeezed out over the next 5 hours: first the cuffs, vents, armhole, the collar, plackets, button holes, buttons, darted panels and lastly, the hem.
Some fibres will still be attached to the leafy fingers of the plant. Cut these away and from the hem to separate the garment. The shirt will be crisp and granulated. To invigorate and program the shirt on a basic level, press the garment with 200°C of steam heat. This will soften and dissolve the hard grains in the fabric and allow it to respond to your environment when worn.
Method
You must approach the shirt formally. You may wear it casually, but never insult it’s genetic integrity by growing it in the back yard next to your tracksuit pants.
Remember to press your shirt every few wears to reinvigorate its cells. Otherwise, it may fail to respond to your environment eg. Softening in the boardroom.
Tips
T he Skirt
13
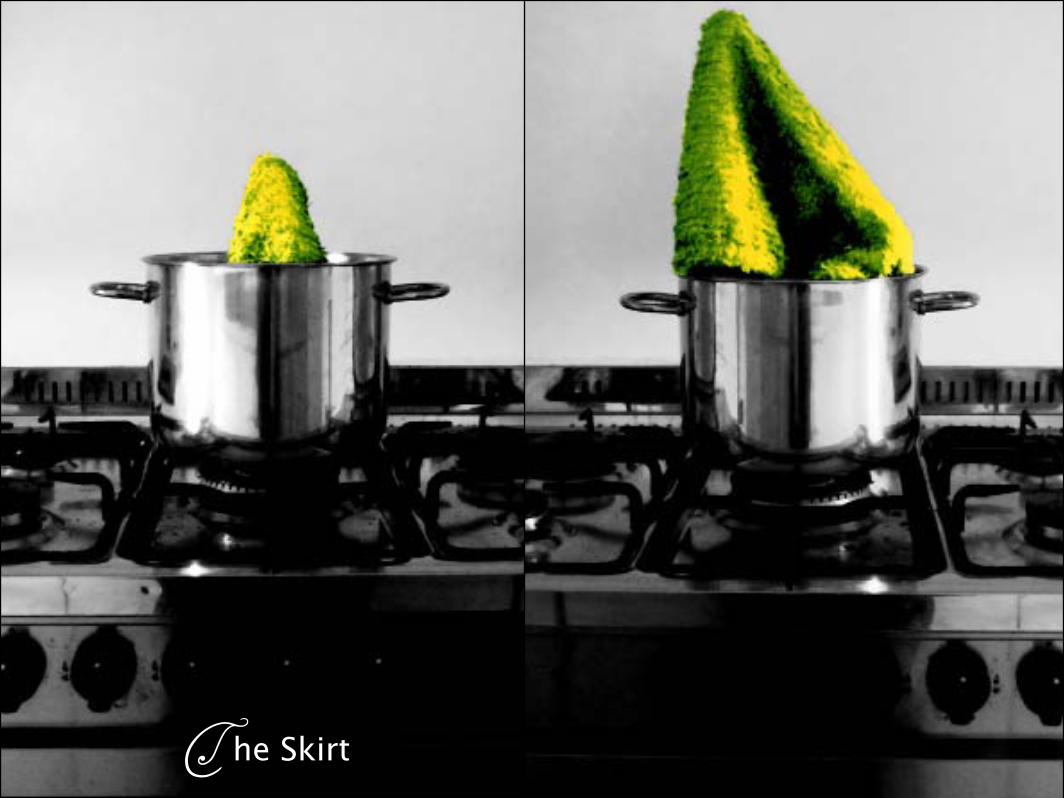
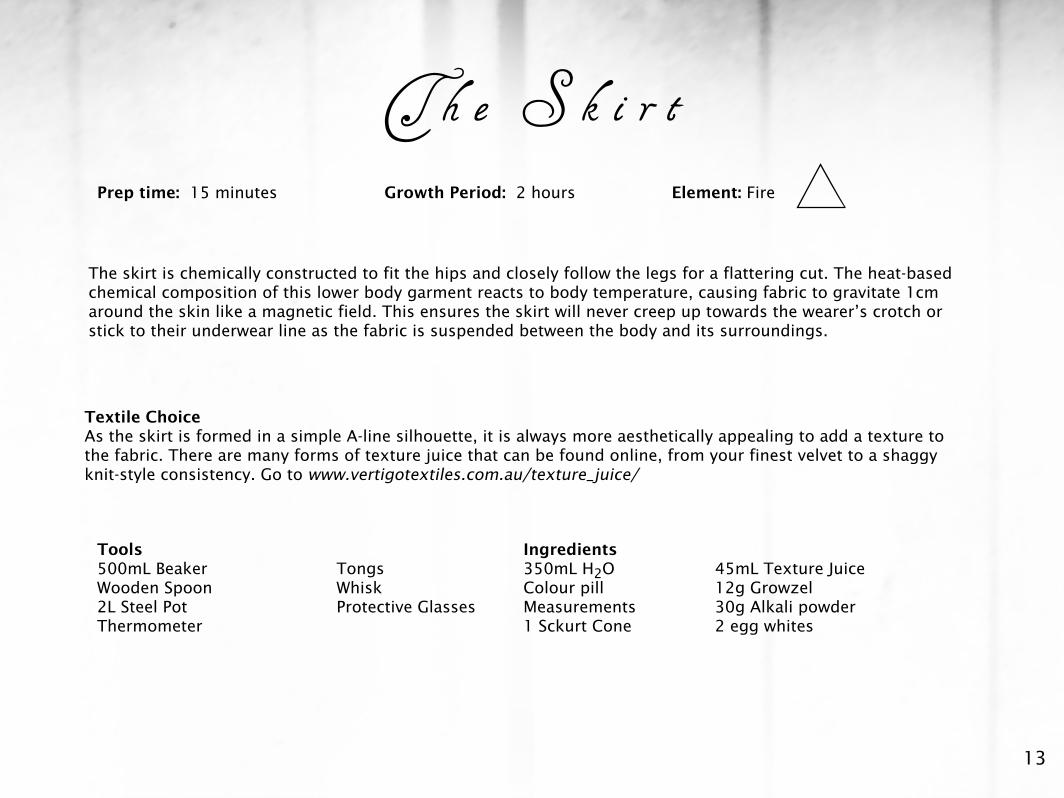
T h e S k i r tPrep time: 15 minutes Growth Period: 2 hours Element: Fire
The skirt is chemically constructed to fit the hips and closely follow the legs for a flattering cut. The heat-based chemical composition of this lower body garment reacts to body temperature, causing fabric to gravitate 1cm around the skin like a magnetic field. This ensures the skirt will never creep up towards the wearer’s crotch or stick to their underwear line as the fabric is suspended between the body and its surroundings.
Textile ChoiceAs the skirt is formed in a simple A-line silhouette, it is always more aesthetically appealing to add a texture to the fabric. There are many forms of texture juice that can be found online, from your finest velvet to a shaggy knit-style consistency. Go to www.vertigotextiles.com.au/texture_juice/
Ingredients 350mL H2O 45mL Texture Juice Colour pill 12g Growzel Measurements 30g Alkali powder1 Sckurt Cone 2 egg whites
Tools500mL Beaker TongsWooden Spoon Whisk2L Steel Pot Protective GlassesThermometer
14
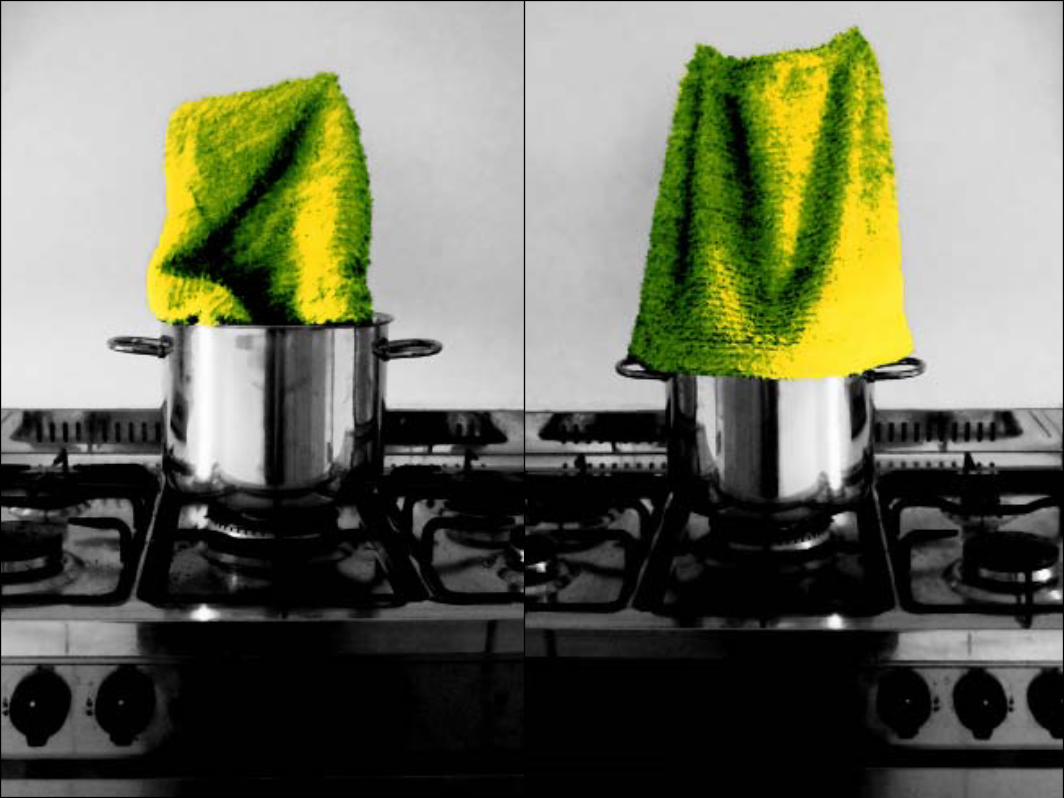
The skirt is made using fire and gas substances. It is a quick yet hazardous process and it is highly recommended you wear protective glasses and clothing to avoid steam damage. A stove or small outdoor bonfire will be needed to grow the skirt. You must be alert during the whole process. If you have stayed up late watching the solar-highway being built under the Southern Cross, get some sleep before attempting this recipe. Start by boiling a colour pill in 200ml of water. Stir in the Sckurt cone and measurements until dissolved and mixture has become a coloured jelly. Add the Growzel and alkali powder into the gel and watch the liquid evaporate. A lot of steam will arise, so if you are in the kitchen activate the fan. Make sure the fire is still on at full heat, keeping the mixture’s temperature at a minimum of 160°C. The hotter, the better.
Separately, combine the egg whites and texture juice by whisking into a bubbly froth. Add this to the mixture and stir for 5 minutes until a gooey seamless fabric begins to form. The fabric will begin to pucker and rise out of the pot. Stop stirring and add the rest of the water. Keep the heat on high and watch the skirt rise out of the pot, possessed by gasses. The waistband will emerge first, followed by the skirt slightly flaring out until the hem sits above the rim of the pot. When the skirt is fully suspended above the edge, you will know it has finished growing.
Gradually turn down the heat over 10 minutes, until the skirt deflates and crumples back into the pot. To be safe remove the skirt with tongs as not to burn yourself and hang to cool before wearing.
Method
Static will linger around the skirt on the first wear. To avoid electric shocks from the chemical currents, use a fabric illuminator to spray the skirt. This will give the garment a fresh edge and
accentuate its textures.
Tips

The Evening Gown

17
T h e E v e n i n g G o w nPrep time: 1 hour Growth Period: 8 hours Element: Water
The evening gown can cater to the most extravagant occasions, striking gasps of amazement from every human in the room when grown to an impeccable fit. The garment is water based and makes the wearer feel emotionally uplifted when the water cells mix with music. The fabric reacts positively against the skin when worn and feels like a warm liquid wrapper.
Textile ChoiceSilks and liquid fibres are always chosen to surround the body in a fluid whirlpool of beauty. Deeper colour pills are recommended for the gown as the colour often fades when formed in the water.
Ingredients 400L – 5000L Water Motif coin or colour pill200g La Soie Gel Measurements on dissolvable paper 42g Mulberry leaves 2m electric-silk yarn
ToolsBath Tub OR Swimming PoolMortar & Pestle Gloves2 absorbent day towels
18
The evening gown can be grown in a bathtub, a large container or if available a swimming pool. A minimum of 400L cold water must be used. For more extravagant features such as a long train on the dress, more water and space will be needed. Start by shredding the mulberry leaves and grinding them into a paste using a mortar and pestle. When the paste is smooth, add the La Soie Gel and mould the mixture into a sphere. You may want to wear gloves for this to prevent the gel from tickling. Form a hole in the centre of the ball, insert the measurements and the colour pill and re-form a perfect sphere shape. The shaped mixture will begin to dry out and may start to suck moisture from your fingertips if you have not worn protection. Before all the moisture has evaporated and your skin tightens with dryness, wrap the yarn around the ball and place it in the middle of the body of water. Make sure it sinks.
When immersed in the cool depths, the gel sphere will morph, twisting into a cocoon and will then stretch out to form a length of liquid fabric. Reminiscent to ink in water, the fabric will take its colour after 2 hours and con-tinue to spin and expand in the bath causing turbulence in the water.
In the 6th hour, a formed gown will rise to the surface and a serene stillness will overcome the pool. The hem and openings of the gown will then seel to prevent fraying. Wait 2 more hours until the gown is floating on the surface of the water. Gently take it out of the water and let it dry on a flat bed of dry towels as the fabric be-comes fragile when damp. Once the evening gown is totally dry, its fabric will become highly durable and tena-cious, yet subtly light against the skin.
Method
Taking a bath or swimming with the gown in its growing stages is recommended for the fabric to absorb your body measurements and spirit physically, rather than just on the paper.
However you must never touch the fabric while it’s being formed to avoid irregularities in the gown’s structure.
Tips
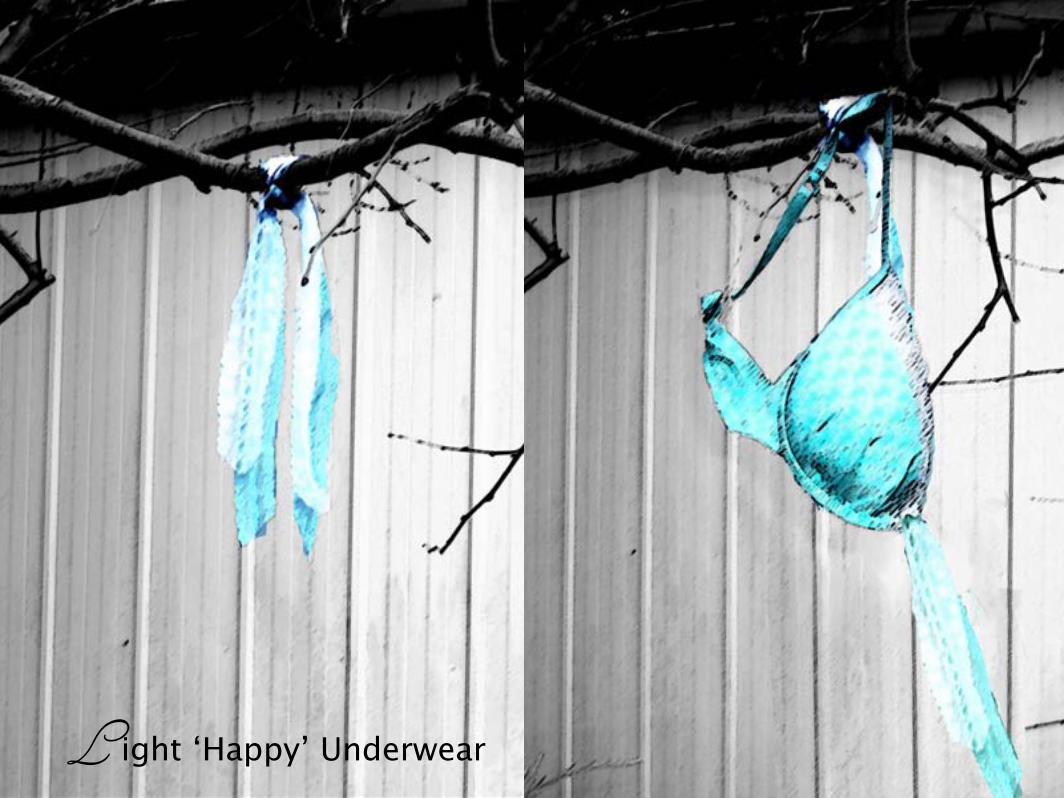
L ight ‘Happy’ Underwear
21
‘H a p p y’ U n d e r w e a rPrep time: 40 minutes Growth Period: 3 - 5 hours Element: Air
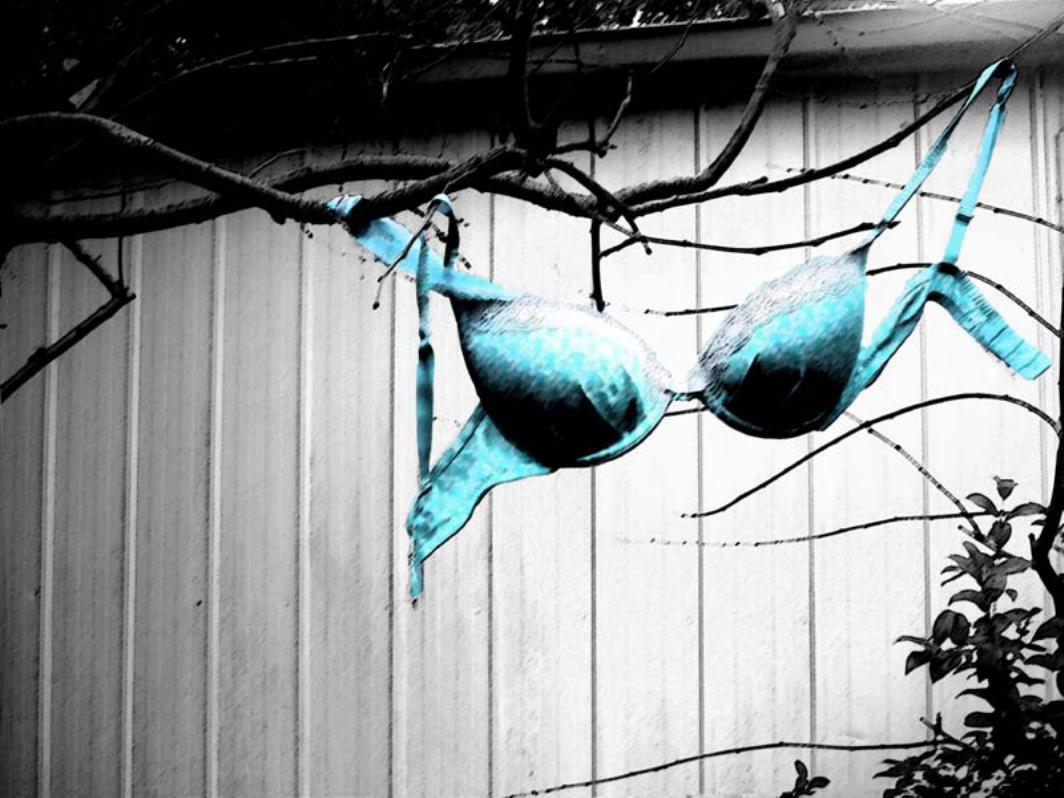
This method of growing underwear by air will produce light and porous undergarments that invigorate the wearer inside-out. A malleable bra with an underwire, or bikini-cut undies will be produced with this recipe. Air bubbles become infused by wind-power causing microscopic bumps on the surface of the fabric. This causes a light and tingly massaging friction against the skin releasing endorphins, hence its nickname ‘happy’ underwear.
Textile ChoiceSoft laces, buoyant ribbon or thin silks are best suited to this recipe. Light fabrics will stretch rapidly and catch in the wind to mould into shape. These fabrics make the undergarments a much more visually appealing prod-uct than a basic cotton ribbon would. For more practical and thermal underwear head to the Vertigo Textiles website to find other style guides.
Ingredients 40cm optical wire (bra only) 80g La Soie Gel 30cm base colour lace 100ml Full cream milk25cm contrast lace 10g Growzel Measurements 100g Wholemeal flour100ml H2O
ToolsClean Bench/Board SieveBowl ScissorsBrush Wisk
22
The same recipe is used to make the bra and the undies. The only alterations lie in the use of optical wire, lace length and measurements. - For the bra only write bust measurements on the paper. - For the undies, do not use the optical wire. Halve the lace length and only include the hip measurement in the mixture.
Whisk the milk, water and Growzel until the mixture is a light froth. Smoothly stir in half of the flour through a sieve and add the measurements. Keep stirring until both have dissolved leaving an oily paste. On a clean board sprinkle some flour and place both pieces of the lace over it. Brush the lace with the mixture so it is damp. Wait about 5 minutes for it to dry and repeat this twice on each side of the lace. Sprinkle more flour on the board if the lace begins to stick to it.
When both lace pieces have been coated, find a clear branch or clothes line to tie the lace on. Make one knot and leave at least 10cm of lace trailing on each side. Wrap the wire around the branch to secure the lace. From here, all you need to do is wait and let the wind stimulate the undergarment’s growth. The lace will stretch out through a combination of gravity and wind-power and grow from left to right. The bikini will grow anticlockwise from the right side of the waistband.
The bra will be ready when the fastenings have formed. The undies will be ready when its waistband has joined. The underwear will be only attached to the branch or clothesline by a stiff root of lace. Cut this away from the fabric to claim the undergarment.
Method
The stronger the wind, the faster the growth. Choose a windy day to grow your undergarments for a rapid and efficient result.
Be careful not to include the optical wire when growing the undies, otherwise the waistband will have a wire interlacing confining the hips.
Tips
B i b l i o g r a p h y
Books
Lee, S., 2007. Fashioning the Future. London: Thames & Hudson.
Websites
Wikipedia, 2012. Classical Elements. [Online] (28 May 2012) Available at: <http://libweb.anglia.ac.uk/referencing/harvard.htm> [Ac-cessed 28 May 2012]
Photography & Text
Eugenia C Pantazis, May 2012
Assignment
Fashion FuturesSemester 1, 2012
Fashion Writing ElectiveBachelor of Fashion DesignBP194
Eugenia C Pantaziss3332248
23