The Facebow Record Dr. Richard G. Stevenson III. THE FACEBOW RECORD.
55
The Facebow Record Dr. Richard G. Stevenson III
-
Upload
zackary-maddix -
Category
Documents
-
view
241 -
download
10
Transcript of The Facebow Record Dr. Richard G. Stevenson III. THE FACEBOW RECORD.
The Facebow Record
Dr. Richard G. Stevenson III

THE FACEBOW THE FACEBOW RECORDRECORDTHE FACEBOW THE FACEBOW RECORDRECORD
Purpose
• To accurately mount the maxillary cast to articulator

Upper Bow
BiteforkTransfer Jig Assembly
Articulator Index
Incisal Pin
Fossa
Centric Latch
Mounting Plate (ring)
Facebow Transfer
• Establishes the relationship between the maxillary arch and the horizontal plane.
• Transfers this this relationship to the articulator.
• Provides for an accurate mounting of the maxillary cast to the articulator.
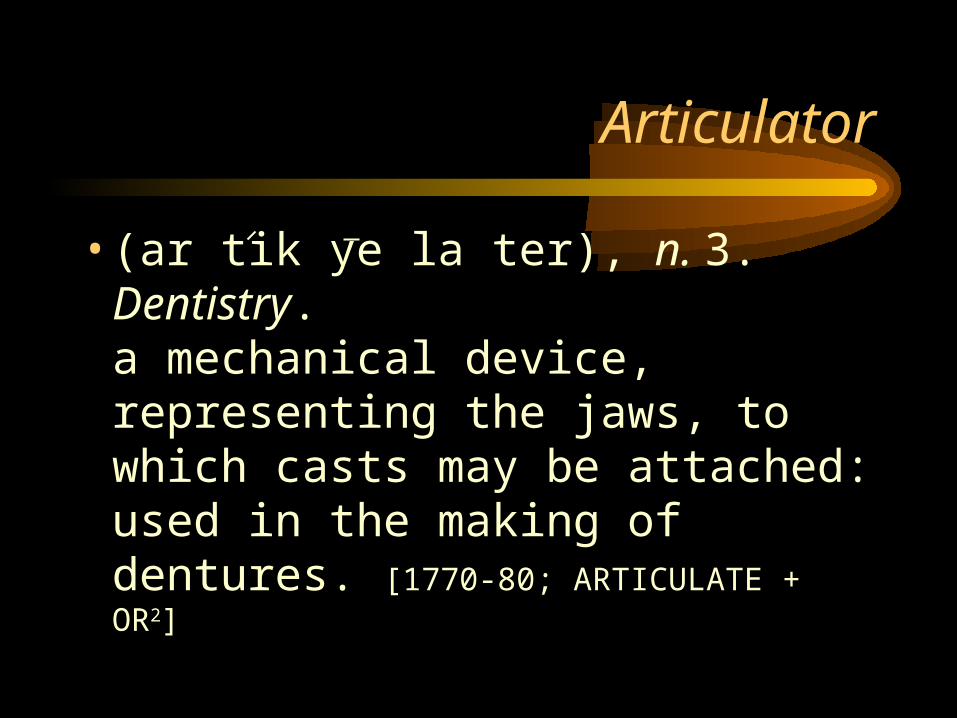
Articulator
• (ar tik ye la ter), n. 3. Dentistry. a mechanical device, representing the jaws, to which casts may be attached: used in the making of dentures. [1770-80; ARTICULATE + OR2]
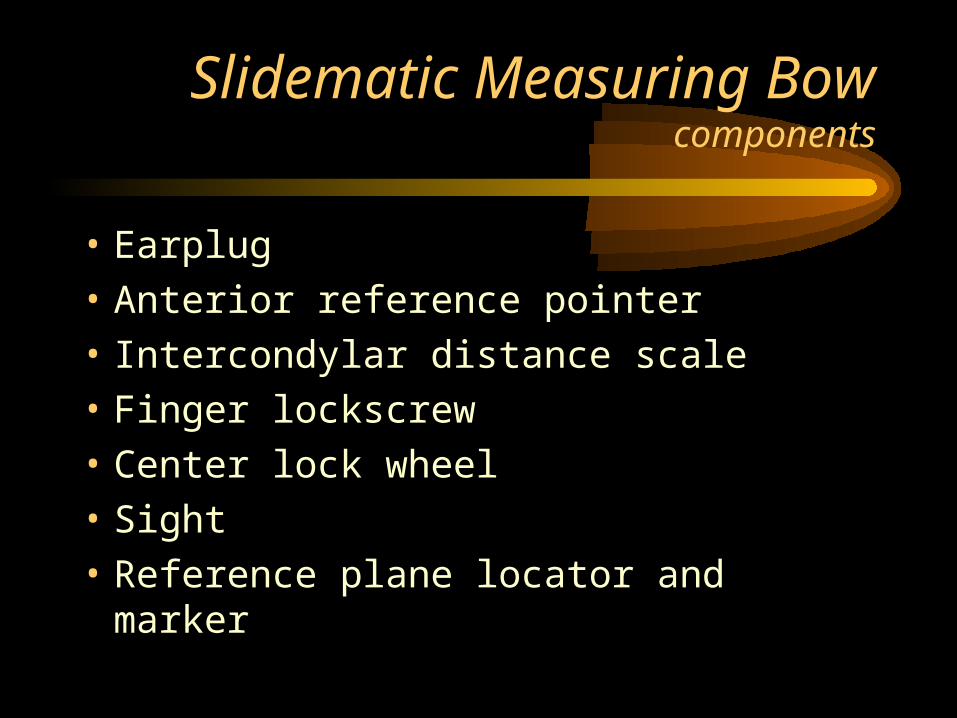
Slidematic Measuring Bowcomponents
• Earplug
• Anterior reference pointer
• Intercondylar distance scale
• Finger lockscrew
• Center lock wheel
• Sight
• Reference plane locator and marker
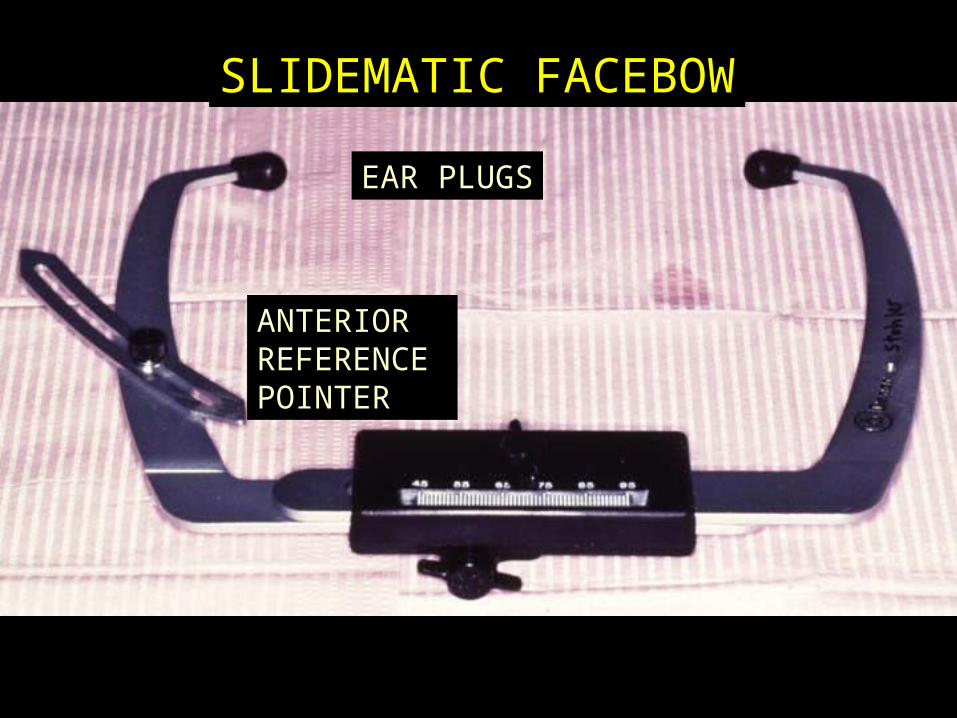
EAR PLUGS
ANTERIORREFERENCE POINTER
SLIDEMATIC FACEBOW
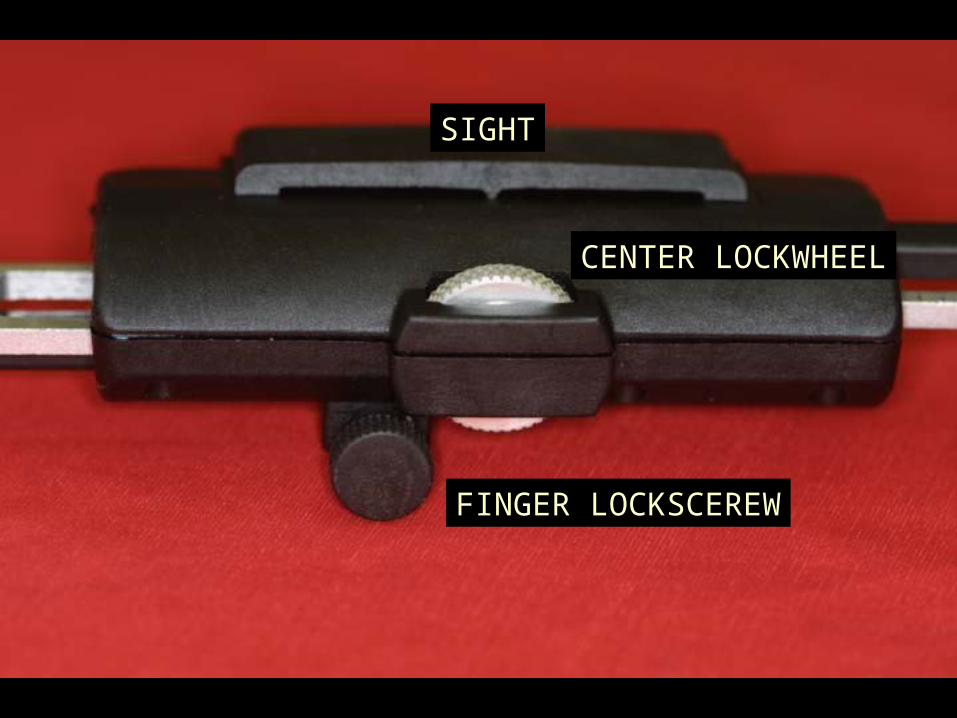
CENTER LOCKWHEEL
FINGER LOCKSCEREW
SIGHT
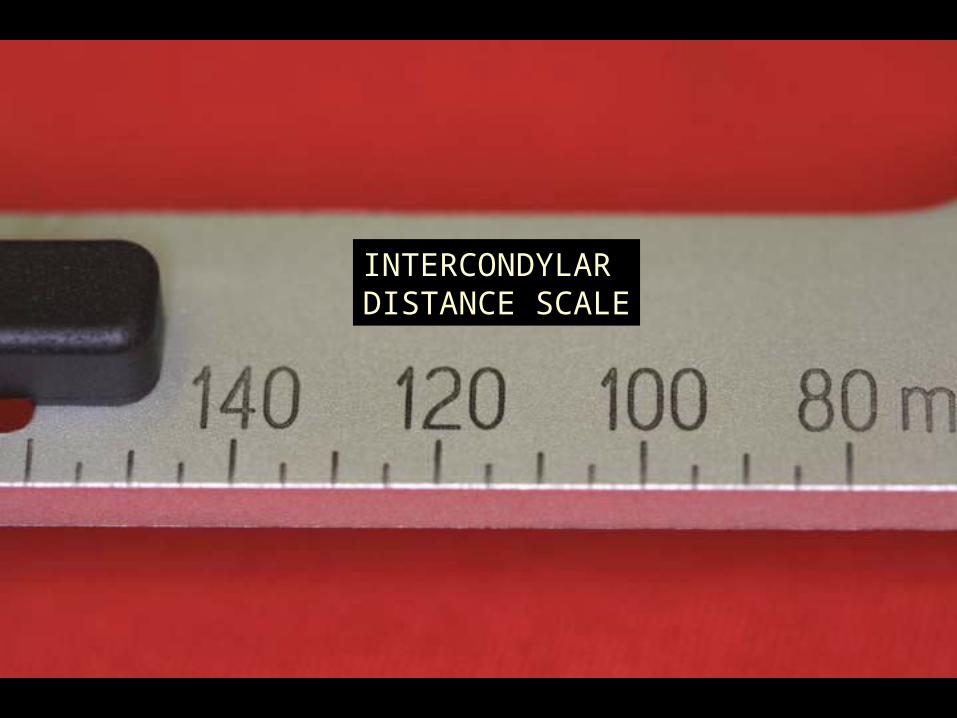
INTERCONDYLARDISTANCE SCALE
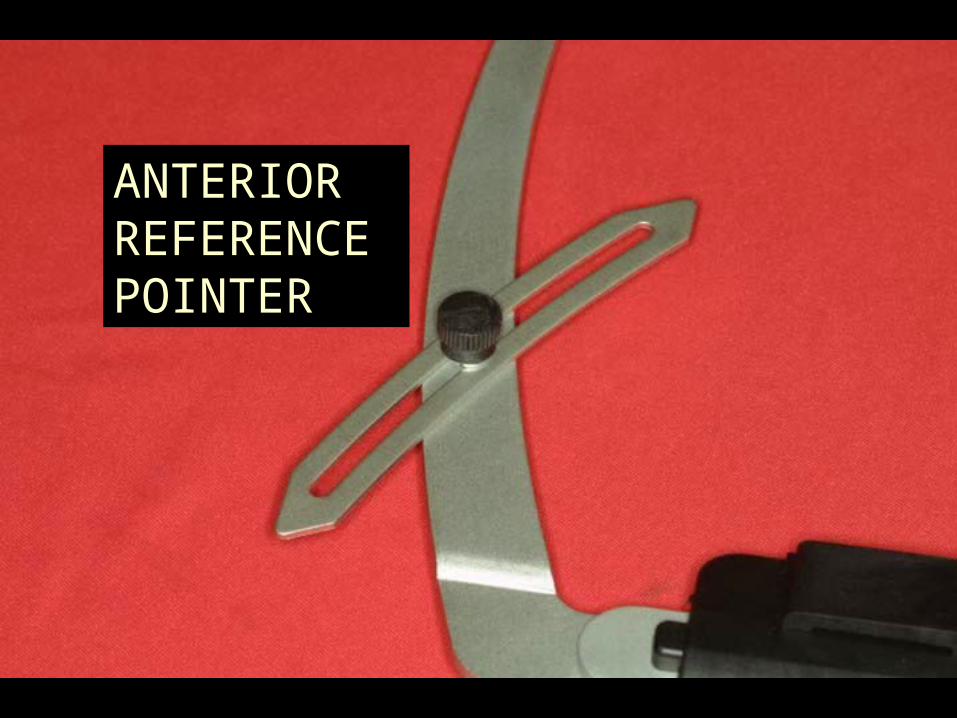
ANTERIORREFERENCE POINTER

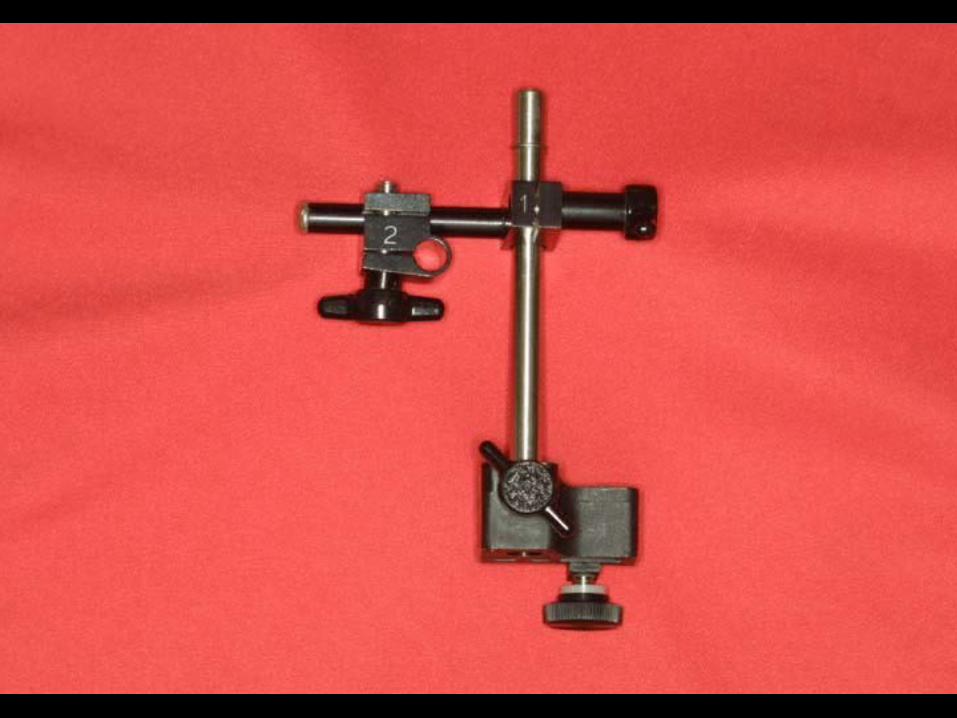
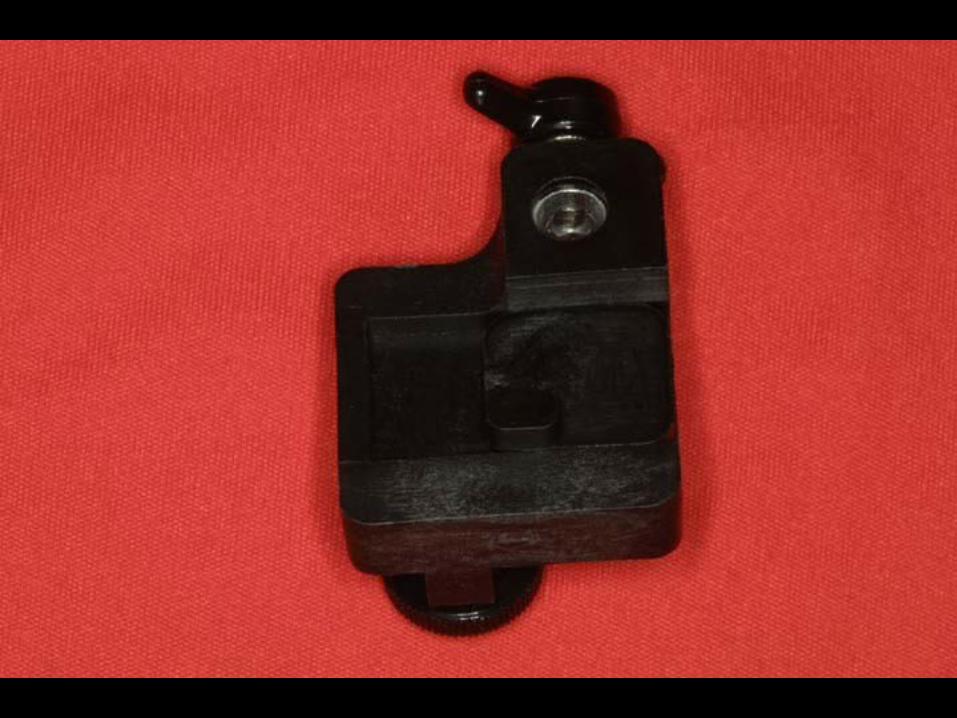
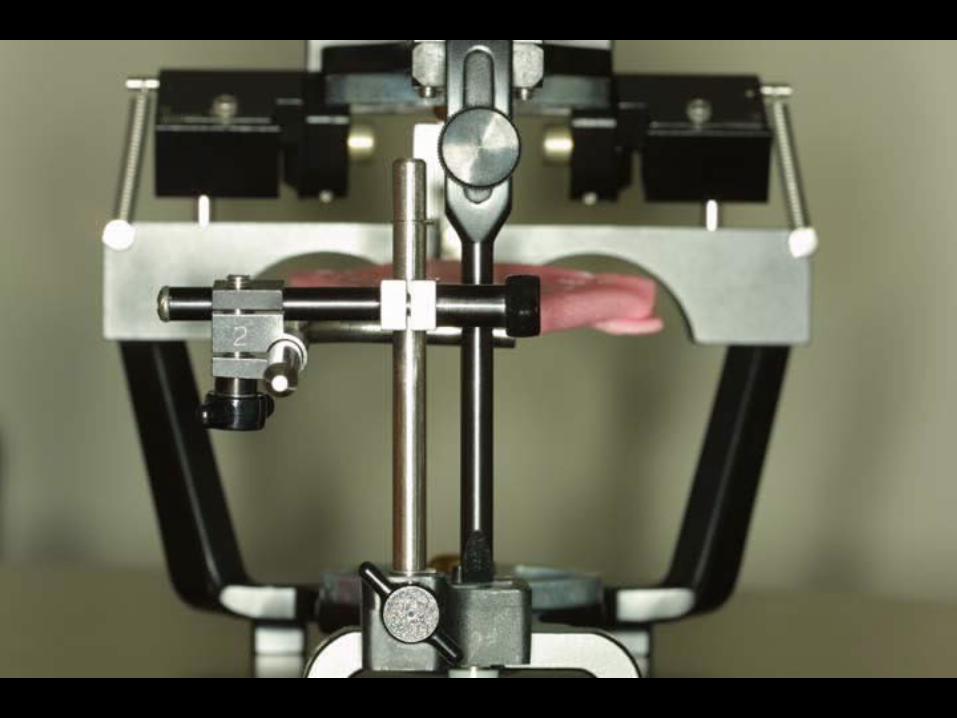
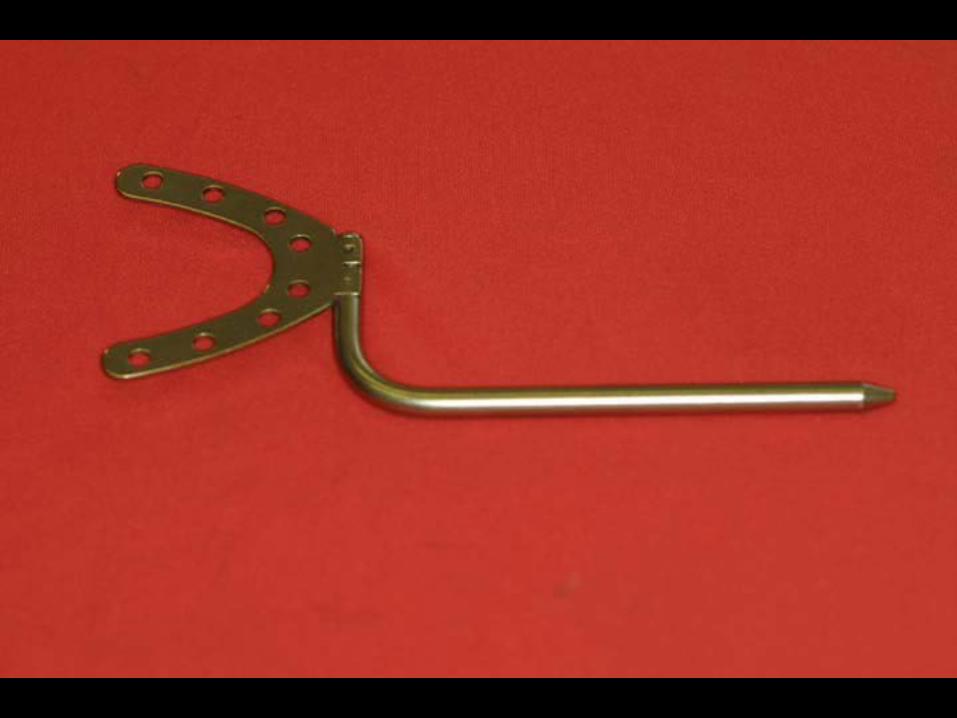
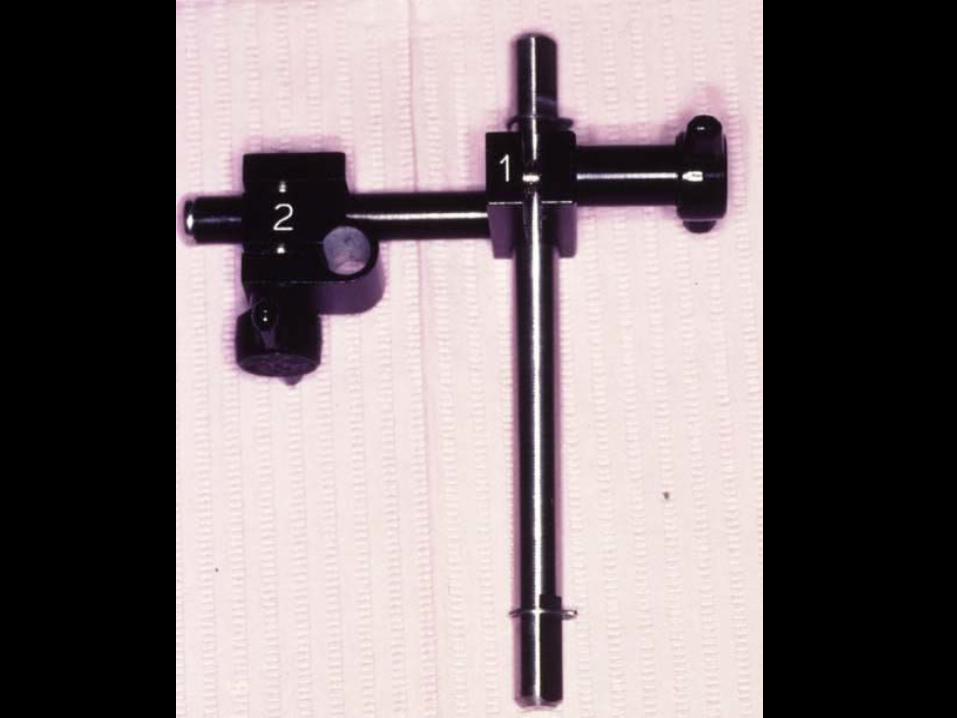
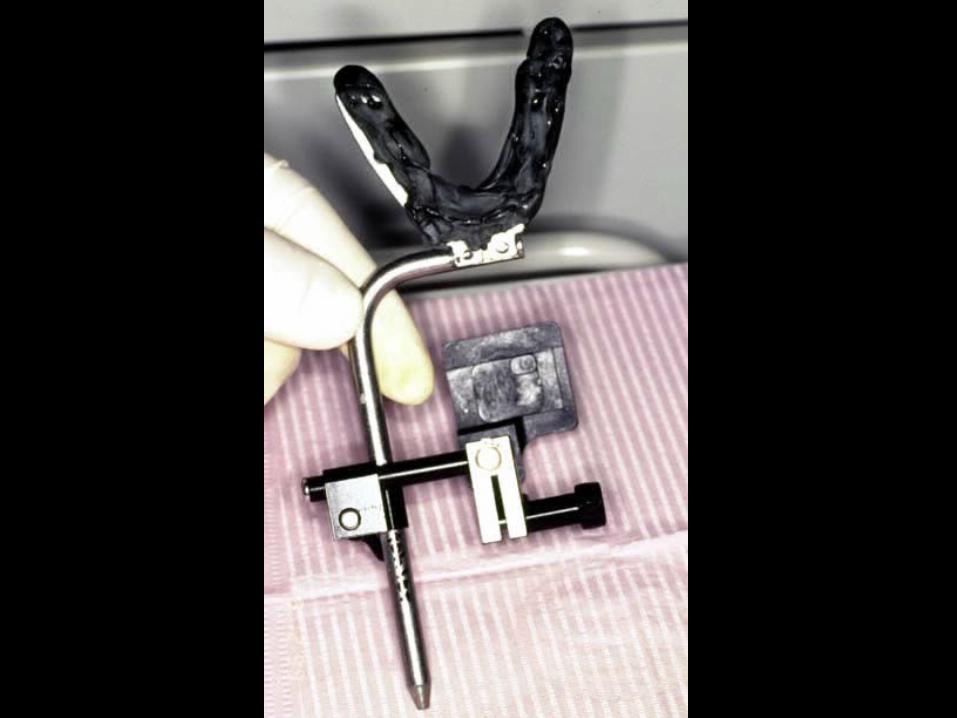
Transfer Jig Assemblycomponents
• Bitefork
• Vertical shaft
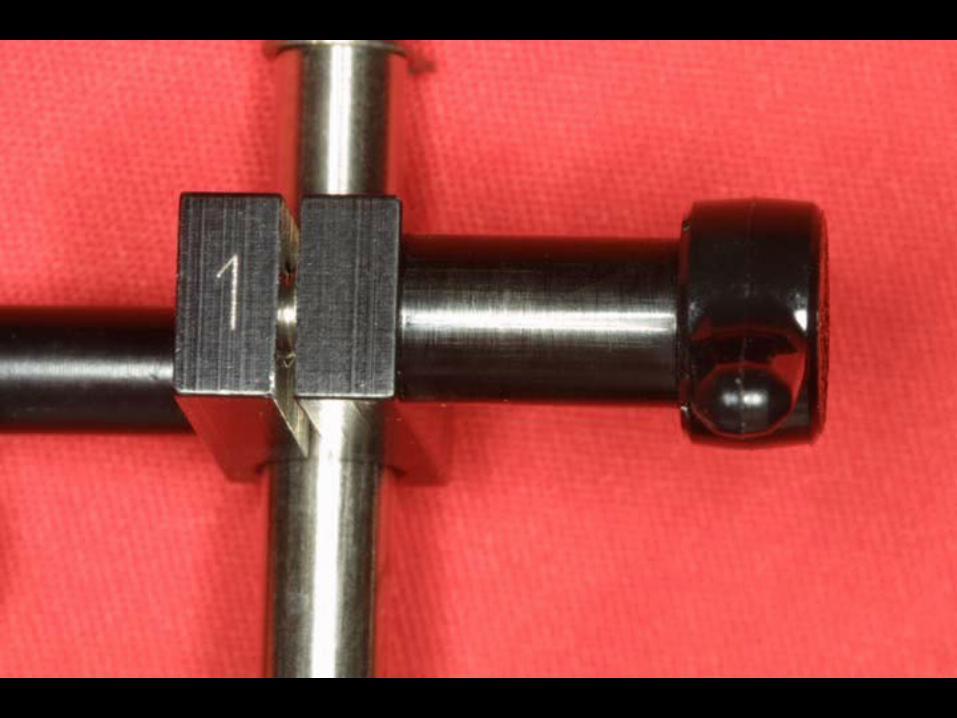
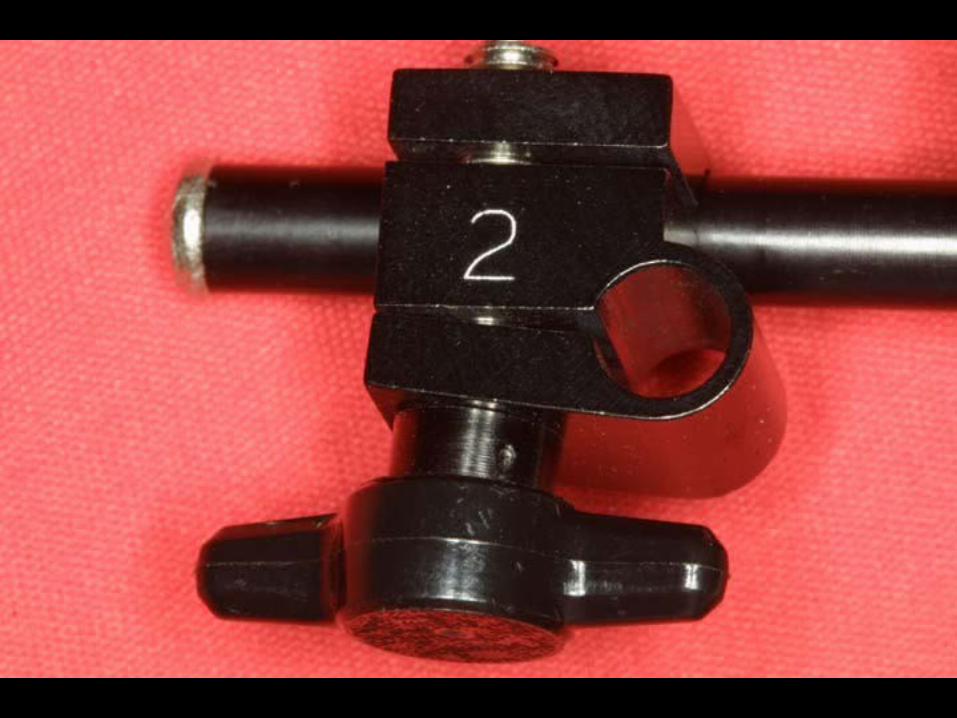
• #1 and # 2 clamps
• Finger screws
• Articulator index

BITEFORK
ARTICULATORINDEX
VERTICALSHAFT
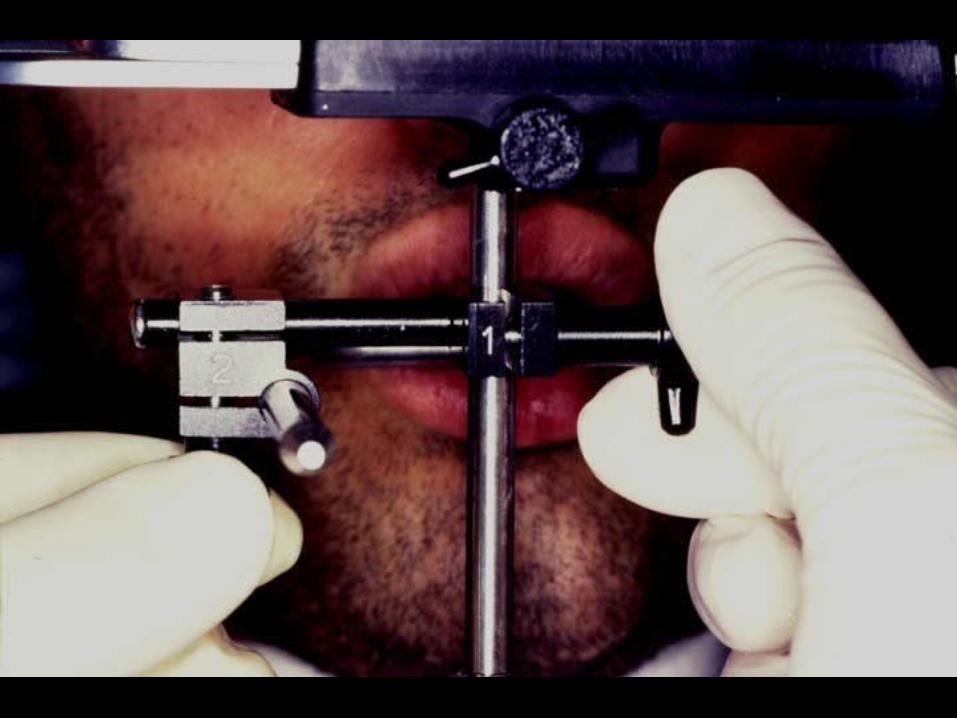
CLAMP #2 CLAMP #1
FINGER SCREWS
TRANSFER JIG ASSEMBLY
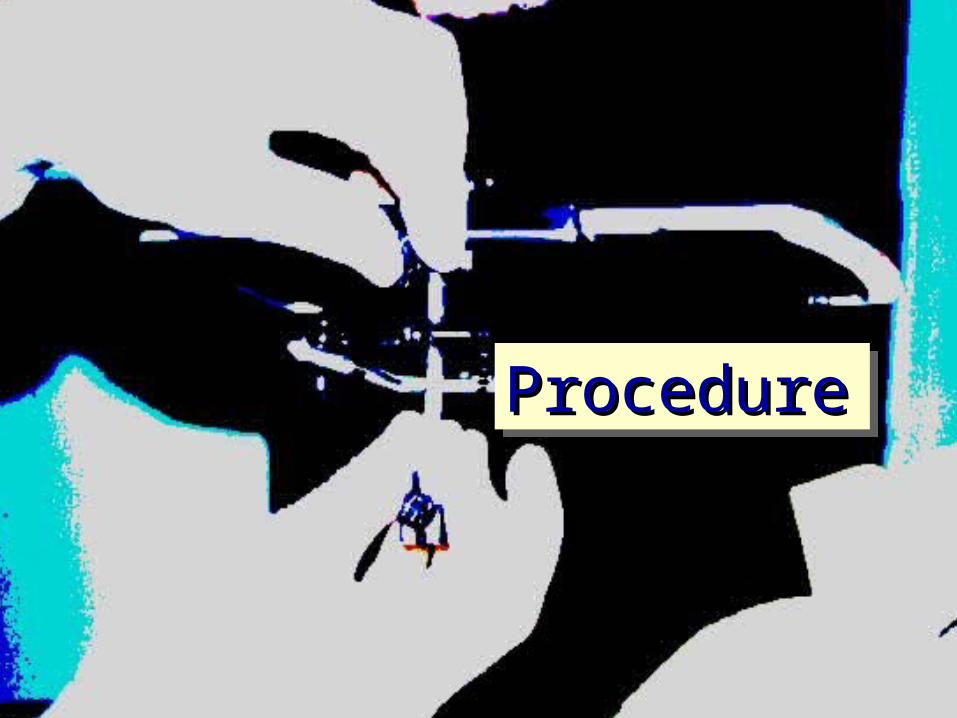
ProcedureProcedureProcedureProcedure
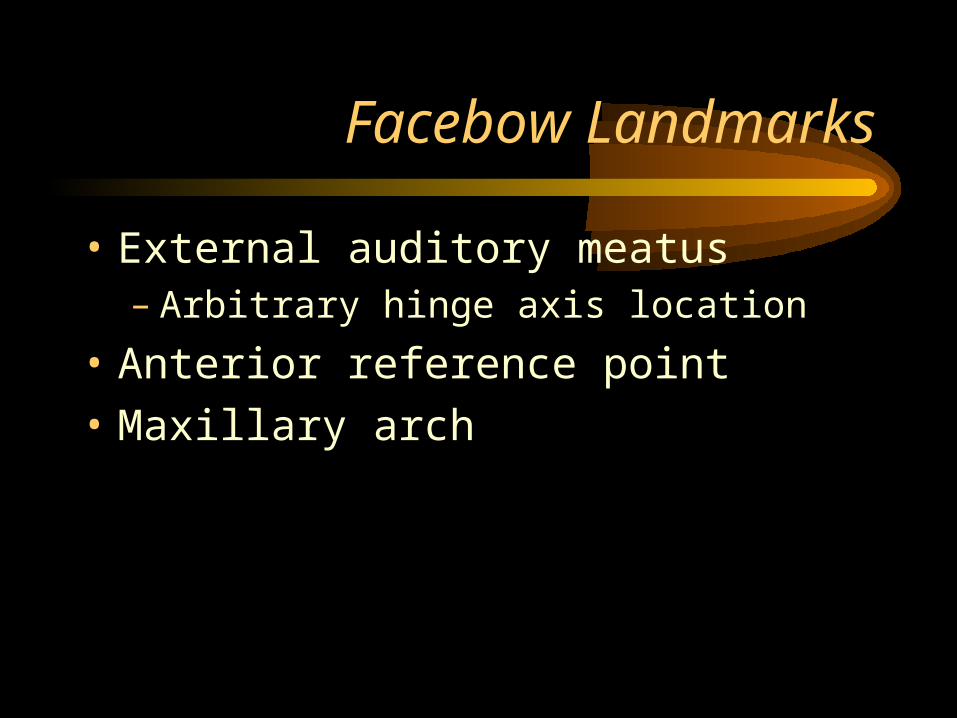
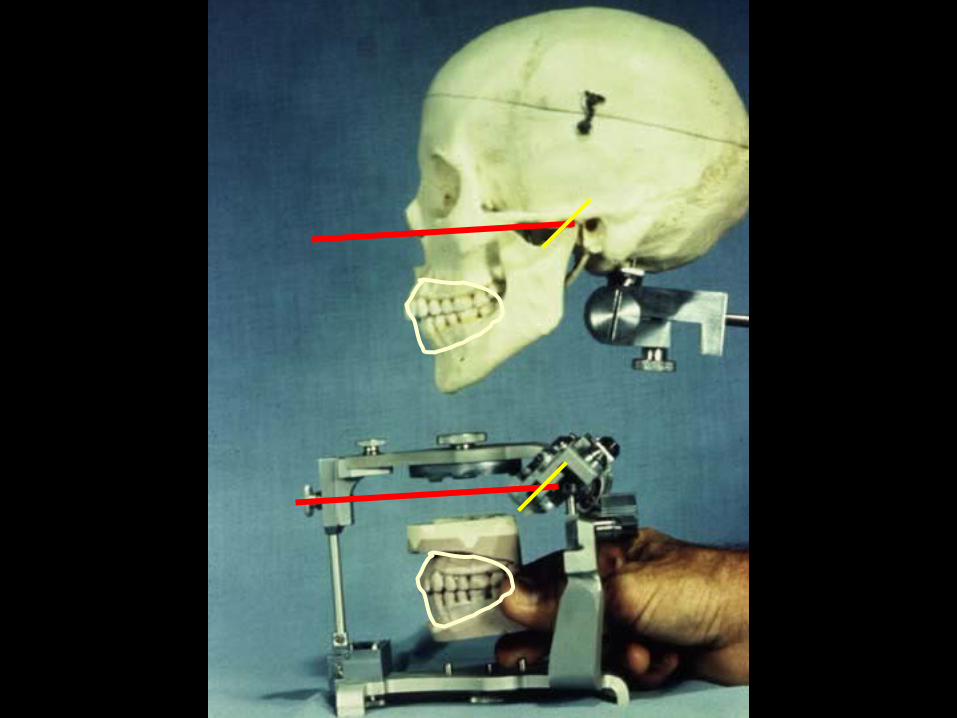
Facebow Landmarks
• External auditory meatus– Arbitrary hinge axis location
• Anterior reference point
• Maxillary arch
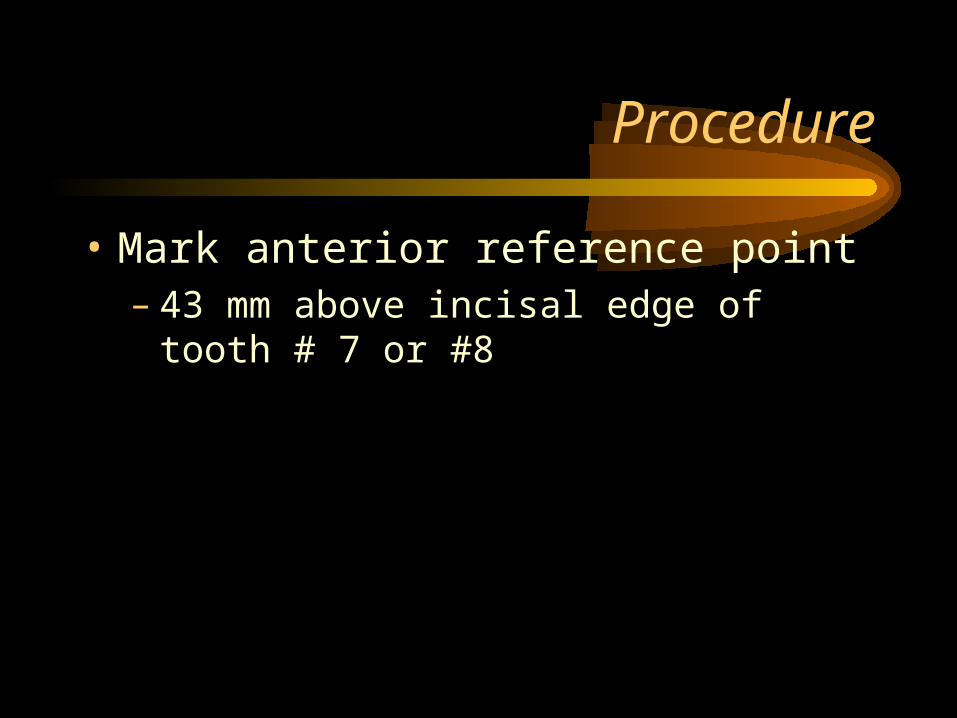
Procedure
• Mark anterior reference point– 43 mm above incisal edge of tooth # 7 or #8
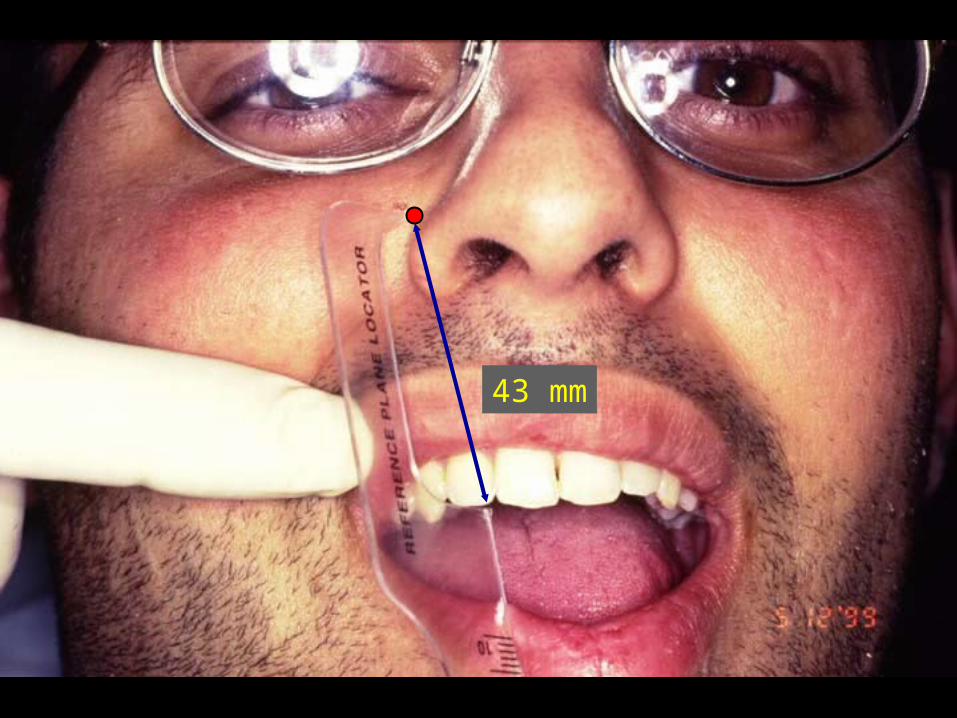
43 mm

Procedure
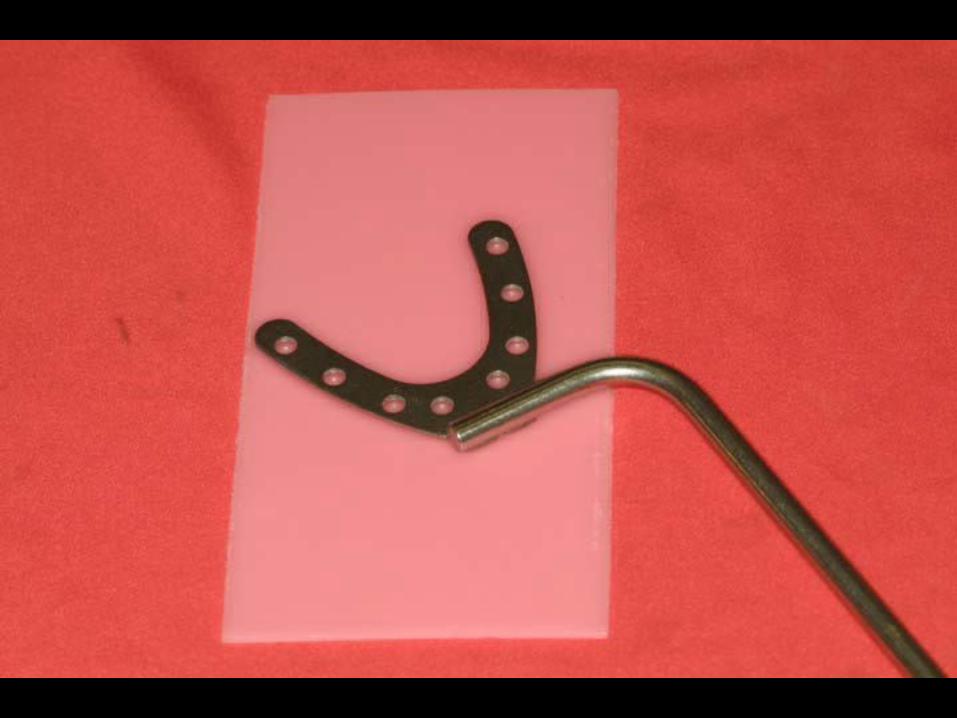
• Cover bitefork with 2 layers of softened baseplate wax– Use warm water (135 degrees)


Procedure
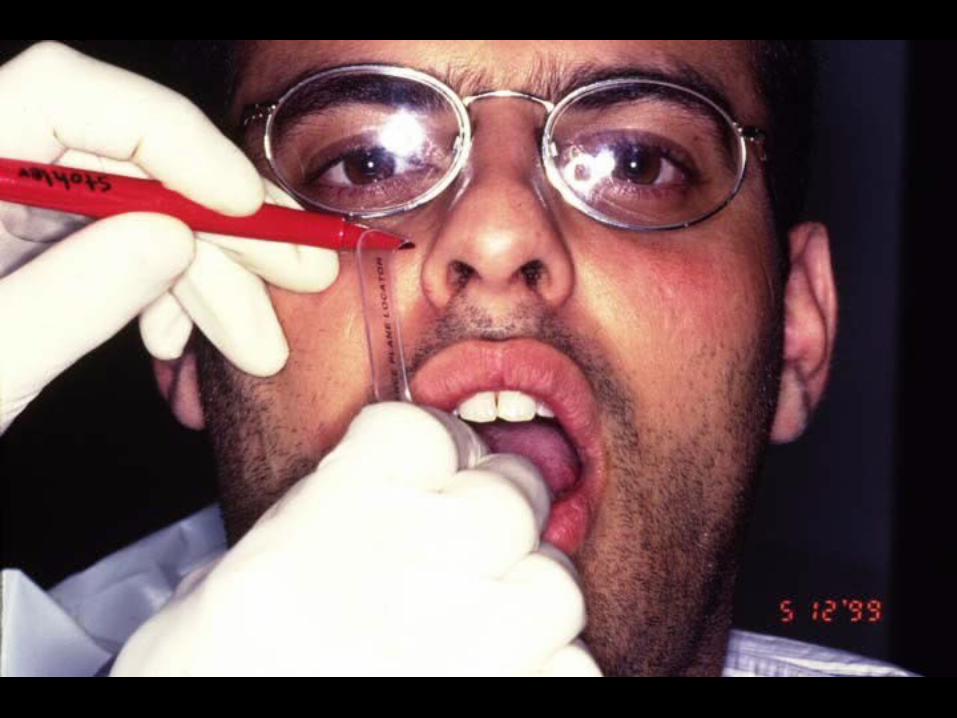
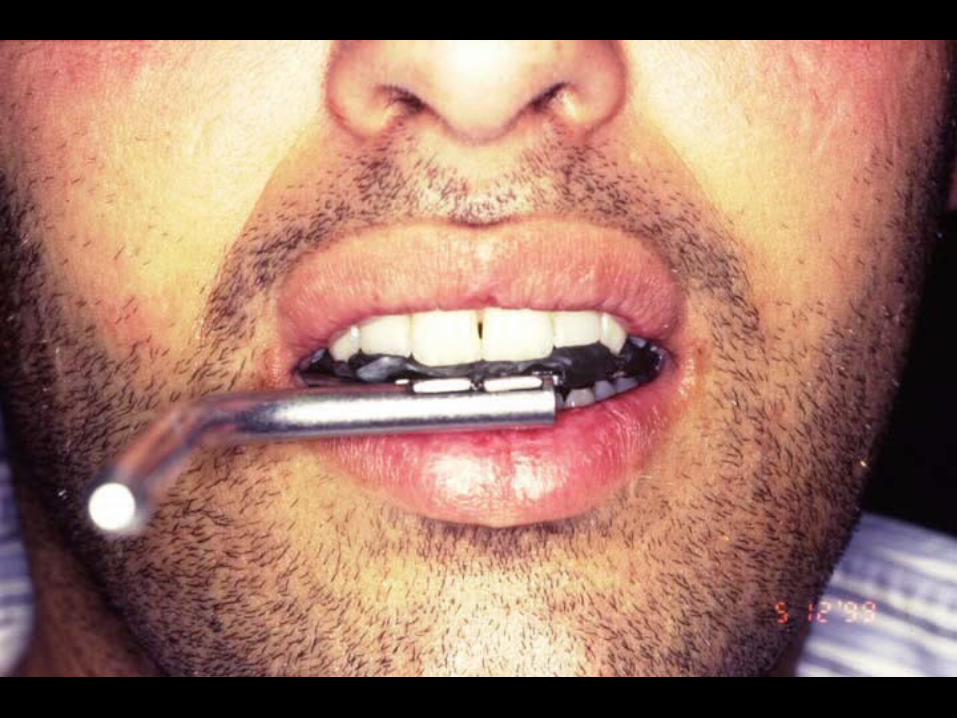
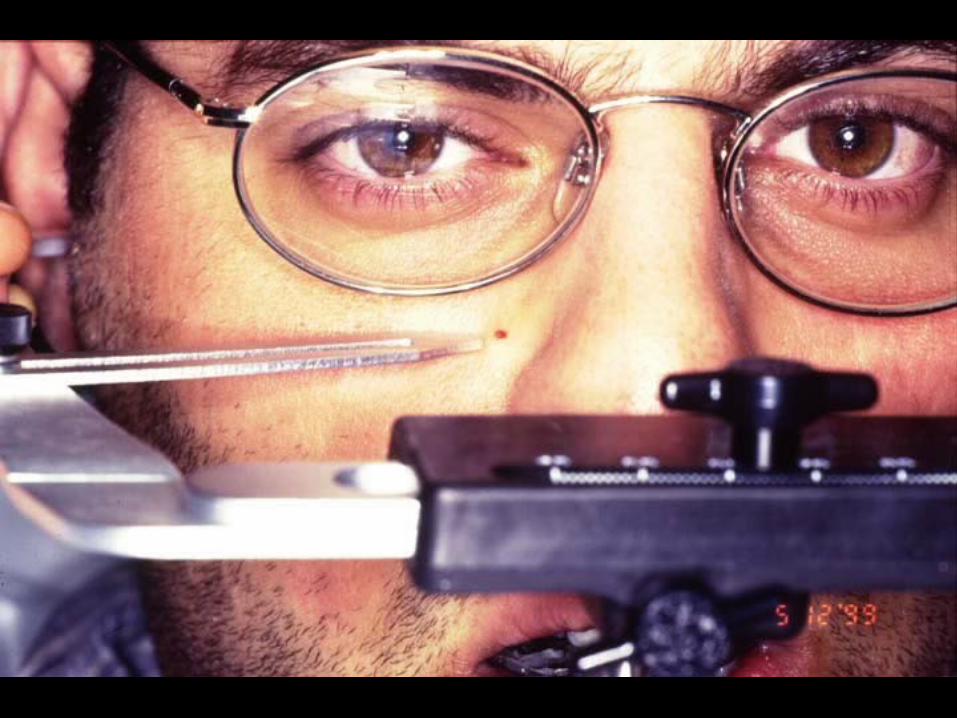
• Insert fork in mouth with the arm to the patient’s right– Align midline with index notch– Keep fork horizontal


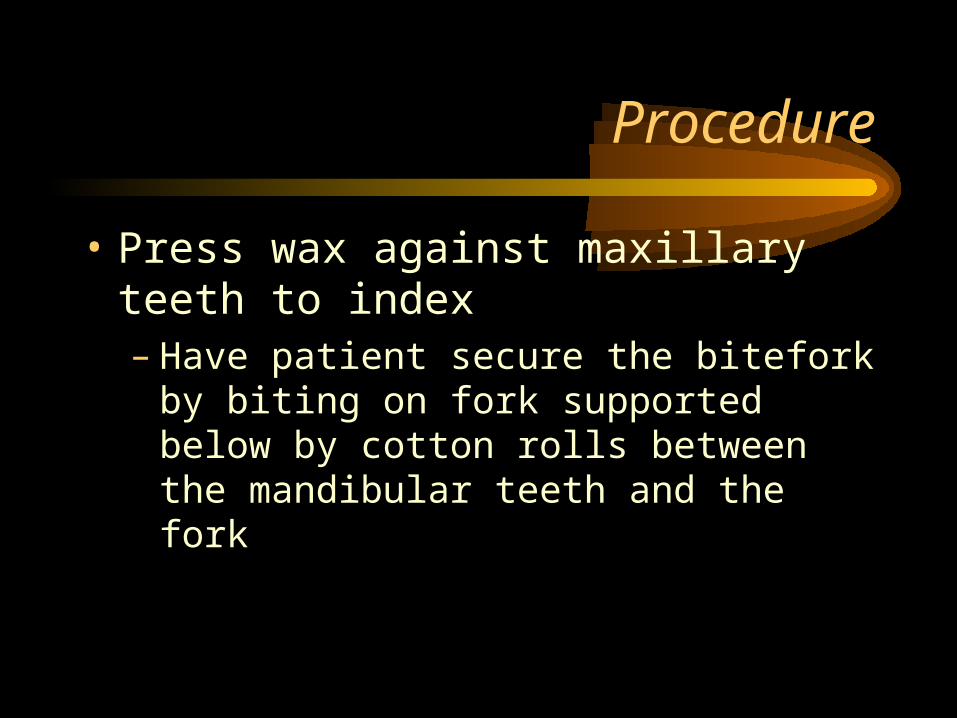
Procedure
• Press wax against maxillary teeth to index– Have patient secure the bitefork by biting on
fork supported below by cotton rolls between the mandibular teeth and the fork

Procedure
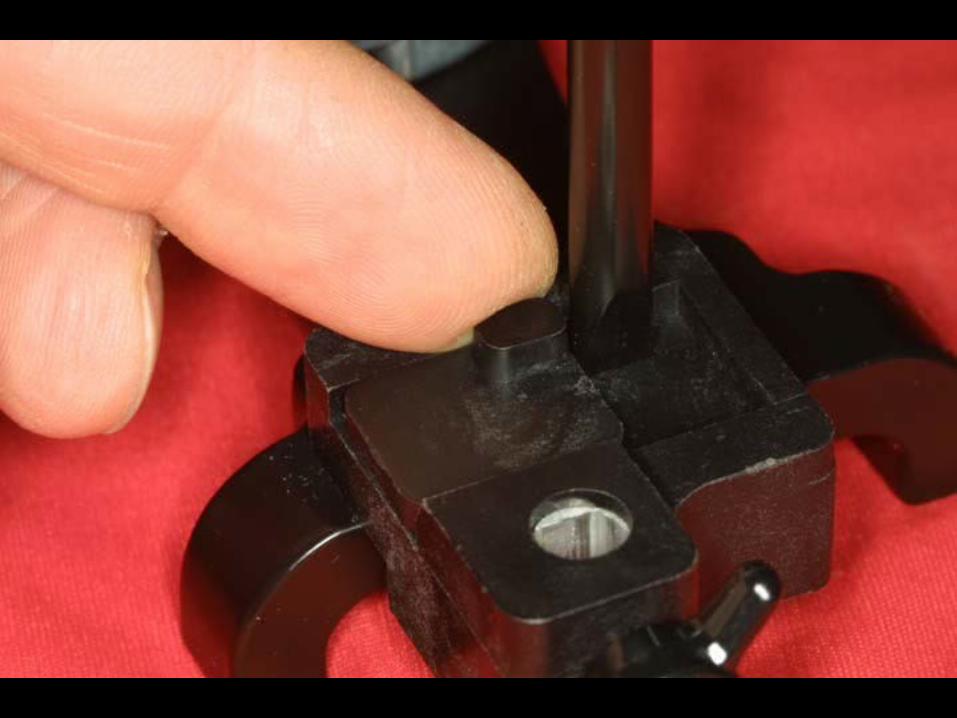
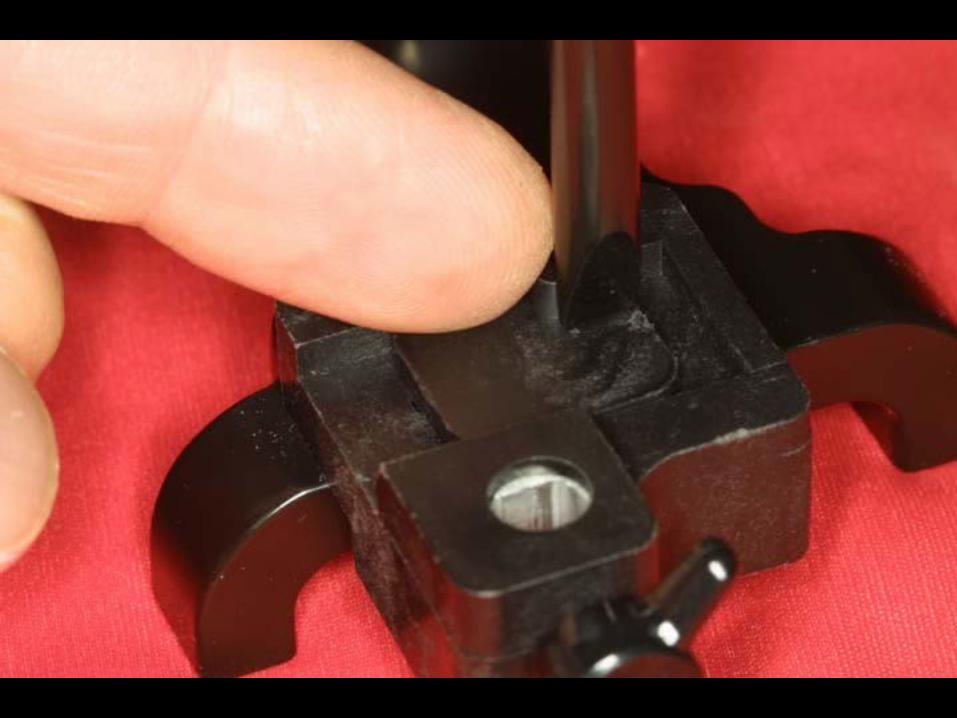
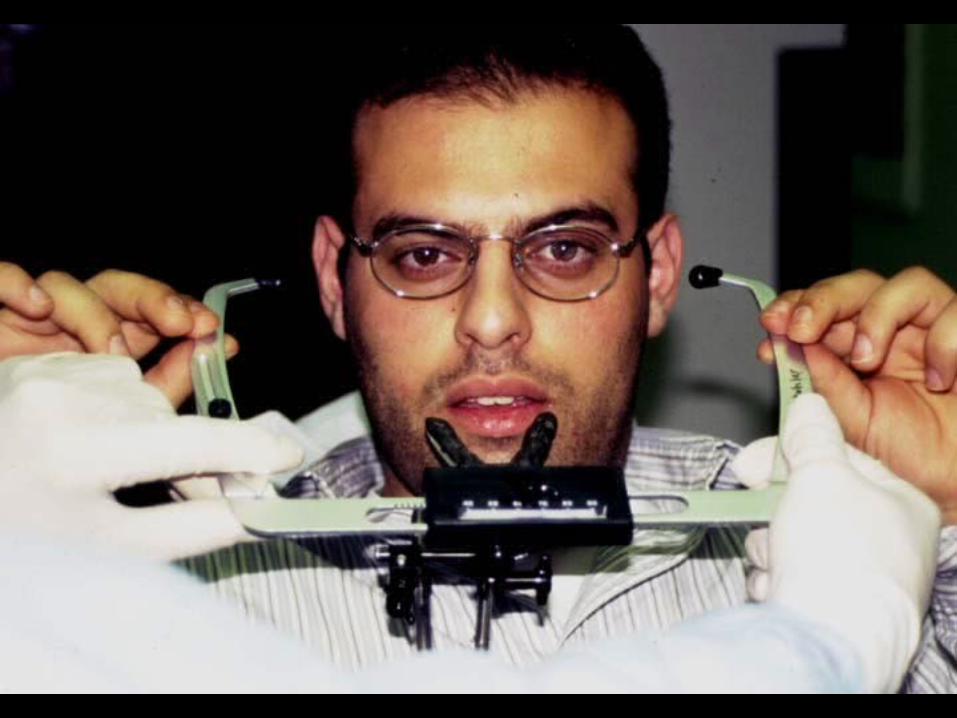
• Attach the vertical shaft to the measuring bow– #2 clamp to patient’s right– Tighten finger screw
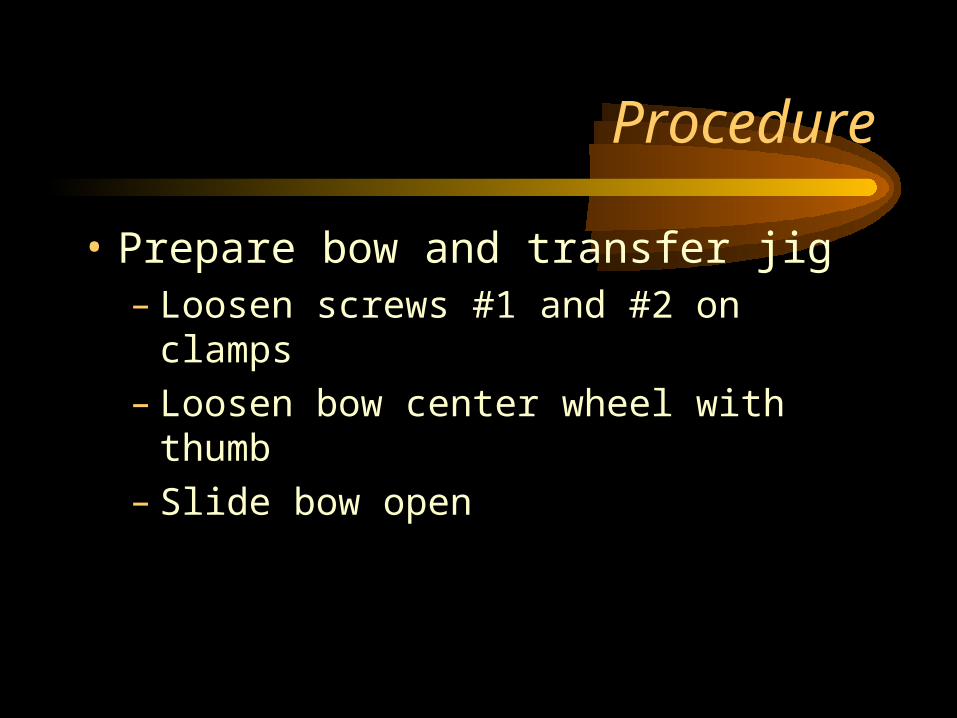
Procedure
• Prepare bow and transfer jig – Loosen screws #1 and #2 on clamps– Loosen bow center wheel with thumb– Slide bow open

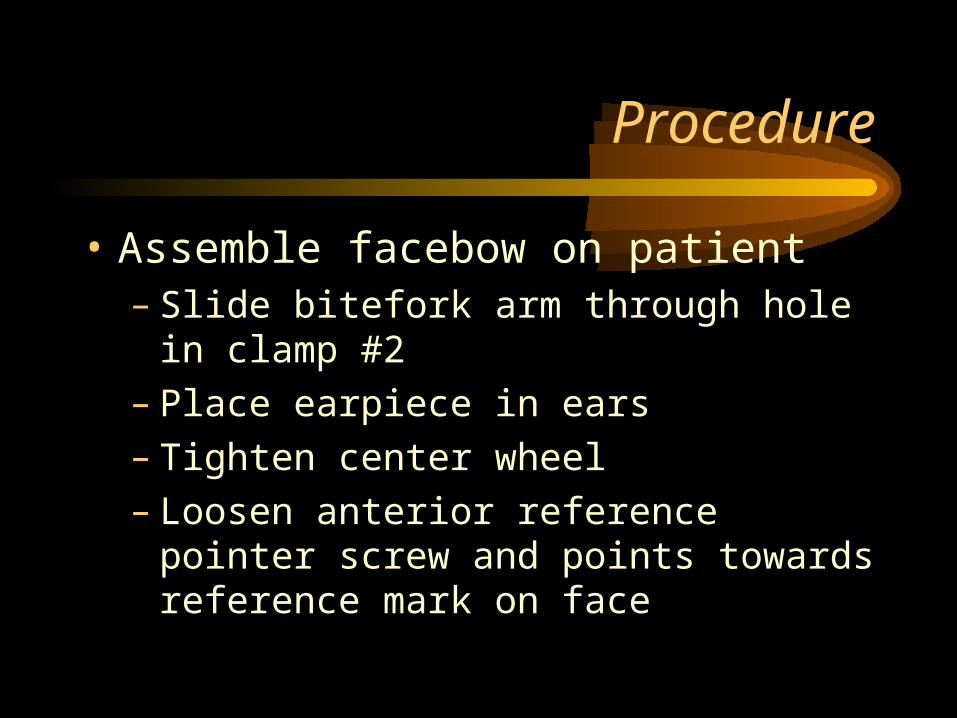
Procedure
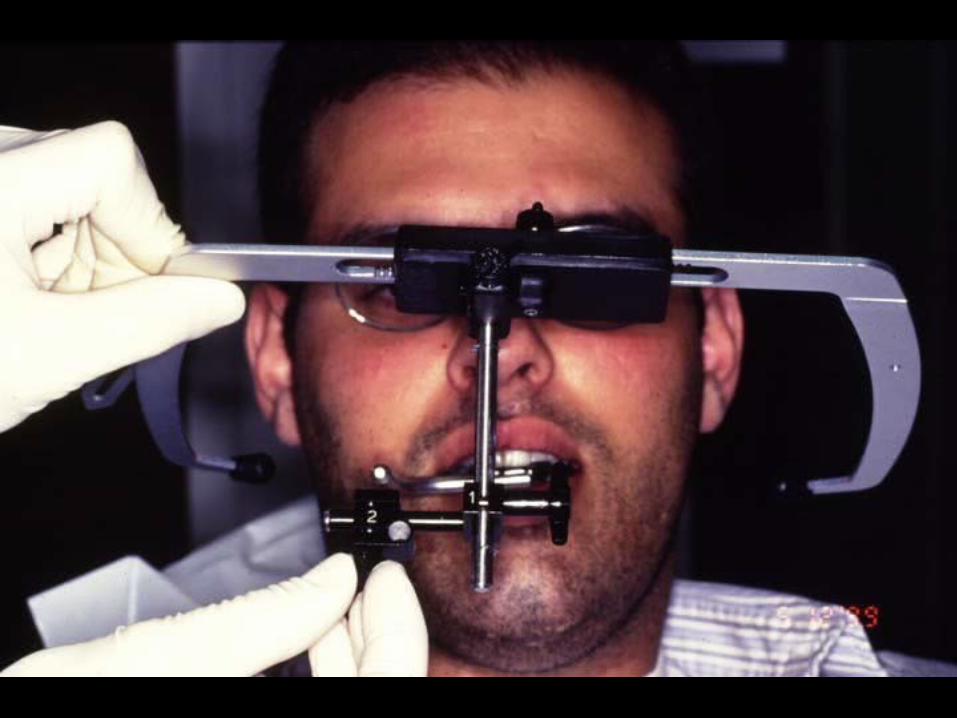
• Assemble facebow on patient– Slide bitefork arm through hole in clamp #2– Place earpiece in ears– Tighten center wheel– Loosen anterior reference pointer screw and
points towards reference mark on face

Procedure
• Assemble facebow on patient– Raise or lower bow to align with anterior
reference mark– Tighten clamp #1– Tighten clamp #2– Record intercondylar distance
Care must be taken to support vertical arm while tightening clamps
Procedure
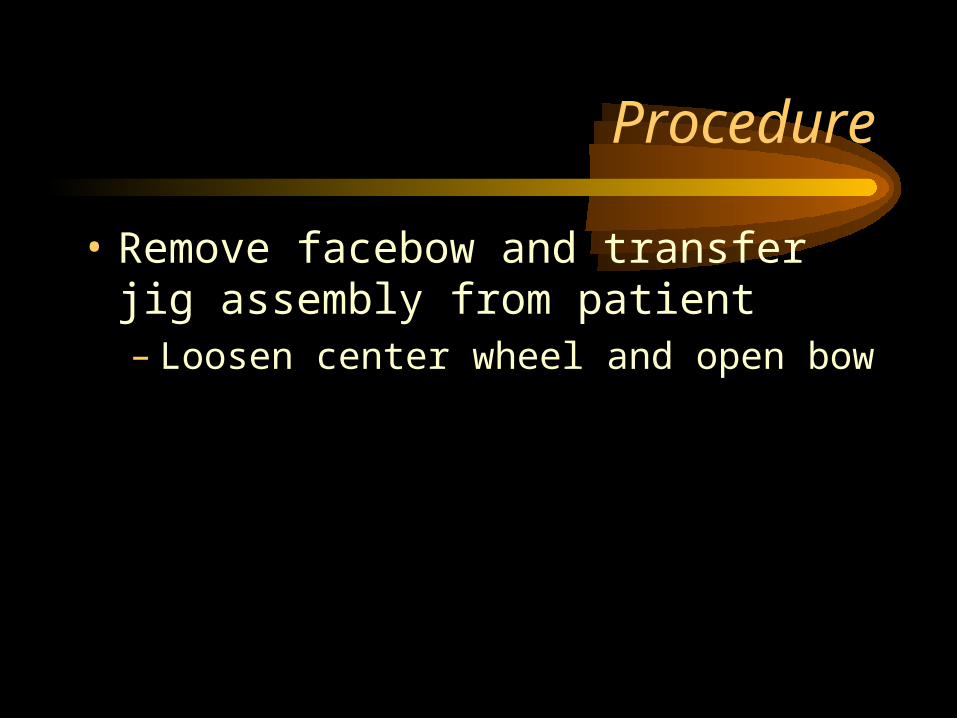
• Remove facebow and transfer jig assembly from patient– Loosen center wheel and open bow

Procedure
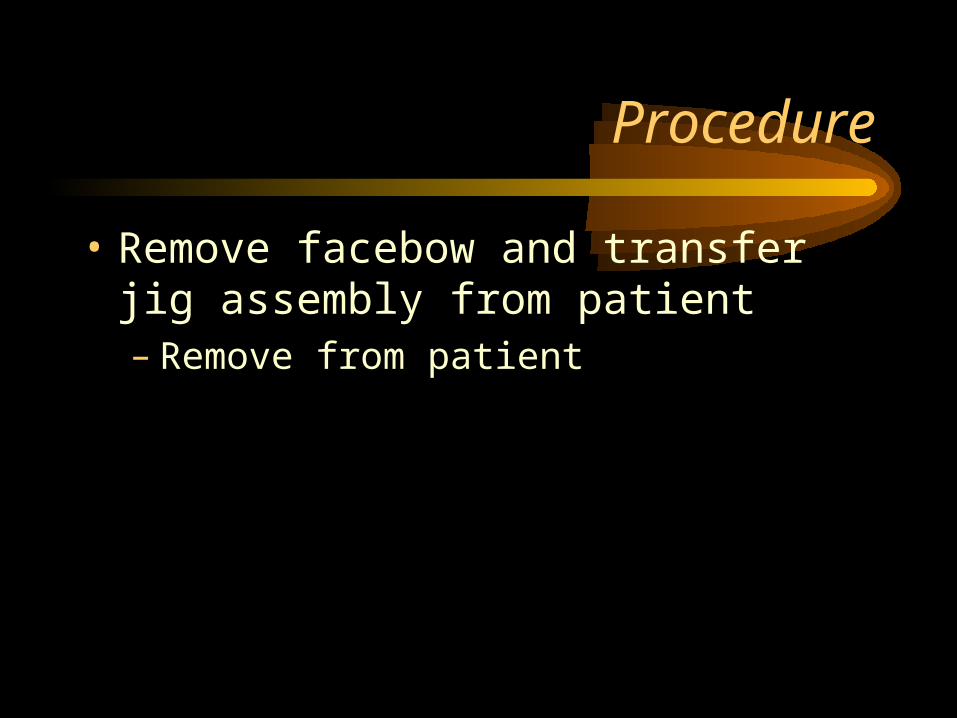
• Remove facebow and transfer jig assembly from patient– Remove from patient
Procedure
• Remove facebow and transfer jig assembly from patient– Loosen finger screw on bow and detach transfer
jig assembly from bow
Procedure
• Remove facebow and transfer jig assembly from patient– Keep in safe place for mounting cast later